Now that we have discussed the creation and integration of forms, we will show you how to place the forms you have created on your website.
Enable Settings
As for Sitecore Forms forms and Sitecore Connect recipes, neither is active at the time the test is completed. Therefore, it is necessary to activate each of them.
First, activate the recipe in Sitecore Connect. You can do this either from the Edit Recipe screen or from the list of recipes. Click on the "---" button to open the menu.
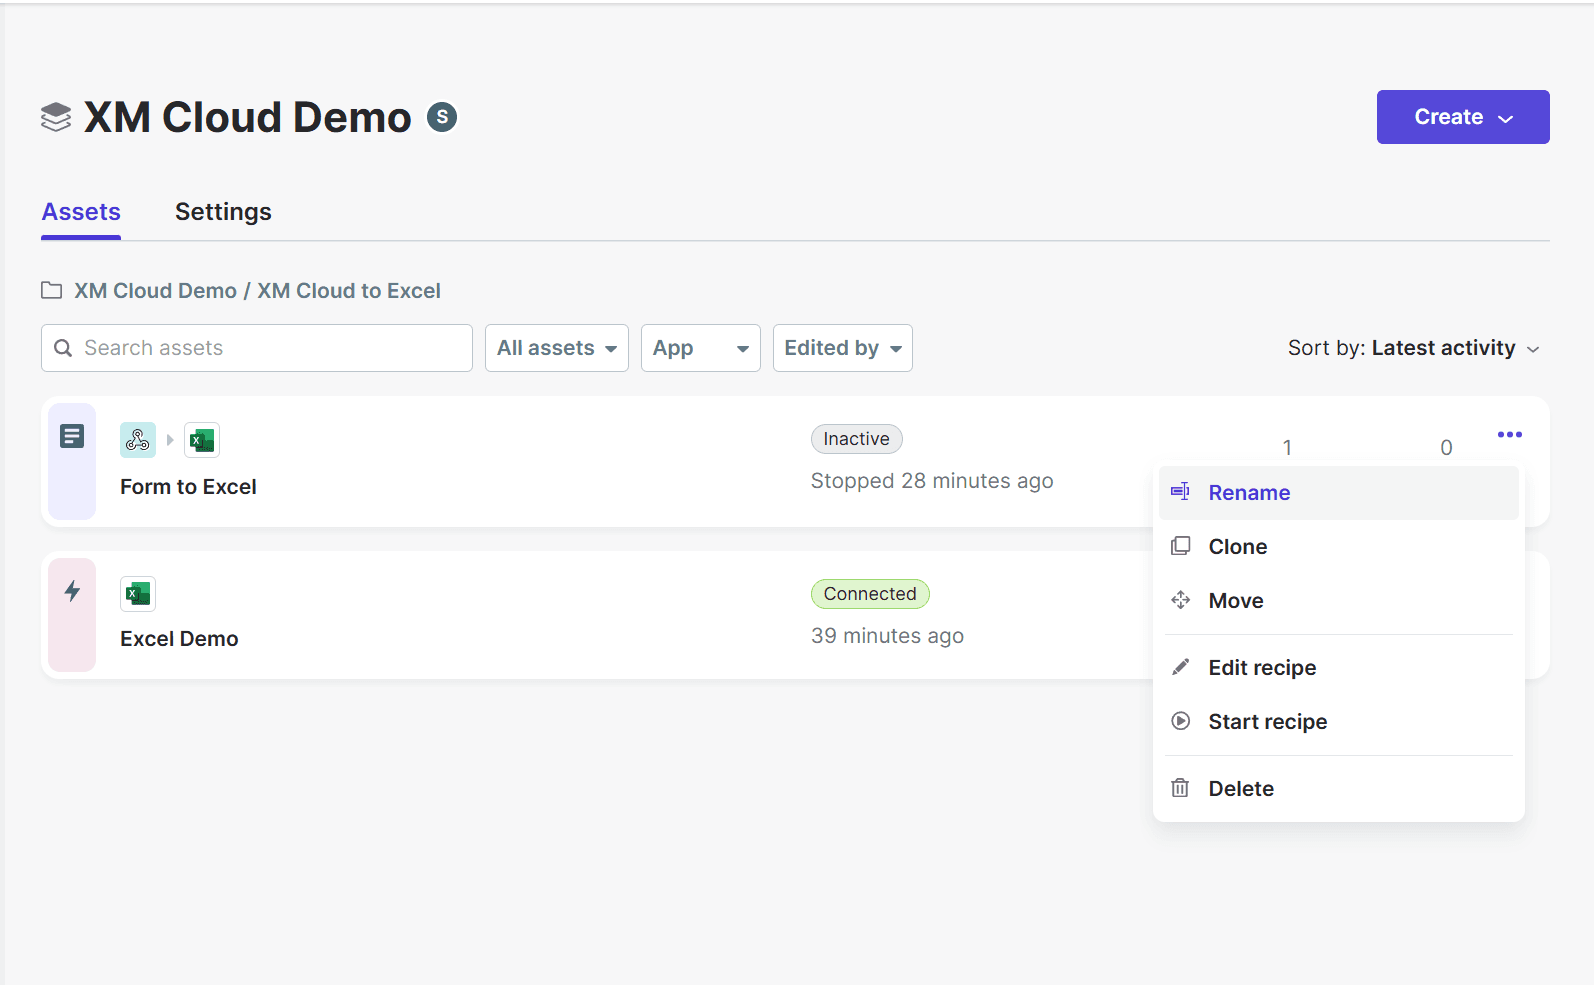
Once Active, the recipe is now activated.
Next, click on the menu for forms created with Sitecore Forms, and you will see a list of forms with an Activate item.
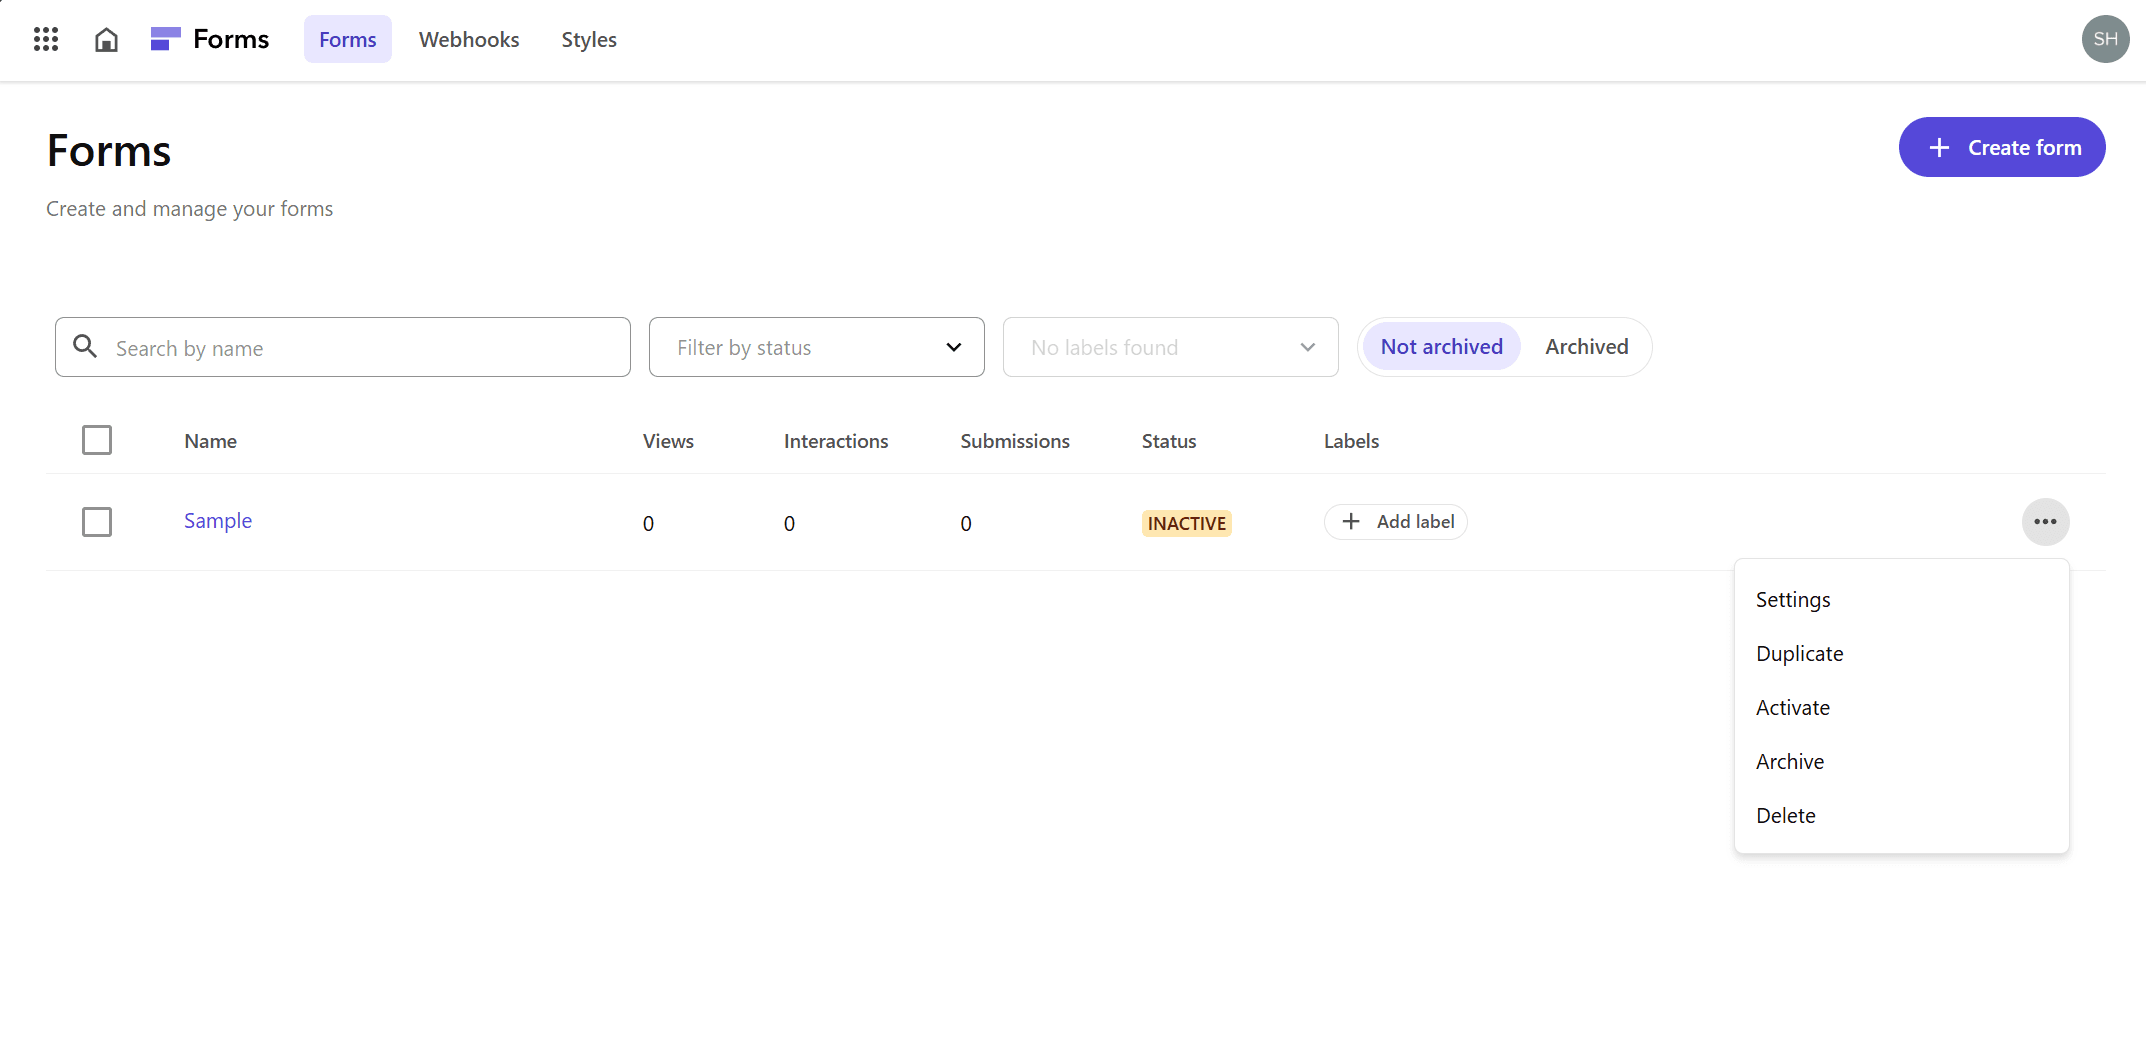
The form is activated when it becomes Active.
Placing a Form in Pages
Once the form is activated, the form can be selected in Pages, the tool for editing pages.

Drag and drop the form to the desired location.

If you refer to the preview page, you will see that the form is embedded.
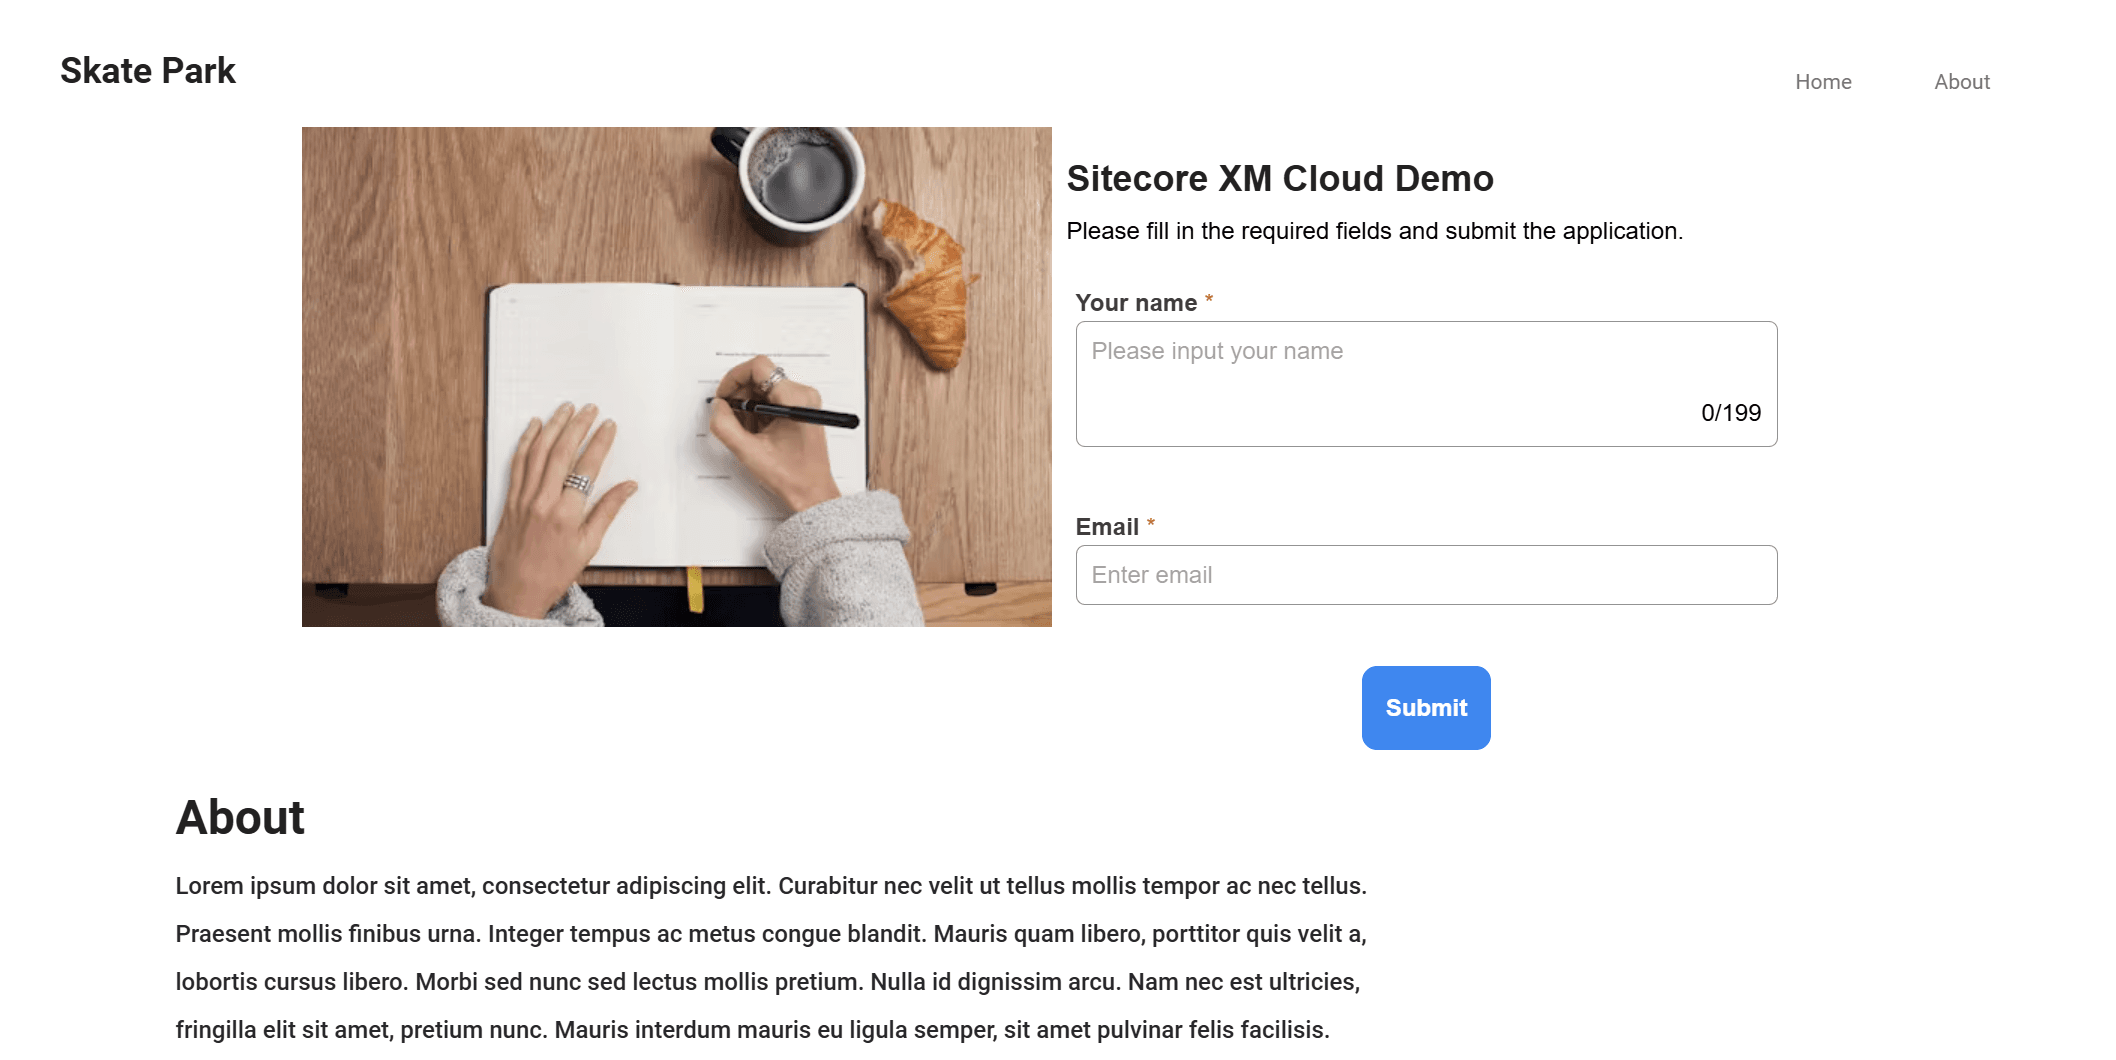
Publish the page and test the operation when the form is displayed.
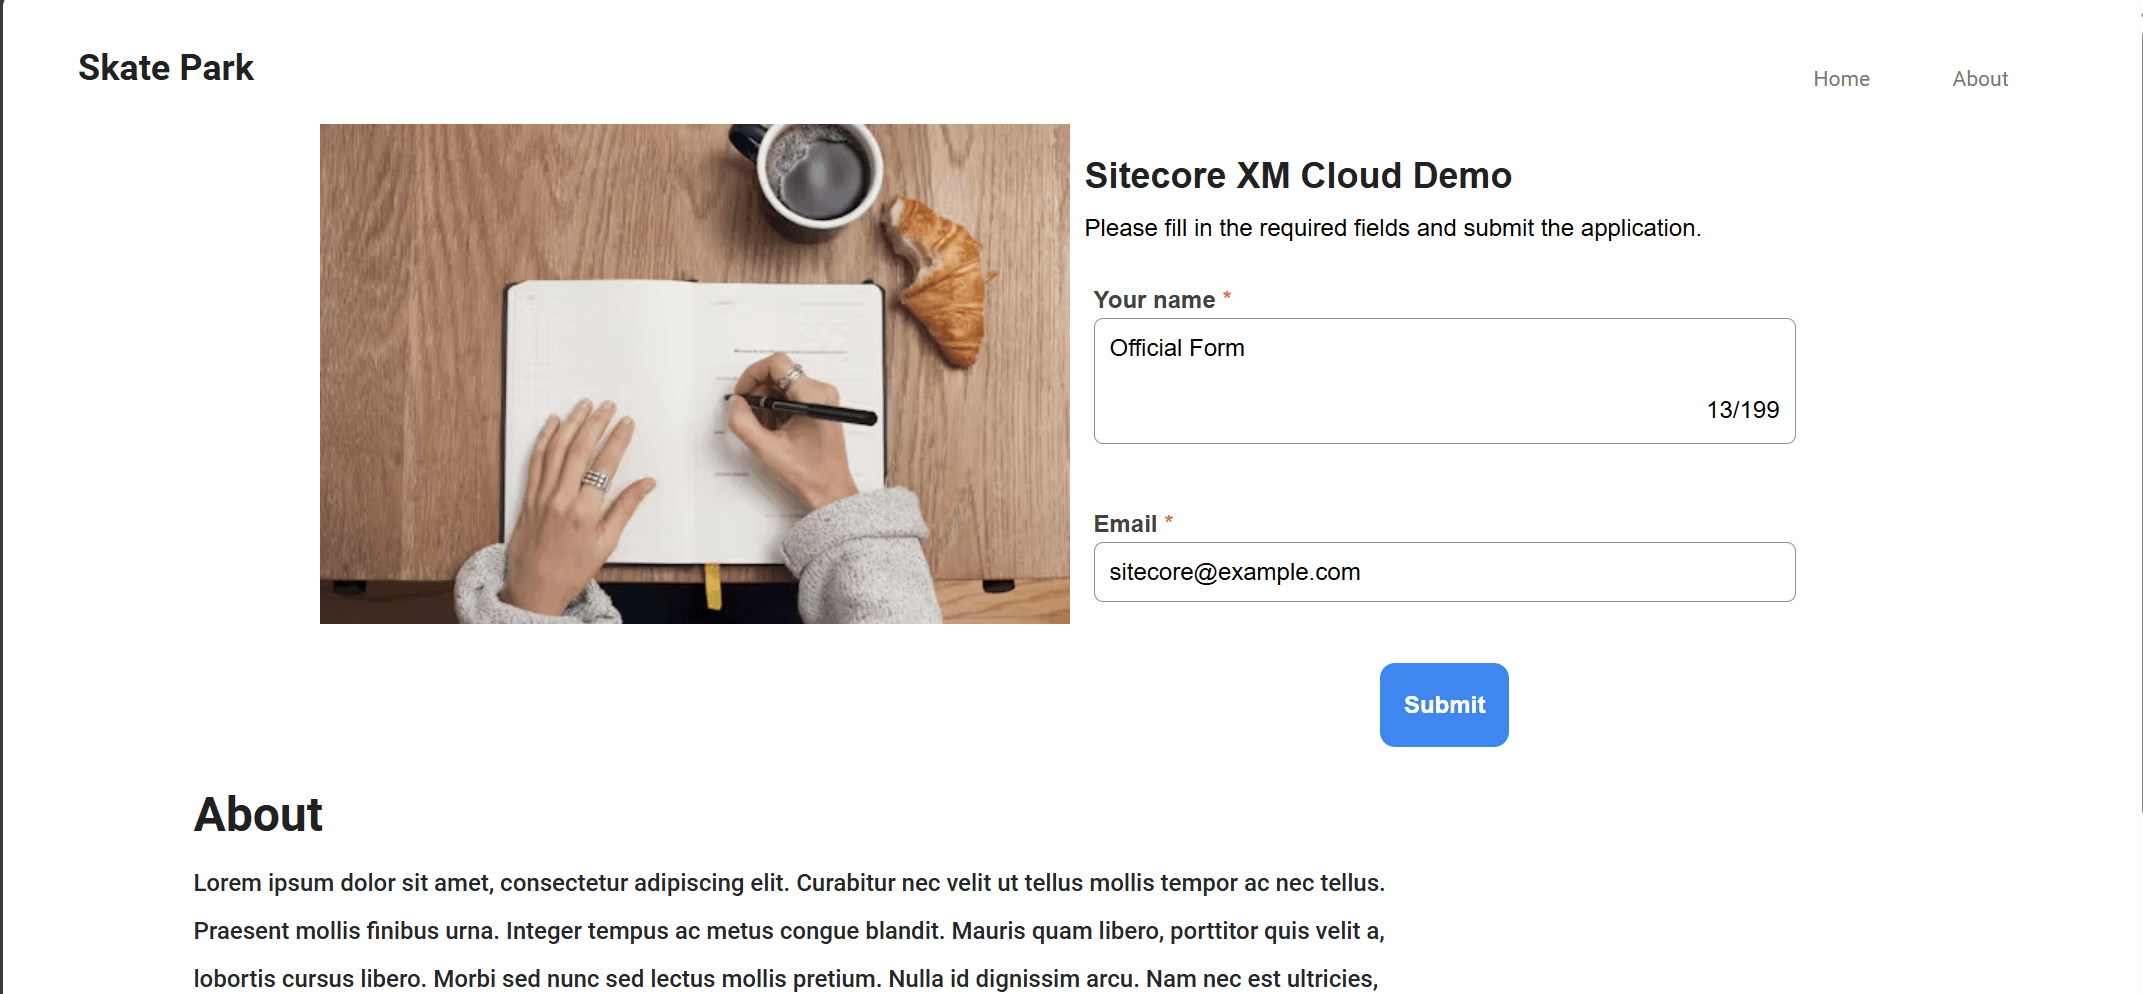
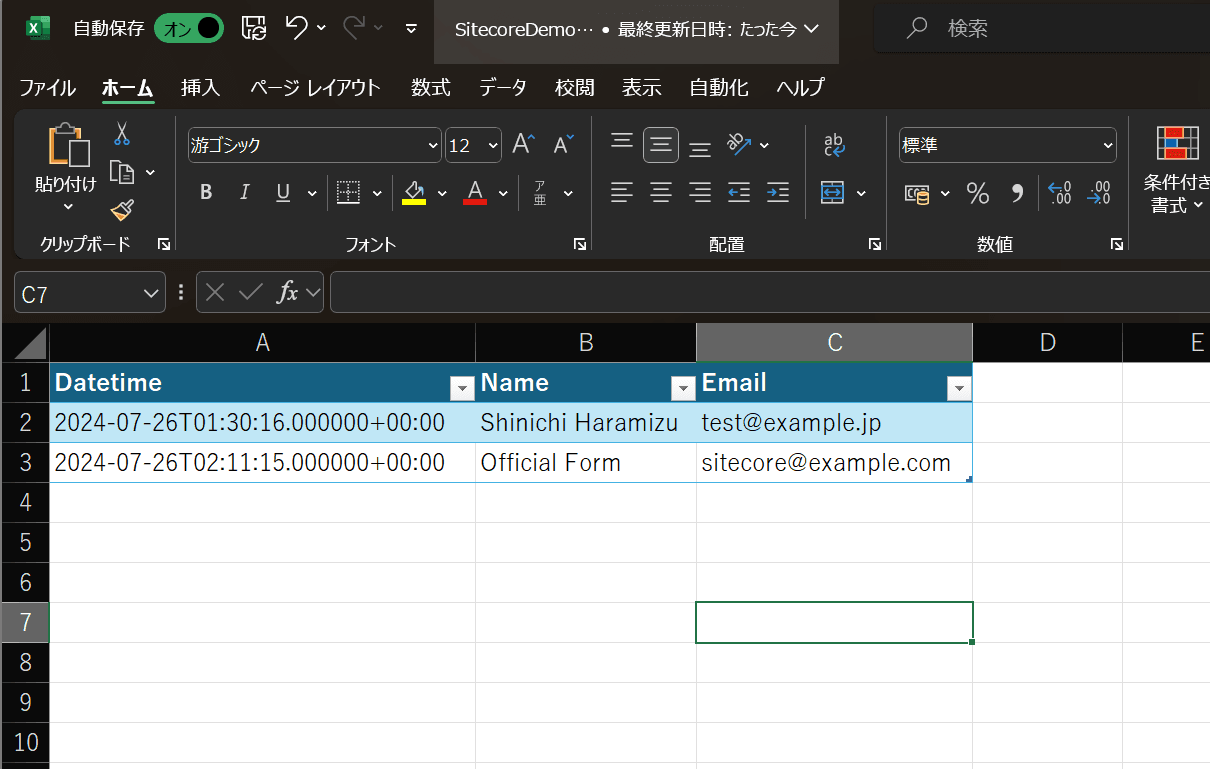
Referring to Excel, you can see the data entered as follows
SummarSummary
We have introduced the form tools provided by XM Cloud and Sitecore Connect, which are useful when used together with XM Cloud. This article covers the basic procedures. In reality, additional processing will be required for production, such as using Sitecore Connect to branch out the handling of data during testing, and validating the input data. I think it would be helpful to look at the various community recipes that are available.
- Introduction to Sitecore Forms
- Introduction to Sitecore Connect
- Implementing a webhook in Sitecore Connect that works with Sitecore Forms.
- Place a form on your site
