I will create a sample that uses a webhook to connect to Sitecore Connect and save the data entered into Sitecore Forms. The data will be saved to an Excel file in OneDrive. In practice, it would be better to save the data in a CRM or similar.

Create a Project
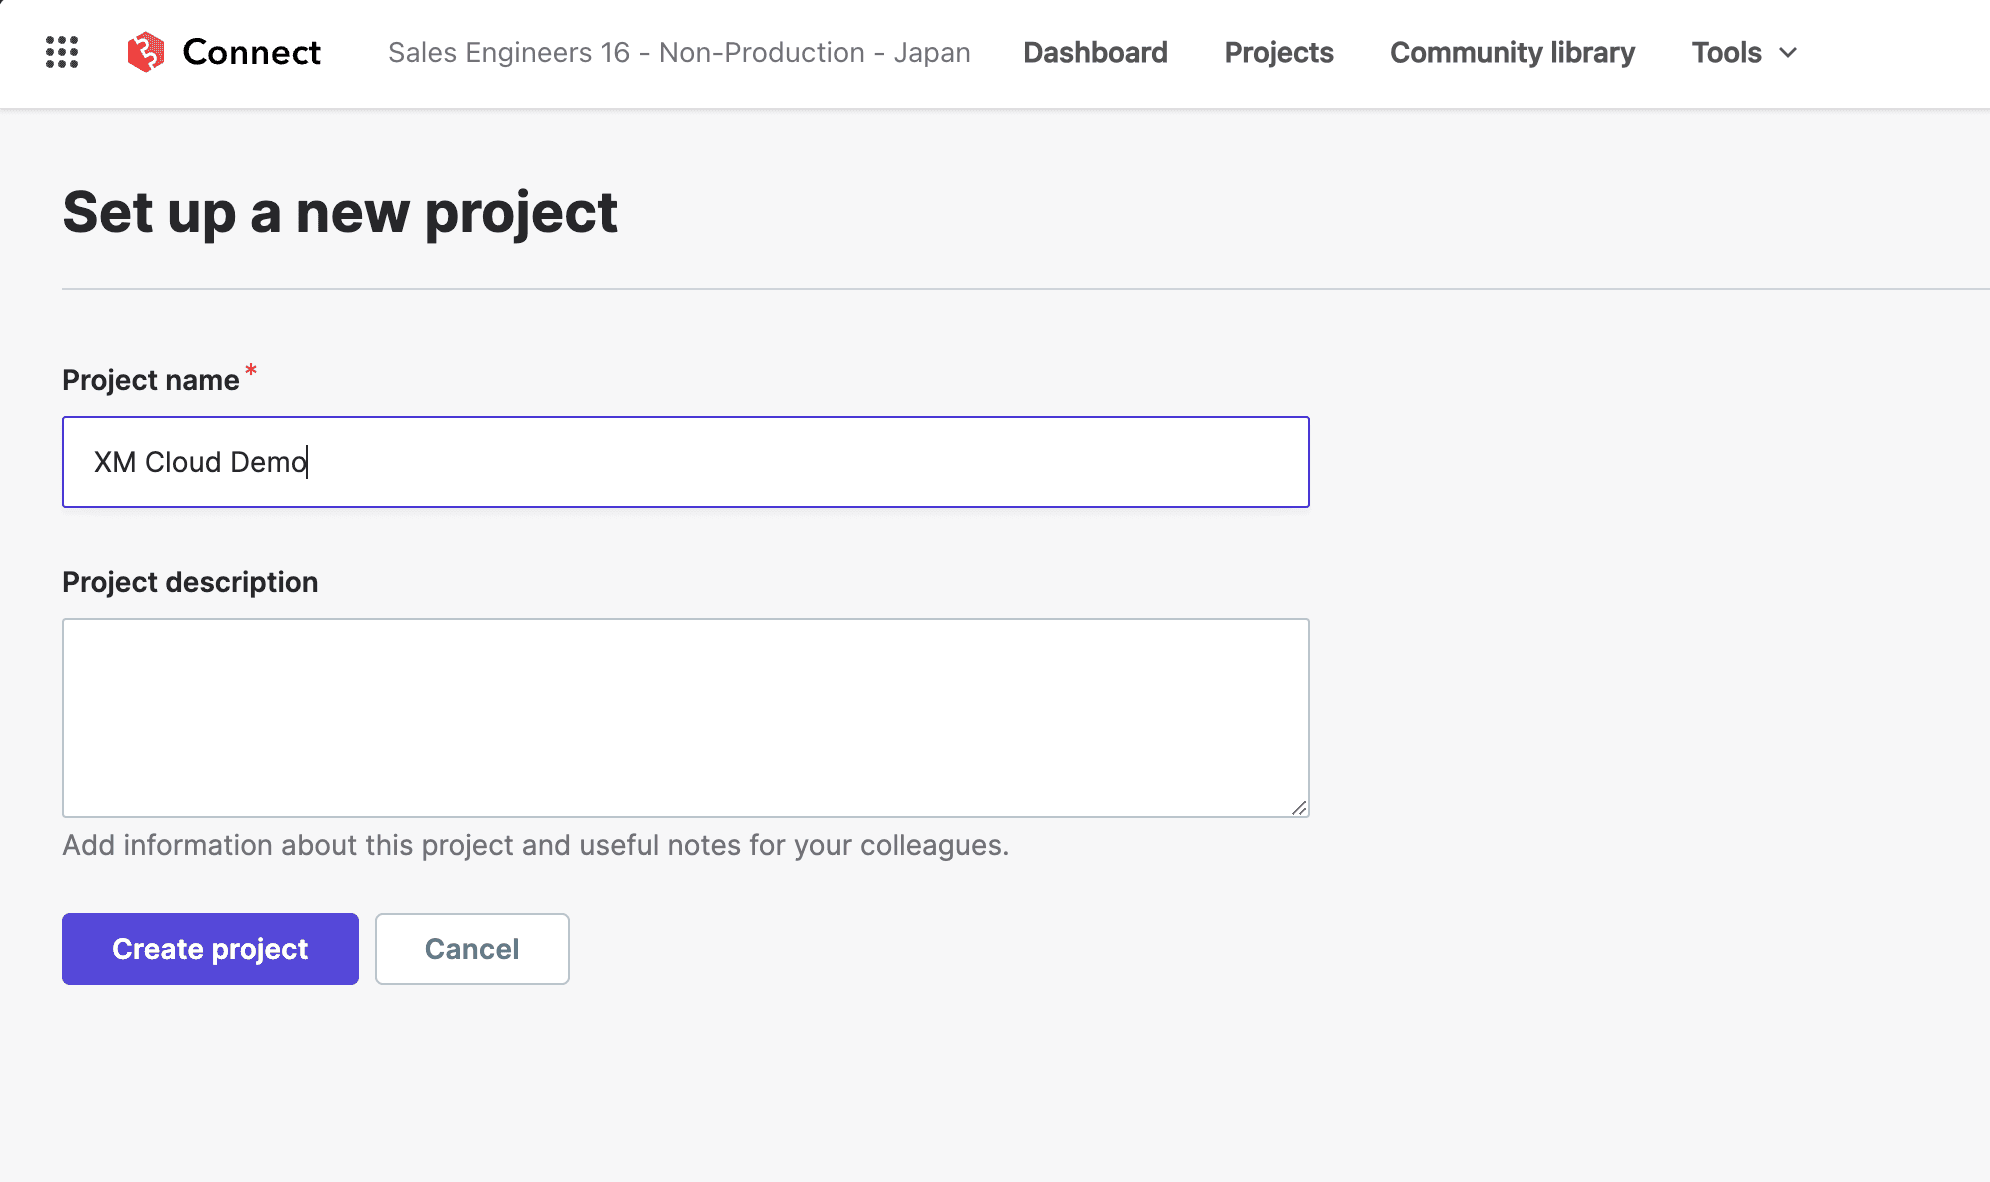
First, create a project in Sitecore Connect. In this case, we will name the project XM Cloud Demo. c
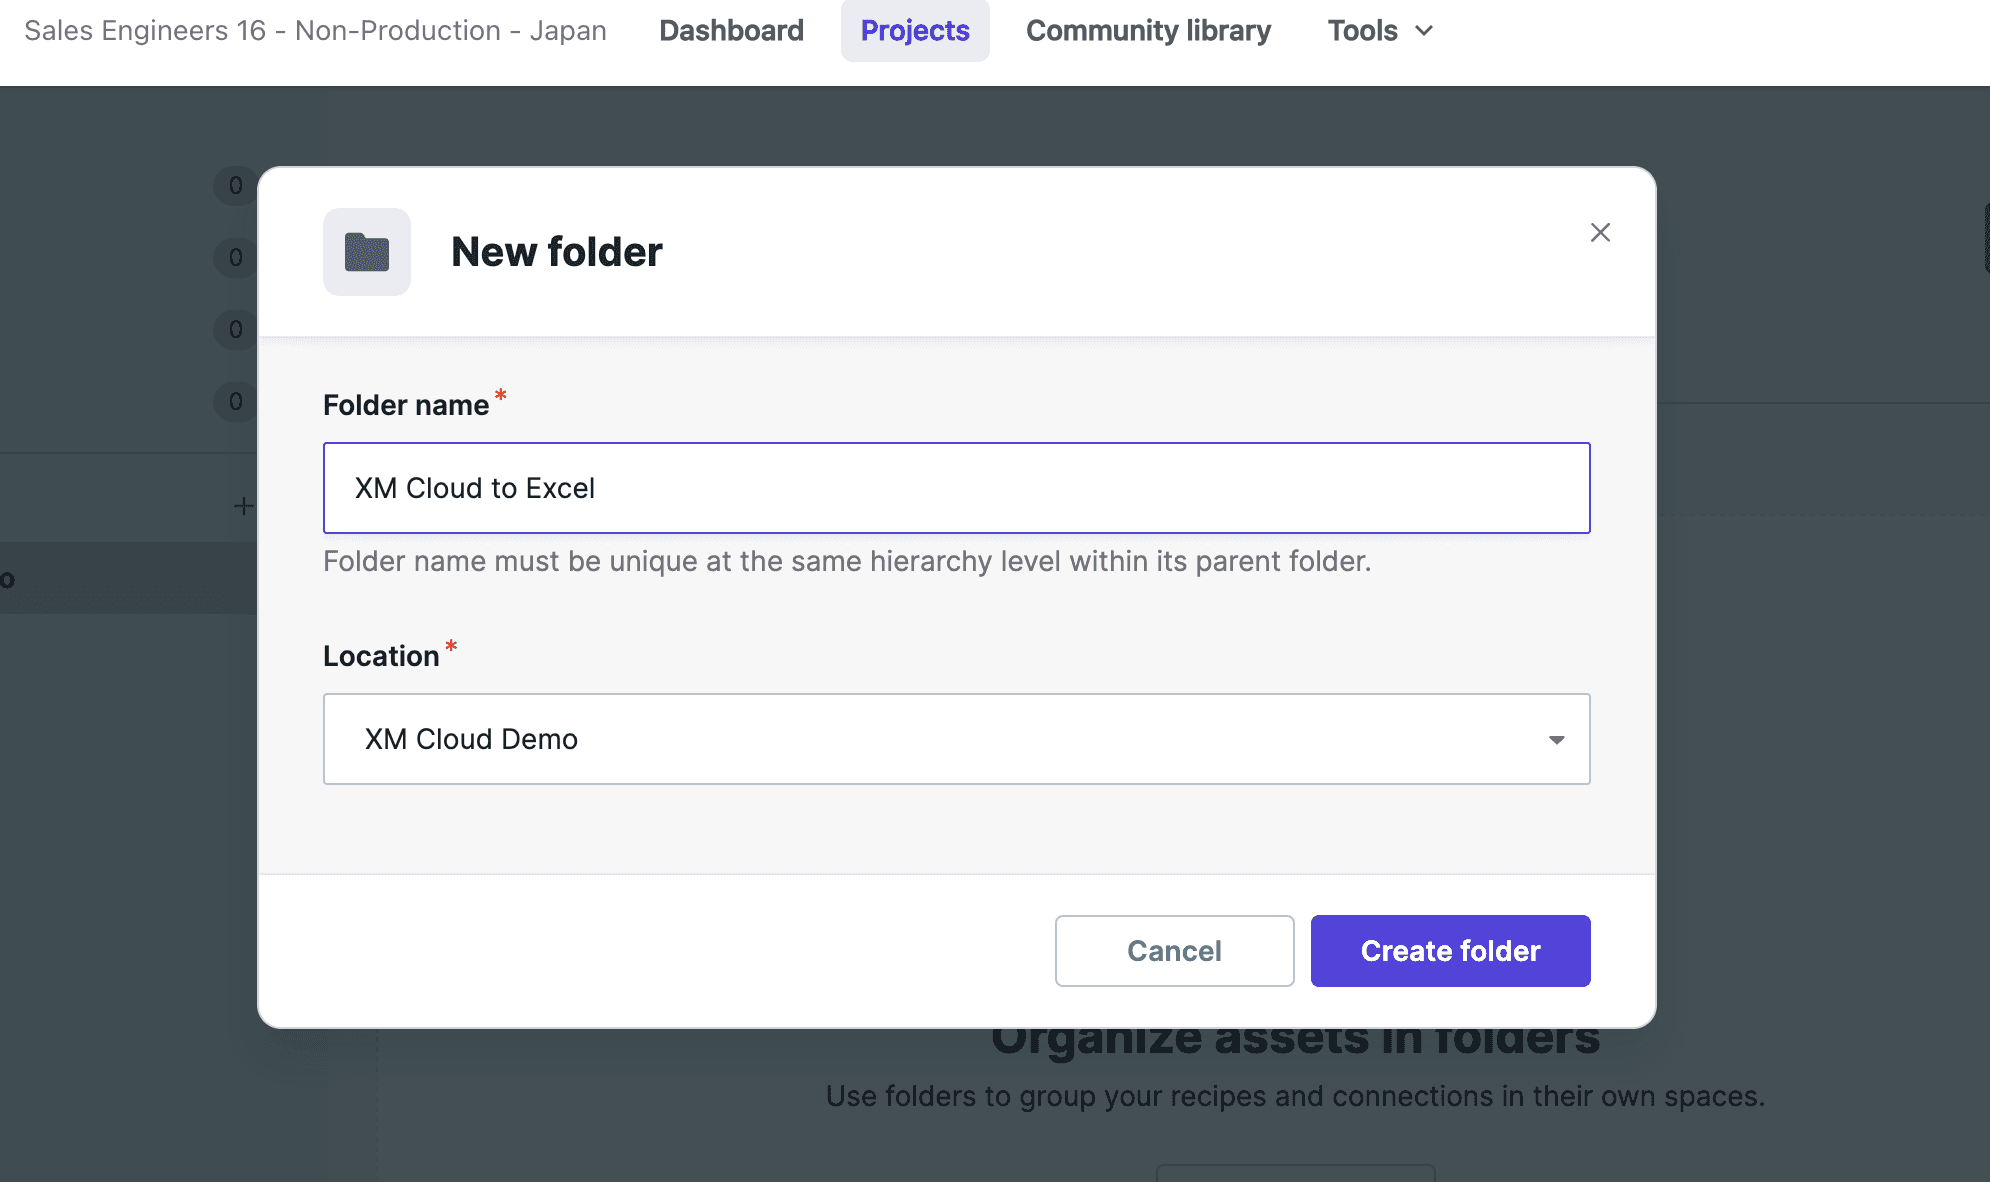
The first step is to create a Folder, since the Project you have just created contains nothing. Name the folder XM Cloud to Excel.
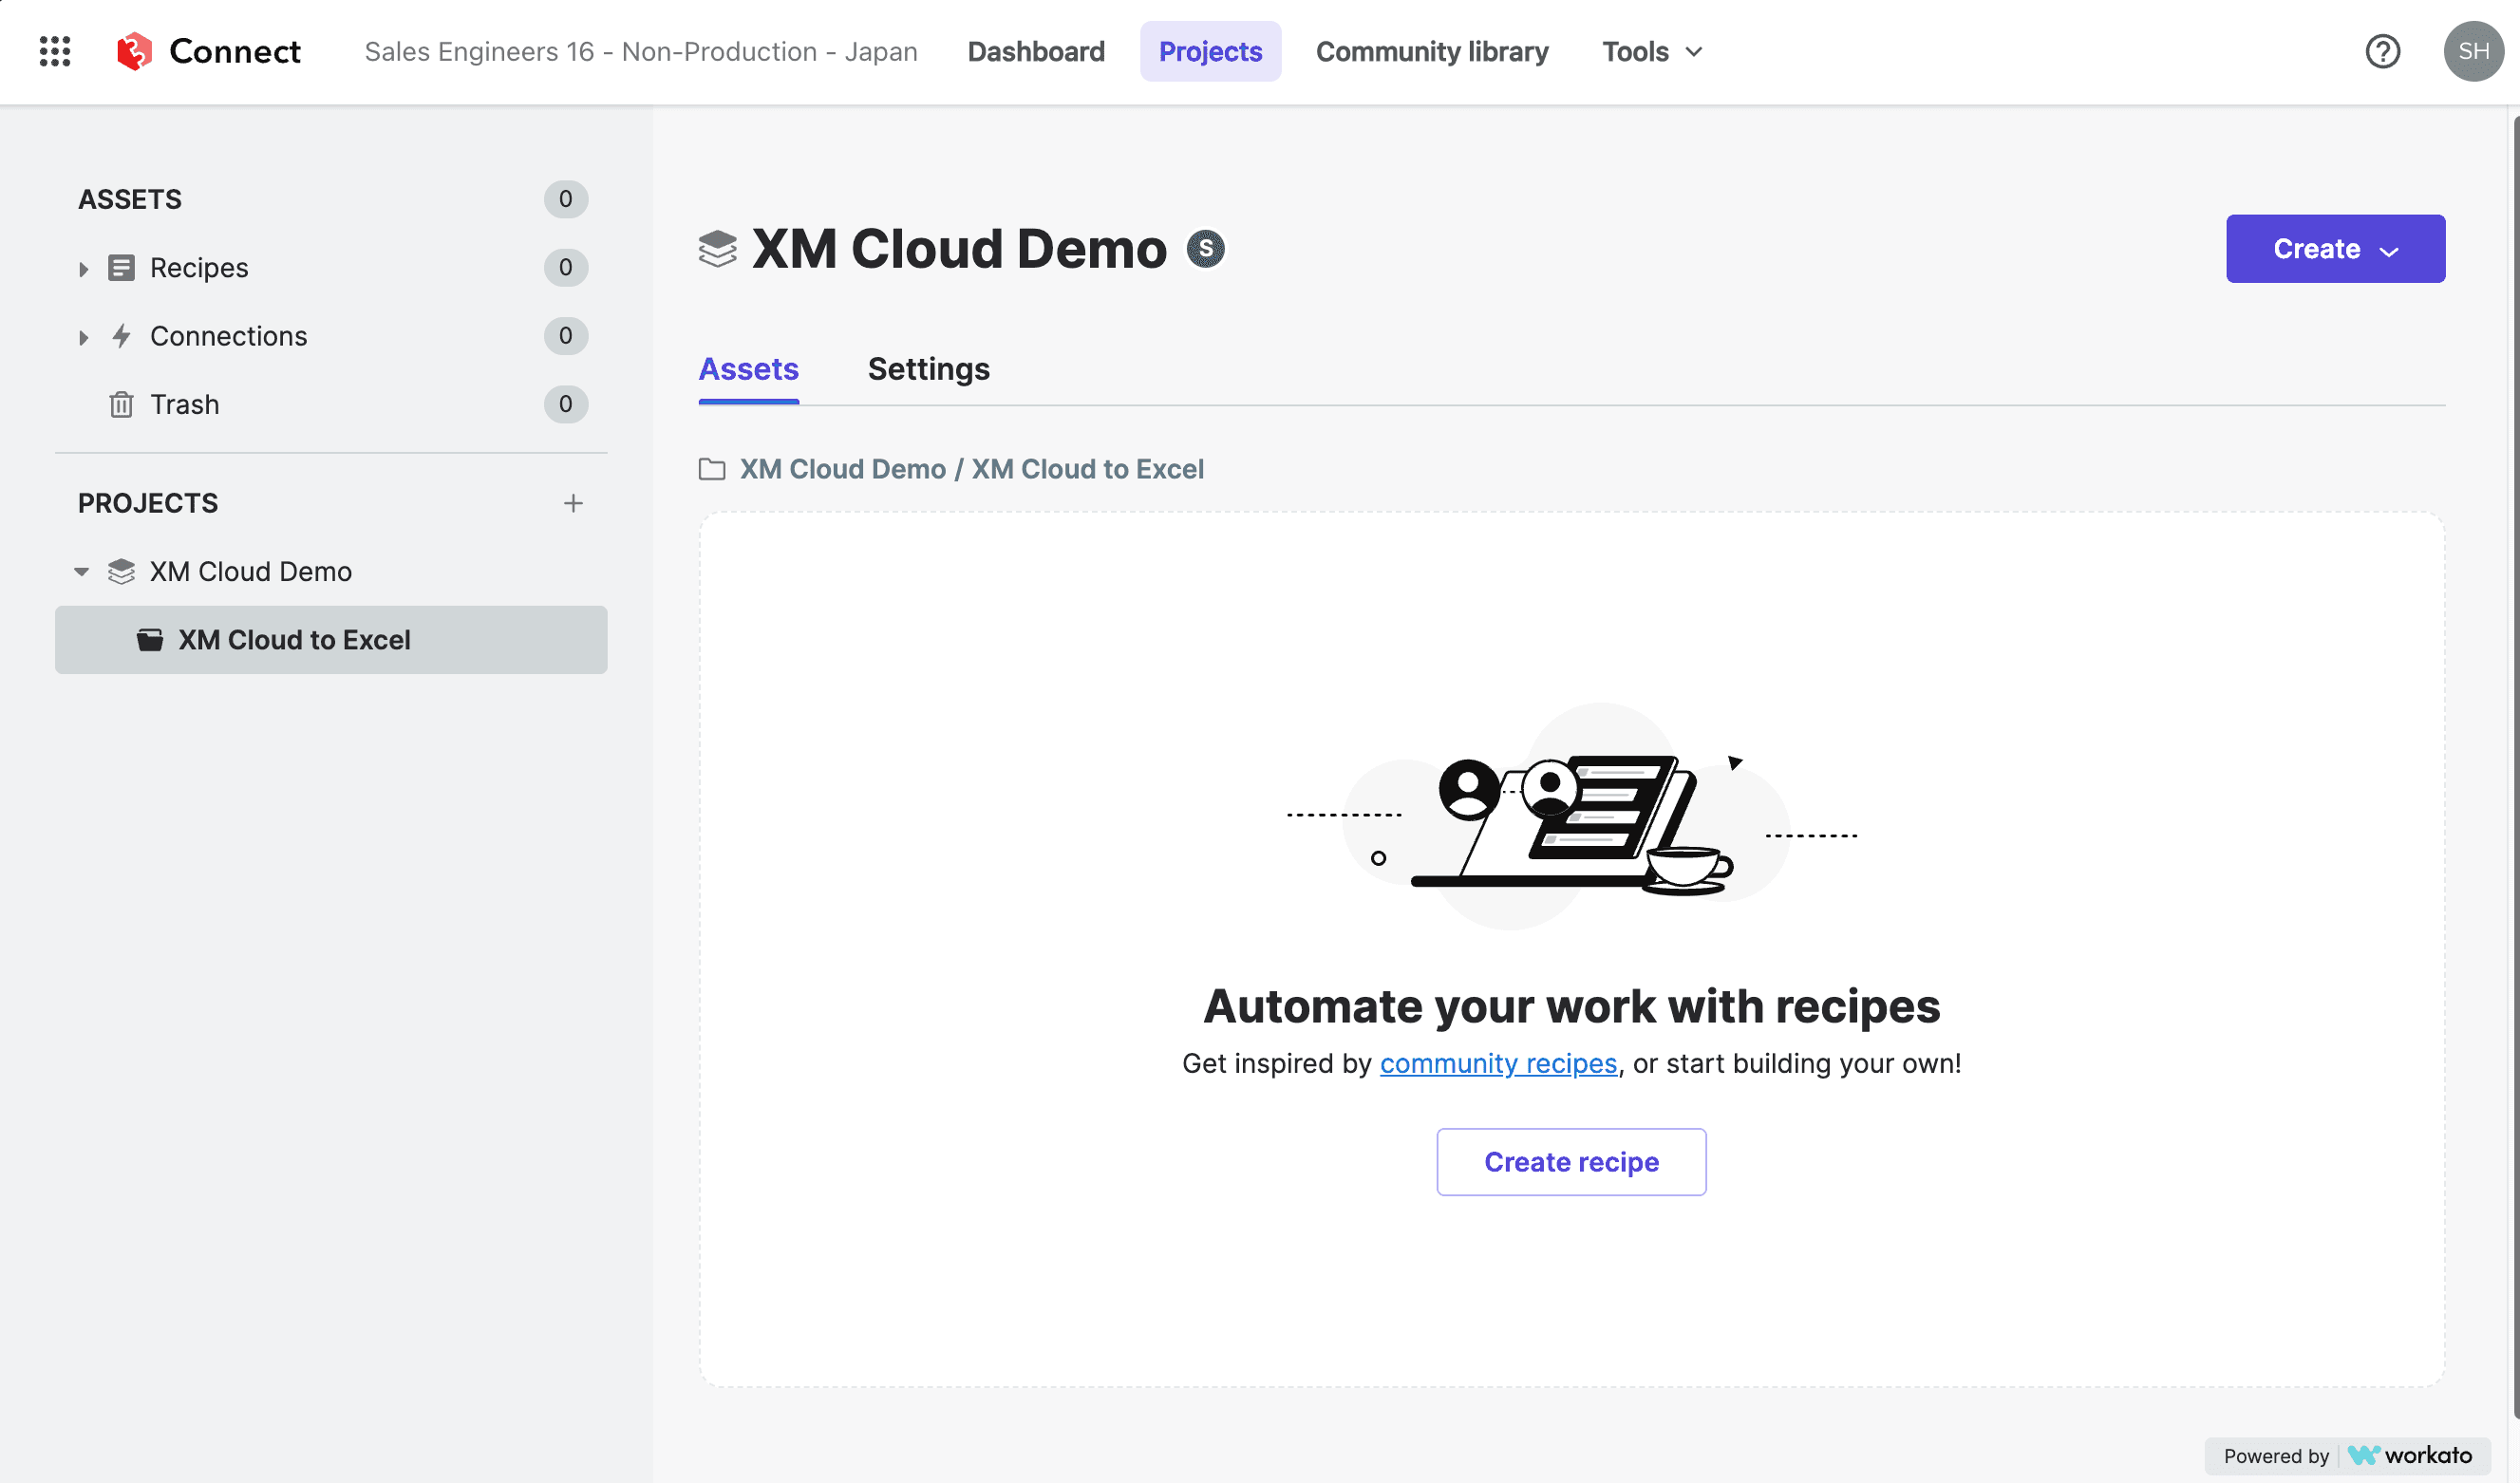
Once the folder is created, recipes can be created.
Create a Recipe
This time, we will create a Recipe from scratch, which will be linked to Sitecore Forms using a webhook, so the configuration will be as follows
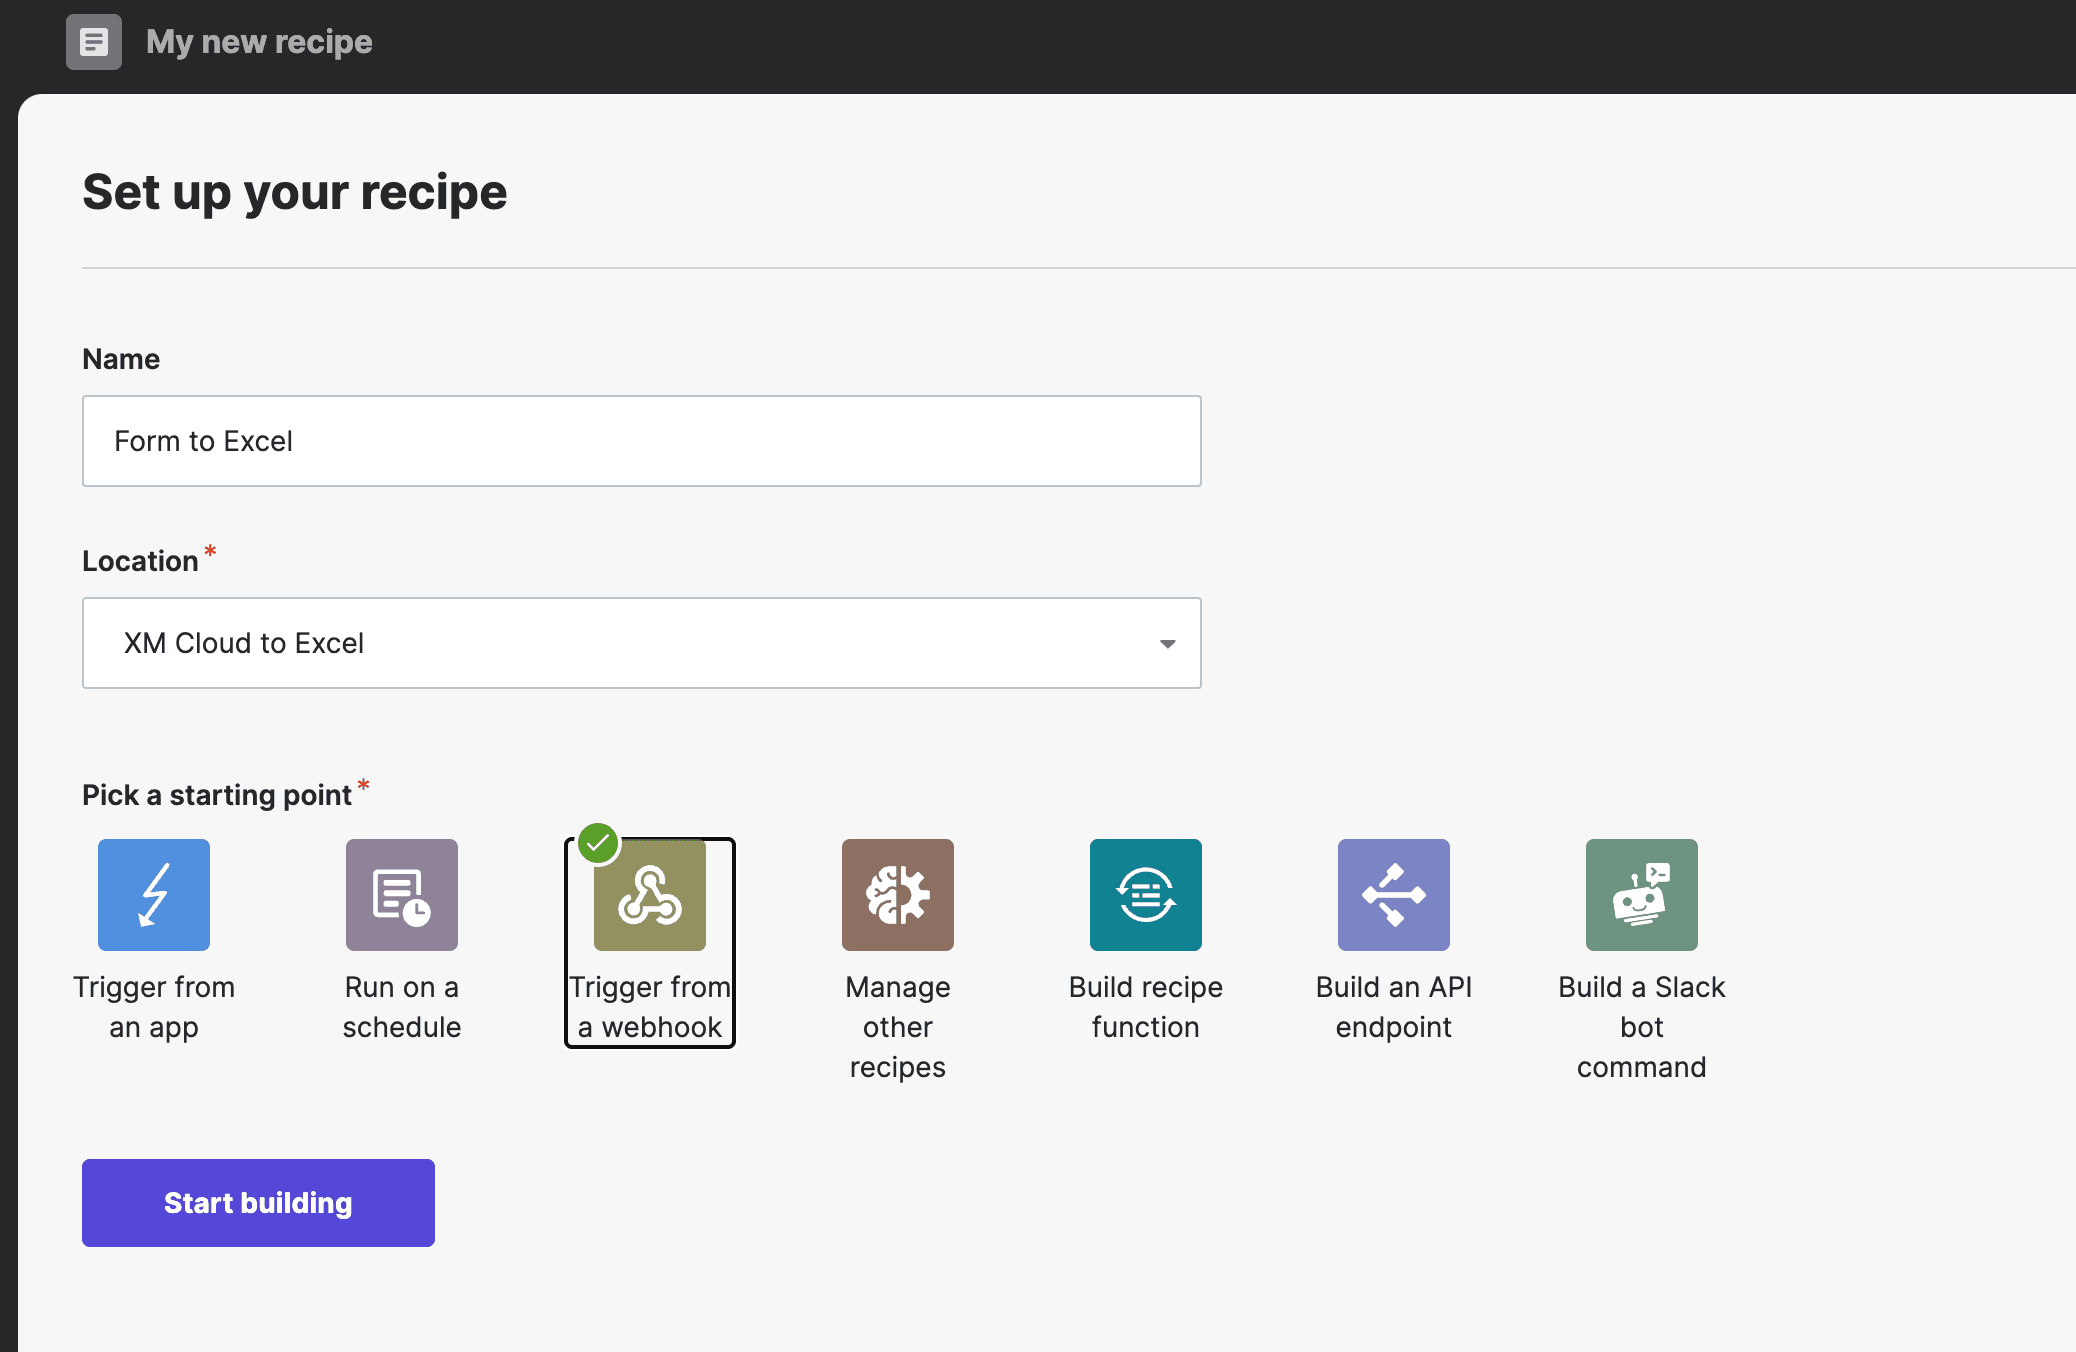
Click the "Start Building" button, and after a few moments you will be taken to a screen where you can set the Webhook Trigger and Next Action as shown below.
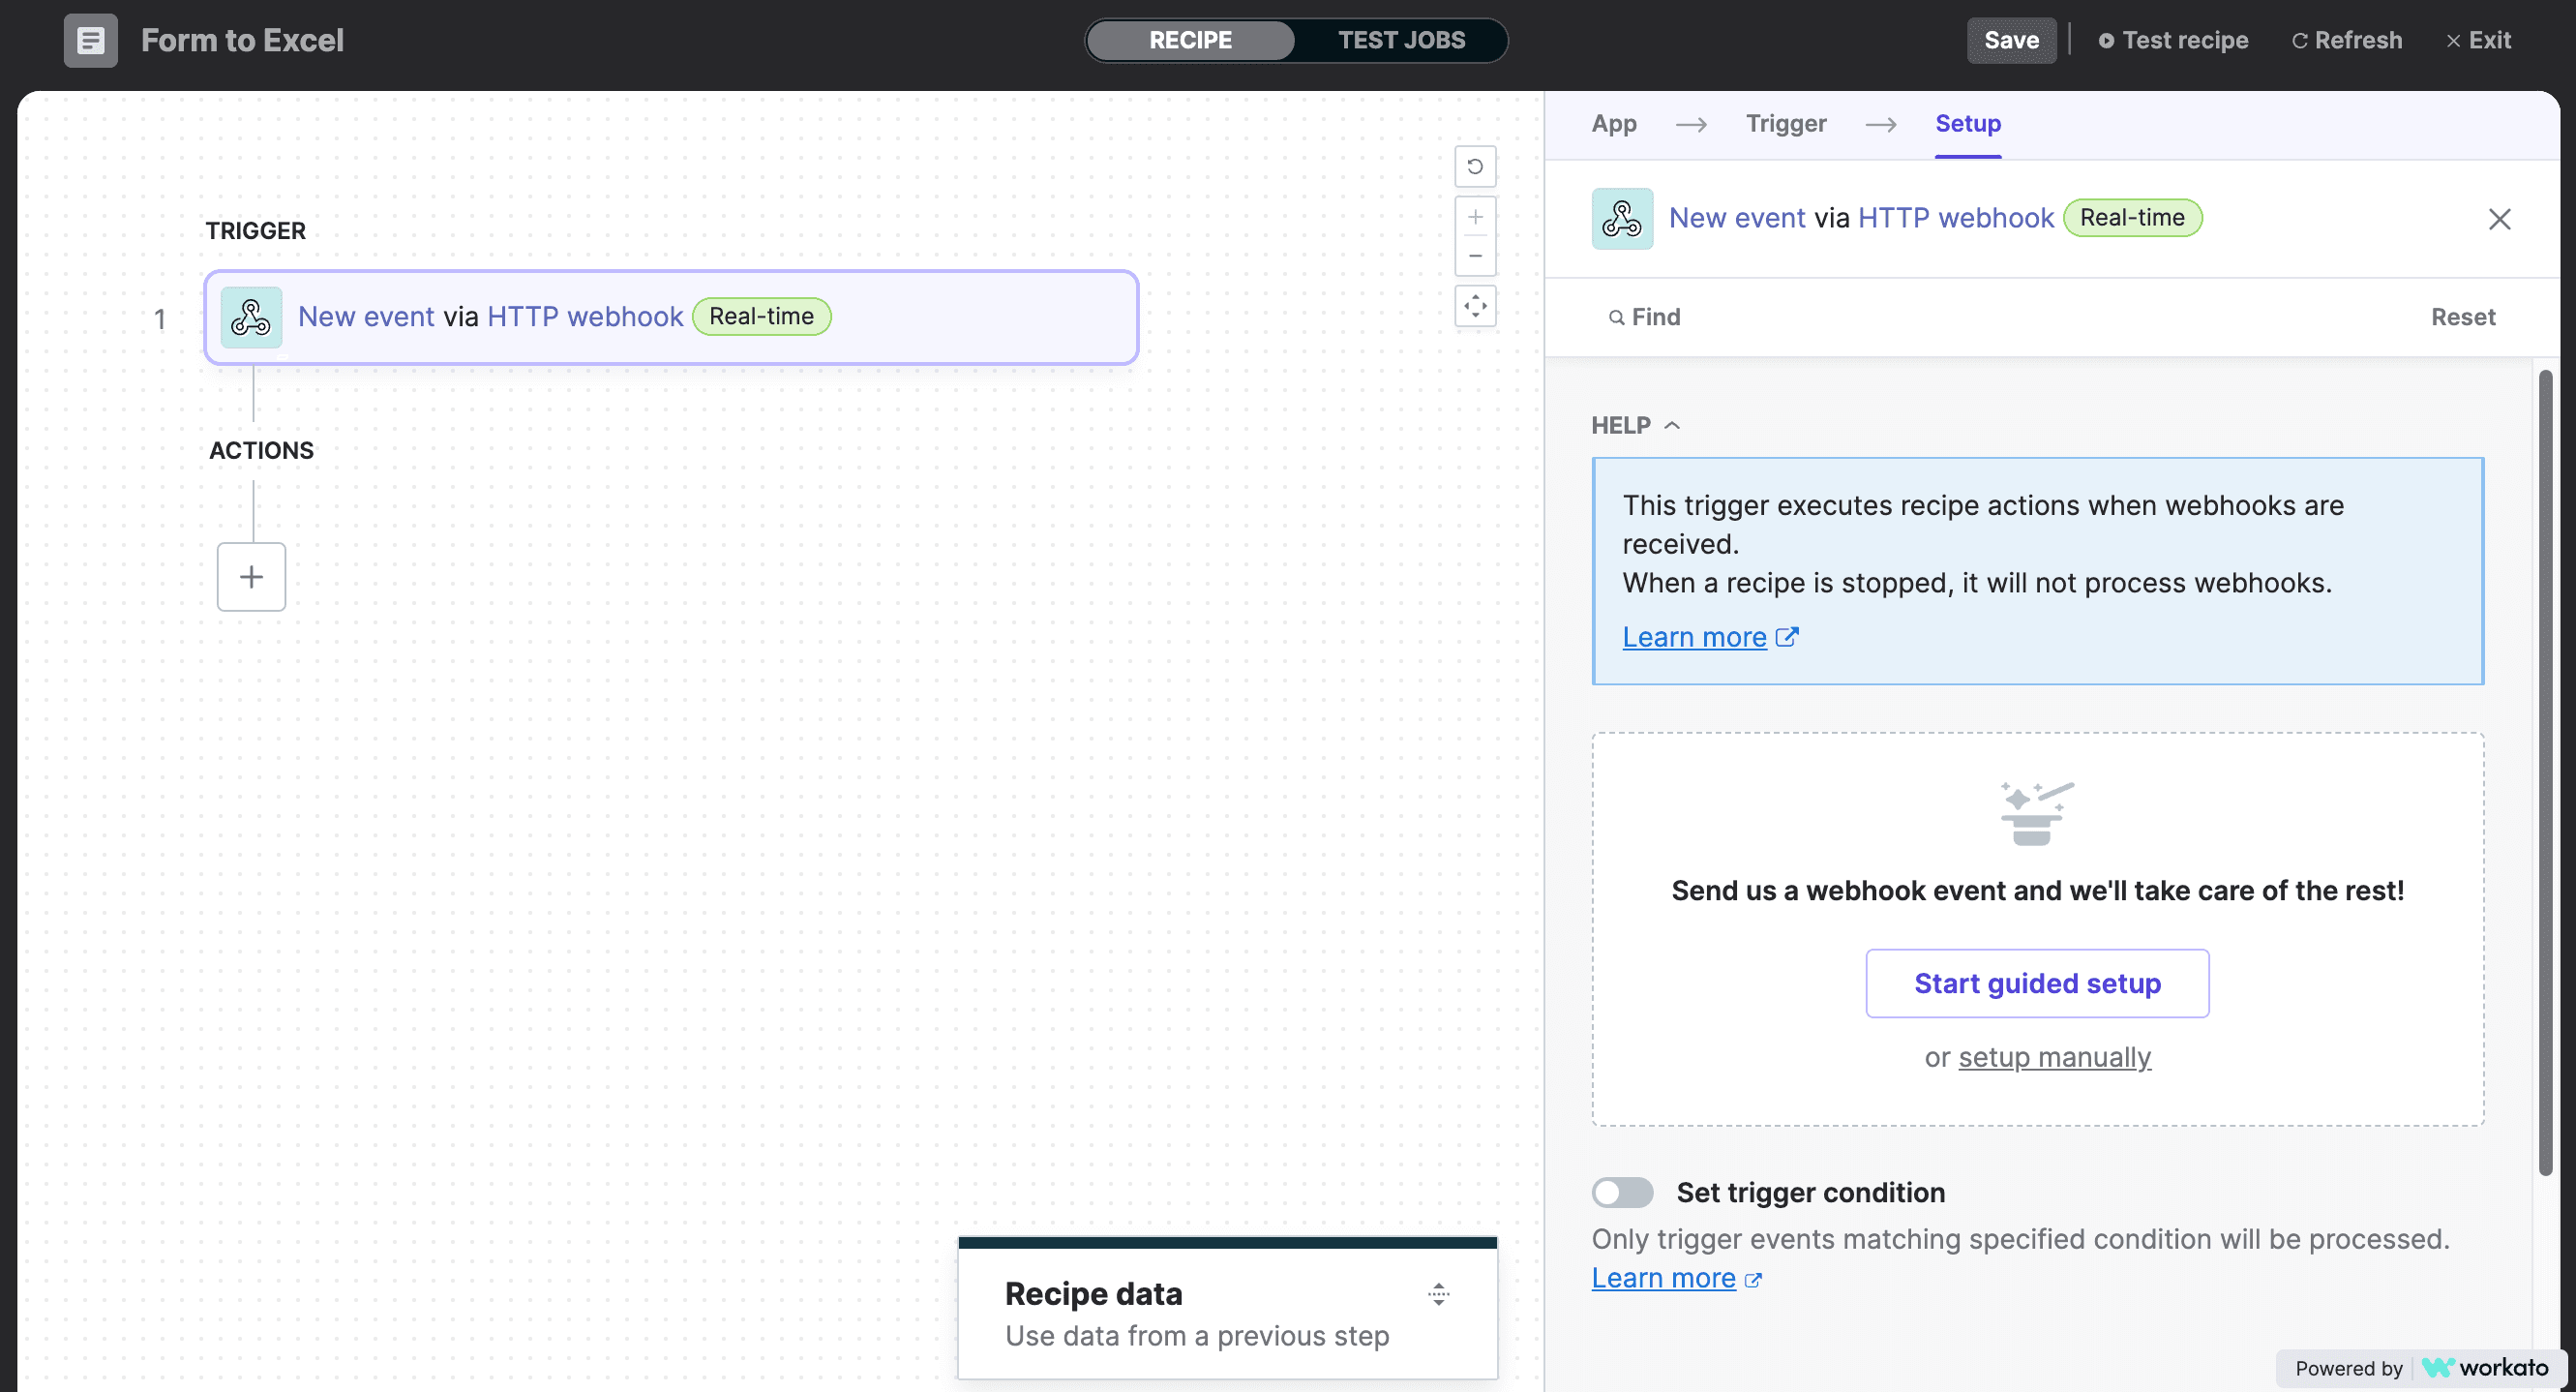
+ to select what to do when a request is made in the webhook.
Trigger settings
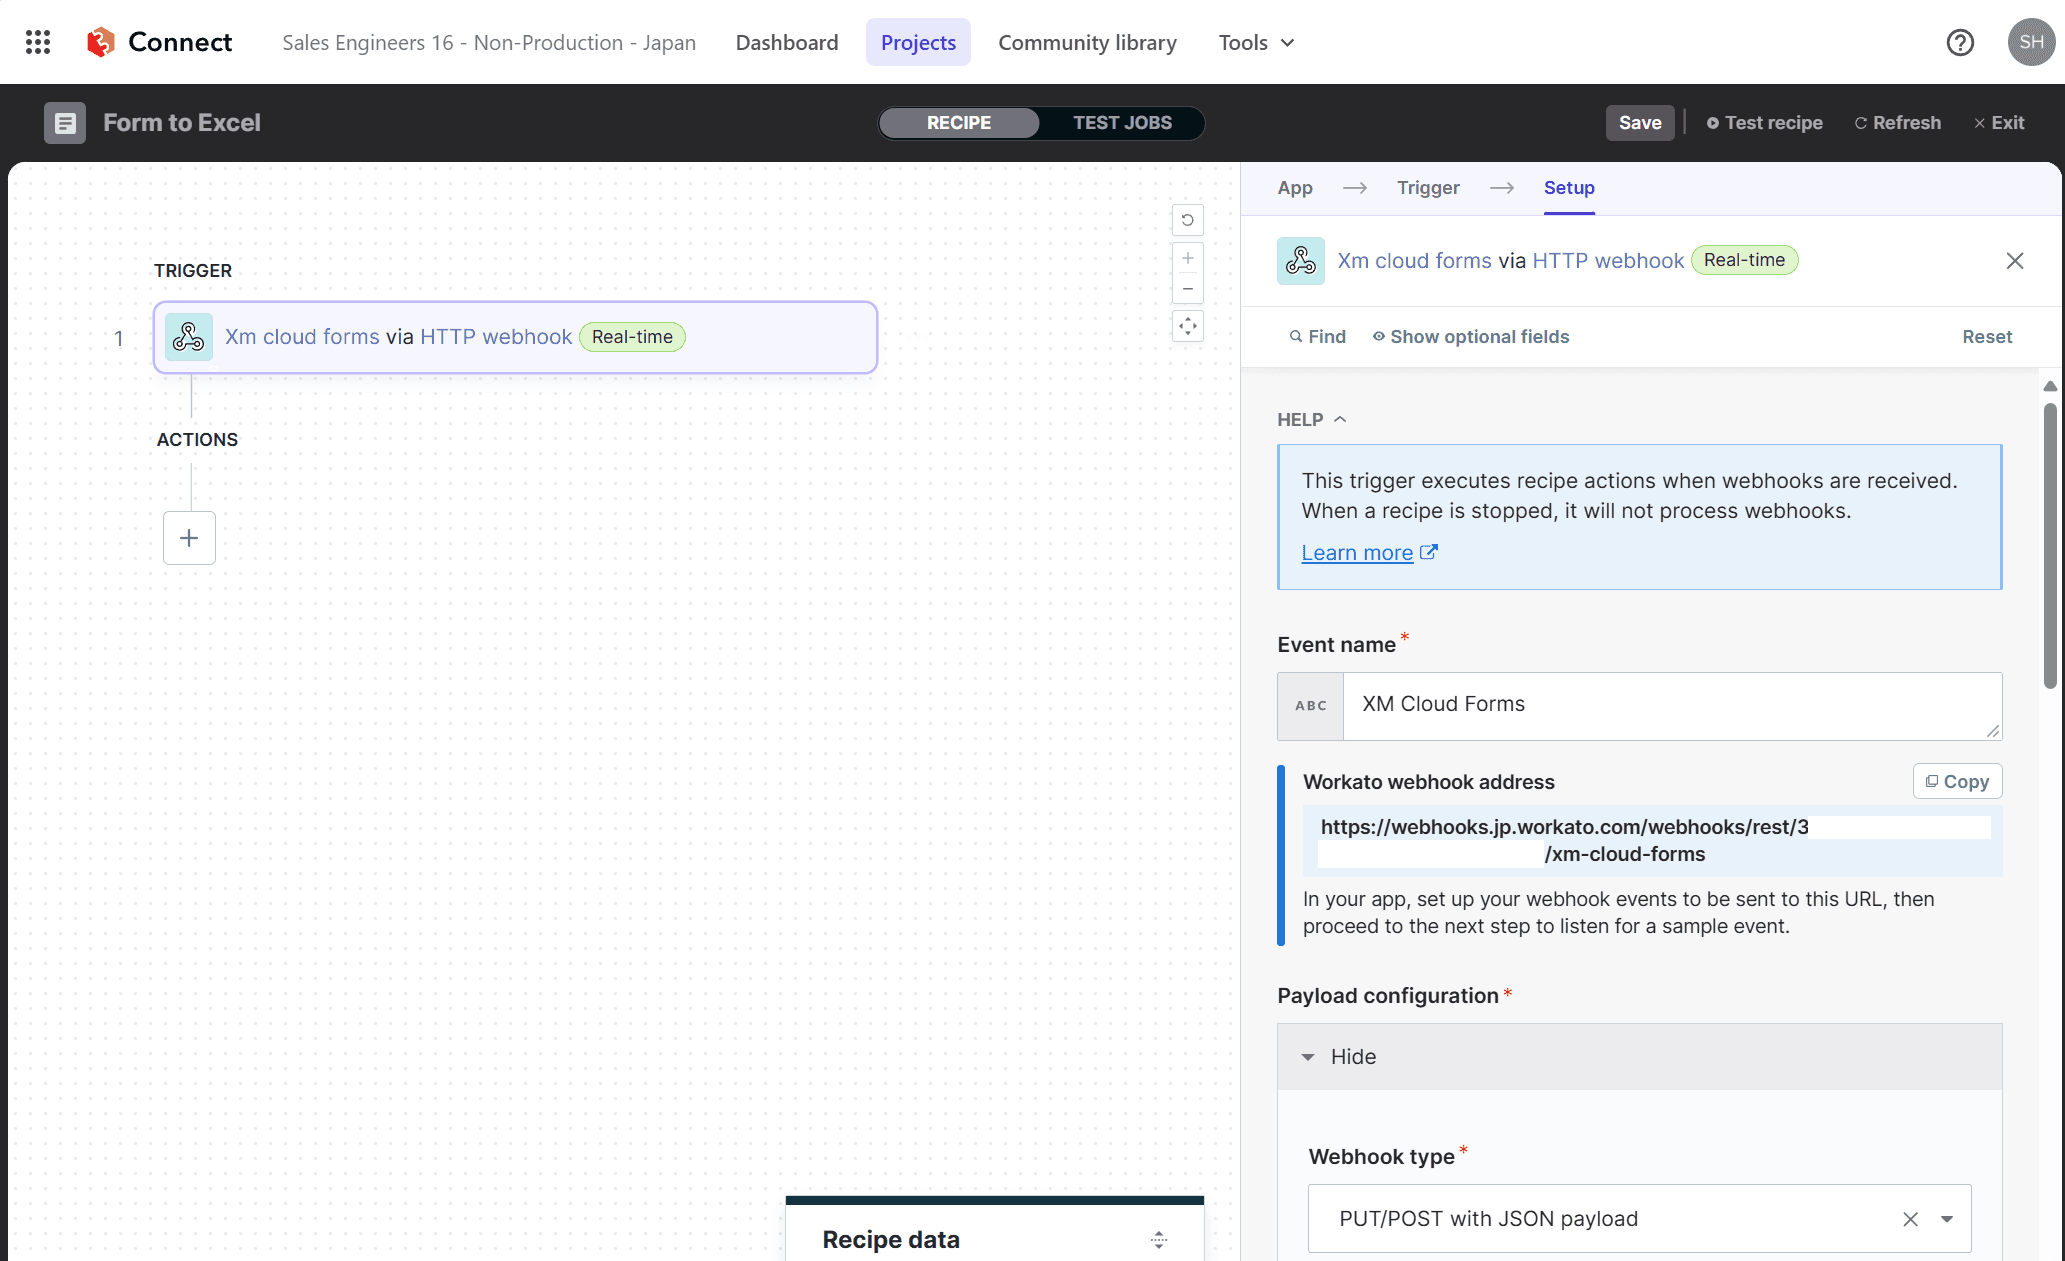
Before creating an action, configure the Trigger settings. Clicking on the newly created trigger will take you to the setup screen.
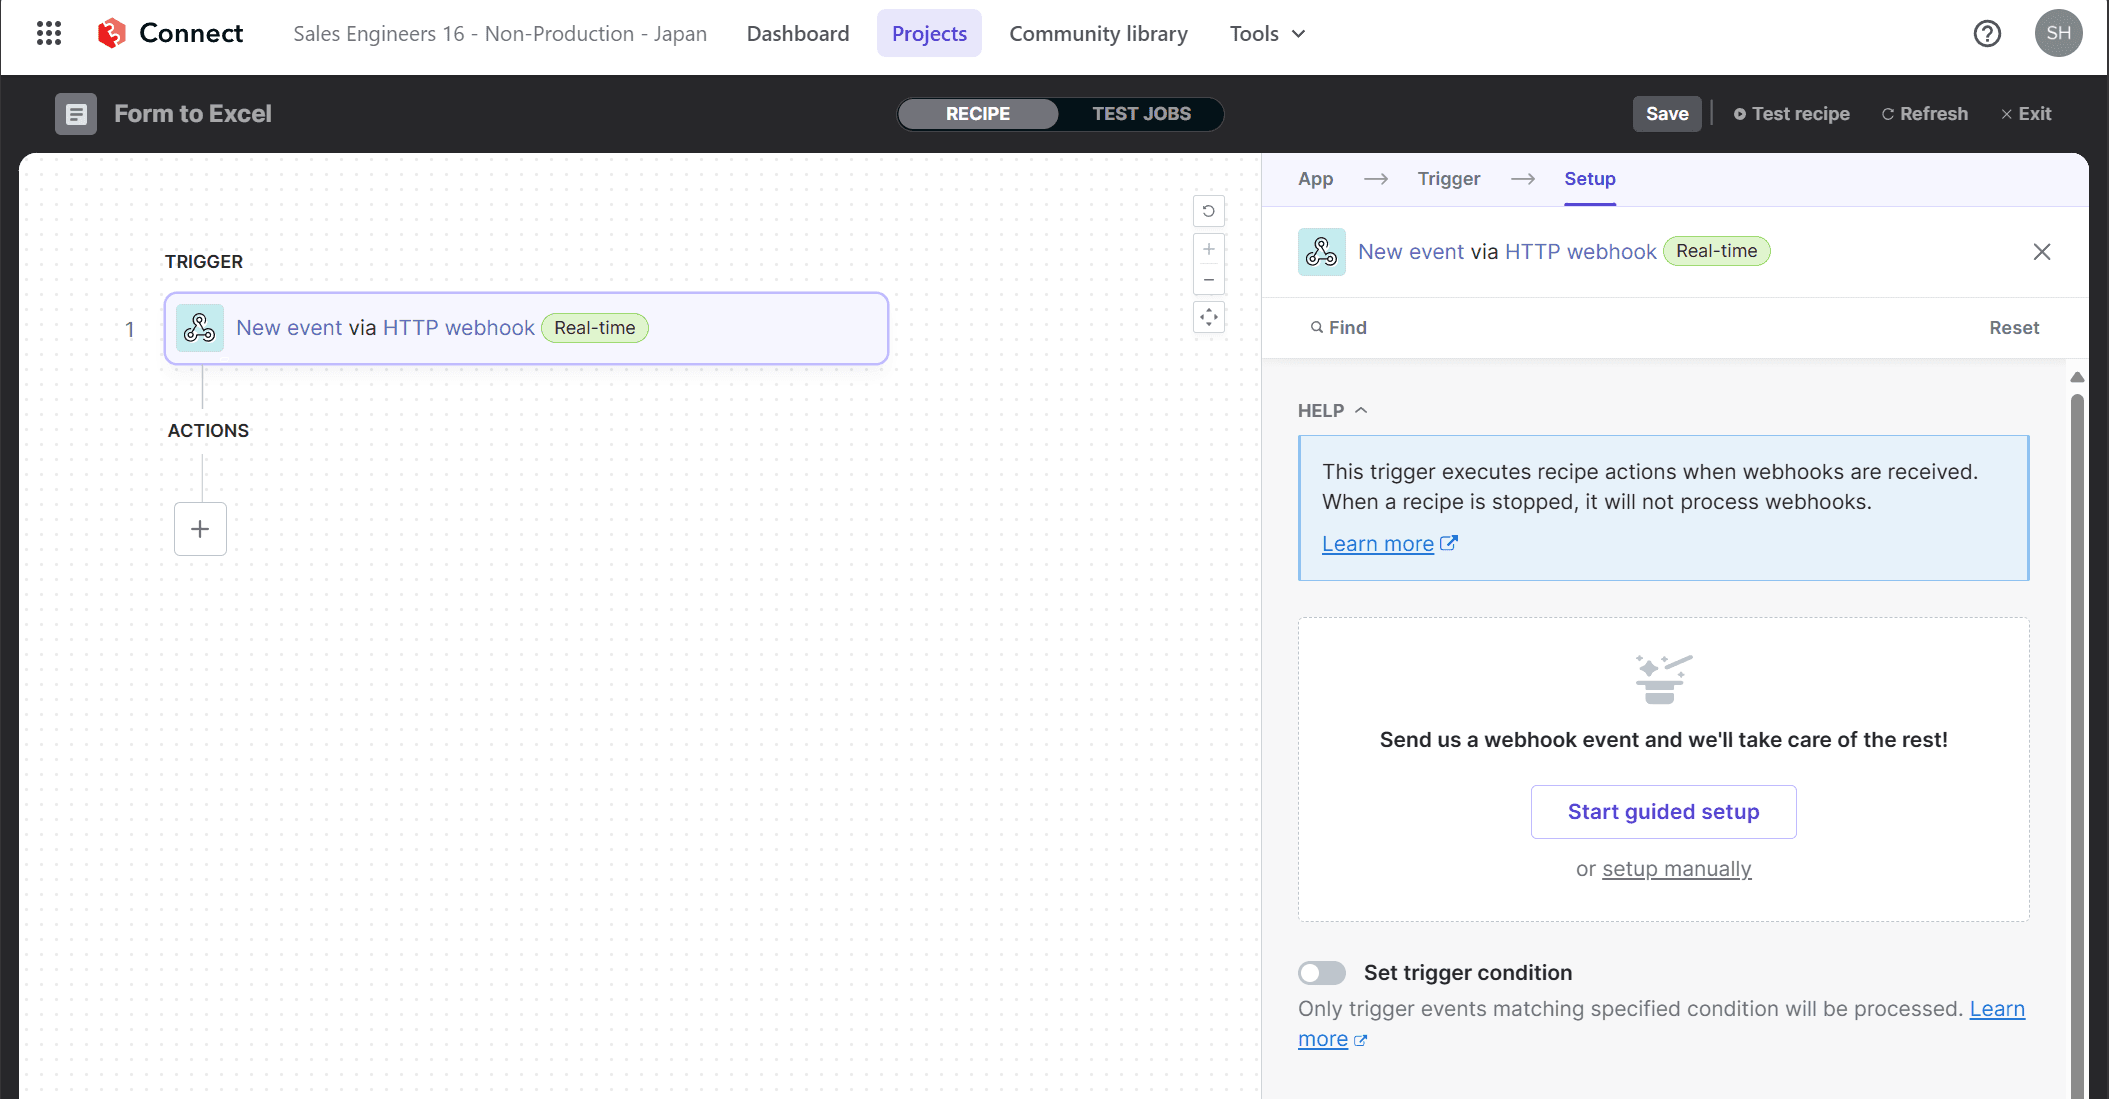
Click the "Start guided setup" button to go to the Setup webhook screen. Set the Event name here.
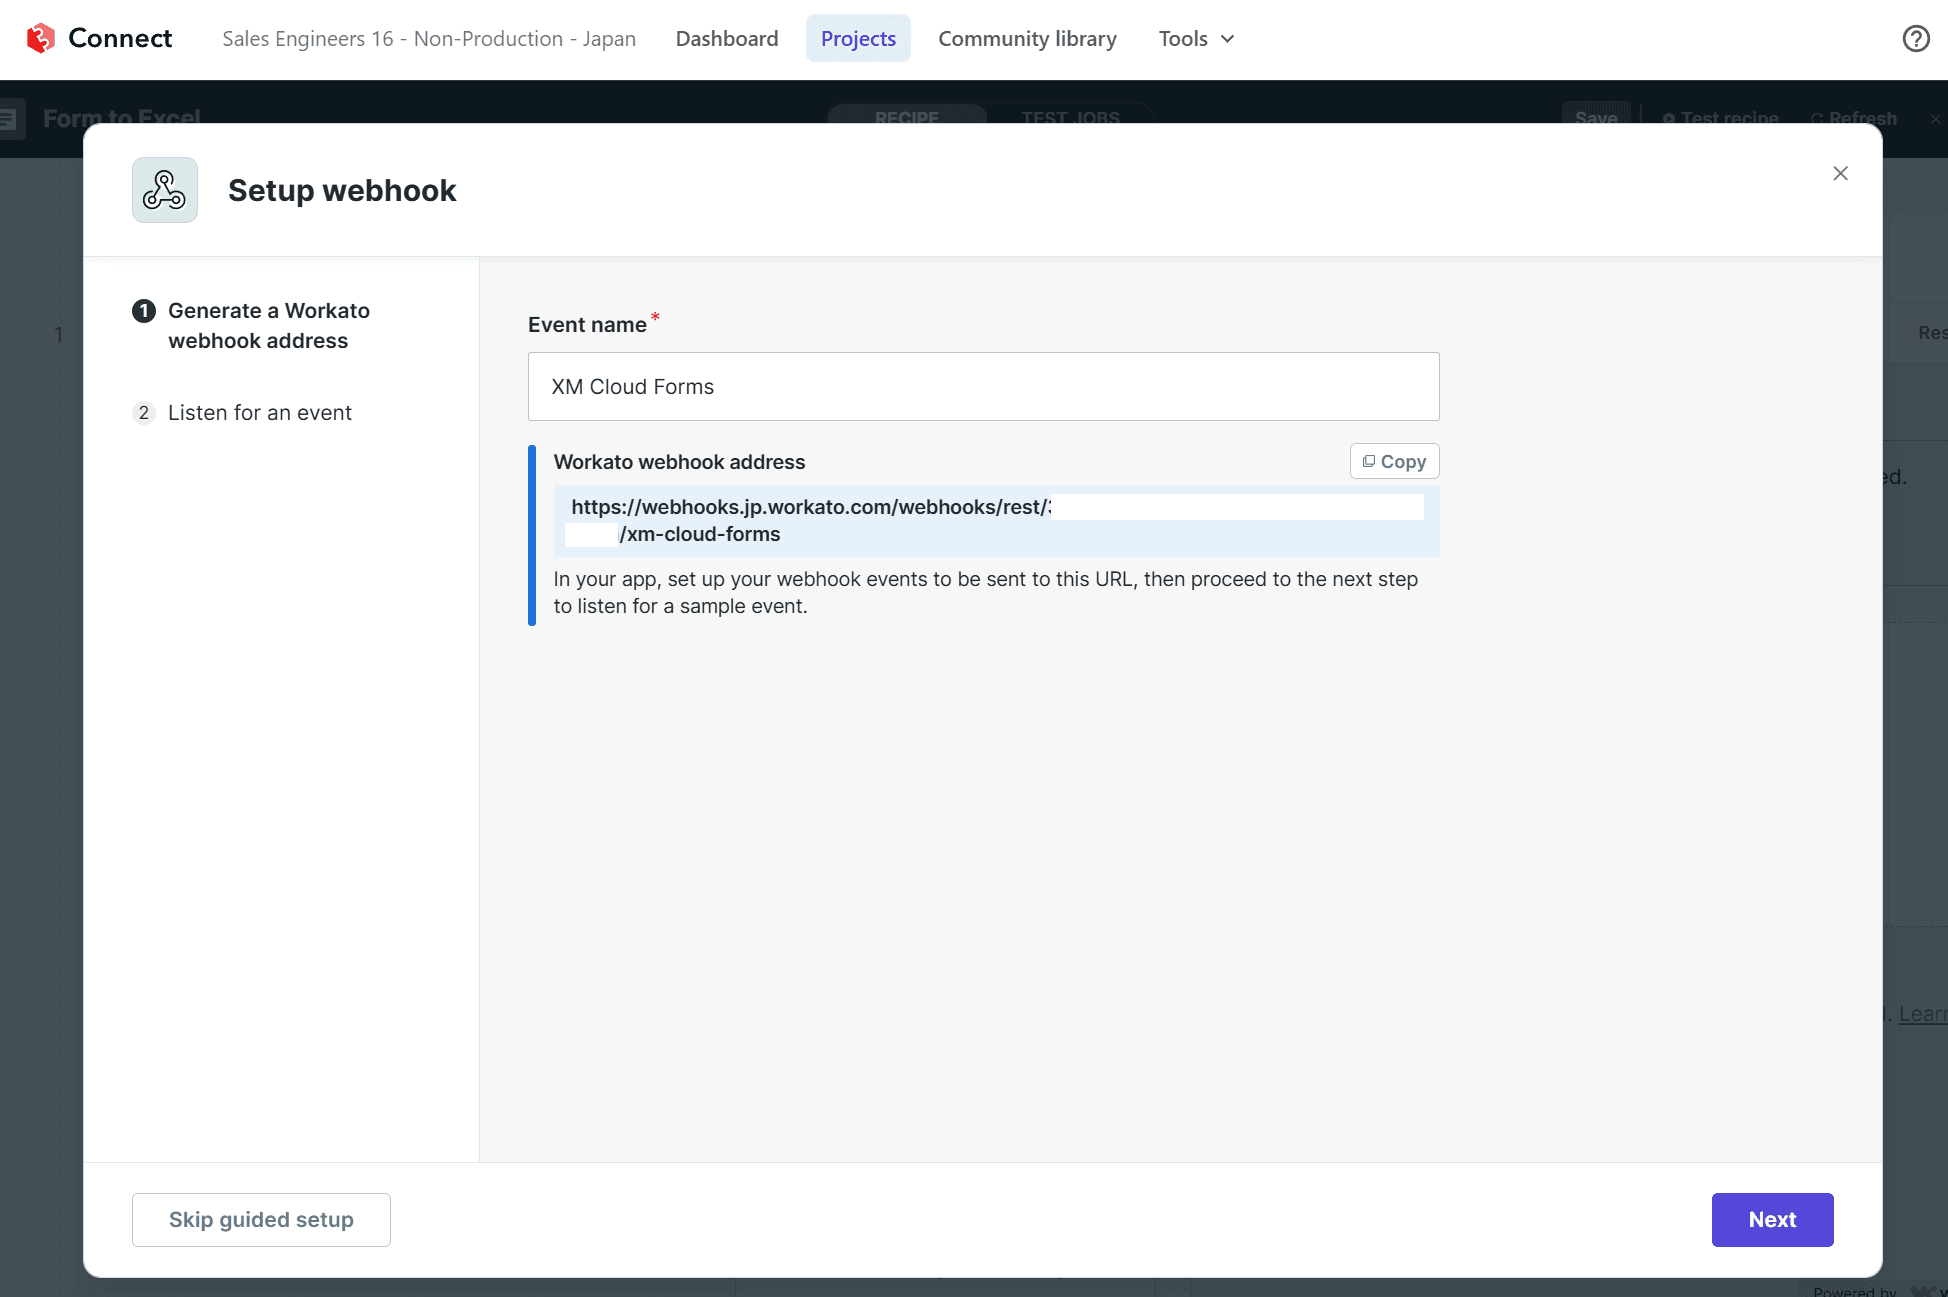
After setting, switch to the Listen for an event screen.
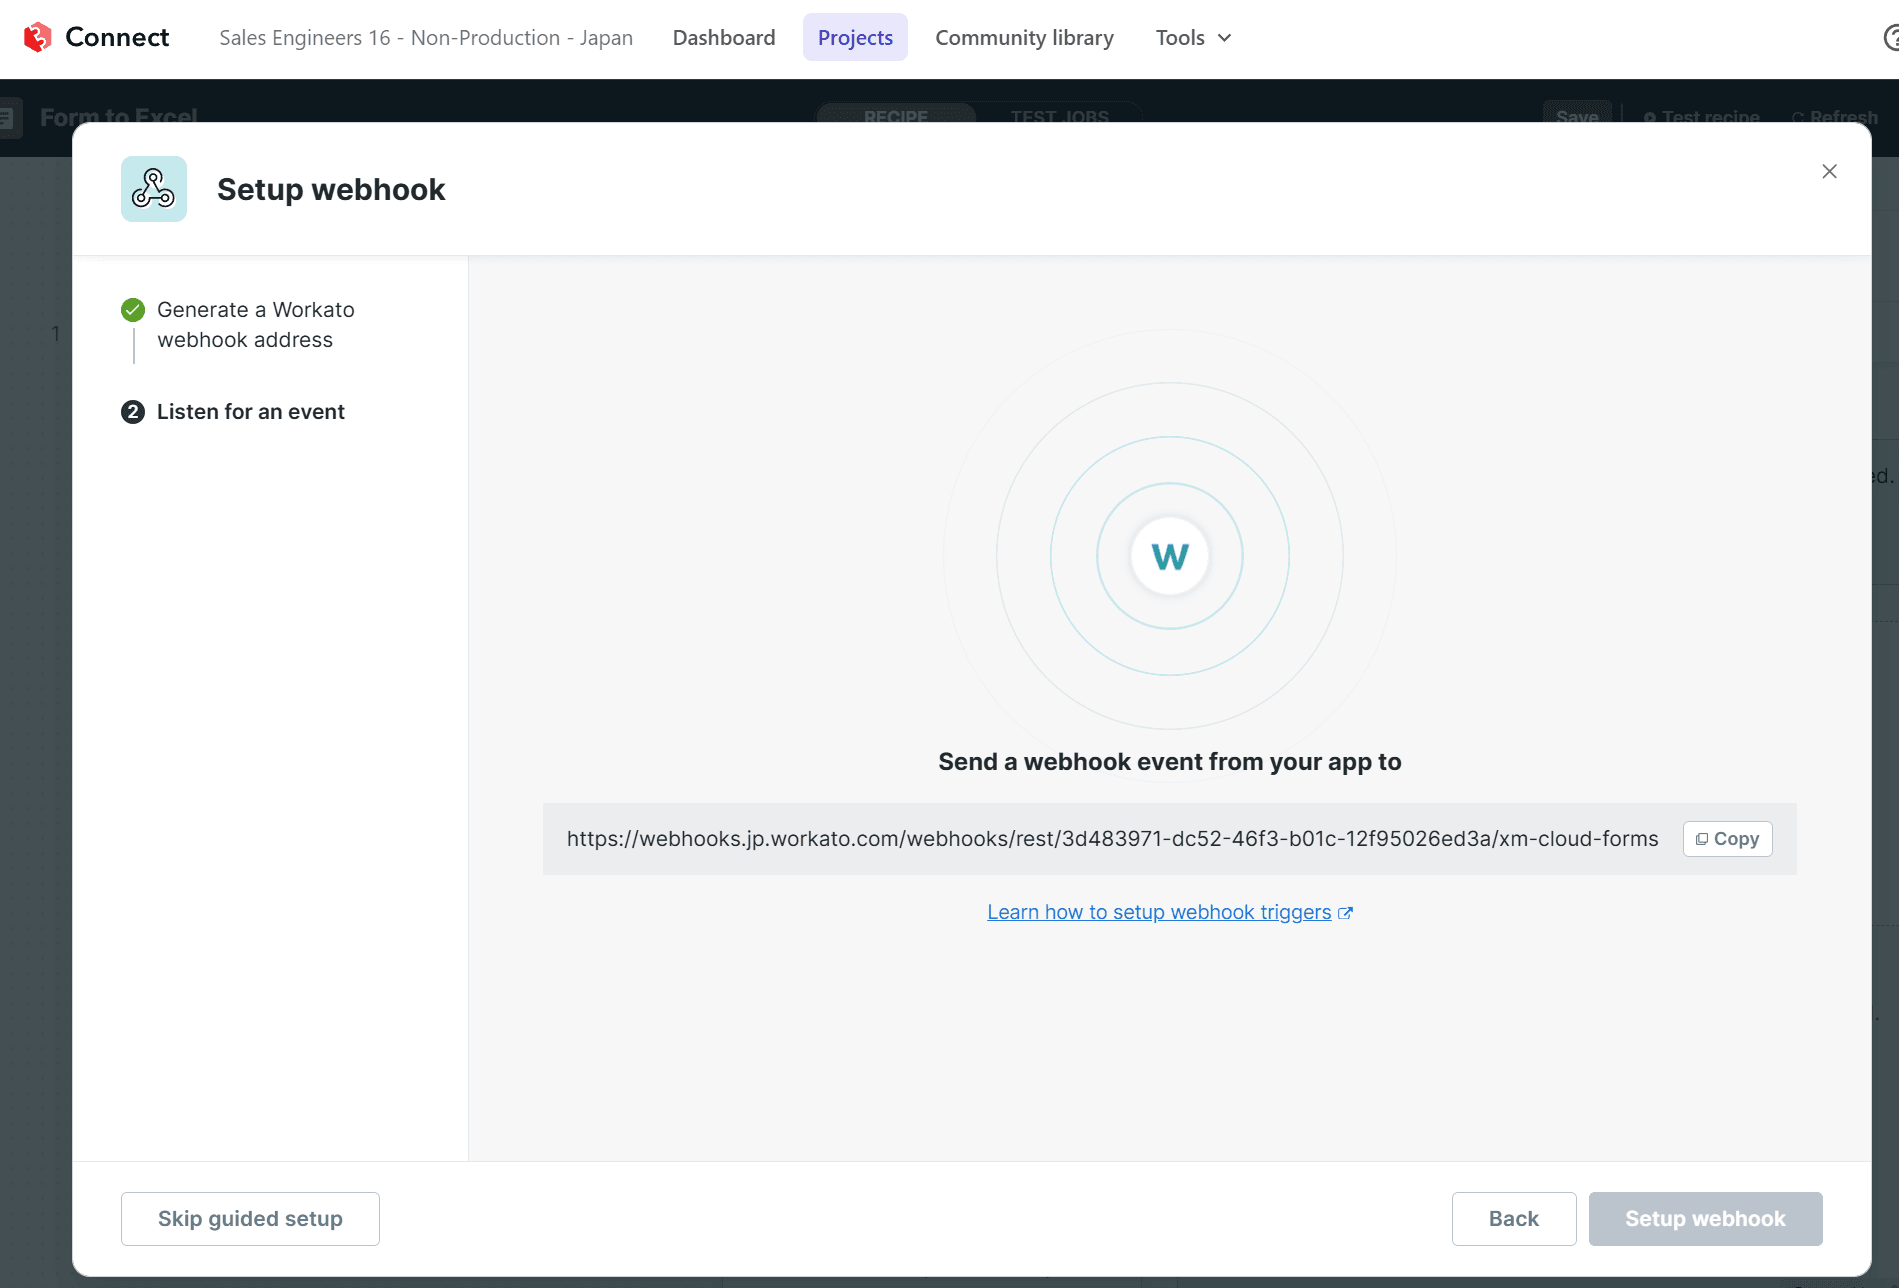
In this state, go to the Sitecore Forms administration page and navigate to the Webhooks page.
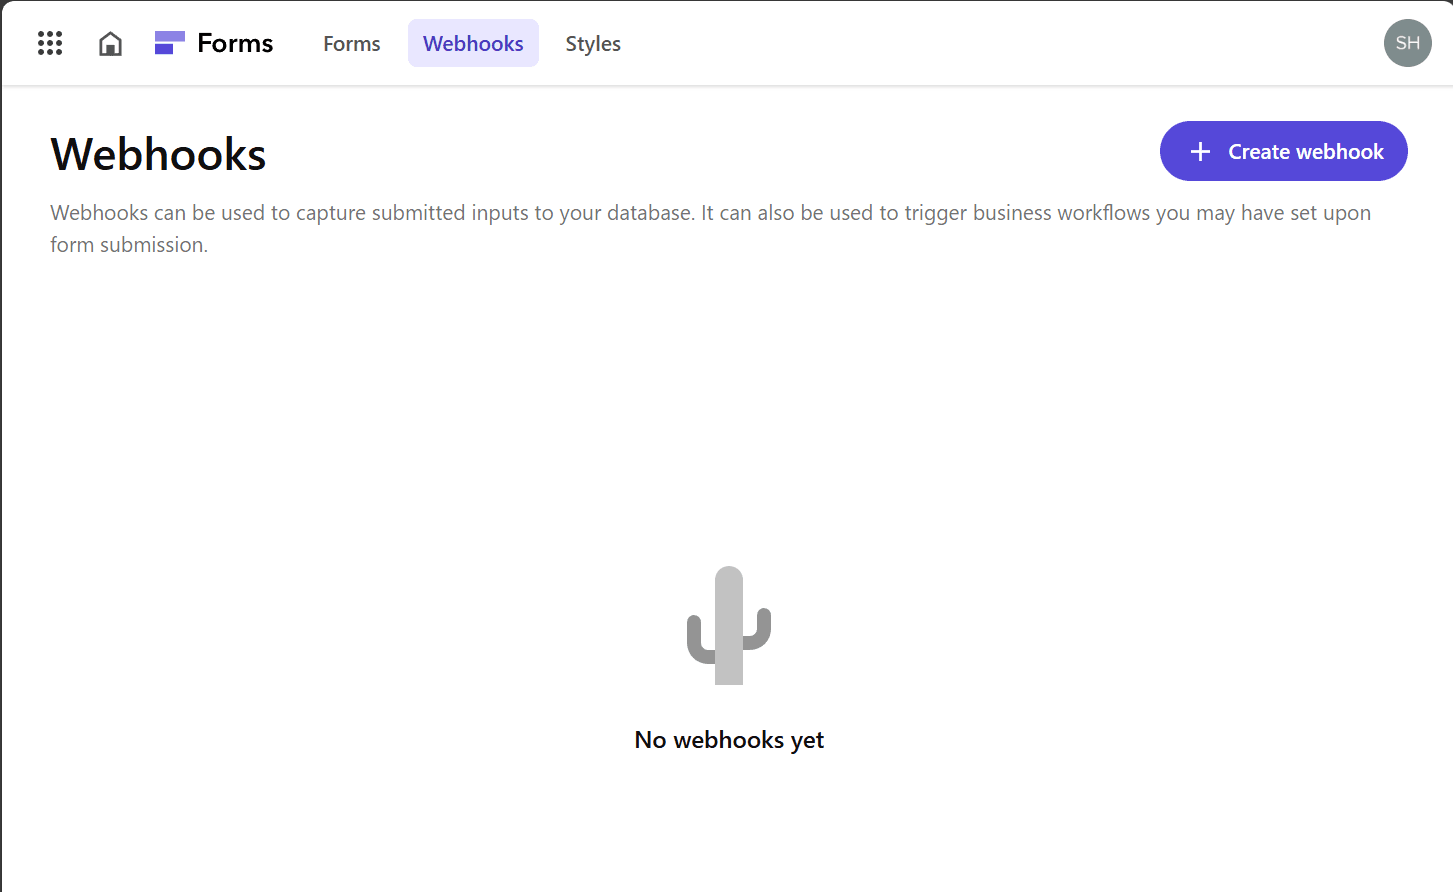
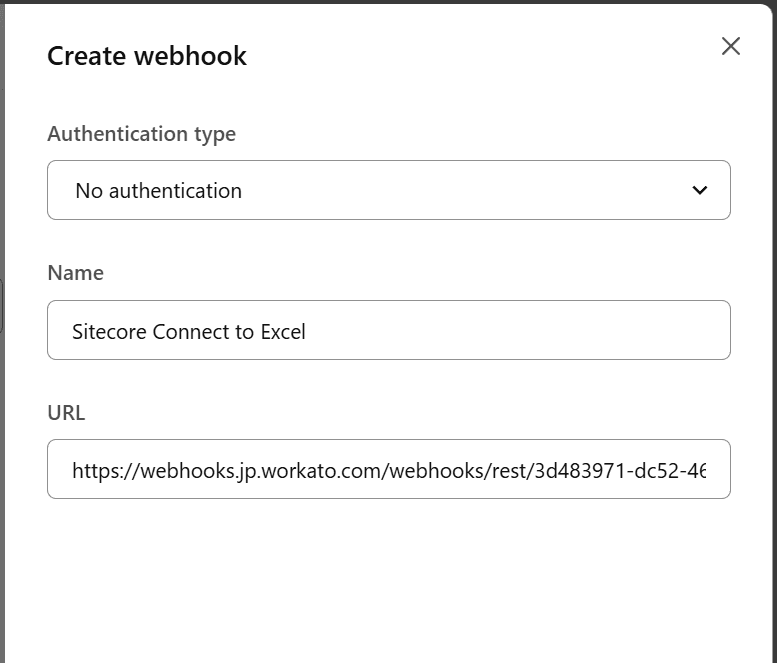
Click the Create webhook button to open the webhook configuration screen, and set the webhook URL shown on the Sitecore Connect screen.
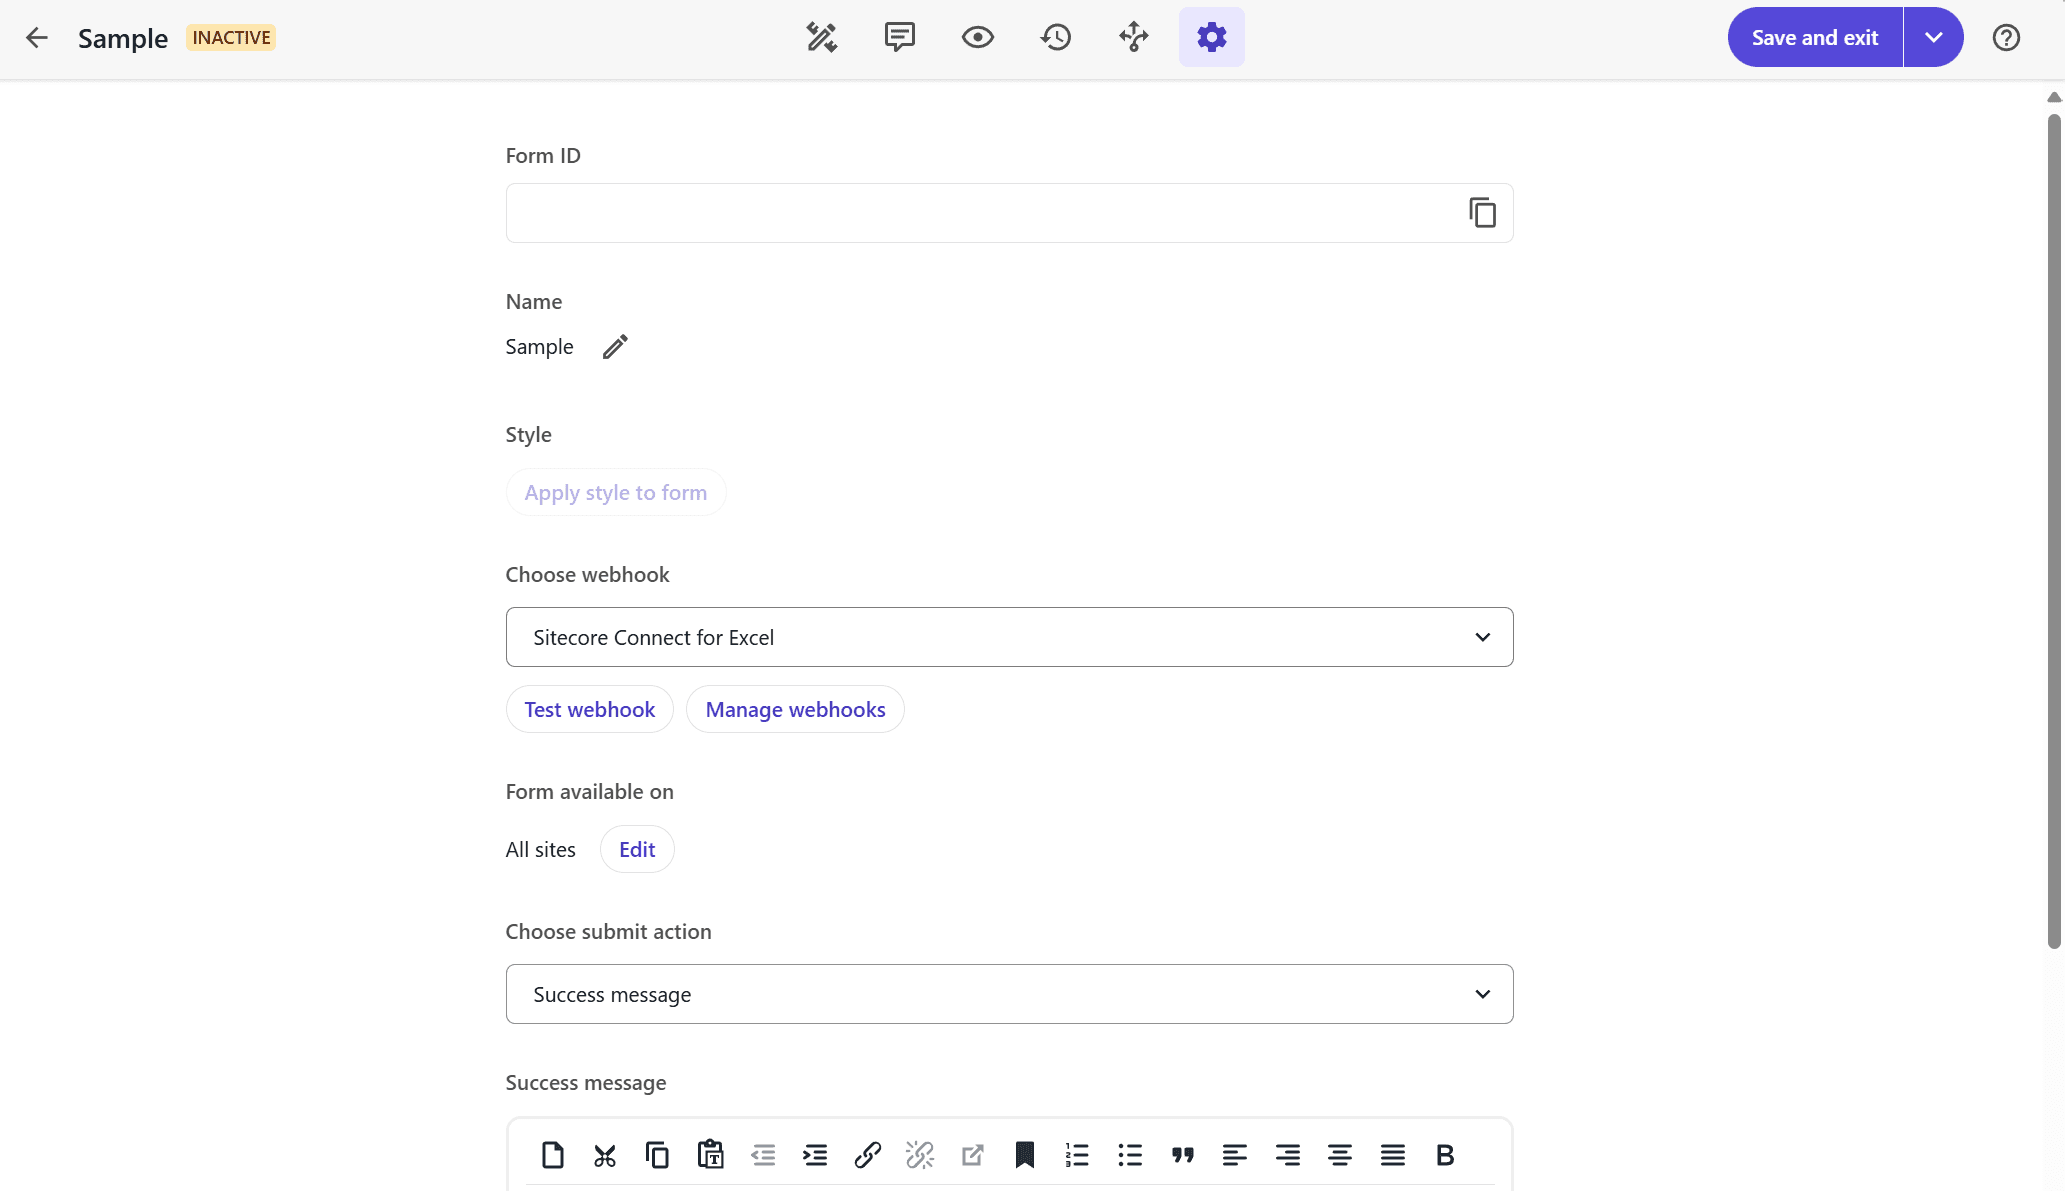
Next, open the form for which you want to configure settings, click on the settings icon (to the right of the icons lined up in the center), and specify the webhook you created in Choose webhook.
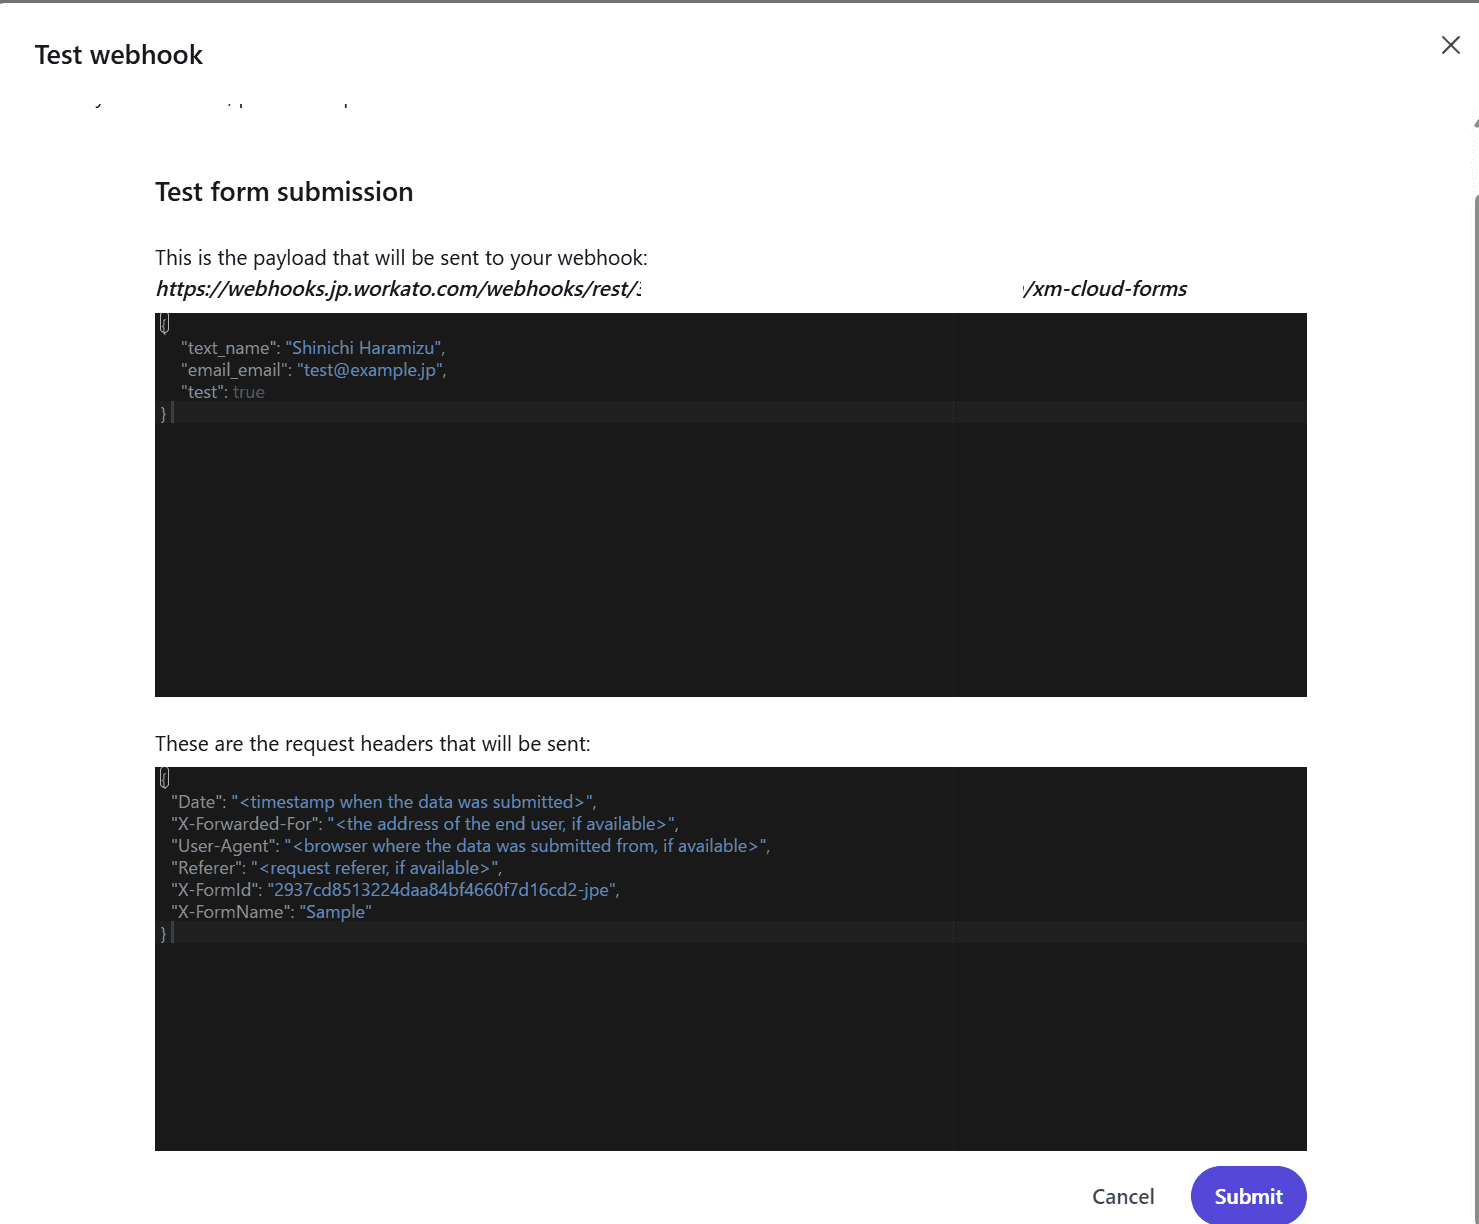
After specifying, click Test webhook to display the test screen.
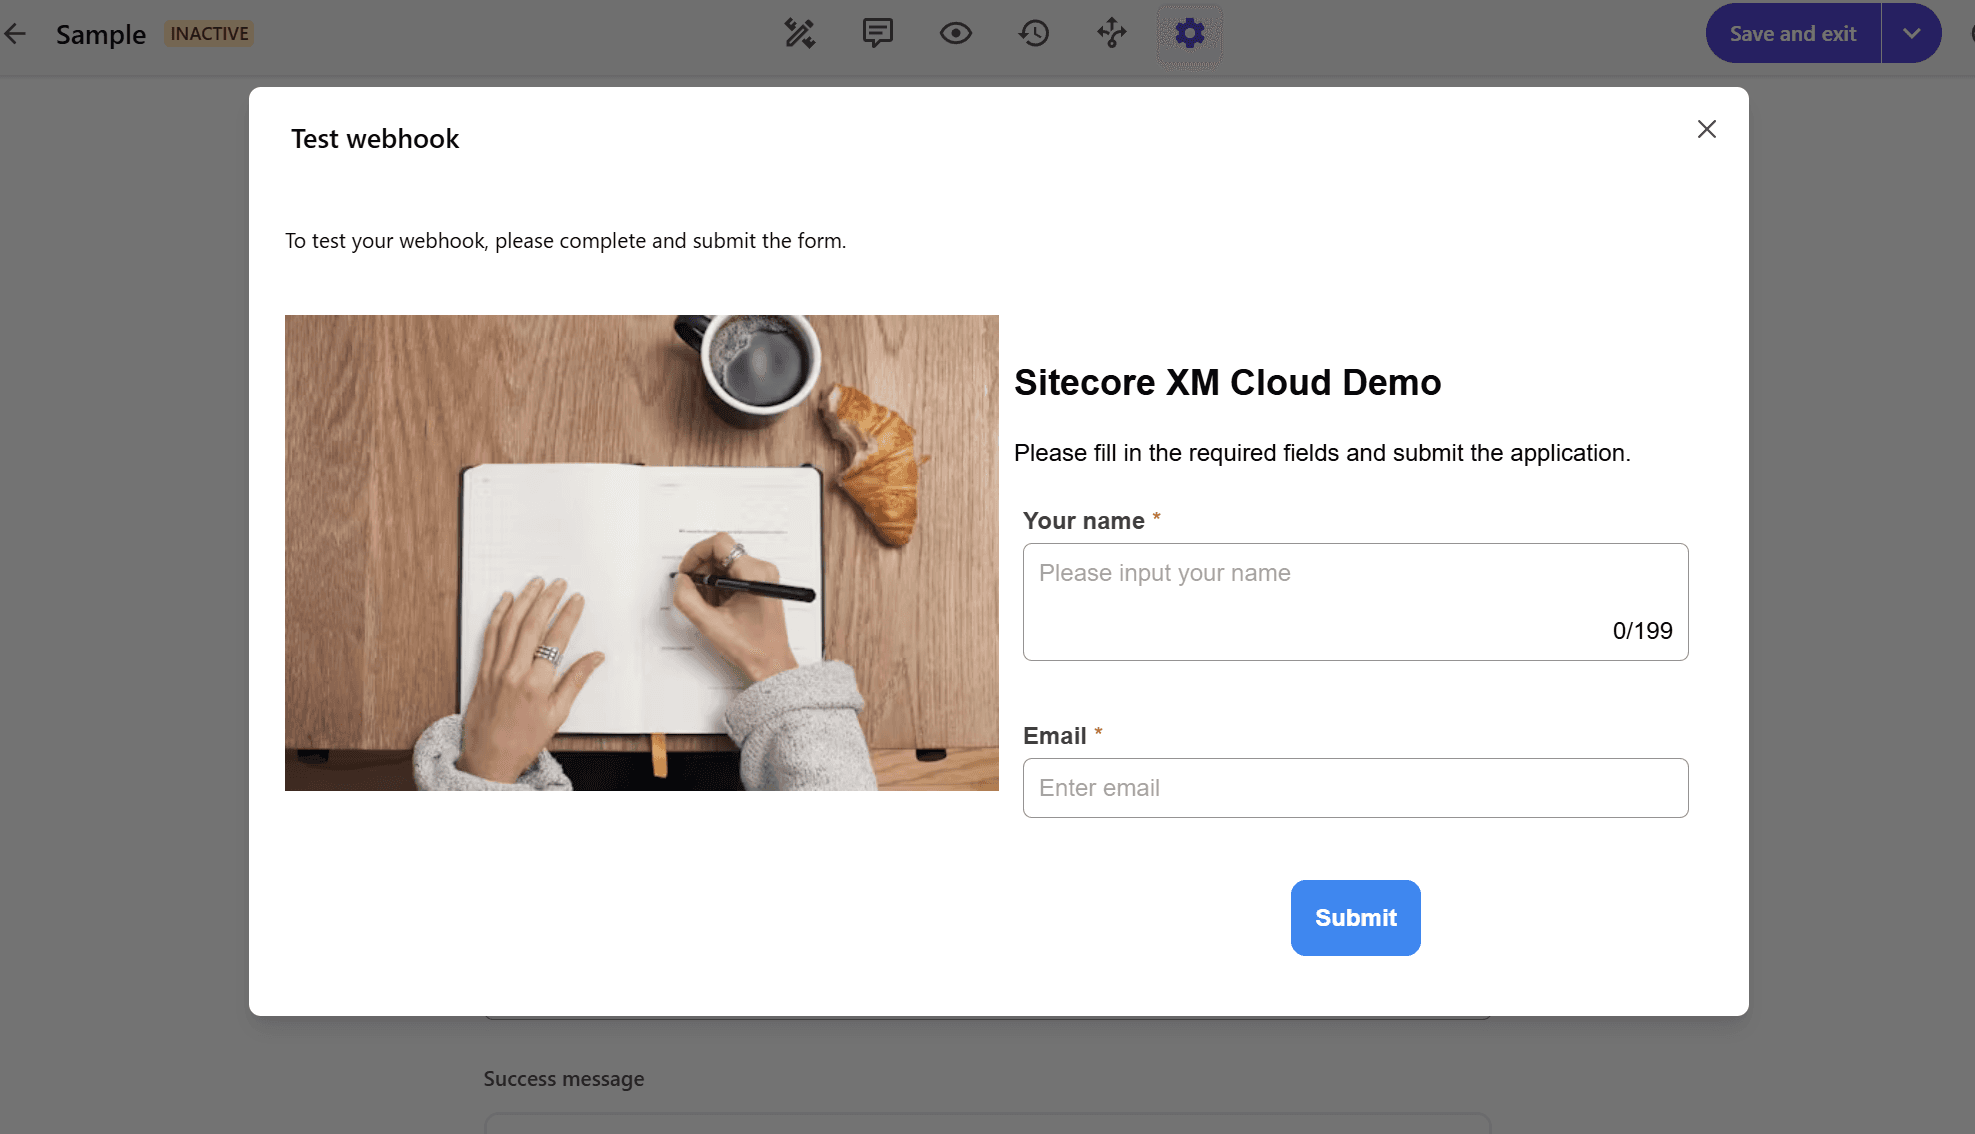
Enter a value and click the Submit button to preview the data to be sent.
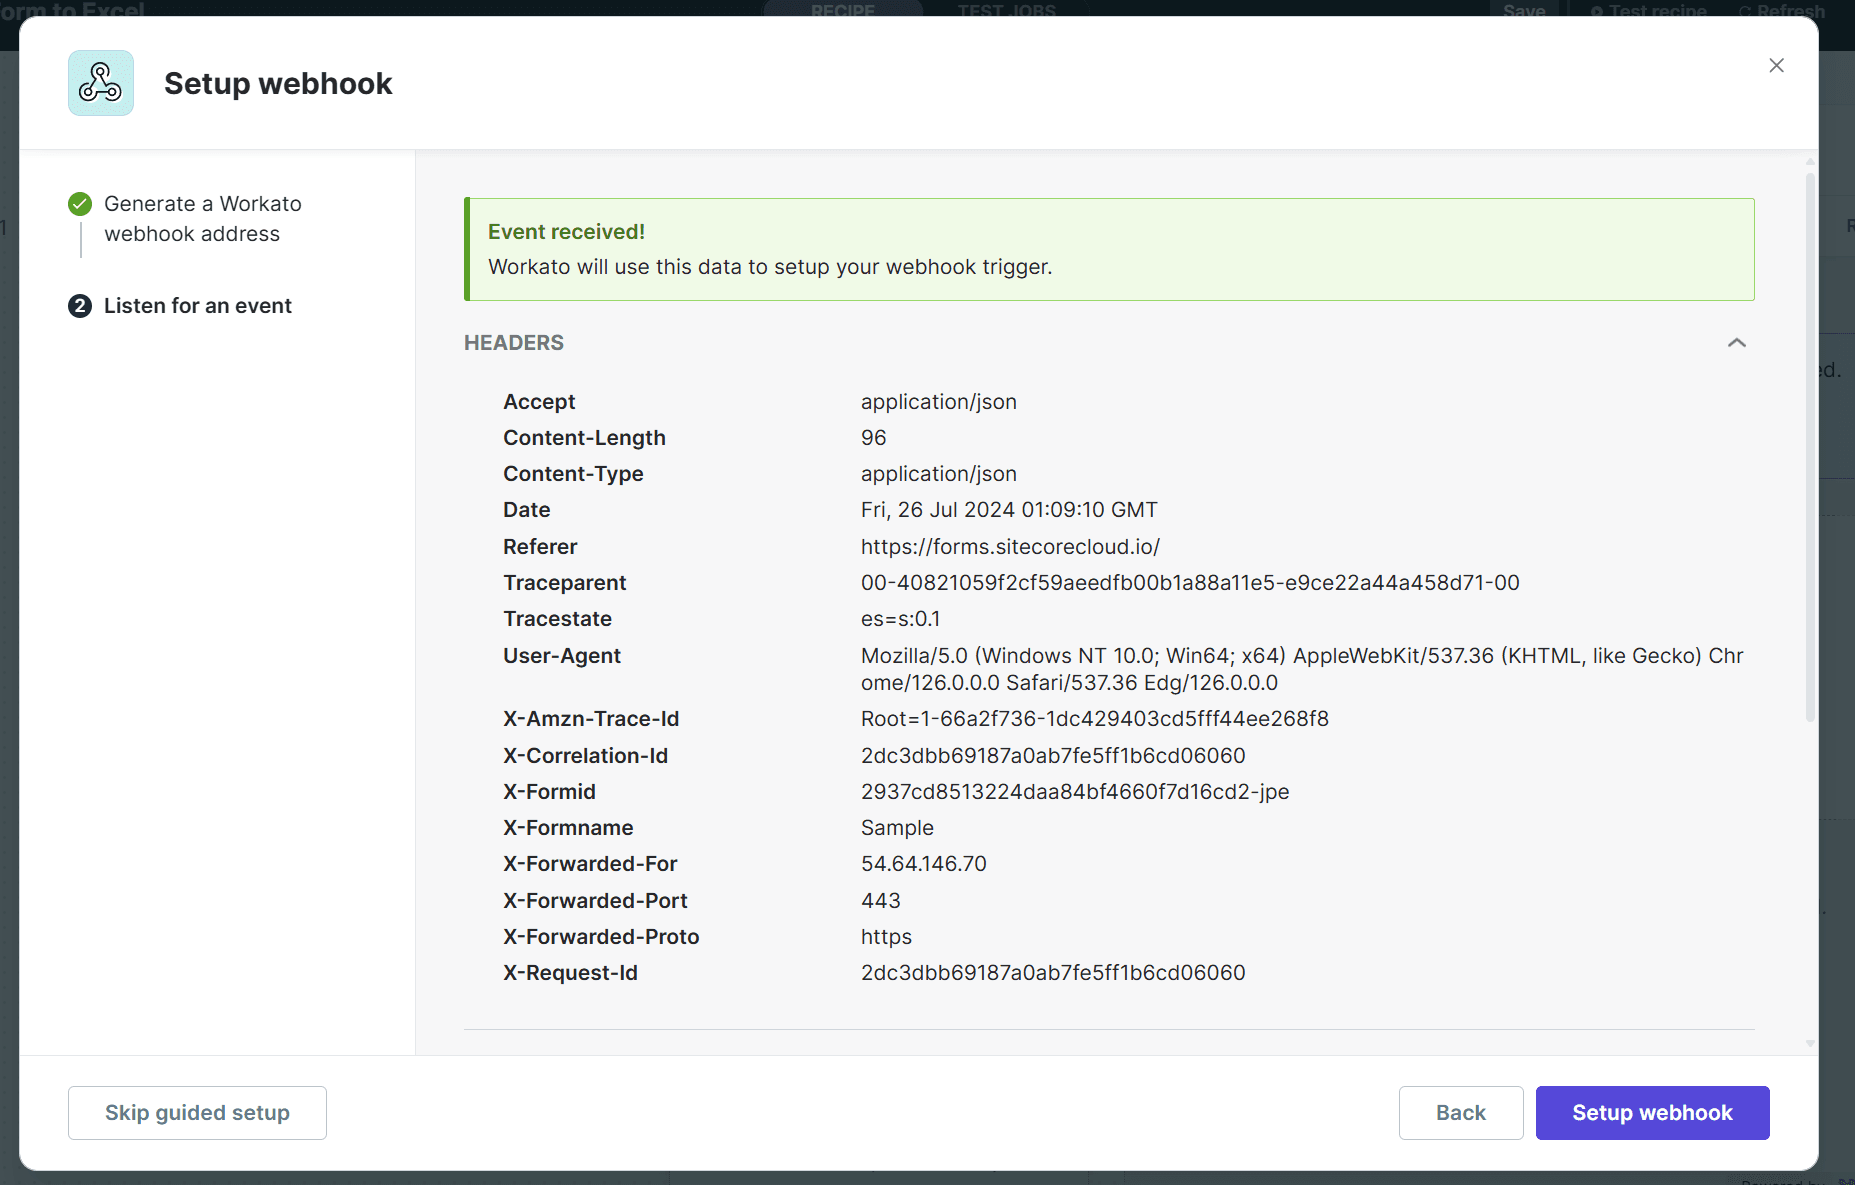
After pressing the Submit button and navigating to the Sitecore Connect screen, we were able to confirm that the data had been received successfully.
Trigger is now complete.
Create Action
The data received by the trigger will be processed in Actions. In this case, we will record the contents of the form in Excel.
First, click + to select the next type of action.
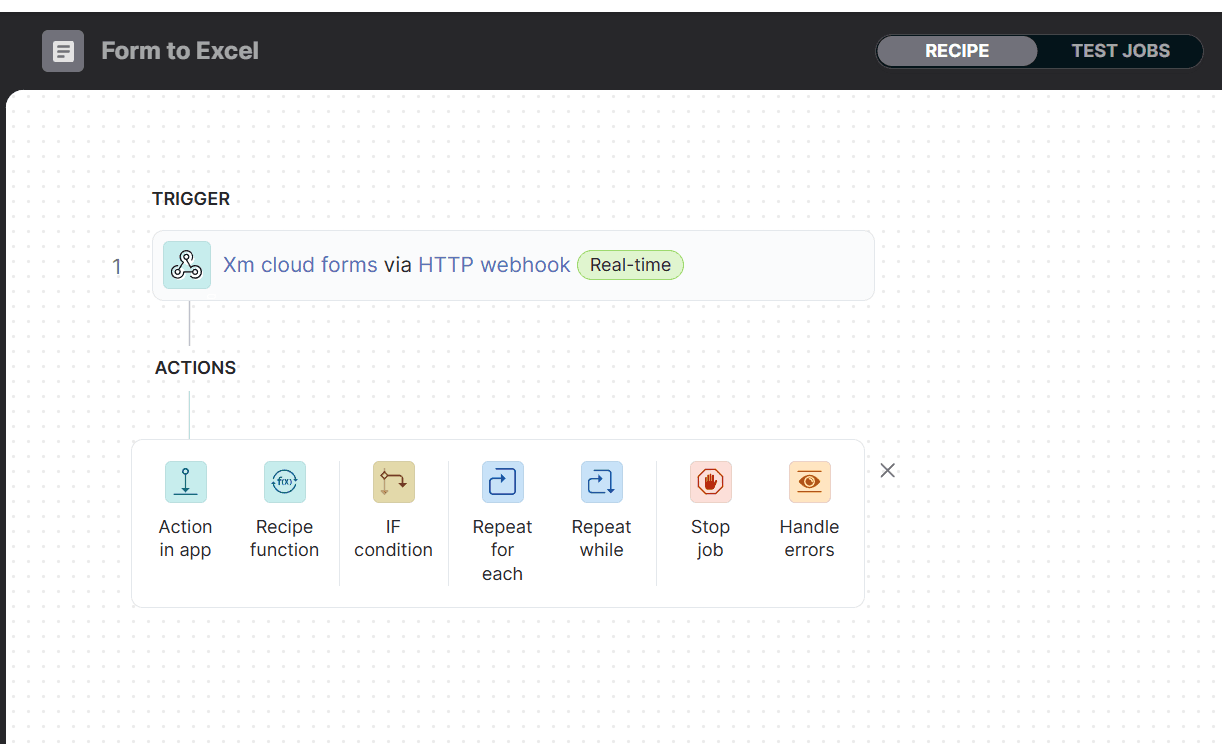
This time, we will select Action in app, search in Excel, and create the settings for integration with Excel.
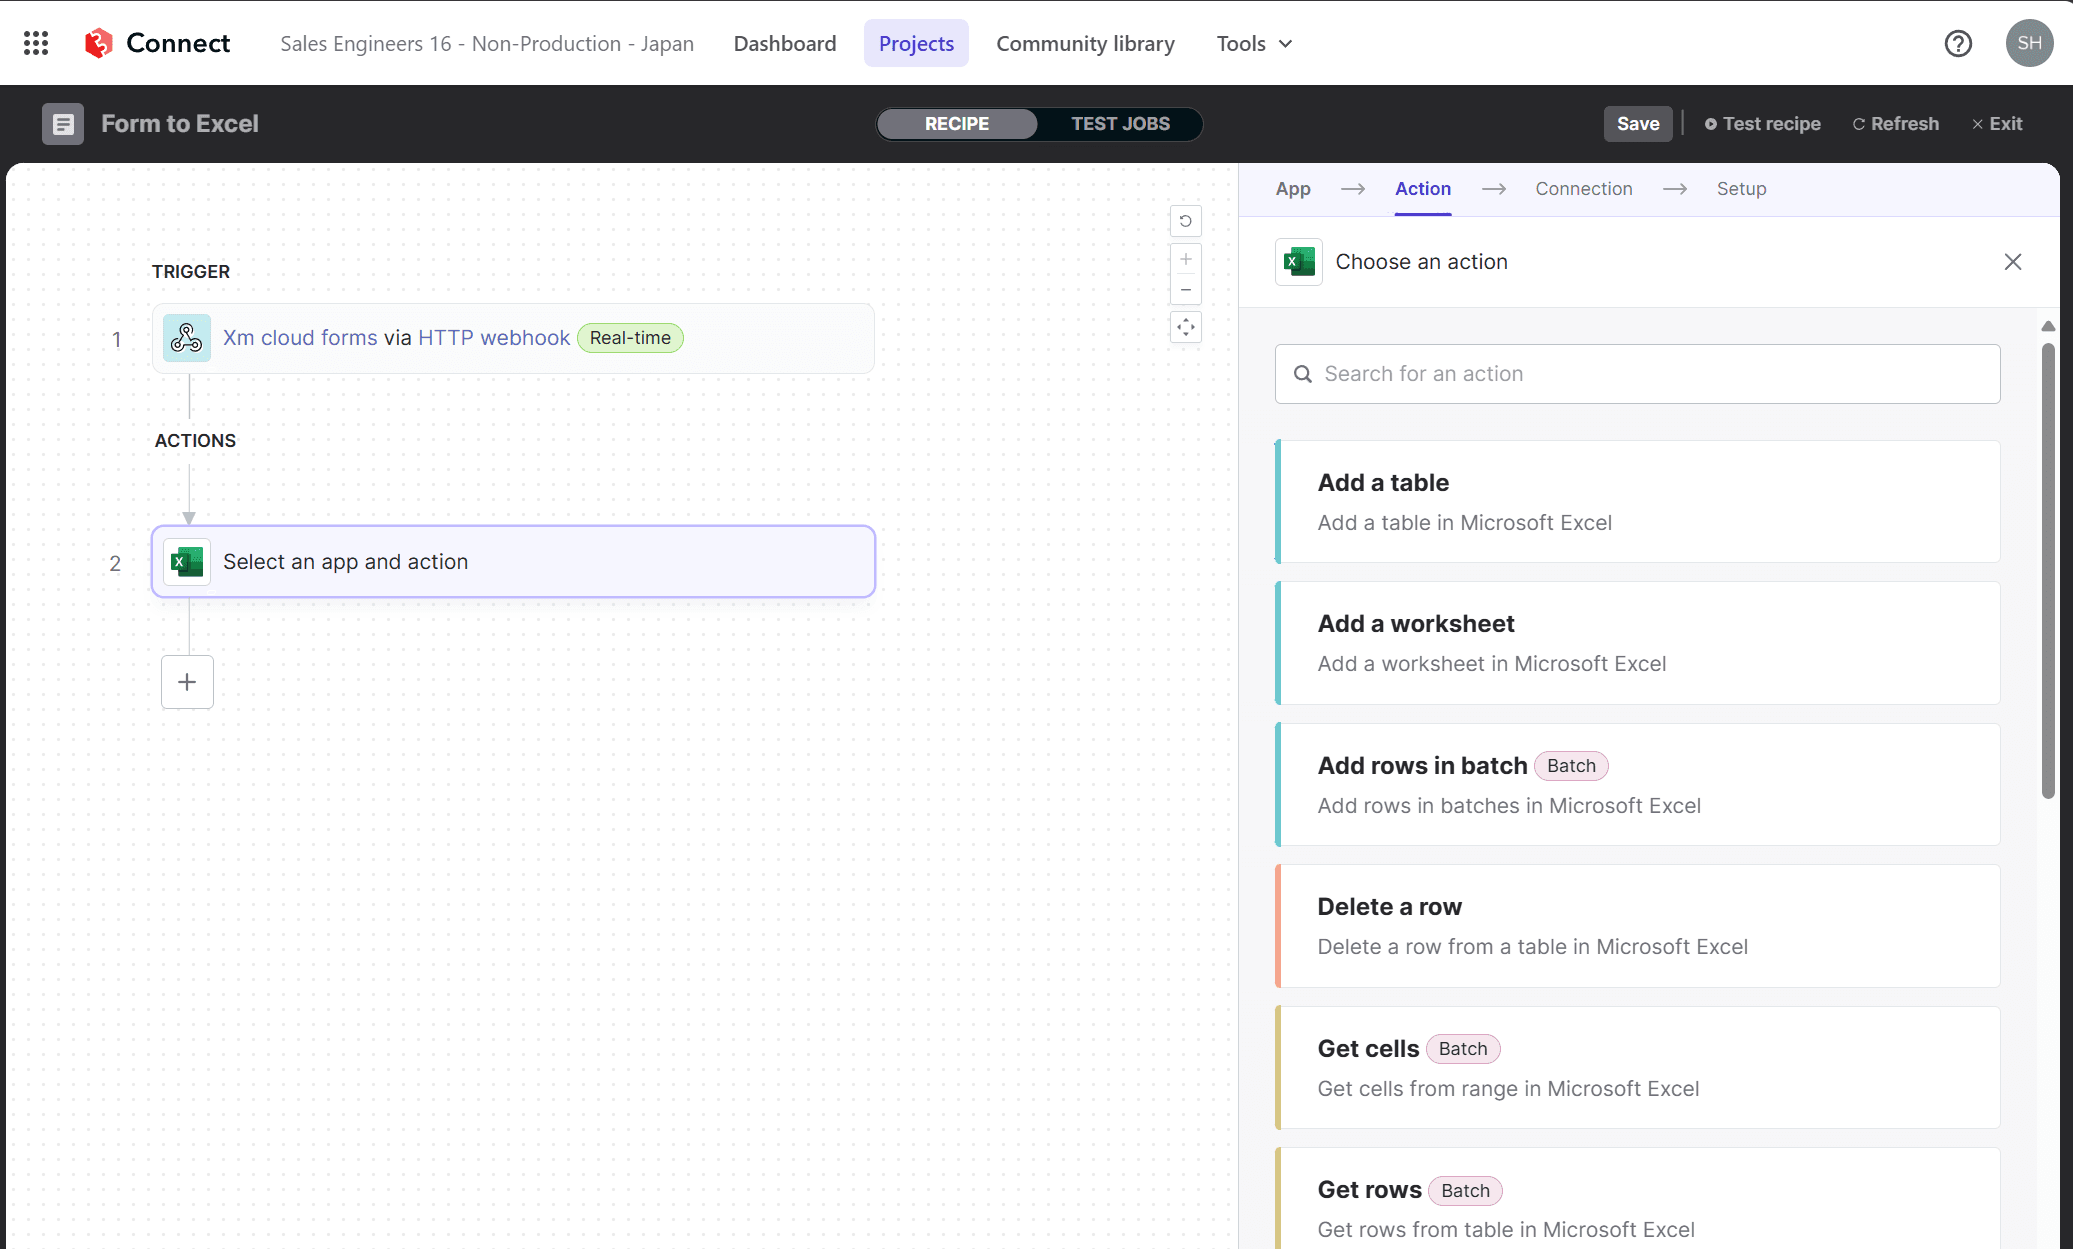
This time, select Add rows in batch to add rows to an Excel sheet. Clicking on the button switches to the configuration screen for connecting to an Excel file.
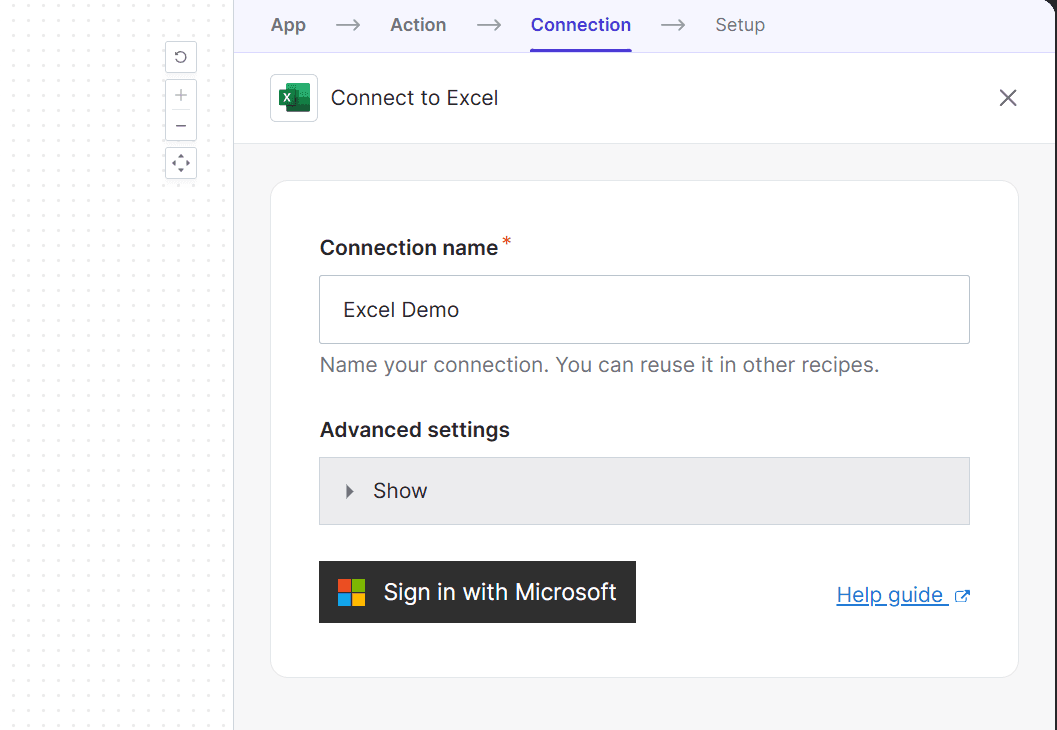
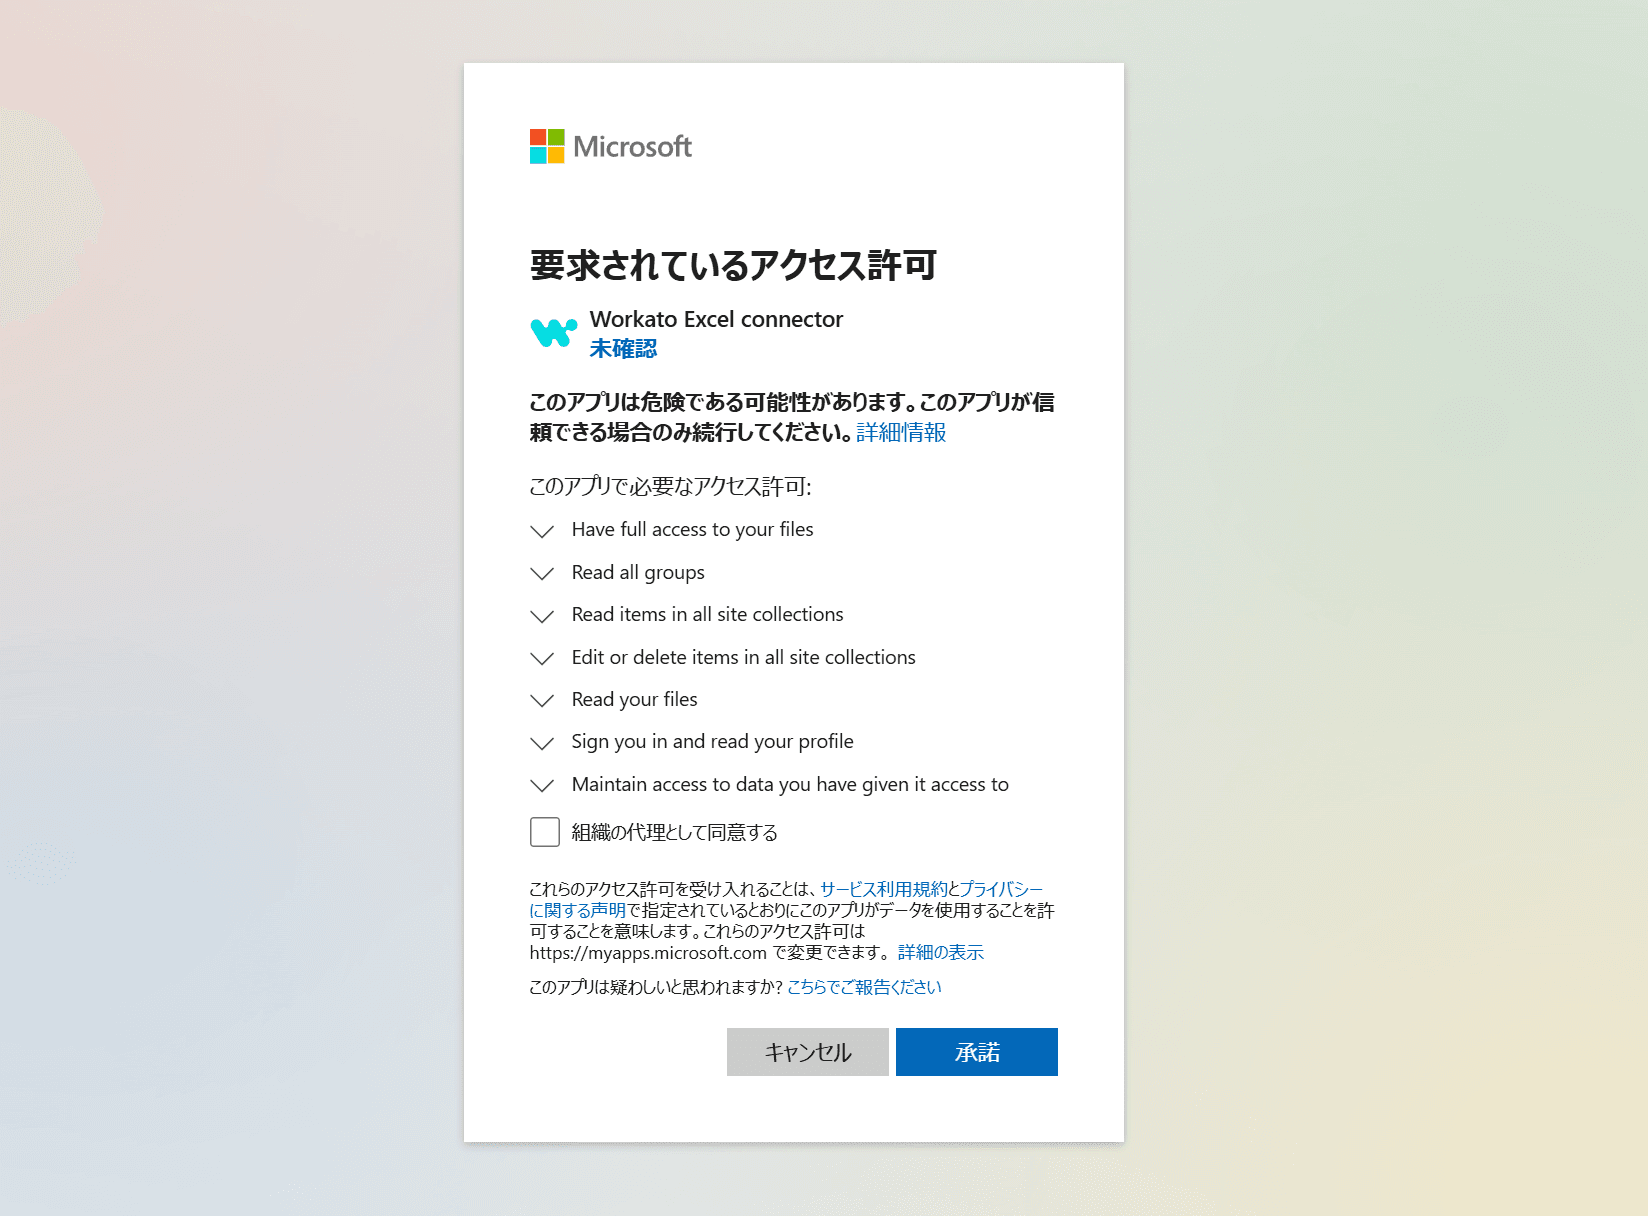
When you use the service for the first time, a screen for setting authorization to connect will be displayed as shown below.
After accepting, the procedure changes to selecting an Excel file placed in storage. For this demonstration, we will specify an Excel file placed in OneDrive.
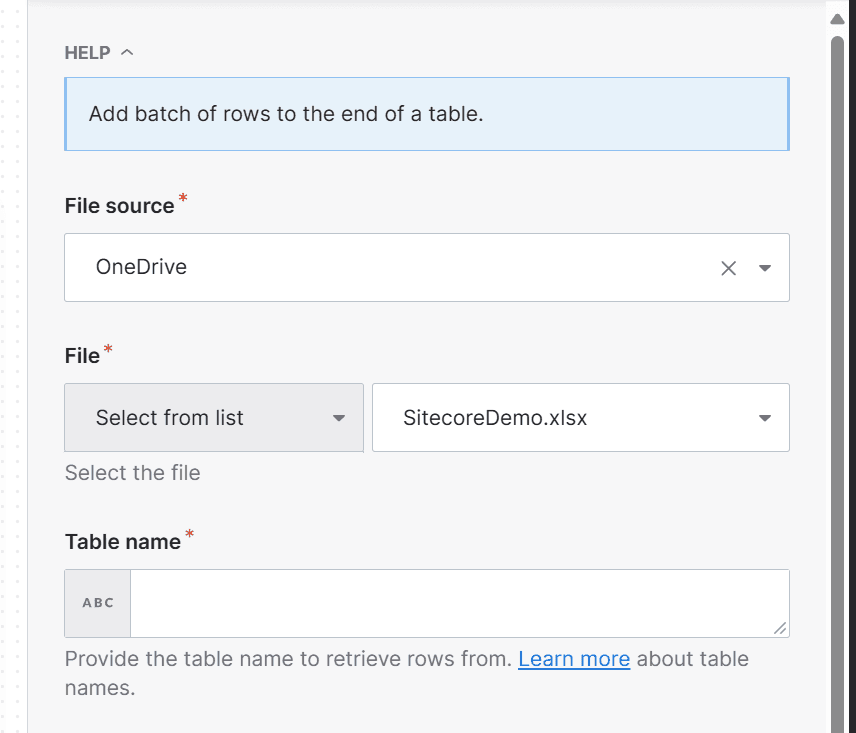
Add table definitions to the specified Excel file.
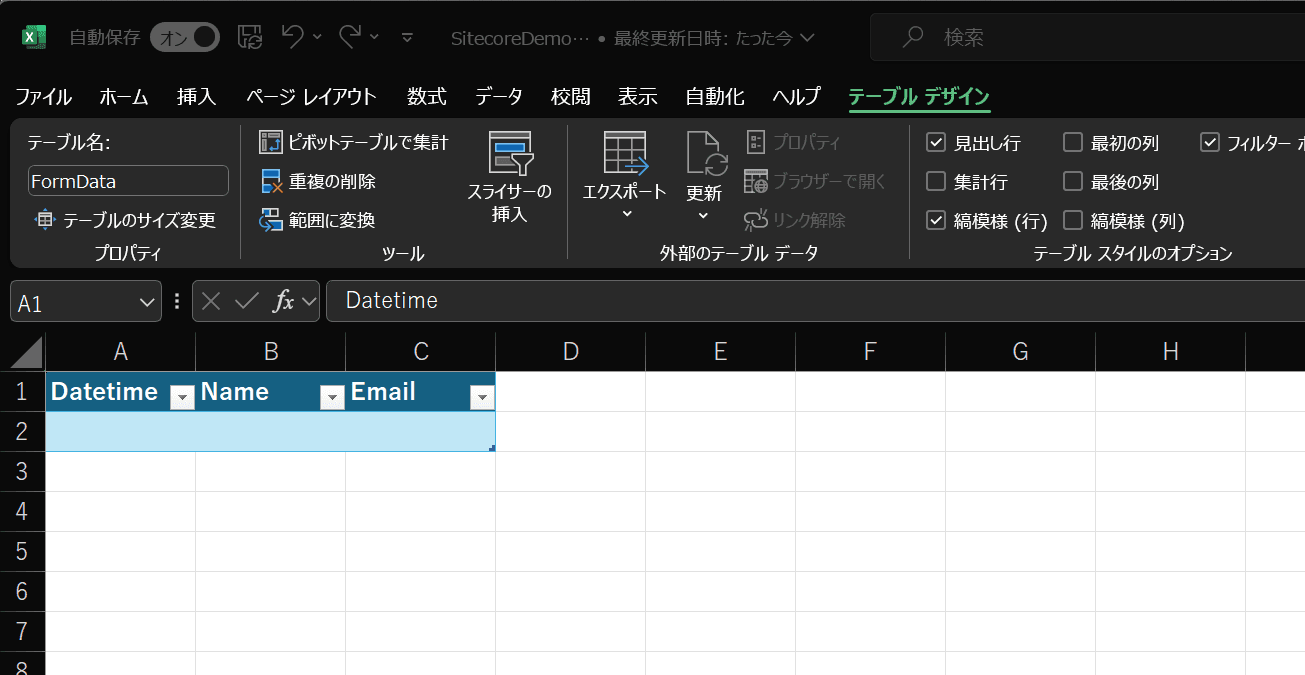
Once this name is added to the Sitecore Connect configuration, the table entry will appear in the configuration screen.
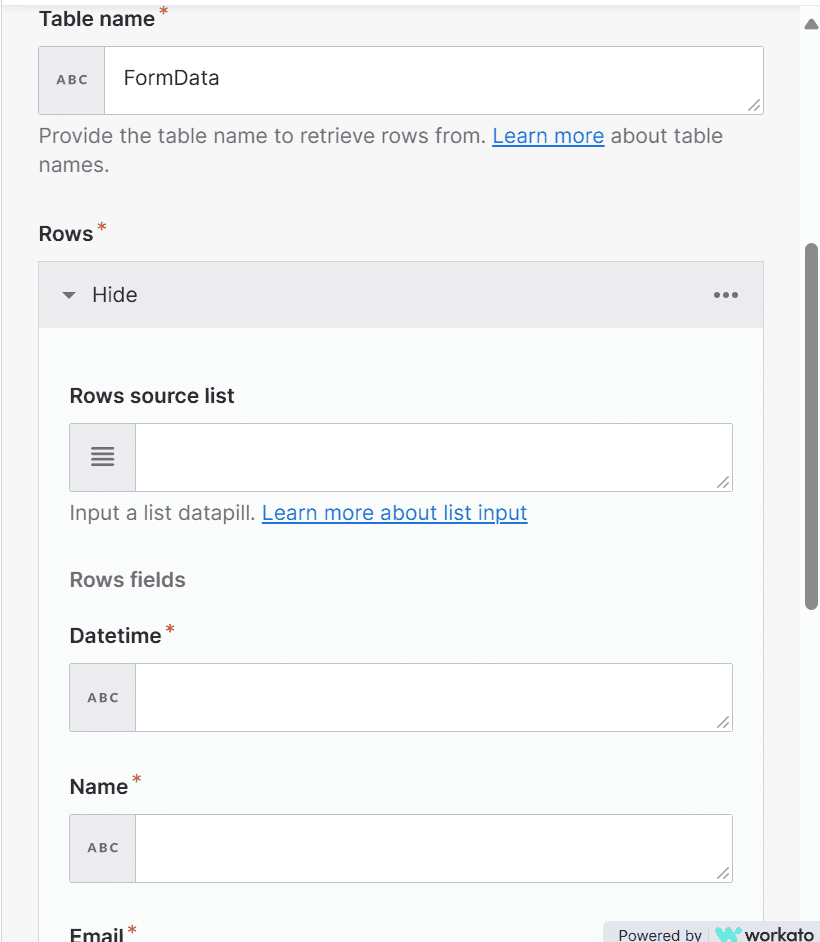
Then, for each item, specify which Excel table data will be set for the item when the Trigger is created.
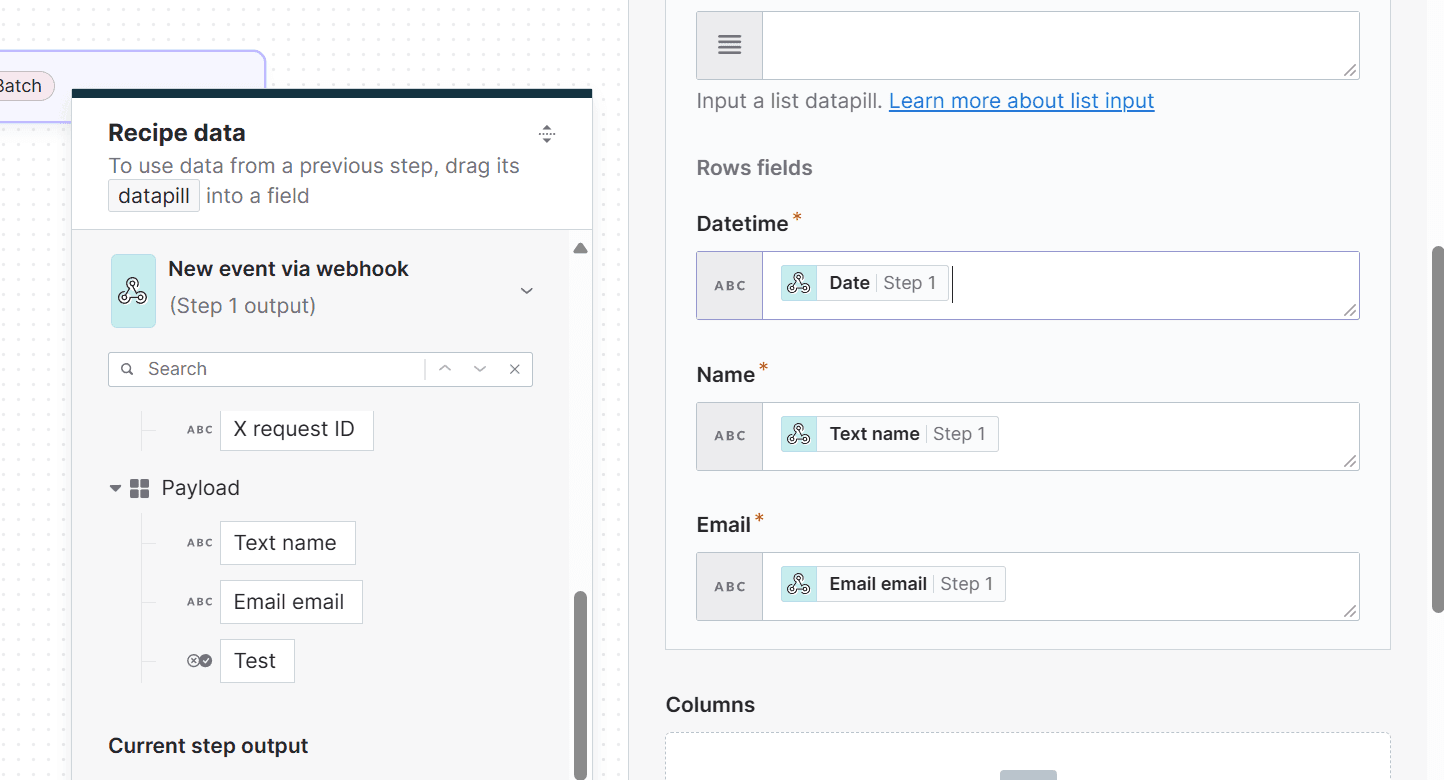
The Action is now complete.
Test Job
On the screen you are creating, there is a button to switch to Test Jobs. When you switch to Test Jobs, you will see a screen like the one below.
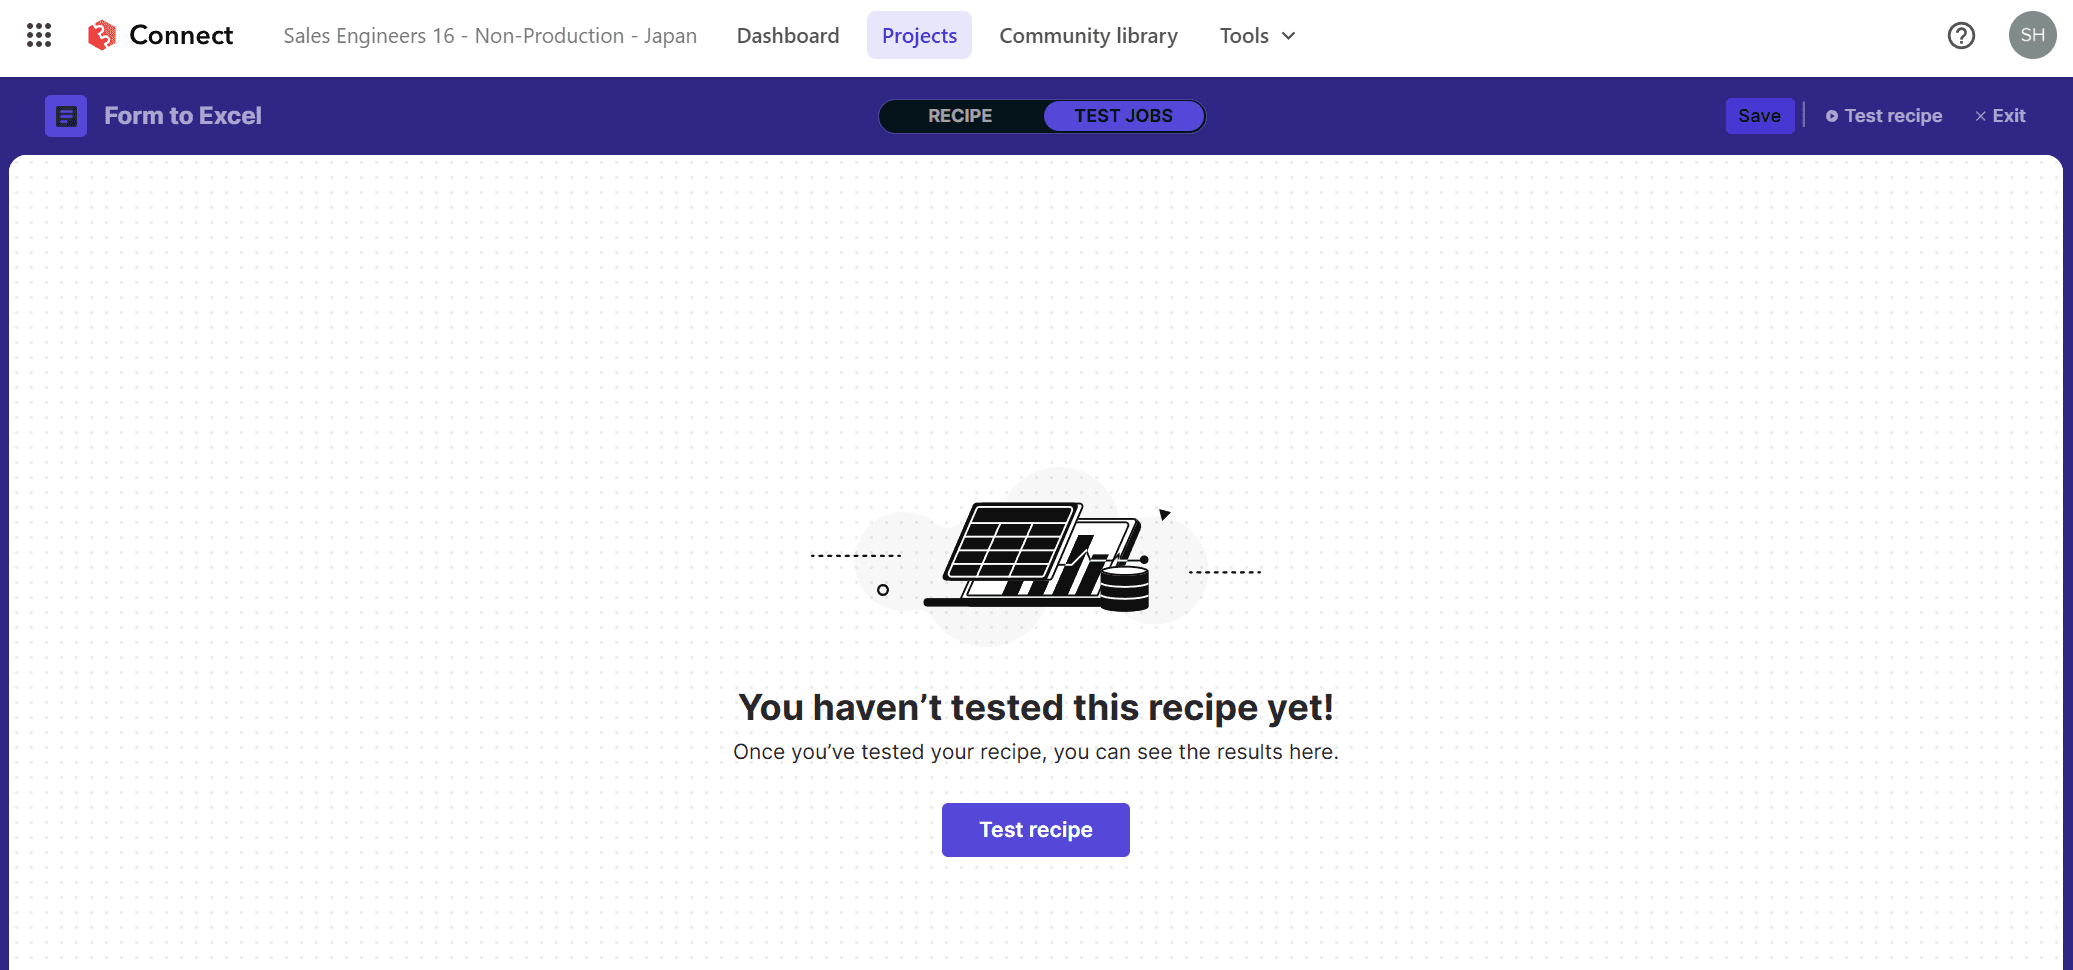
Click the button to enter the test mode.
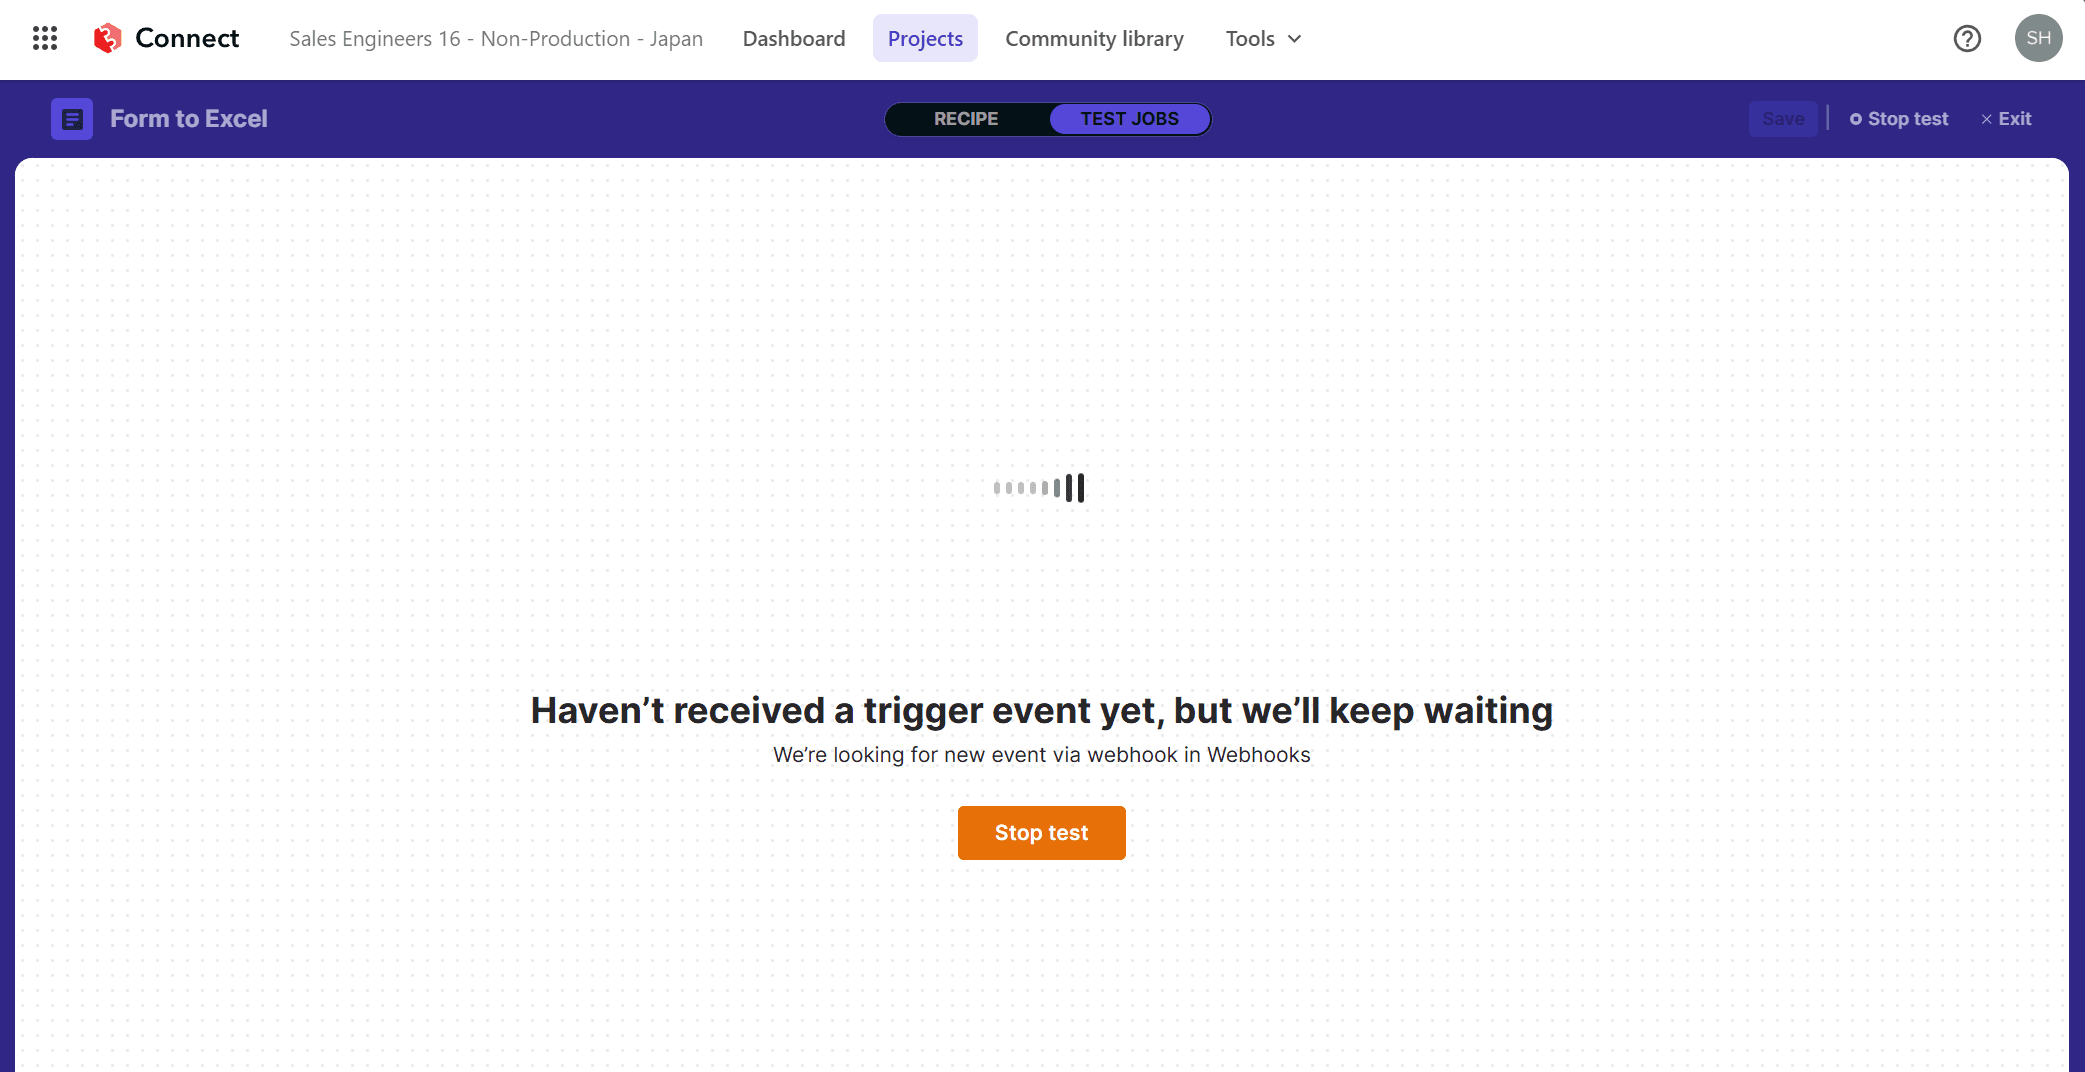
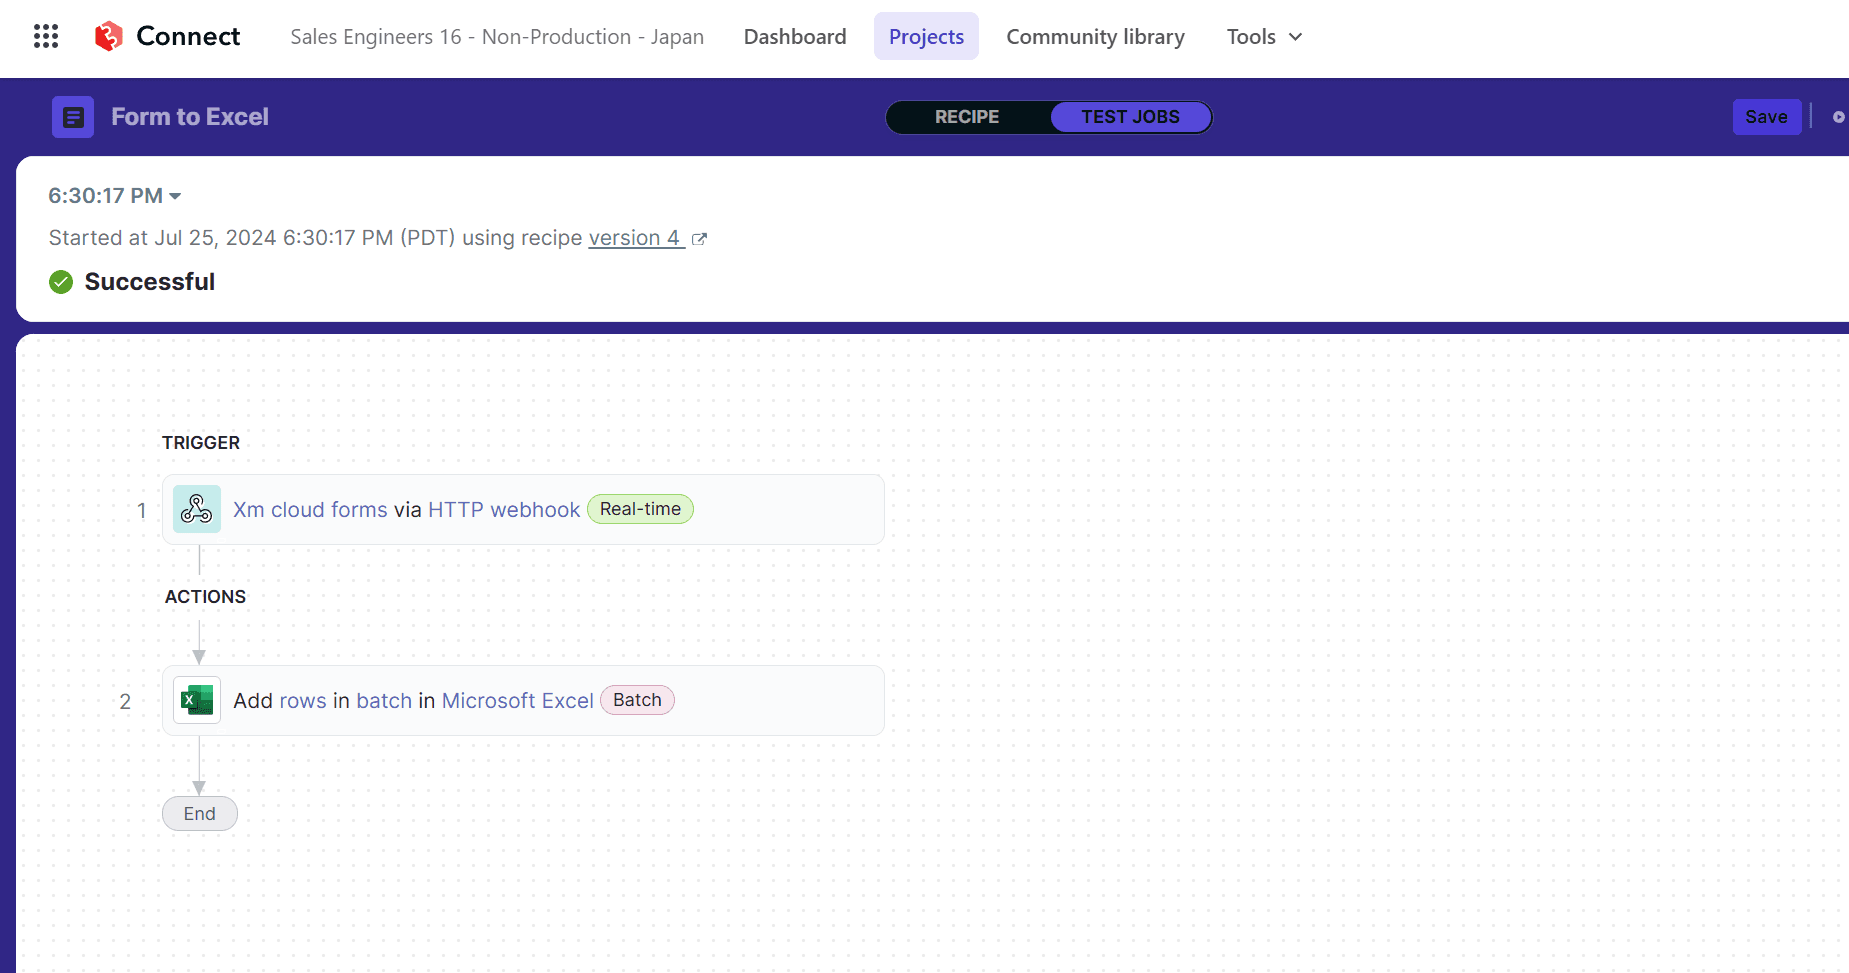
When in this mode, go to Sitecore Forms and run the test on the target form. If the data is received and written to Excel, the Sitecore Connect test screen will appear as Successful as shown below.
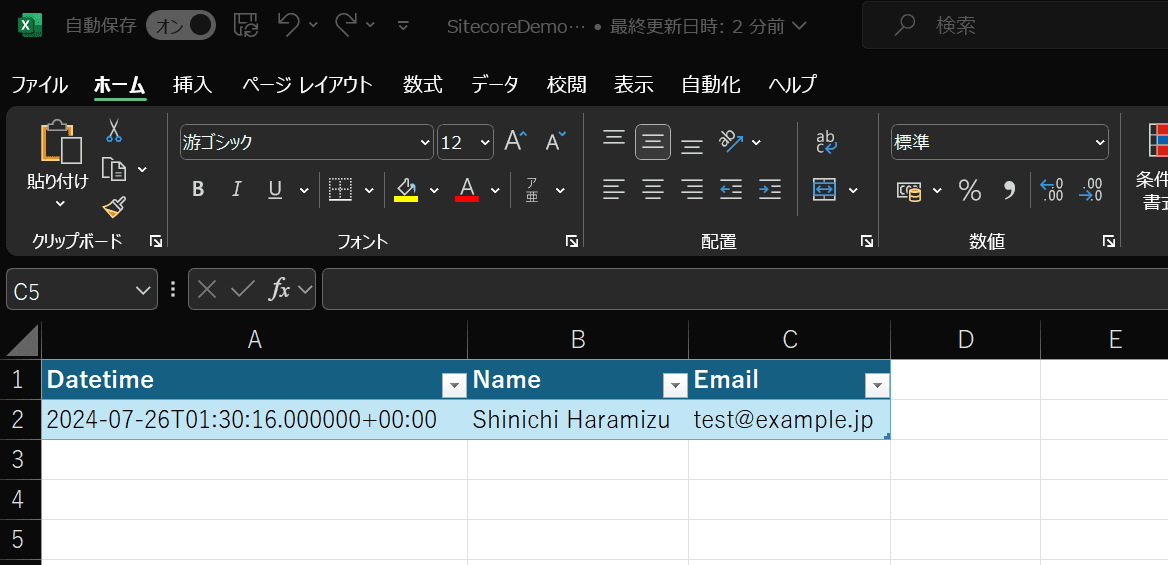
Referring to the Excel file, we were able to verify that it contained the entered data.
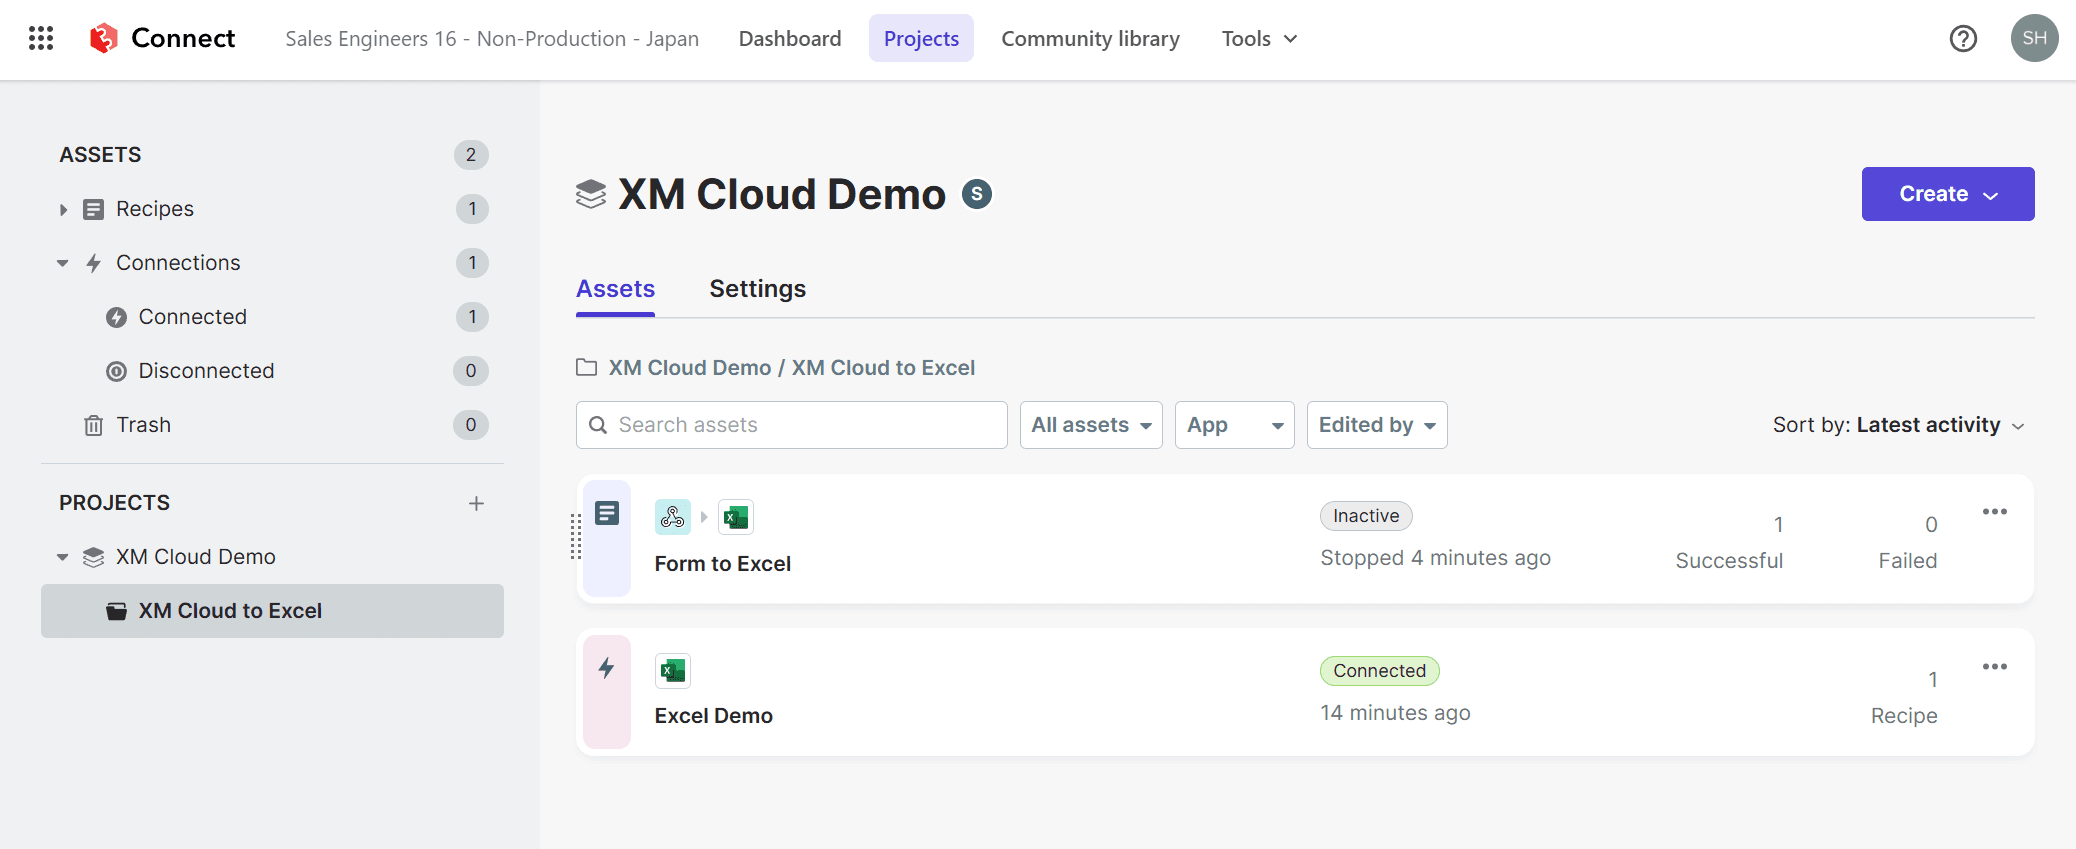
The recipe is now complete.
Summary
This time, we created a recipe in Sitecore Connect, connected to the Sitcore Forms Webhook, and set up an Excel file to save the data to. In actual operation, the data of the form could be saved to Excel in less than an hour. In actual operation, I think Sitecore Connect can be used to implement various processes, such as specifying the save destination in the CRM connection.