In the previous article, we deployed a website in Vercel using Context ID. I will check the procedure for synchronising the environment variables set in Vercel using the Vercel CLI so that they can be used in the development environment at hand.

Content Update
Please check the latest information on the following page
What is the Vercel CLI?
Tools are provided by Vercel to link Vercel with the code at hand on the command line, and the official website is as follows
Now that the installation is already complete, we will go through the steps to integrate the project with the Sitecore XM Cloud project.
Order of loading of .env.
It is possible to combine multiple files for .env, the file used to manage environment variables. In this article, we will use two files, .env and .env.local. The following is a simple way of separating the two files.
- .env - Set default values for the environment.
- .env.local - Secret codes related to the project, e.g.
In fact, .gitignore contains the following code.
# local env files
.env.local
.env.*.local
In practice, it is also possible to use the file .env.development.local and load it as a development environment.
Get the project's environment variables in Vercel
By using the CLI, it is possible to retrieve environment variables and use them in your project. First navigate to the Next.js project path, which is src/sxastarter if you are using Sxastarter.
Log in to GitHub
First of all, run the following commands
vercel loginA confirmation of which environment to work with is displayed.

In this case, select GitHub. Once you have made your selection, your browser will launch and prompt you to log in with the relevant account. Make sure that the login succeeds.
Linked to Vercel projects
Then link the Vercel project with the project at hand. The commands are as follows.
vercel linkThis is a form of proceeding to check which projects to link to. We proceeded in this case as follows.

Get environment variables
If you have progressed to the previous stage, you can retrieve the environment variables set in the Vercel project. The commands are as follows.
vercel env pullThis allowed the values set as development in the Vercel project to be downloaded to hand as .env.local files.

Confirmation of operation
Now you can work with the actual XM Cloud CMS in the project at hand. Start the Next.js project with the following command
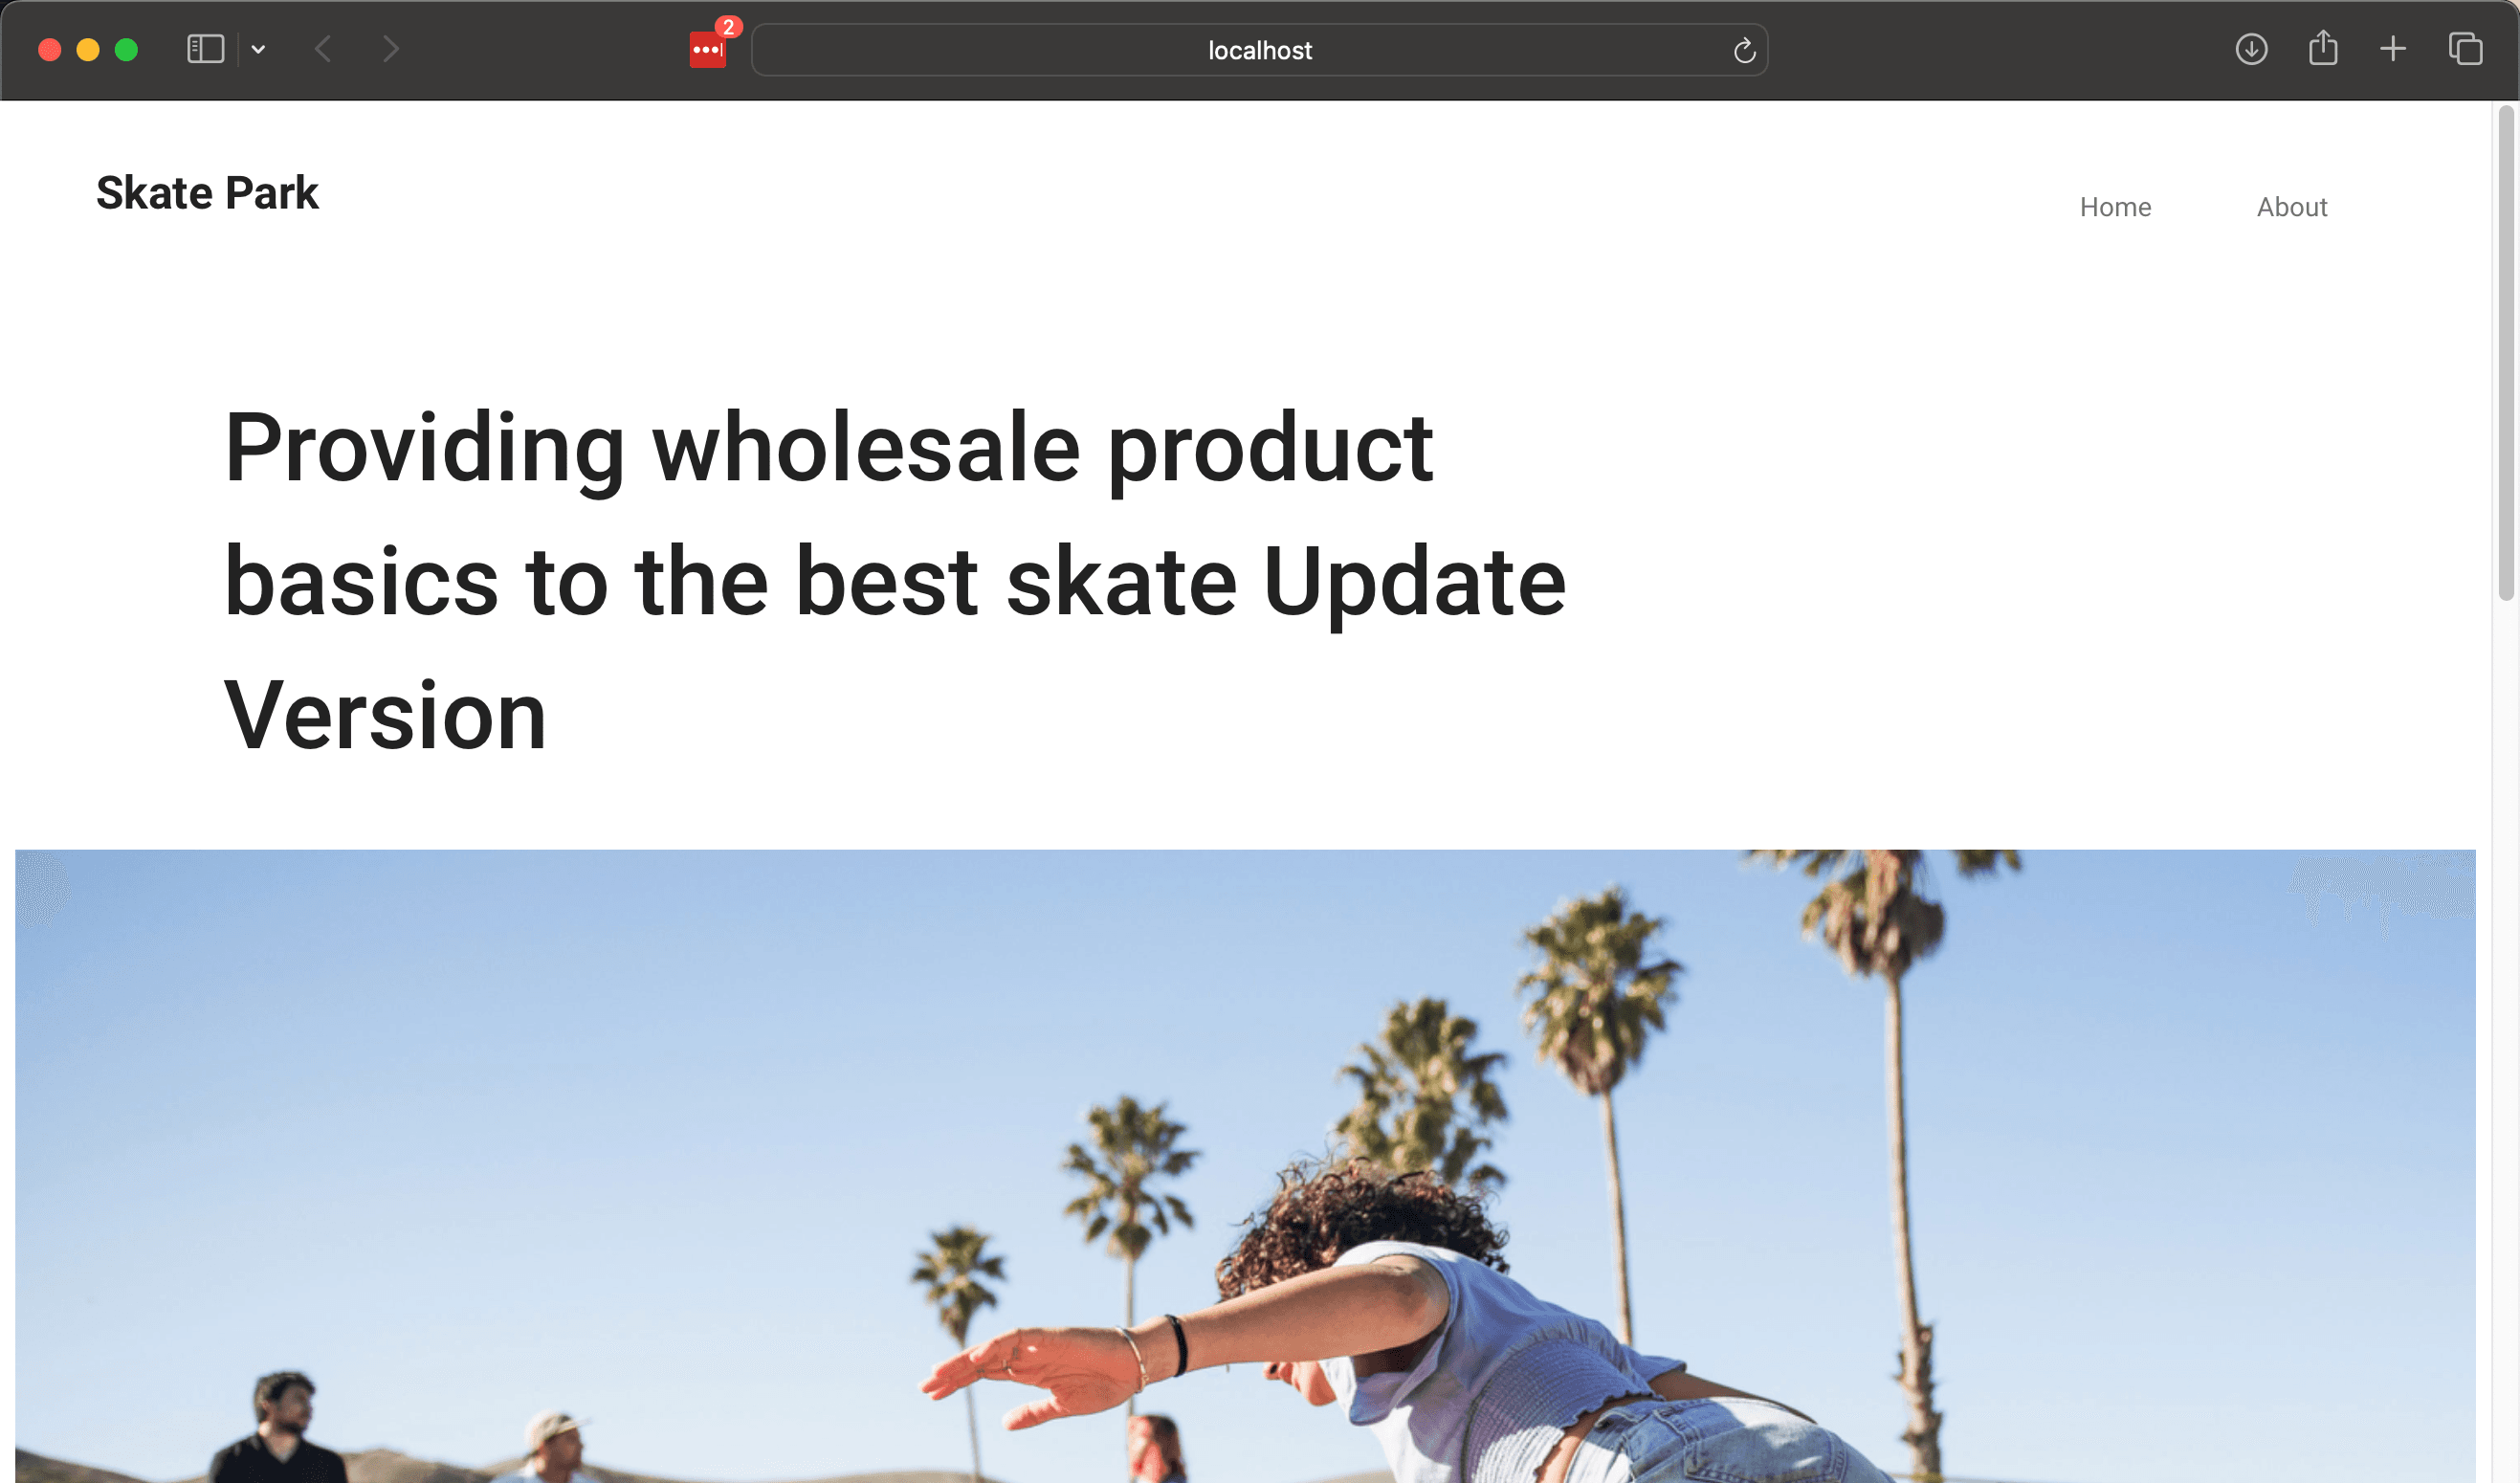
npm run start:connectedAs shown below, we were able to run Next.js on hand using data from the CMS in the cloud environment.

Summary
I was able to connect to XM Cloud's CMS by using the Vercel CLI to sync the Preview environment variable of the Context ID introduced in the previous article with the environment at hand and launching Next.js. In fact, I am writing this blog post on macOS, and I am not using a local docker container, so I was able to launch and display only Next.js.