Previously, when deploying in Vercel or connecting to XM Cloud using local Next.js, deployment was done using API keys and endpoints; since JSS 21.6, this has been changed to allow the use of Context IDs. This is introduced in this issue.
Verification of Context ID.
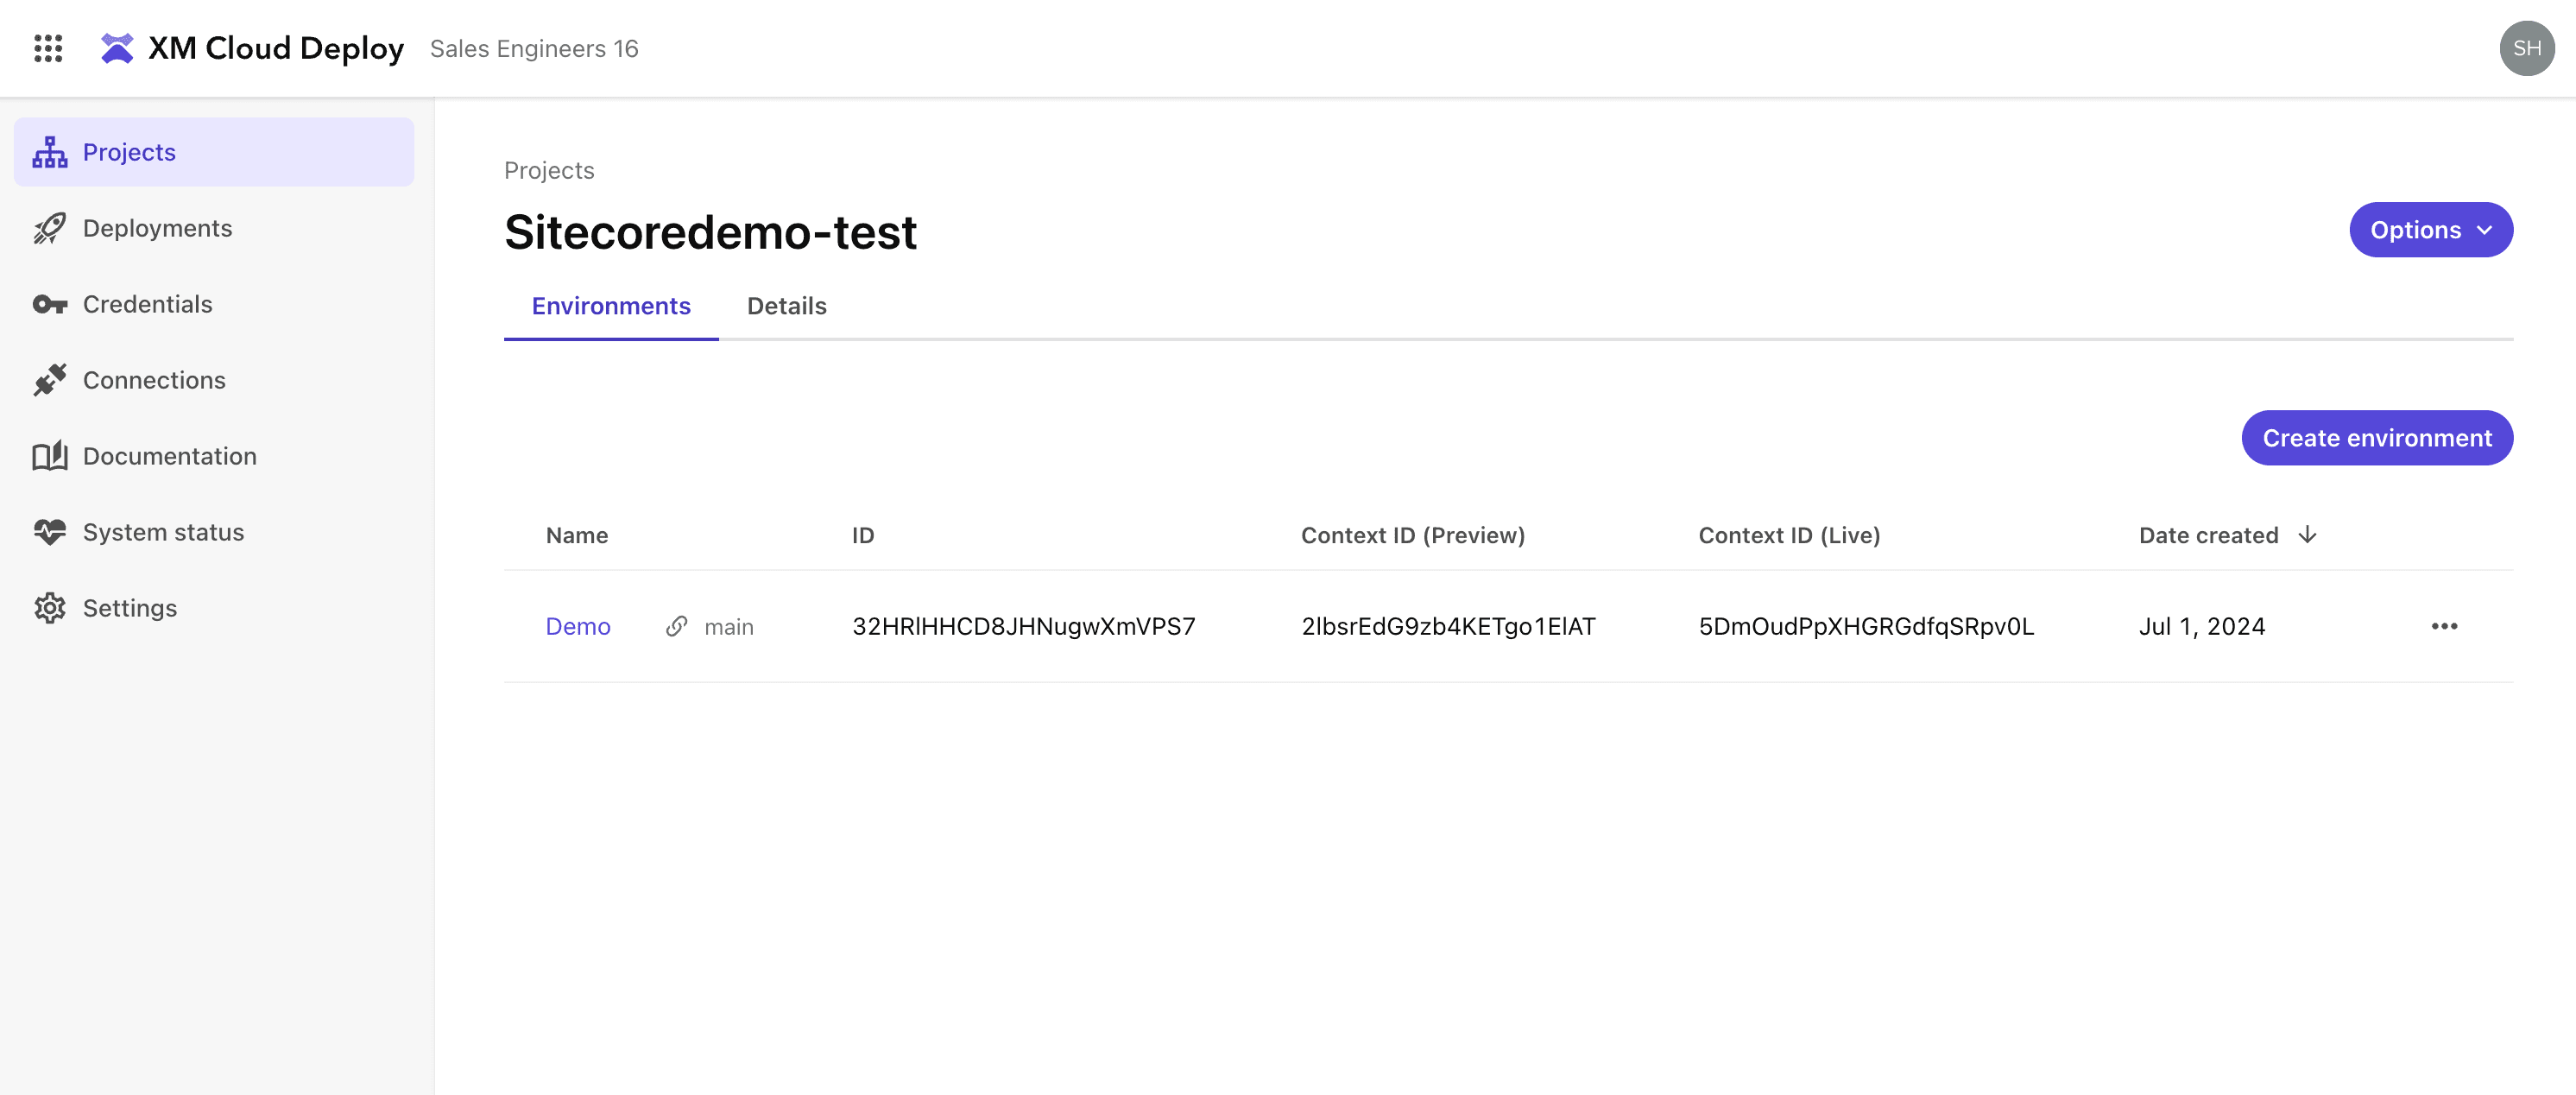
In the XM Cloud Deploy administration screen, select the environment, open Detail and two Context IDs are given for the environment. This key allows you to view Live (published content) and Preview (all content).
Switching to the Developer Settings tab also shows the actual keys used and makes it easier to use them with copy-paste.
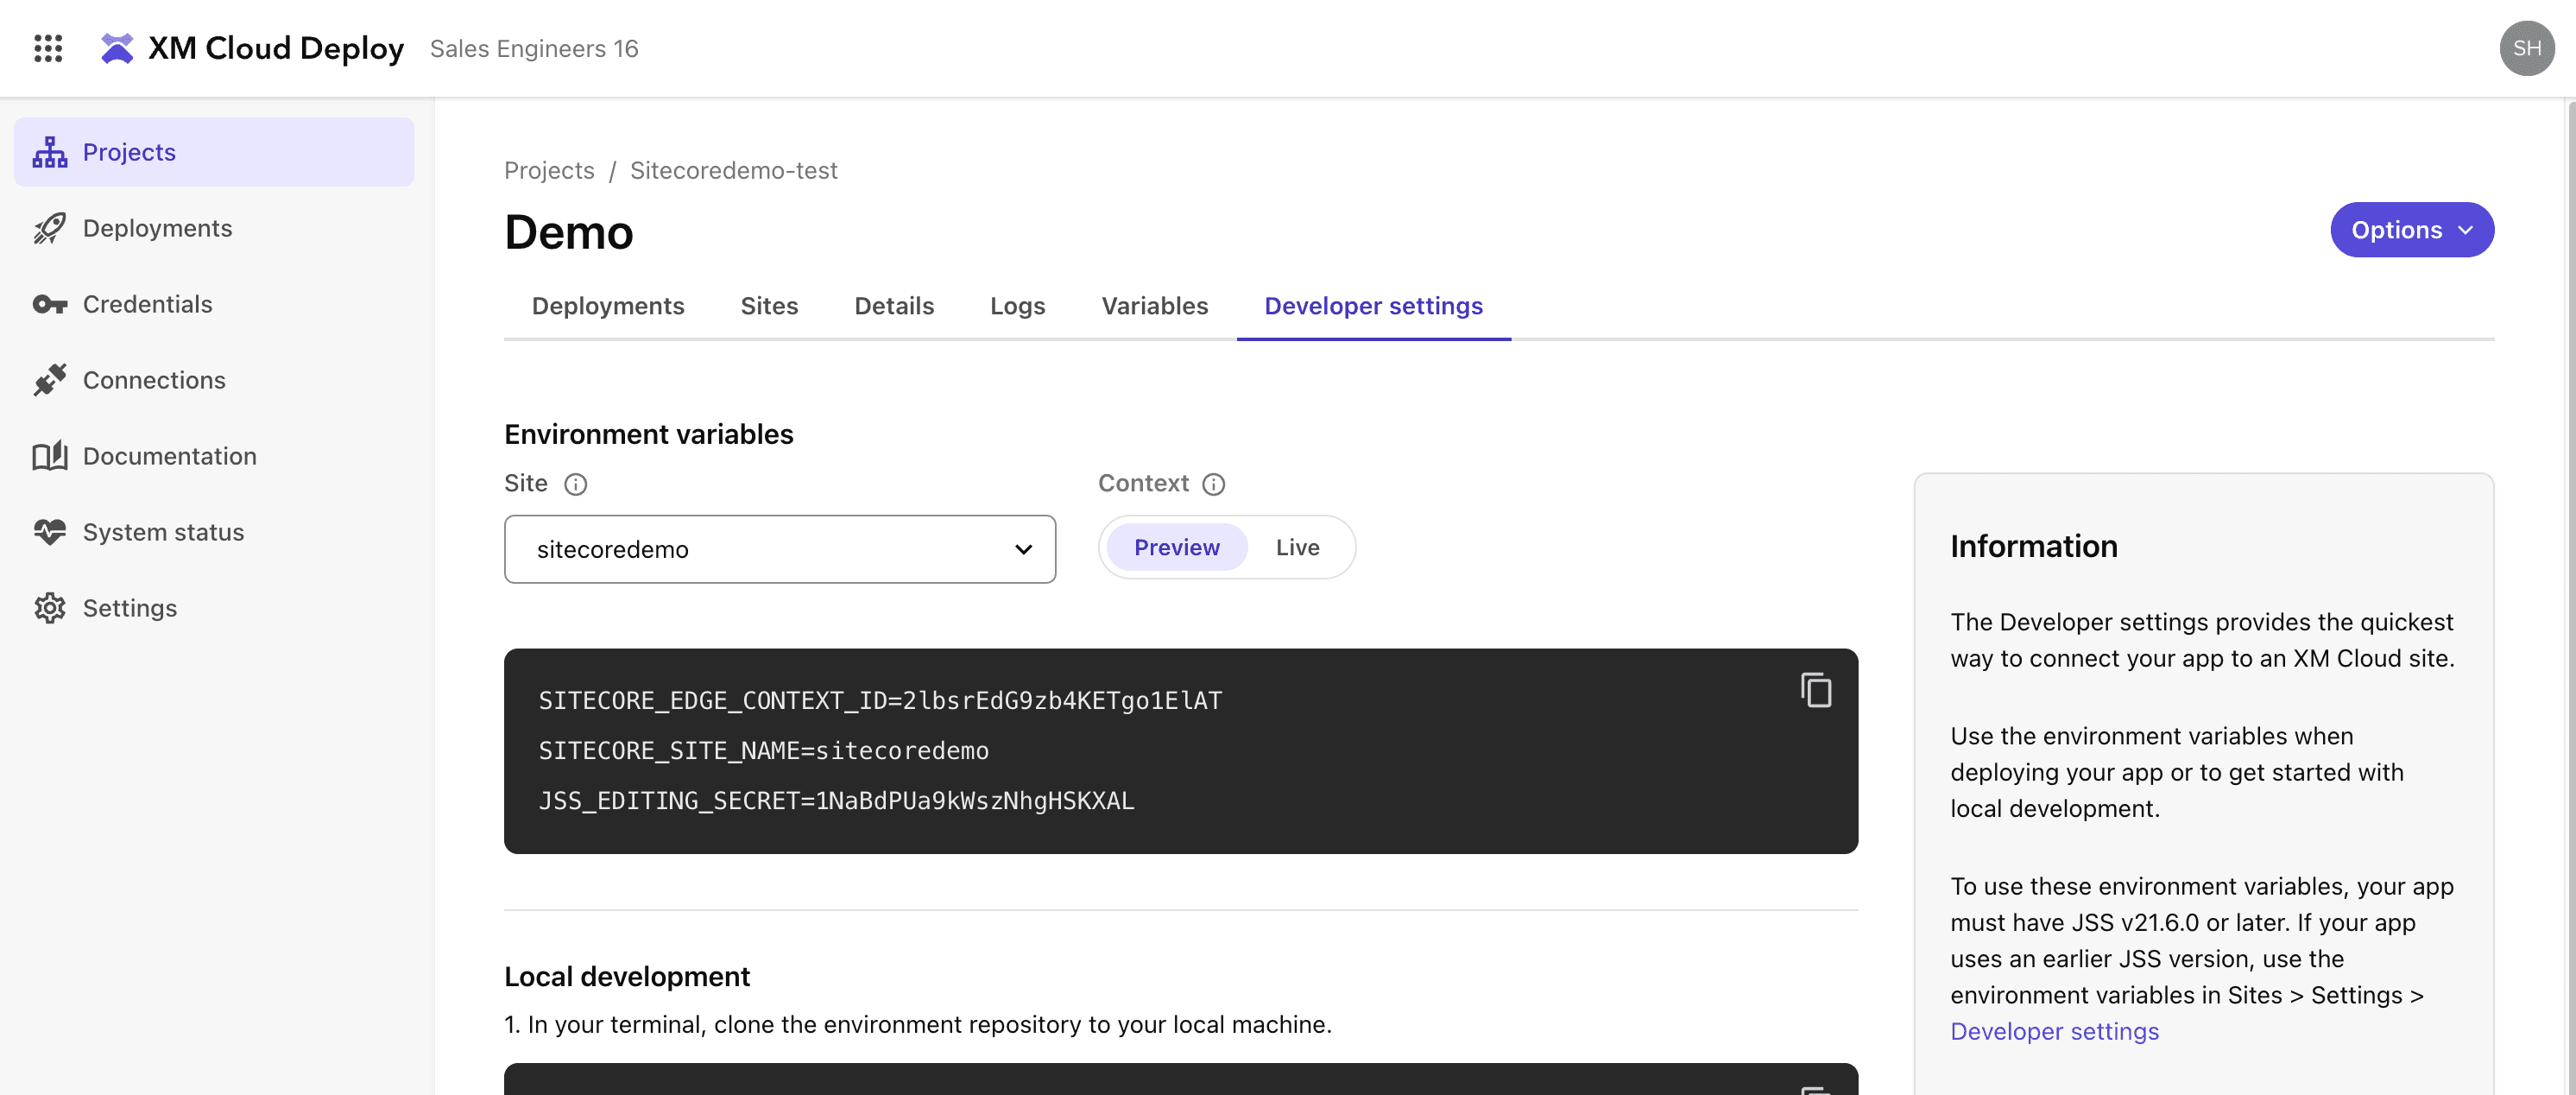 Note: When using Context ID, the following settings, which were required prior to 21.6, are no longer necessary: Context ID only, analytics etc. will work.
Deploy the XM Cloud sample site in practice.
Preparing sample sites
In this case, we just want to see how to deploy using Context IDs, so follow the steps below to create a site.
- Create Basic site
- Publish site
- Prepare the Context ID.
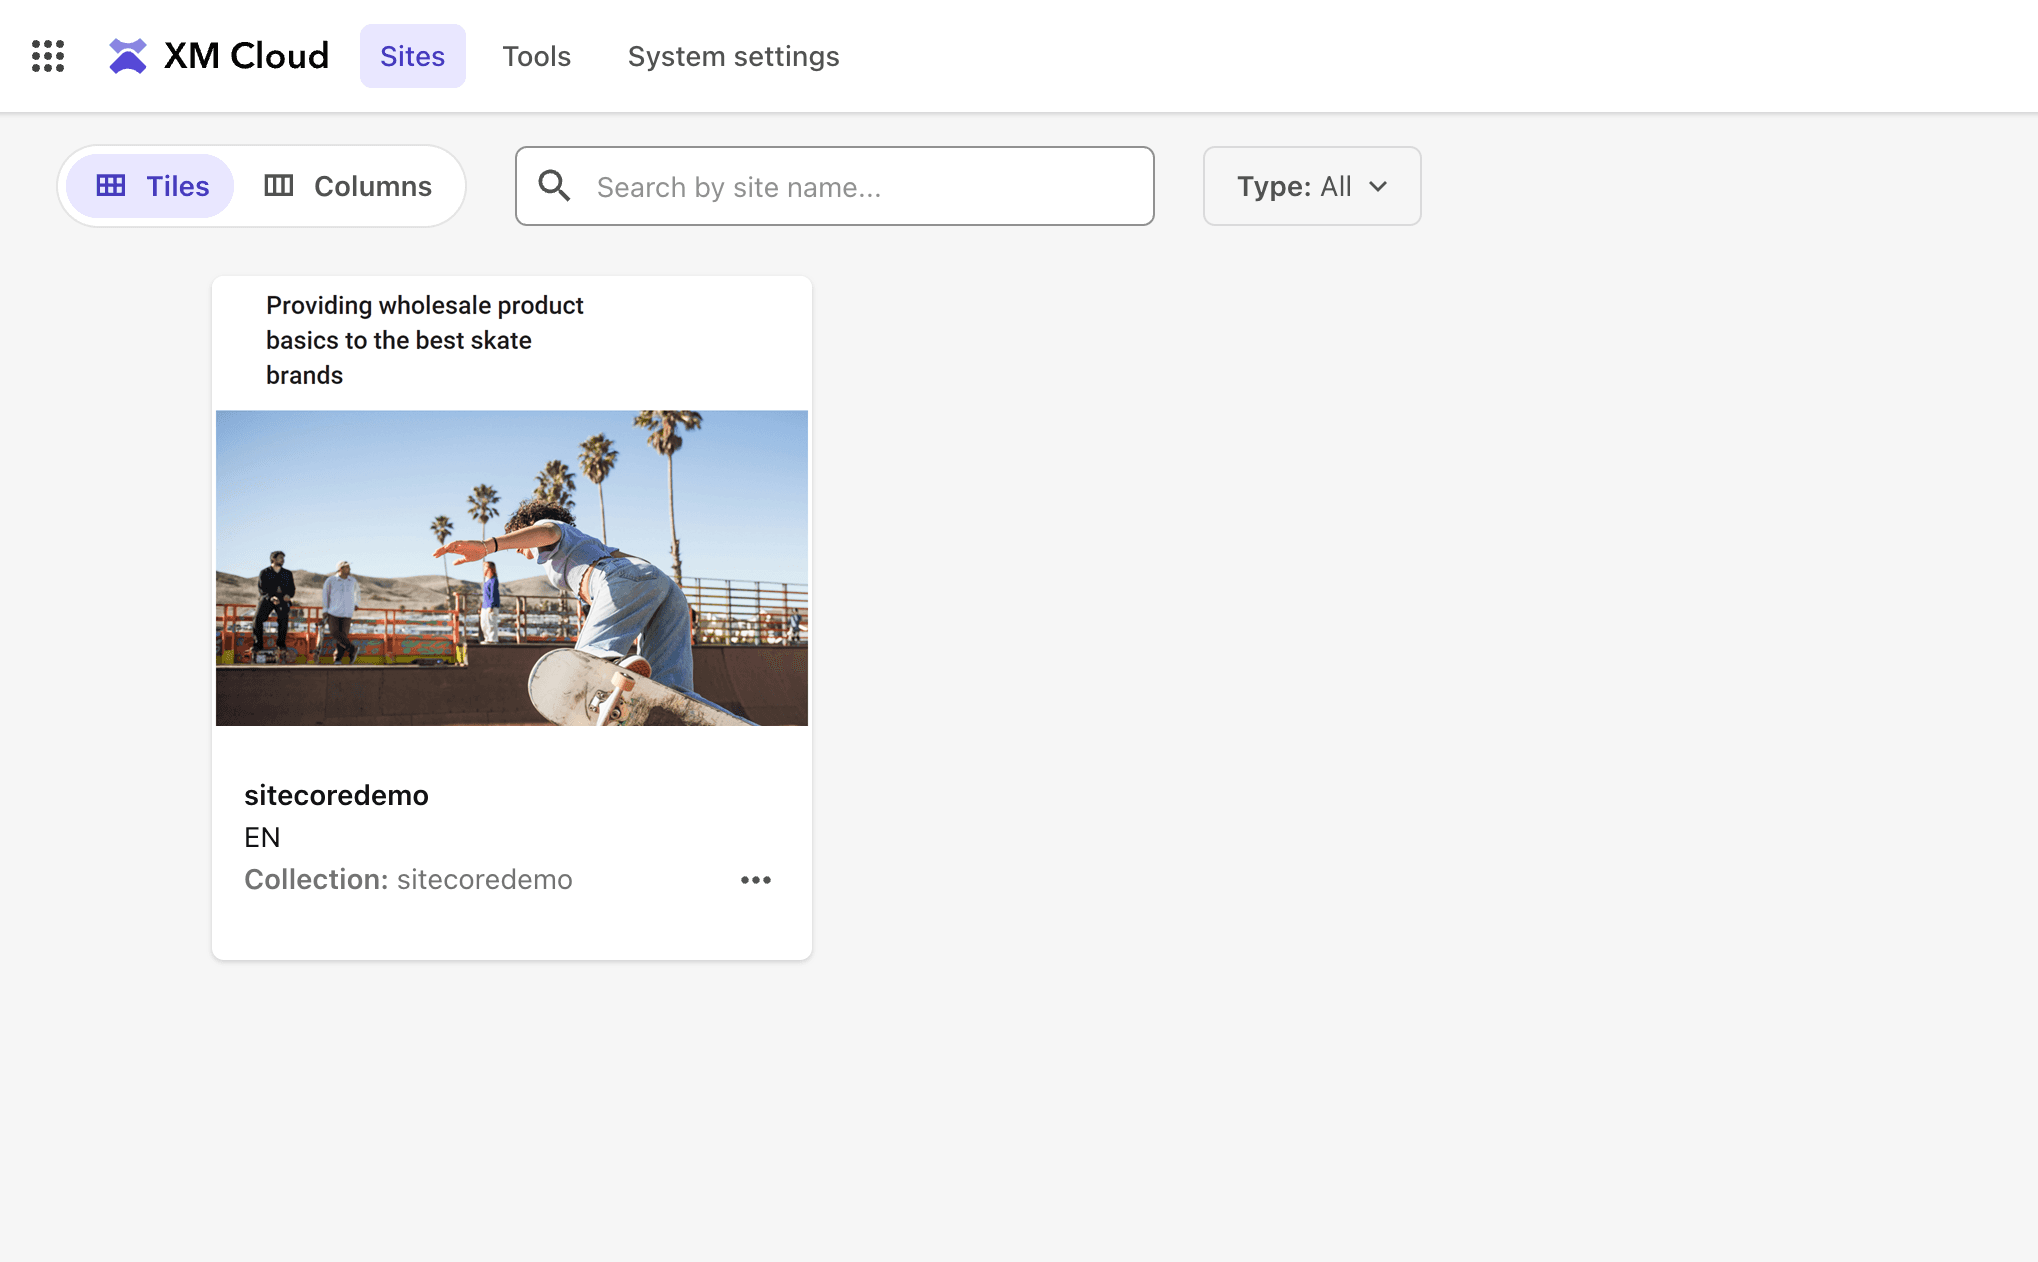
Assume the following situation: a site is ready to go.
Creating a project in Vercel
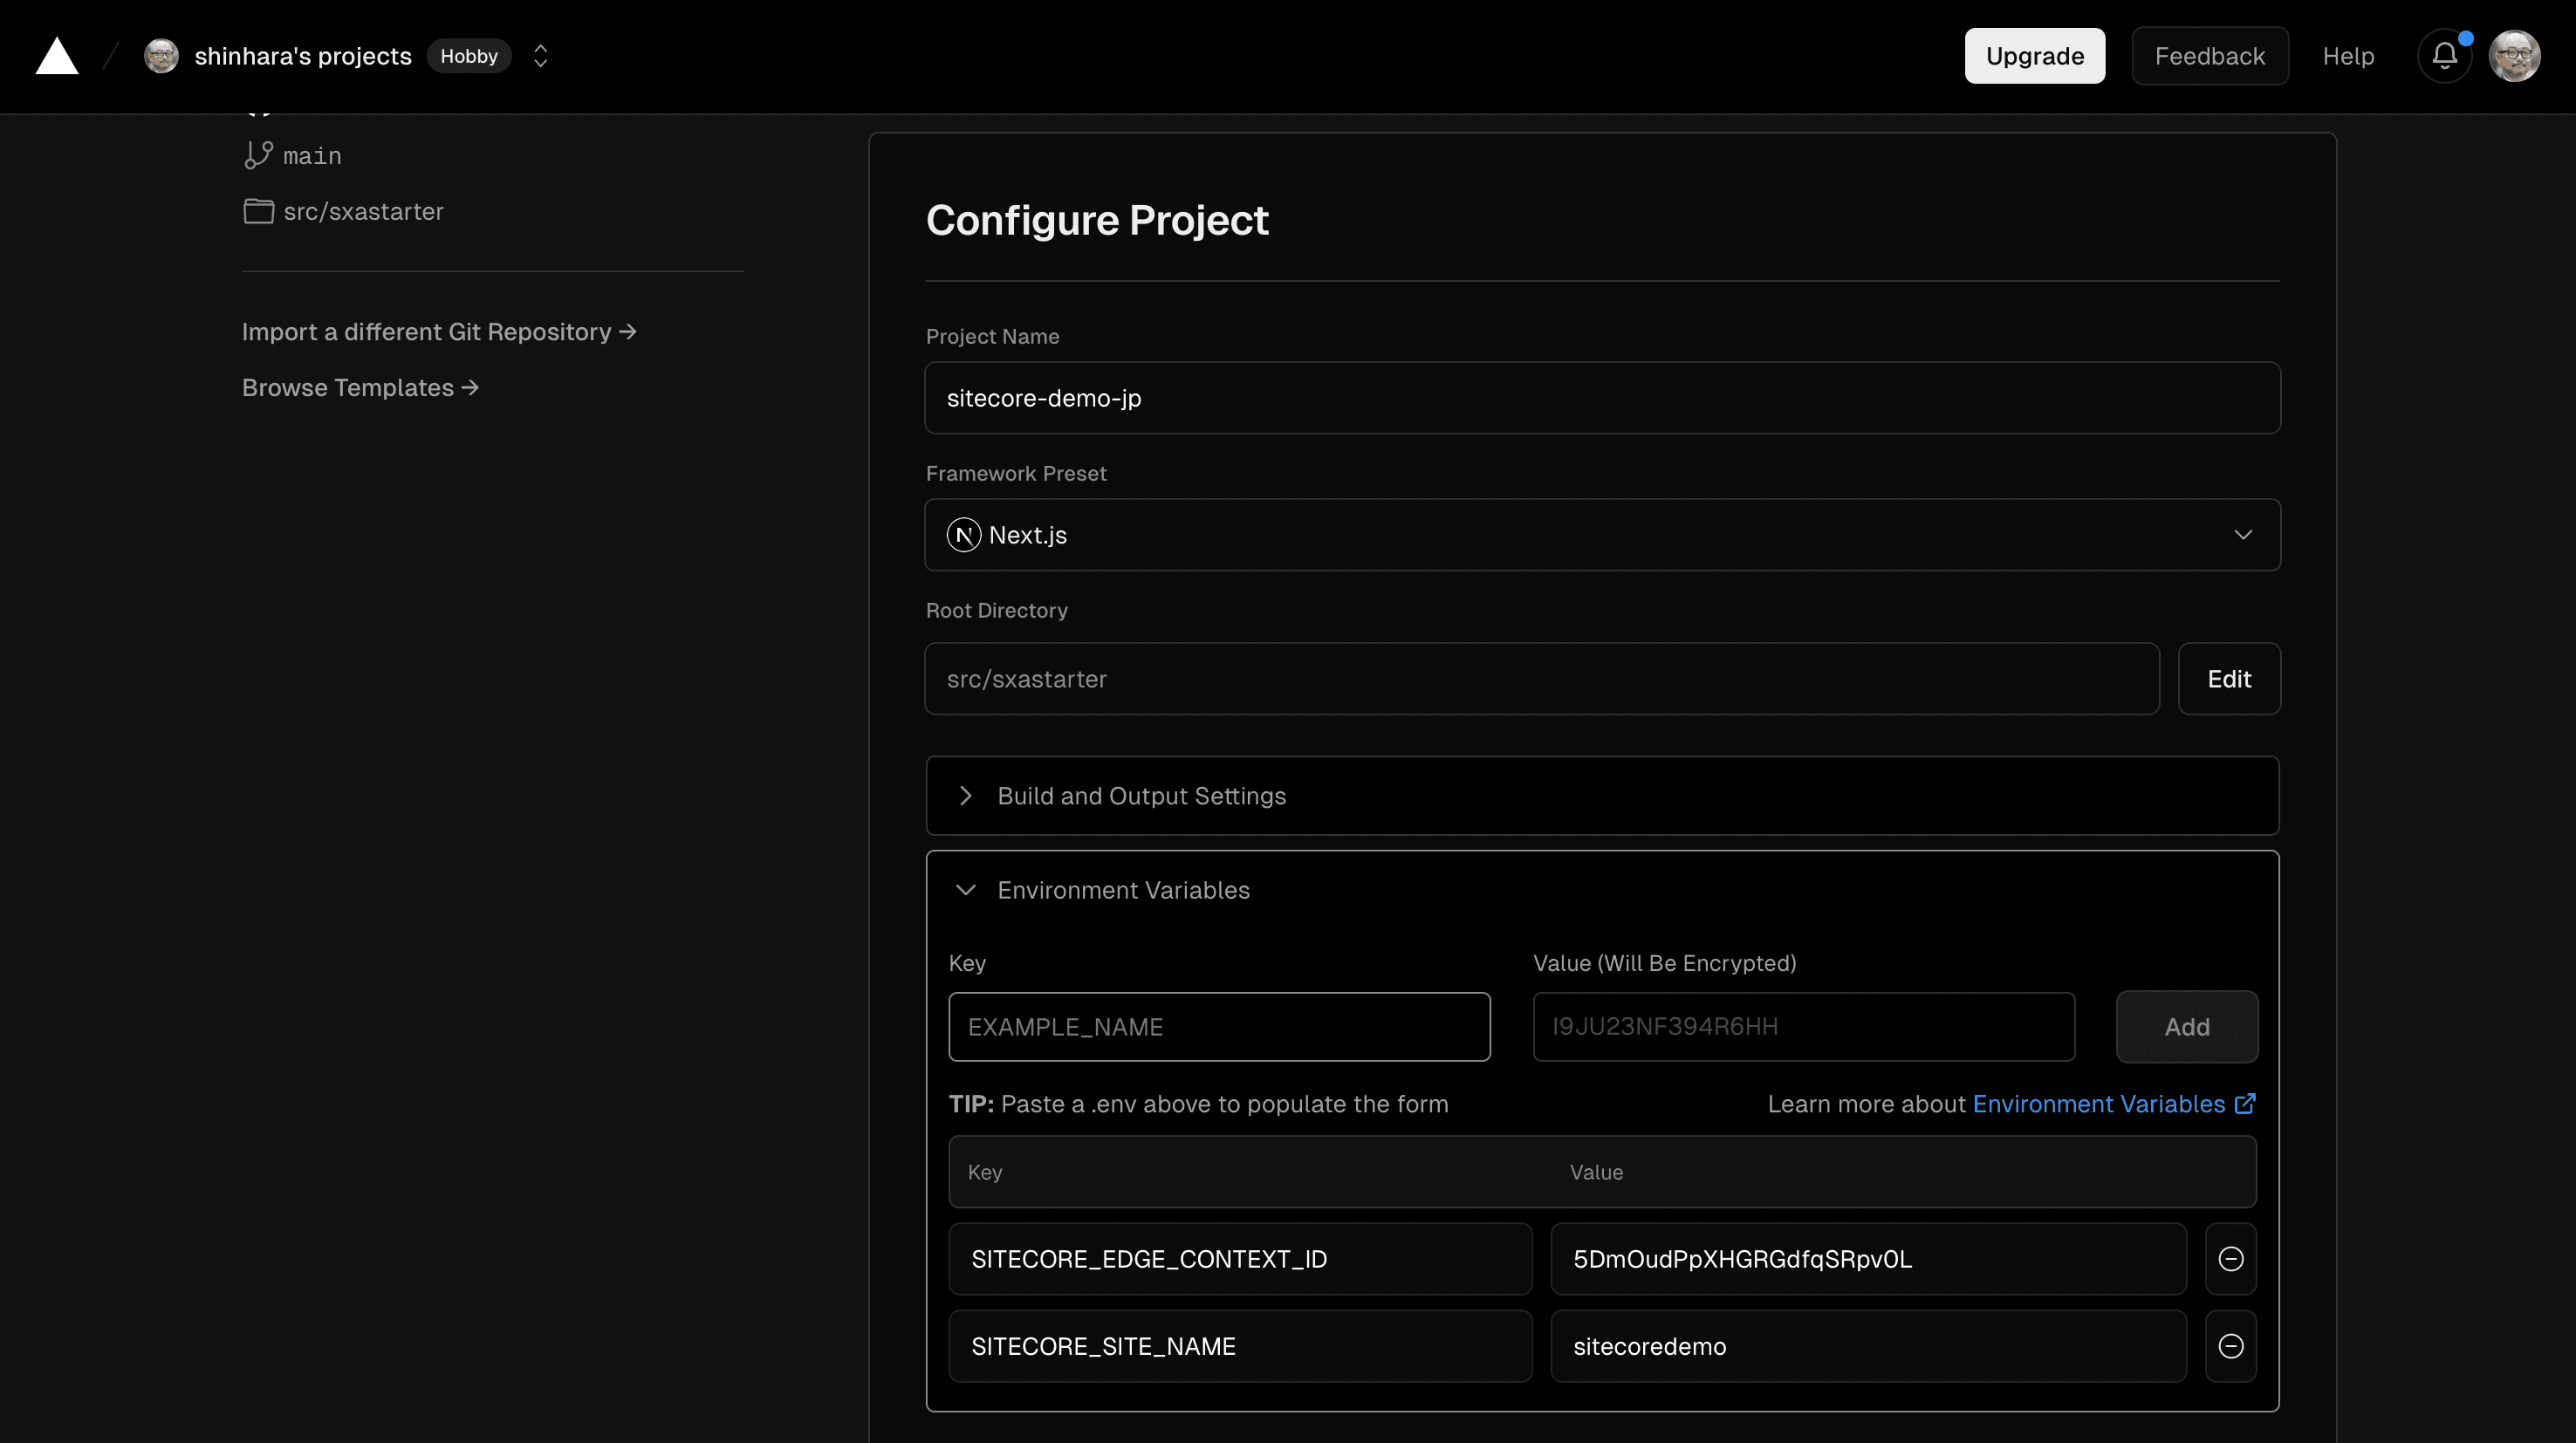
Create a new project. The steps are as follows.
- Create new project
- Select GitHub repository.
- Set the Environment Variables to the Live values in Developer Settings.
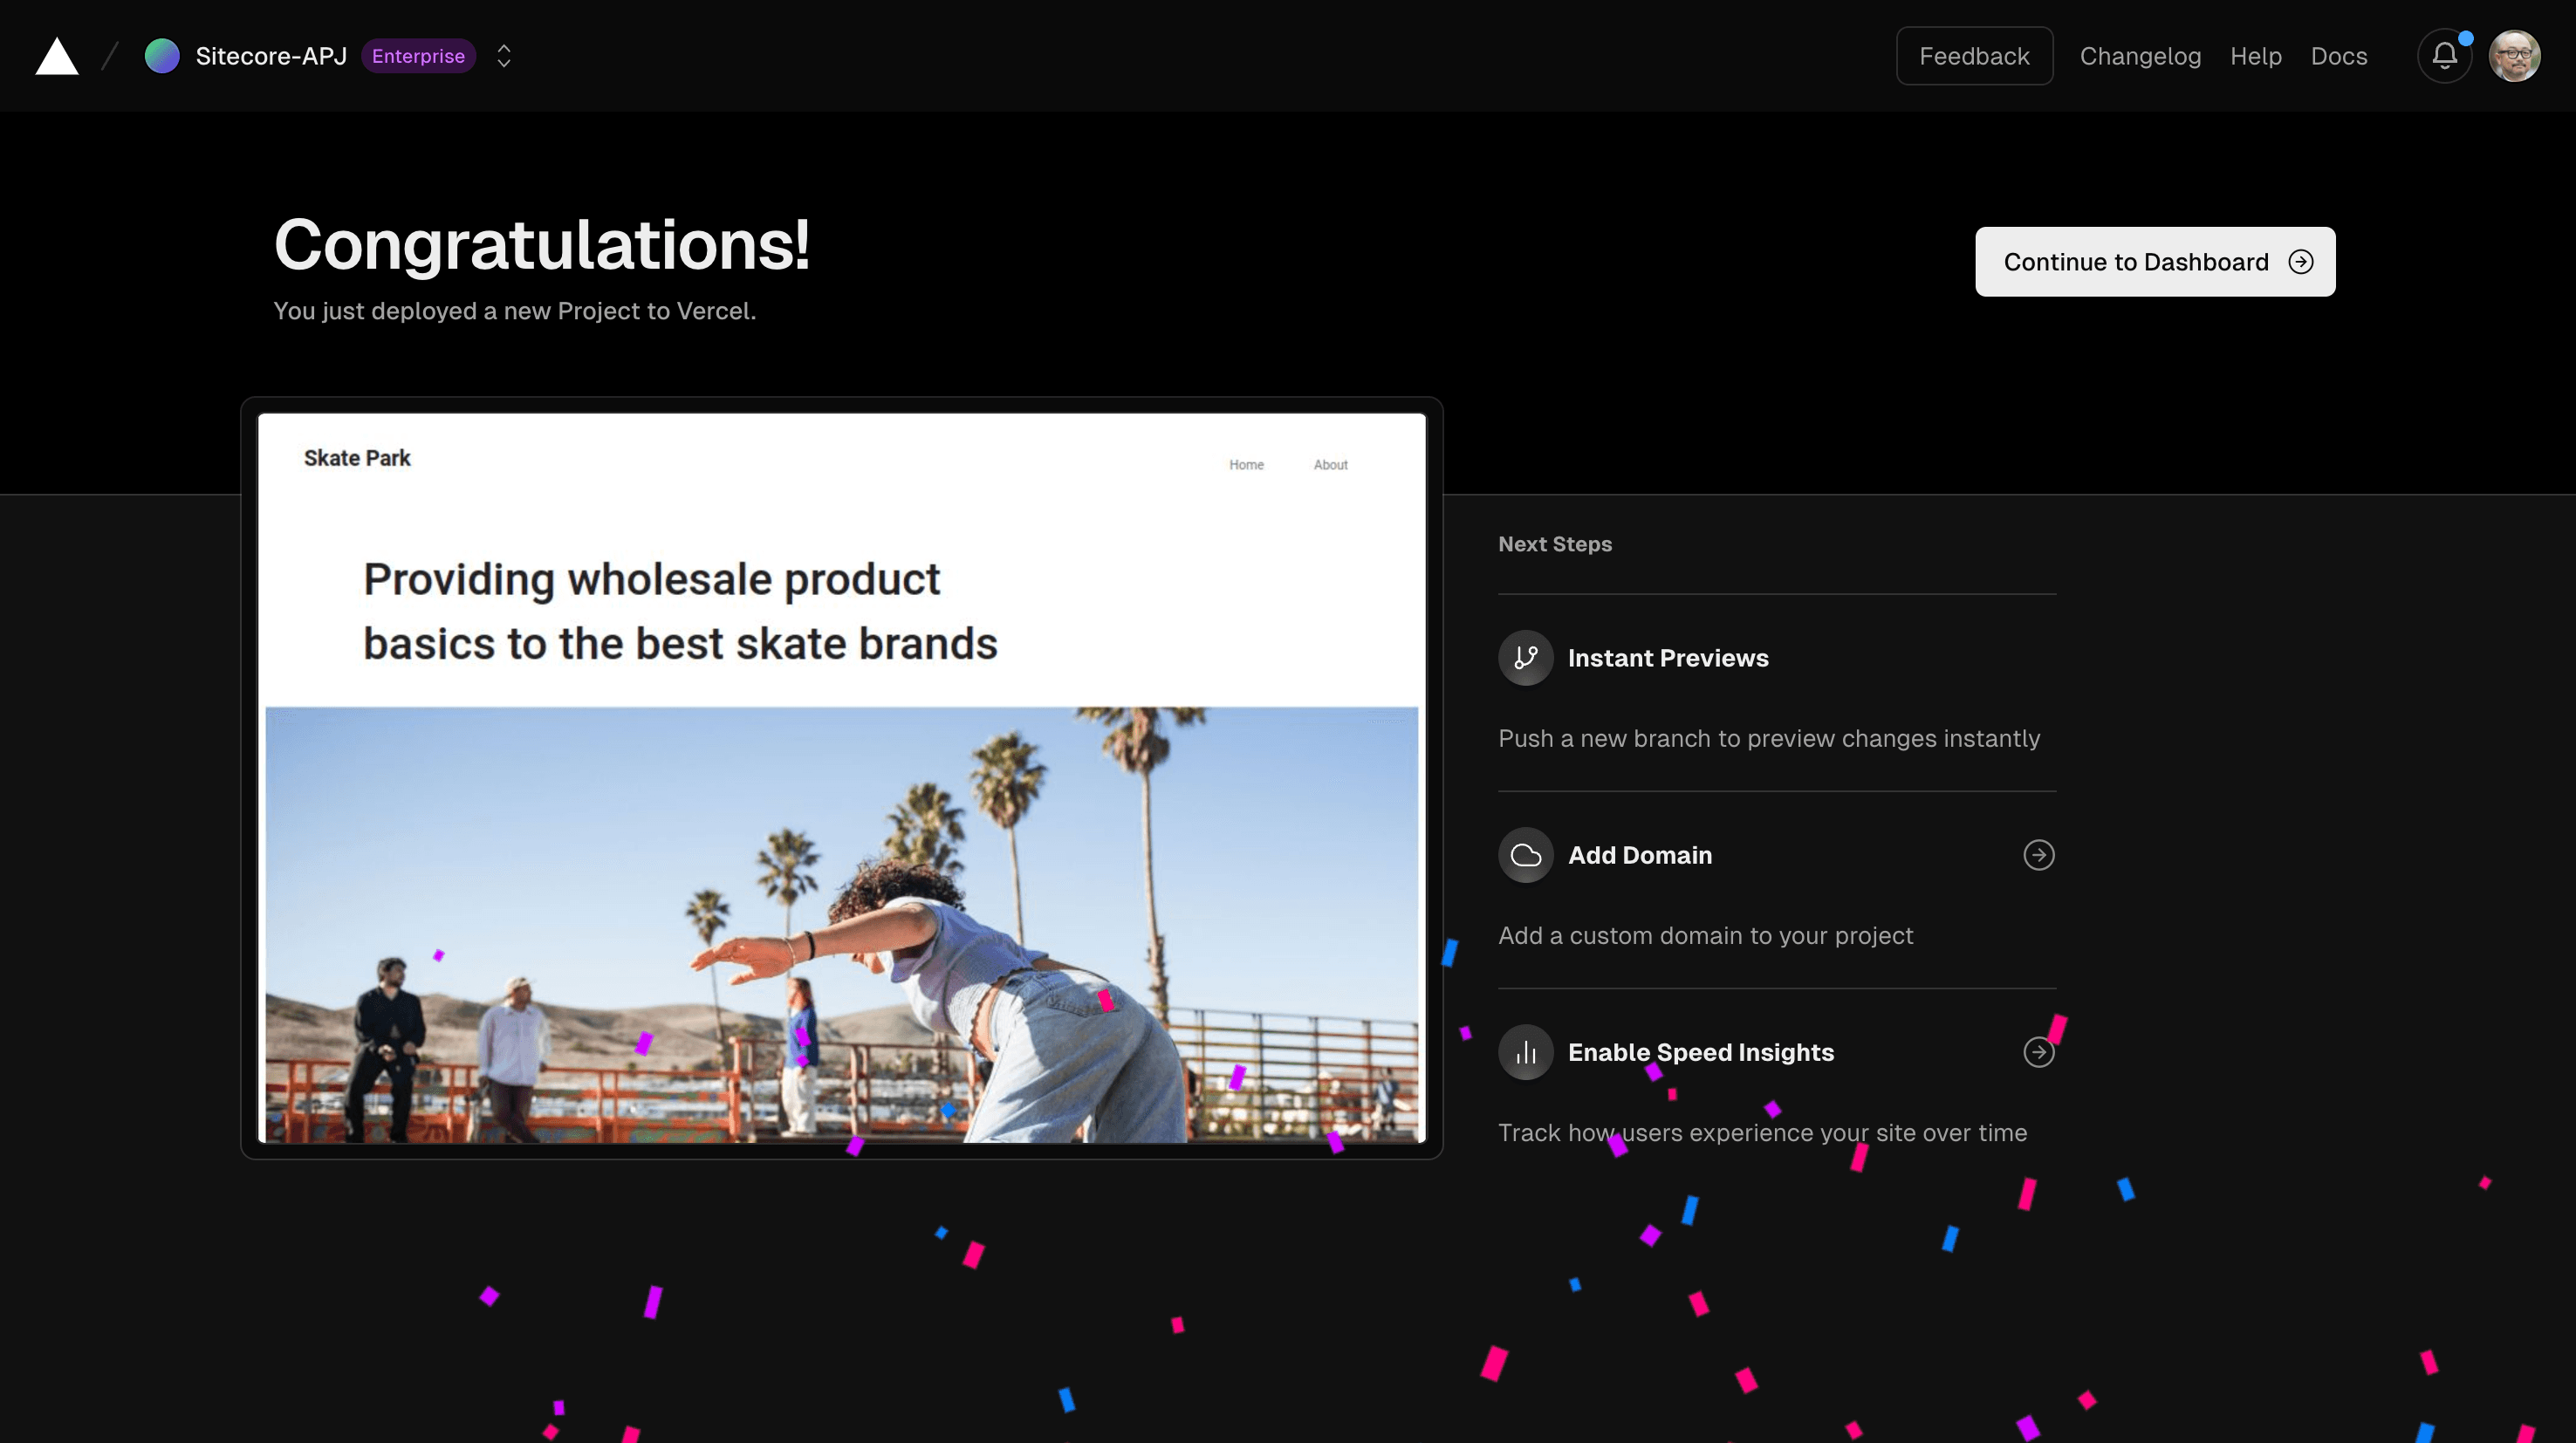
Click on the Deploy button and the website is up and running in a few moments.
Prepare Preview environment
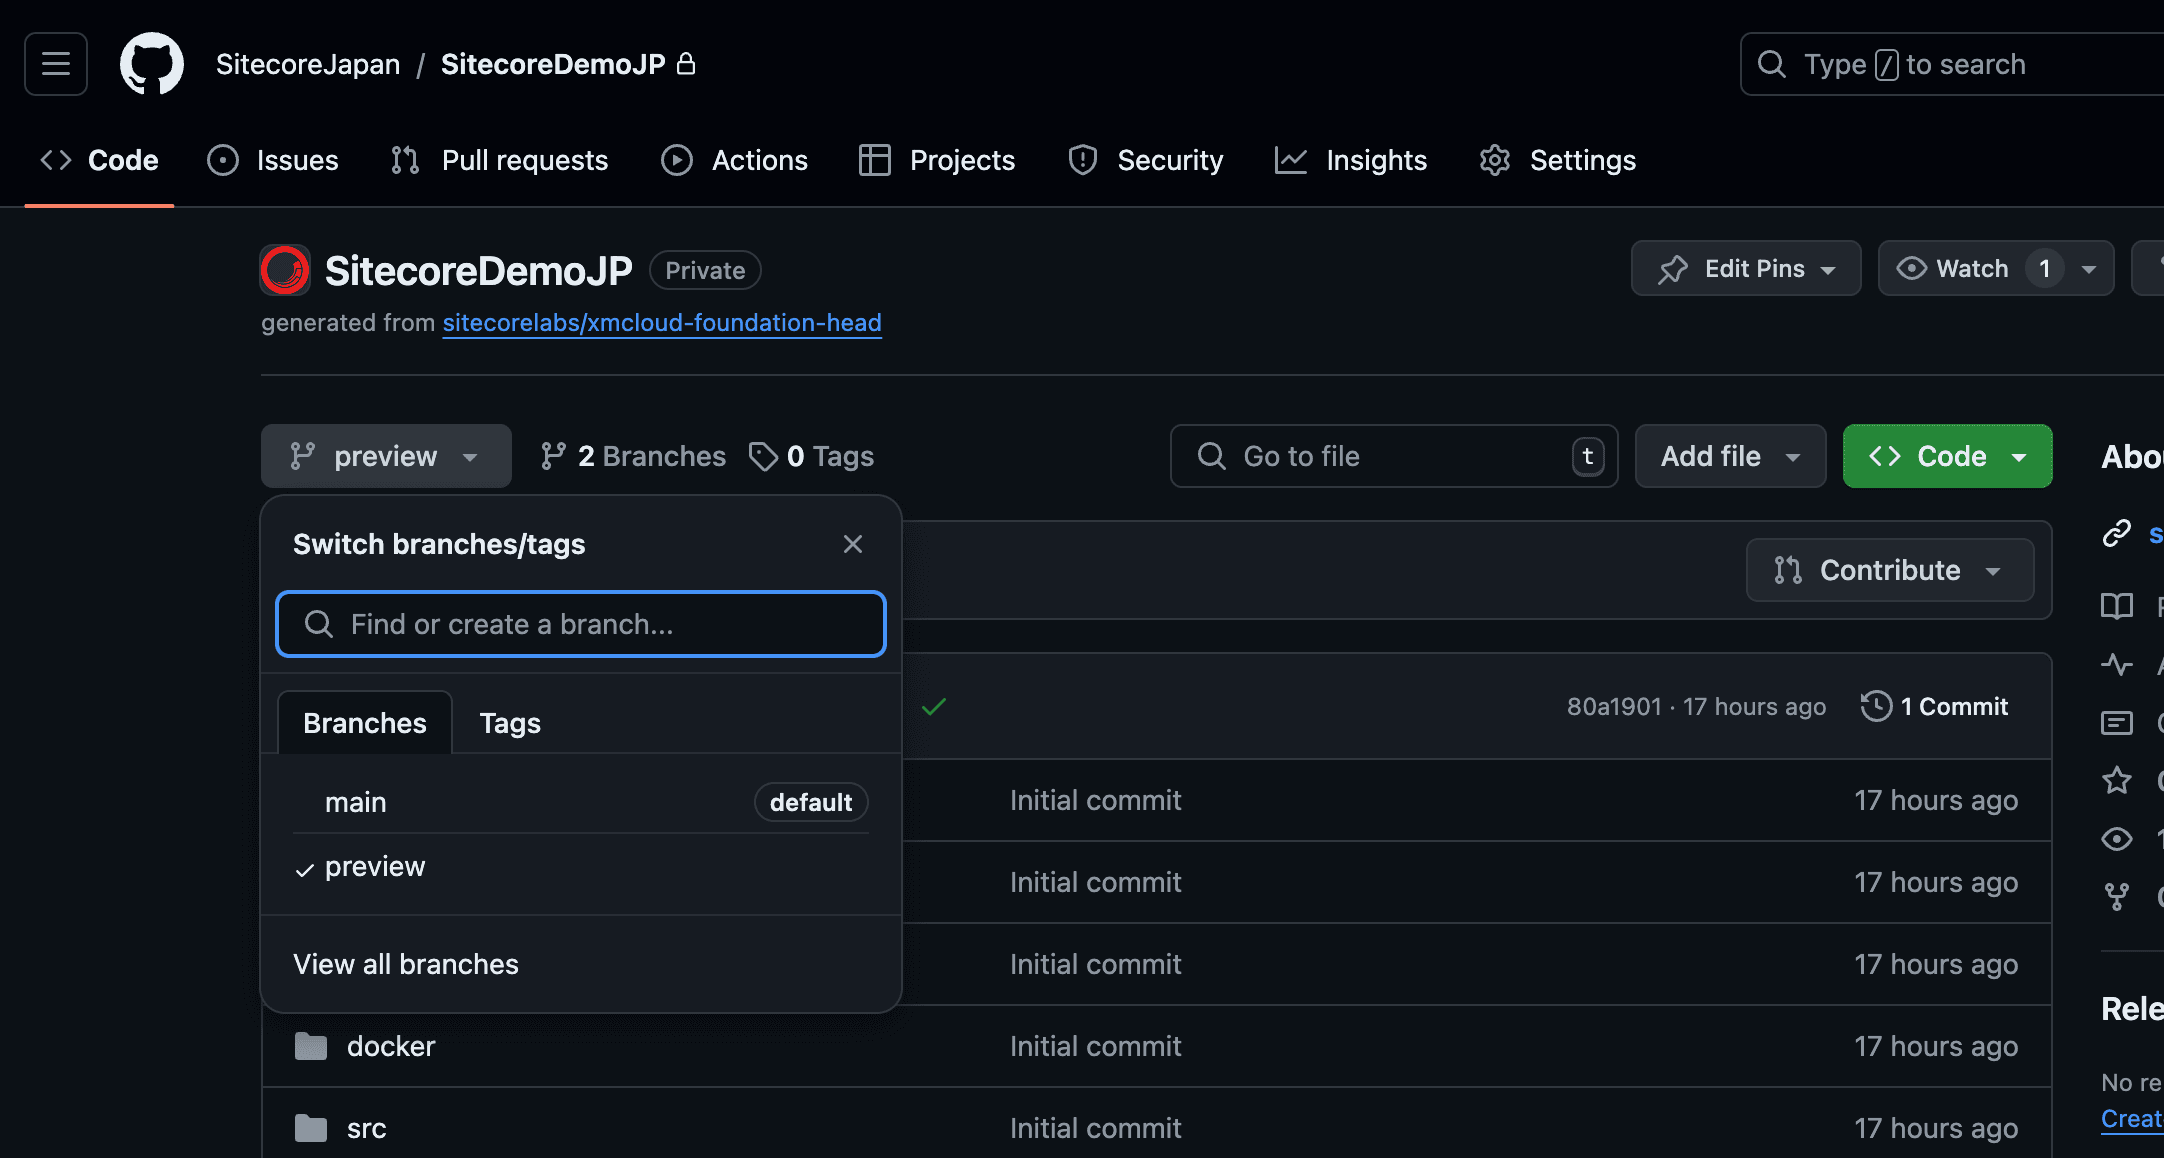
We have launched a site using Context ID's Live, but this time we will create a preview site using Preview. First, create a Preview branch in the GitHub repository.
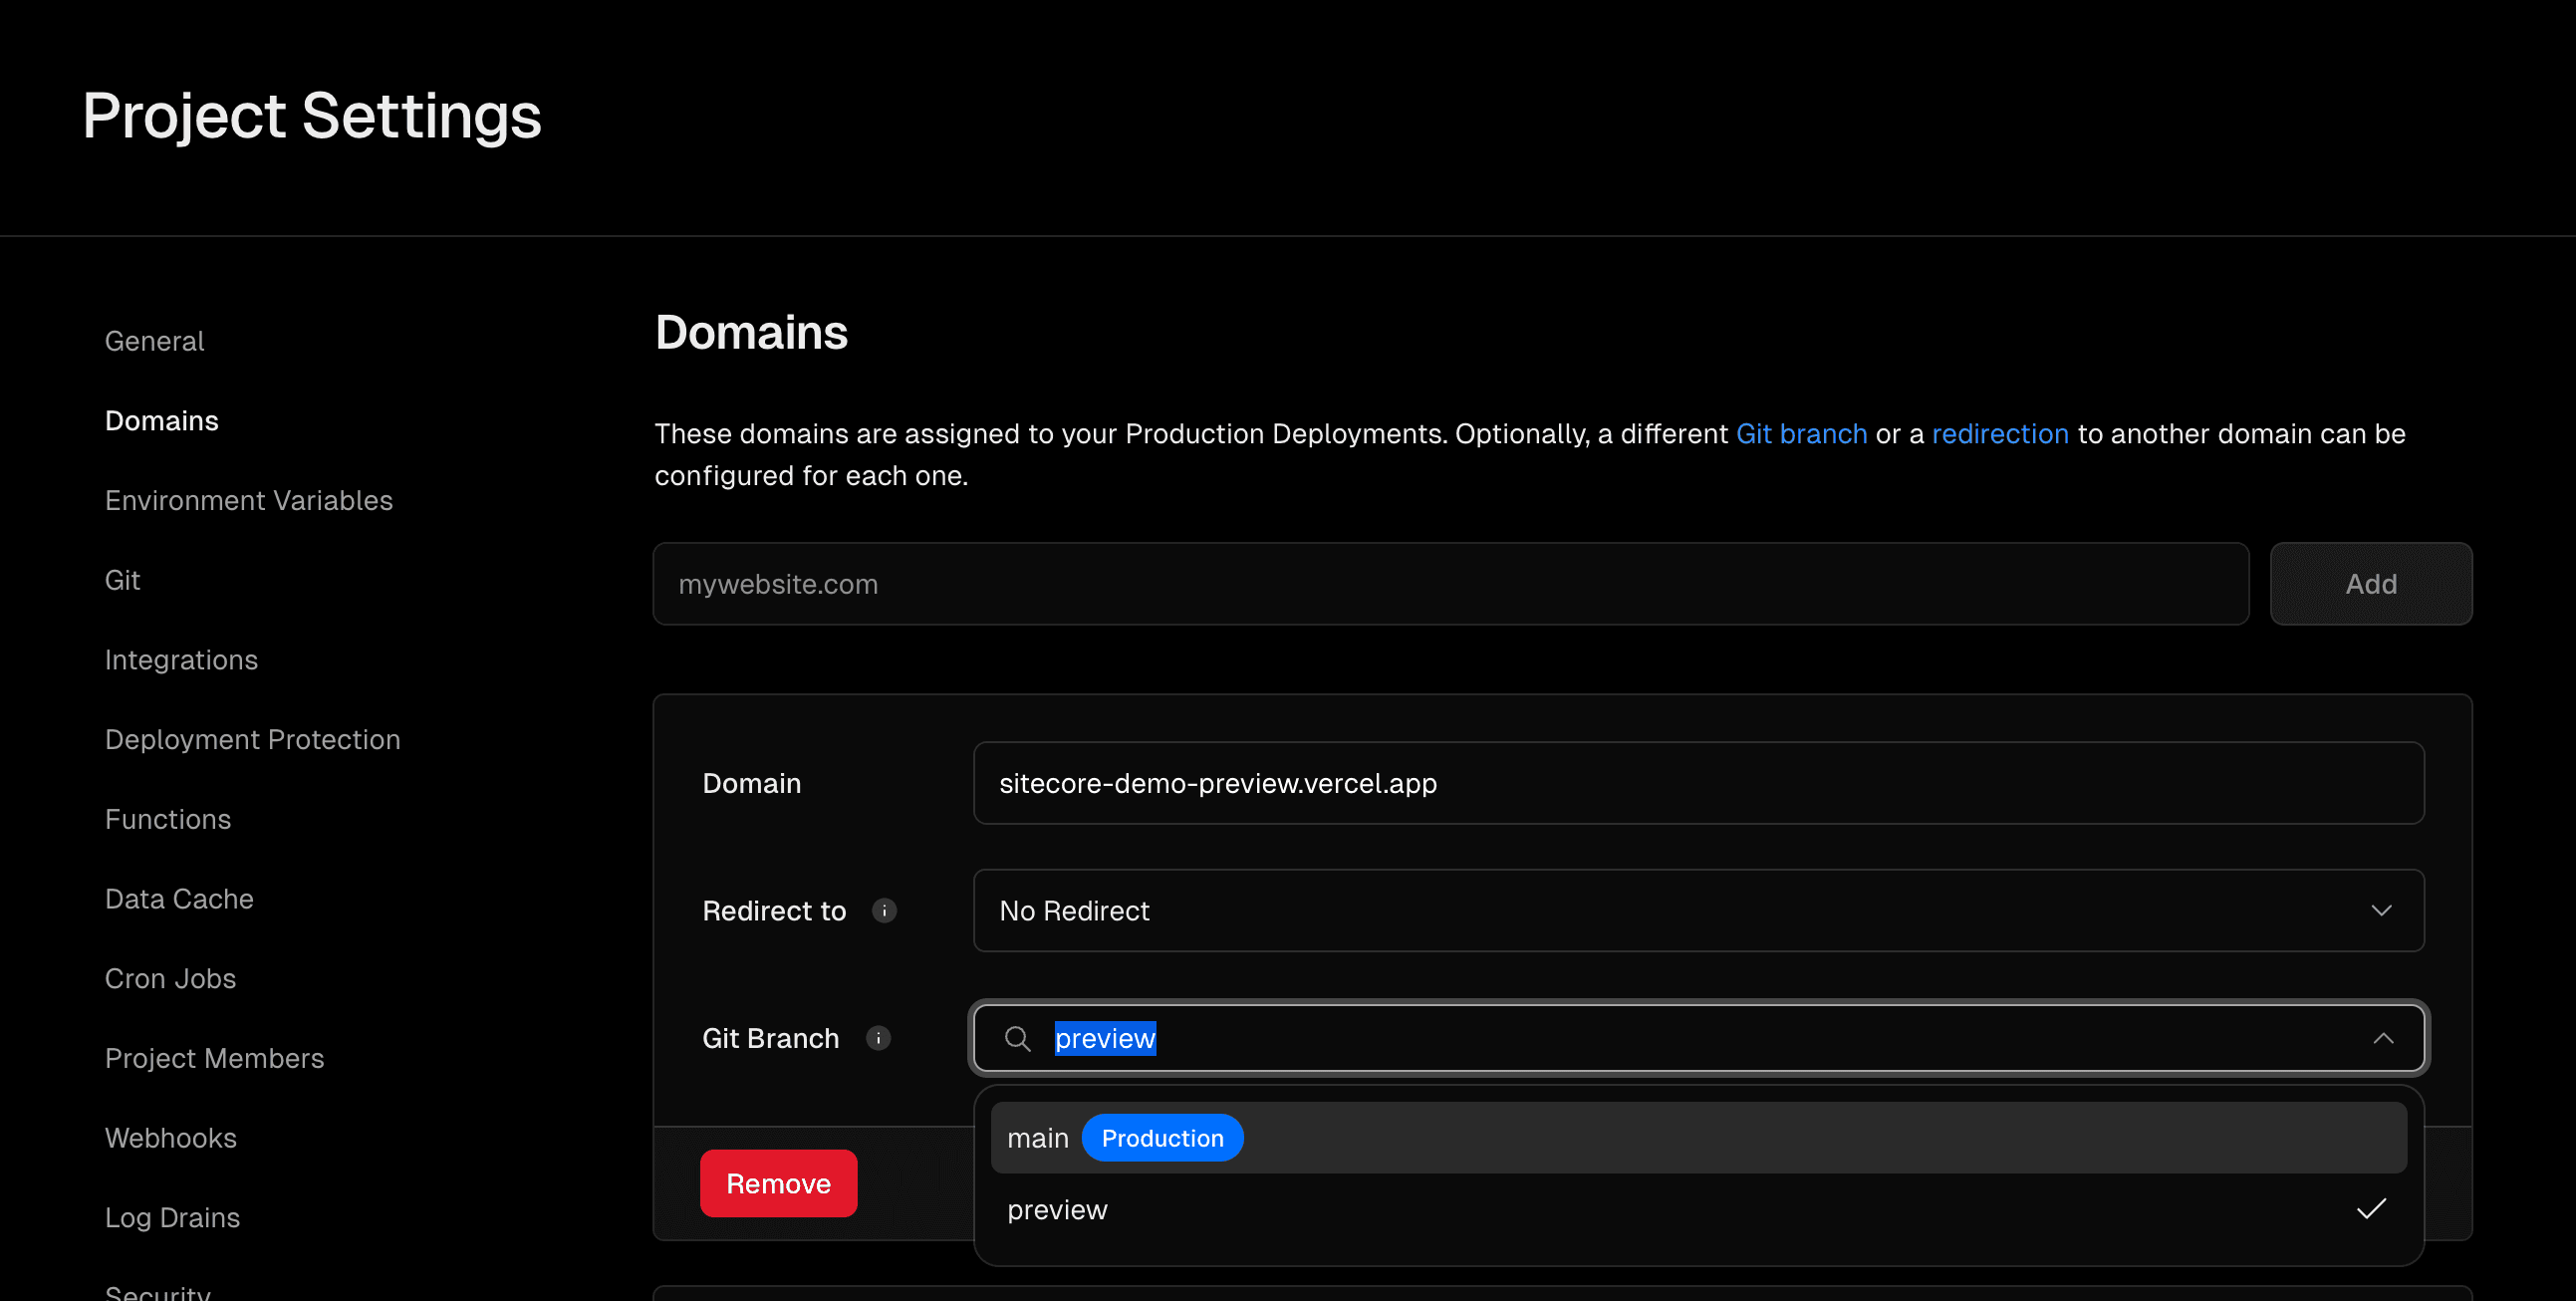
In Vercel, select Settings - Domain from the previous project to add a preview domain.
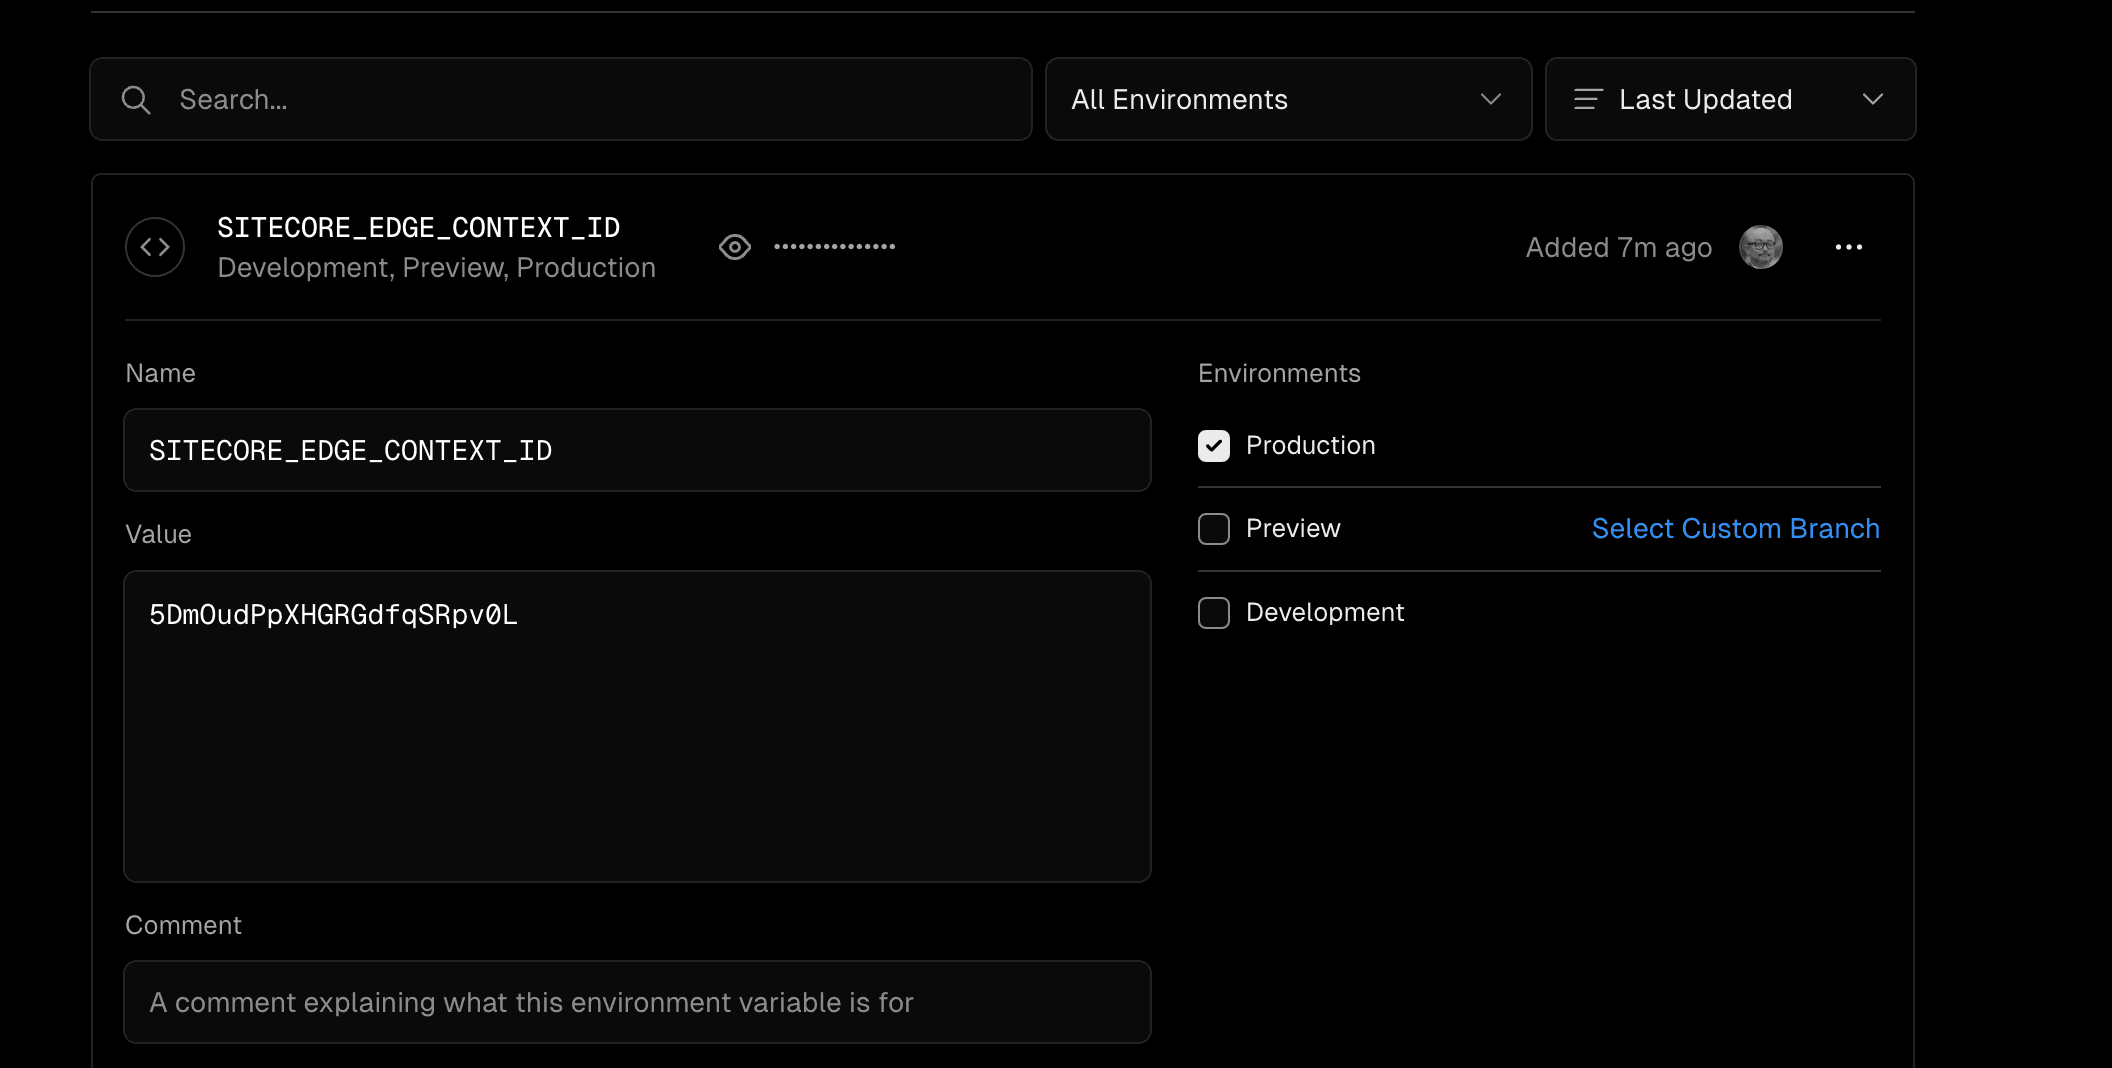
Then switch to the Environment Variables screen: do not change anything for SITECORE_SITE_NAME as it is common. For this reason, only check Production for SITECORE_EDGE_CONTEXT_ID.
Then add the Preview values SITECORE_EDGE_CONTEXT_ID and JSS_EDITING_SECRET from the Developer settings screen in XM Cloud Deploy.
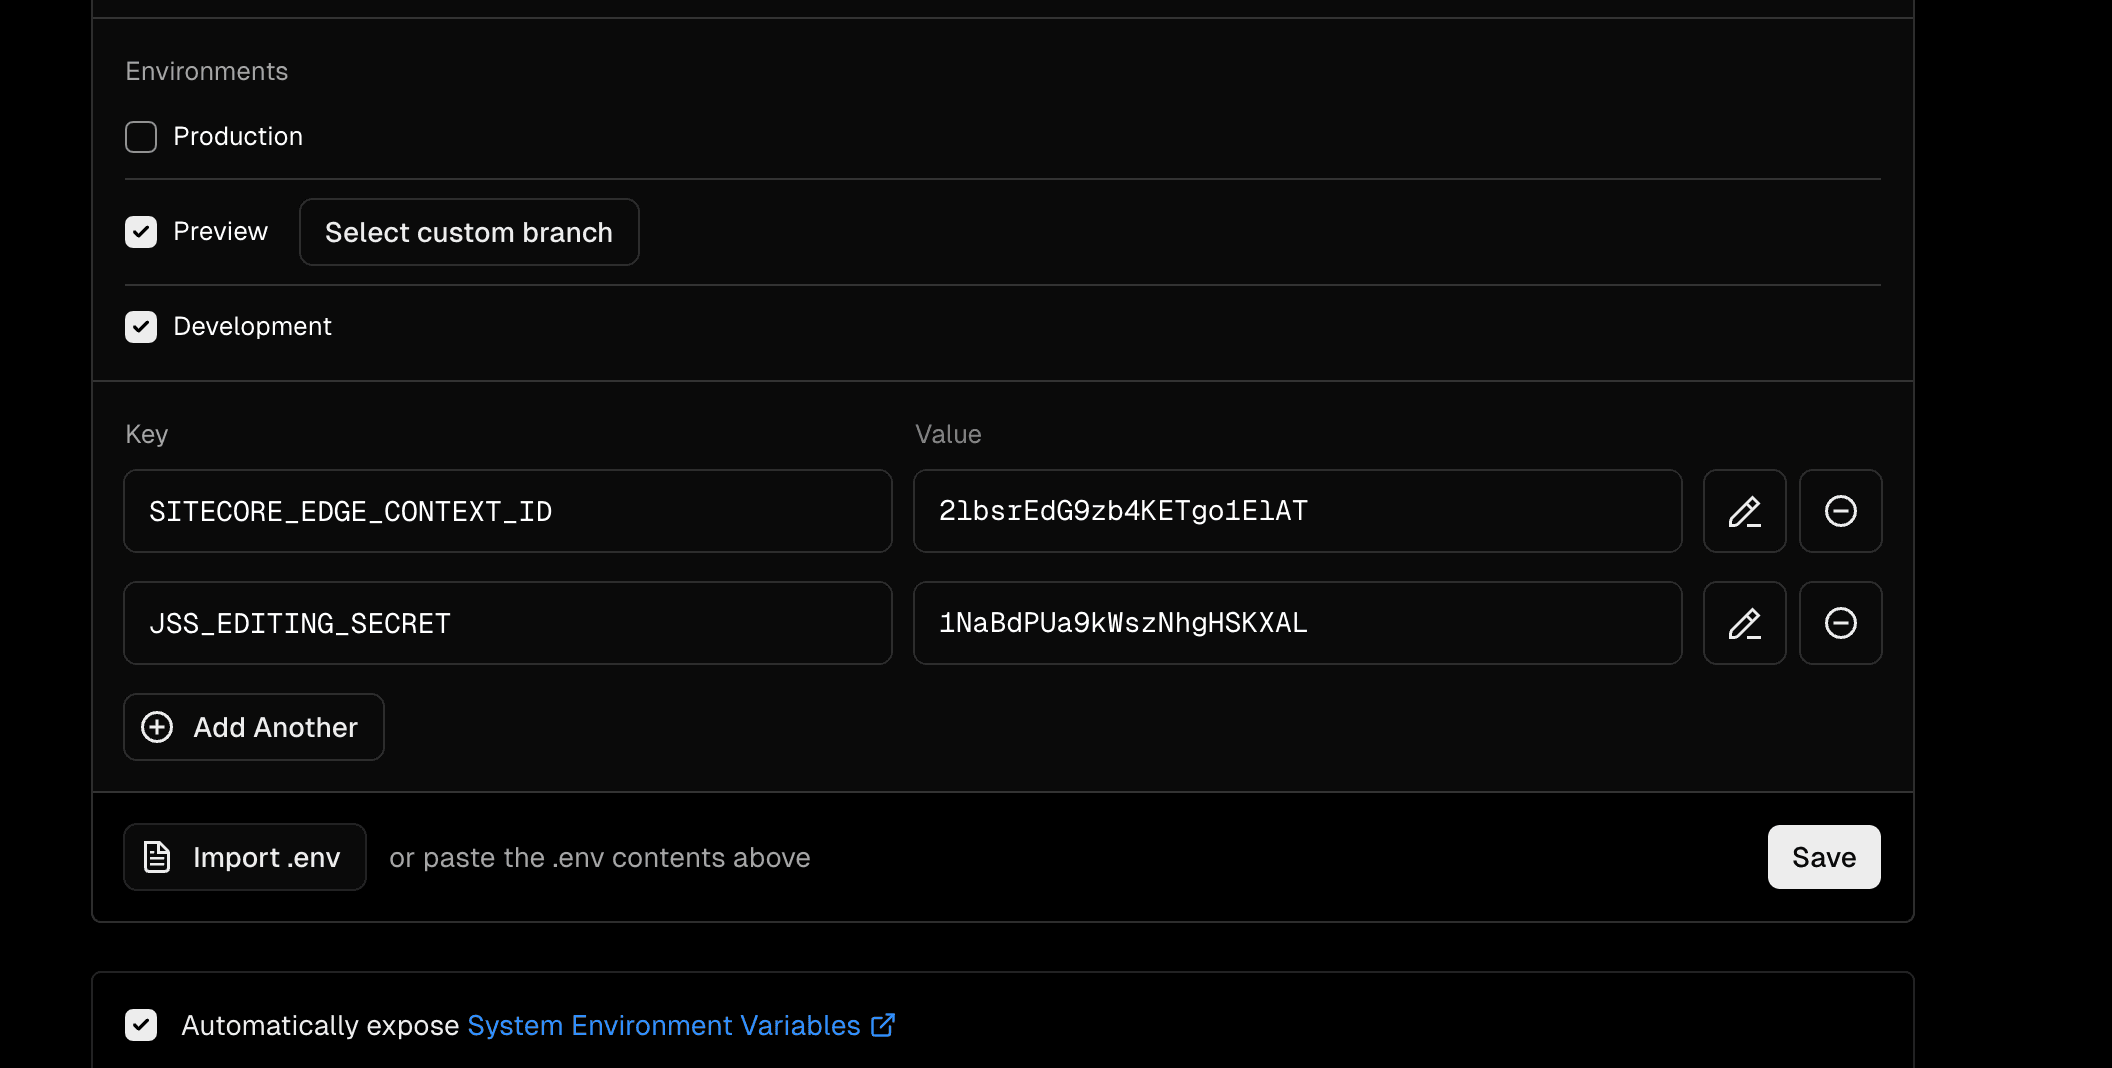
You are now ready to deploy the Preview; updating the Preview branch on GitHub will automatically start the Build.
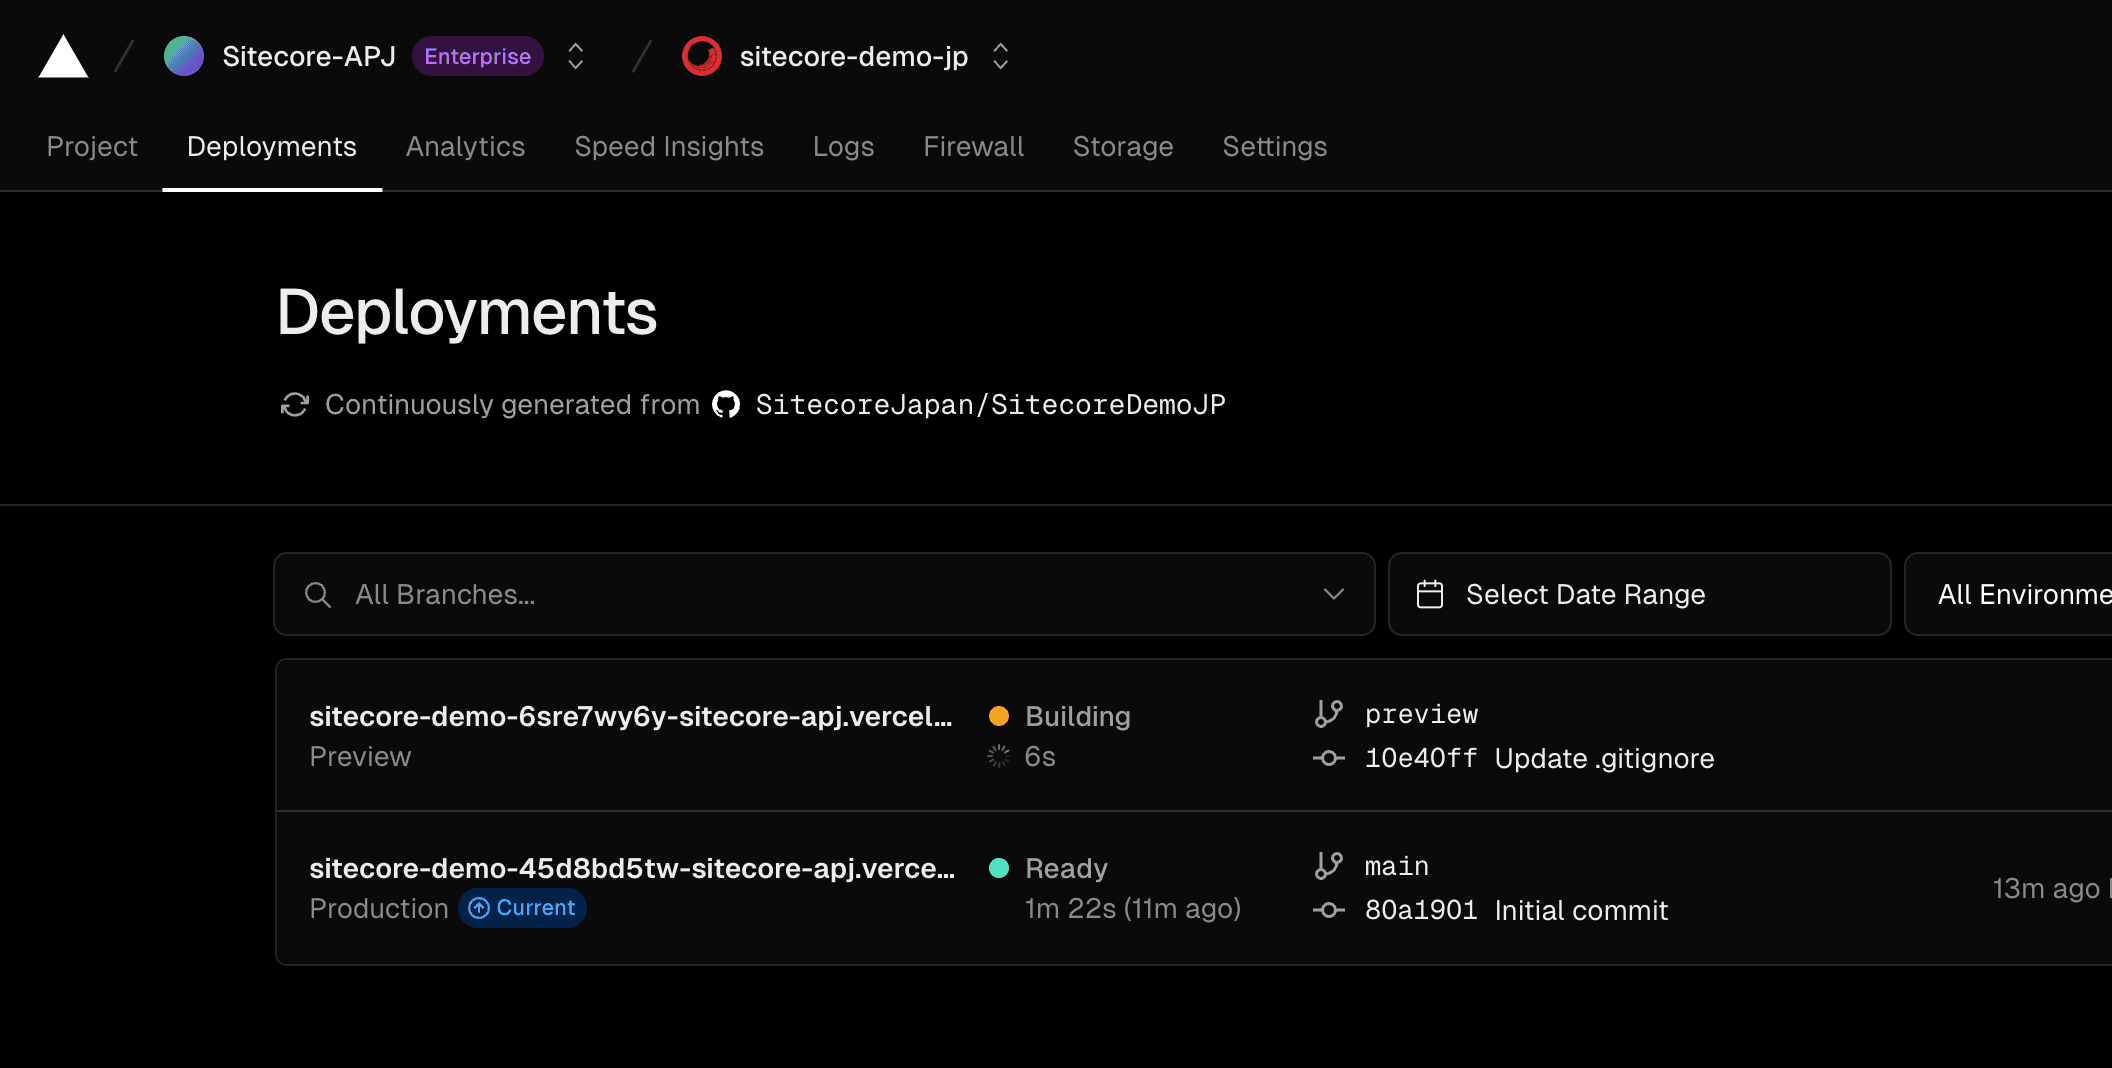
After a short time, the site was up and running.
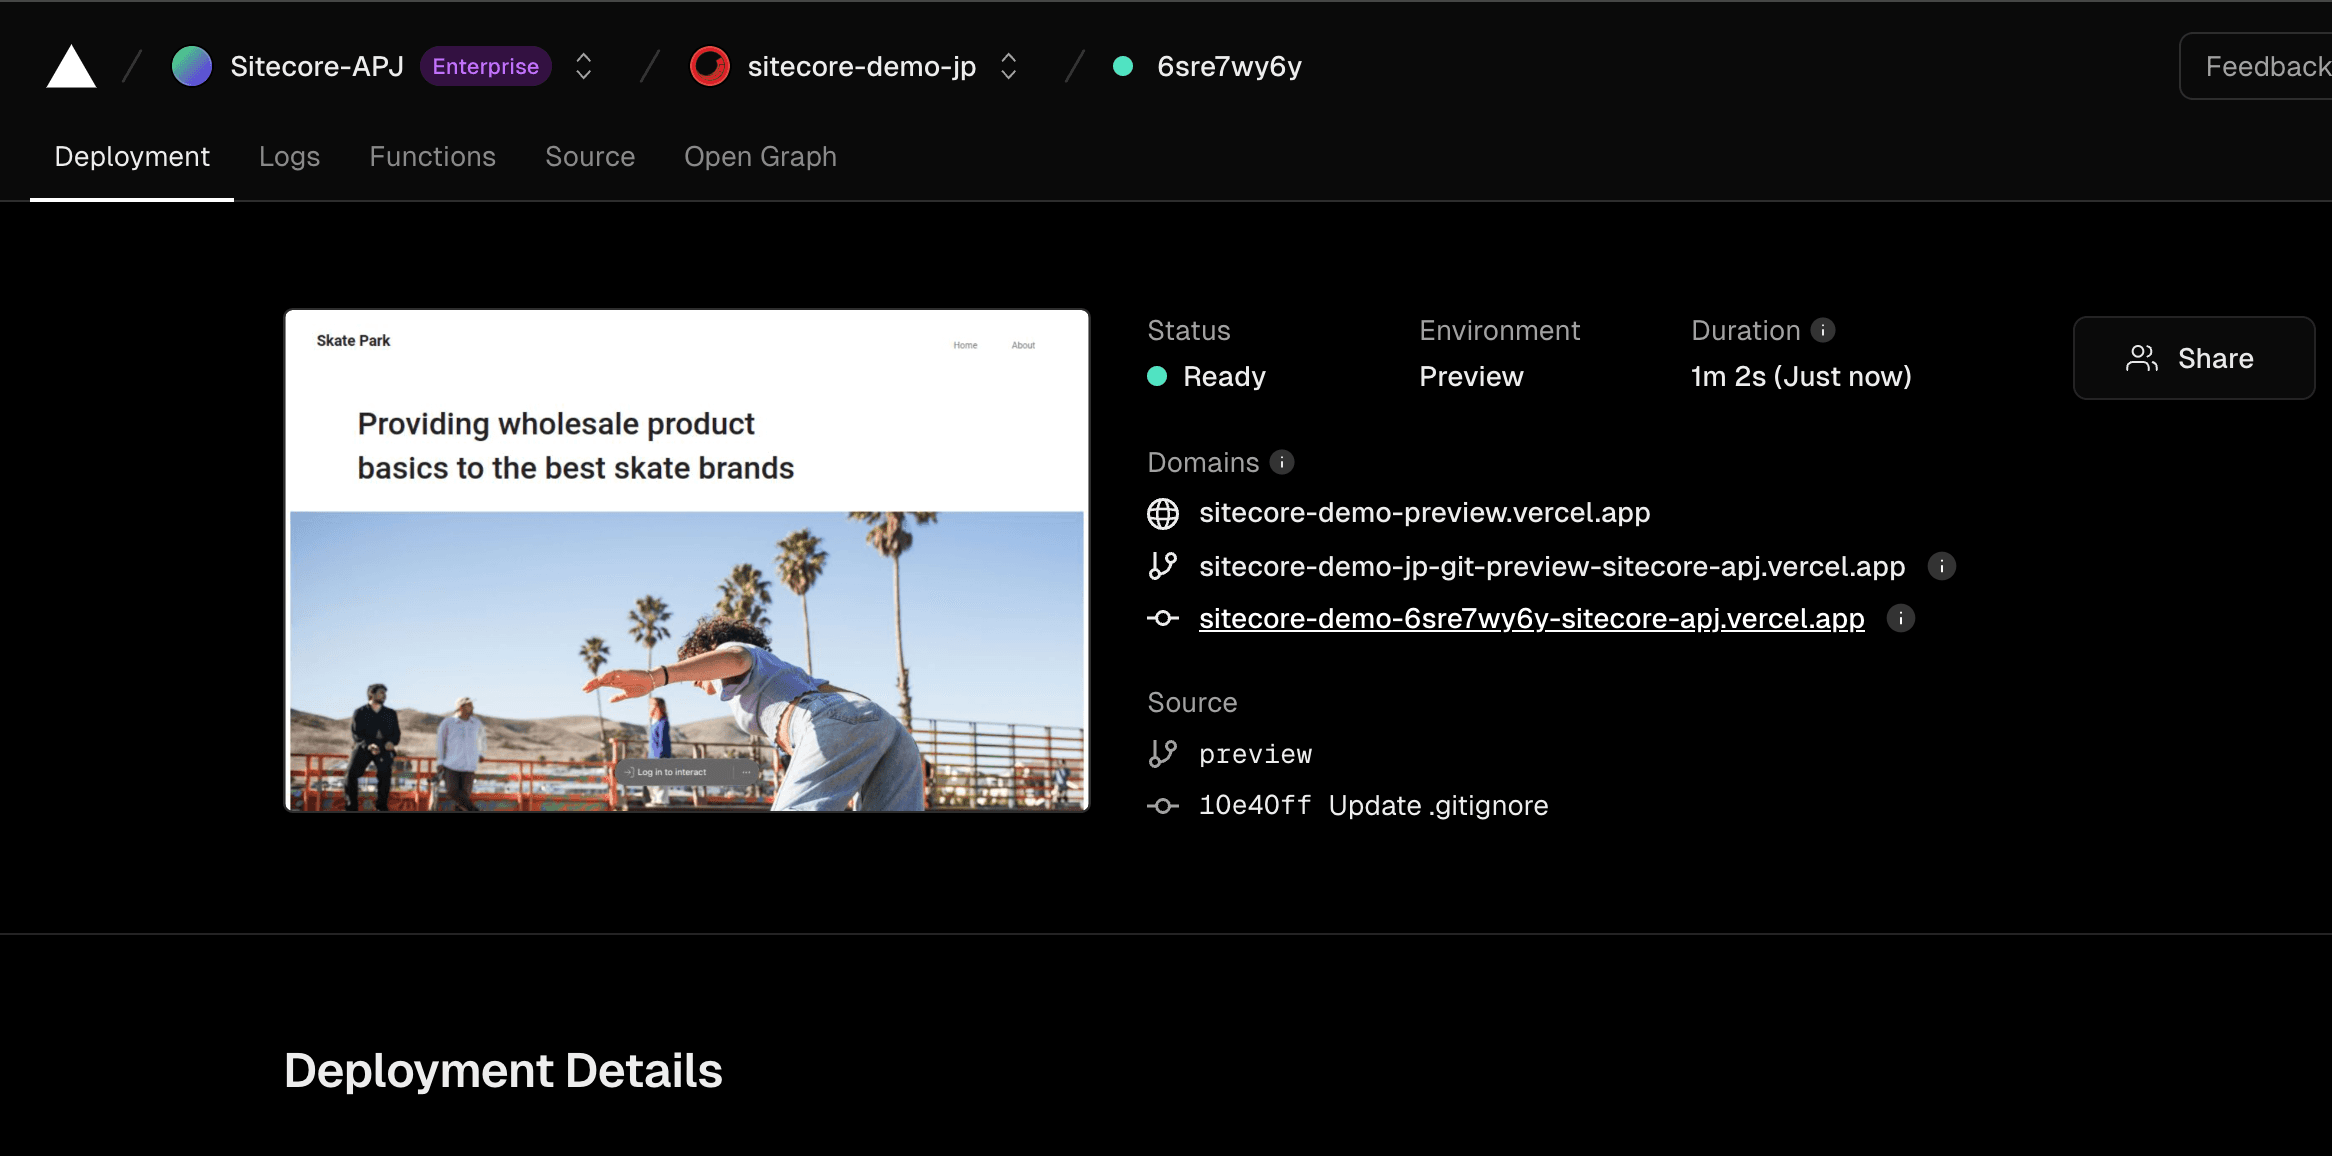
Find out the difference between Live and Preview.
Now you have two sites up and running, what's the difference?
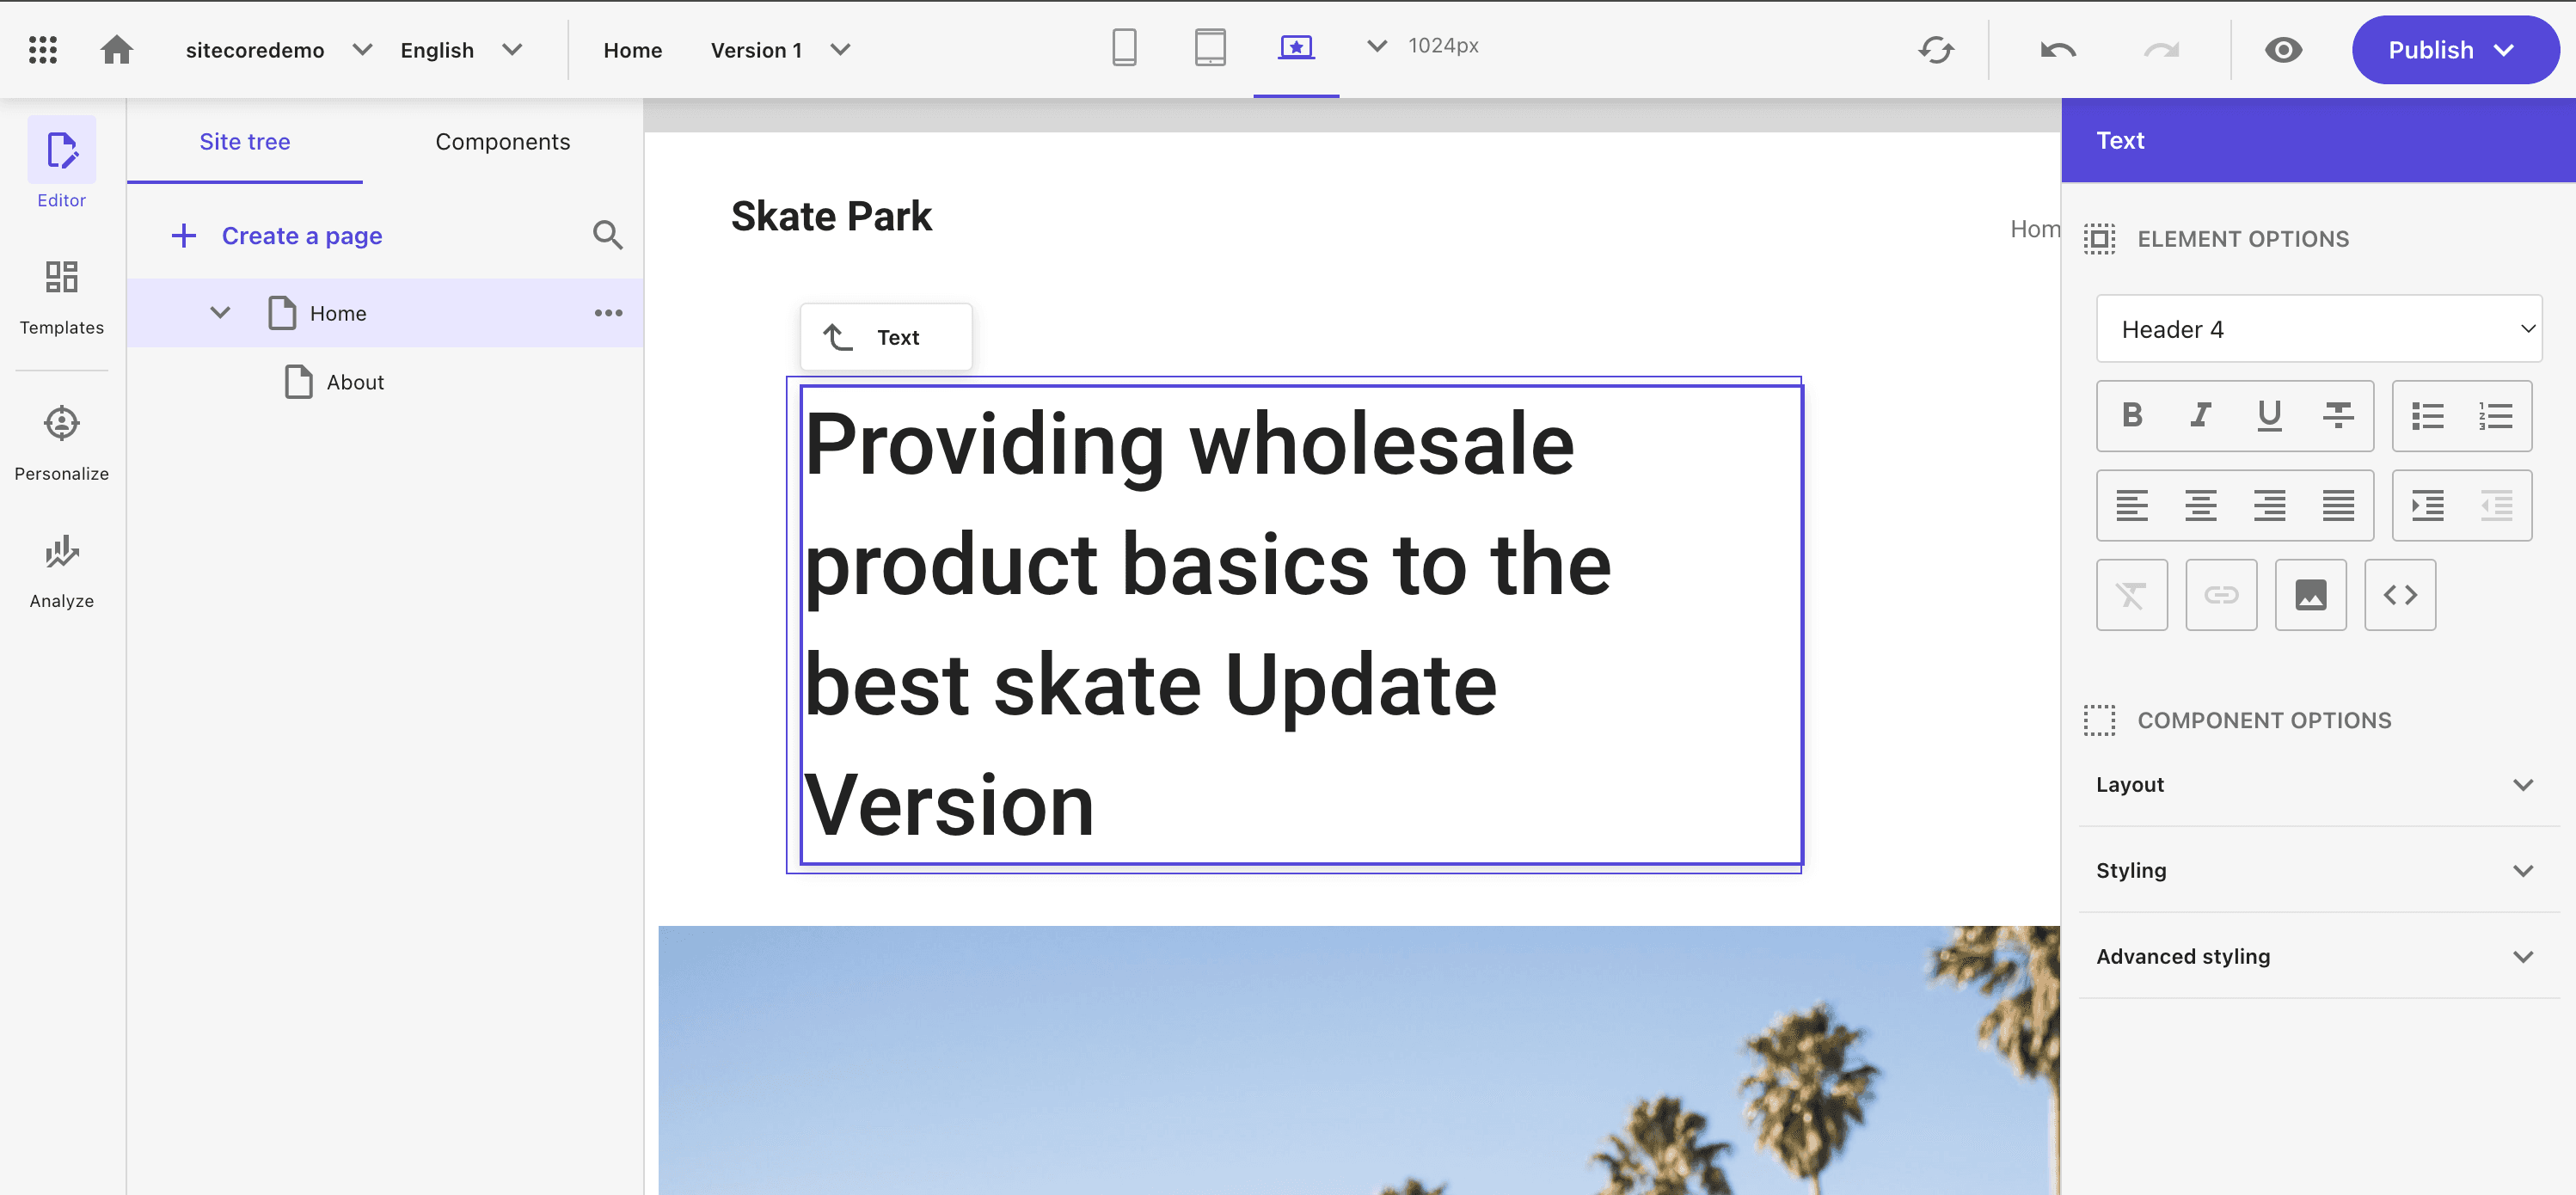
With regard to this page, the Preview website shows that the content has already been updated.
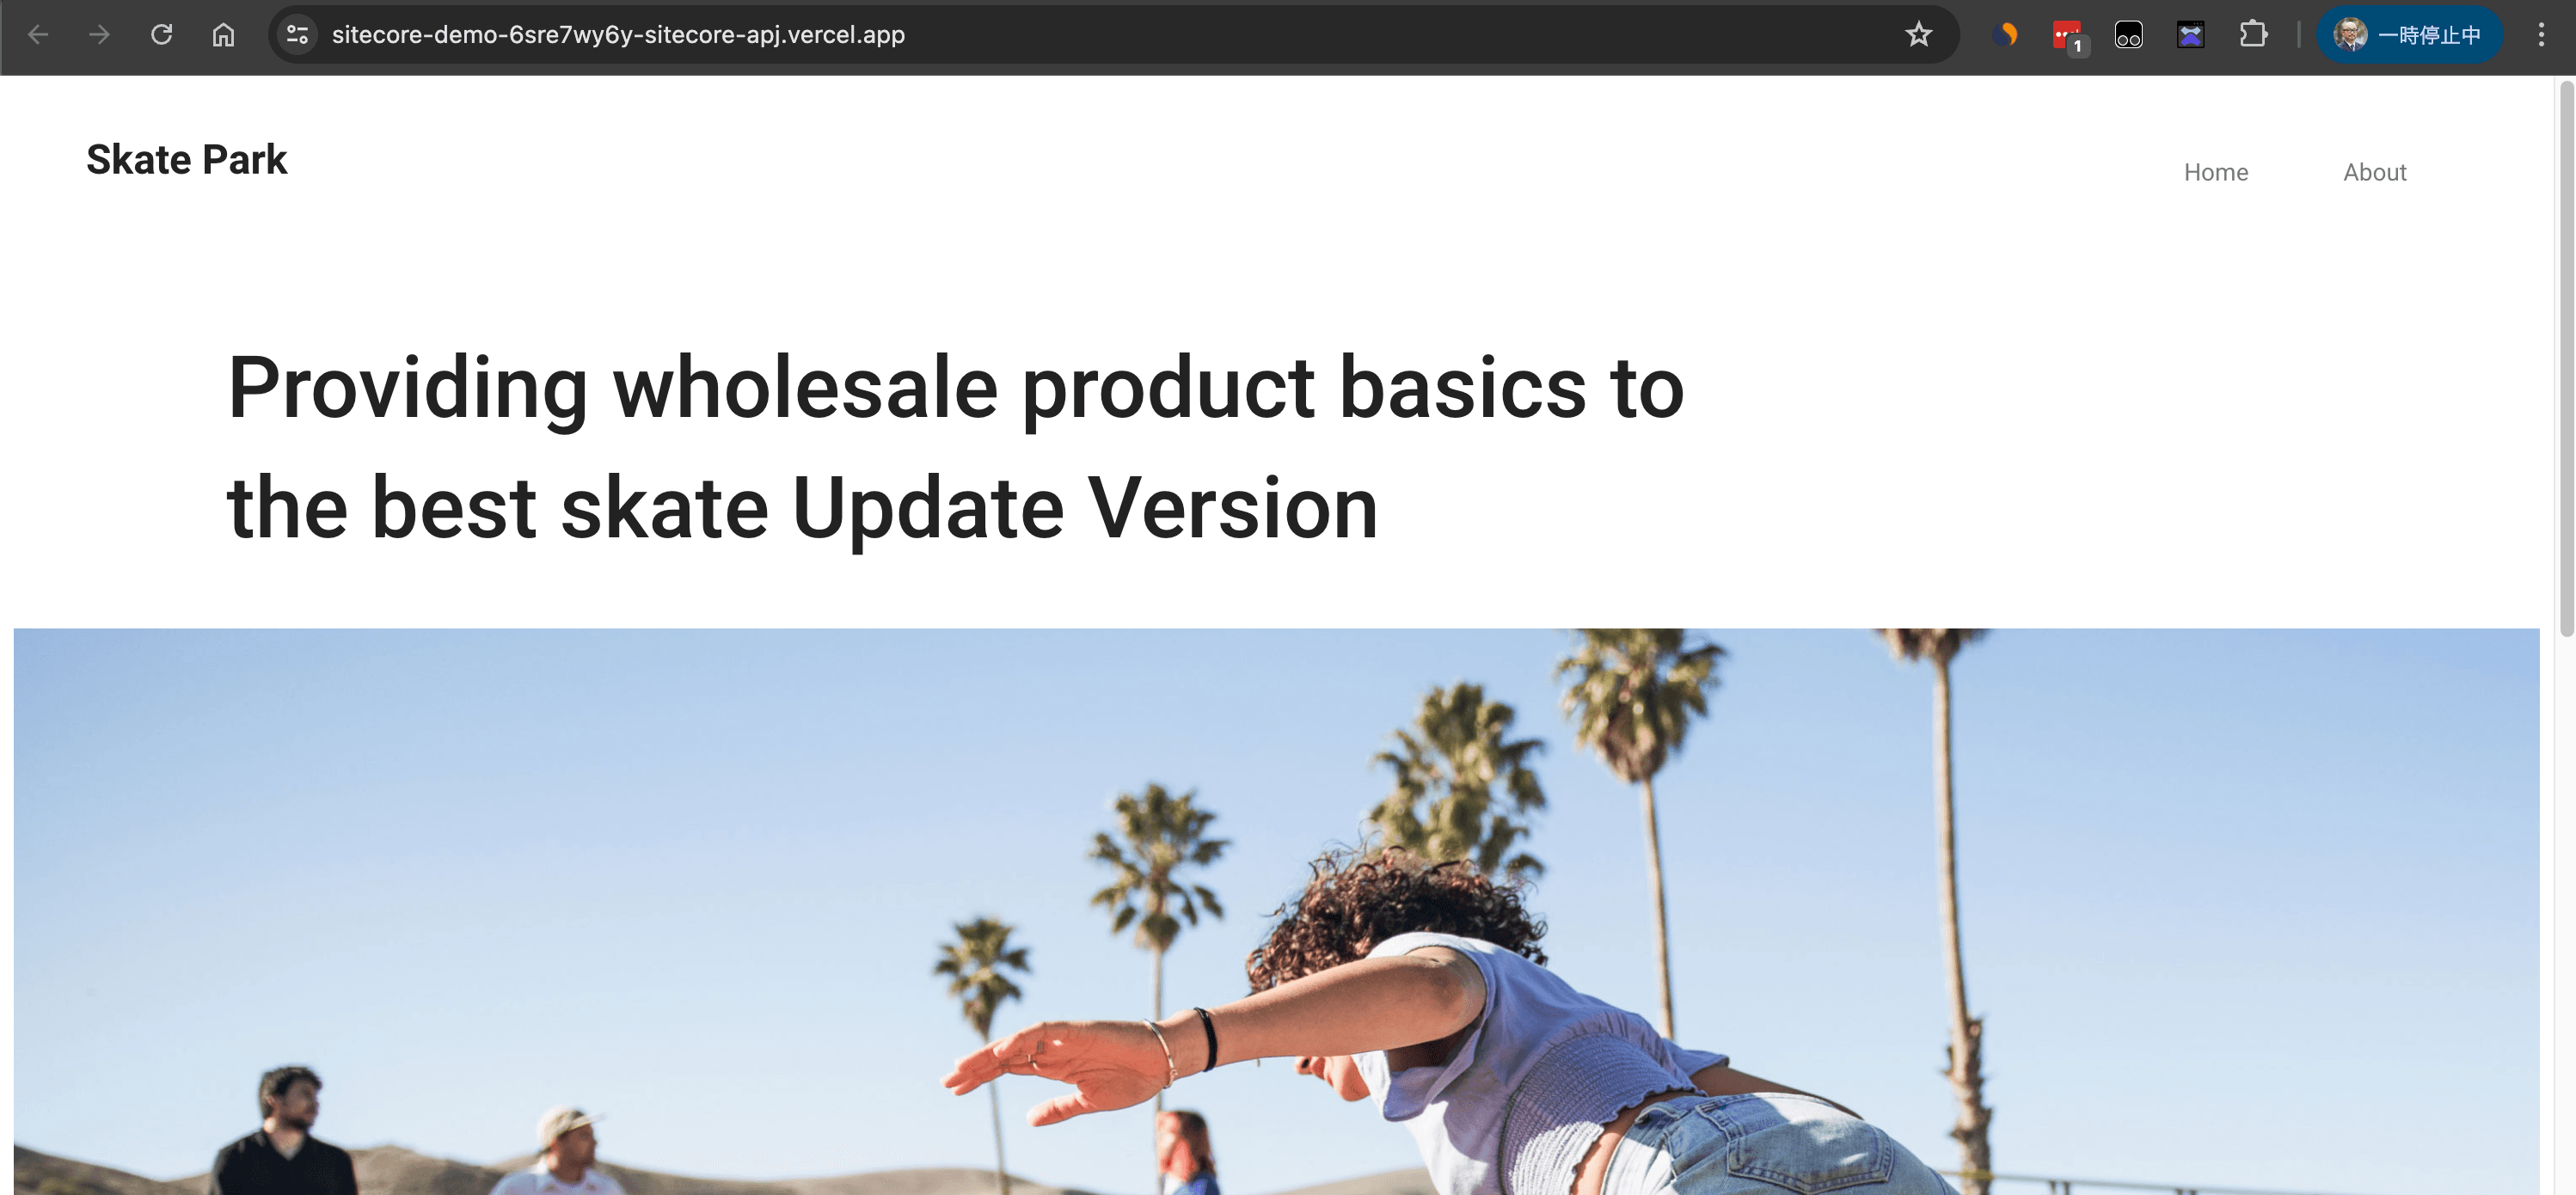
In this way, if you are using a Preview ID, you can preview the page you are editing in Sitecore via the web server. The site is updated when the Publish is actually executed.
Summary
When deploying to Vercel, we have confirmed that it is possible to obtain values from XM Cloud Deploy and deploy the site. We have also confirmed the difference between Live and Preview behaviour for Context IDs.
Note: We have added an article that confirms the operation of the system. Please refer to it as well.