We will review the steps to deploy a website that integrates with Sitecore XM Cloud for Netlify, which is capable of hosting static sites.

This time, we will create a public repository for GitHub using the same procedure we introduced earlier. The reason for this is very simple: Netlify has a free quota, but it does not support private repositories.
Note that the multisite module is not installed this time. The repository for the above project only has been released as the following URL
In practice, the following parts are set up for new new projects.
- Set environment-specific values for .env
- To be activated locally
- npm run build can be run
This confirms that the code in the repository works.
Deploy to Netlify
In this case, we used our GitHub account to create a free Netlify account. When you log in, your screen should look like this
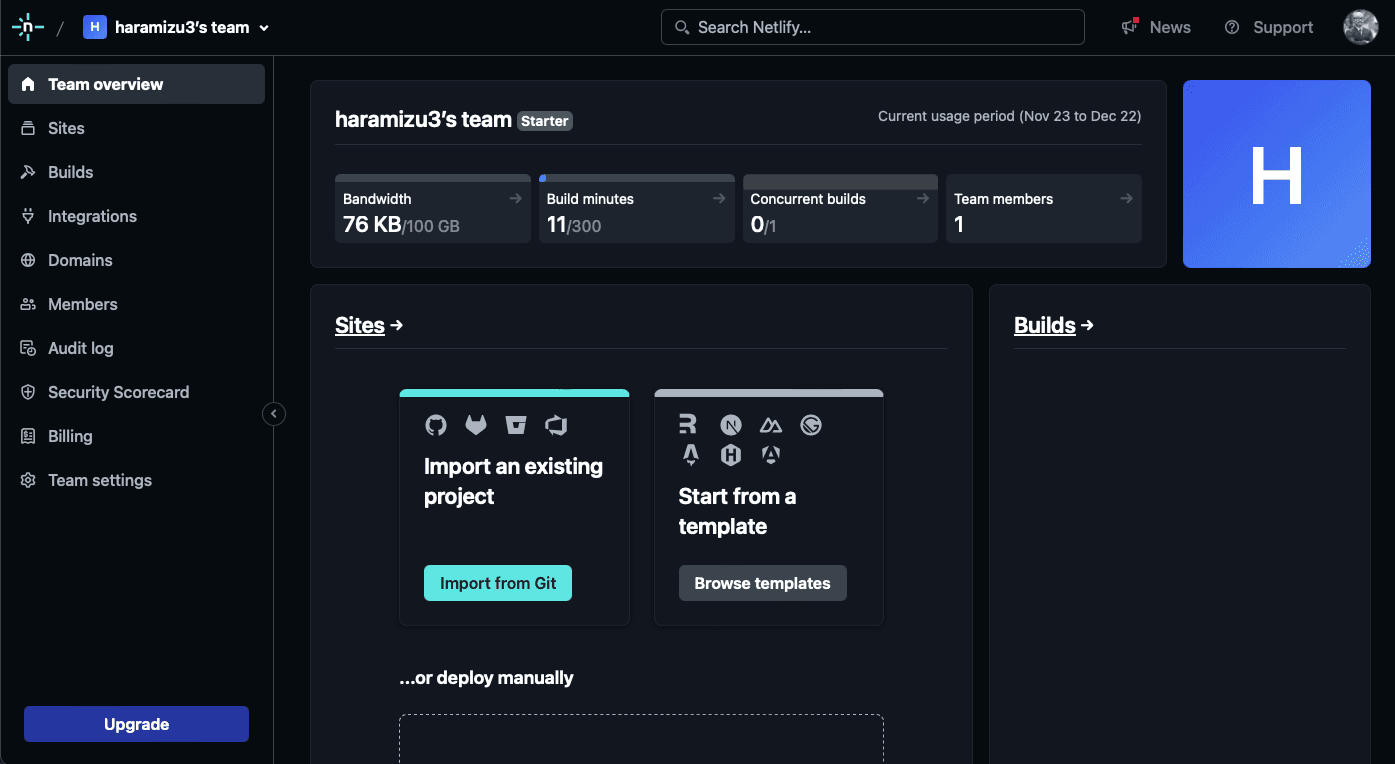
Since the Next.js project you want to run is already available on GitHub, select Import from Git. A screen for selecting which source you want to use will appear as follows.
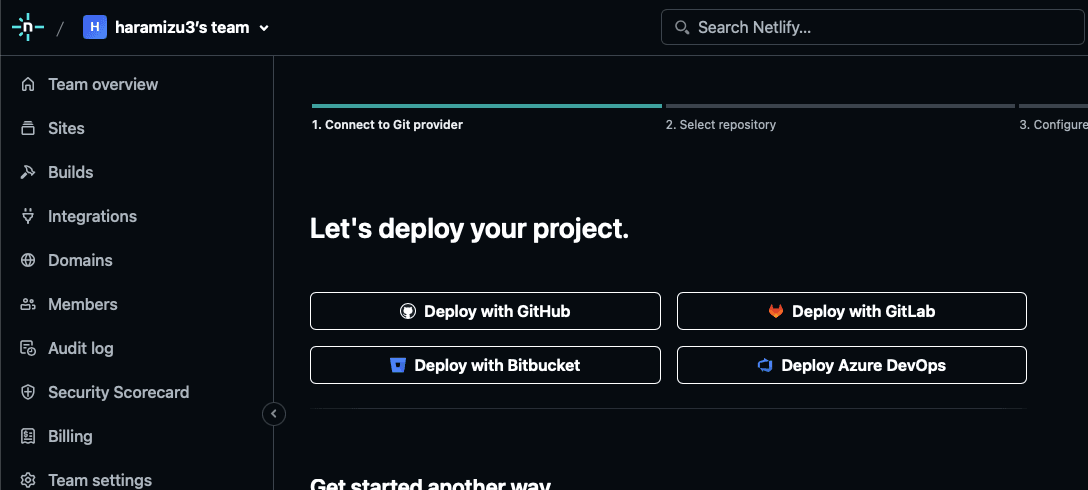
Select Deploy with GitHub and configure the repository to be available. The following is the screen after configuration.
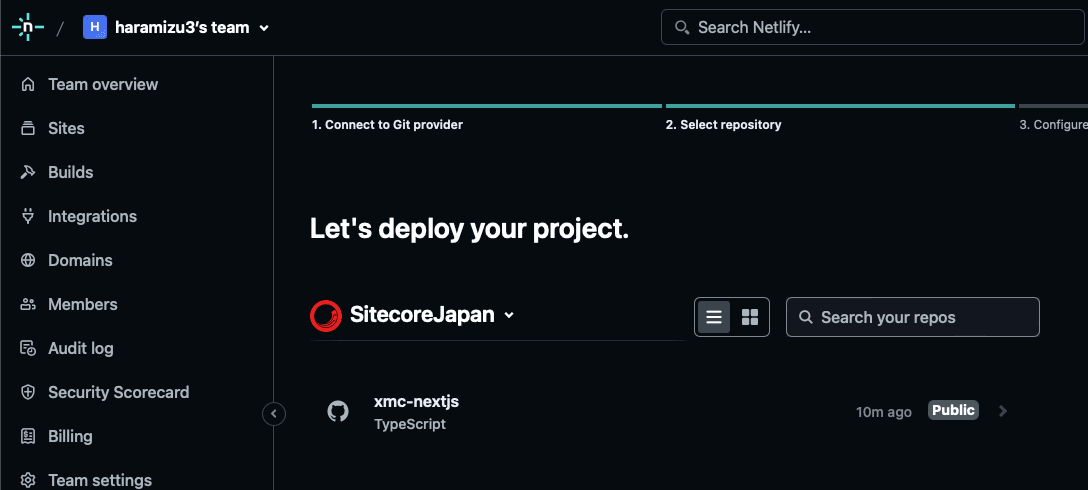
When you select a project, it will be recognized as a Next.js project and the default settings will be listed as shown below. Note that in the case of a normal XM Cloud repository, there is a JSS app under src, so you will need to rewrite the path part. In this case, since we are deploying as a stand-alone repository, we would like to proceed with the default values.
As for the Build command, change it to the following form.
npm run build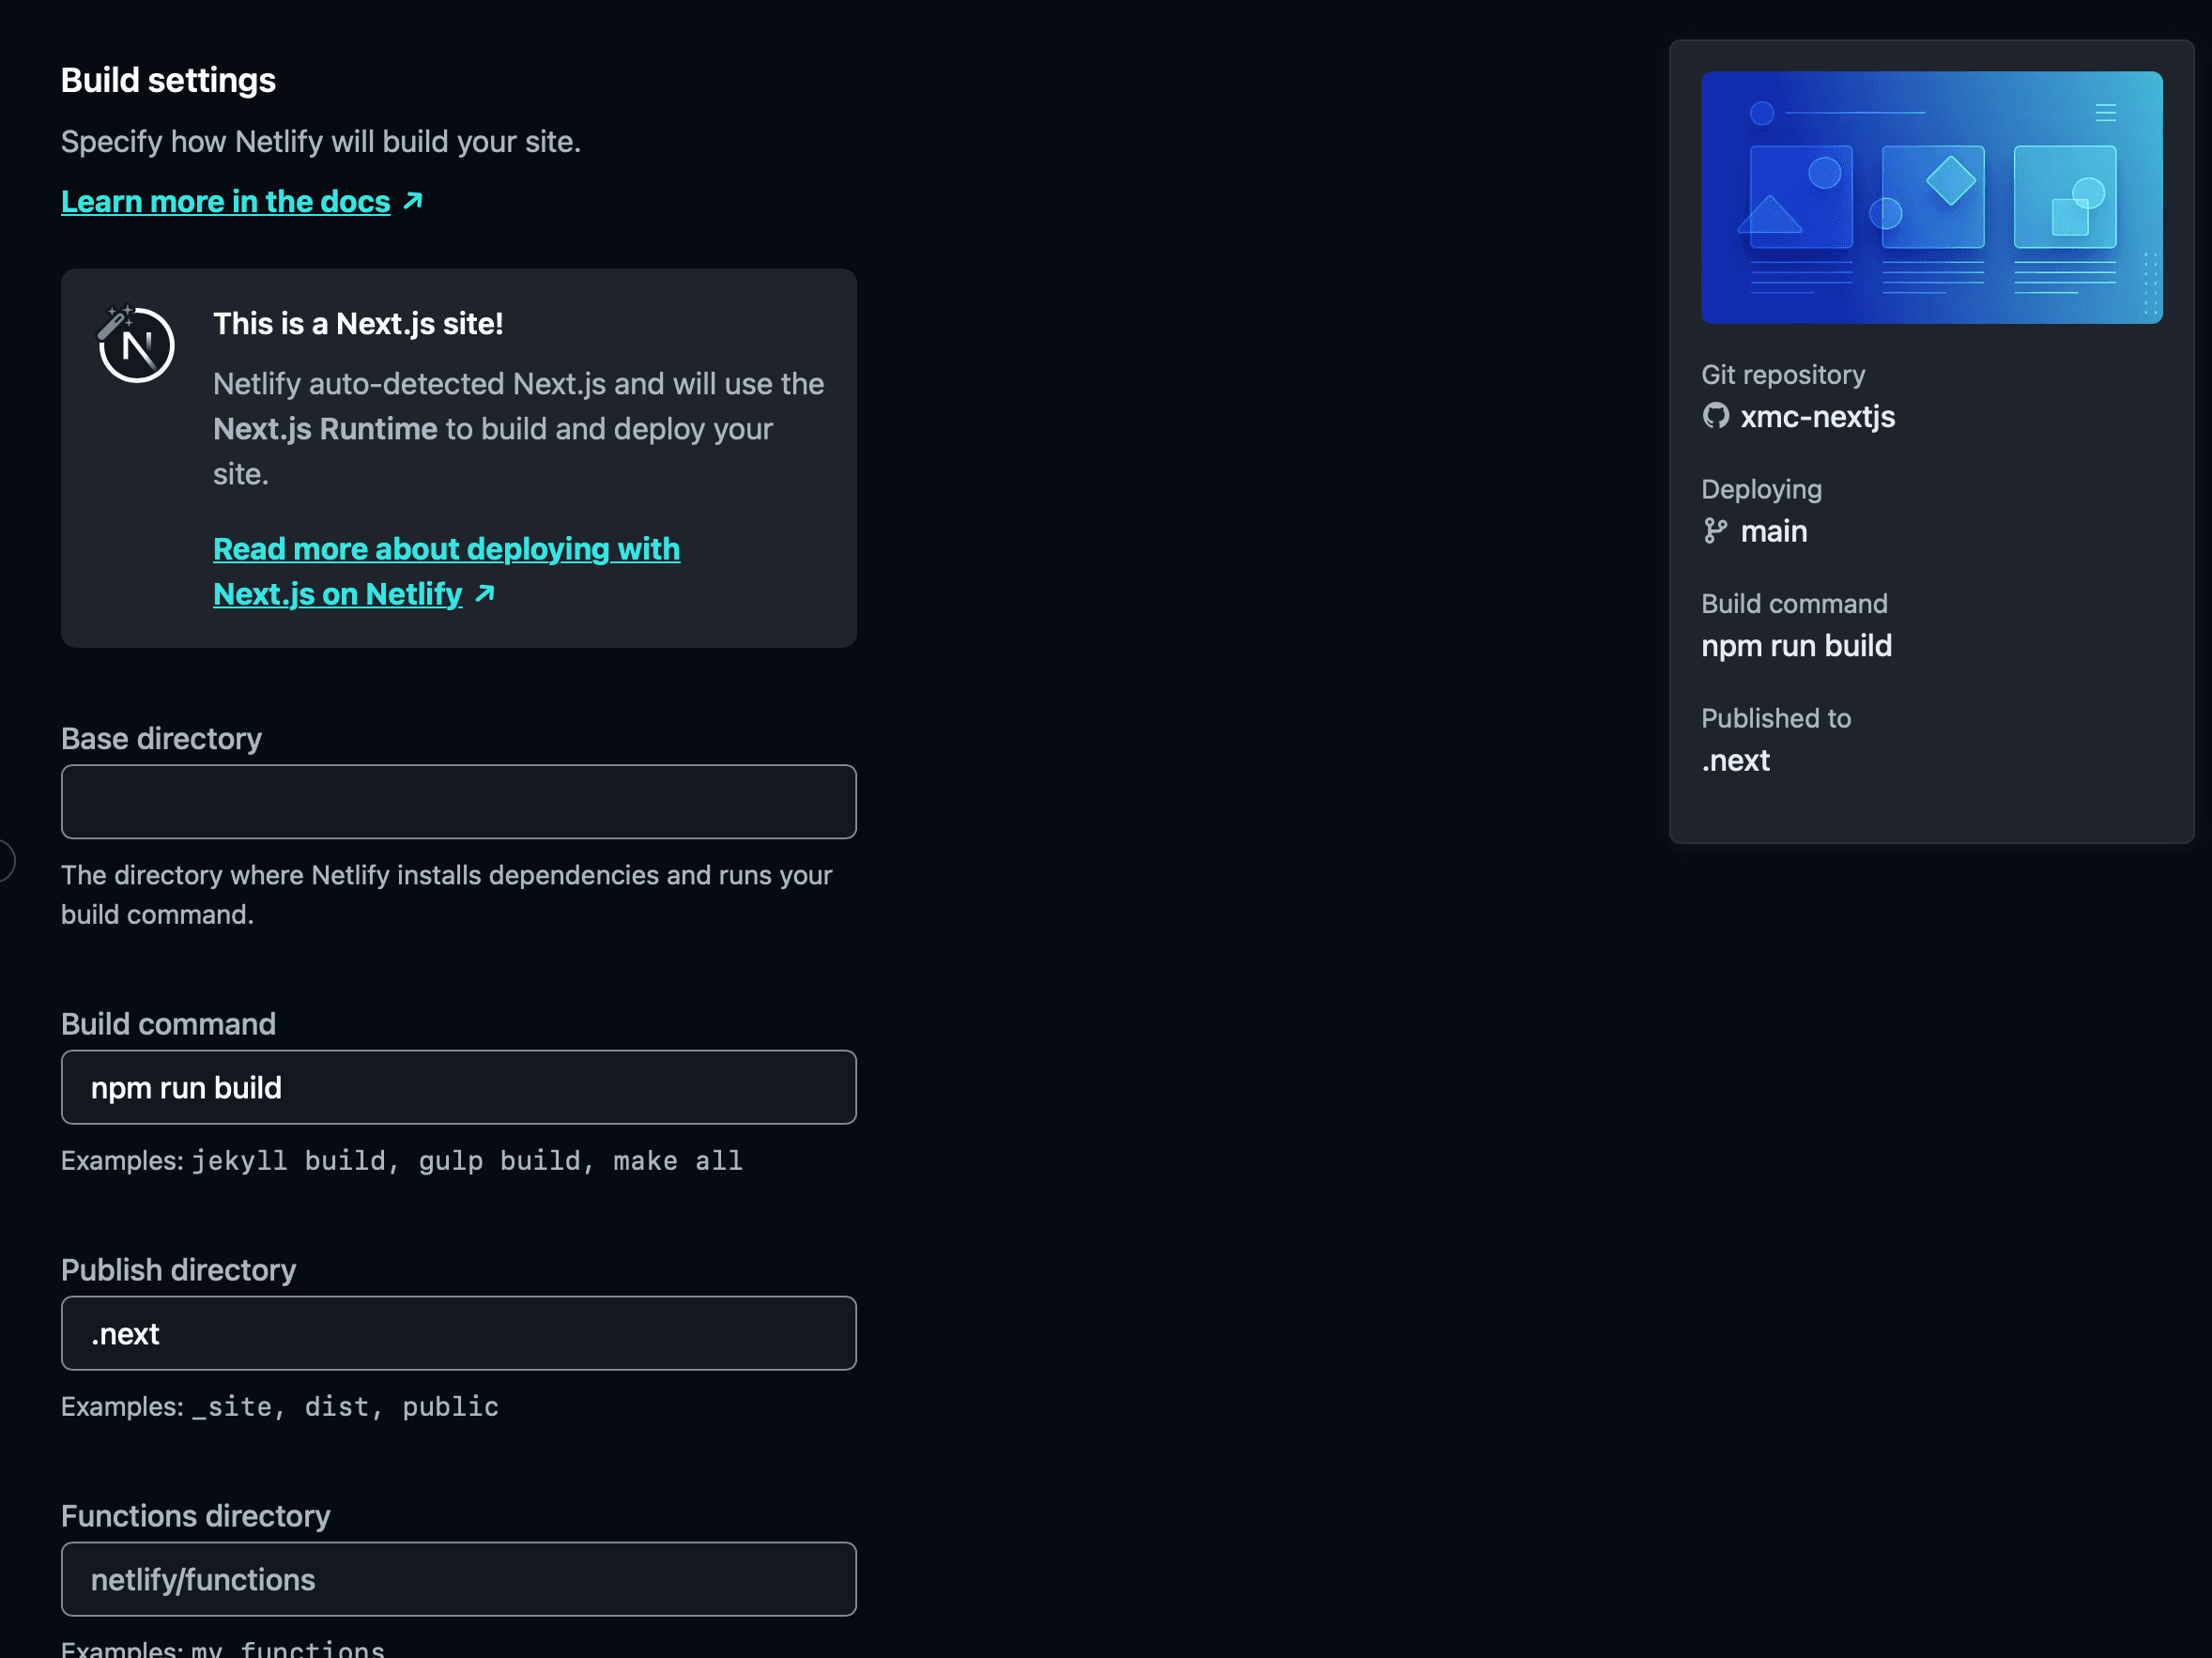
Next, environment variables are specified, the required items are as follows.
- FETCH_WITH
- GRAPH_QL_ENDPOINT
- JSS_APP_NAME
- SITECORE_API_HOST
- SITECORE_API_KEY
As for FETCH_WITH, we did not have to worry about it when we used Vercel, but this time we need to specify it.
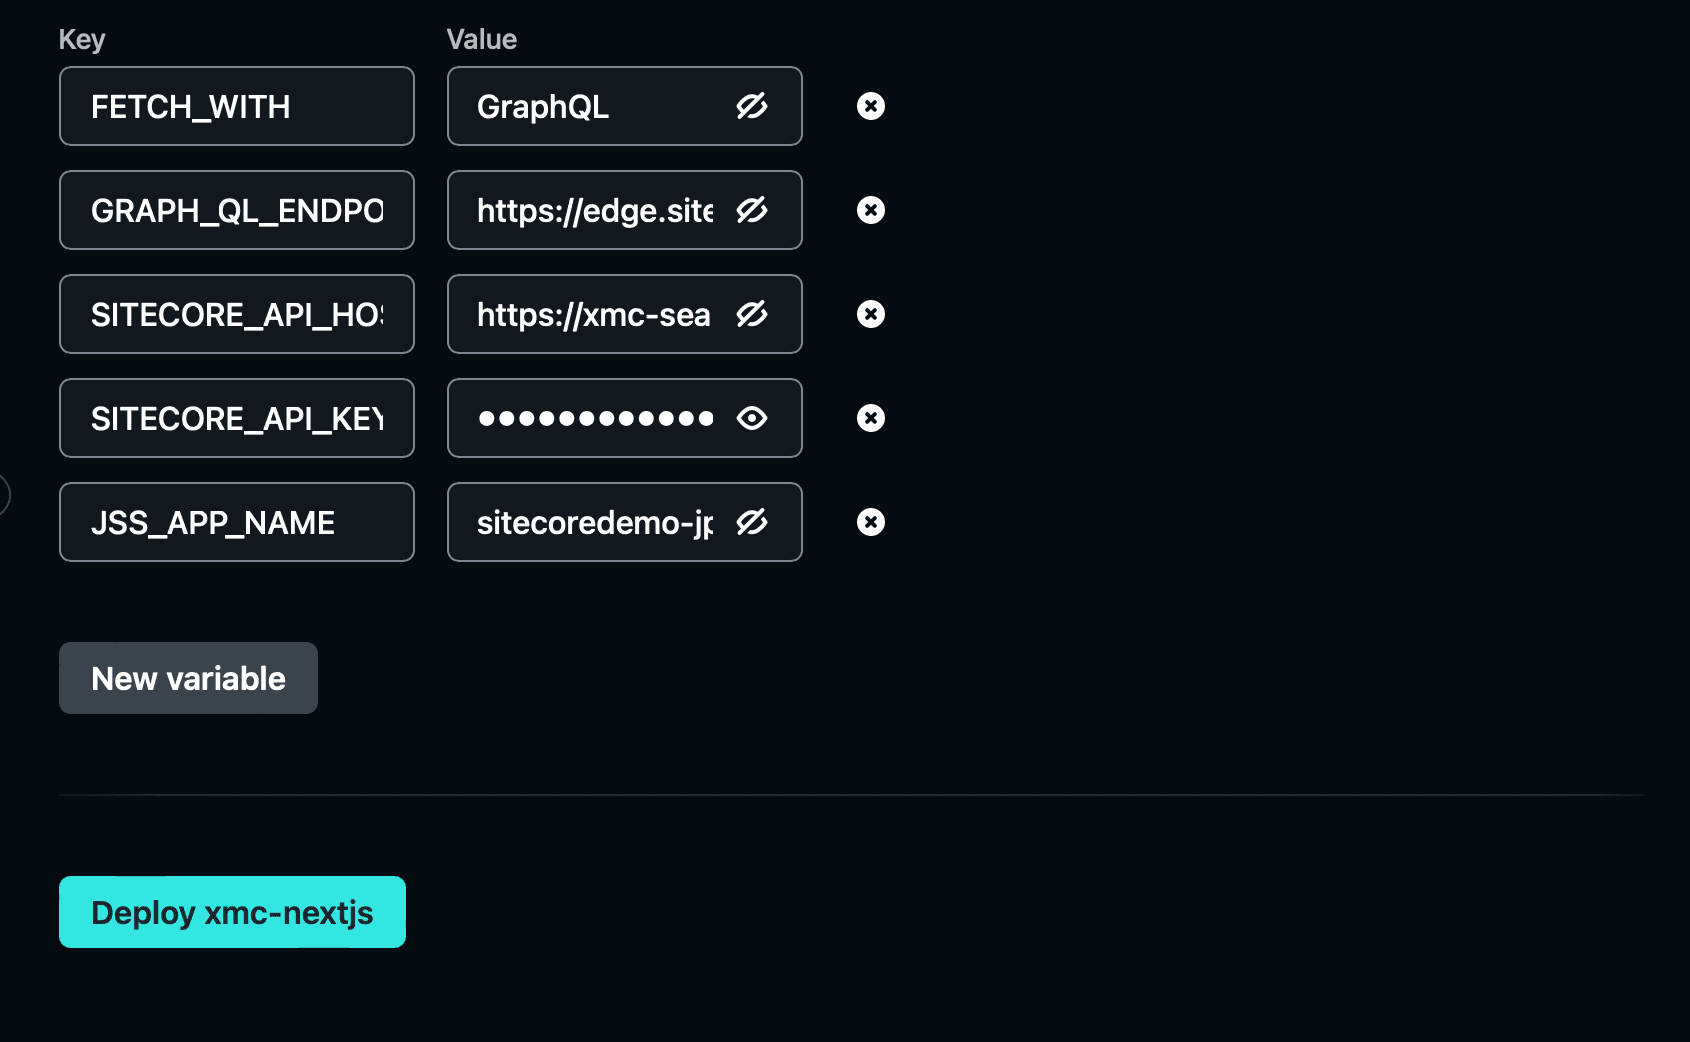
When the configuration is complete, click the Deploy button. You can watch the Deploy status for a while.
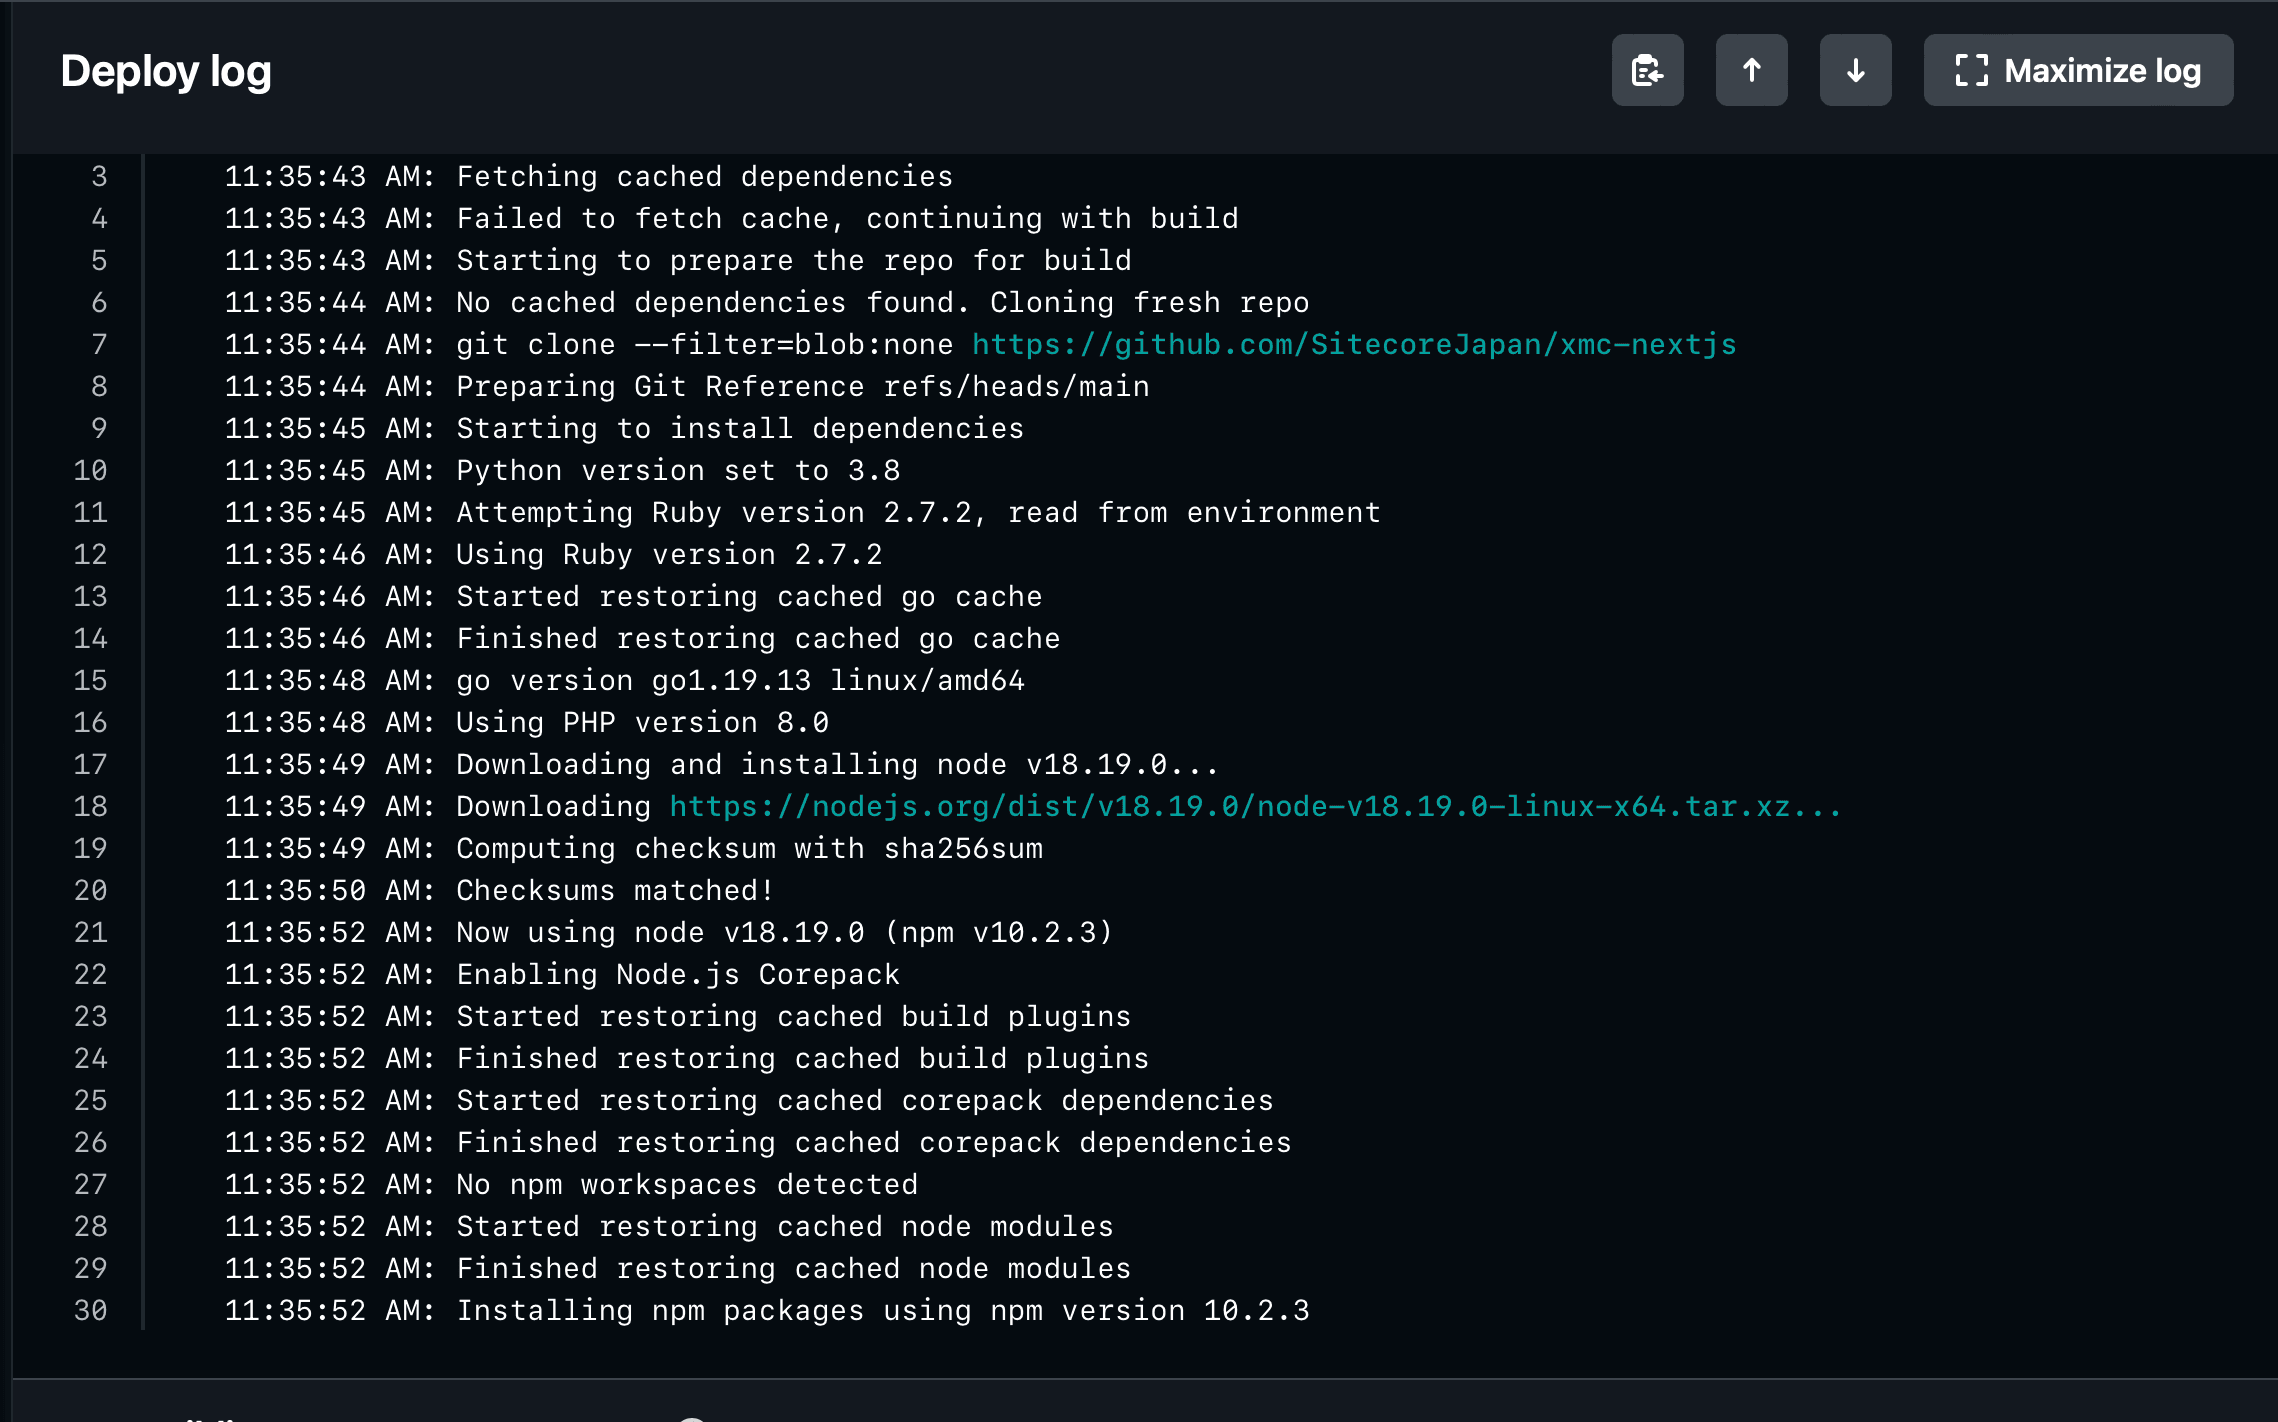
Deployment is complete, but unfortunately an error message appears when opening the site.
Resolving Errors.
First, let's look at the error log. As shown below, the ISR setting is set to 5 seconds by default, but it is indicated that the ISR setting below 60 seconds is not supported.

First, let's look at the error log. As shown below, the ISR setting is set to 5 seconds by default, but it is indicated that the ISR setting below 60 seconds is not supported.
This time I would like to disable ISR and deploy to Netlify. This description is contained in the file src/pages/[[. .path]].tsx file and should be commented out. After the changes are made, the build will automatically run when reflected on GitHub.

The site is successfully launched as follows.

If you actually access the URL prepared as the Site, the CSS file is not applied as shown below.
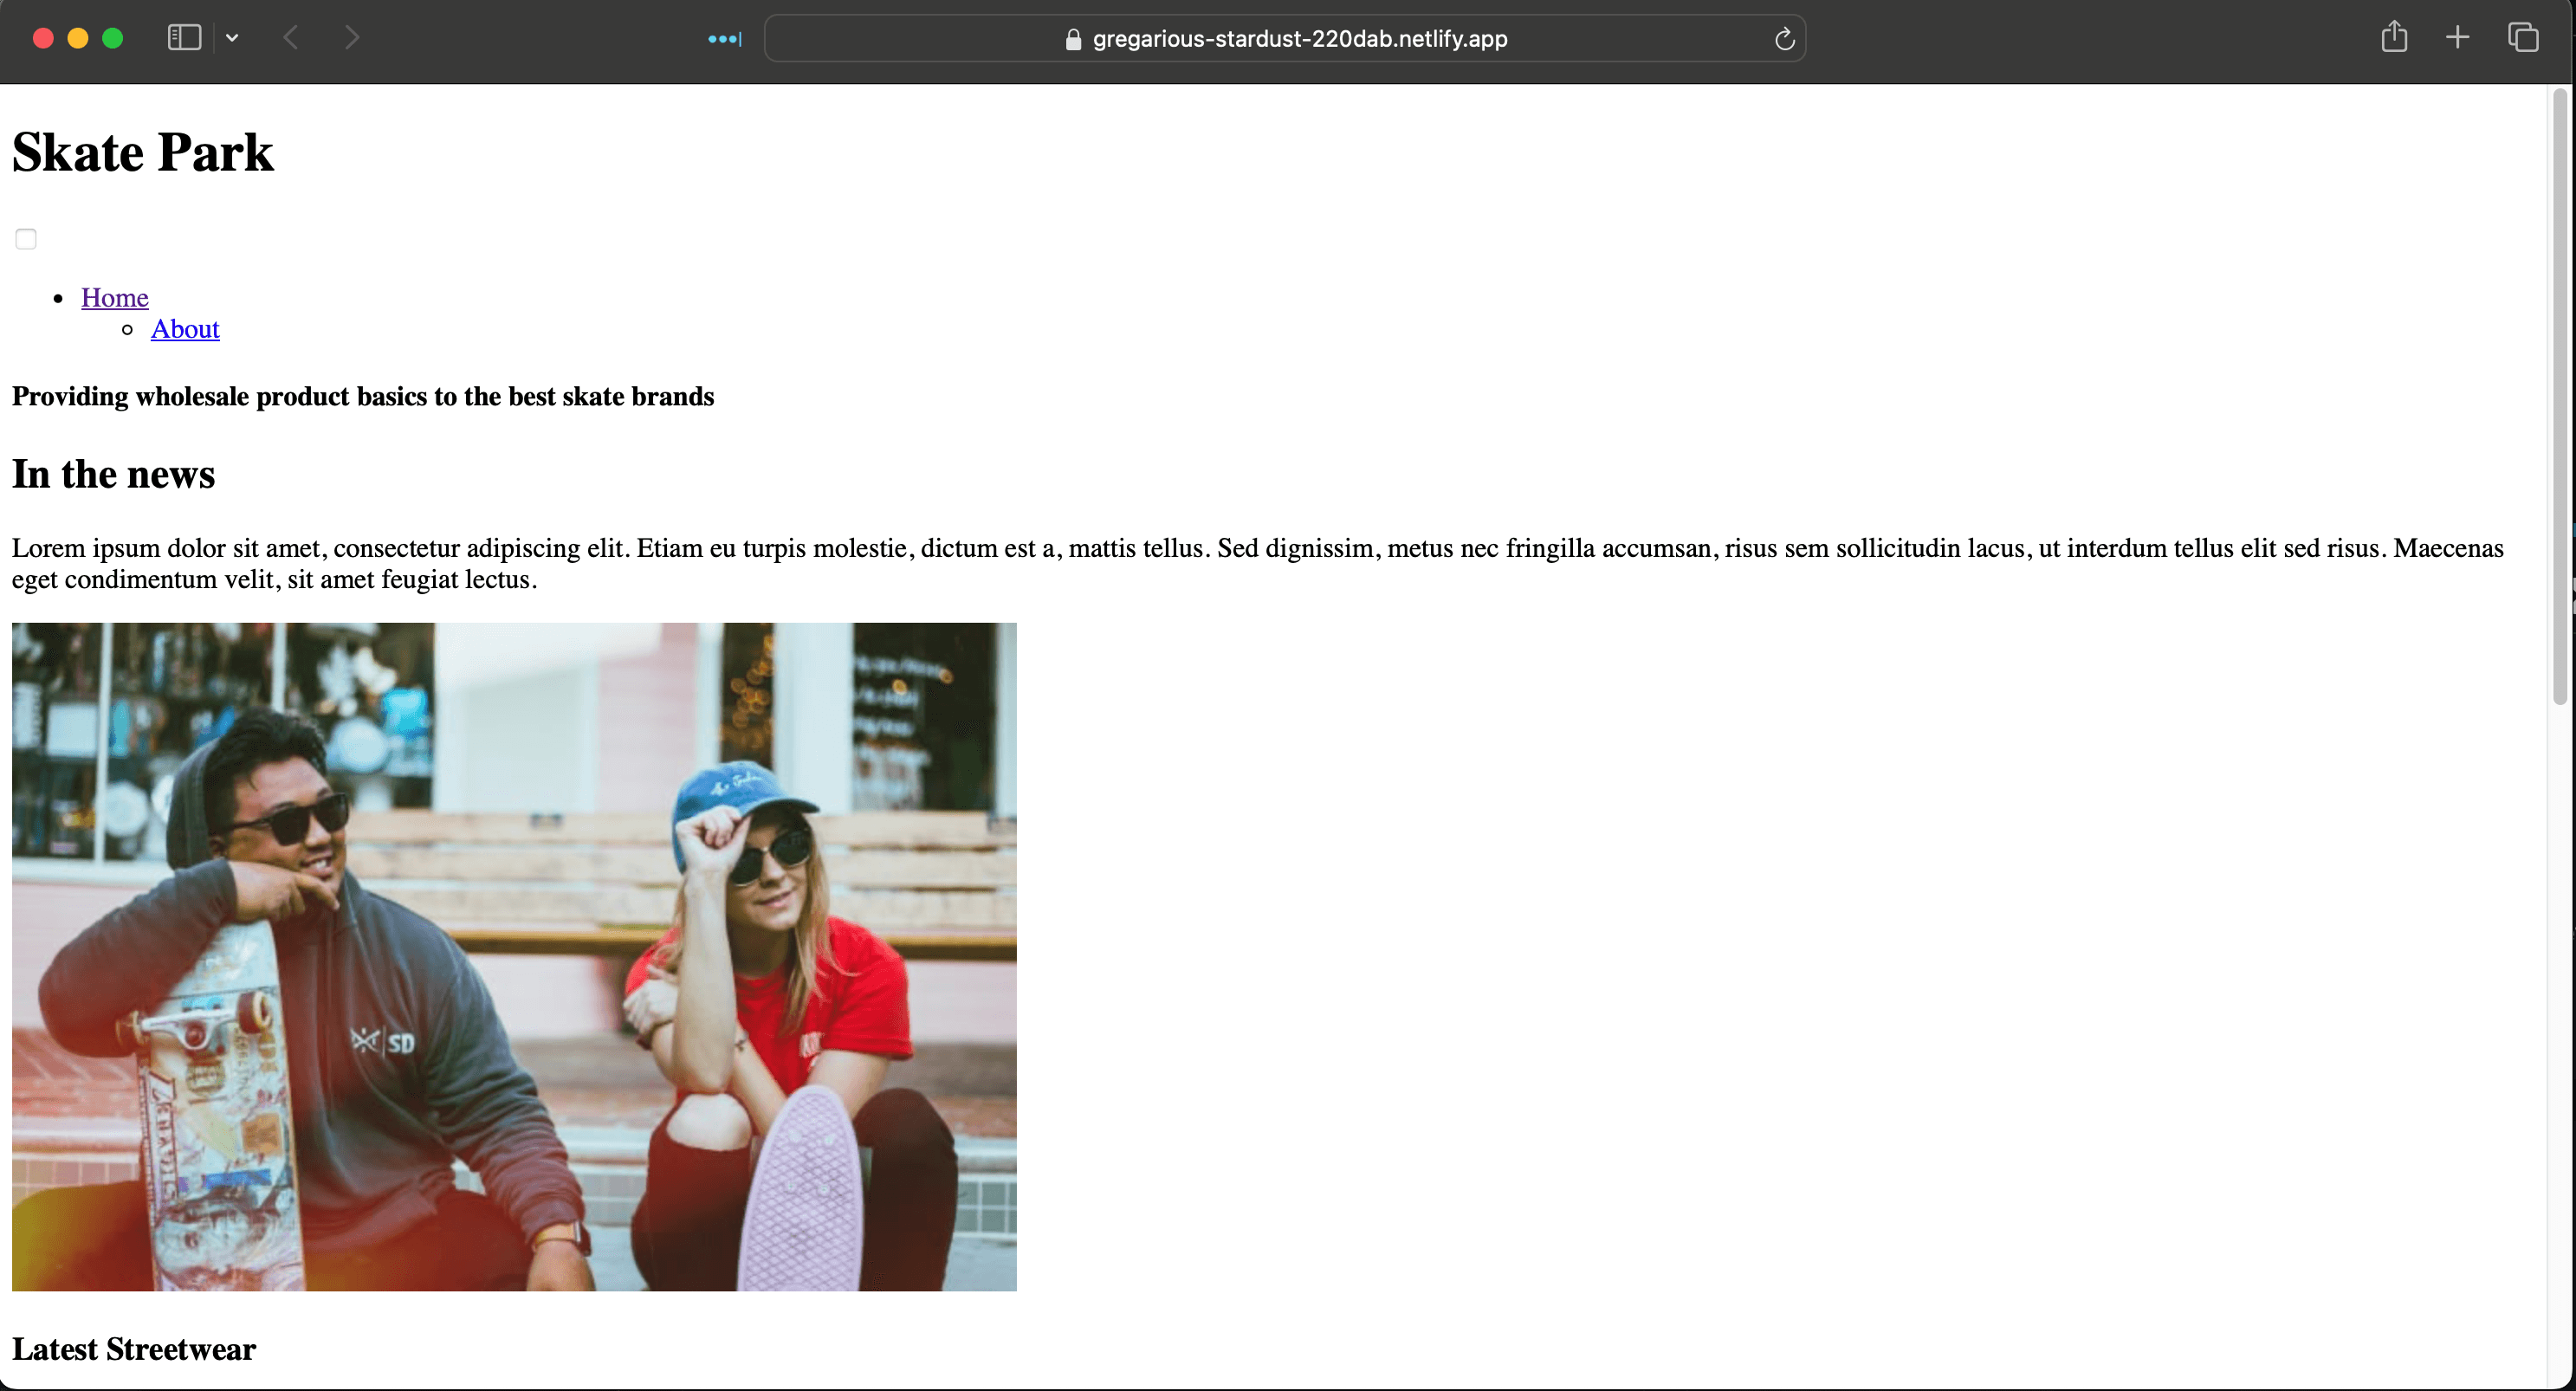
This is a phenomenon I have seen before! The recently published Tips can help.
By making the above changes, the site was successfully launched.

Summary
You have successfully deployed your web site to Netlify. However, this only generates pages when deployed, and pages are not updated correctly when edited in the CMS. So in the next article, we will show you how to change the settings in Experience Edge to update your Netlify site.