We've introduced XM Cloud, focusing on CMS environment management. To publish the site as a headless implementation, integration with another service is required. This guide will cover the steps to deploy the site on Vercel.
Update
Version JSS 21.6, Previews can also be easily created using Context IDs, see new article.
Publish item
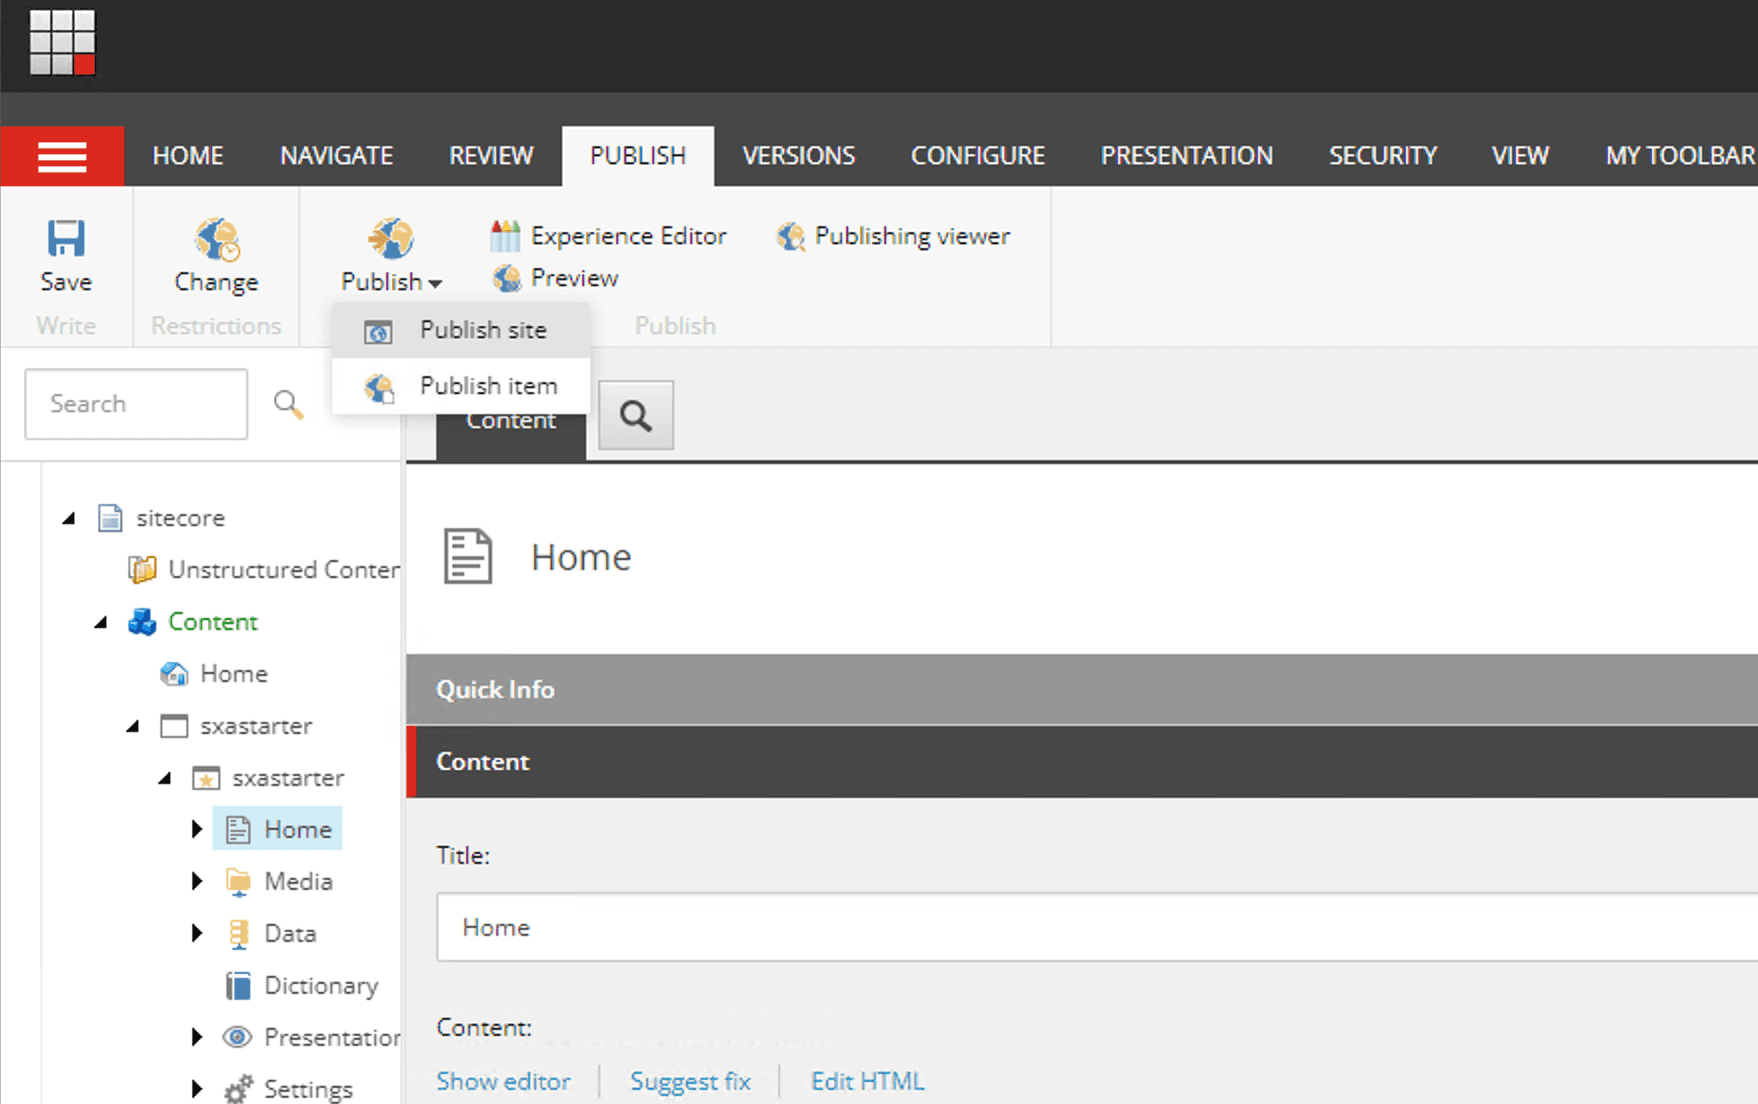
First of all, in order to launch a site externally, you will need to publish an item from your current CMS. The publishing procedure is simple: launch the content editor, select the site you wish to publish, select Publish Site from the Publish tab, and the rest is the same as publishing a normal website.
Obtaining API Keys
Next, we need to obtain an API key to access the CMS we are currently using. This key must be obtained using the Sitecore CLI in the local environment that was created in the Docker project.
First, log in to Cloud on the command line.
dotnet sitecore cloud loginThen get a list of projects.
dotnet sitecore cloud project list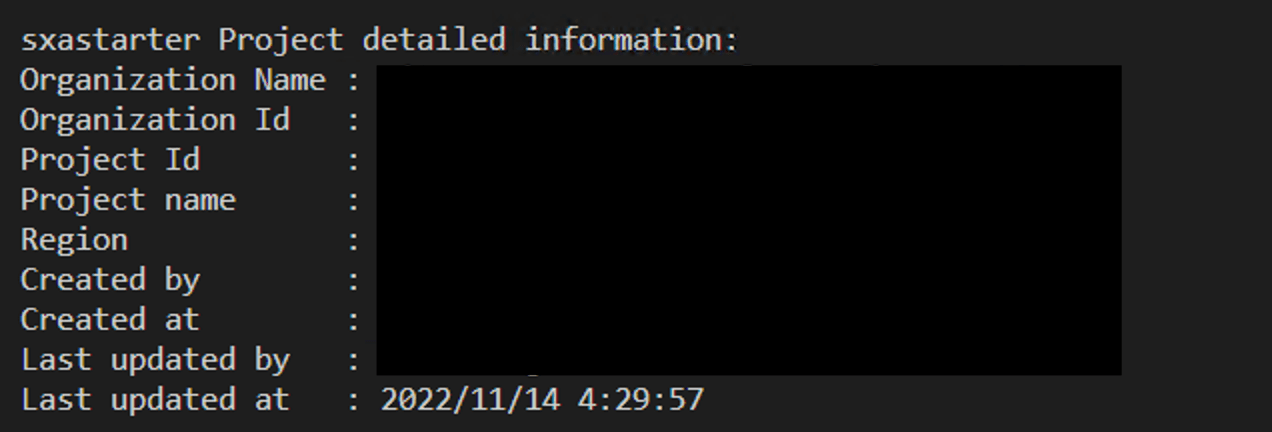
Use the ID of the corresponding project to obtain the Environment ID.
dotnet sitecore cloud environment list --project-id {your-project-id}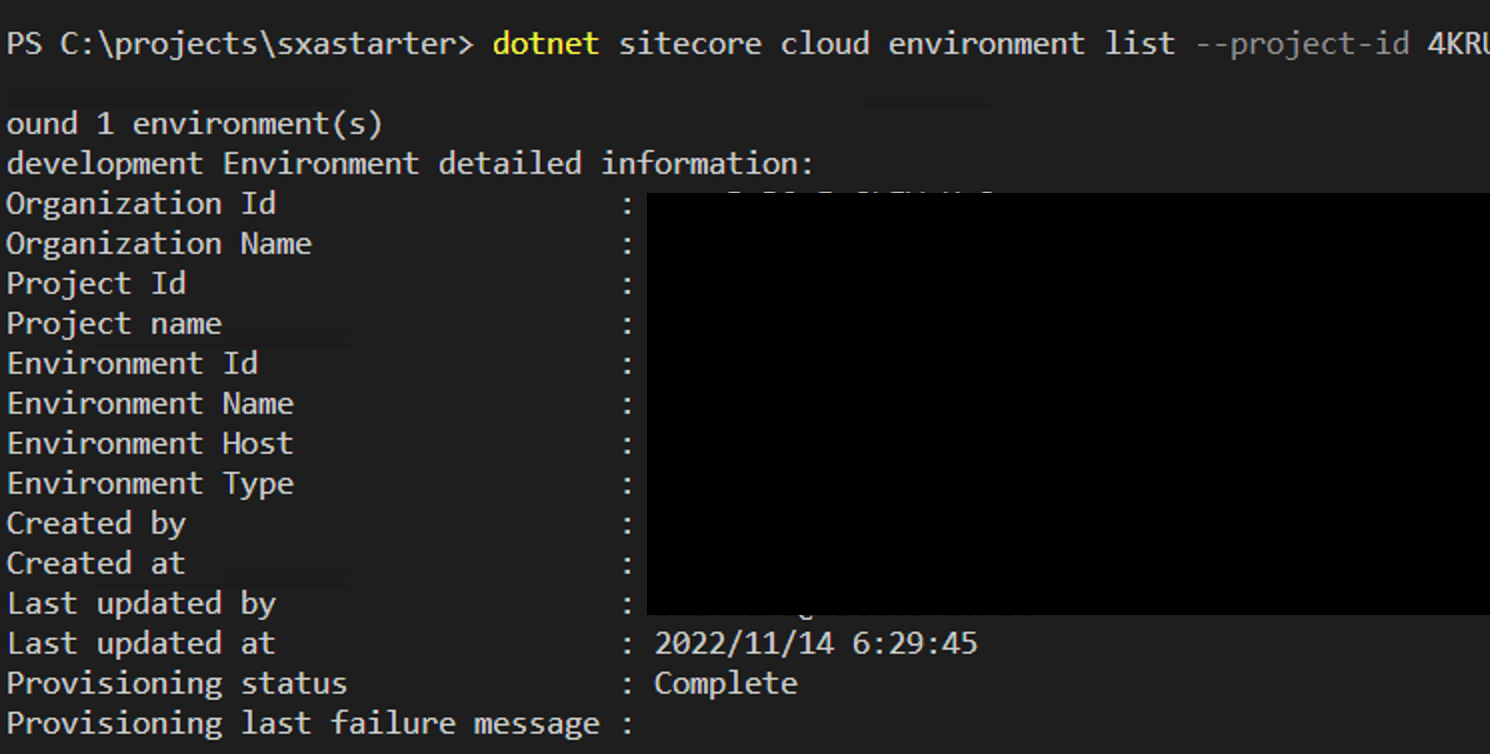
The following PowerShell commands can be used to obtain API keys.
.\New-EdgeToken.ps1 -EnvironmentId {your-environment-id}
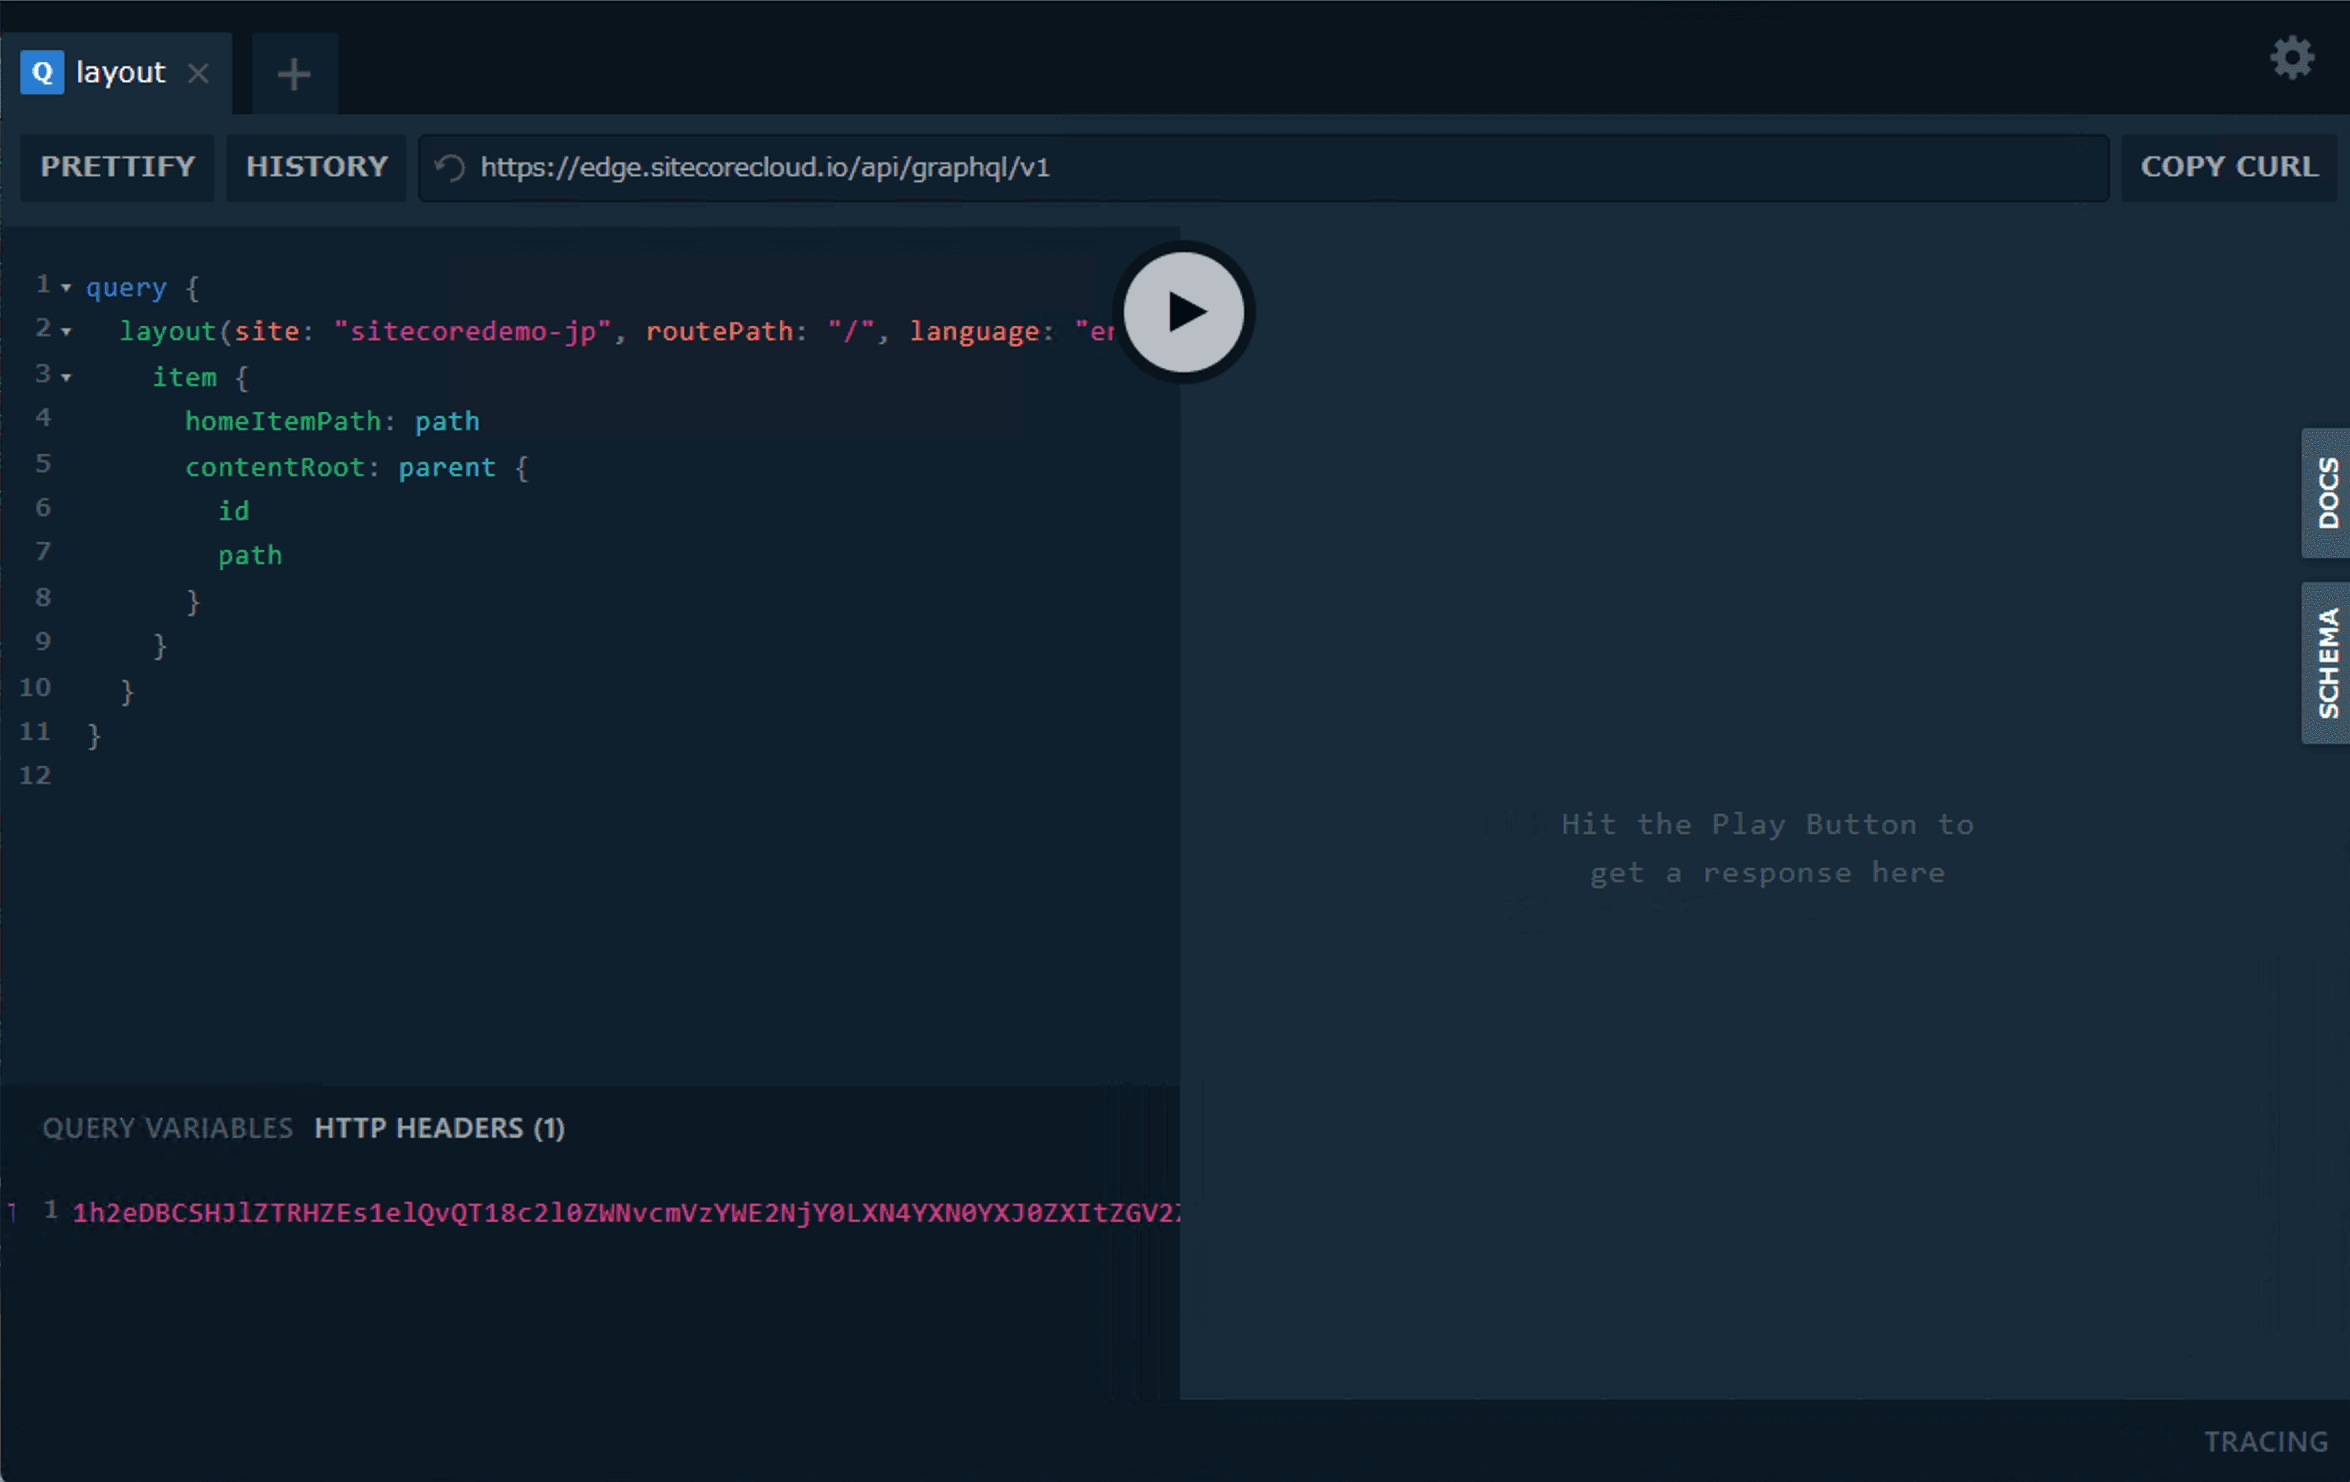
Your browser will start and you will see a screen that can be accessed using GraphQL. If you put the provided code in the HTTP HEADERS field in the lower left corner of the screen and no errors are displayed in the area on the right, your API key has been activated. You will need this API key when working with Vercel. If you are unsure of it, run the program again and a new key will be issued.
Now that we are ready, let's launch the site in the Vercel environment.
Create a Vercel account, create a project
This time, we assume you have a GitHub account that is linked to XM Cloud, but please sign up for Vercel with the same account. This will allow you to easily deploy the code you have deployed on GitHub to Vercel.
First, log in to Vercel. We will use a free Hobby account.
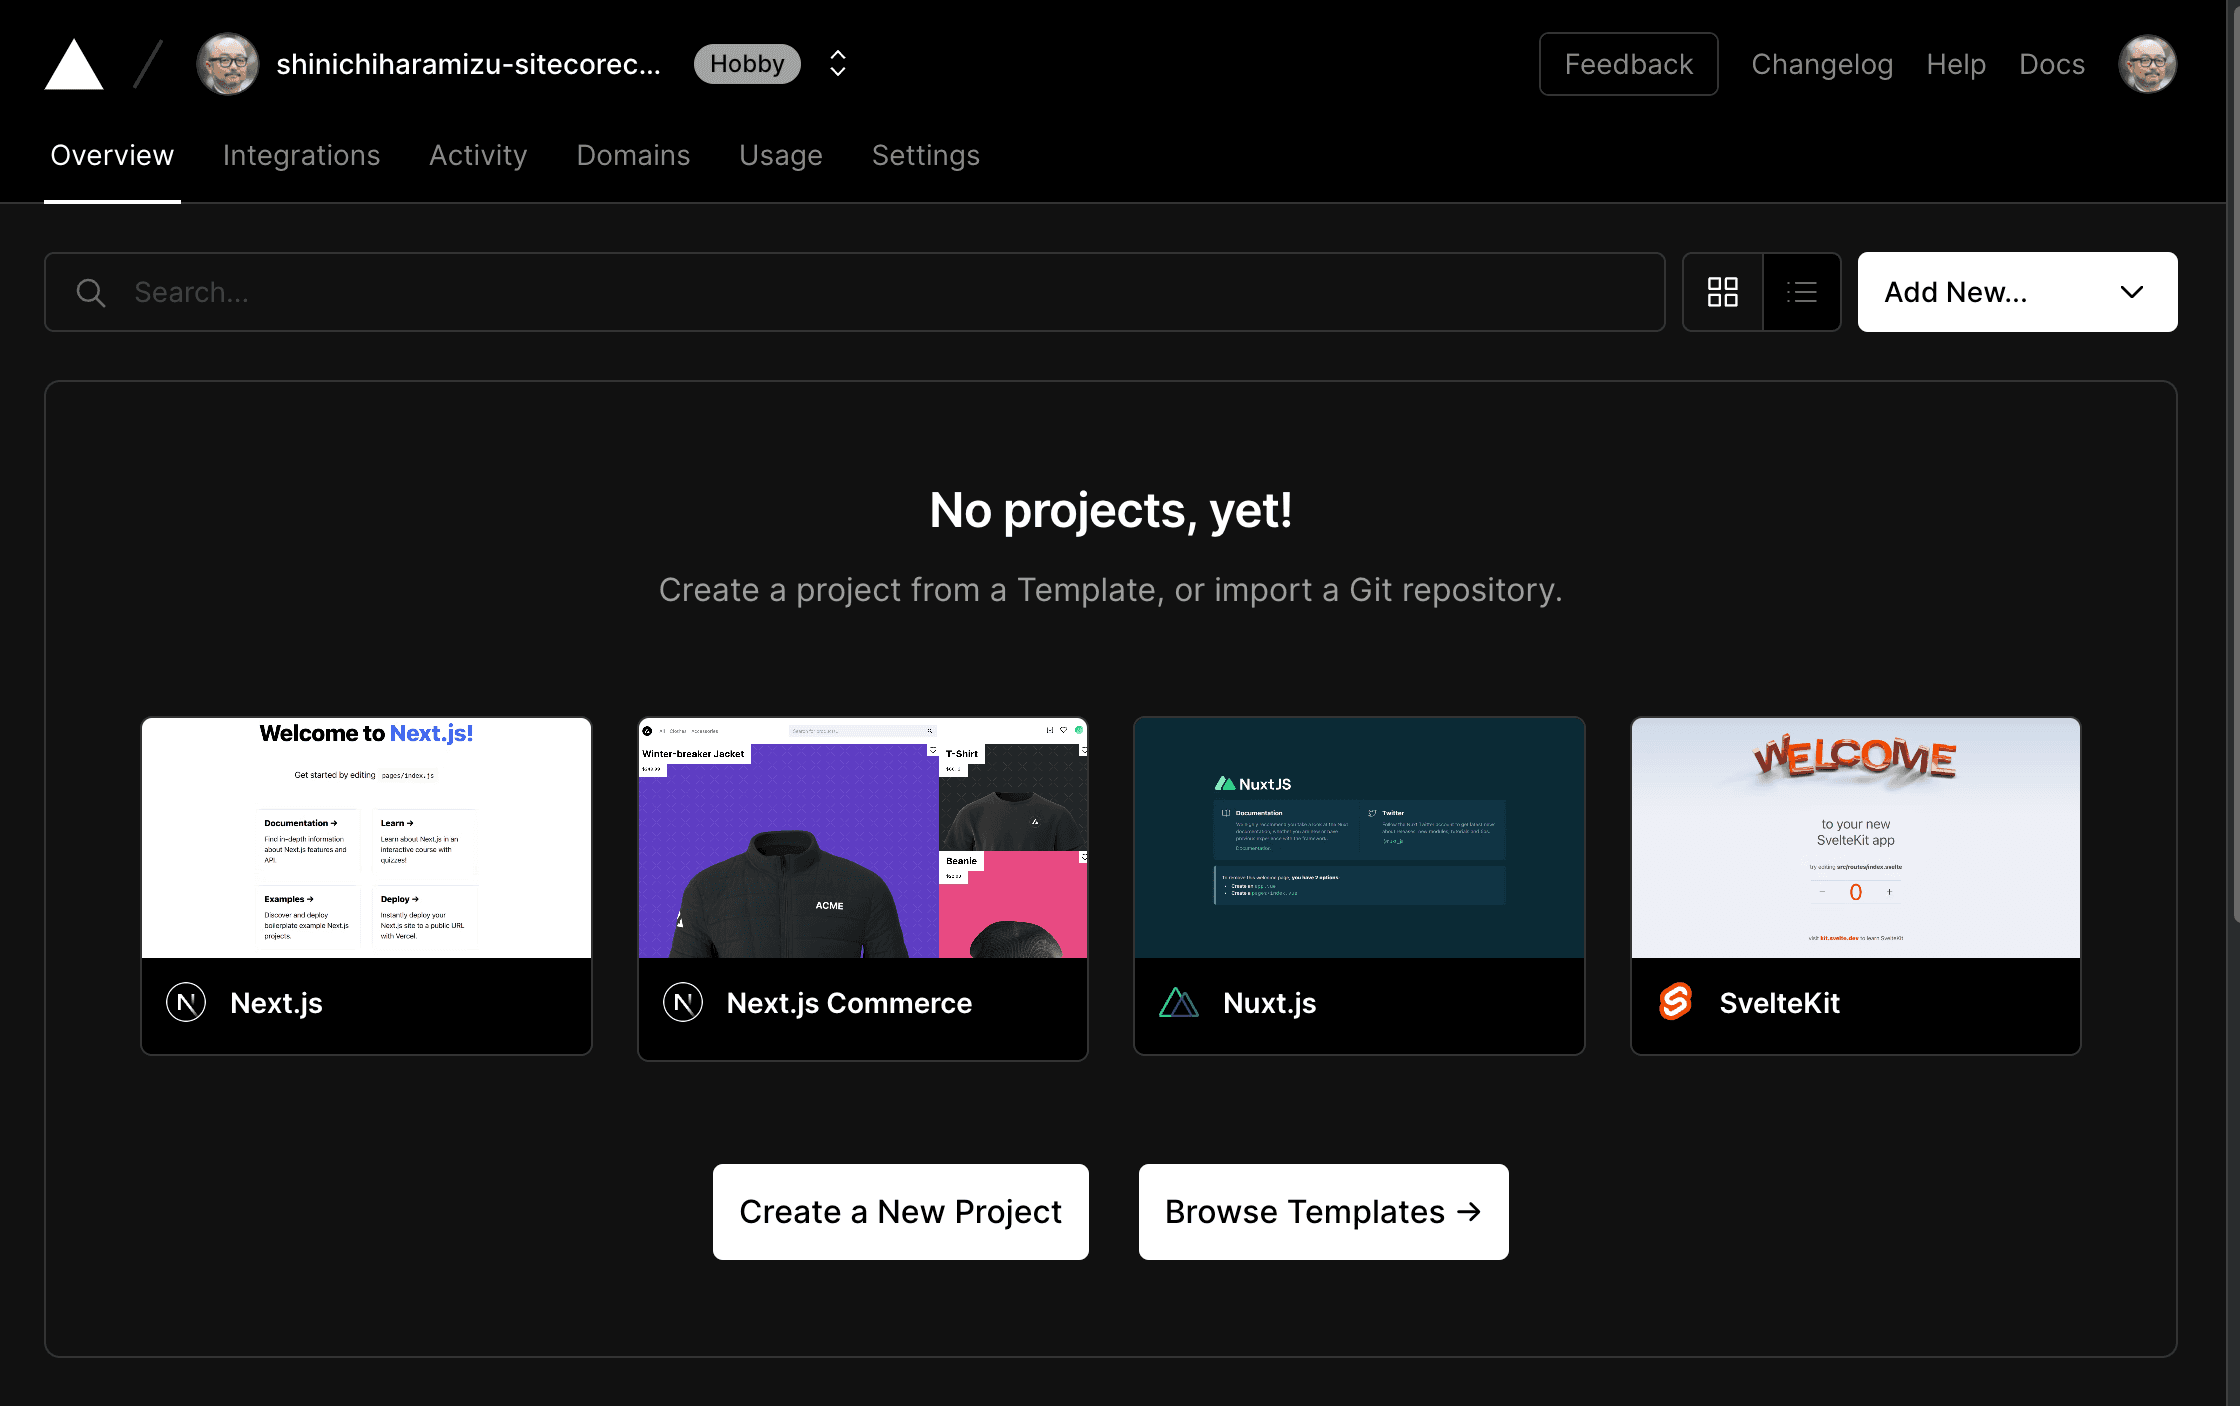
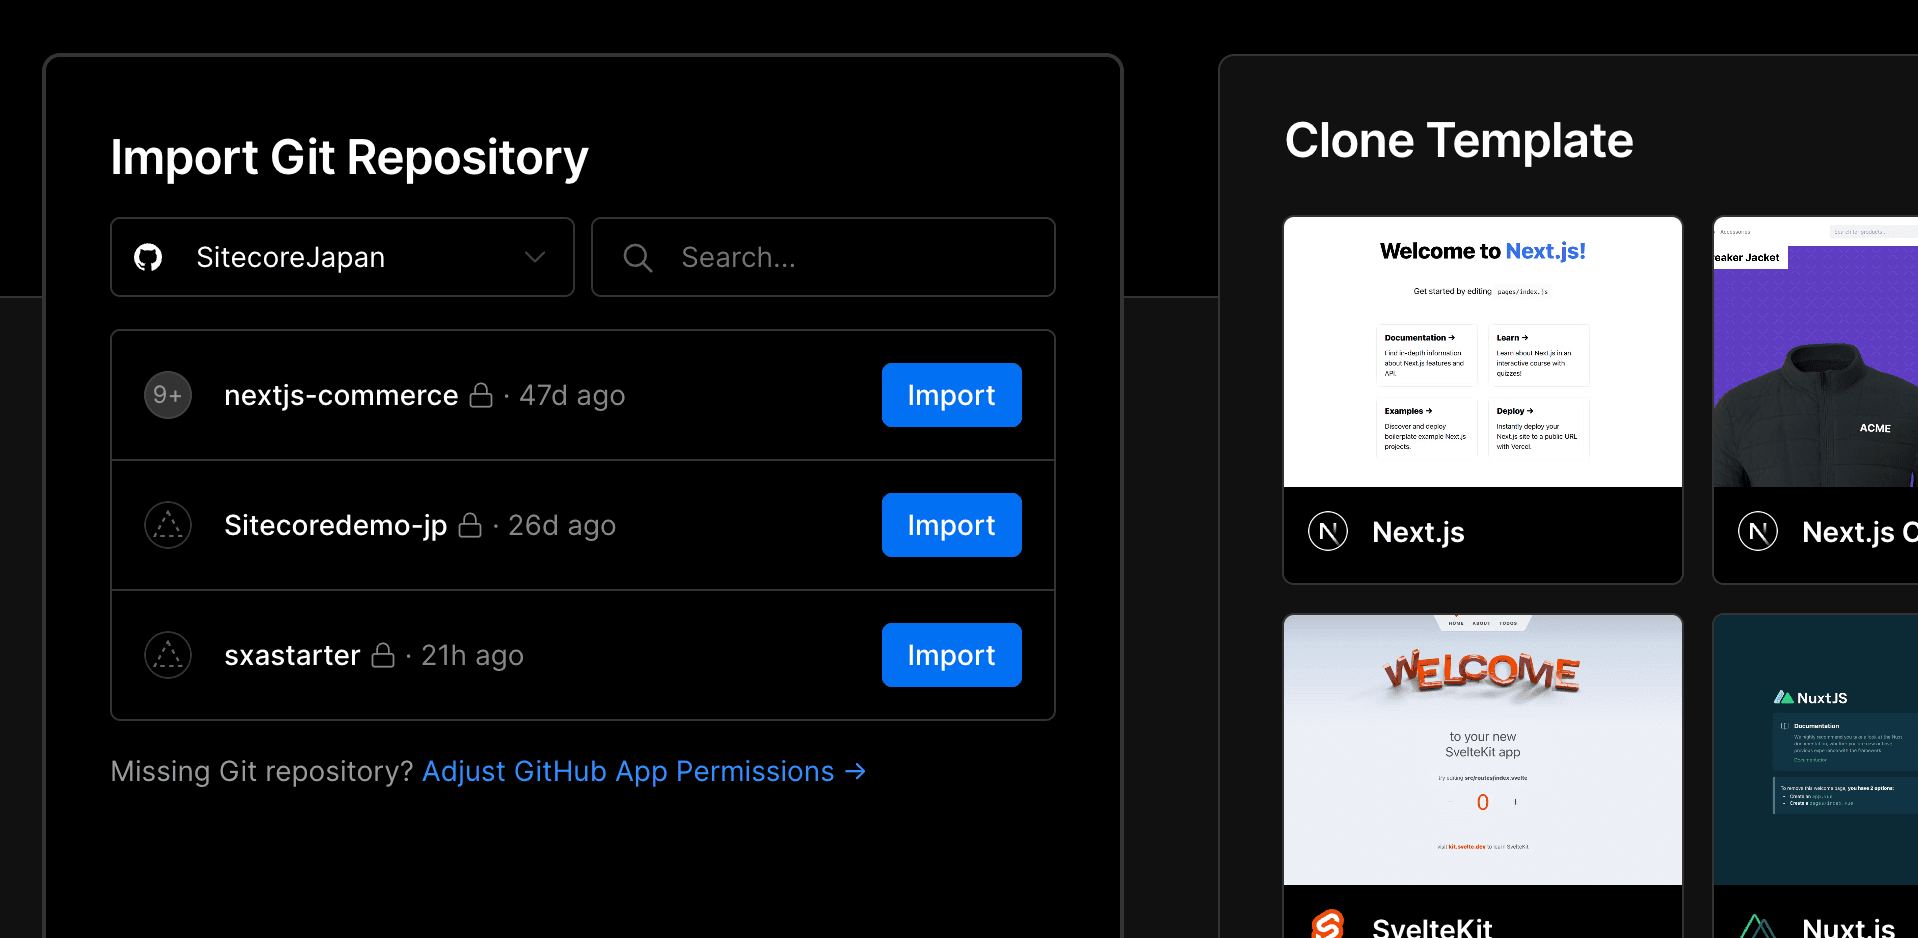
Because sxastarter is shown as a new project, Import this.
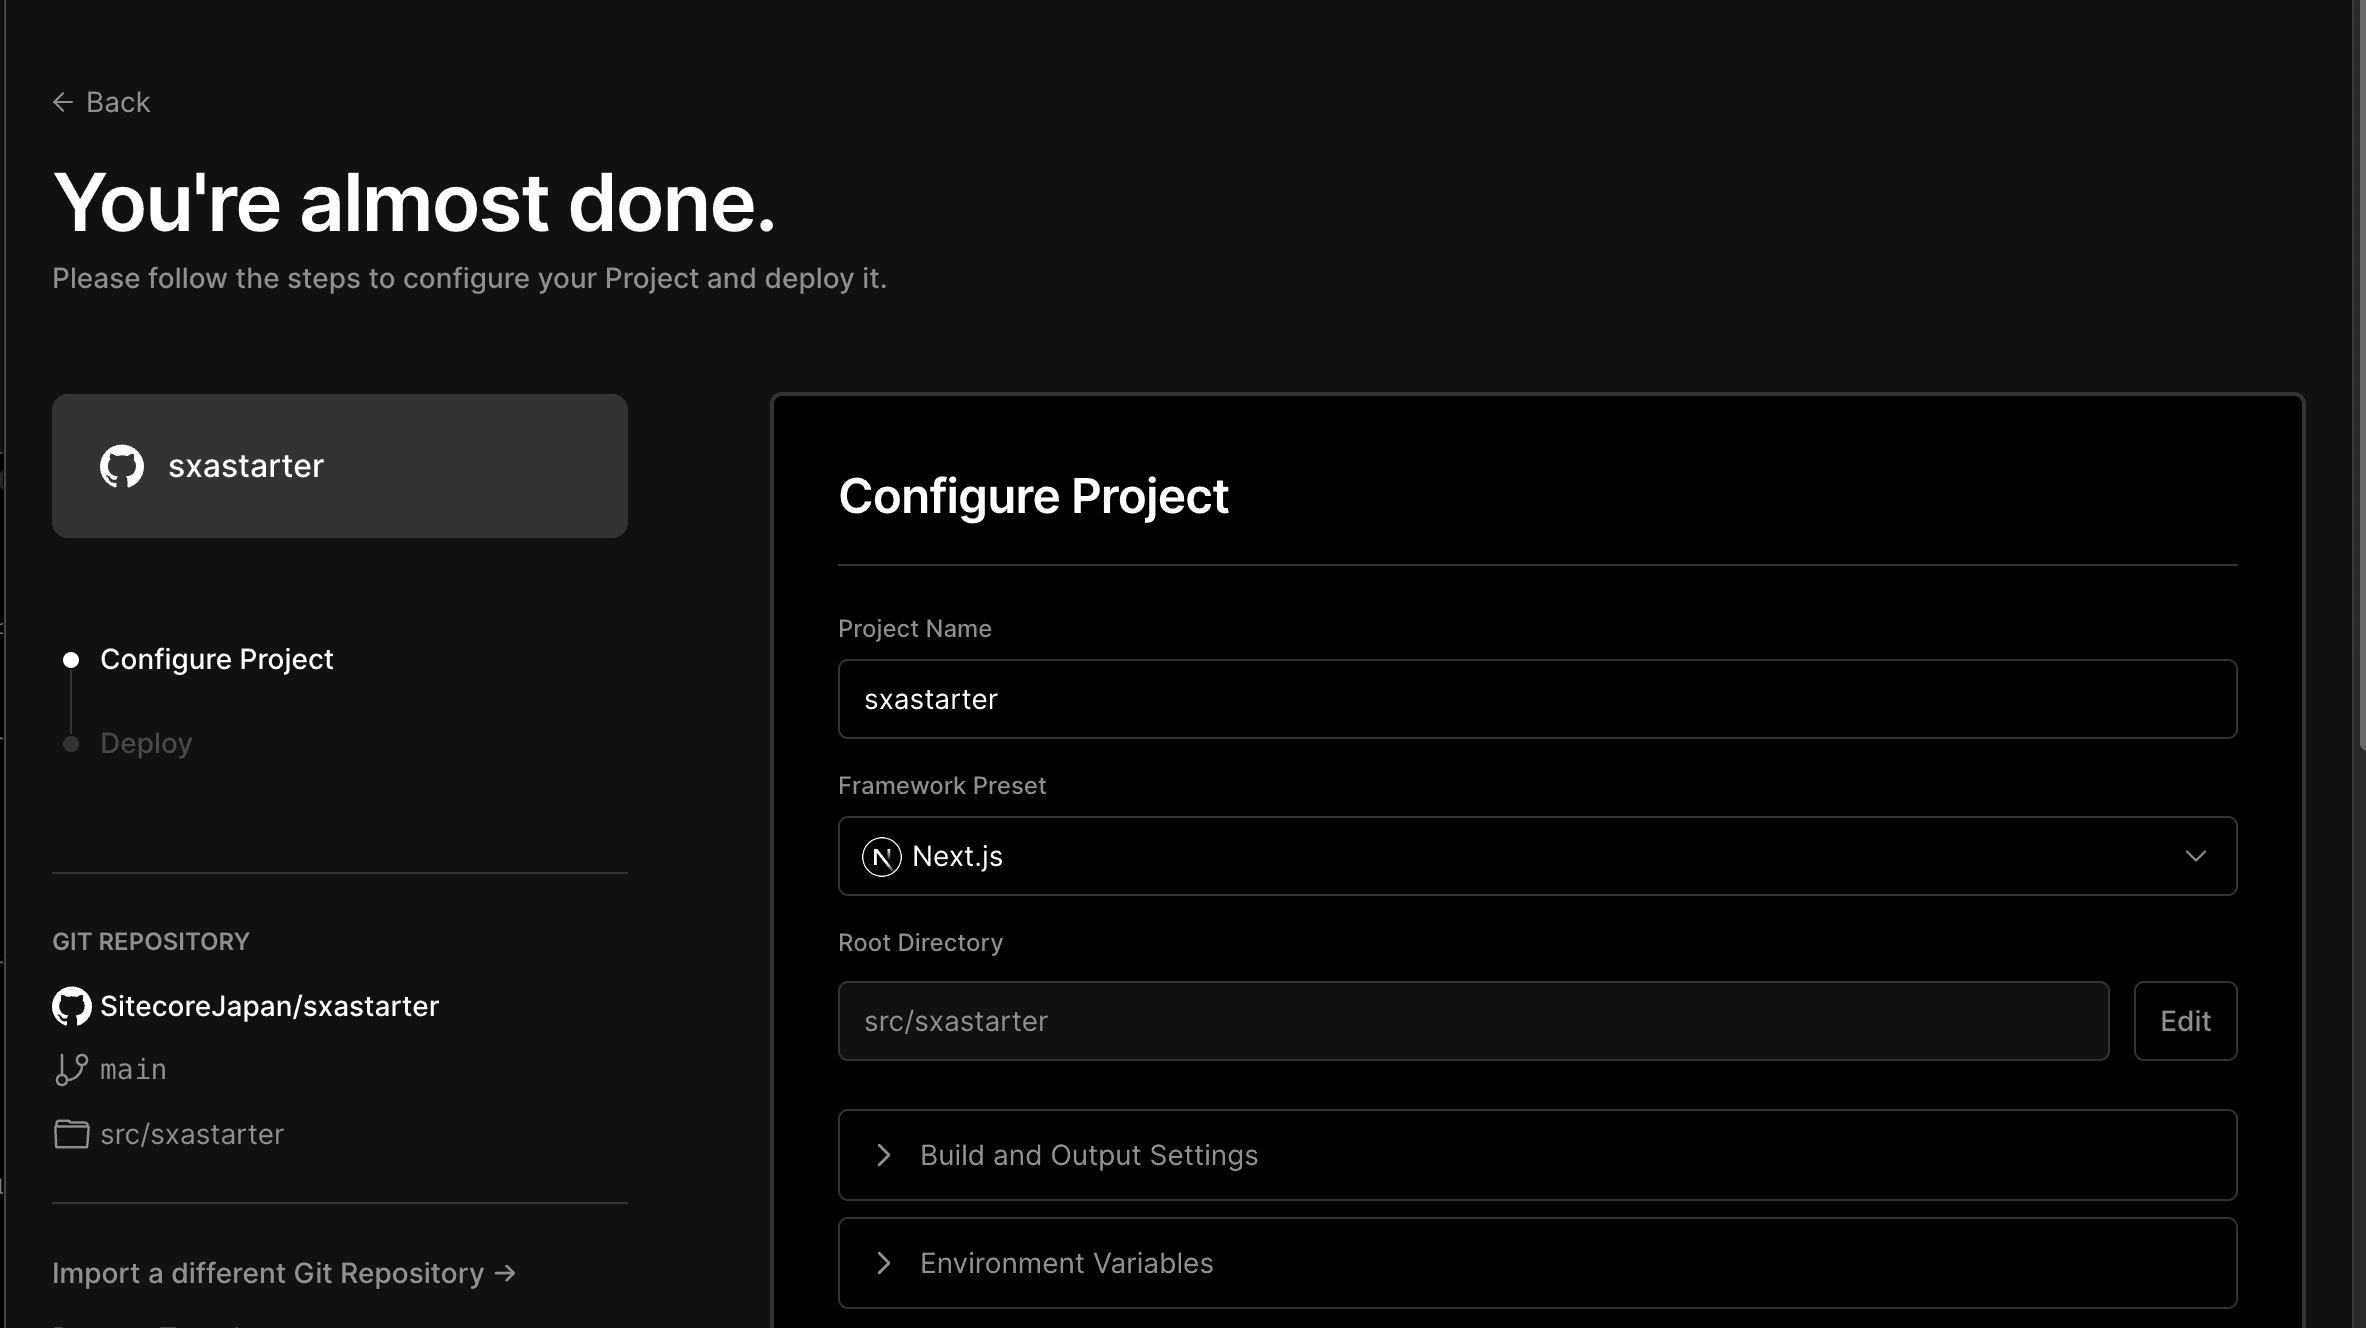
The name of the project is arbitrary; for the Framework Preset, choose Next.js, and for the root directory, specify src/sxastarter.
Next, the Environment Value must be set, this time the following three values must be set.
Name | Value |
|---|---|
GRAPH_QL_ENDPOINT | https://edge.sitecorecloud.io/api/graphql/v1 |
JSS_APP_NAME | sxastarter |
SITECORE_API_KEY | APIKEY |
Instructions on how to set these values are provided in the following pages.
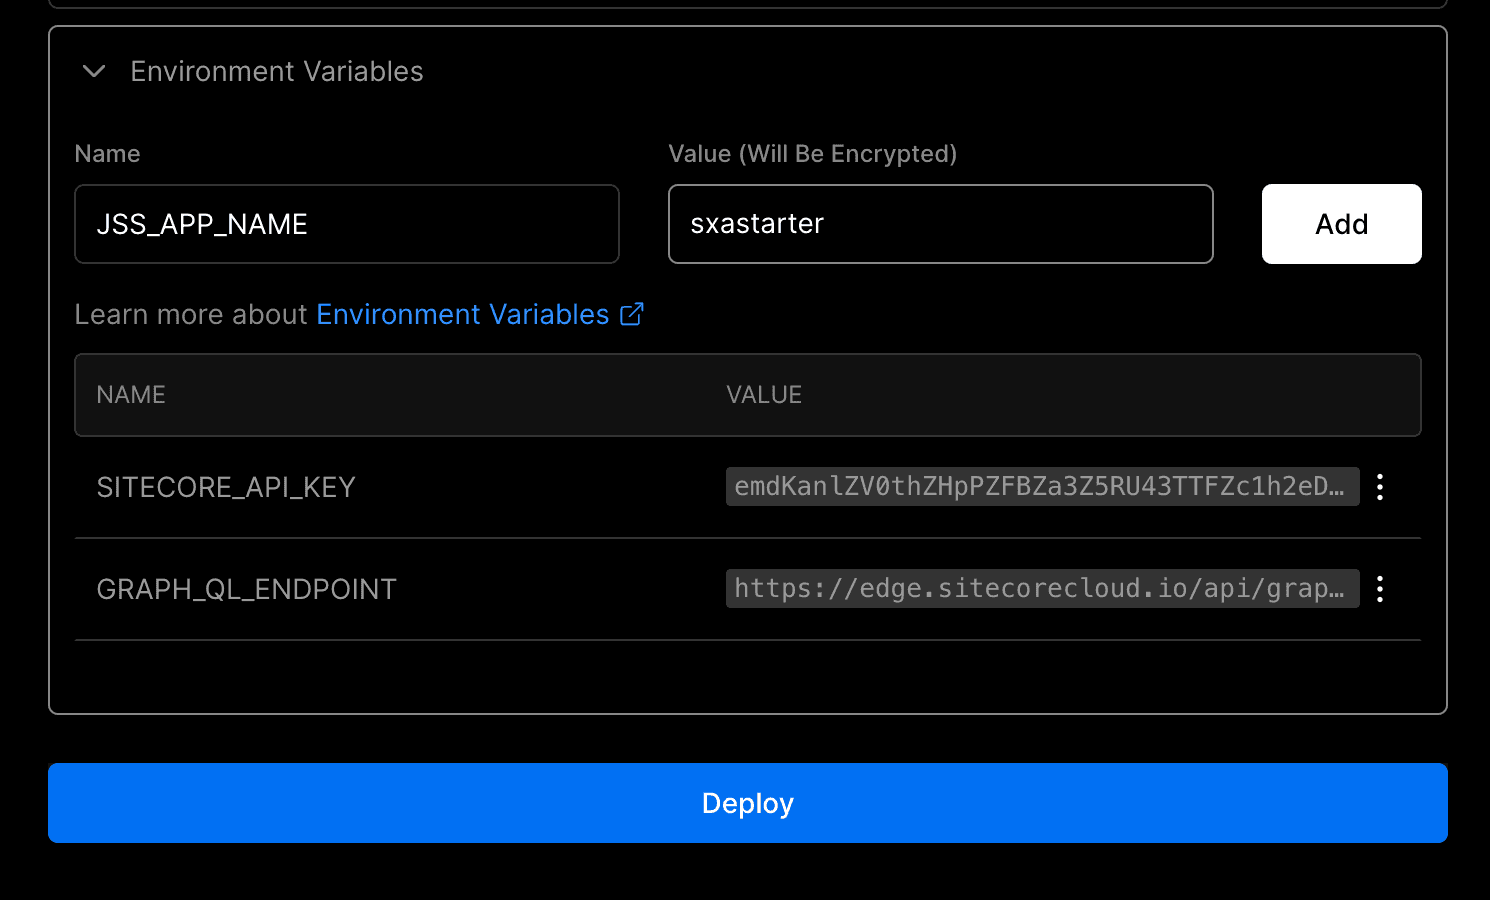
Clicking the Deploy button will automatically start the deployment and complete the website deployment.
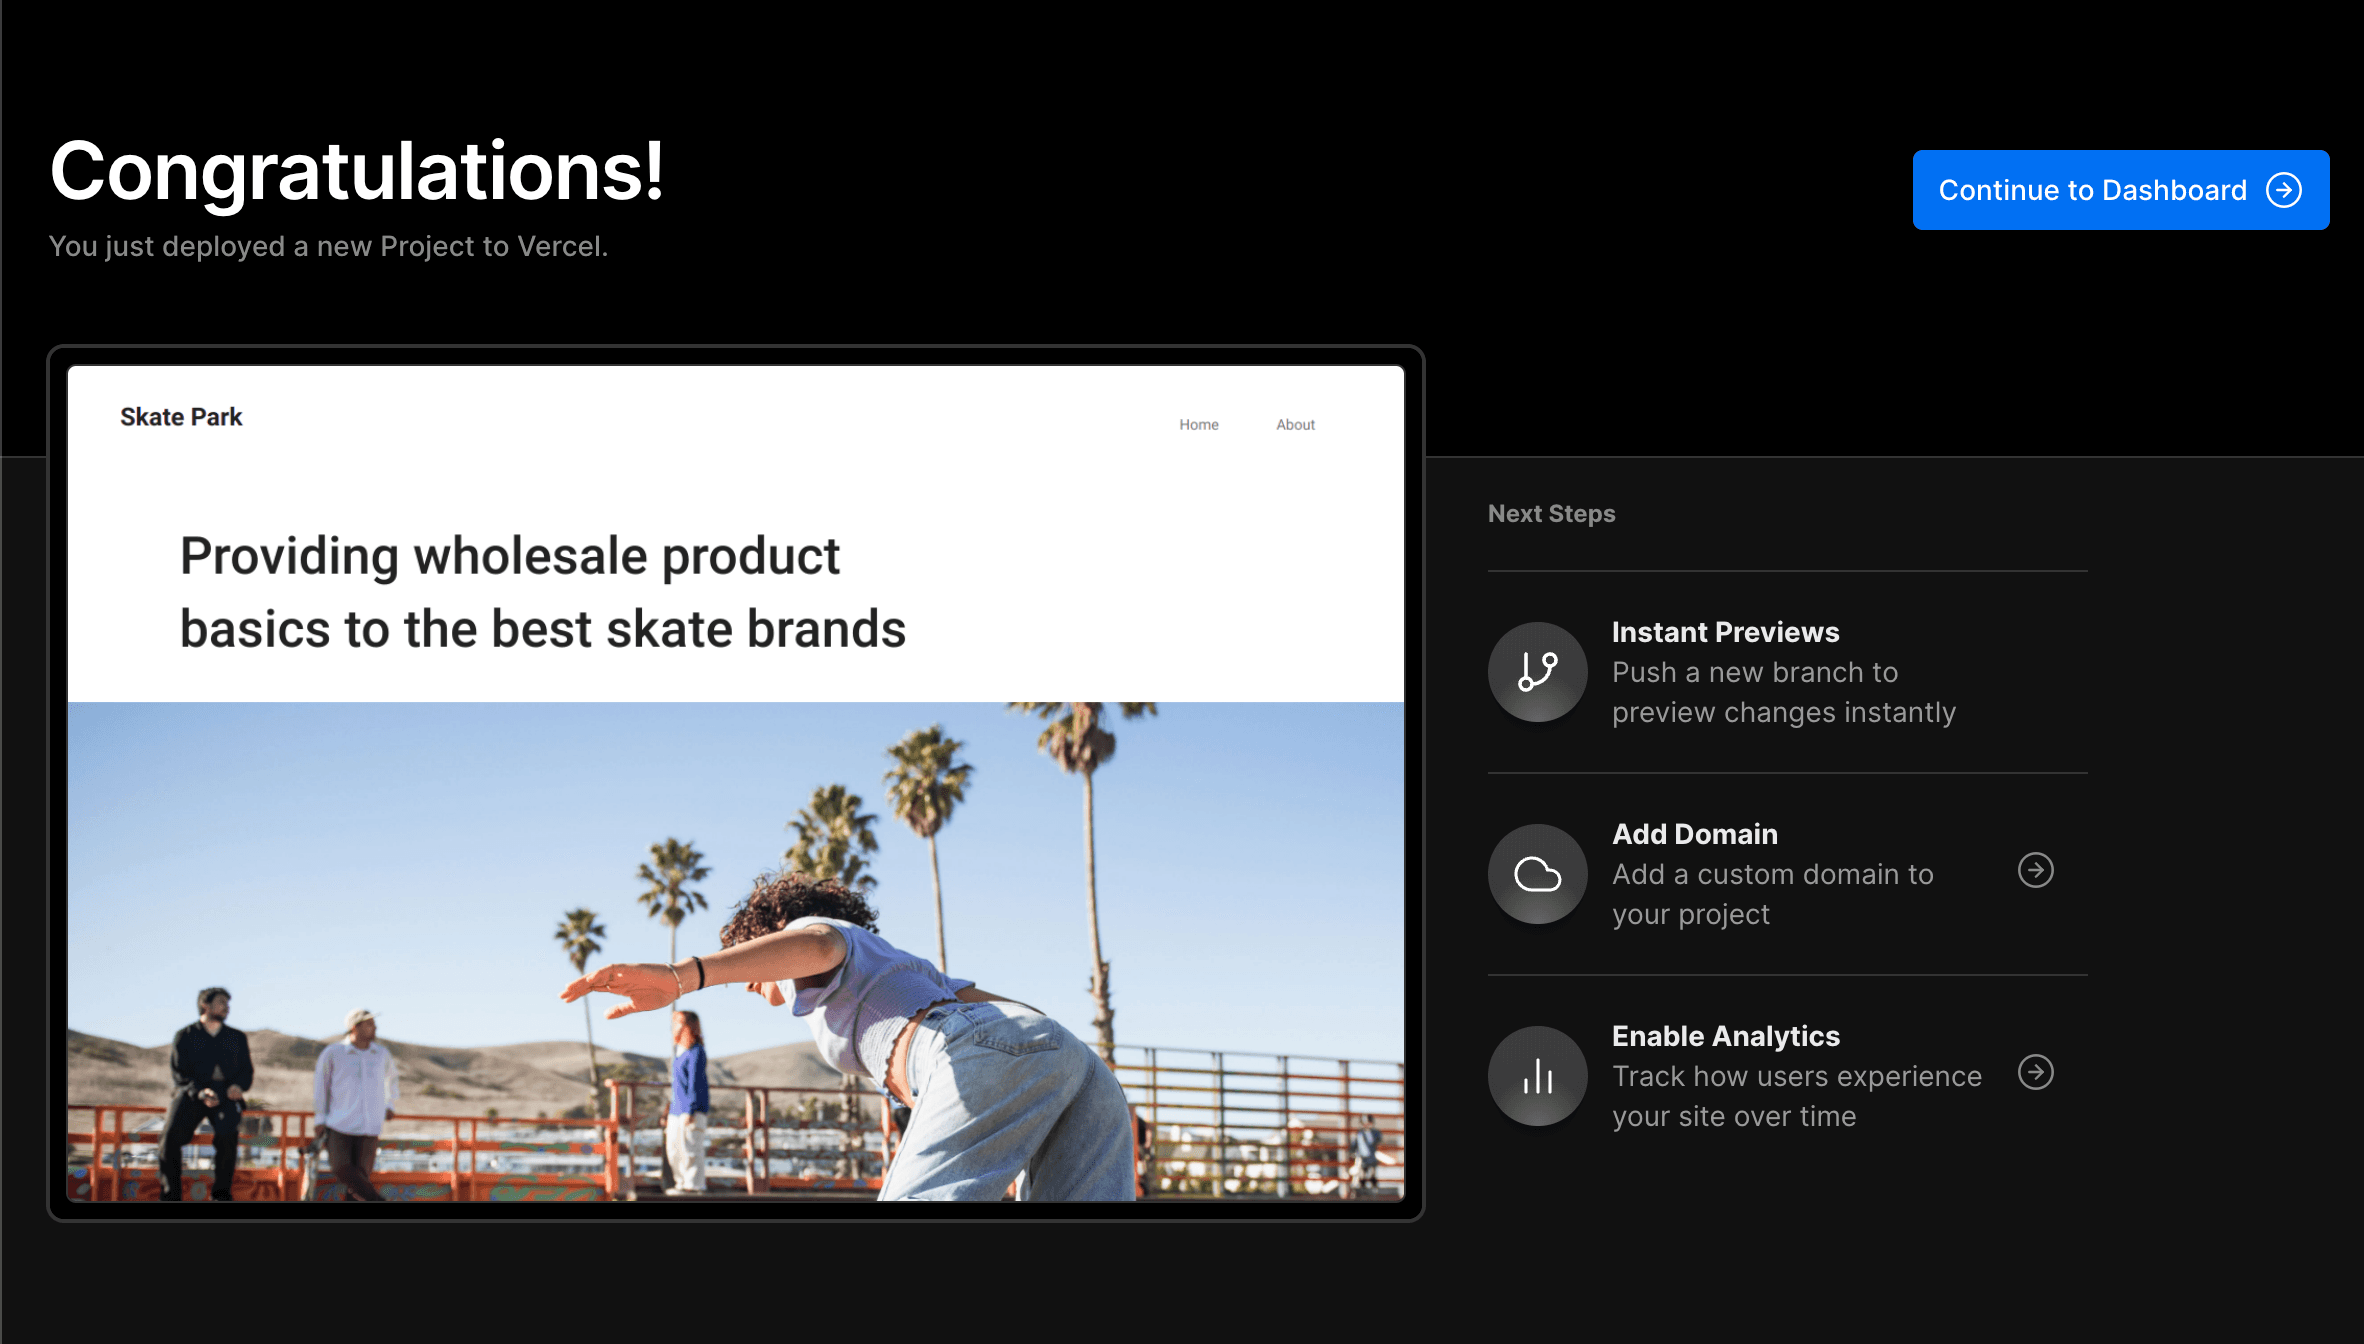
Page Updates
To make sure it works with the CMS, we will edit the page this time. First, start up Pages and this time put the word Demo at the beginning of the displayed text.
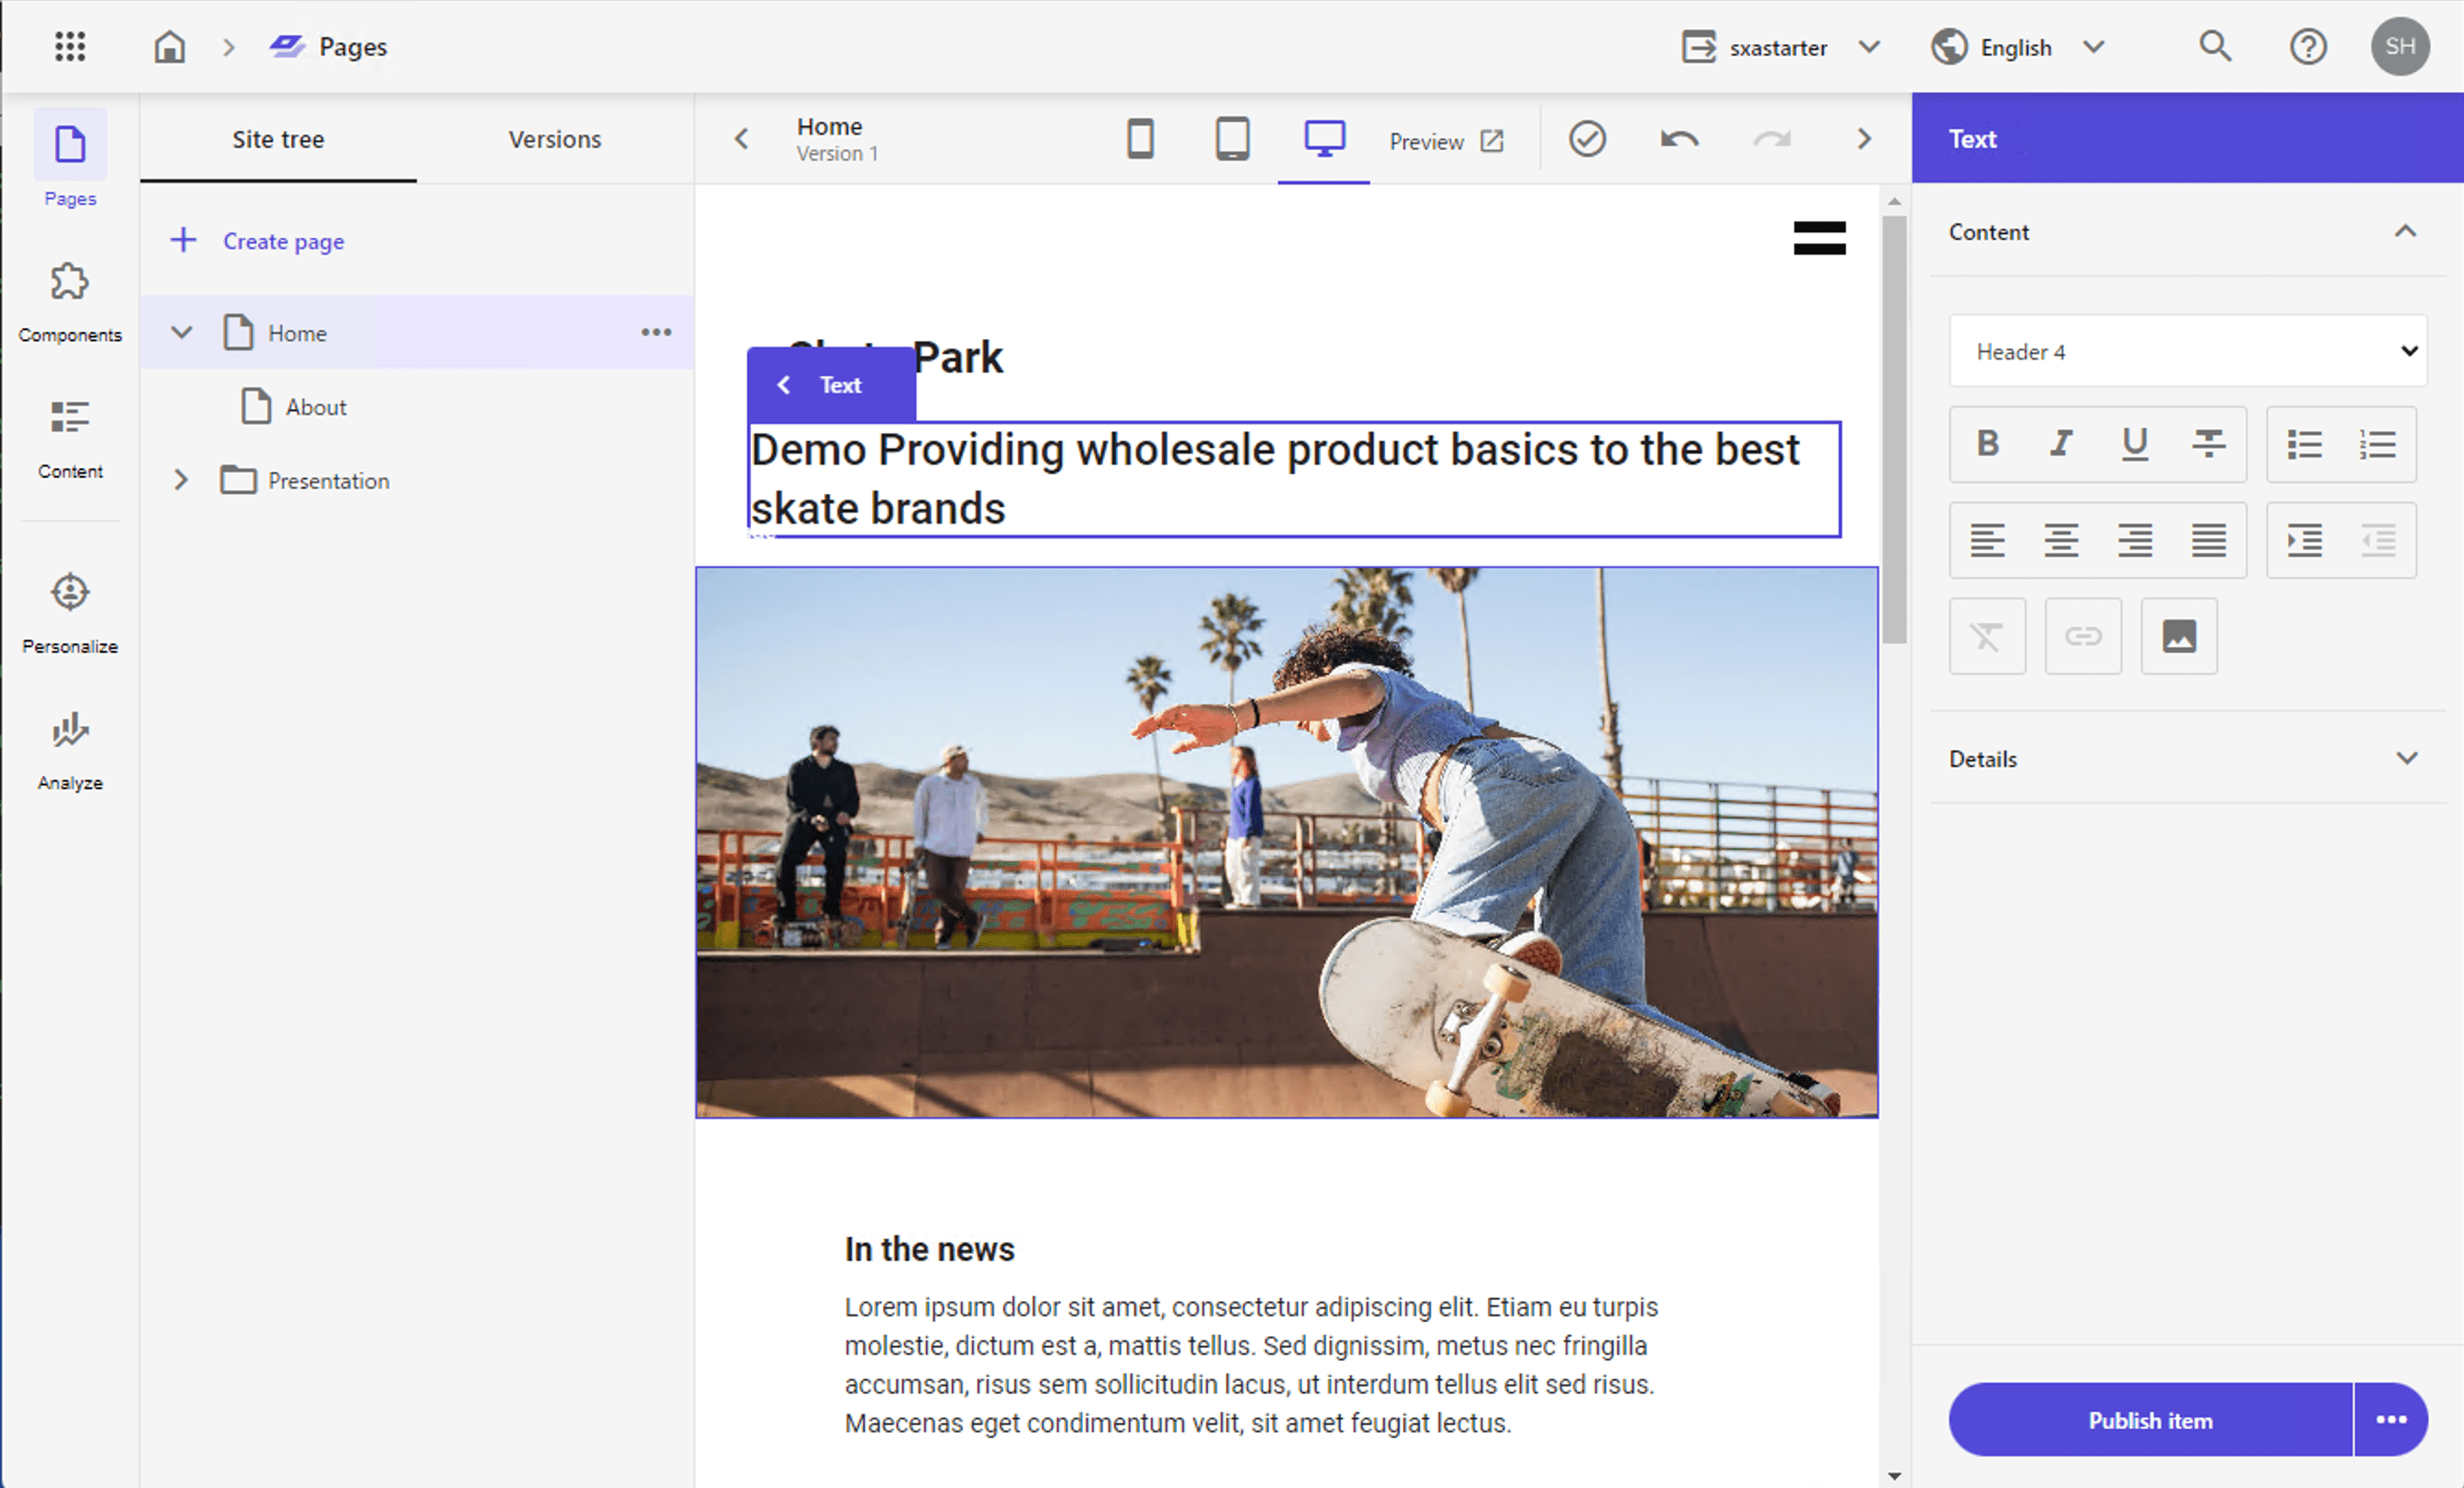
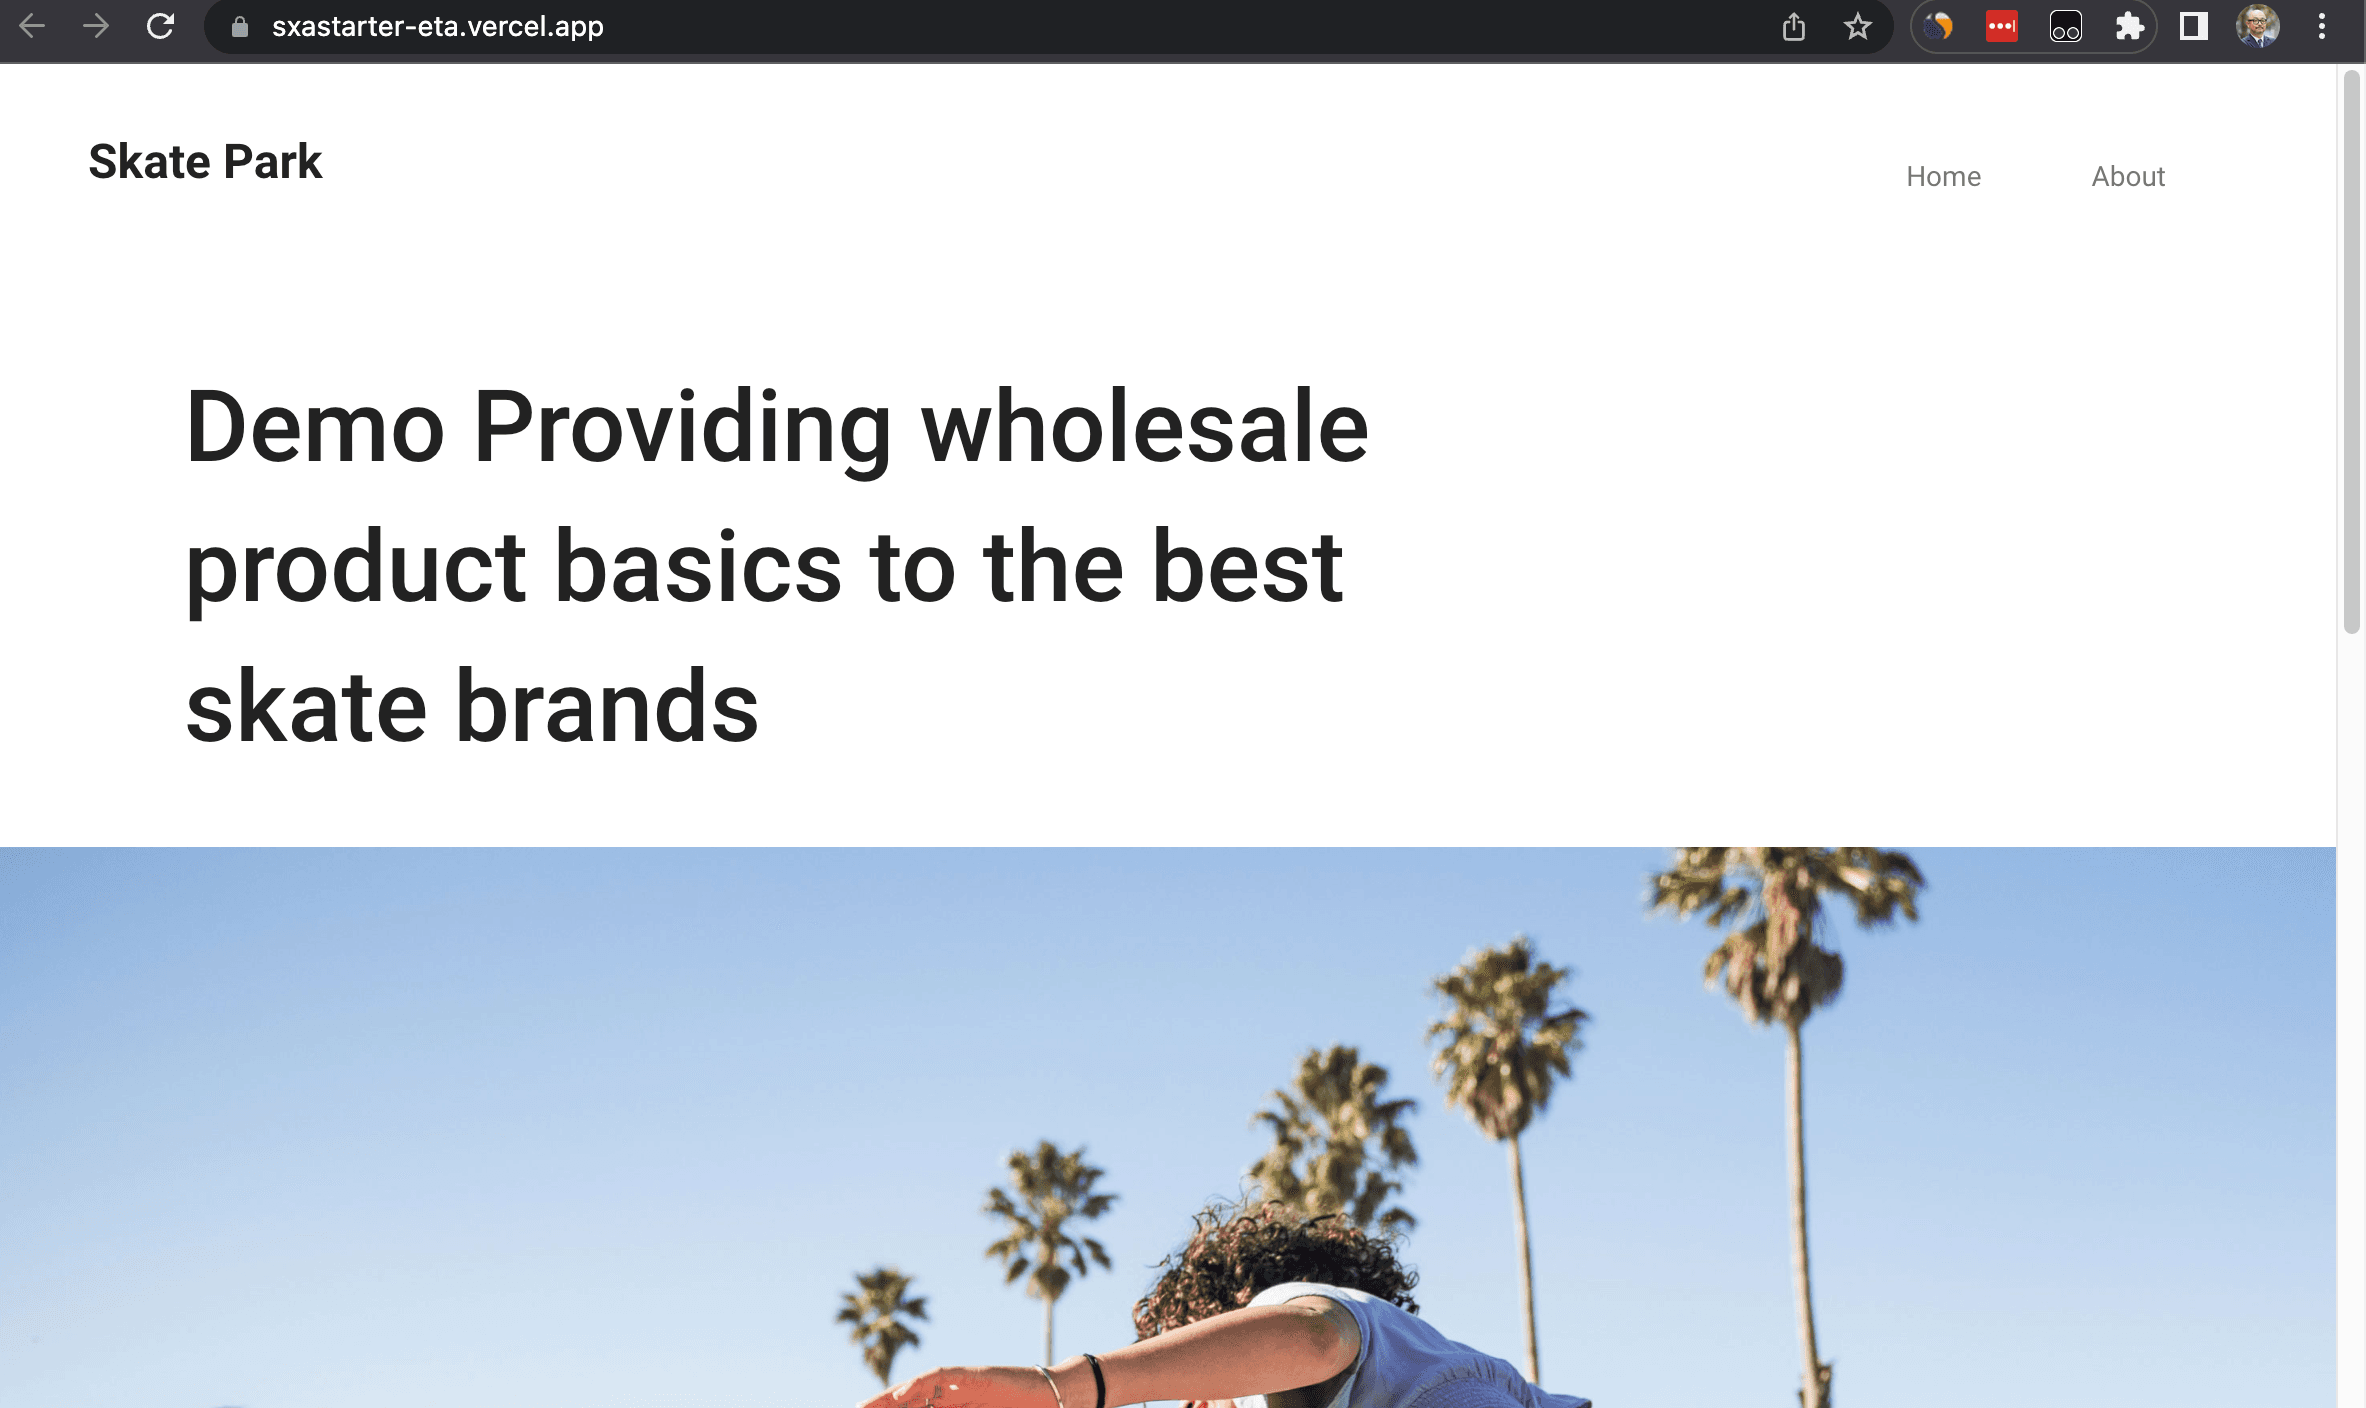
Click the Publish button in the lower right corner of the screen; after publishing is complete, you will see that the published page has been updated.
Summary
Up to this point, we have proceeded to the steps of preparing the development environment for XM Cloud and publishing it to the outside world. In addition to simply providing a CMS as a SaaS environment, we are able to prepare a development environment at hand and use Vercel to deploy web distribution. By converting most of the infrastructure into a service, we believe that we will be able to use the resources that would have been spent on the infrastructure to improve the website and promote marketing.
A video digest of the above content is available on YouTube.