Content Hub is able to provide multilingualization of strings used in the administration page by using a tool called "Translations". The availability of Japanese-language resources has changed, so we are reintroducing them in this issue.
Add a language for the portal
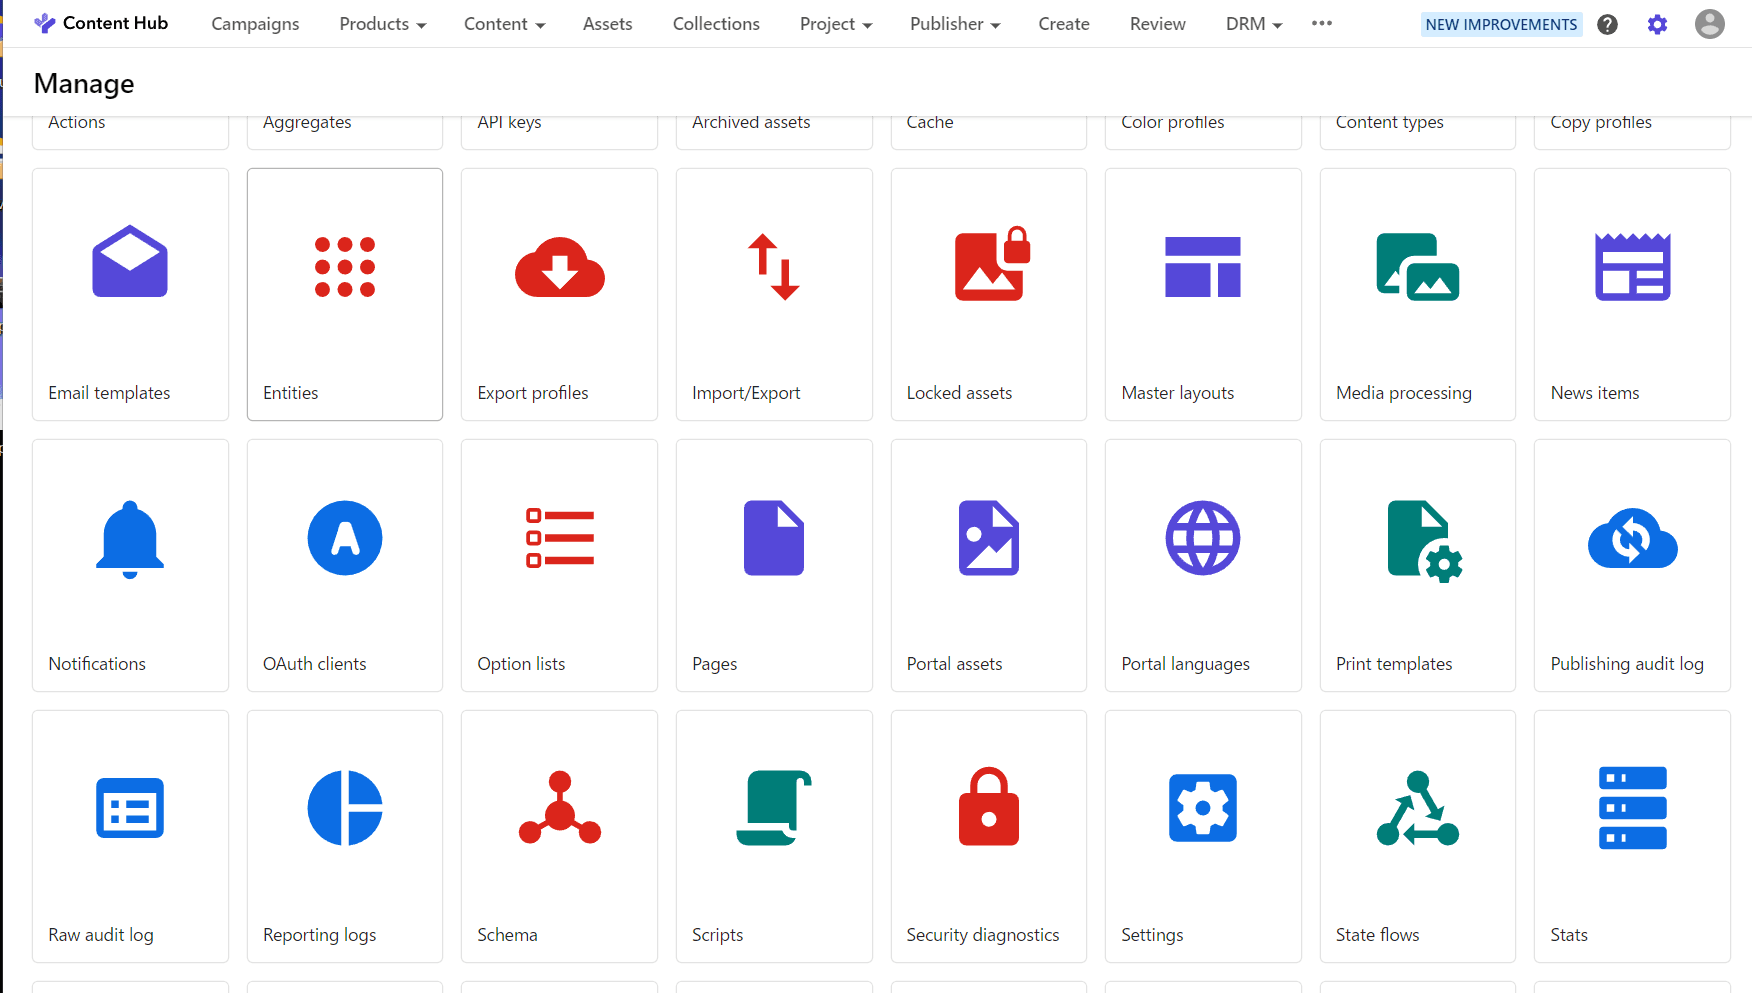
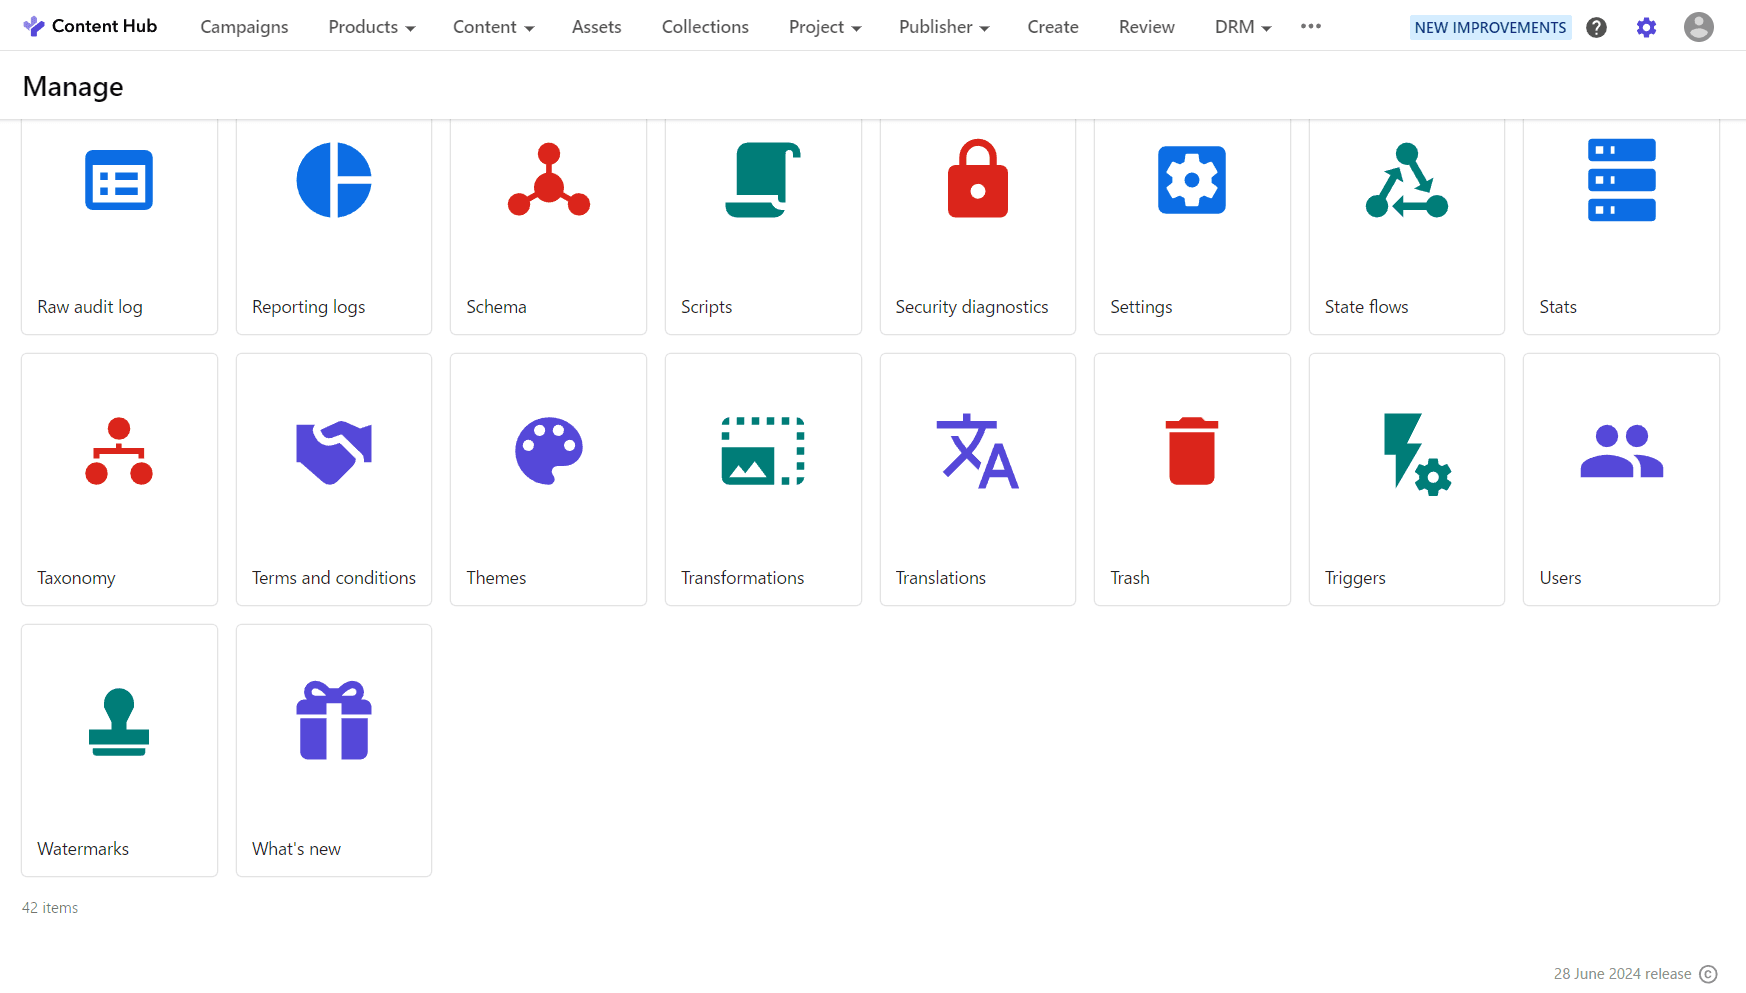
You will need to add the language you wish to use from the Content Hub administration page. First, click on the gear icon in the upper right corner of the administration page after logging in.

Click on the Portal Language icon in the Tools
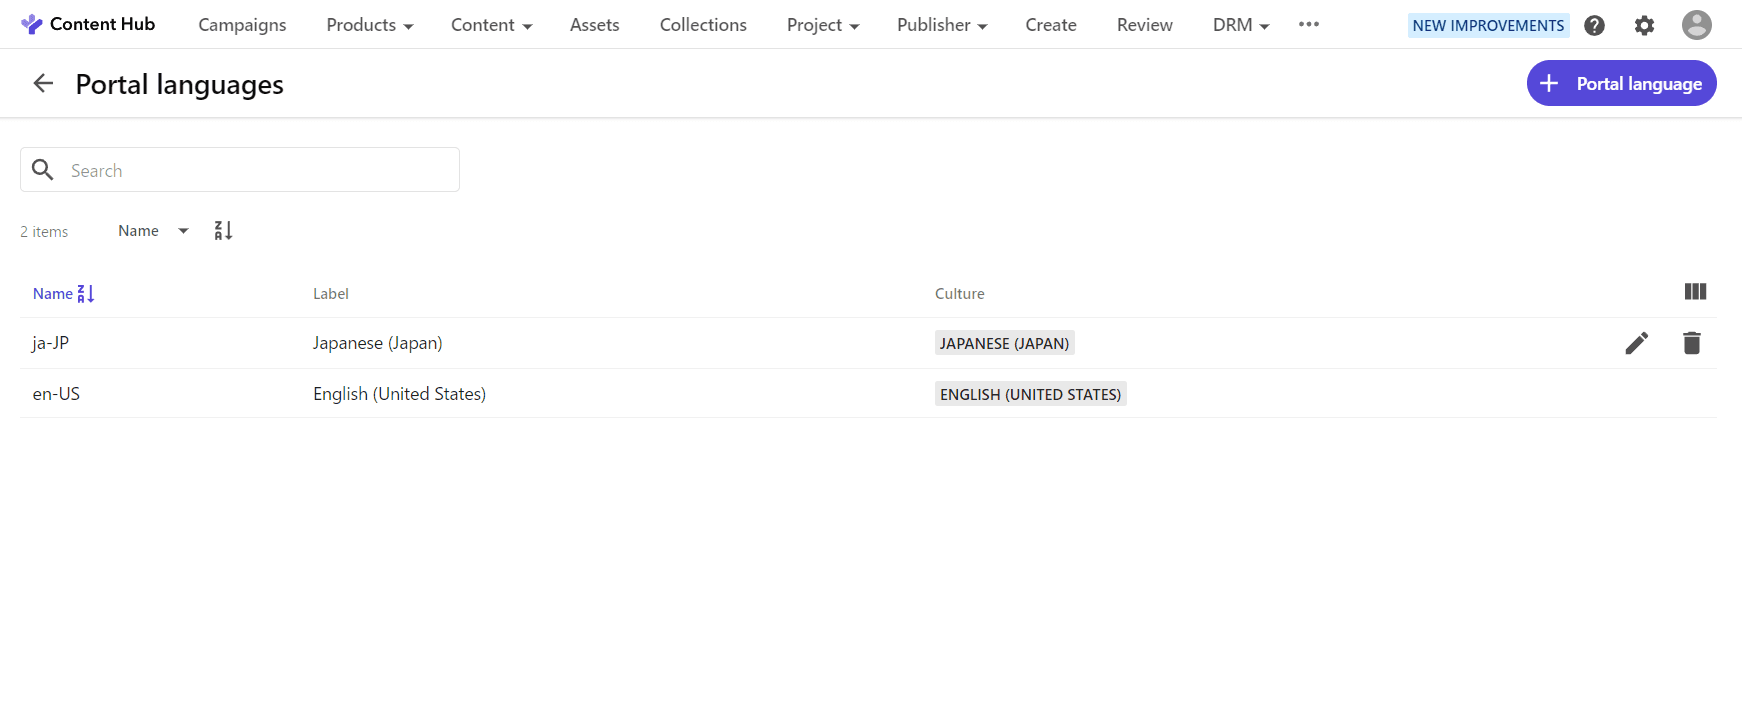
This will take you to a screen where you can add languages.
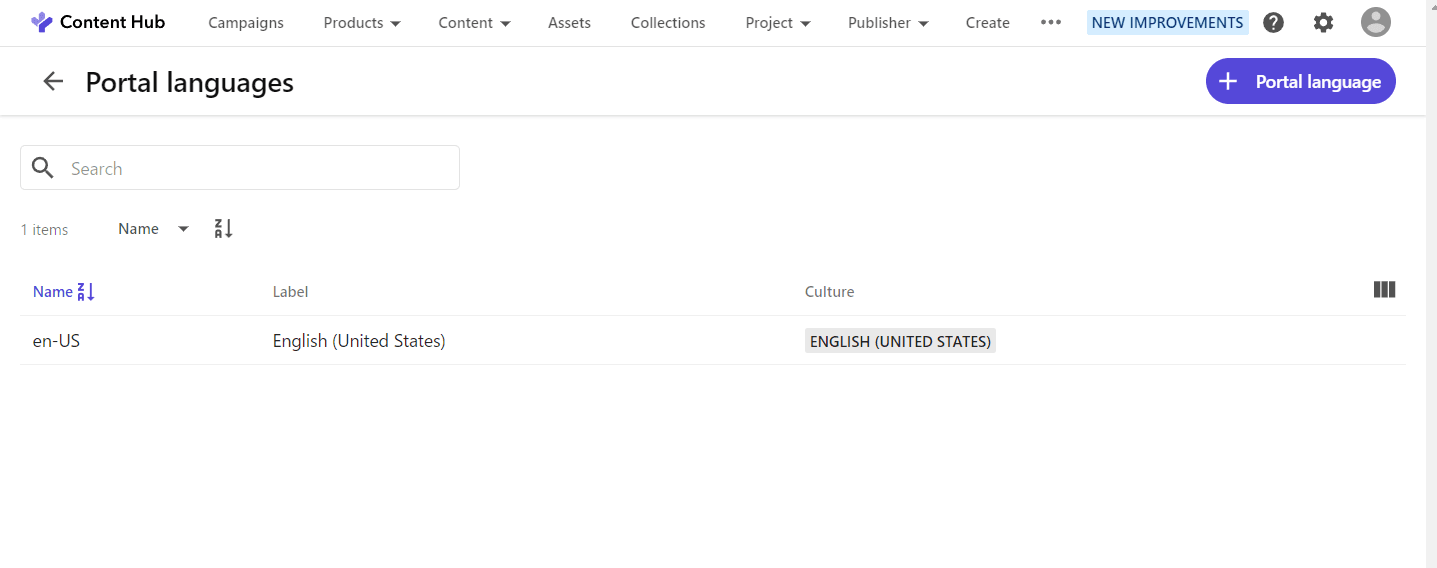
Click on + Portal Language in the upper right corner.
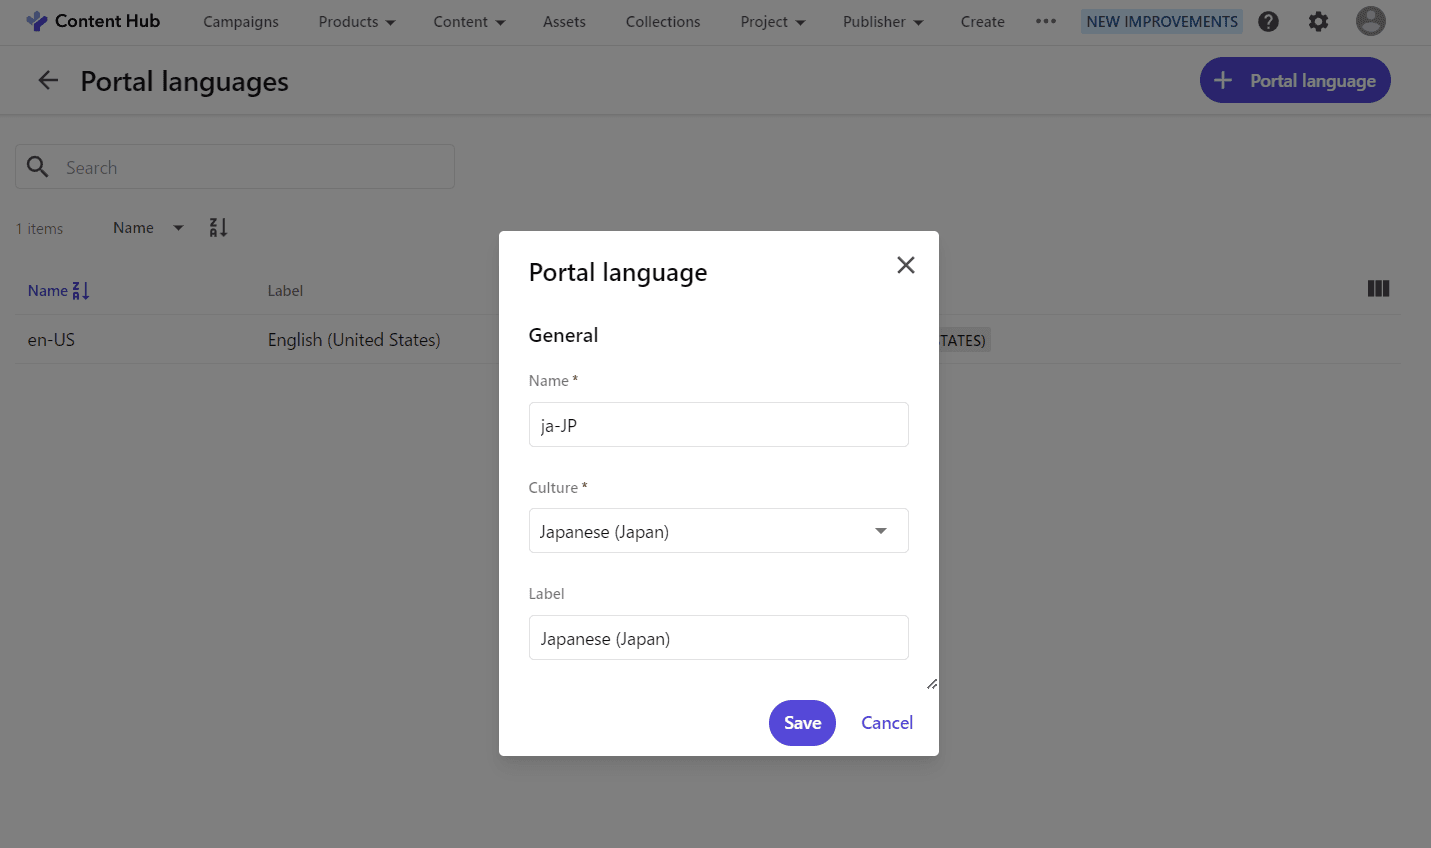
To add Japanese, configure as follows
- Name: ja-JP
- Culture: Japanese (Japan)
- Label: Japanese (Japan)
Once the language is added, you will see the following screen.
Adding Resources
File Preparation
After the language is added, the resources are imported. The latest files are available at the following GitHub repository.
Download the Excel file.
Importing Resources
Then go to the Administration page and select the Translations tool.
When you open the tool, you will see the following screen.
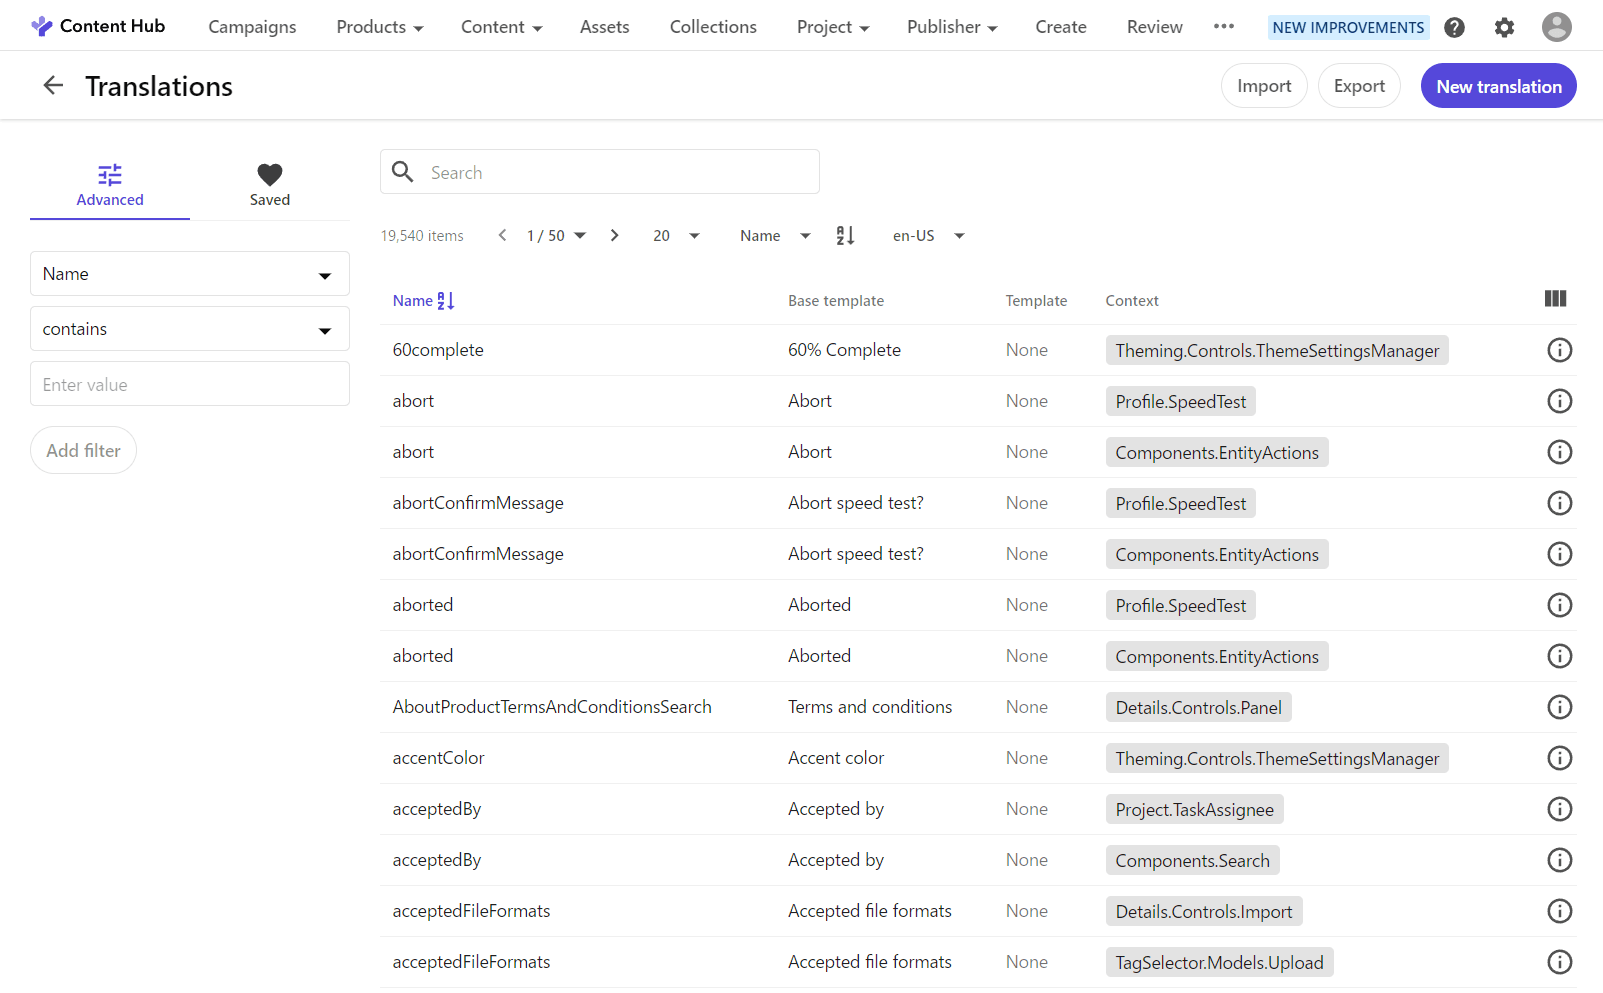
This time, since you already have an Excel file of the resource file, click on the Import button. The following dialog box will open
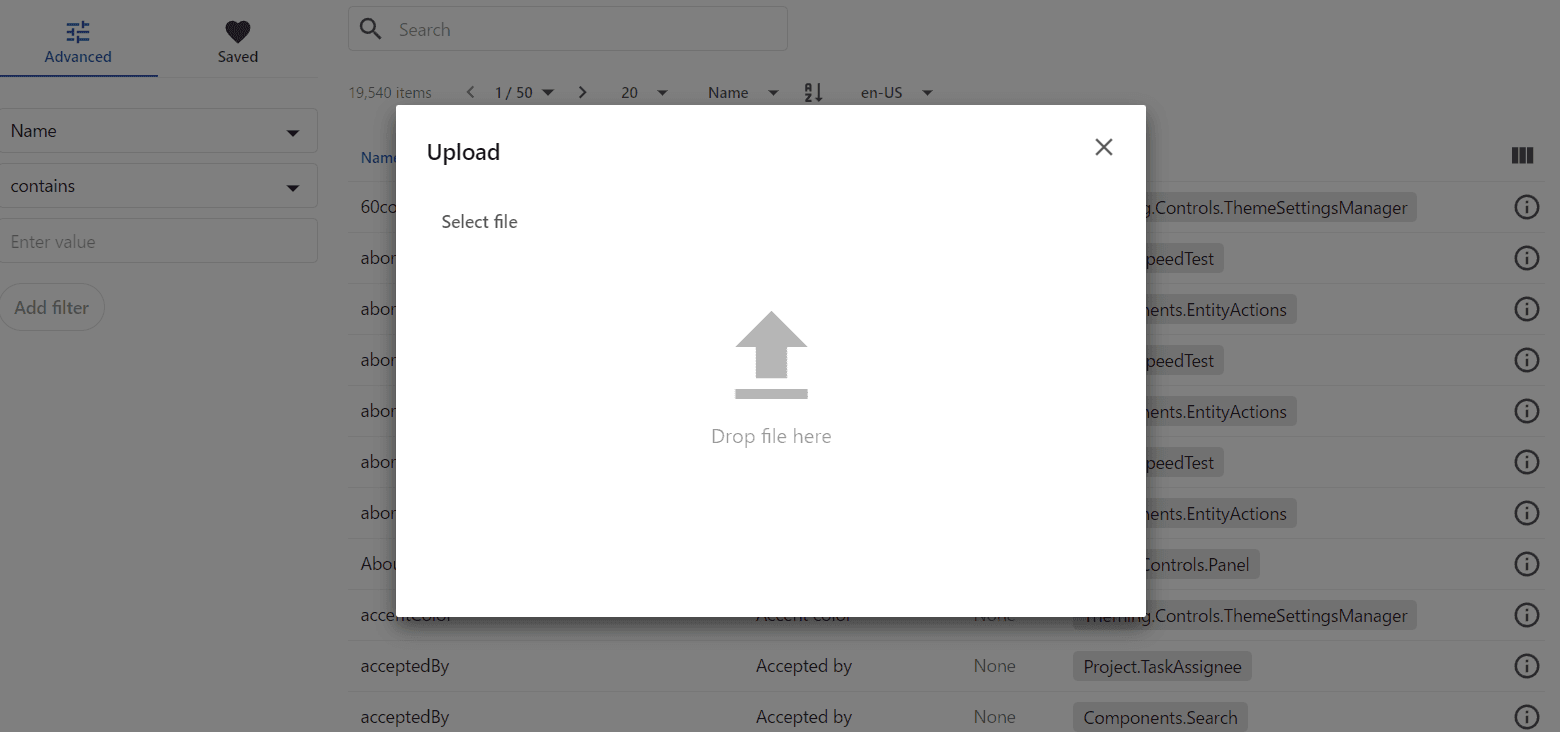
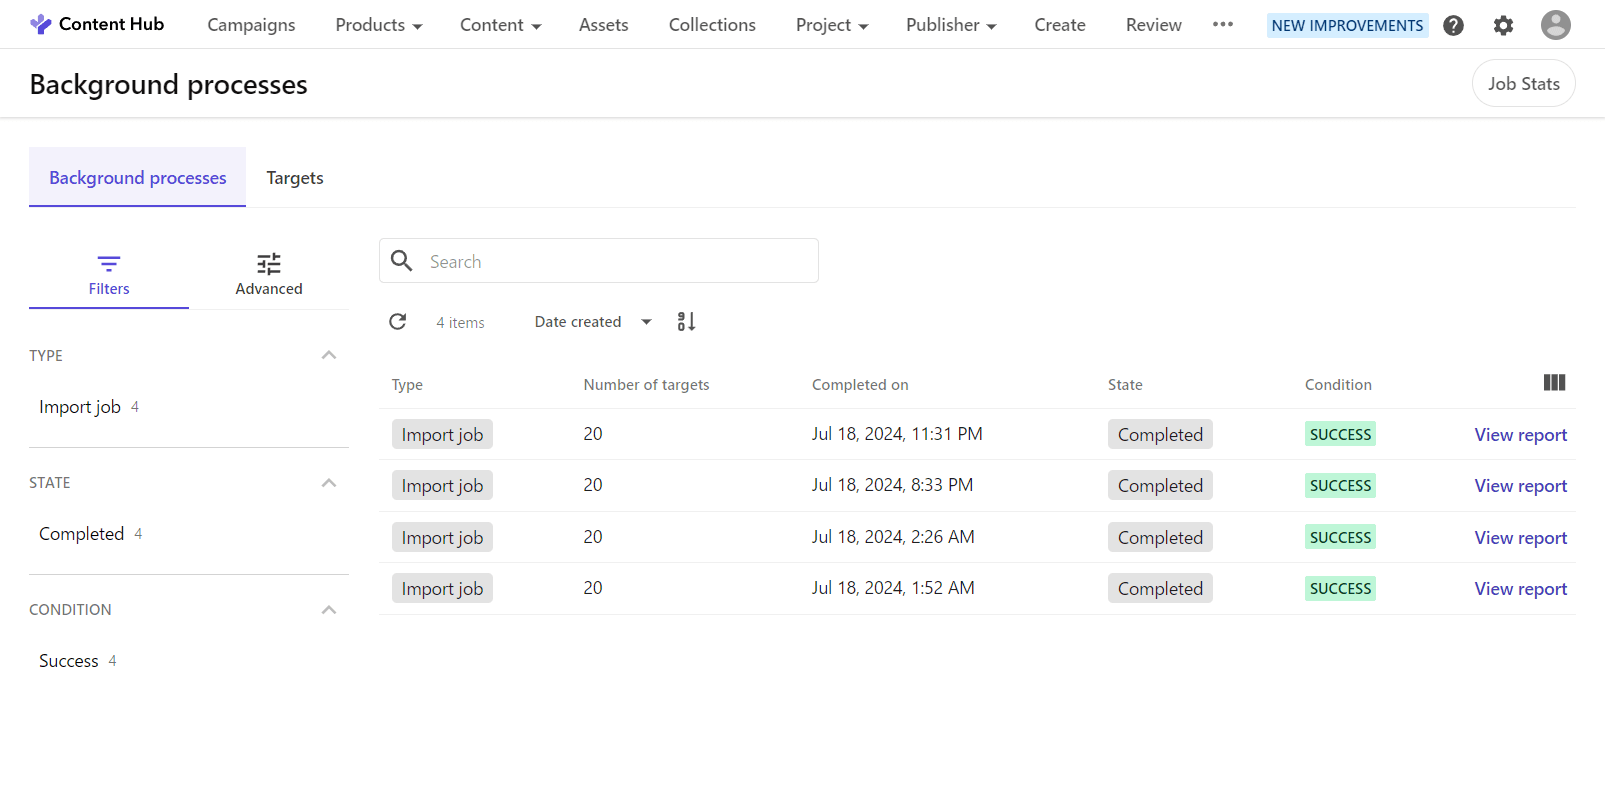
Drag and drop files that have been downloaded in advance to this location, and the import procedure will proceed automatically. Import runs as a background process. Below you can see how the import was carried out in the process when the import was done four times.
After completion, change en-us in the URL to ja-jp to see the admin page switch over.

Summary
This time, the procedure is the same as the one introduced previously, but a new resource file has been prepared so that the latest version will be in Japanese accordingly. Not all of the resources are listed, so there are some untranslated parts, but we were able to successfully switch to the Japanese-language management screen as a whole.