In the last issue, we introduced the new XM Cloud Deploy tool. In this article, we would like to add a new site to the CMS deployed with this tool.

Content Update
Please check the latest information on the following page
Add a site
When a new environment is created, if there is no information about the site in the GitHub project, the site is not in the CMS. Therefore, when accessing the XM Cloud Deploy admin page, you will only see a button to create a site because there is no site.
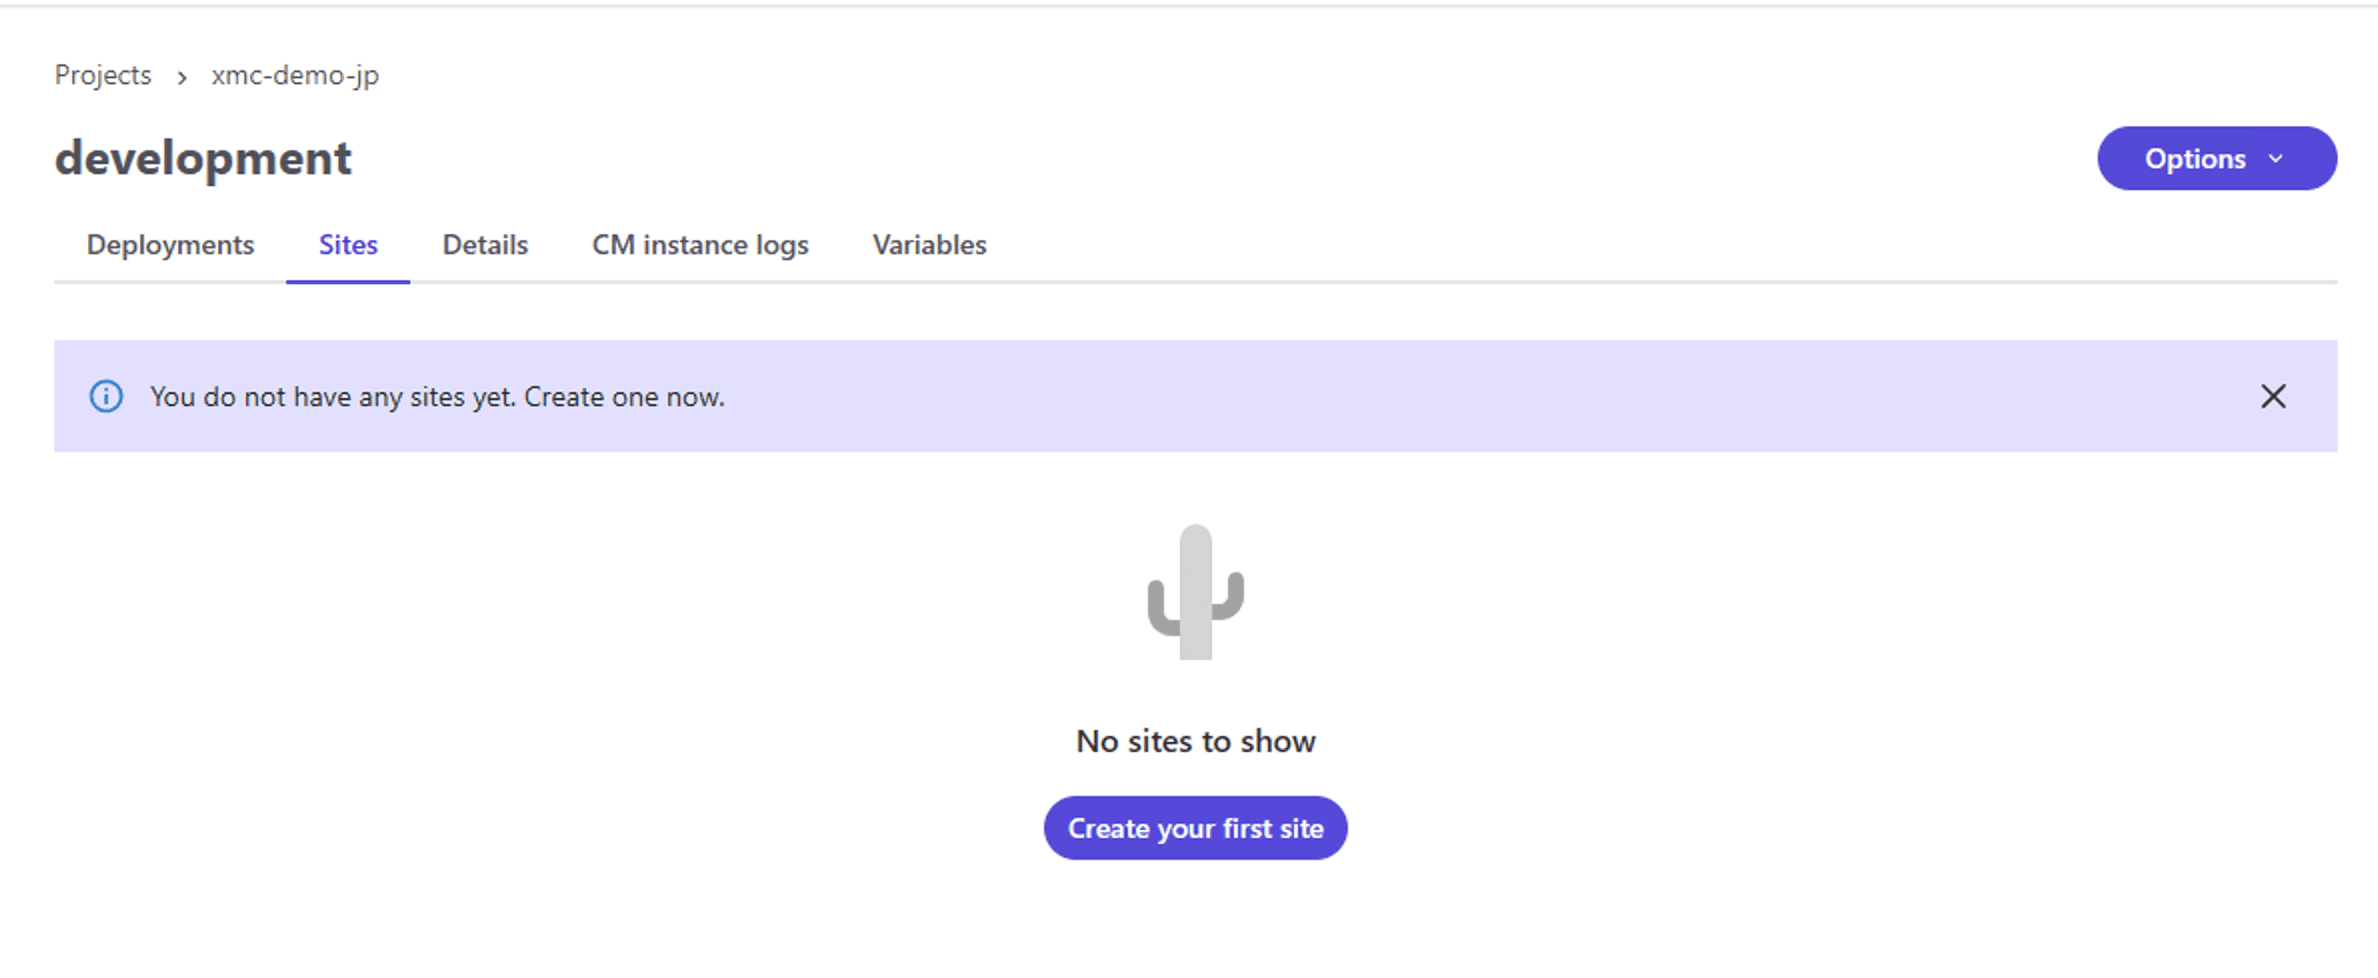
Clicking on the above screen will take you to the administration screen of the appropriate CMS and switch to the screen that is blank in the Sites list.
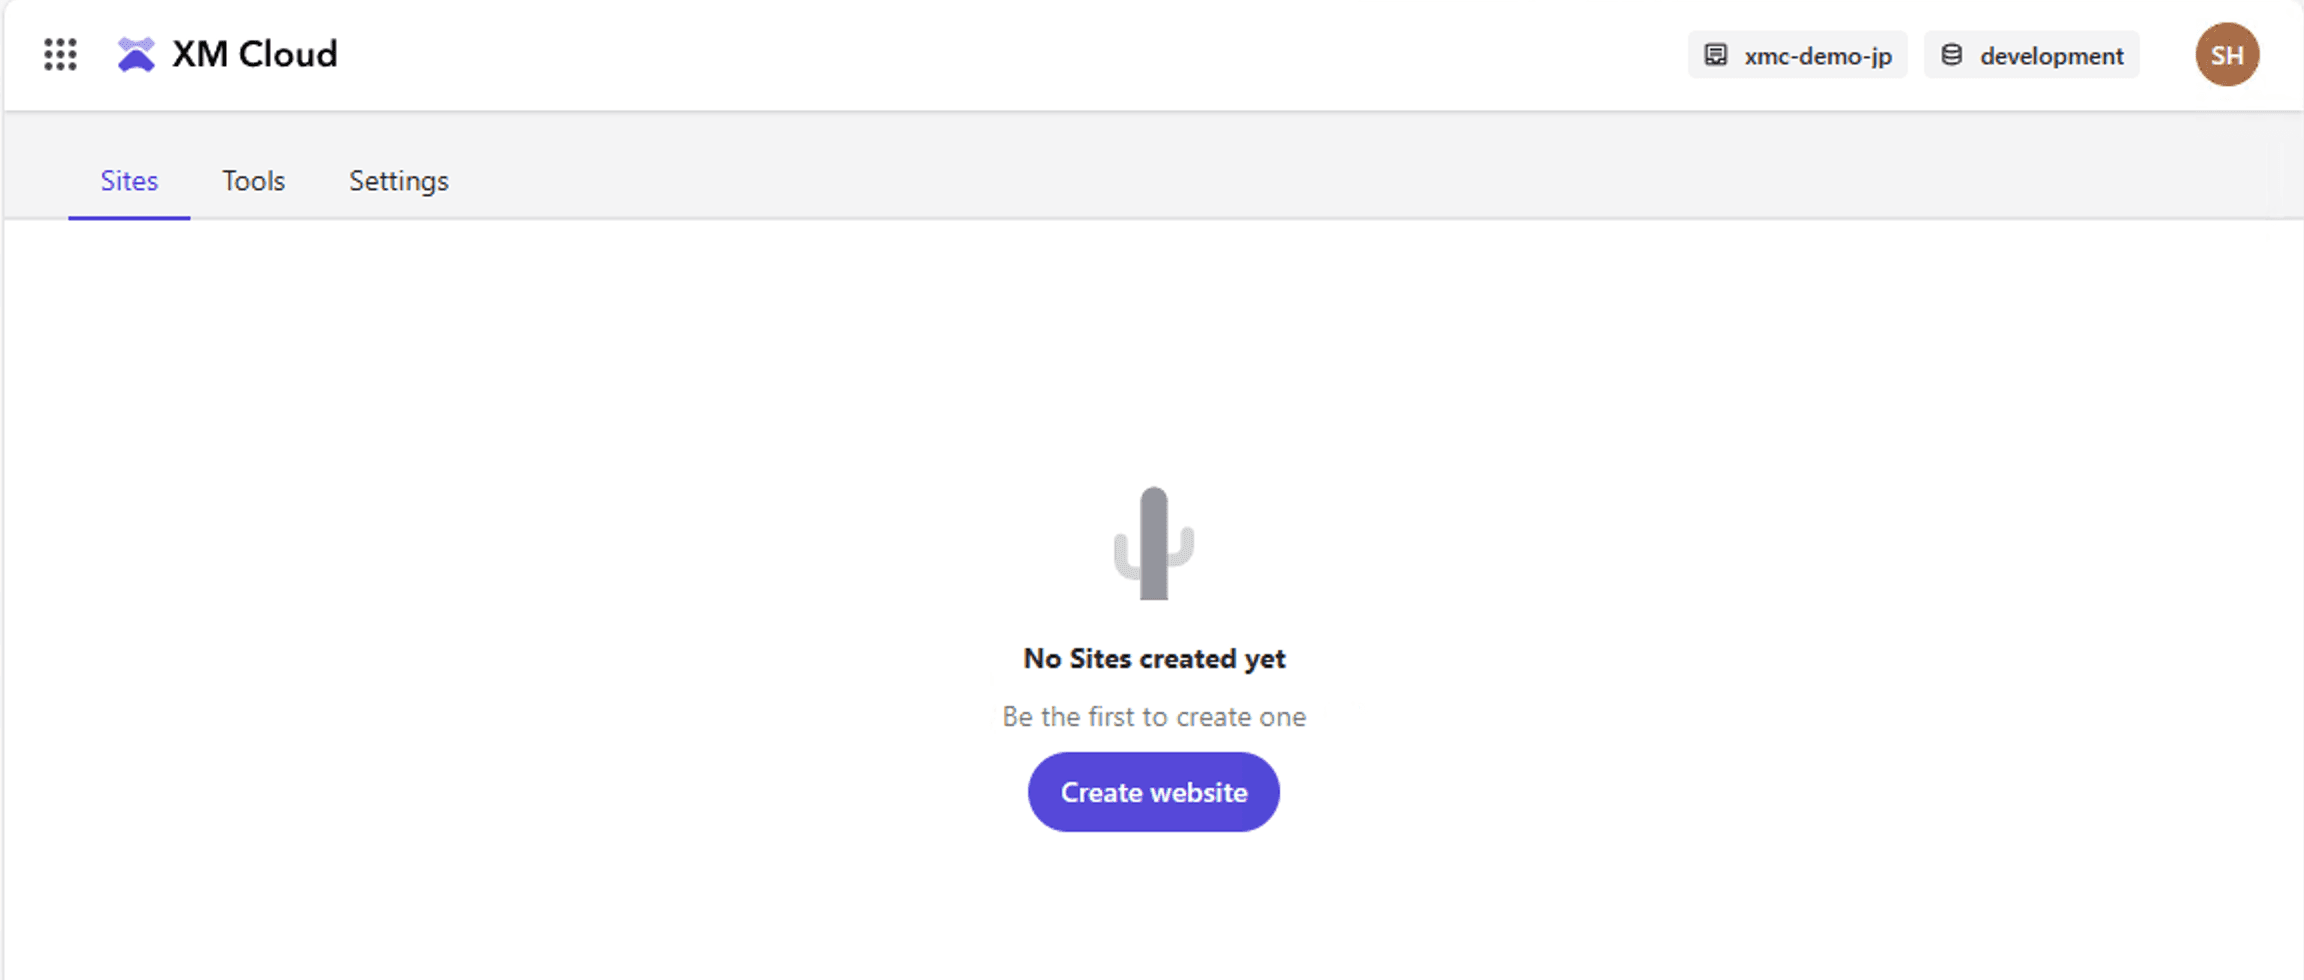
Click on the Create website button to select the template you wish to use.
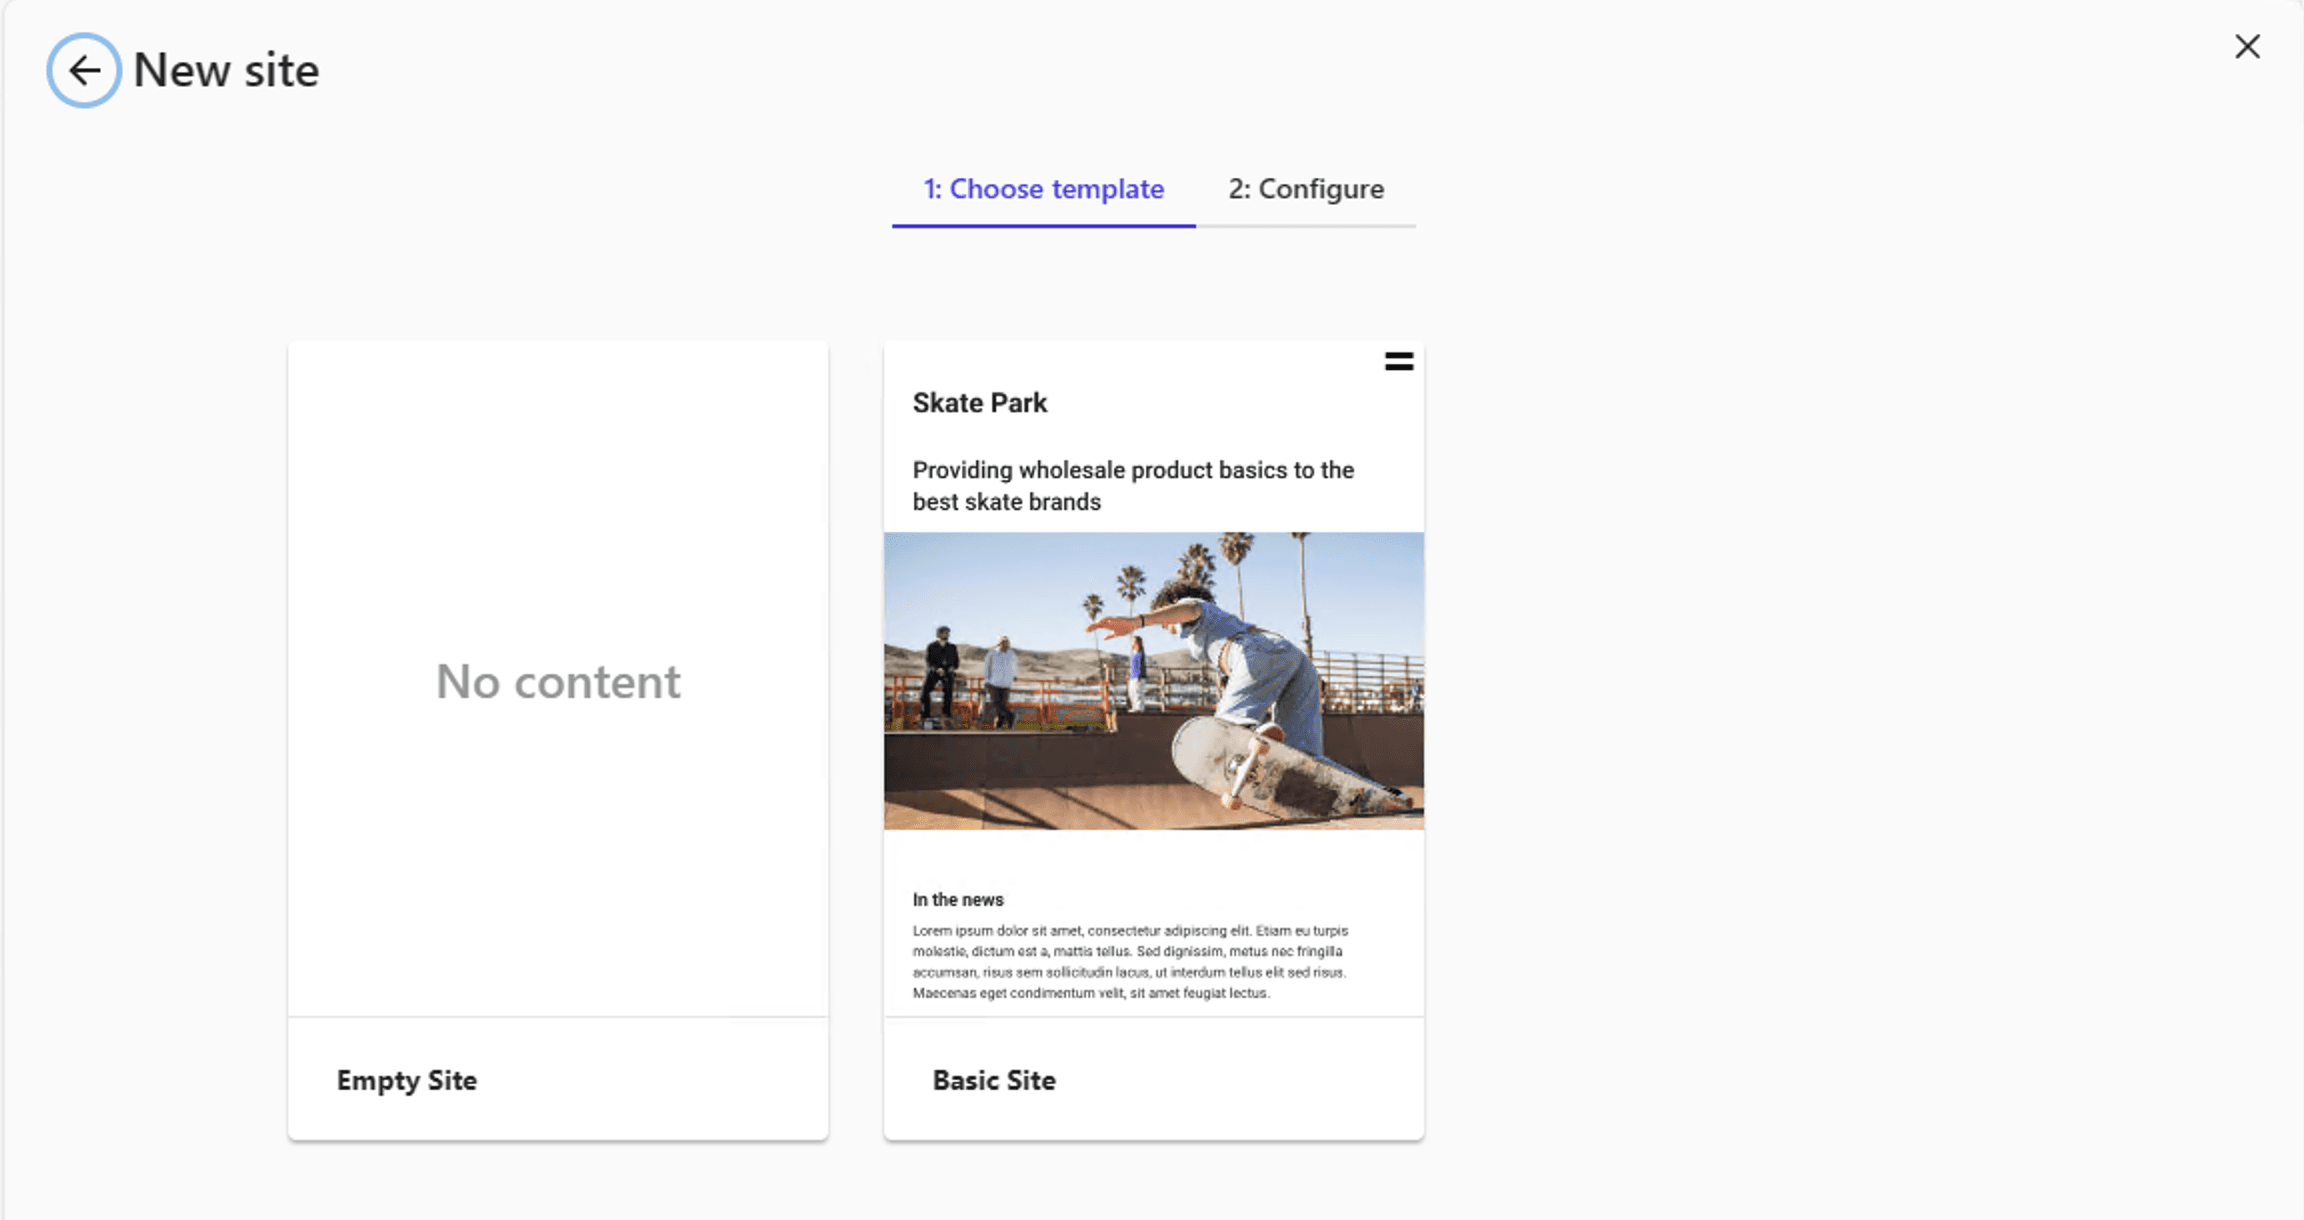
This time, select Basic Site on the right and choose Choose to switch to the site configuration screen.
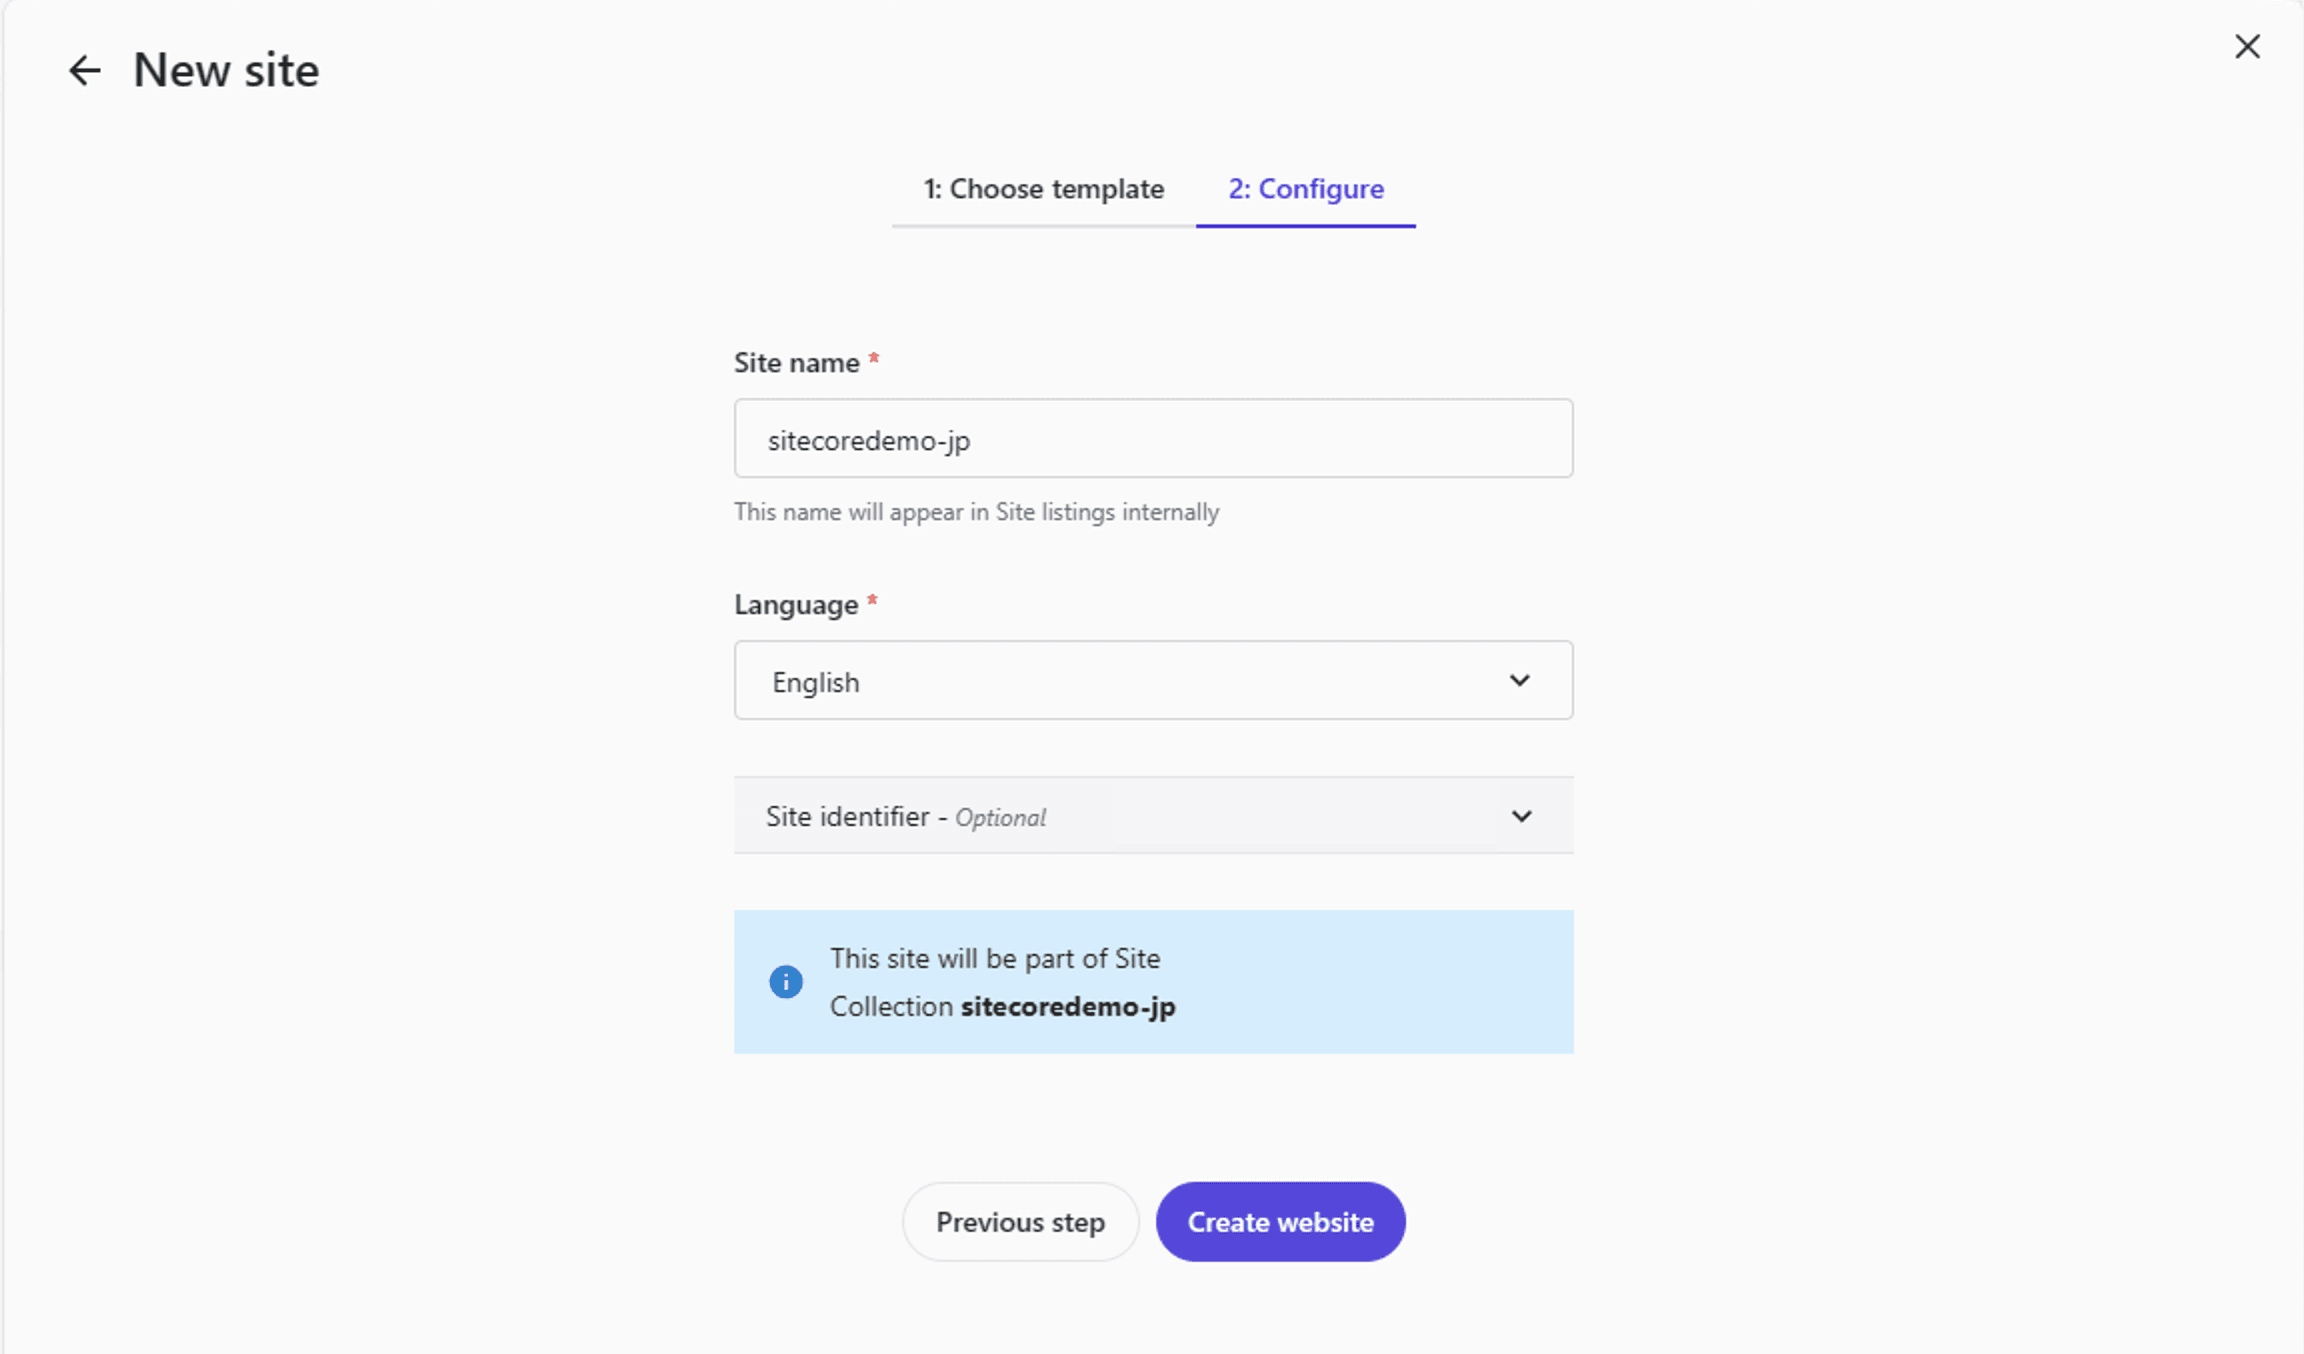
In this case, the following settings were made
- Site name - sitecoredemo-jp
- Language - English
- Site identifier - I have chosen sitecoredemo-jp (EN), which I have created before. This field is optional
Click on the Create website button to begin creating your site. The creation process takes only a few minutes.
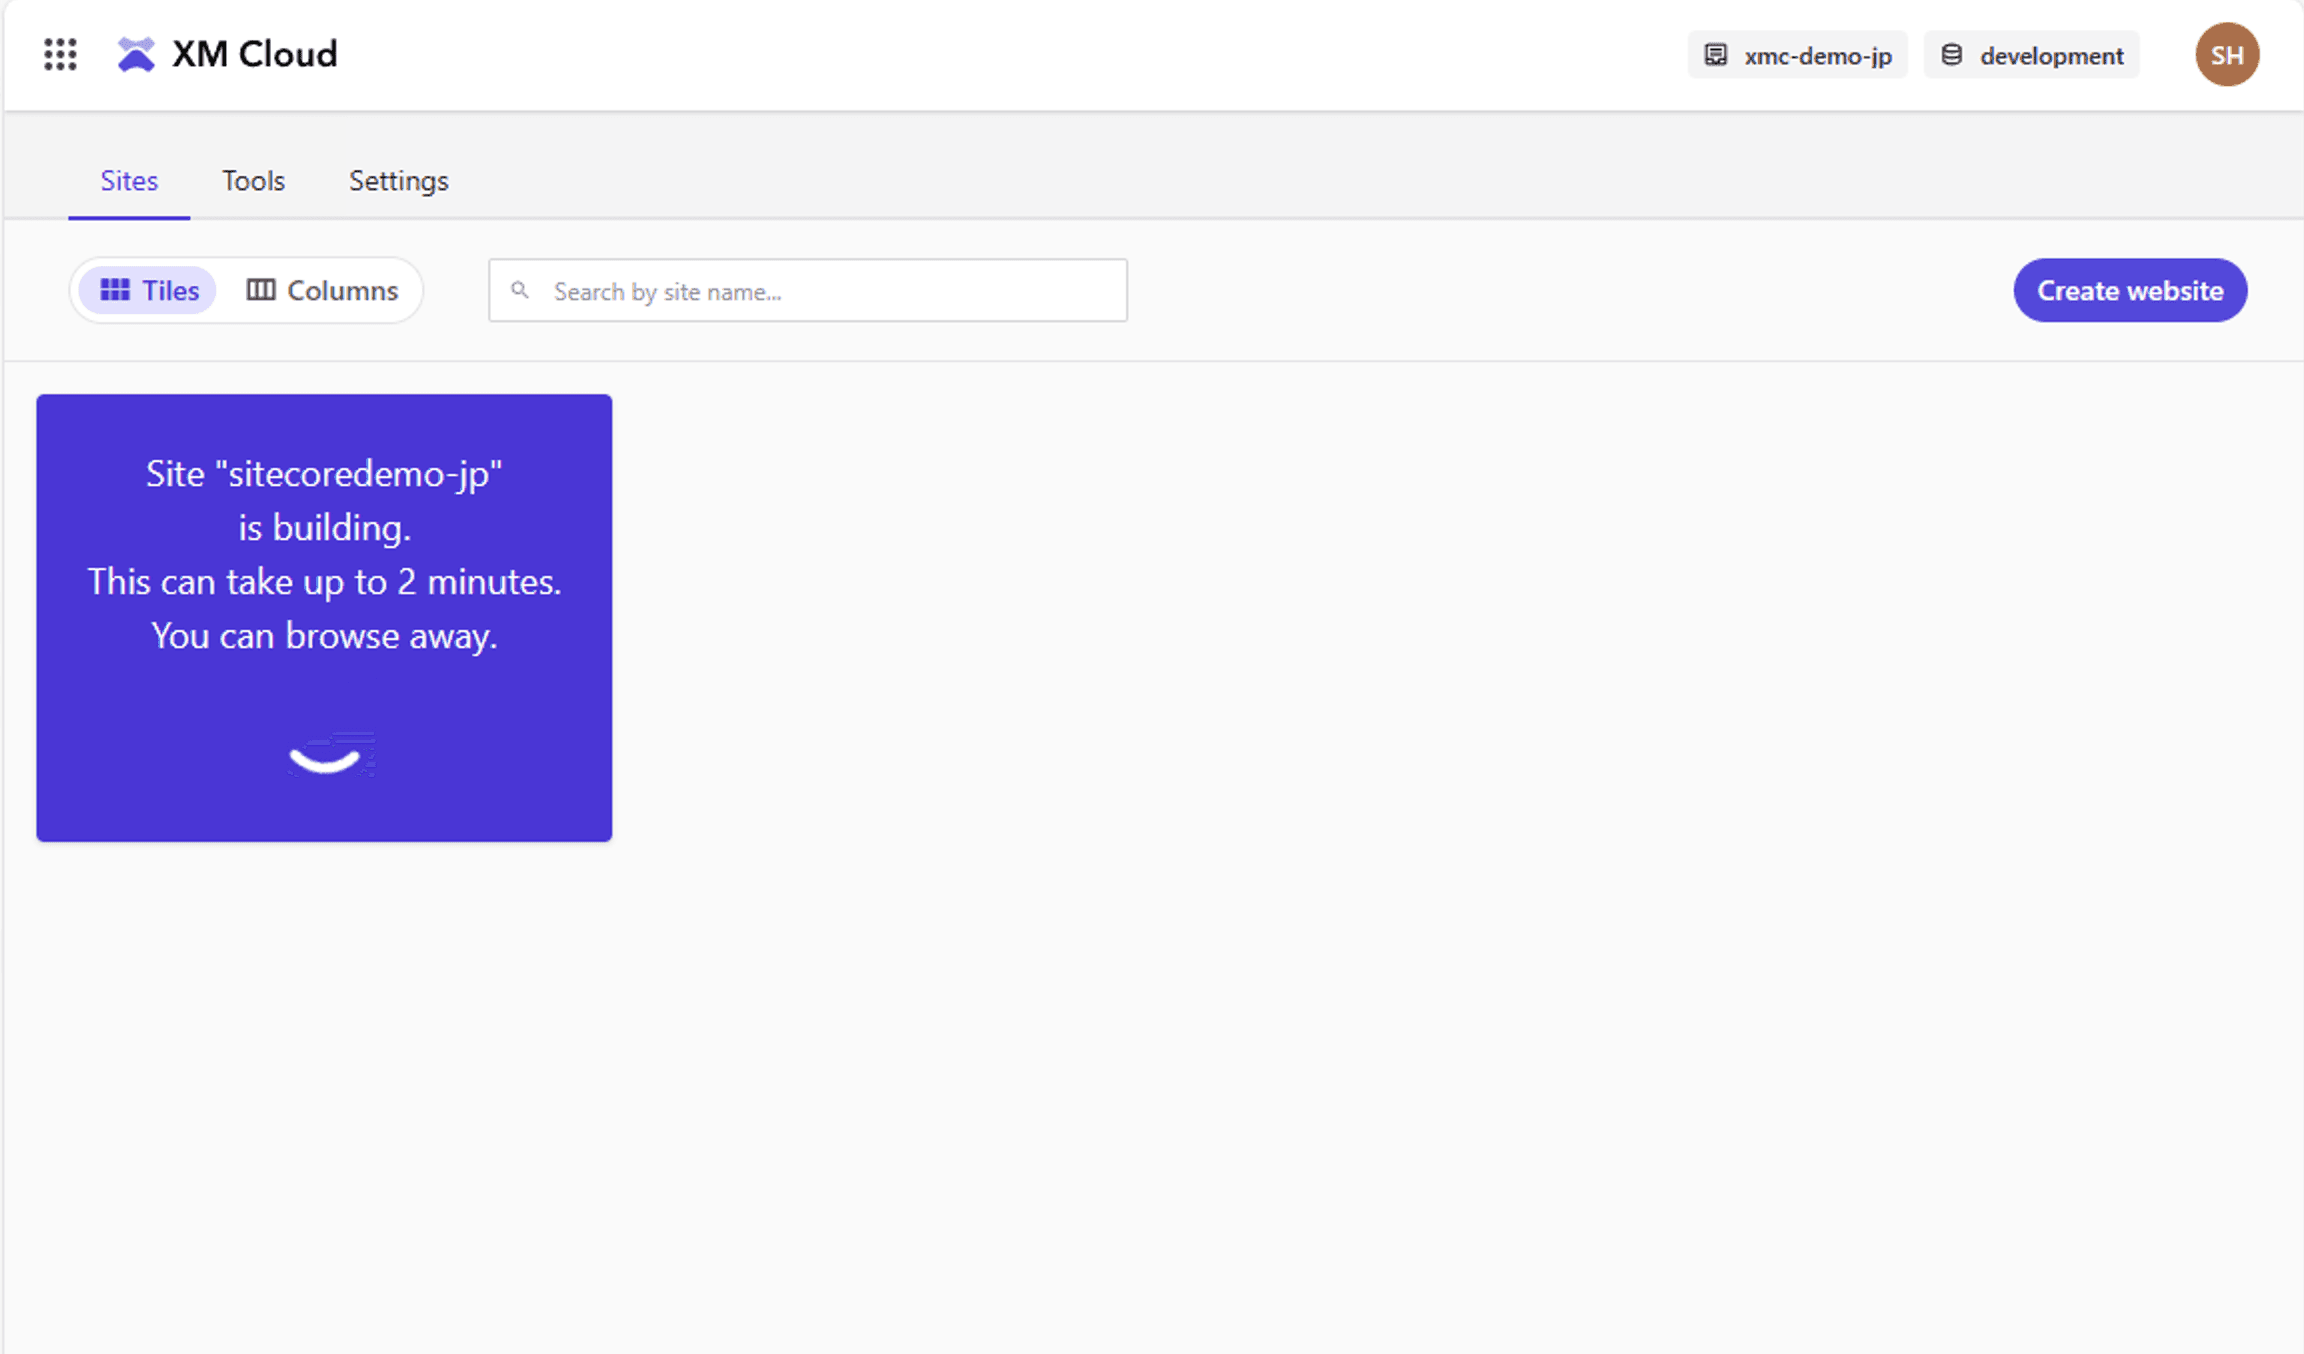
After a few moments, the site is created and the screen looks like this
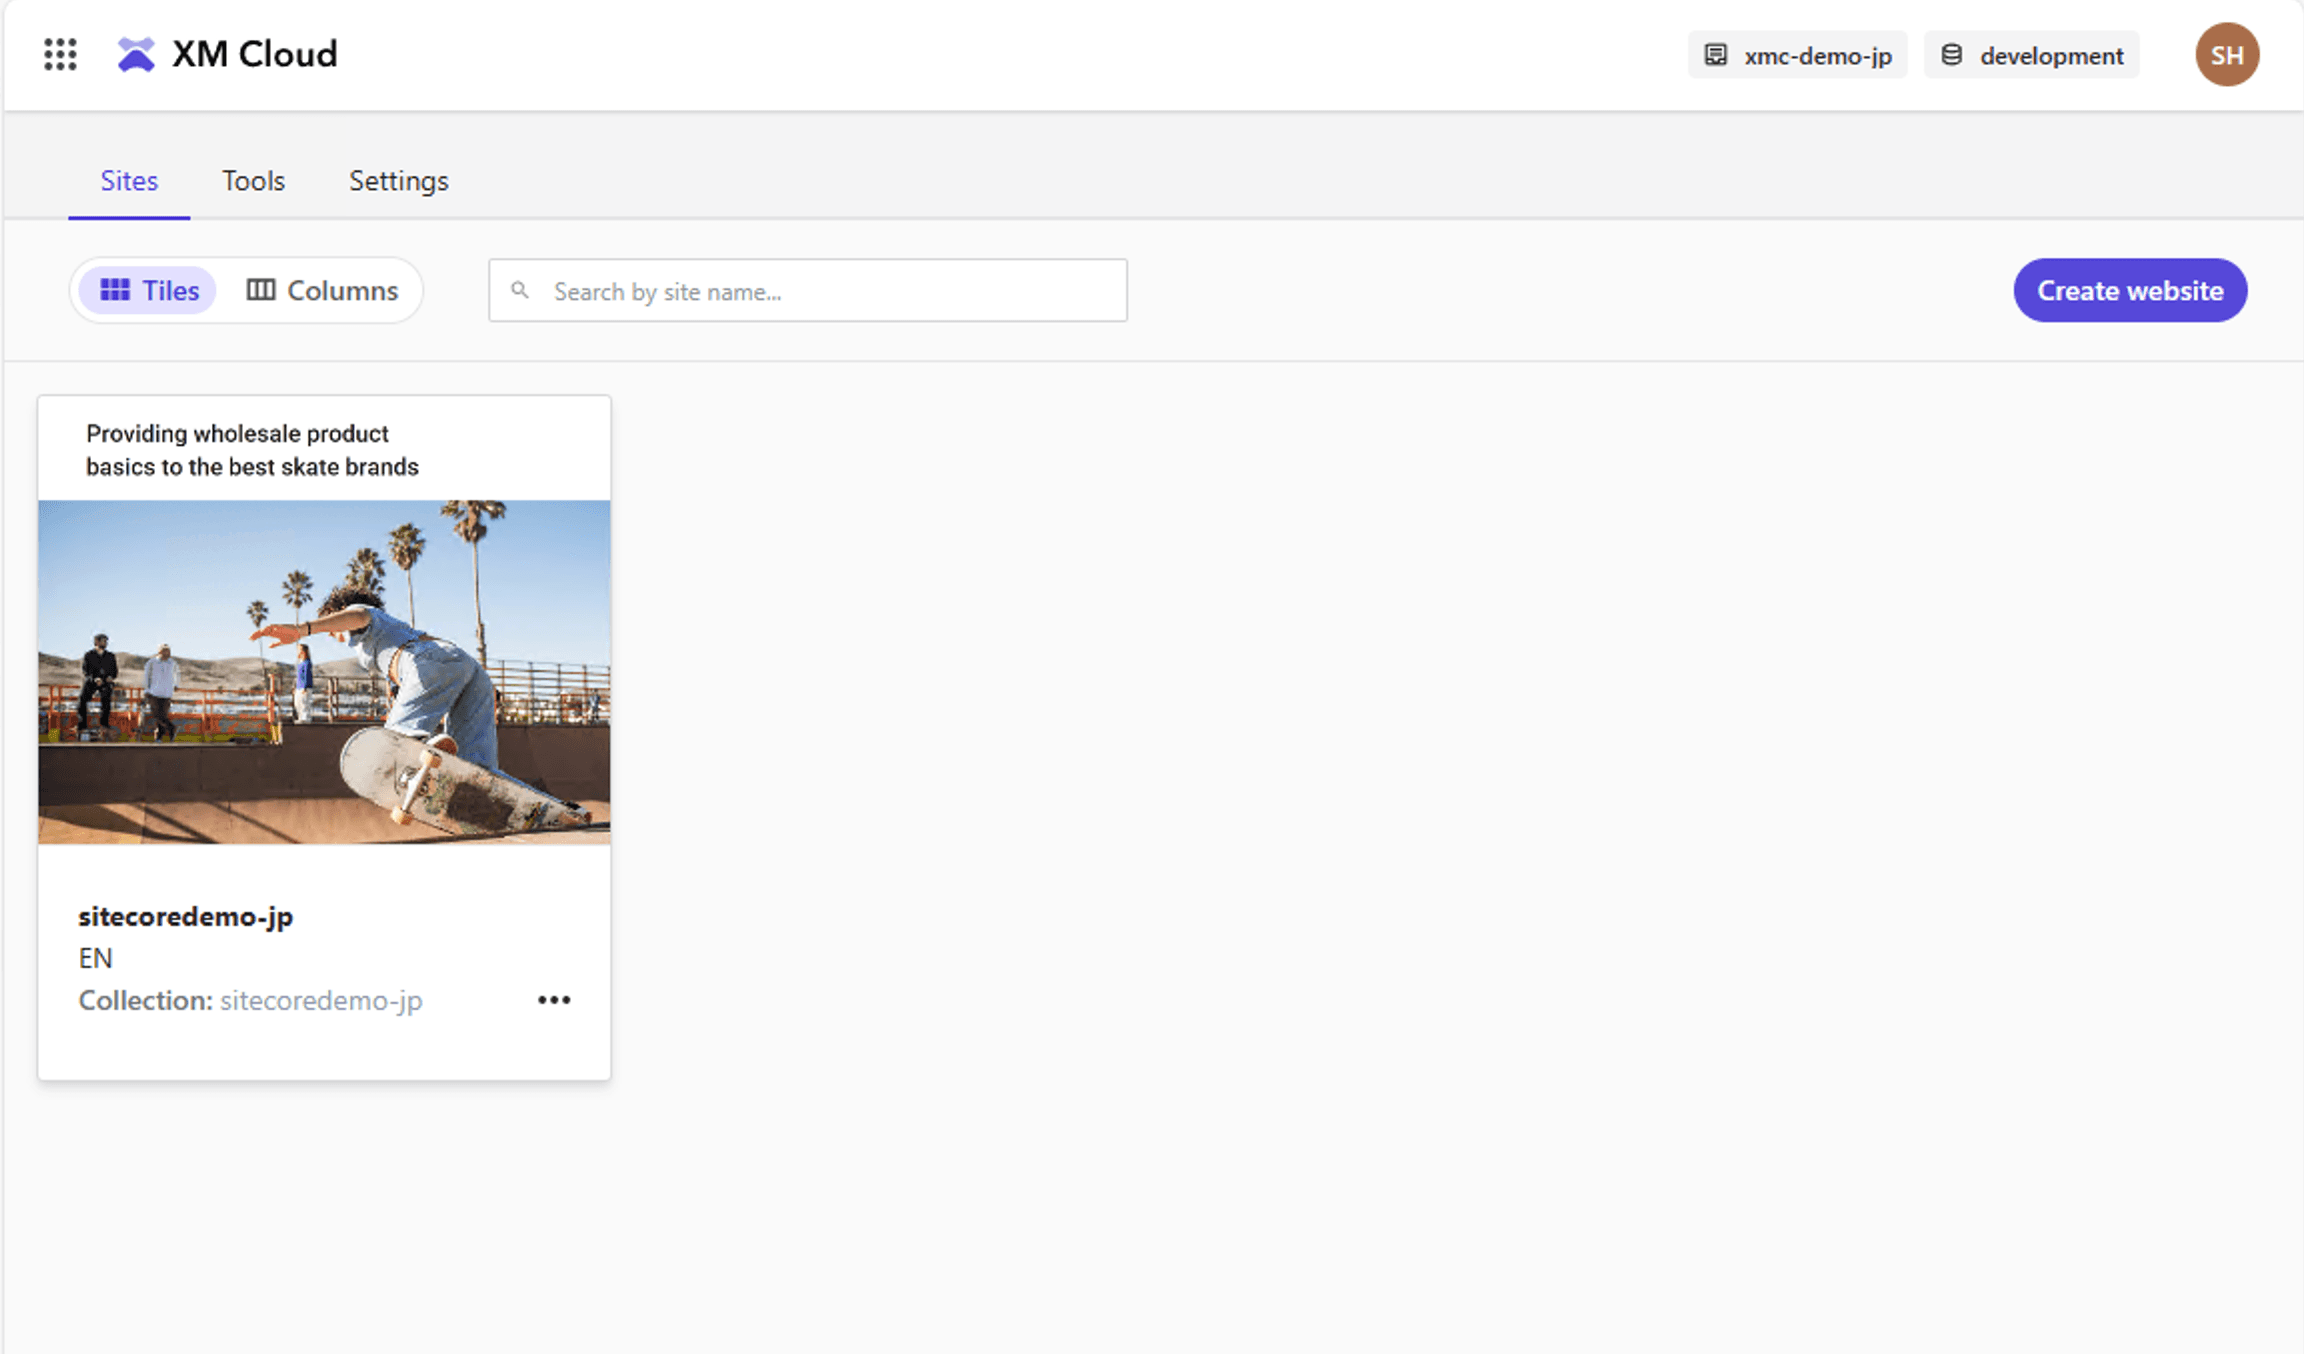
You are now ready to add a Web site.
Summary
This time, the configuration of the administration screen has changed, so we have introduced it again. The procedure is the same as the procedure for adding a web site introduced previously, with the only difference being that the number of Option settings has increased.