You can choose Vercel as the delivery environment for a CMS created with Sitecore XM Cloud. To simplify this process, Sitecore XM Cloud offers integration features. This guide will cover the steps to deploy a website to Vercel using these features.
Enable Experimental Features
Once you have created a project and a new environment, click on the gear icon in the upper right corner. Check the Environment Details checkbox to enable experimental features.
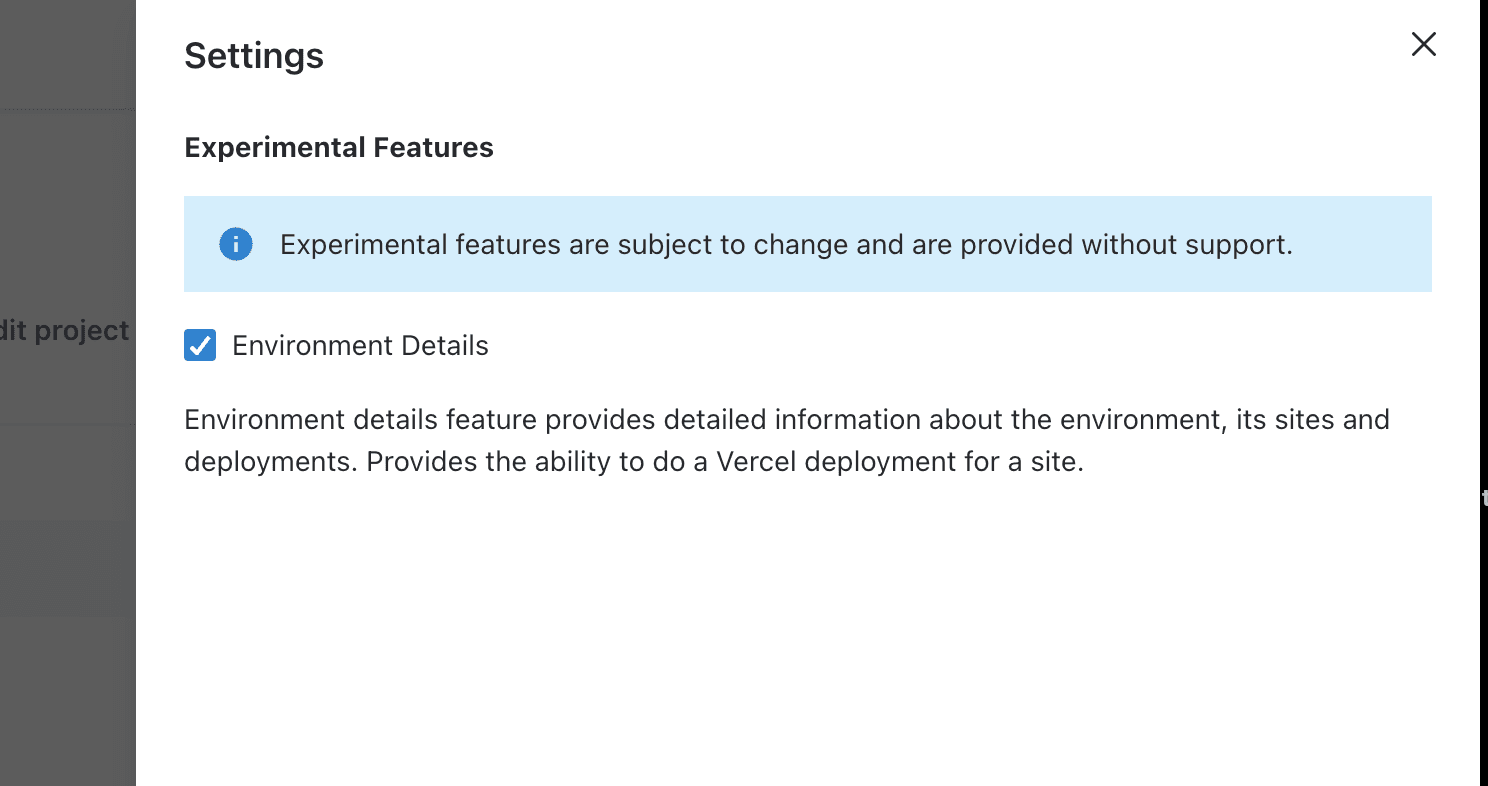
At this stage, we move on to the next step.
Create a site
To create a site first, you would have had to start Launch Pad and switch to the administration screen, but this time you will take advantage of the features you have already enabled. First, click on the name of the environment to go to the environment settings screen.
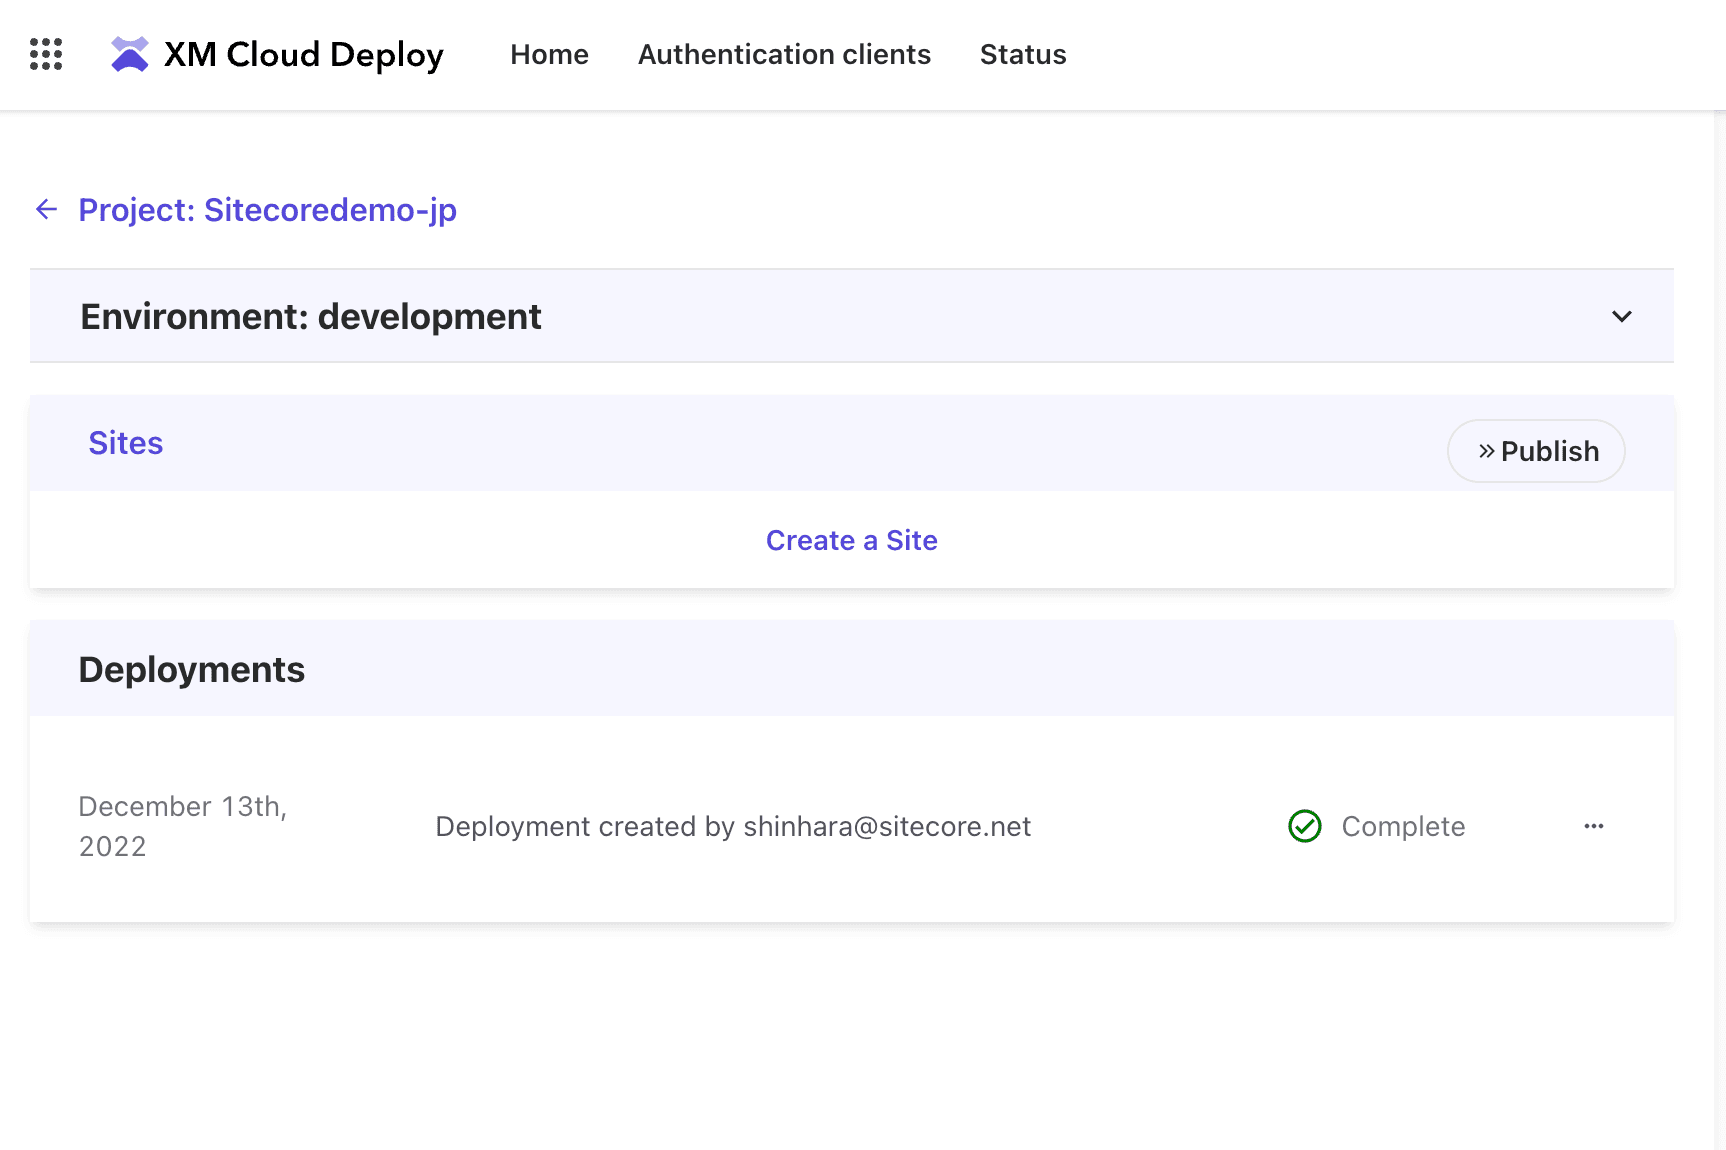
Since you have just created a new project, you must first add a site. Click on `Add your first website`.
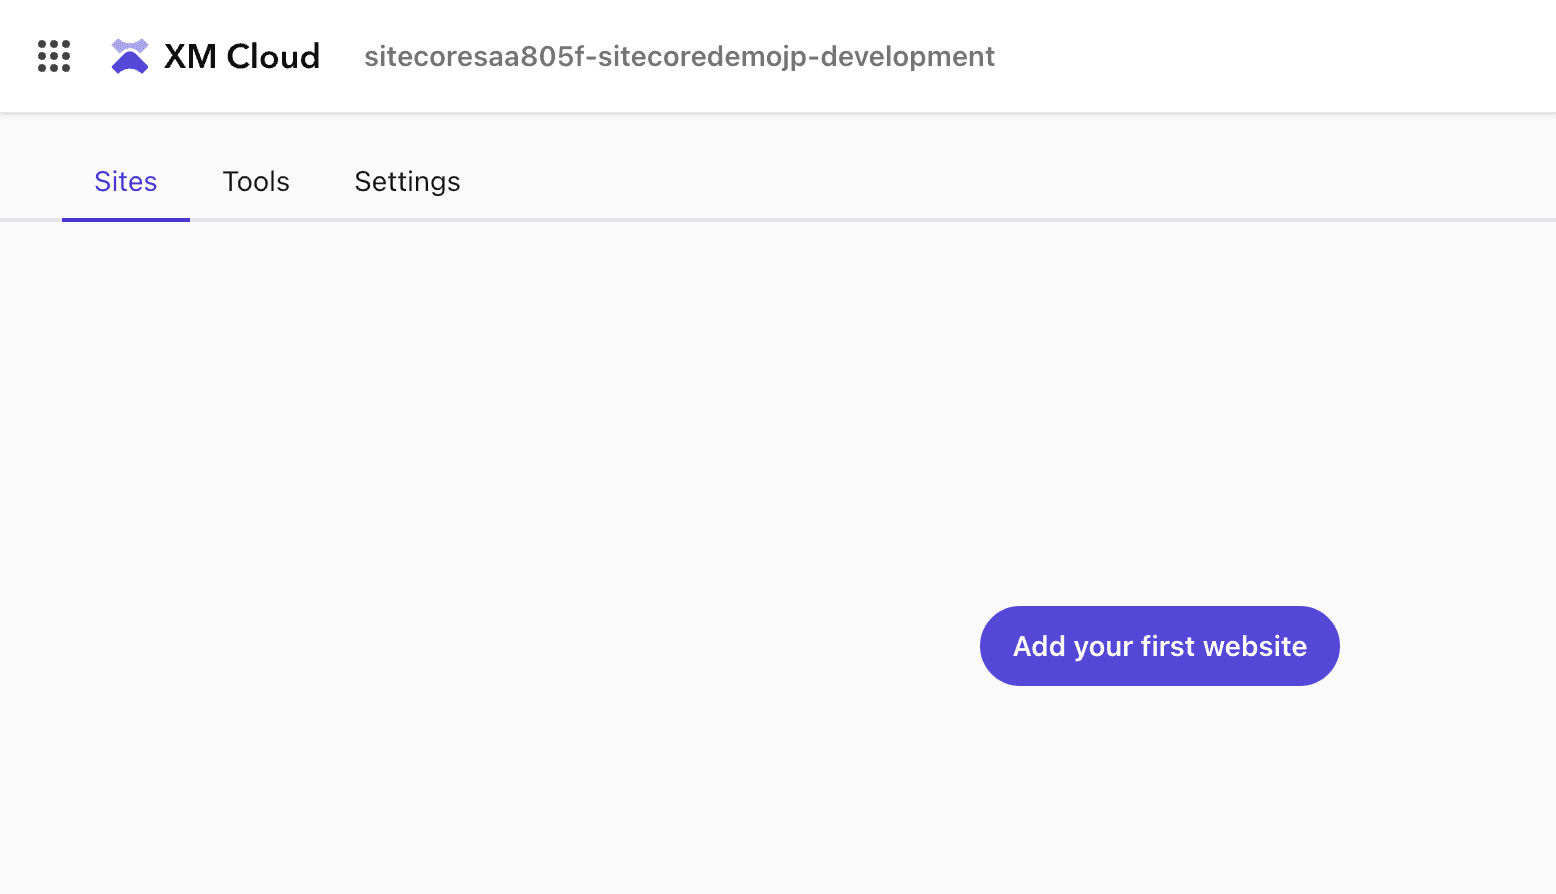
This time, select Basic site, enter the site name, and click Create website to add the site.
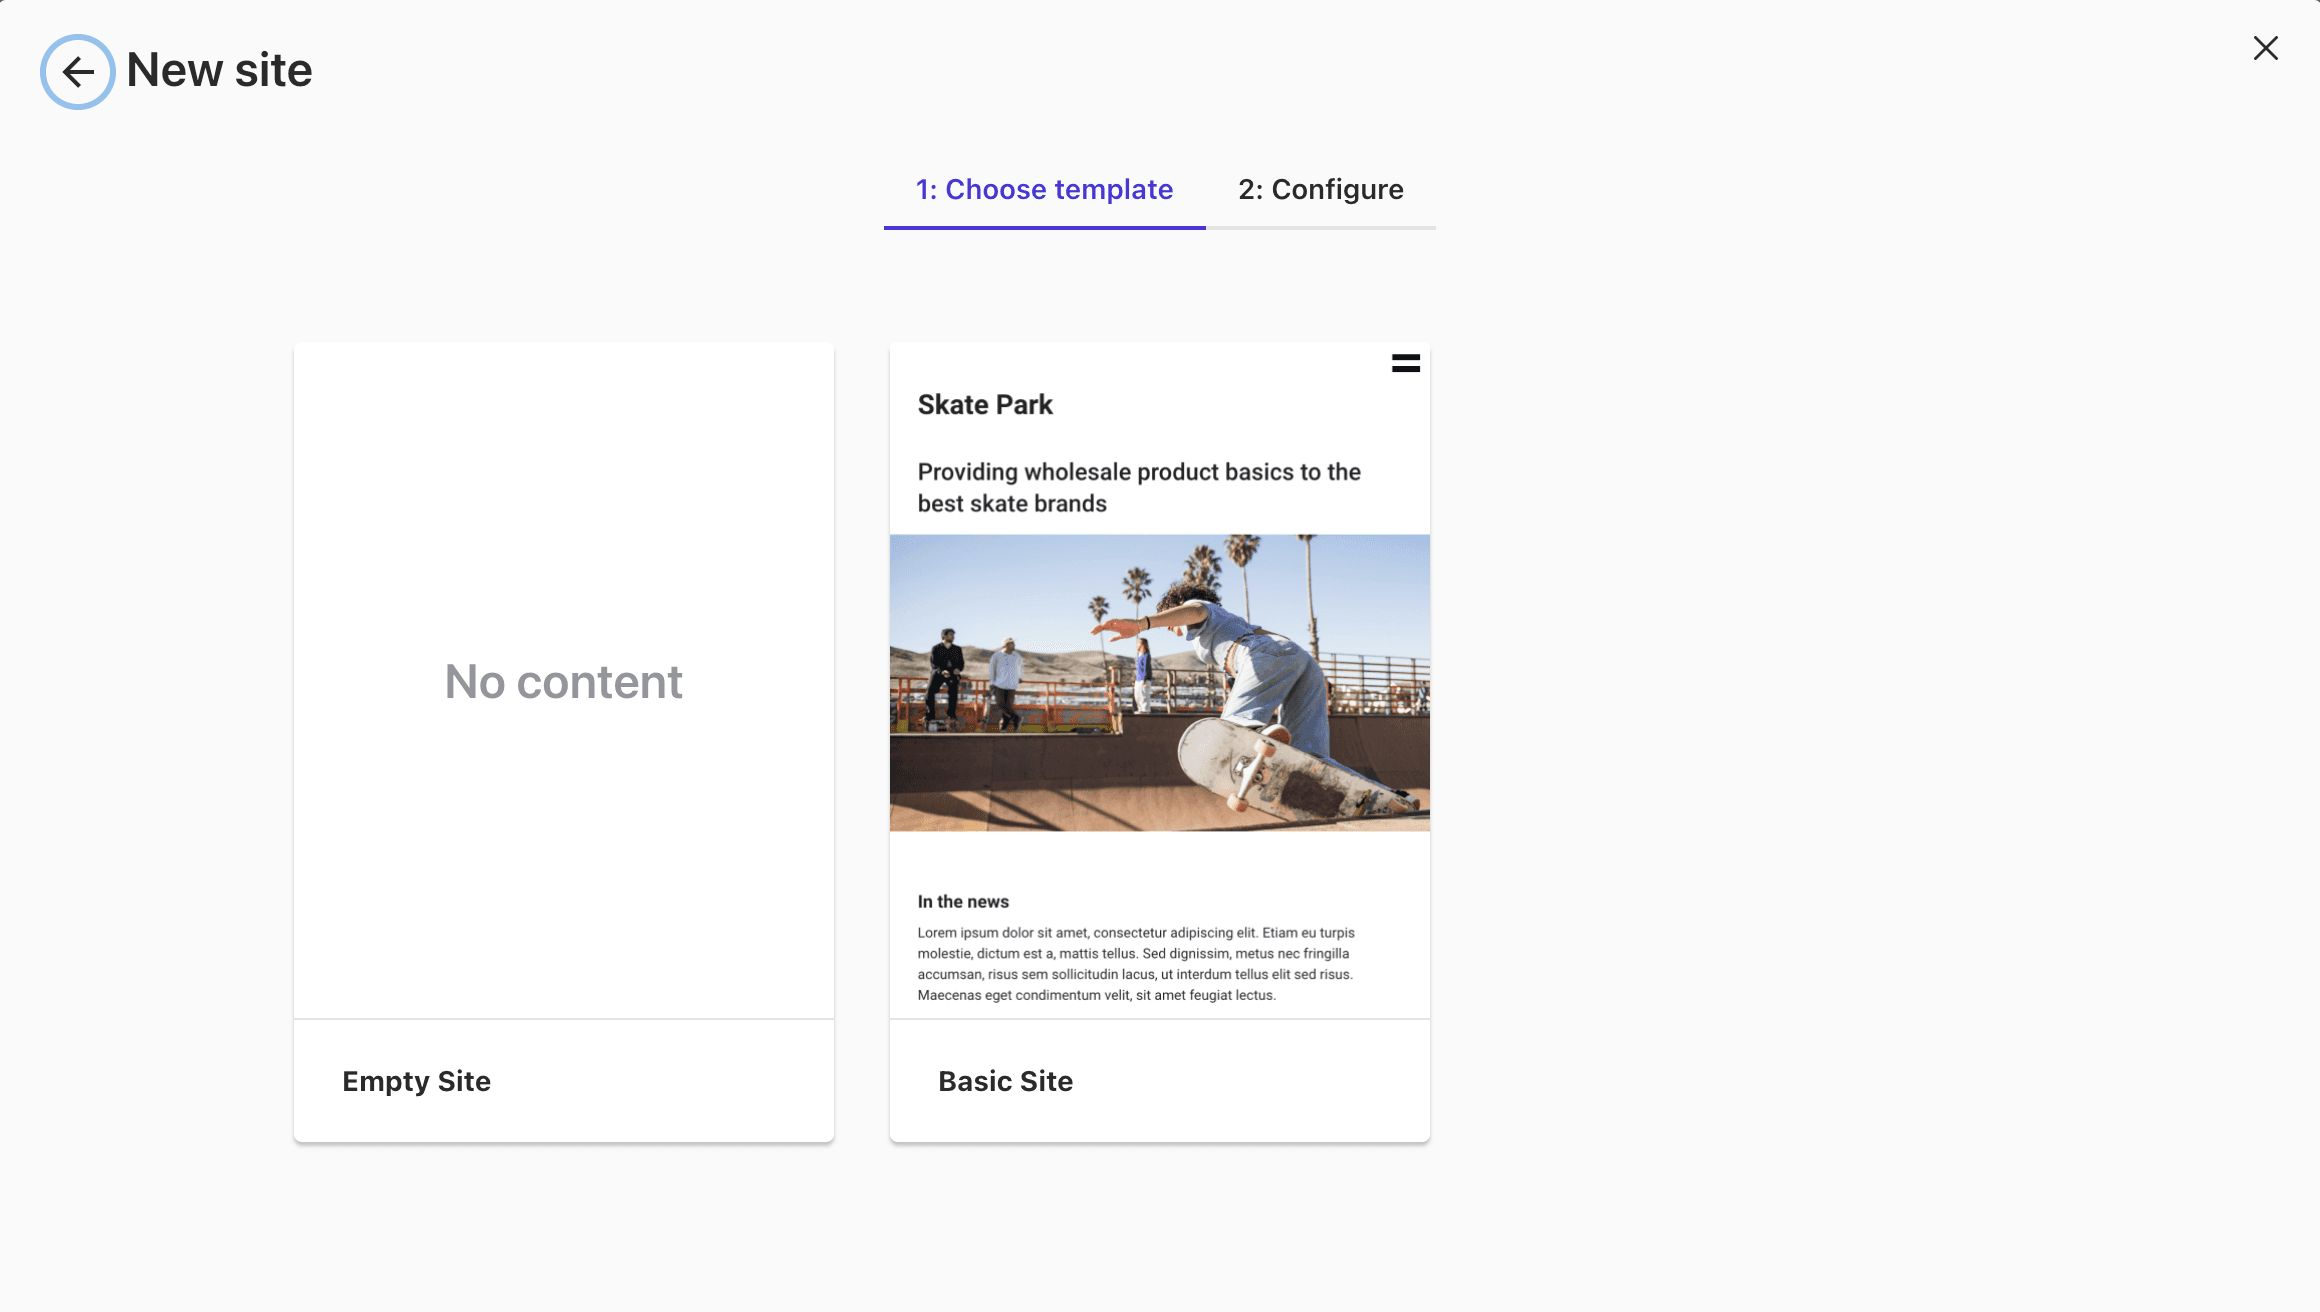
Once the site is created, proceed to the next step.
Deploy to Vercel
First, click Publish to make your site public.
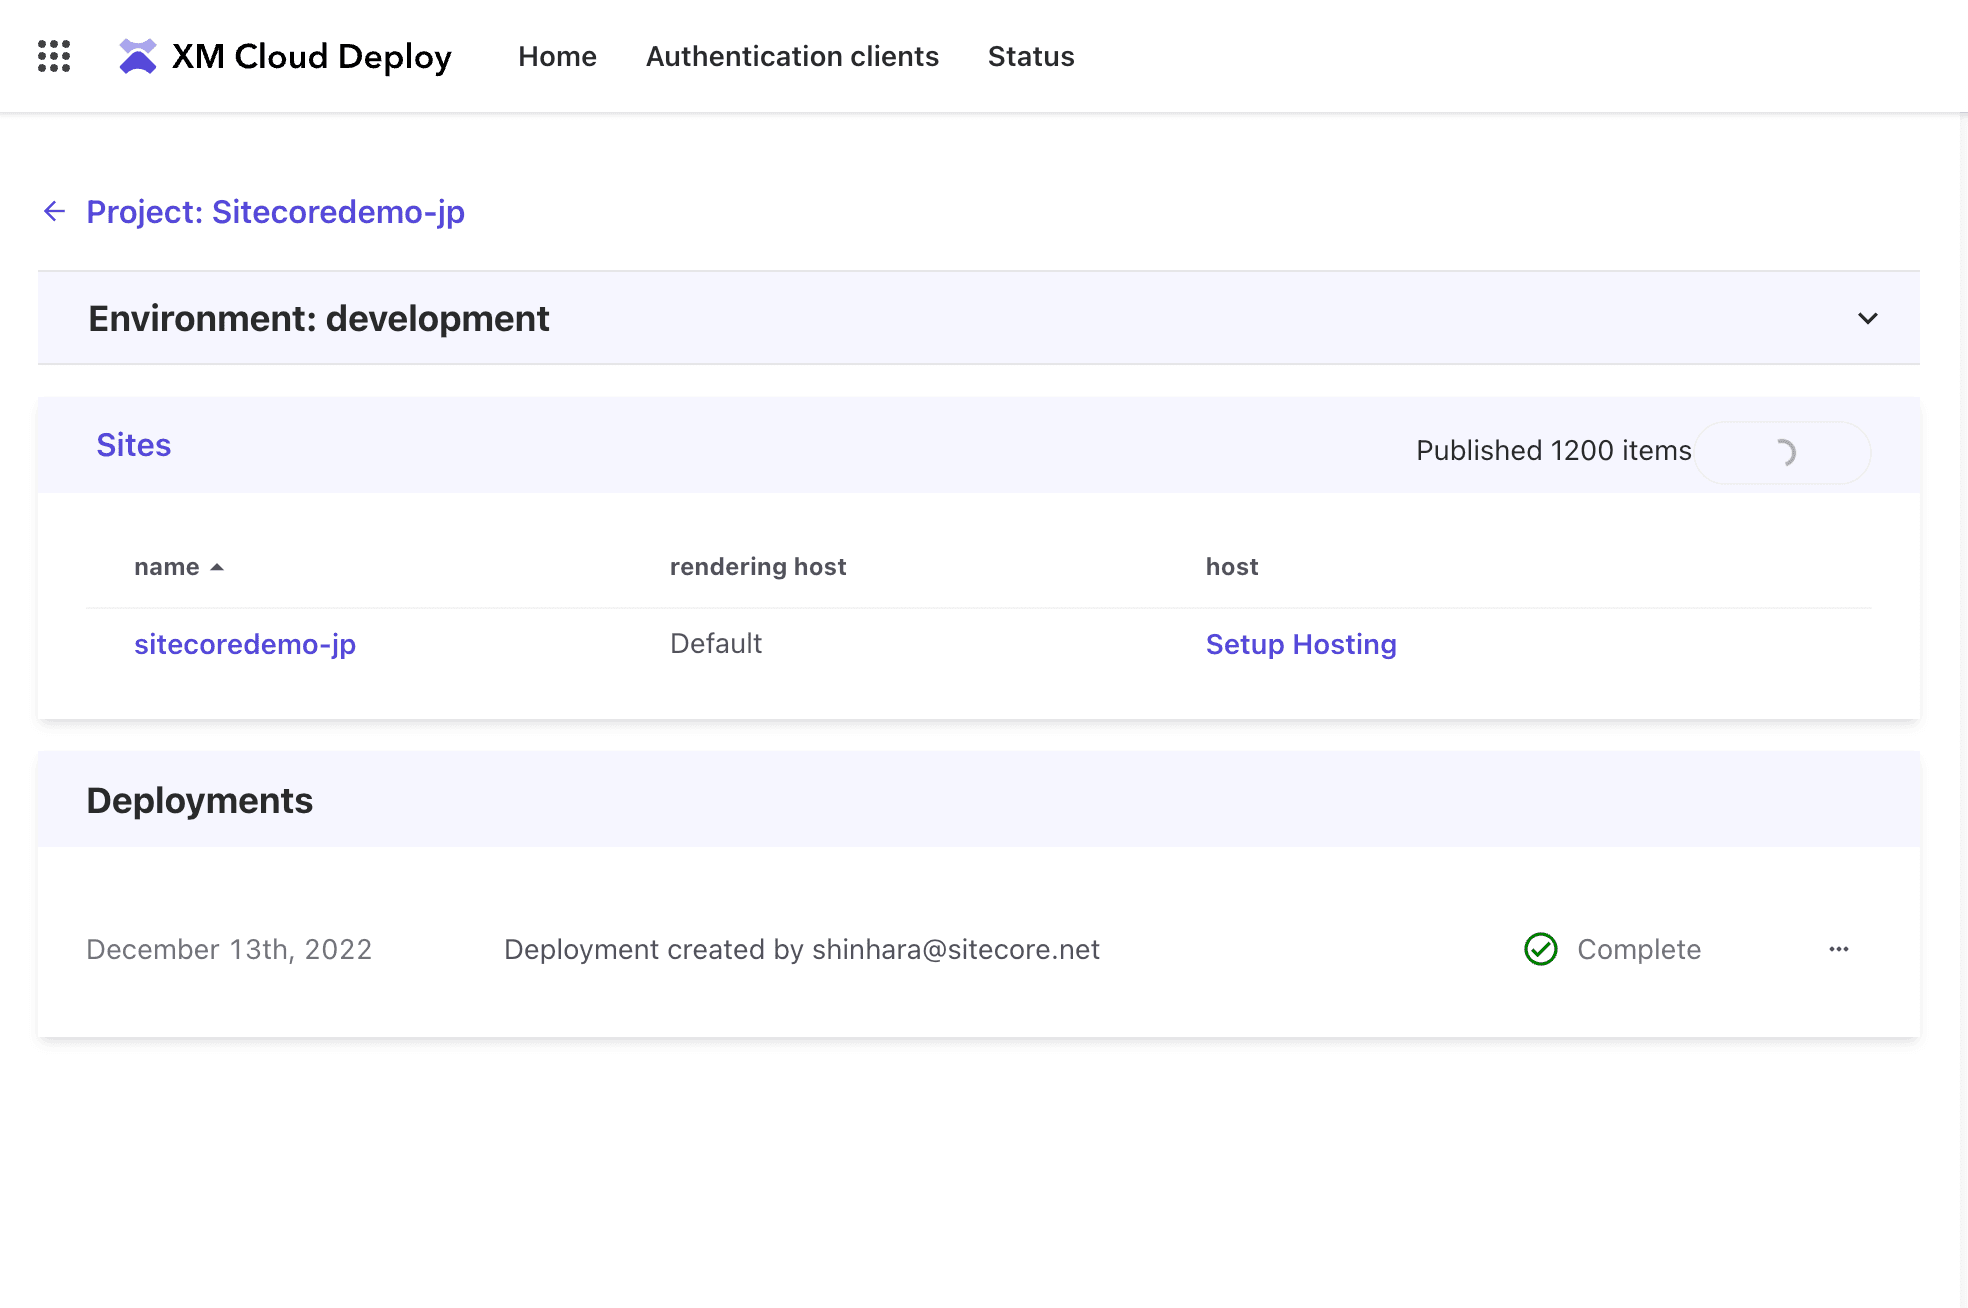
After Publish, click on `Setup Hosting` to proceed with the integration with Vercel.
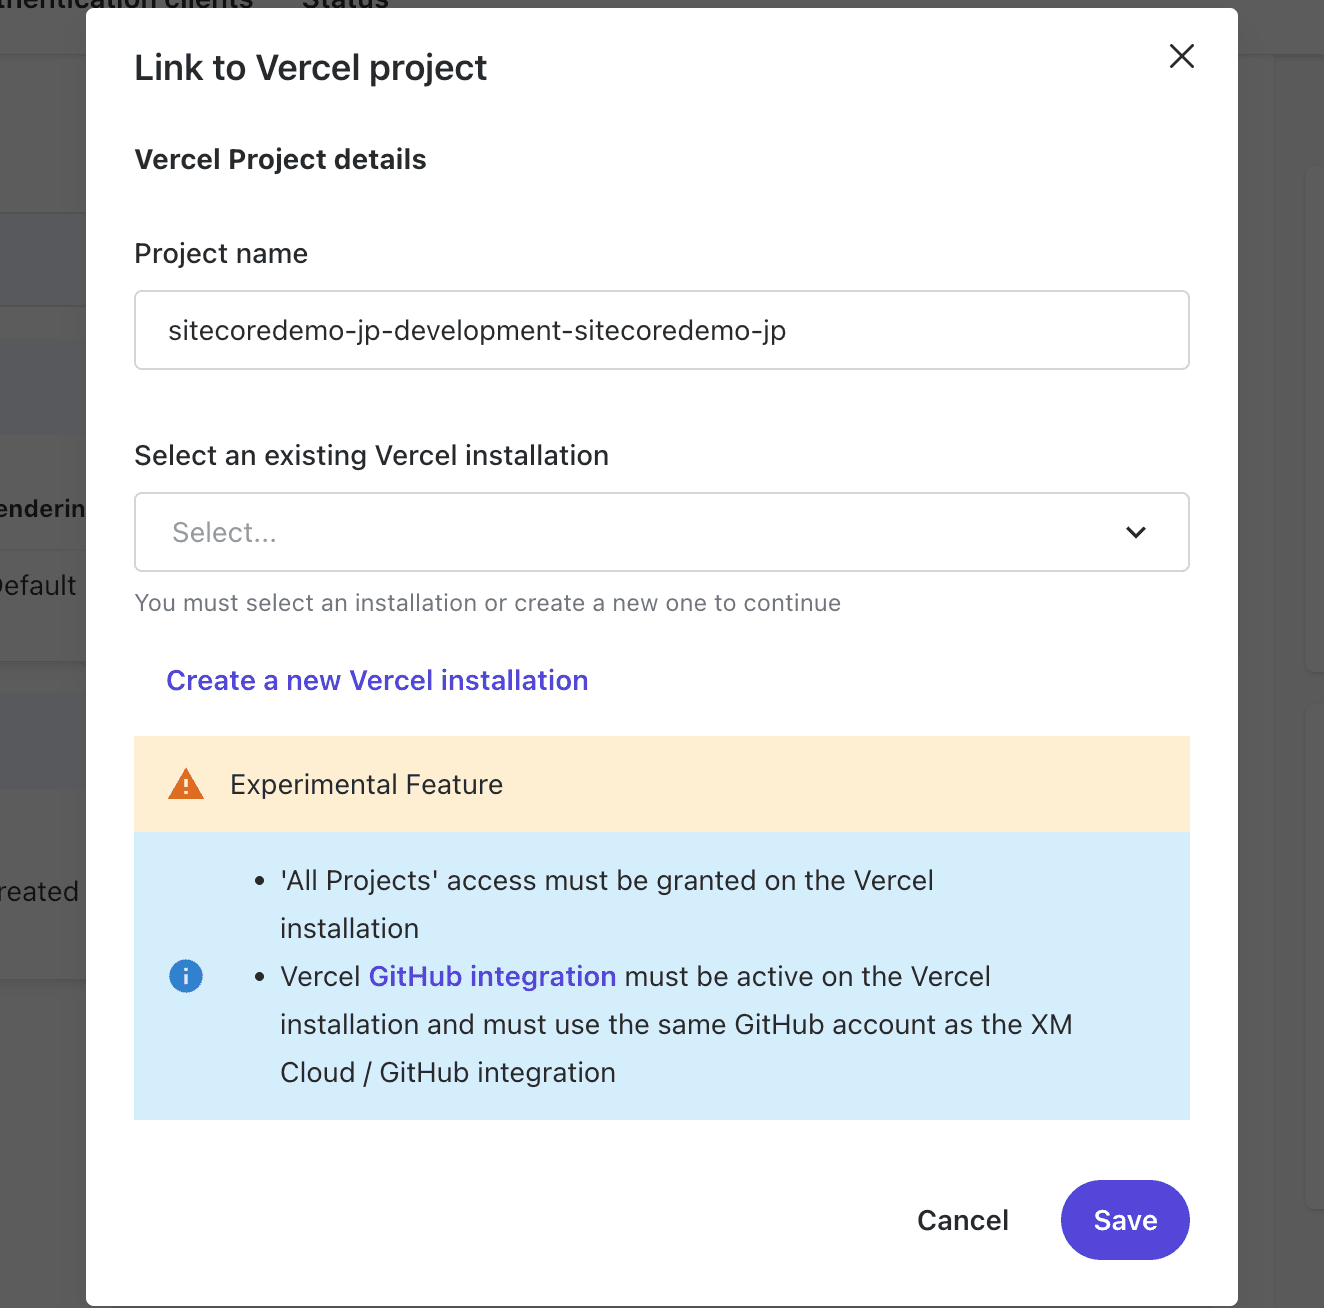
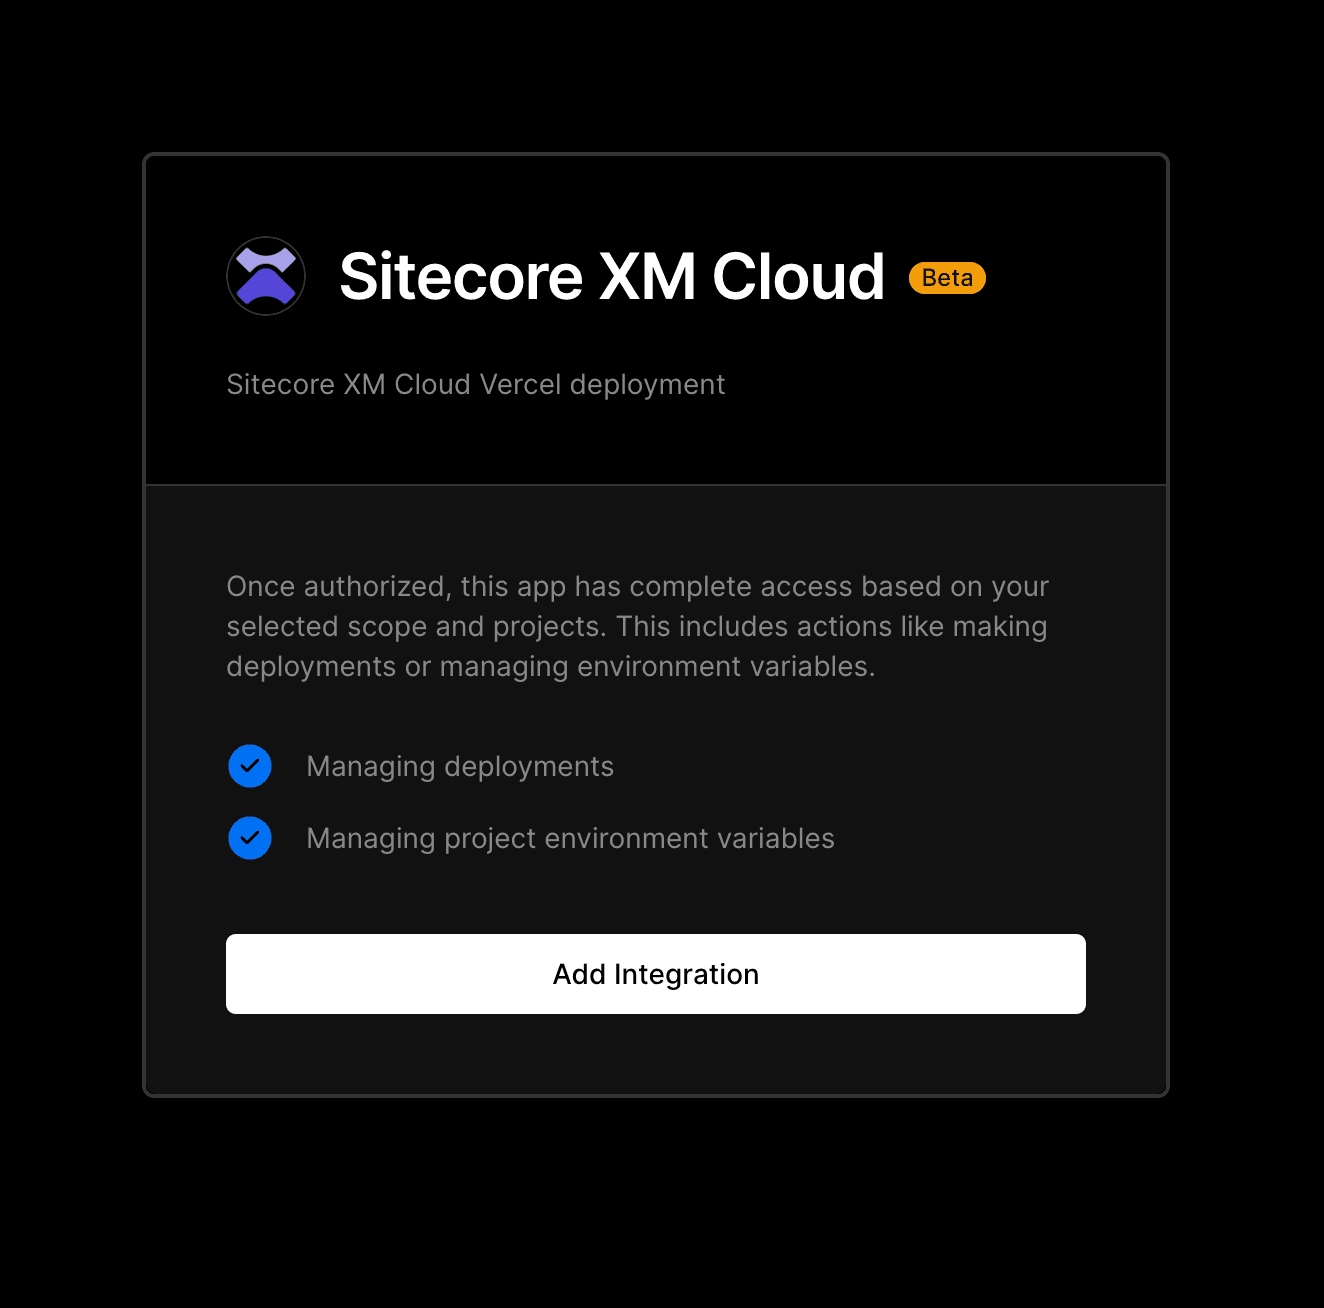
For the first time, the integration with Vercel must be installed.
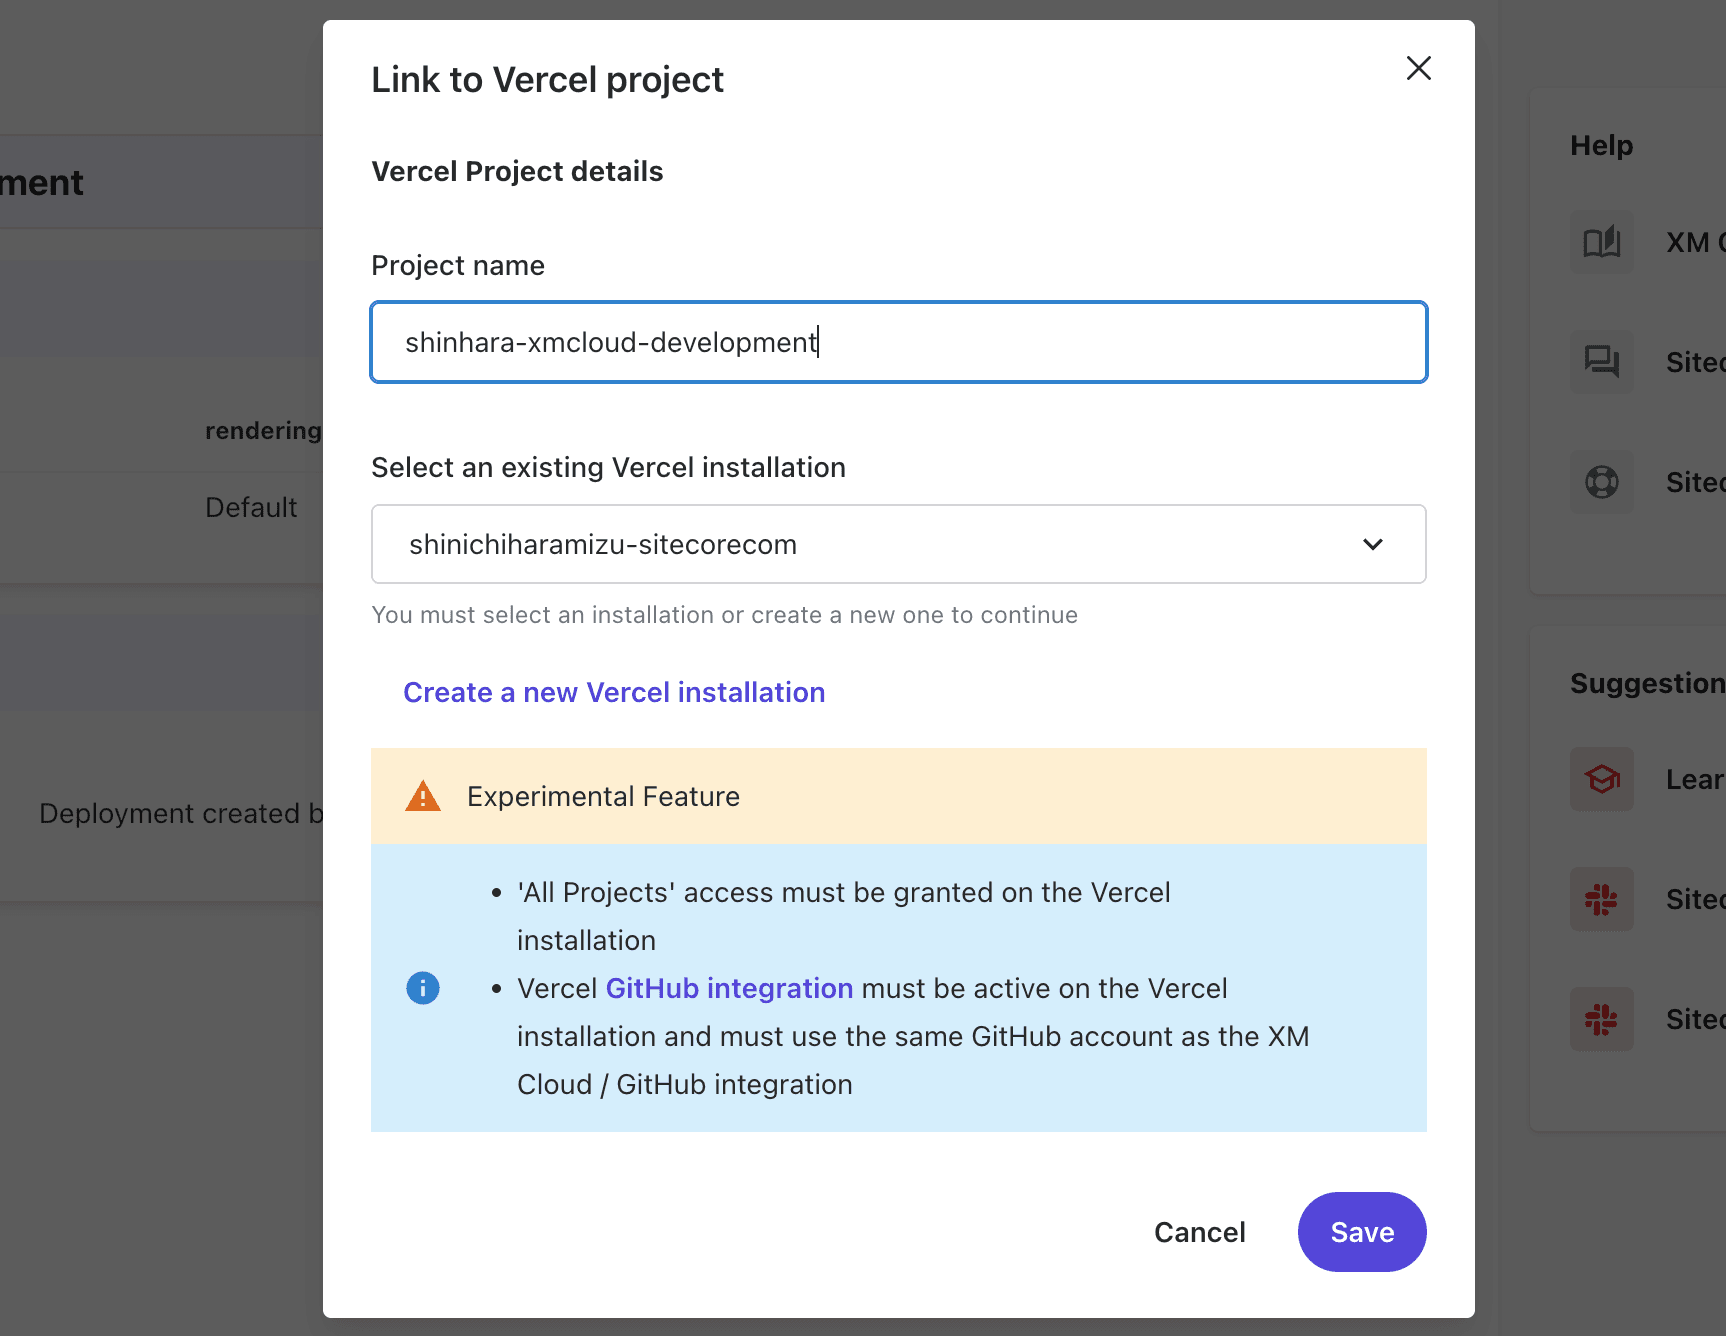
Upon completion, your Vercel account will appear in the drop-down. Set a name for your project and click the `Save` button.
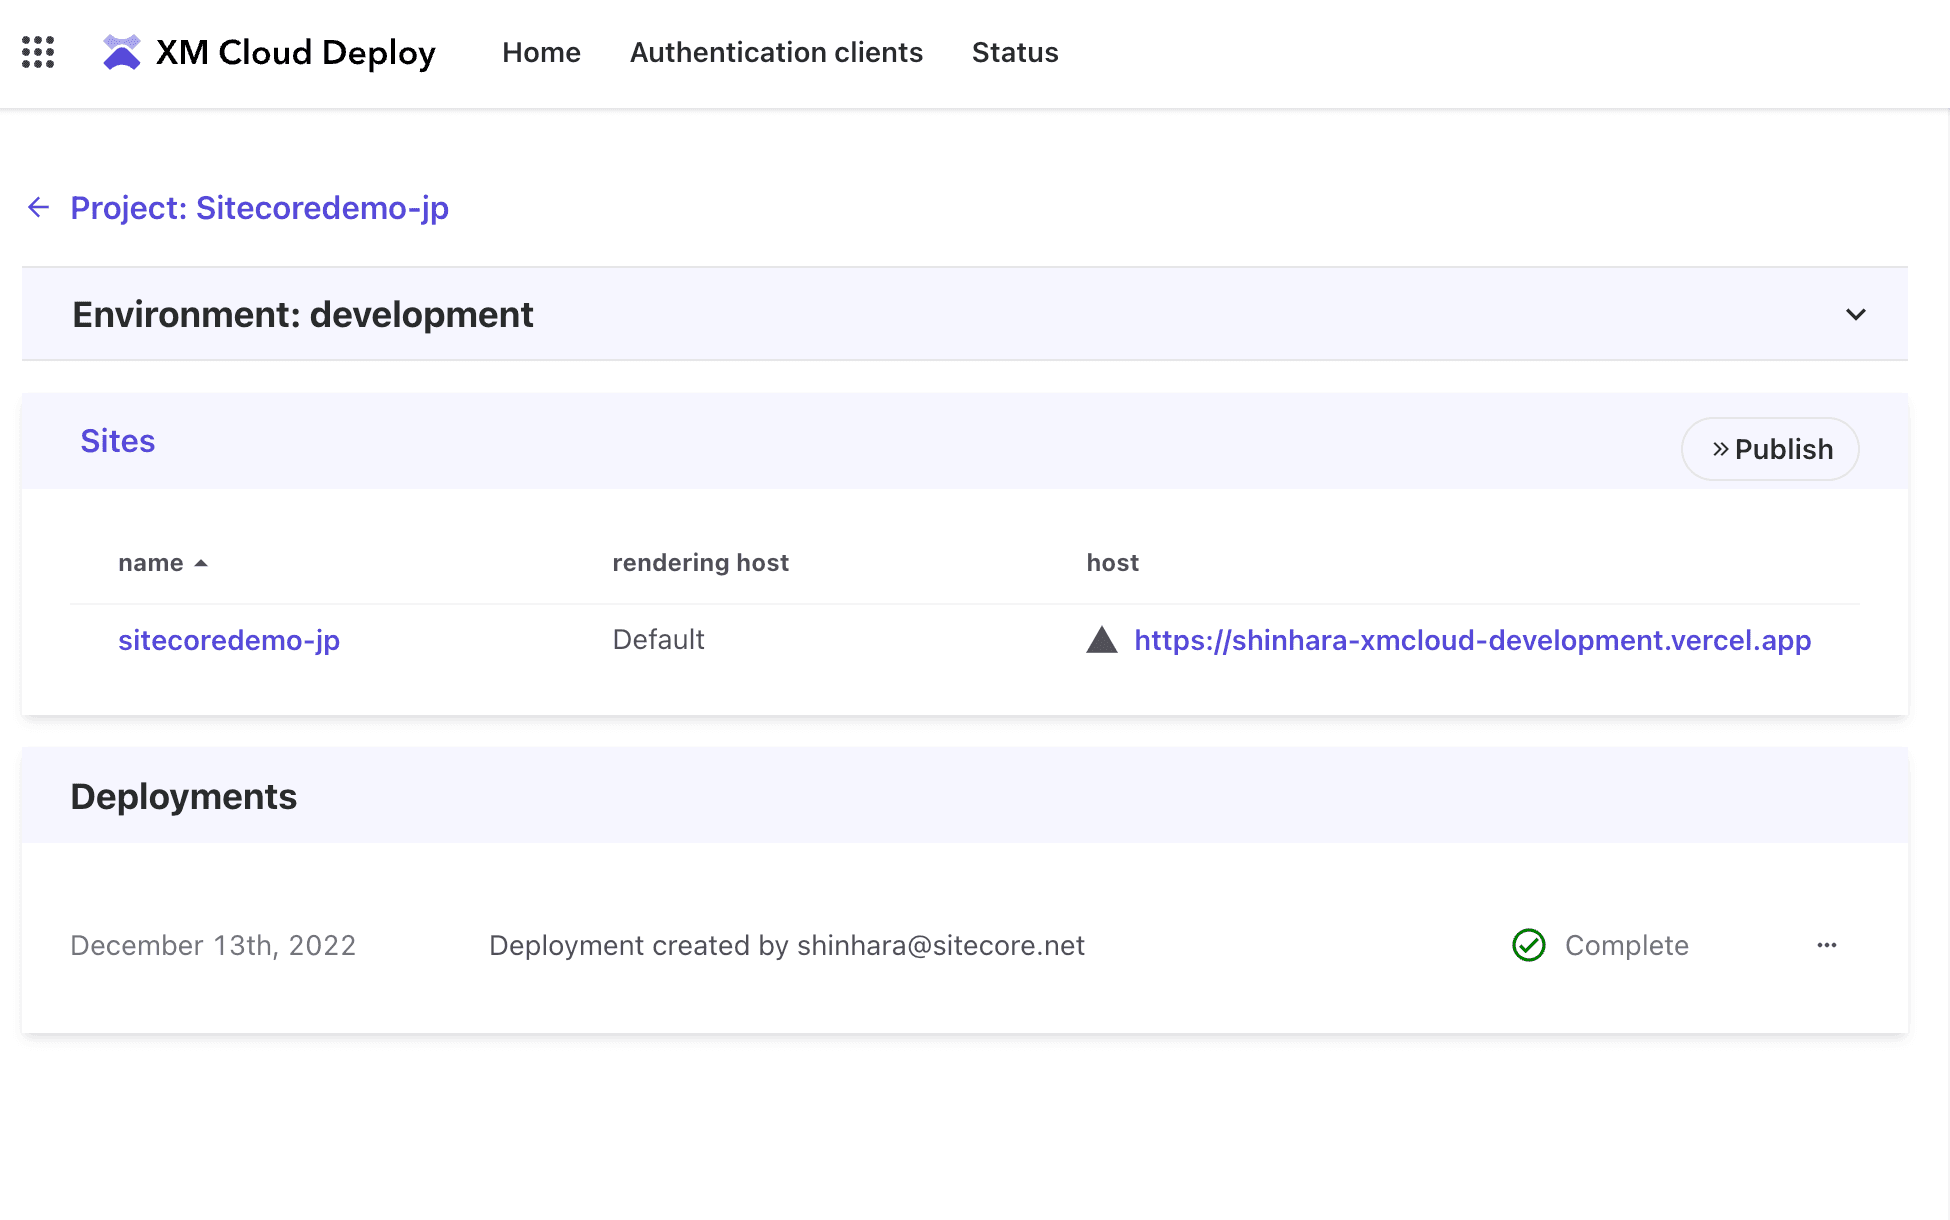
Once setup is complete, the site will be prepared as shown below.
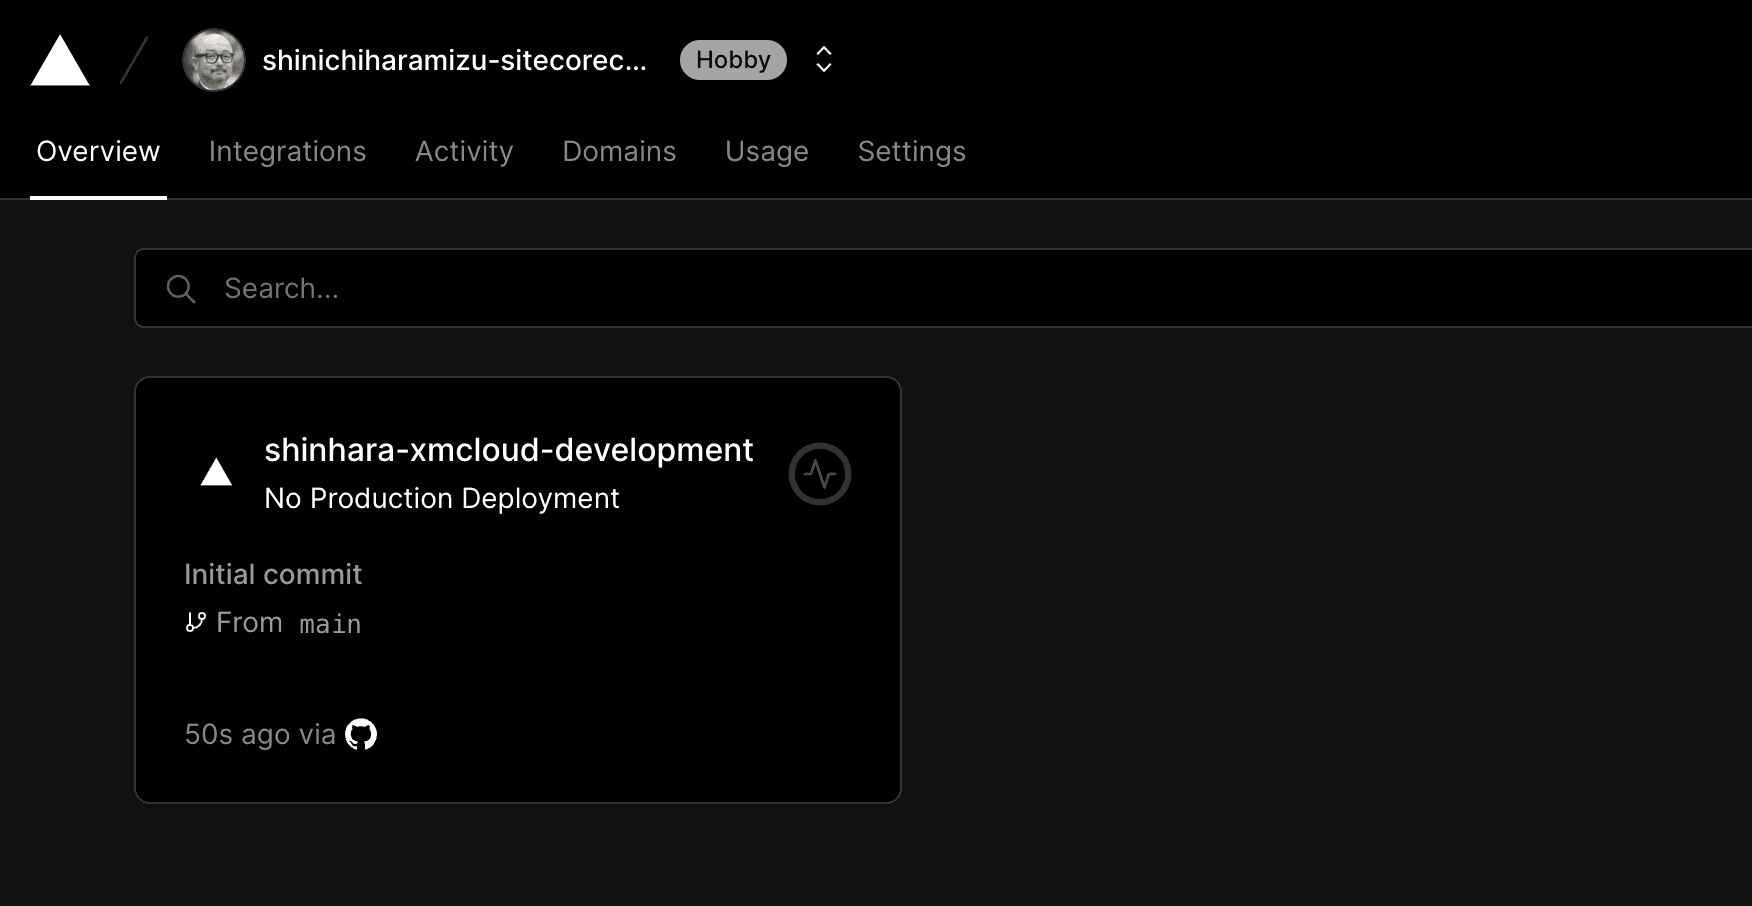
When you move to Vercel, Build is running.
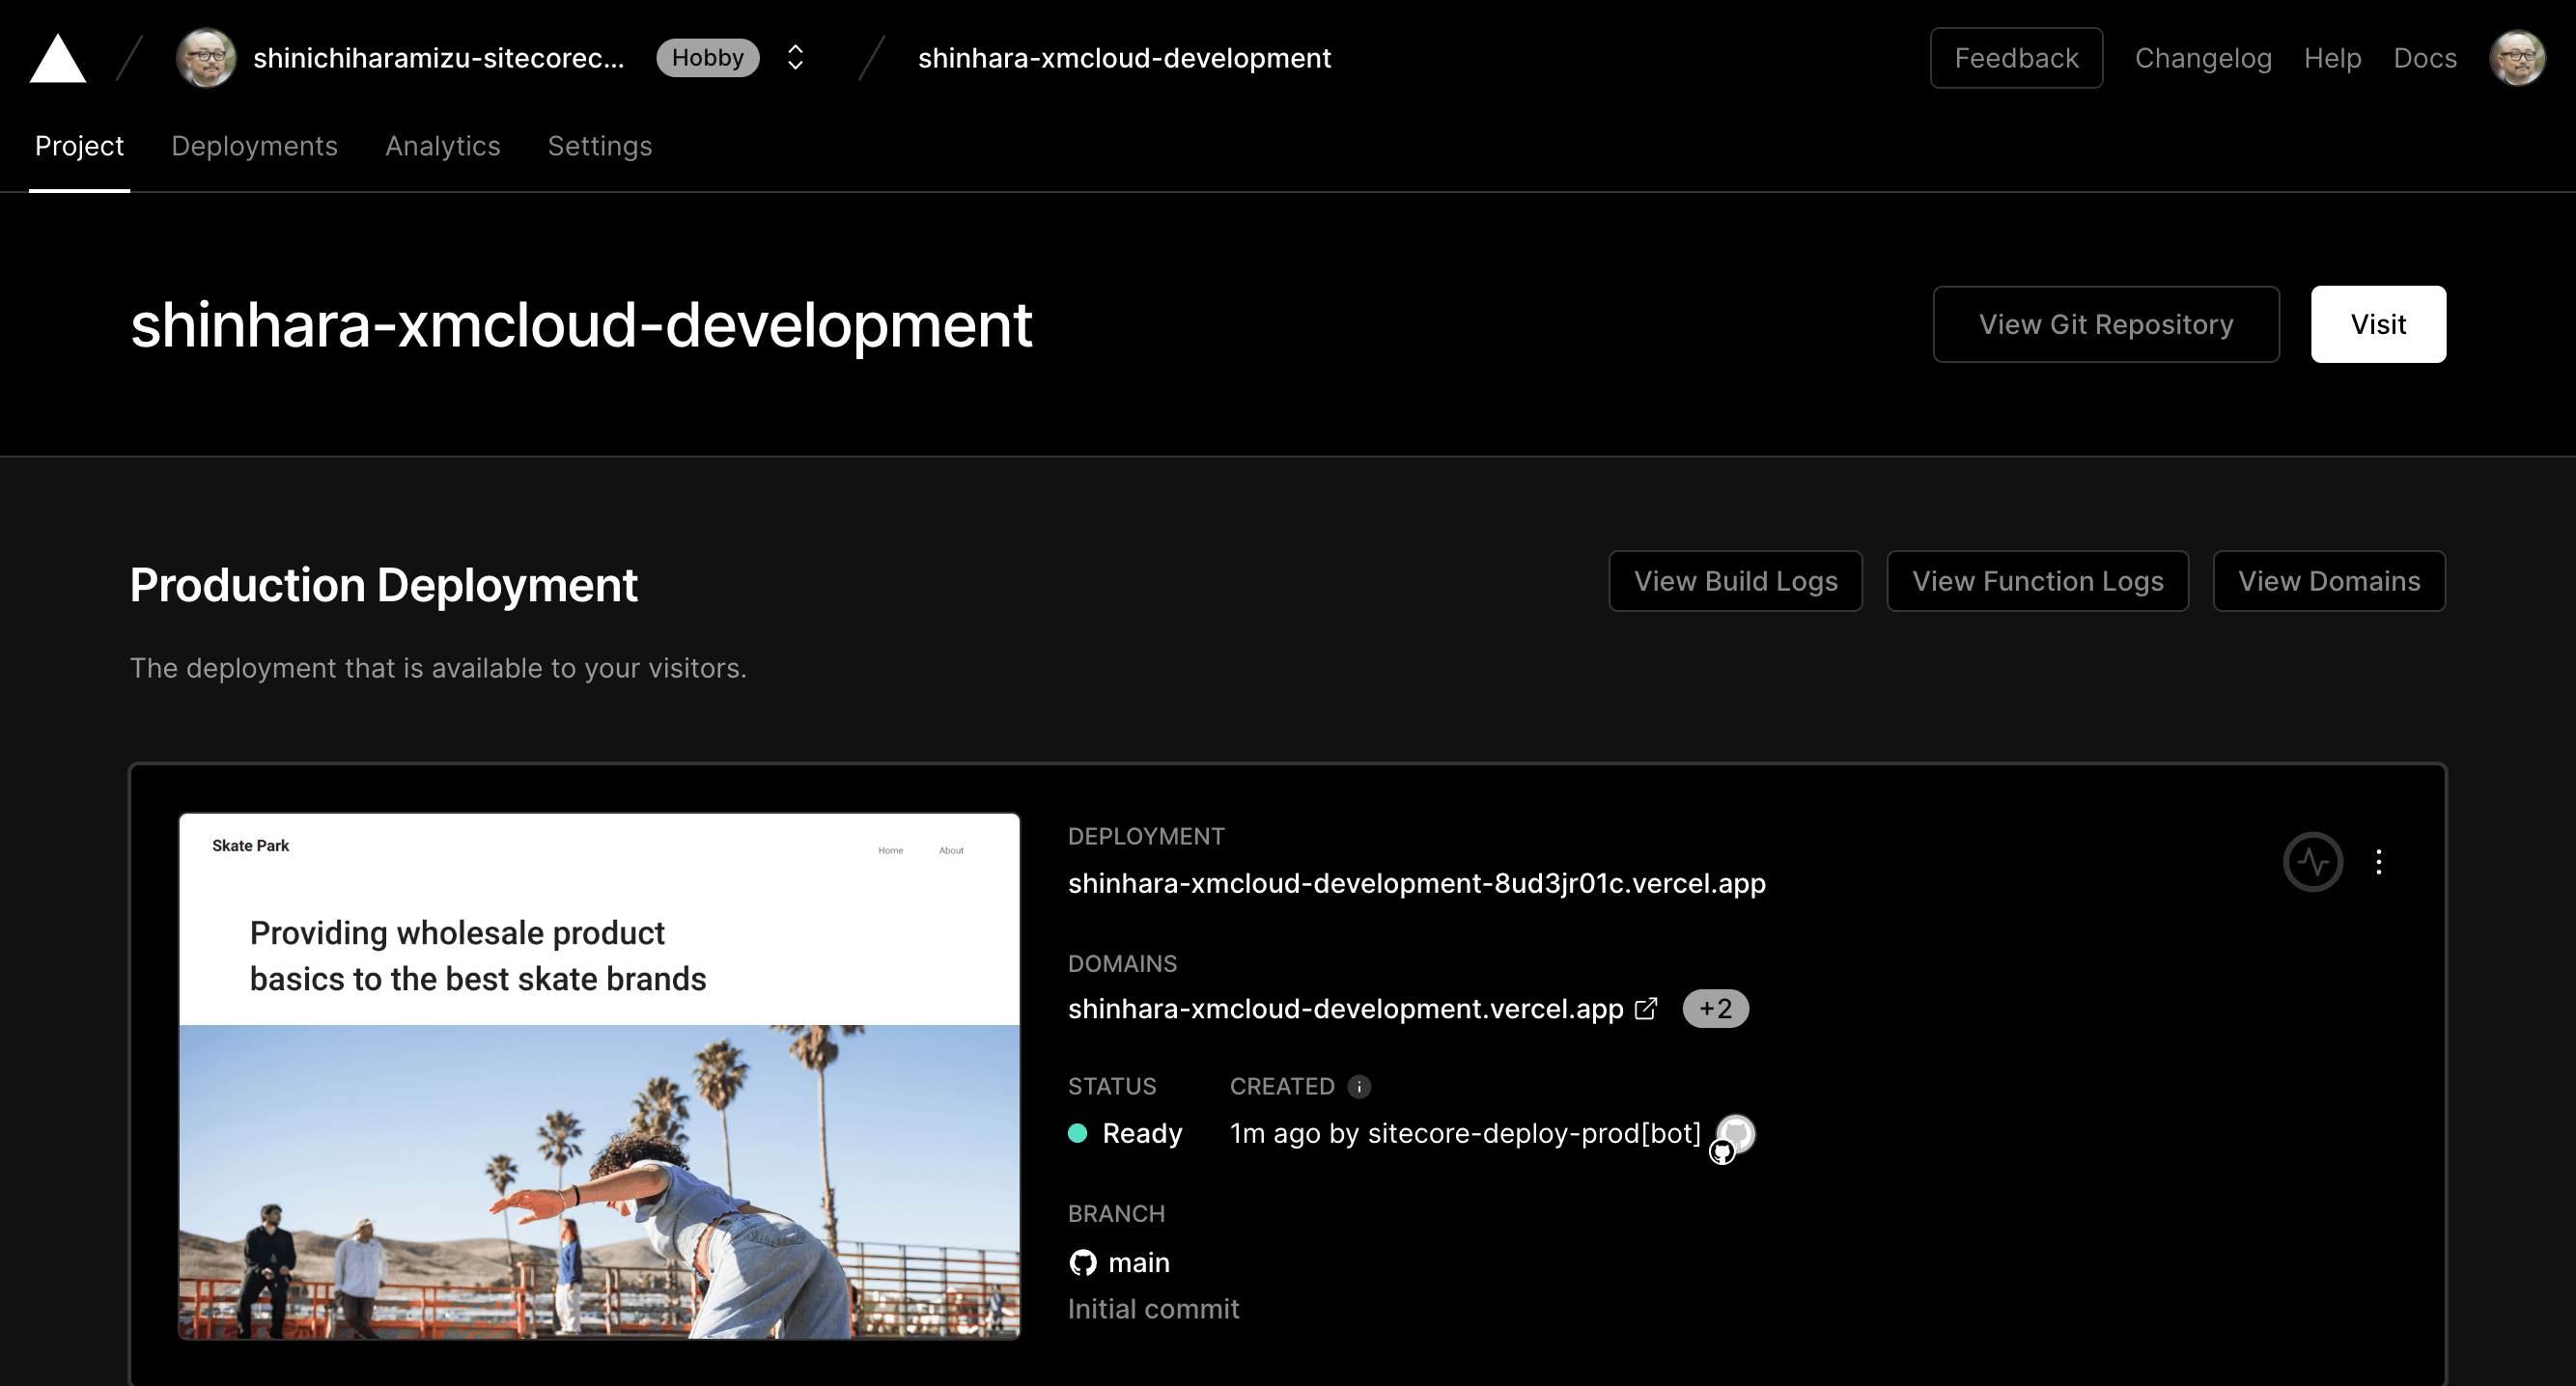
After a short time, the site is open to the public.
Summary
This feature will automate the setup procedure using Vercel. Currently, it is limited to individual accounts and cannot be deployed to team accounts, but since this is a beta version, we expect this part to be resolved in the future.