The information about subscriptions initiated using the Sitecore Send email list functionality is recorded in Excel via Sitecore Connect. In actual operation, the standard usage is to leave the information as an activity in the CRM.

Preparing for Sitecore Send
This time, we will use Sitecore Send or Moosend to keep track of subscriptions. First, we will prepare the Sitecore Send subscription fields as a preliminary step.
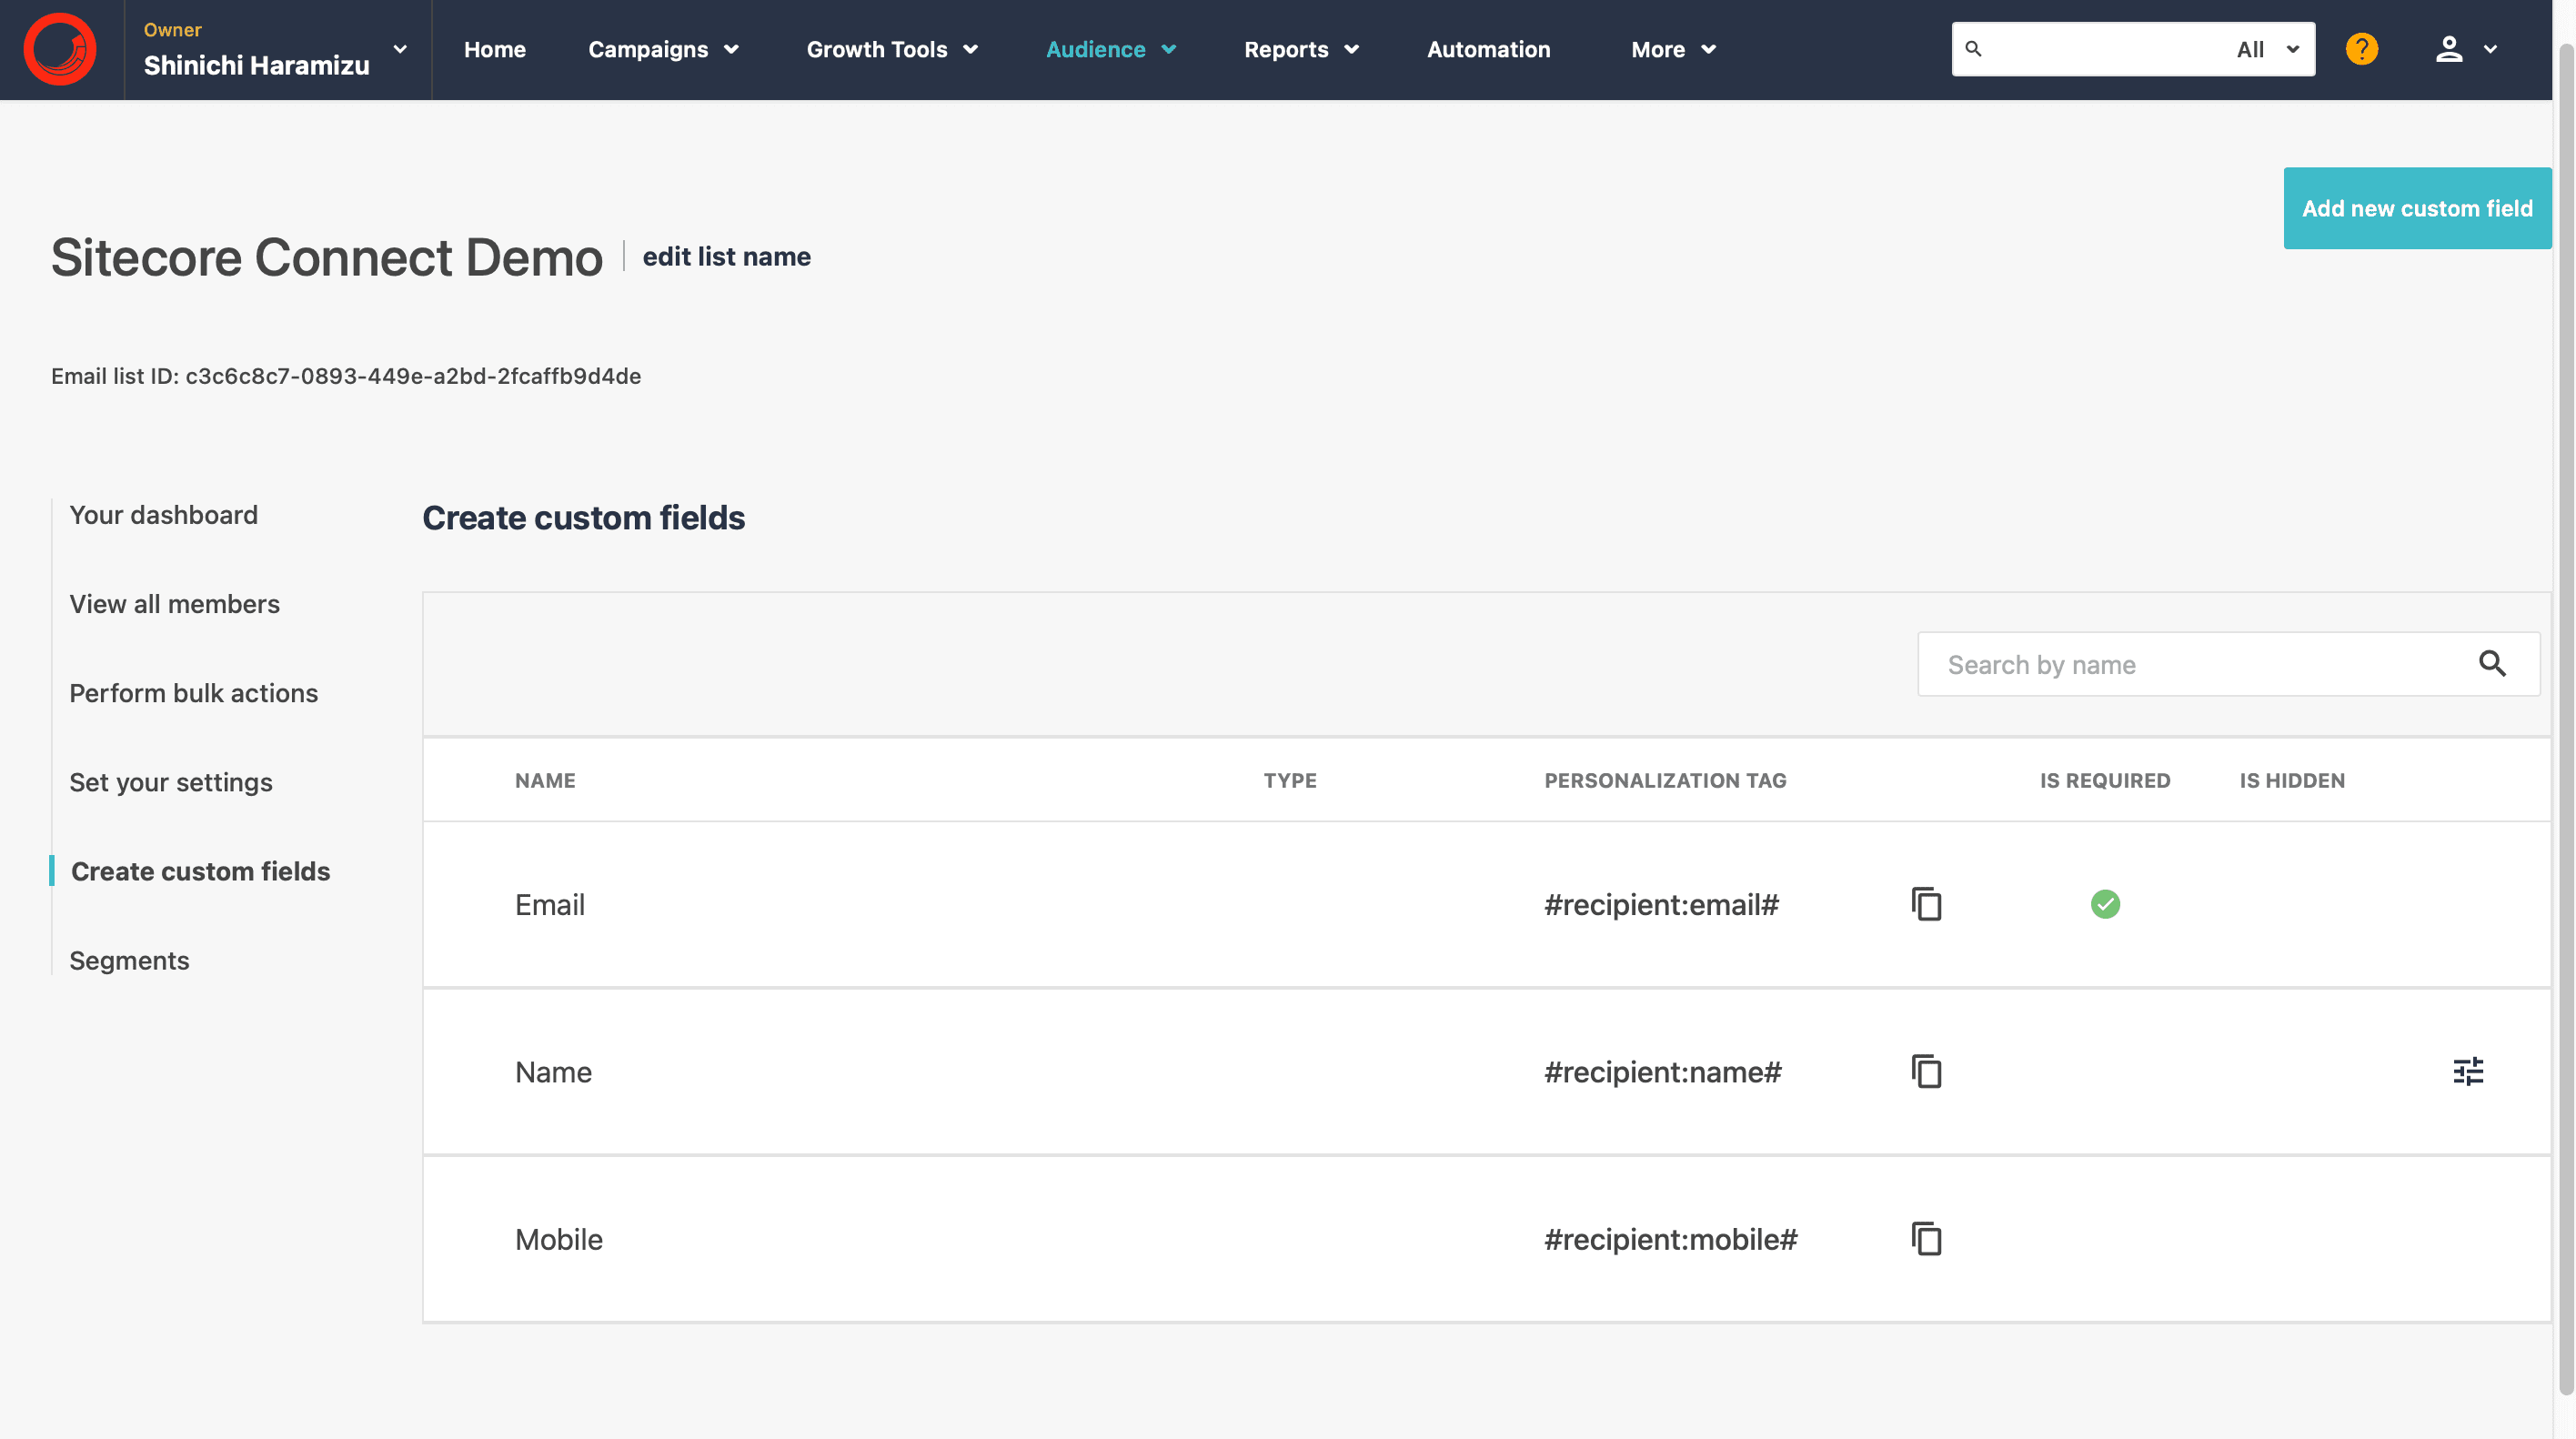
Create Email list
This time, we will create a new Email List. This email list will have only the standard fields Email and Name.
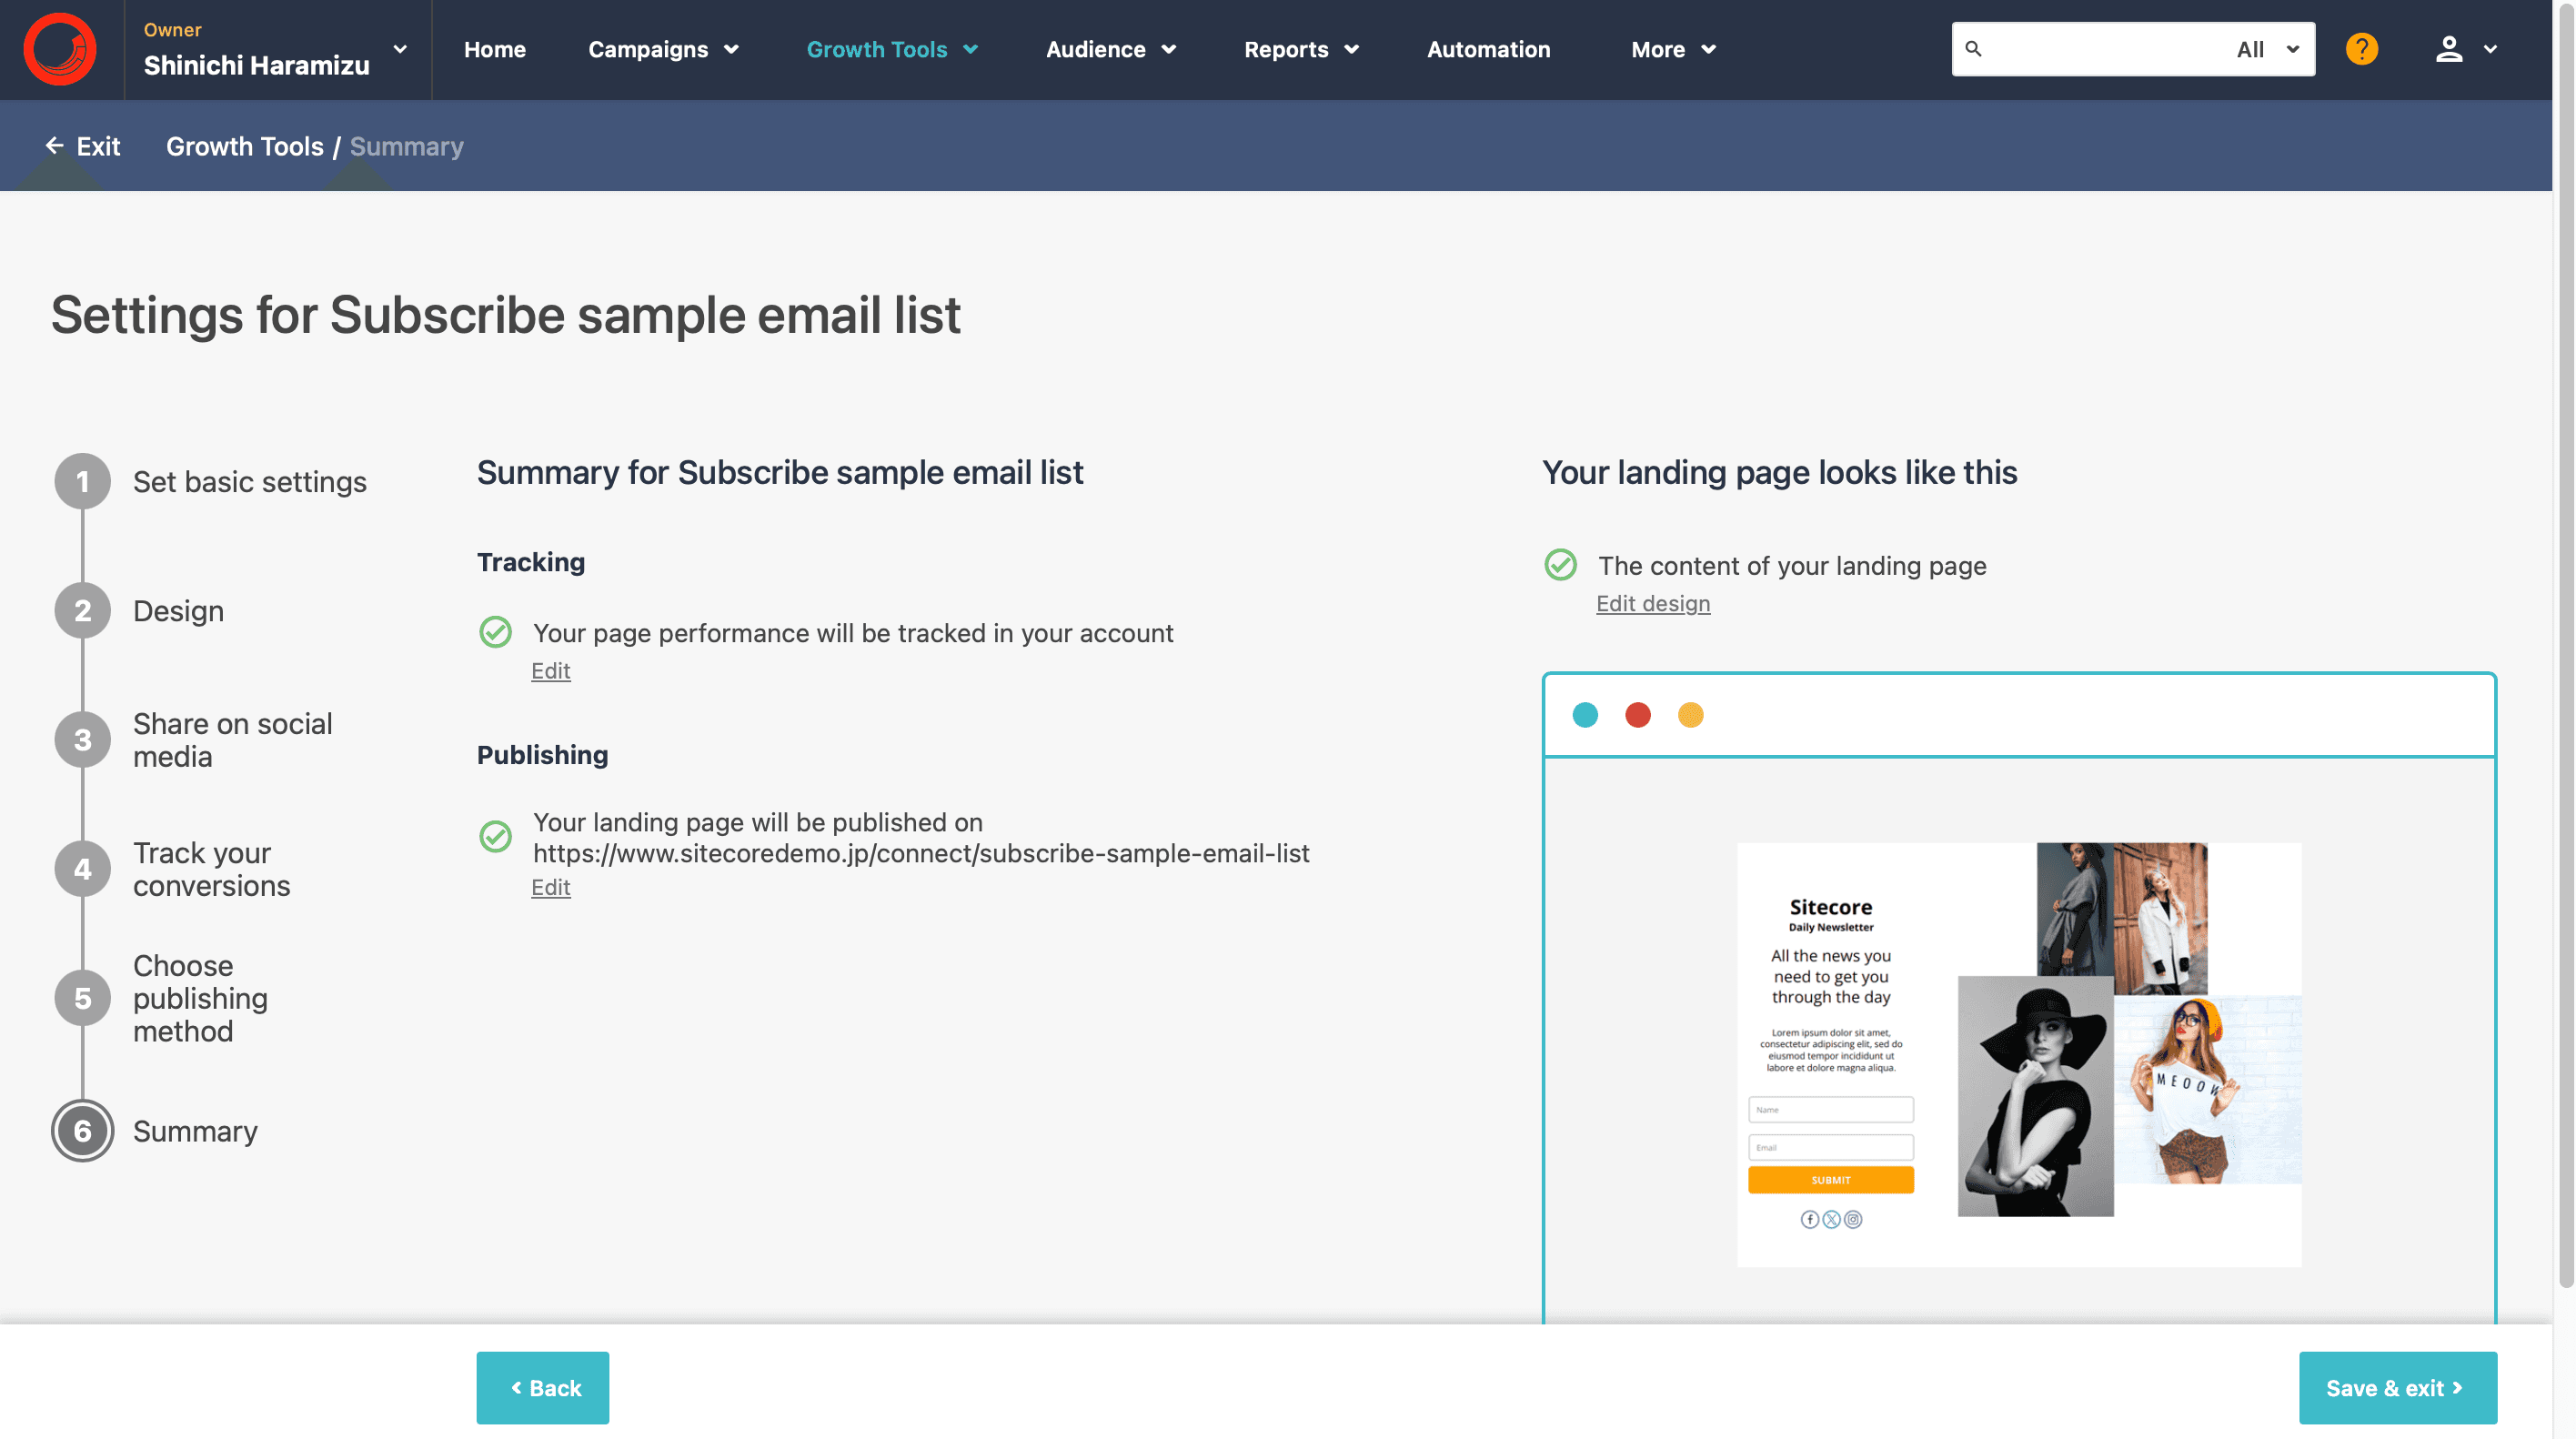
Create Landing Page
A landing page is provided as a form for subscribing to the email. In this case, only the name and email address are taken as the form, so that the subscription can be processed on the landing page provided in the template.
API key and Plugin Secret key
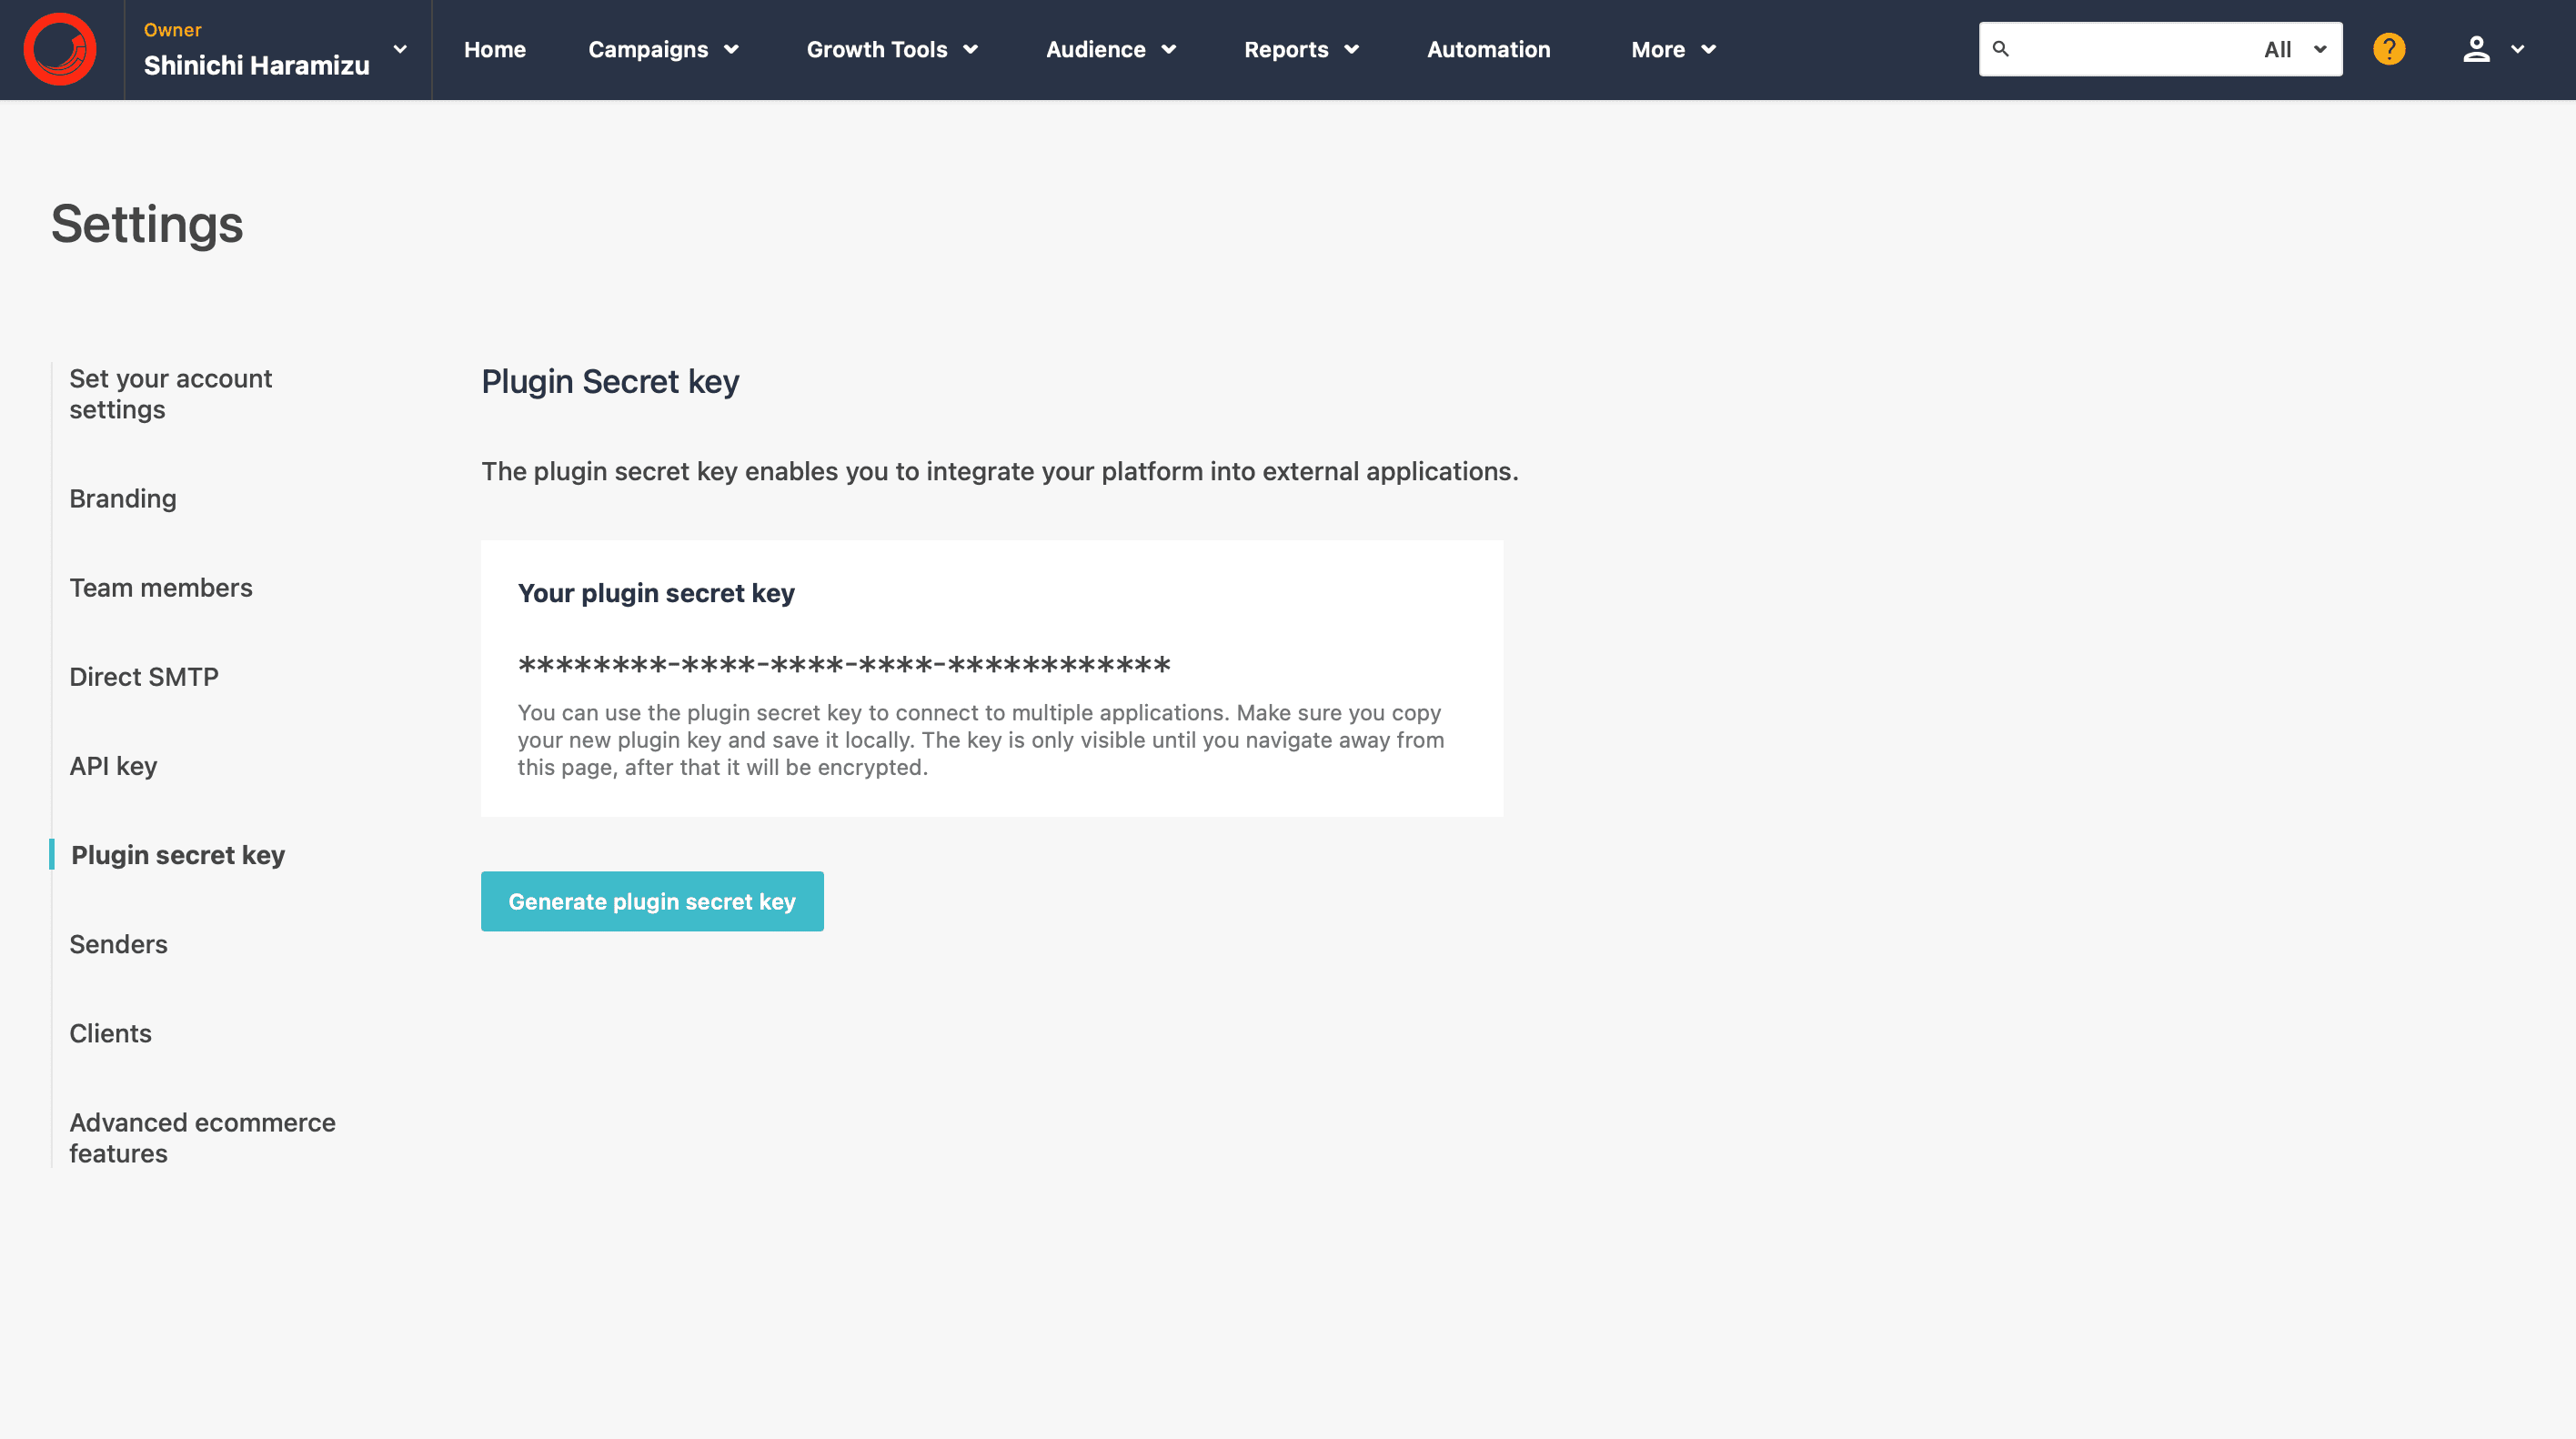
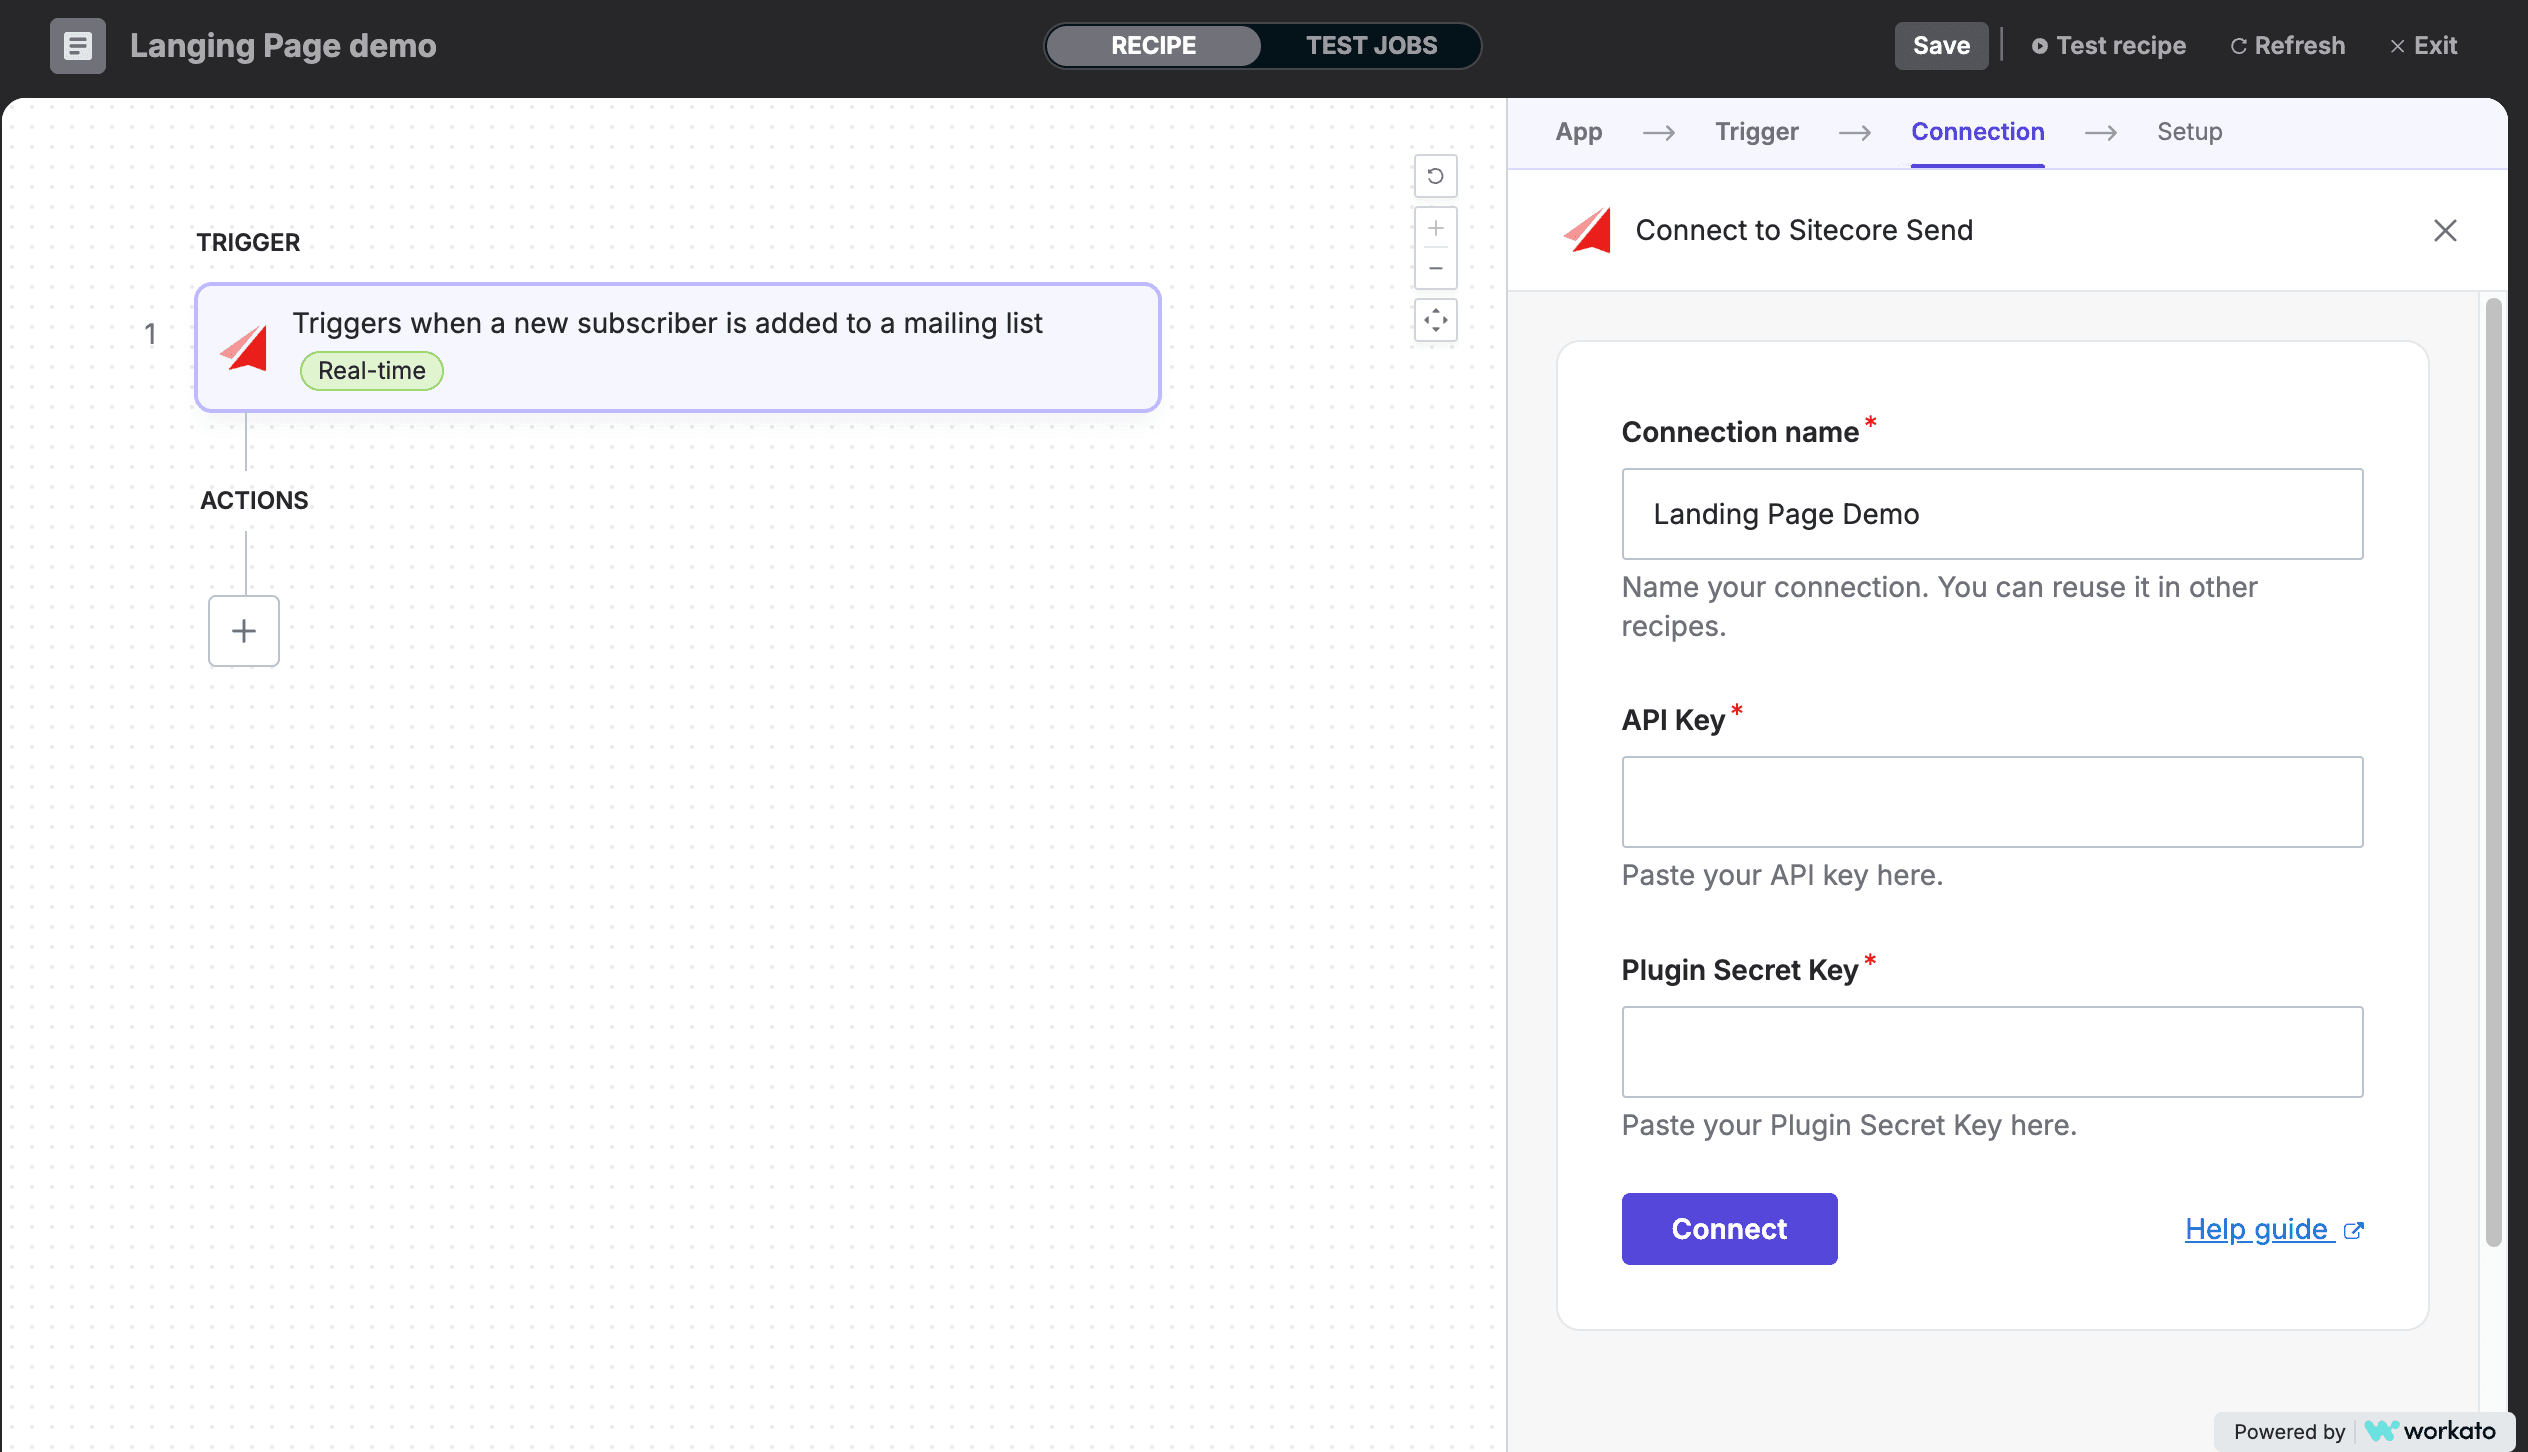
Two keys, an API key and a Plugin Secret key, are required to link Sitecore Send and Sitecore Connect. These keys can be obtained from the menu on the left side of the Sitecore Send administration screen by clicking More > Settings.
Create Recipe
Landing Page and Sitecore Connect connections
With the above preparations completed, open Sitecore Connect and create a new recipe. First, select Trigger from an app as the new recipe.
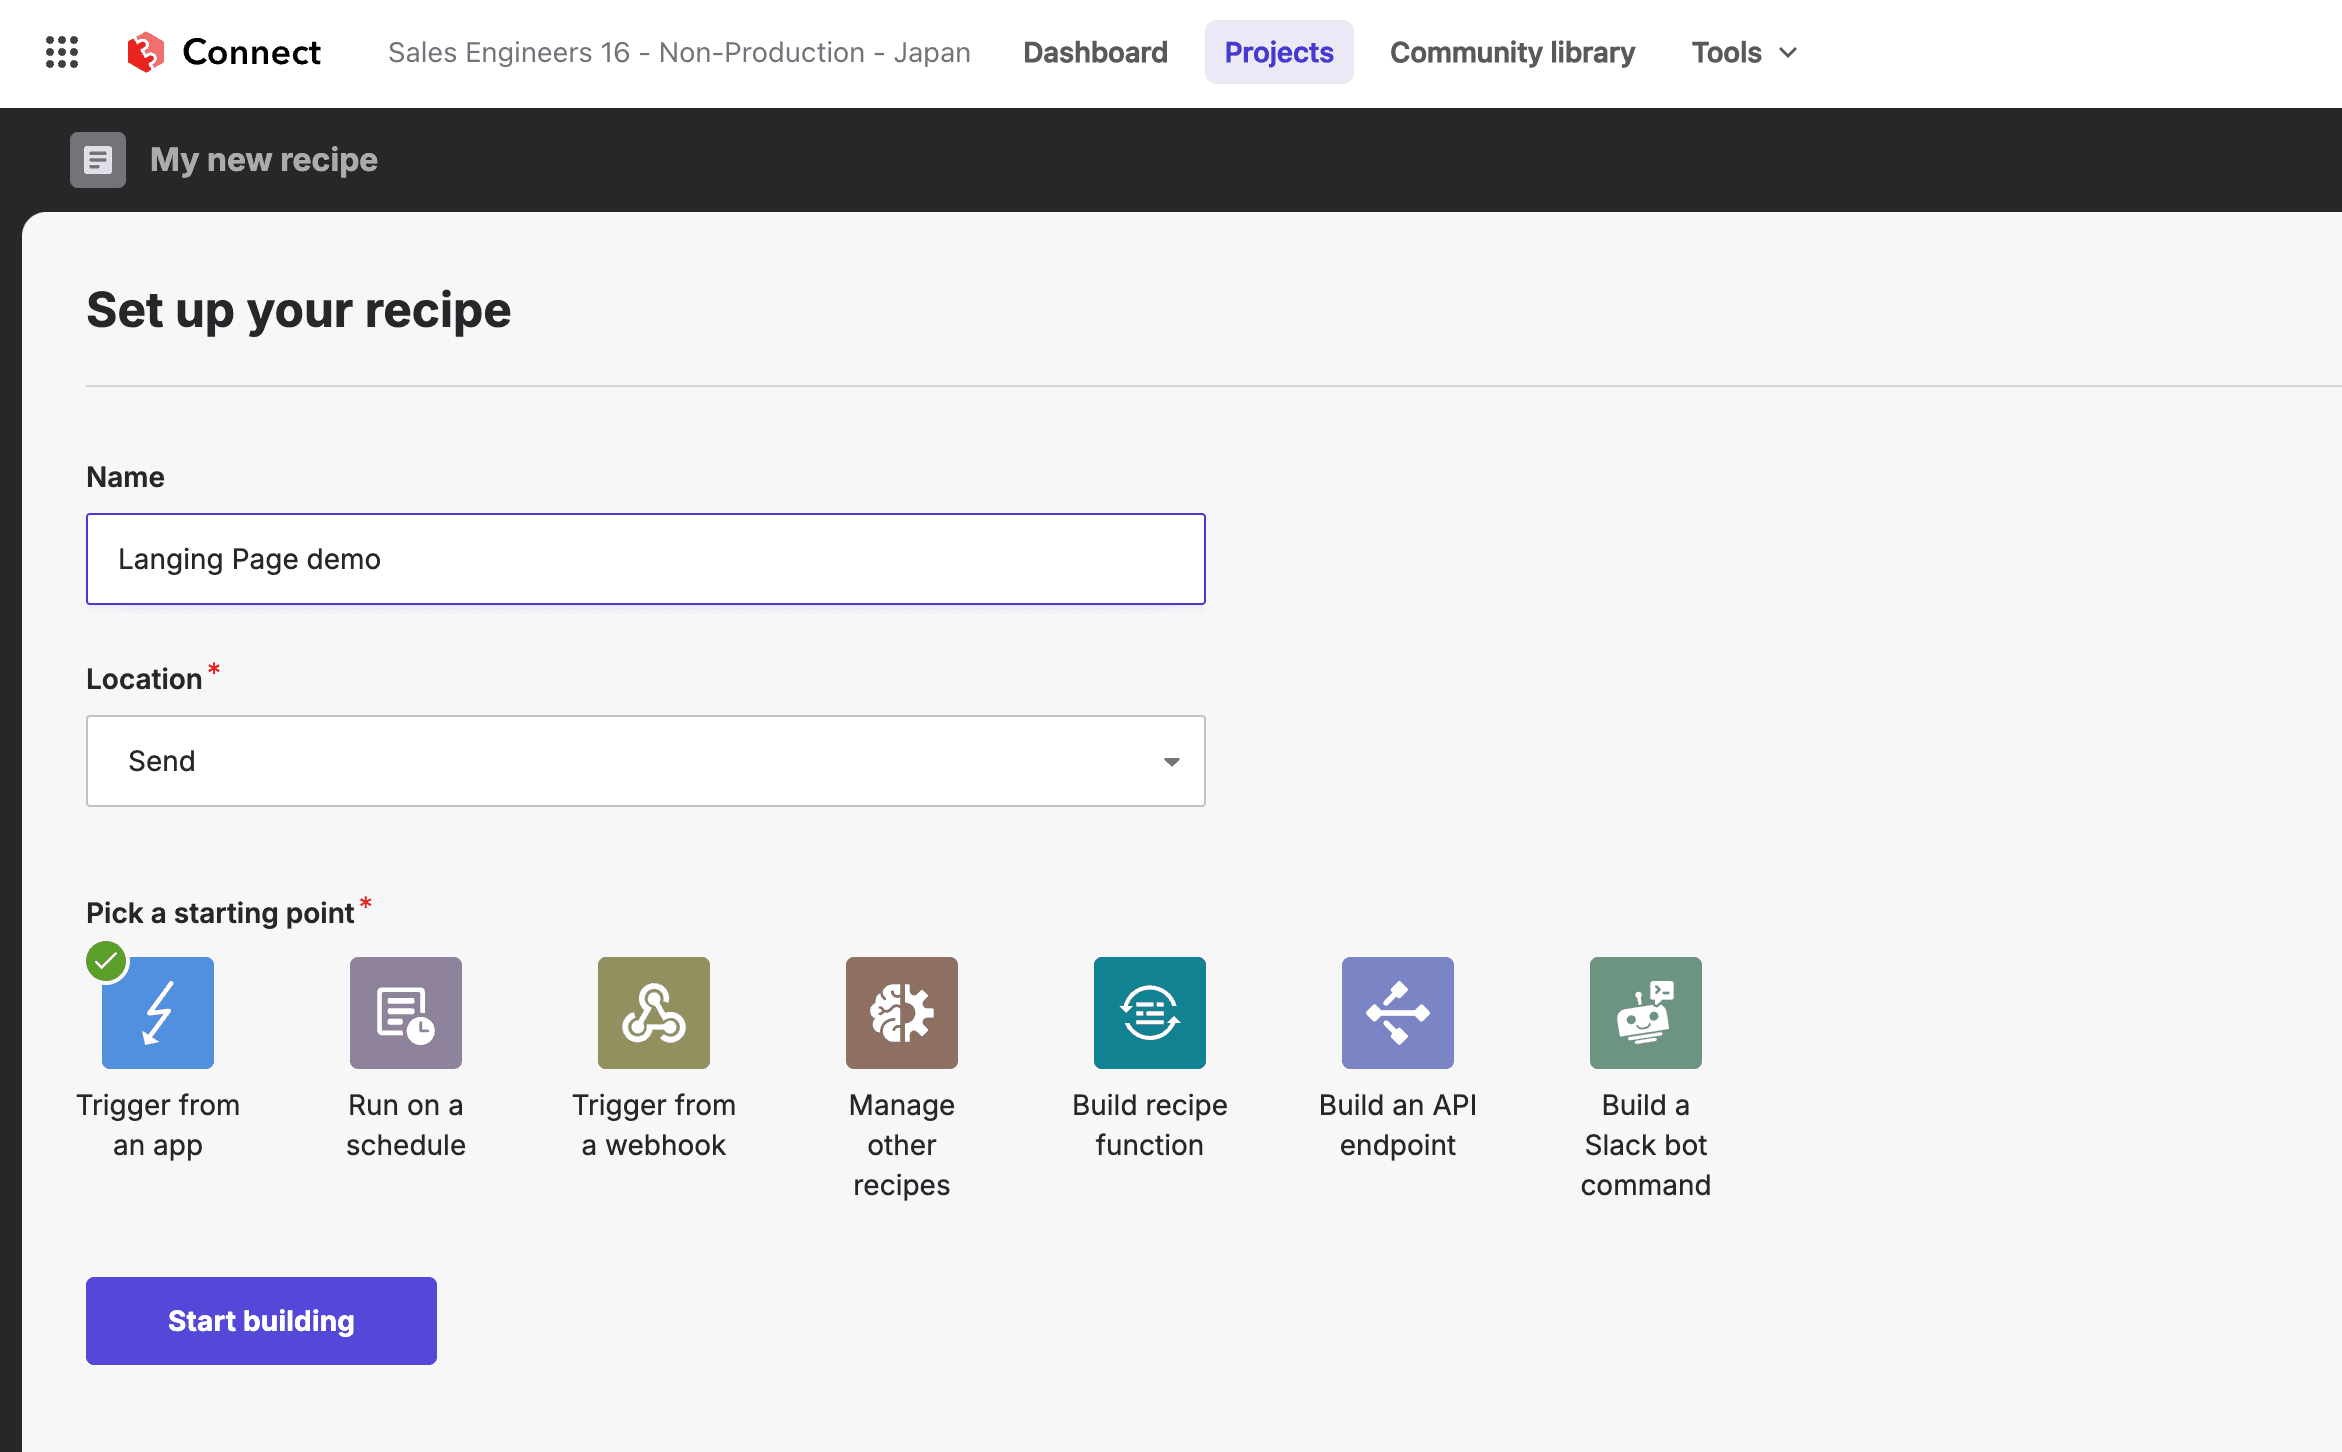
On the application screen, select Send.
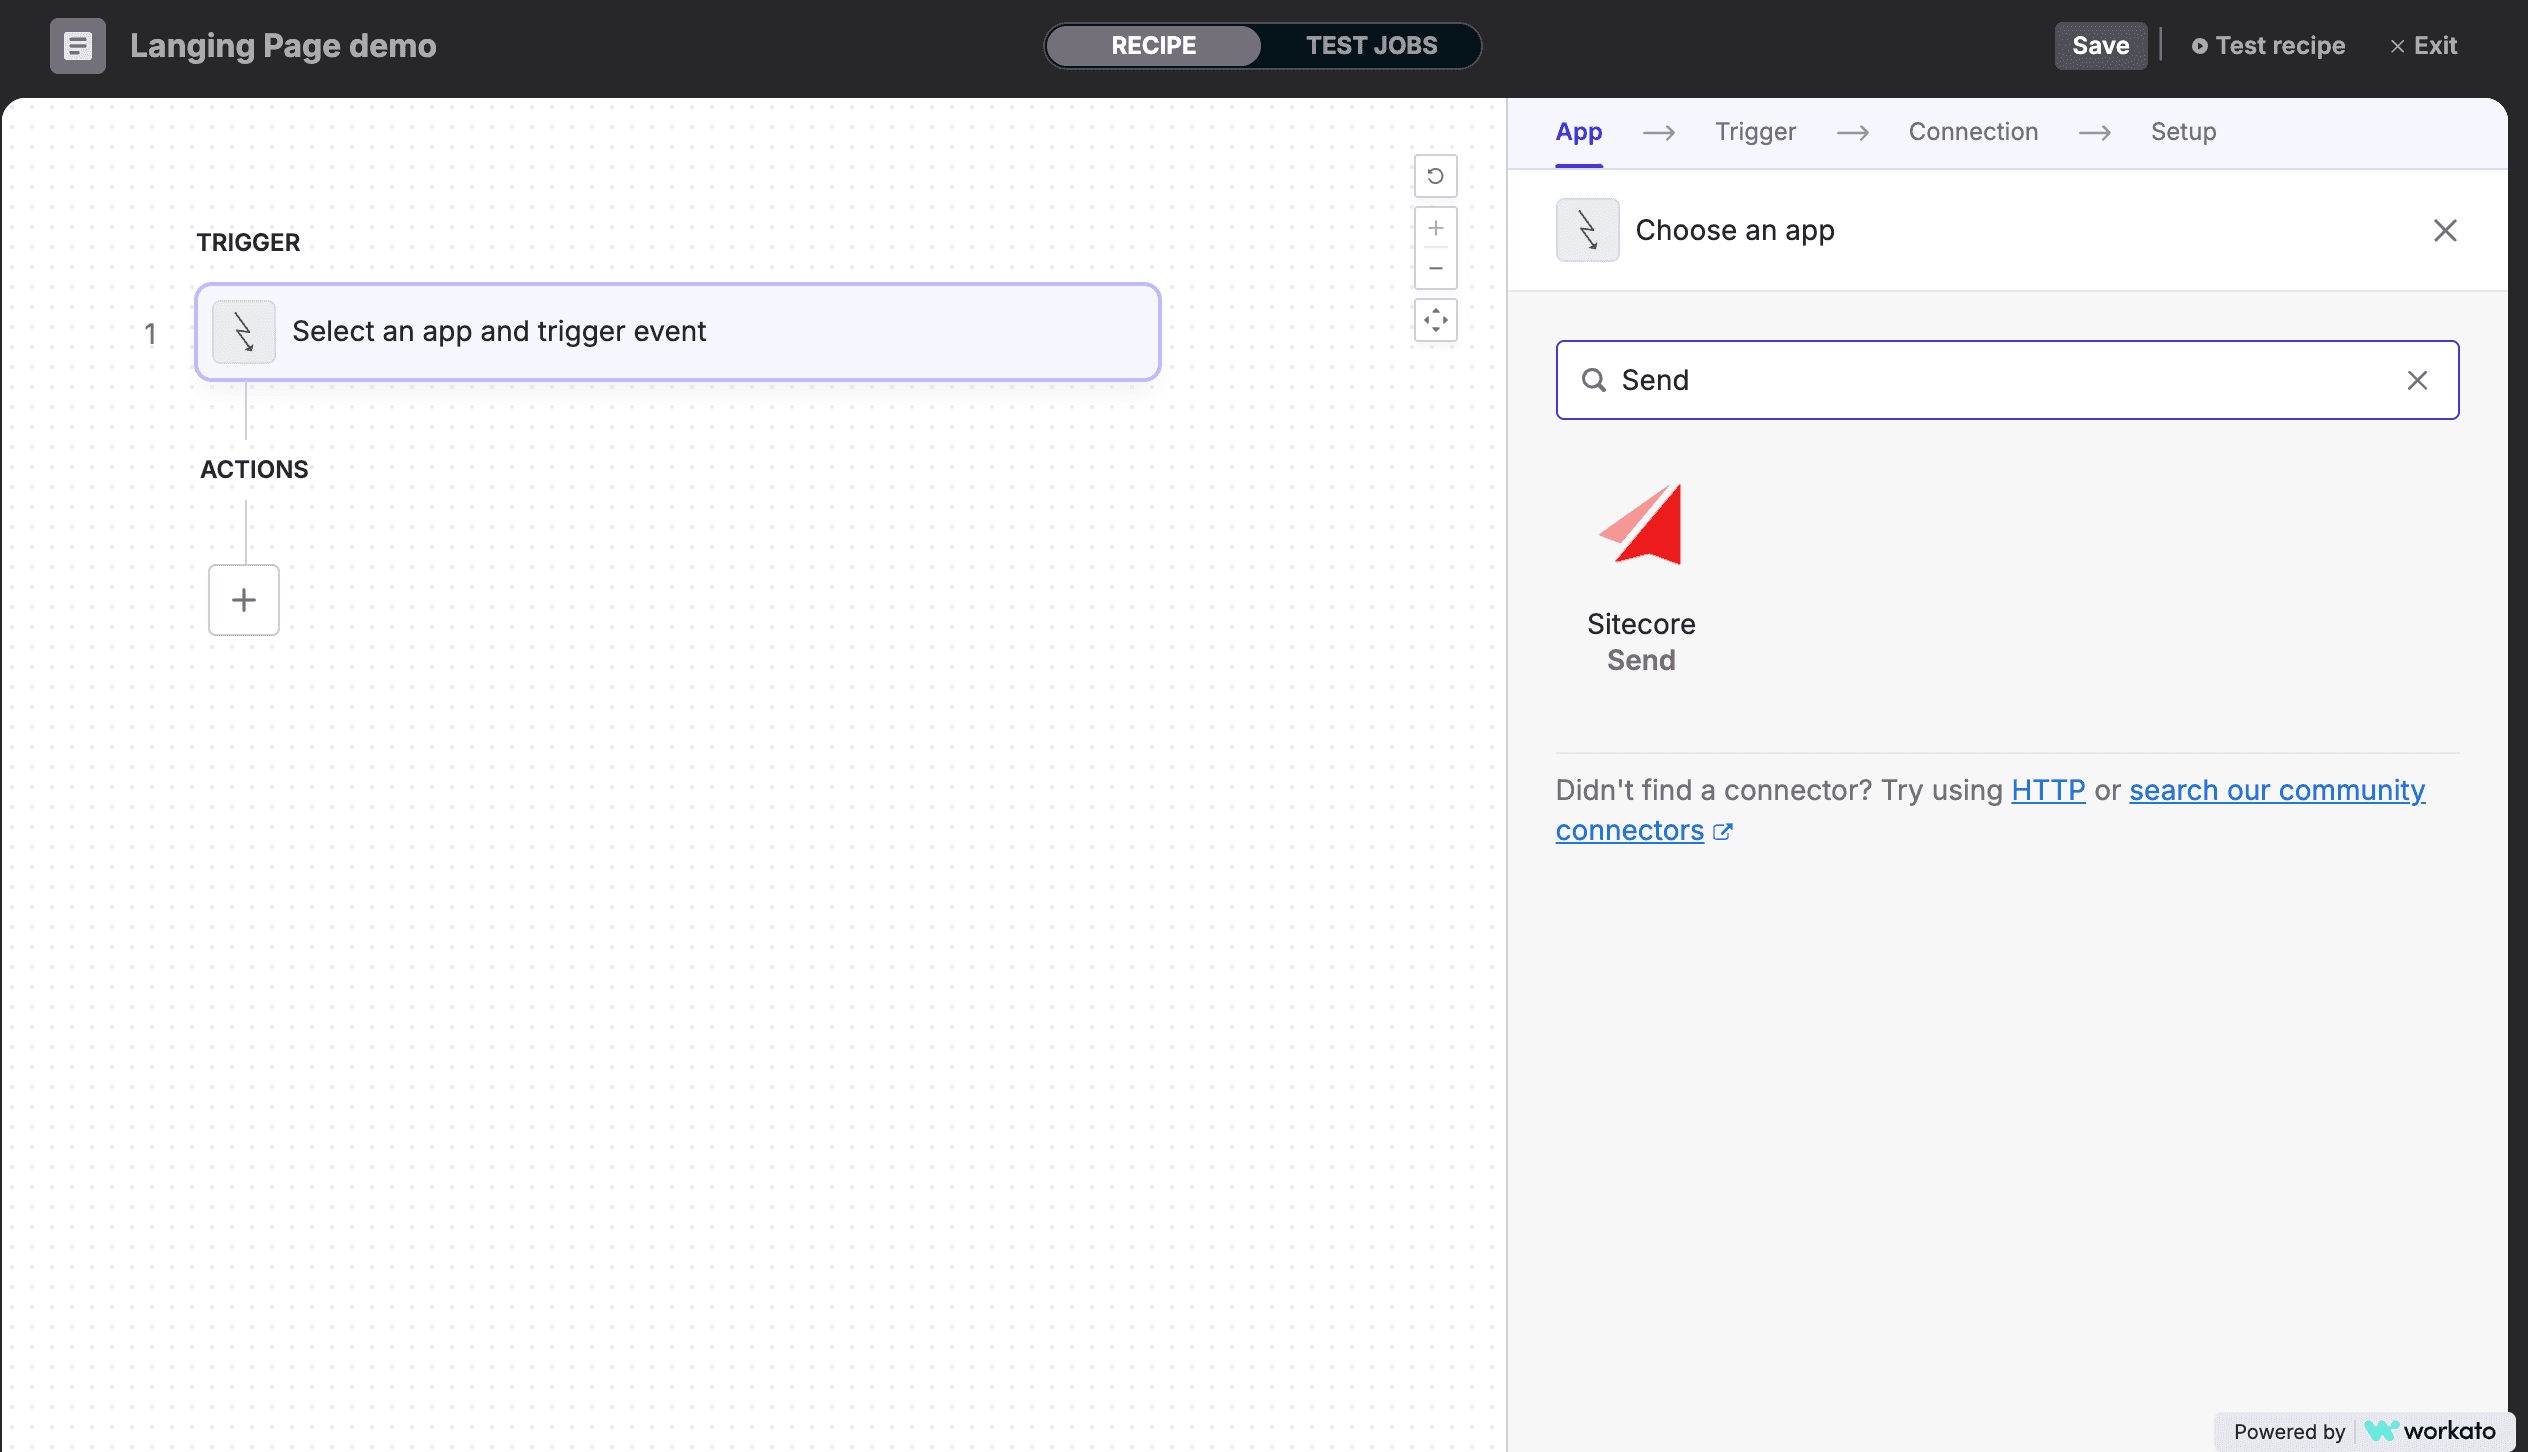
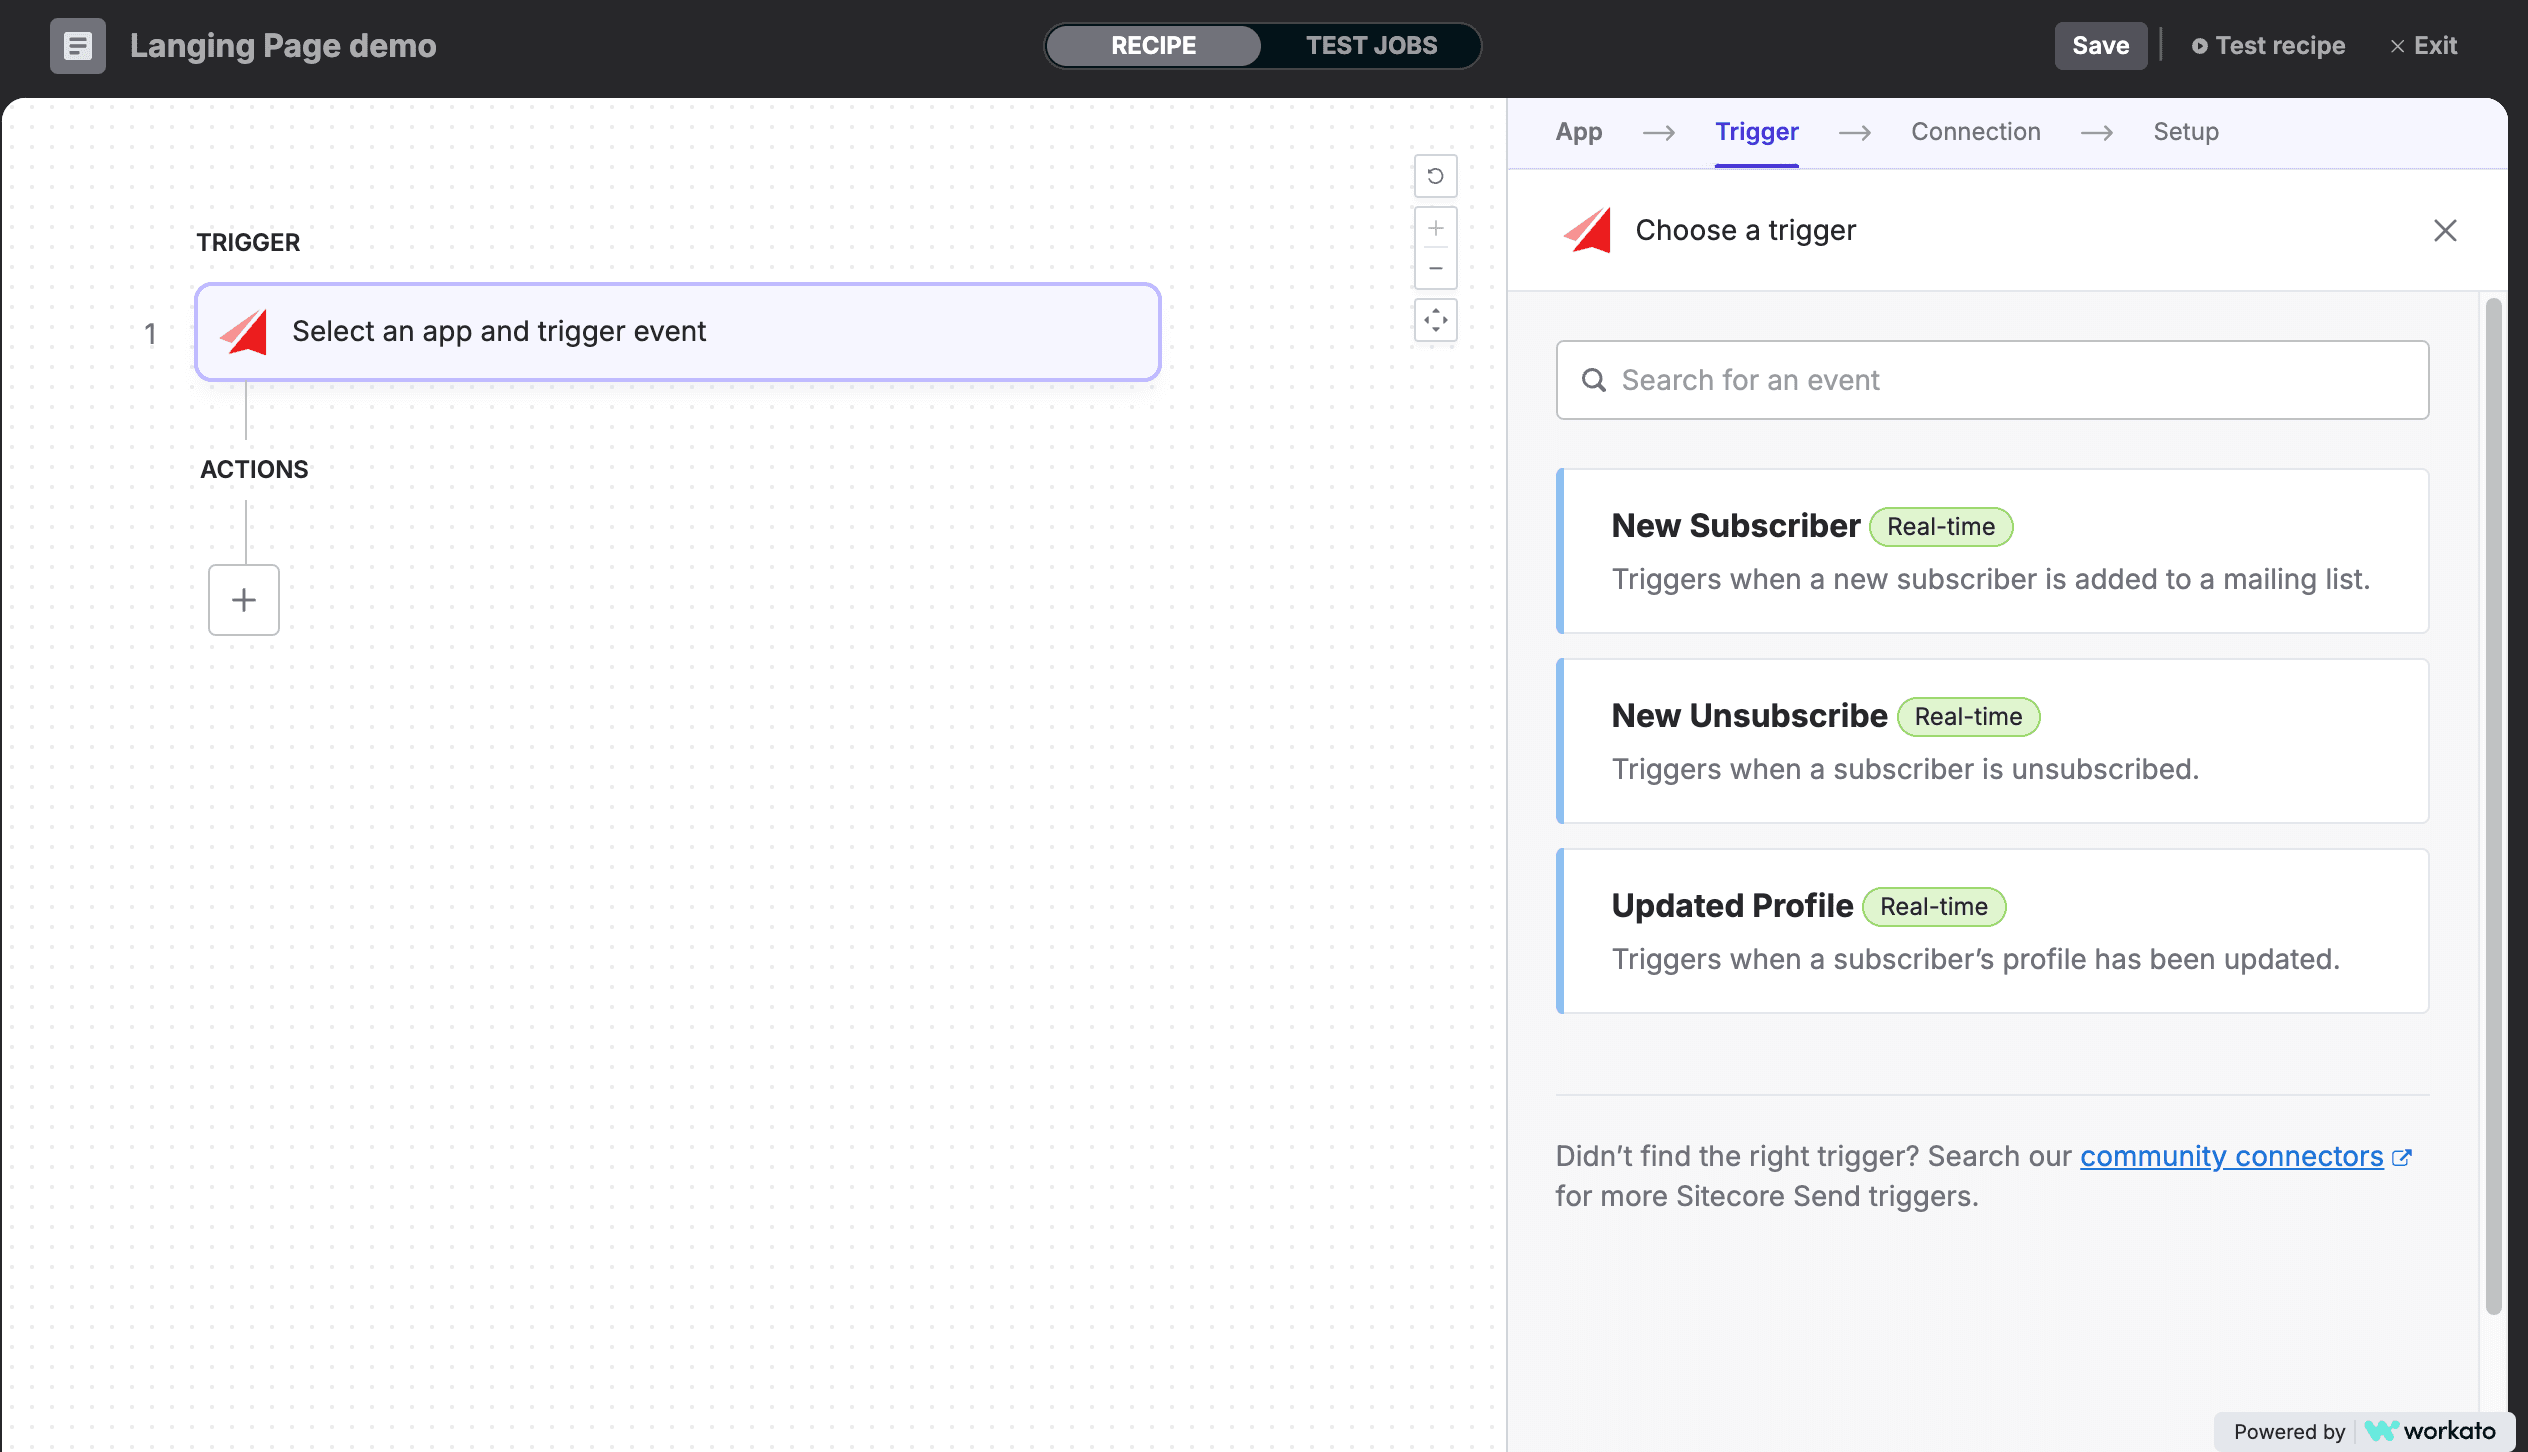
This time, select New Subscriber.
Set the API key and Plugin Secret Key already obtained.
Clicking on the Connect button allows you to select an Email list. In this case, we will set up a list that we have created in advance.
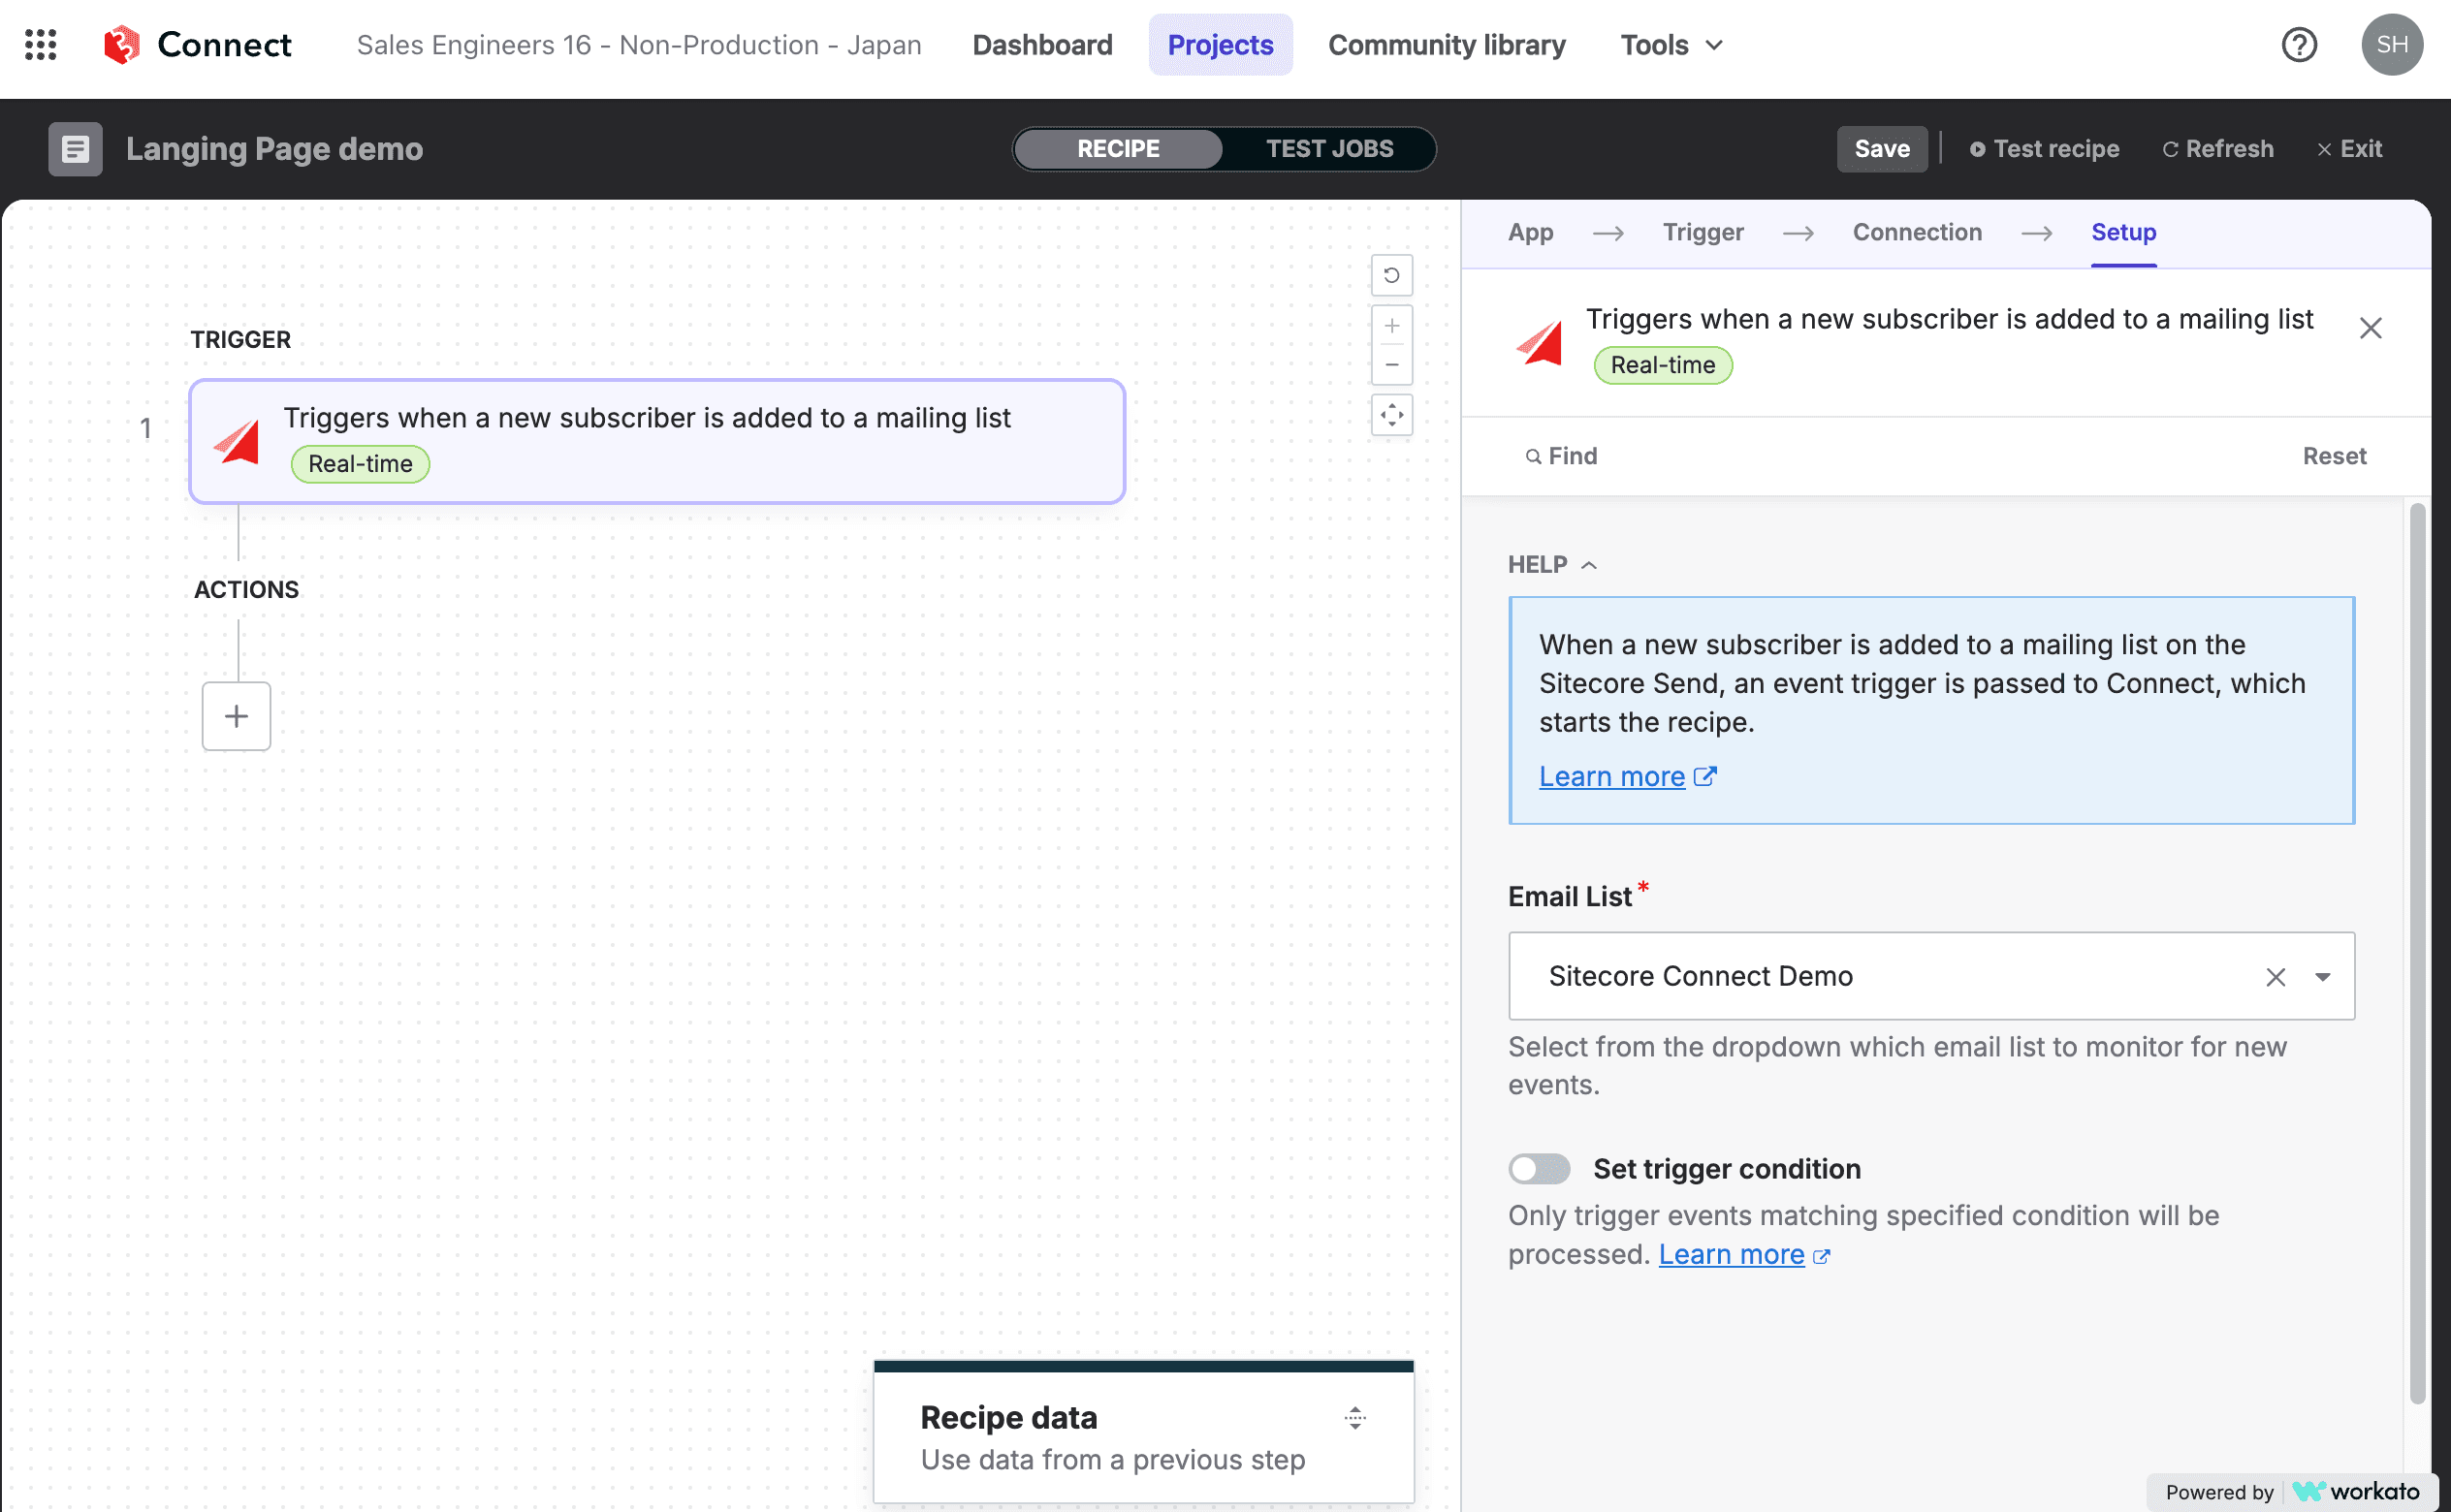
The recipe is now connected to the Sitecore Send email list.
Cooperation Test
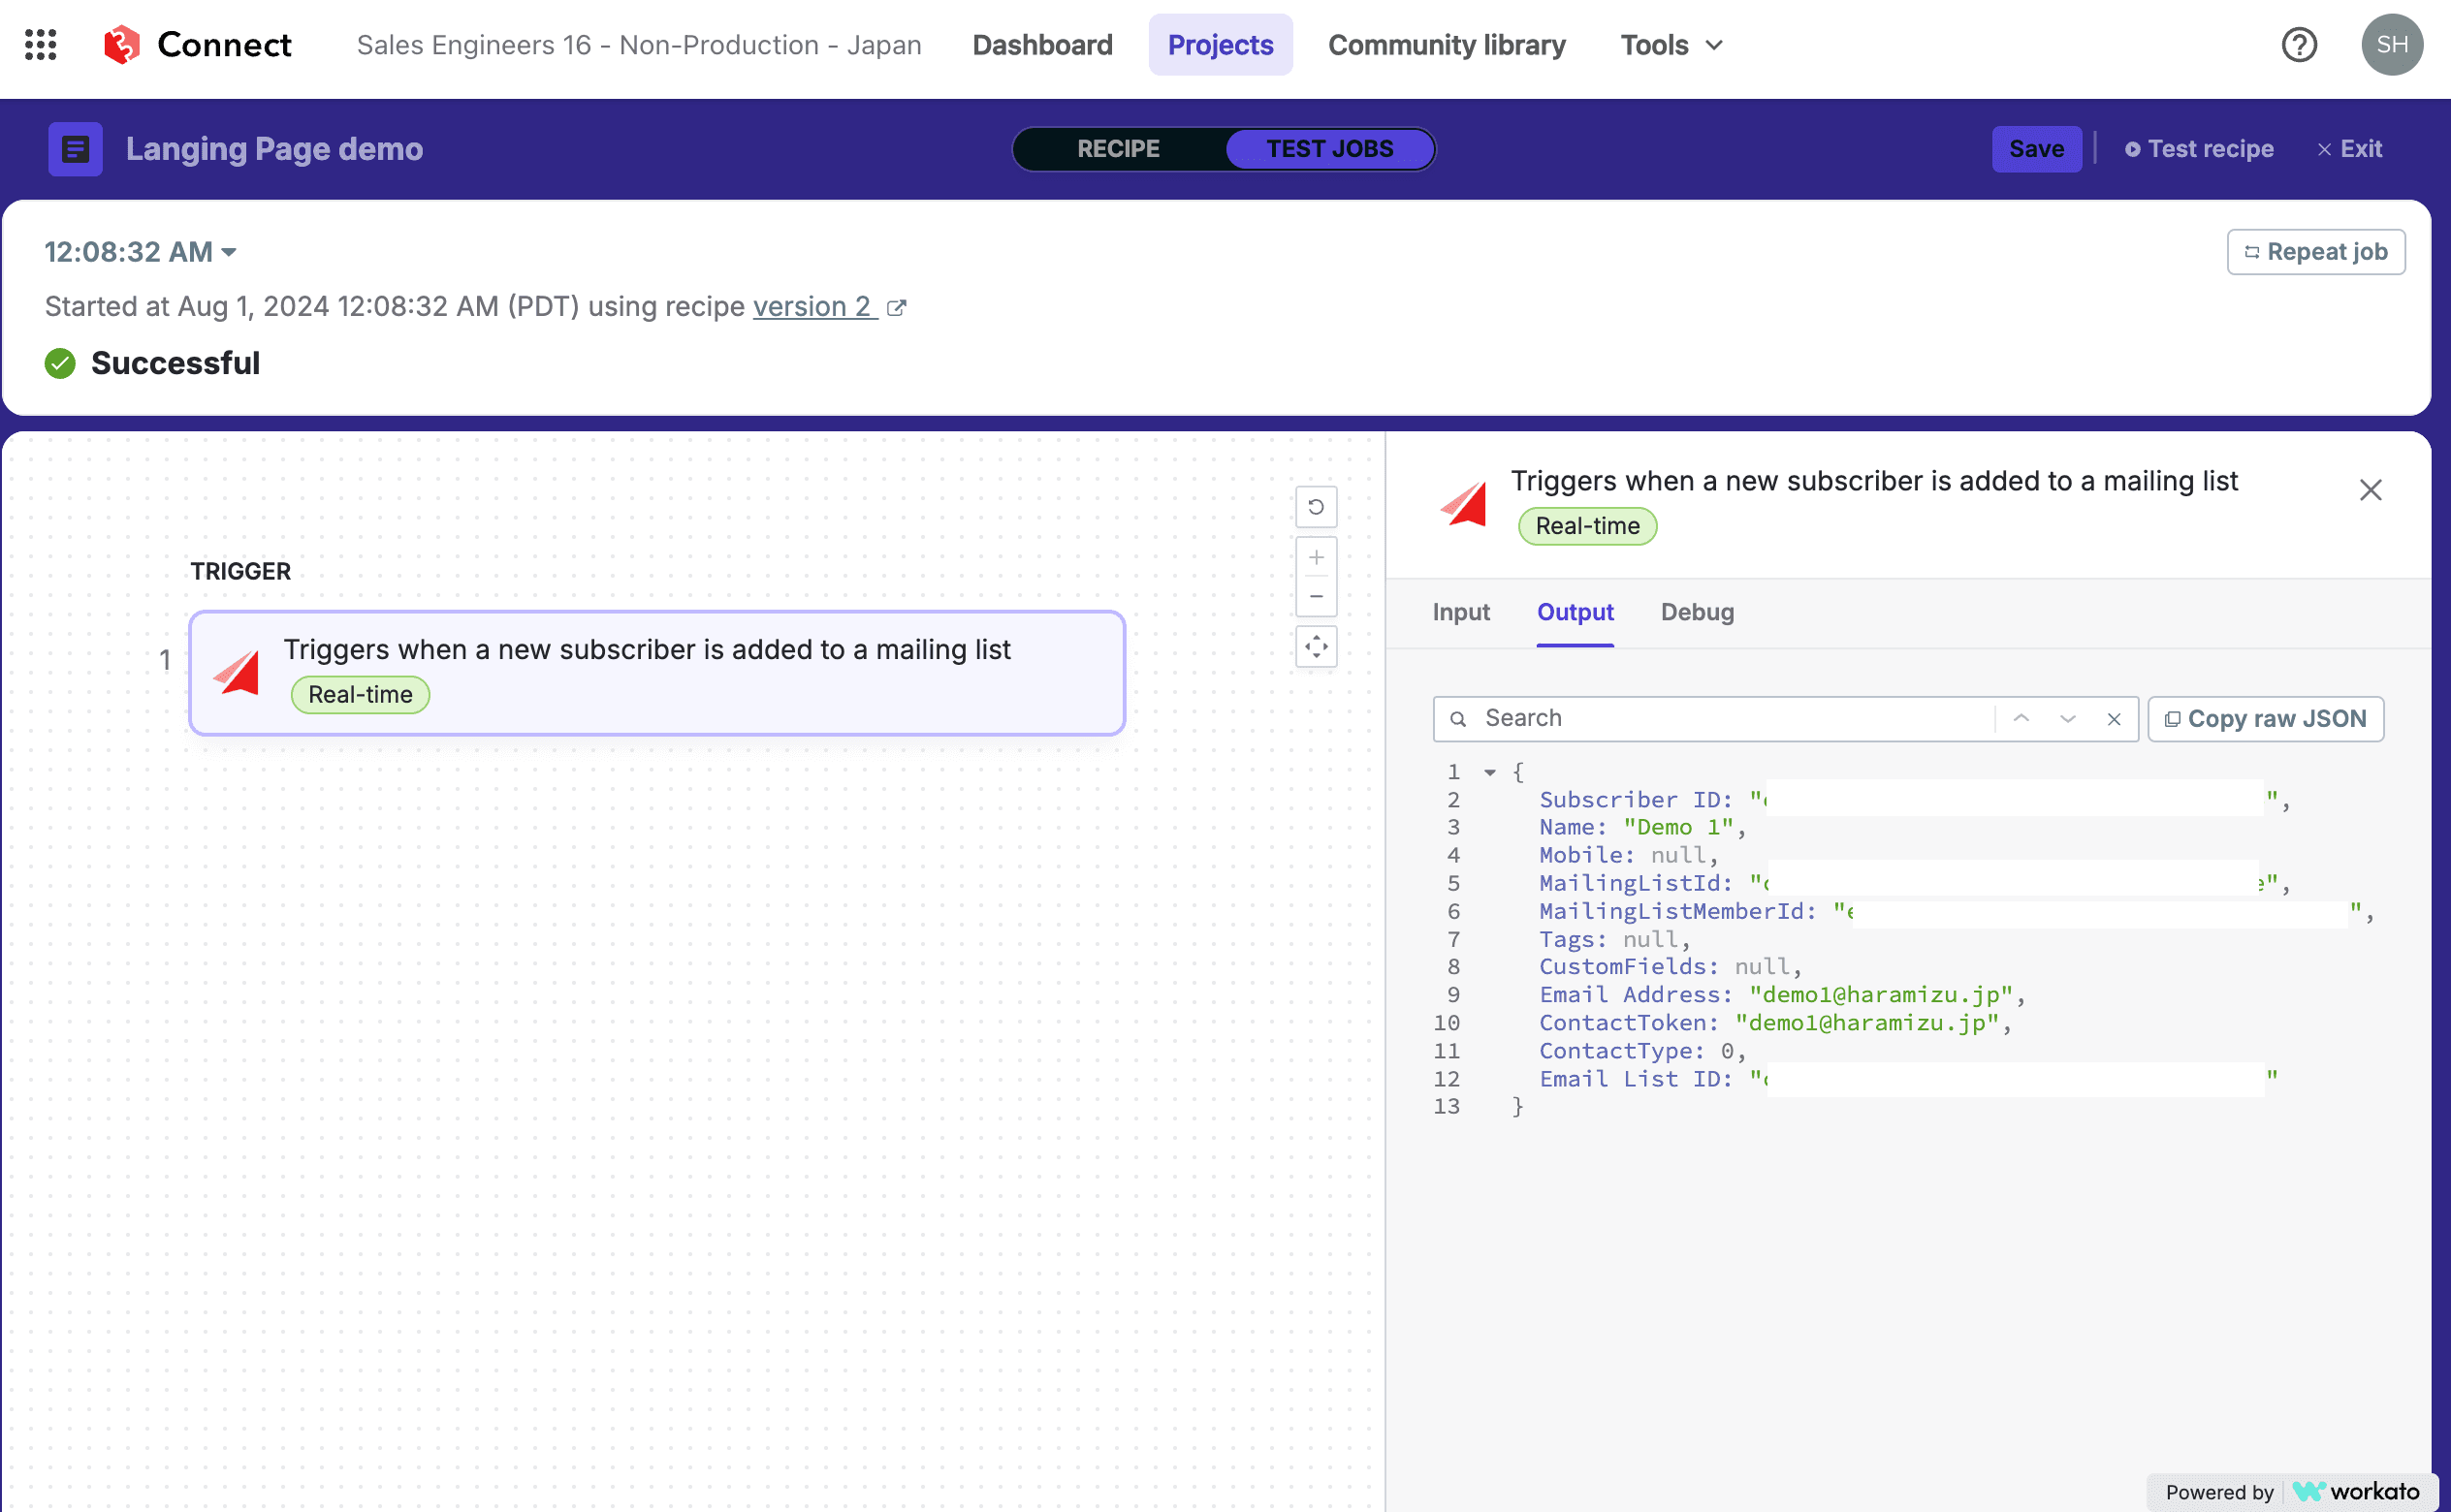
After actually subscribing using the registration form, we will run a test to see if the data comes to Sitecore Connect. Change from the Recipe screen to the Test Jobs screen to run the test. After switching to the Test Run screen, you can subscribe on the landing page.

After executing the subscription, it will switch to the Success screen a short time later. You can check the data actually acquired through the linkage.
Organizing Linked Data
When passing data to Excel, only the standard parameters are available in the Sitecore Send connector as shown below.
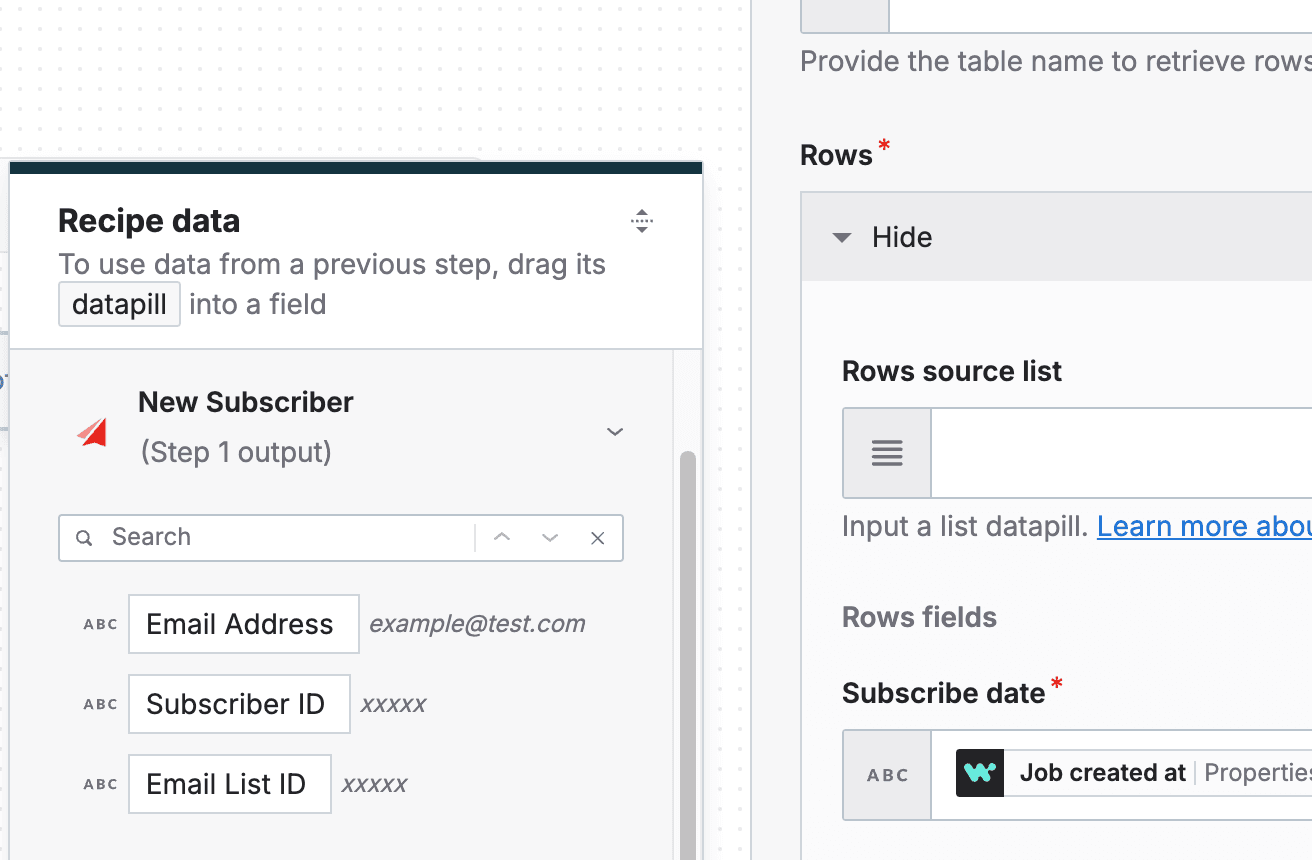
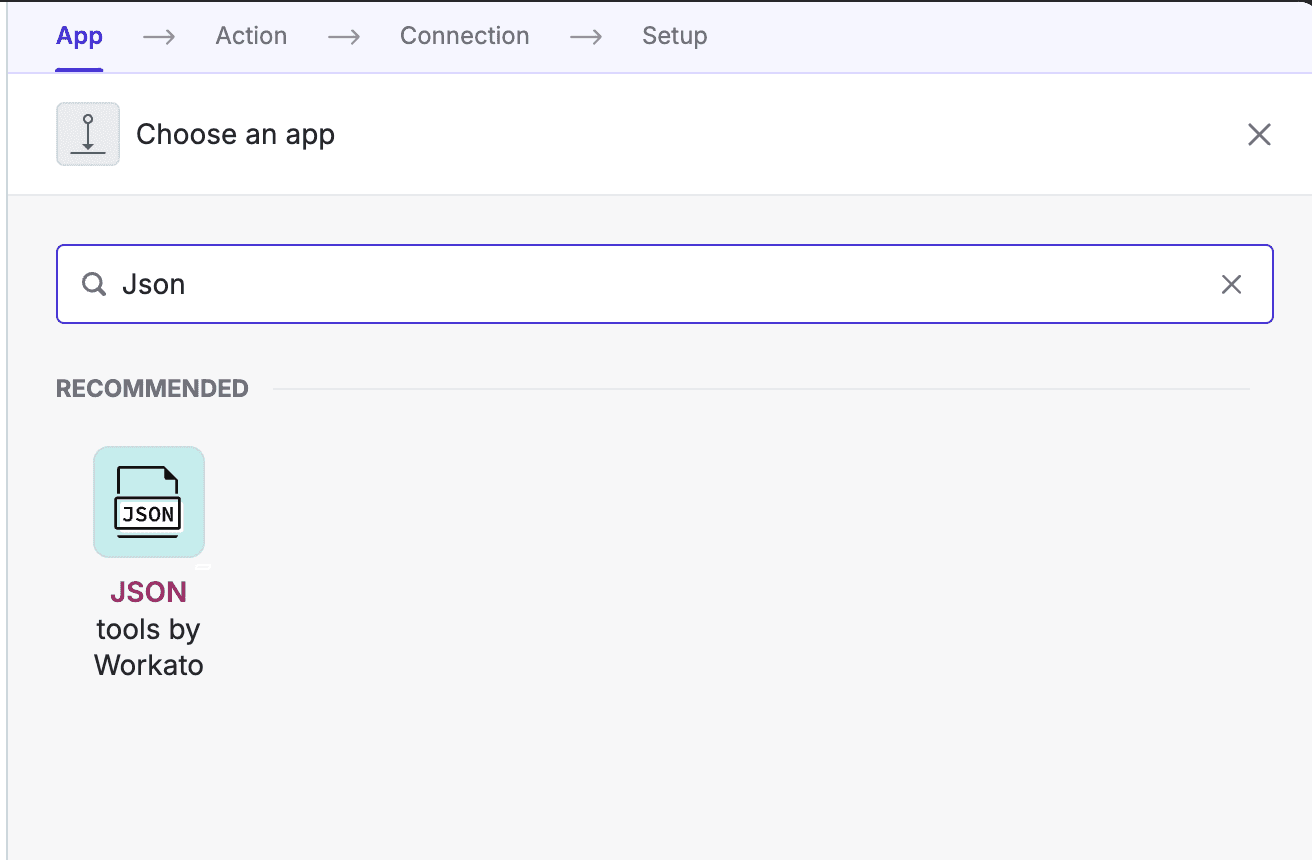
In fact, the name is also received from the form as Json data in the form of Name, but as it is, it is not possible to specify the data when linking to Excel. Therefore, we will use the Json tool provided by Workato so that we can use the Json data that we have obtained.
There are two items to be configured. First, the Sample Document is a Json data file that has been tested in advance and set as a sample.
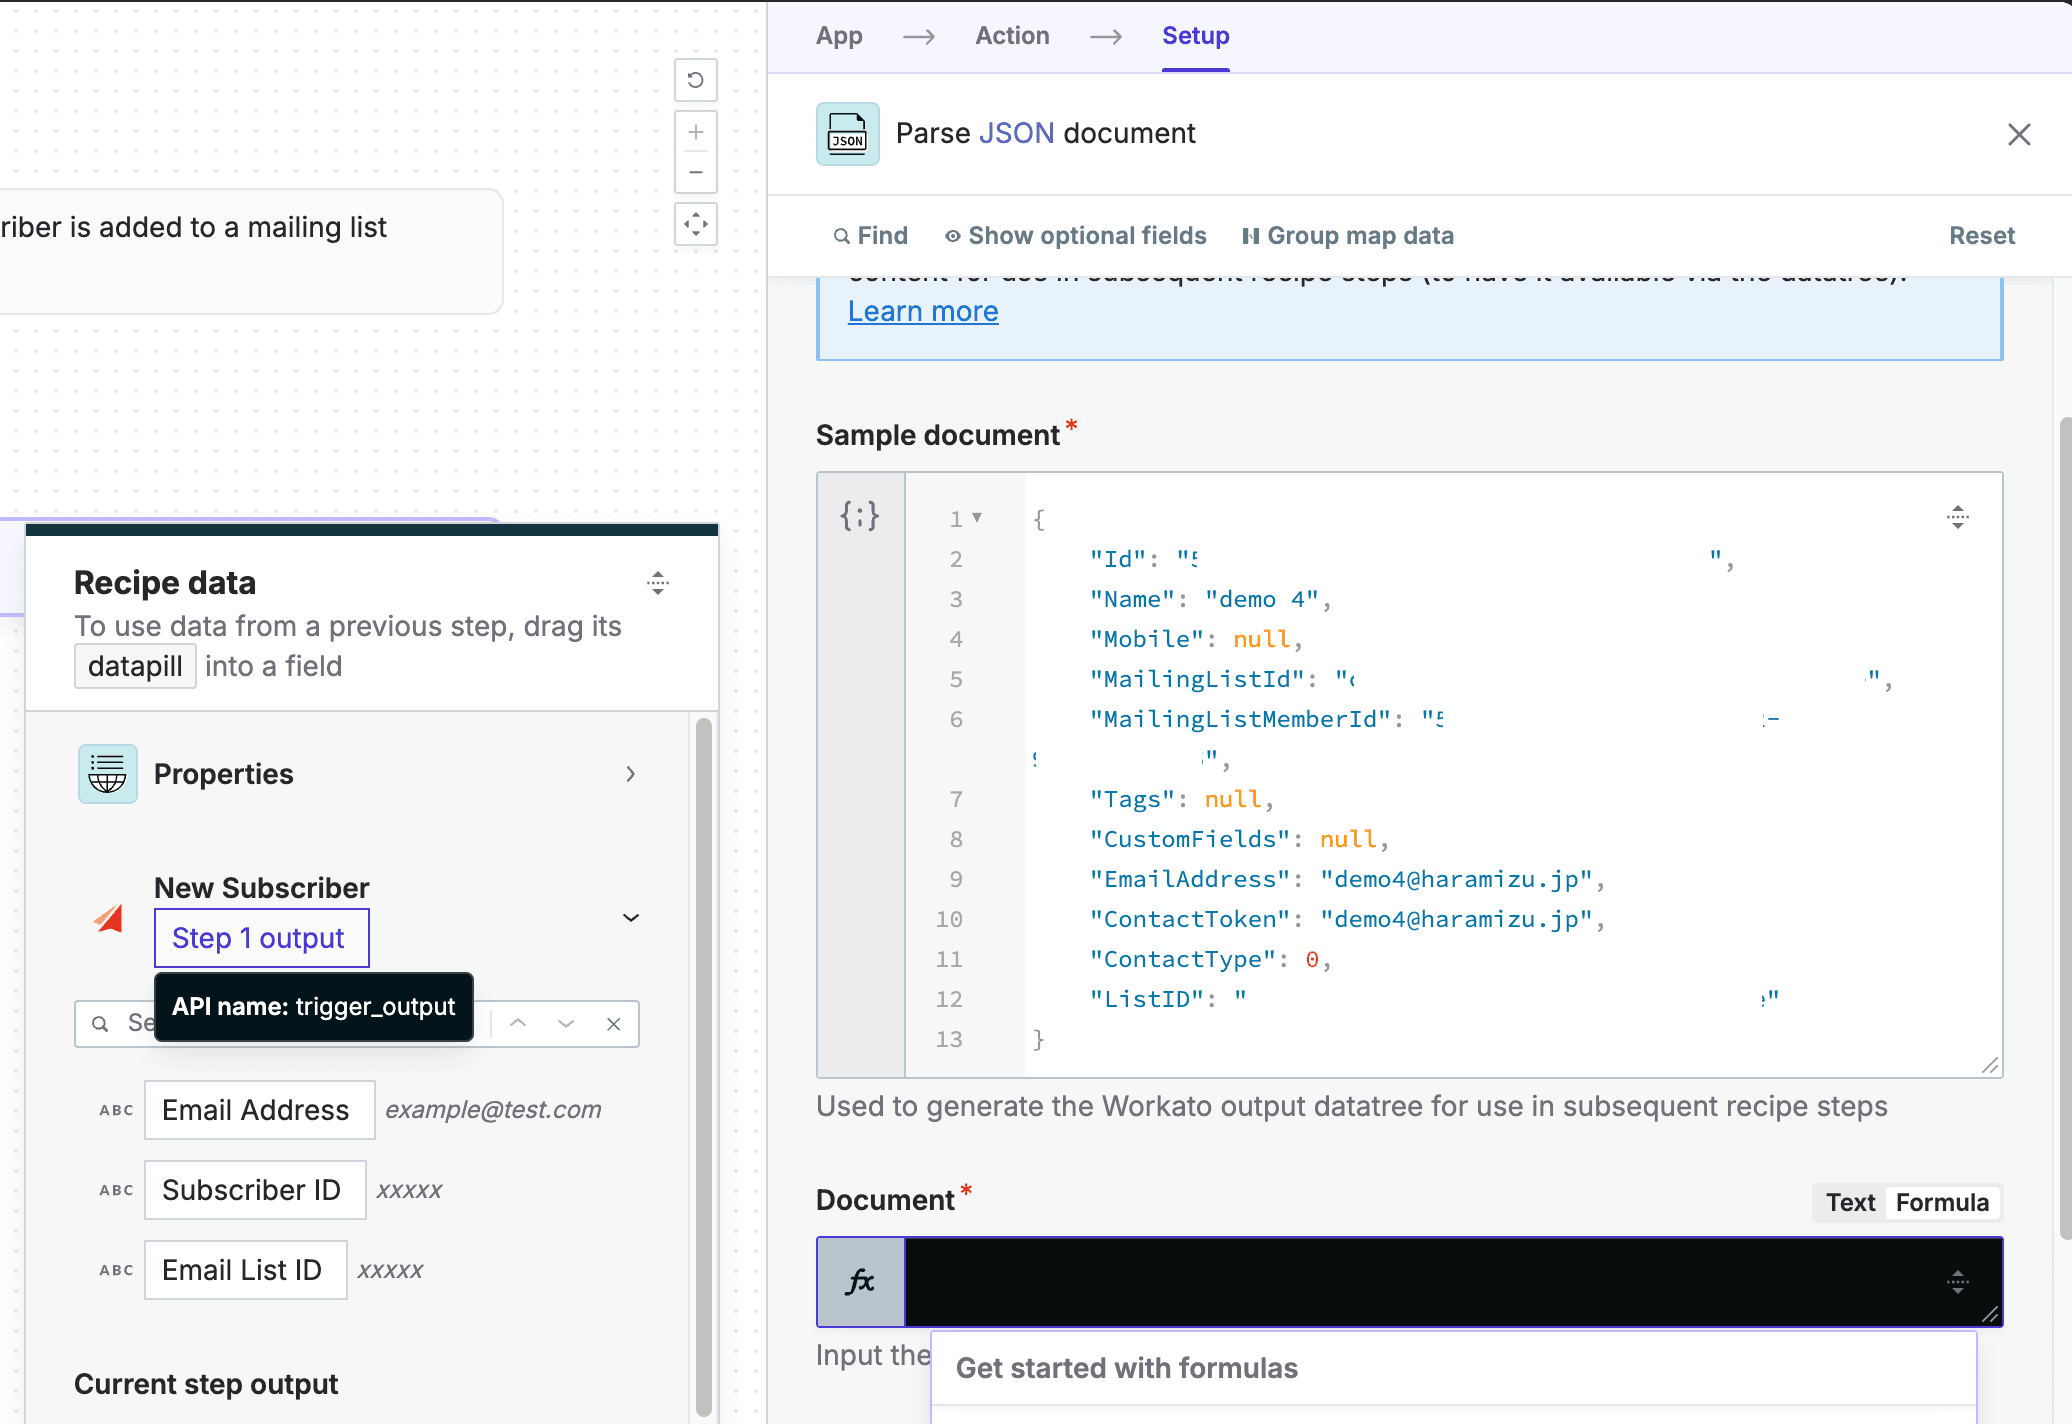
For the Document, switch to Formula mode, and click on the Step 1 output portion of the Sitecore Send data on the left side of the screen. After this, add .to_json to the retrieved data so that processing can be performed on the Json data.
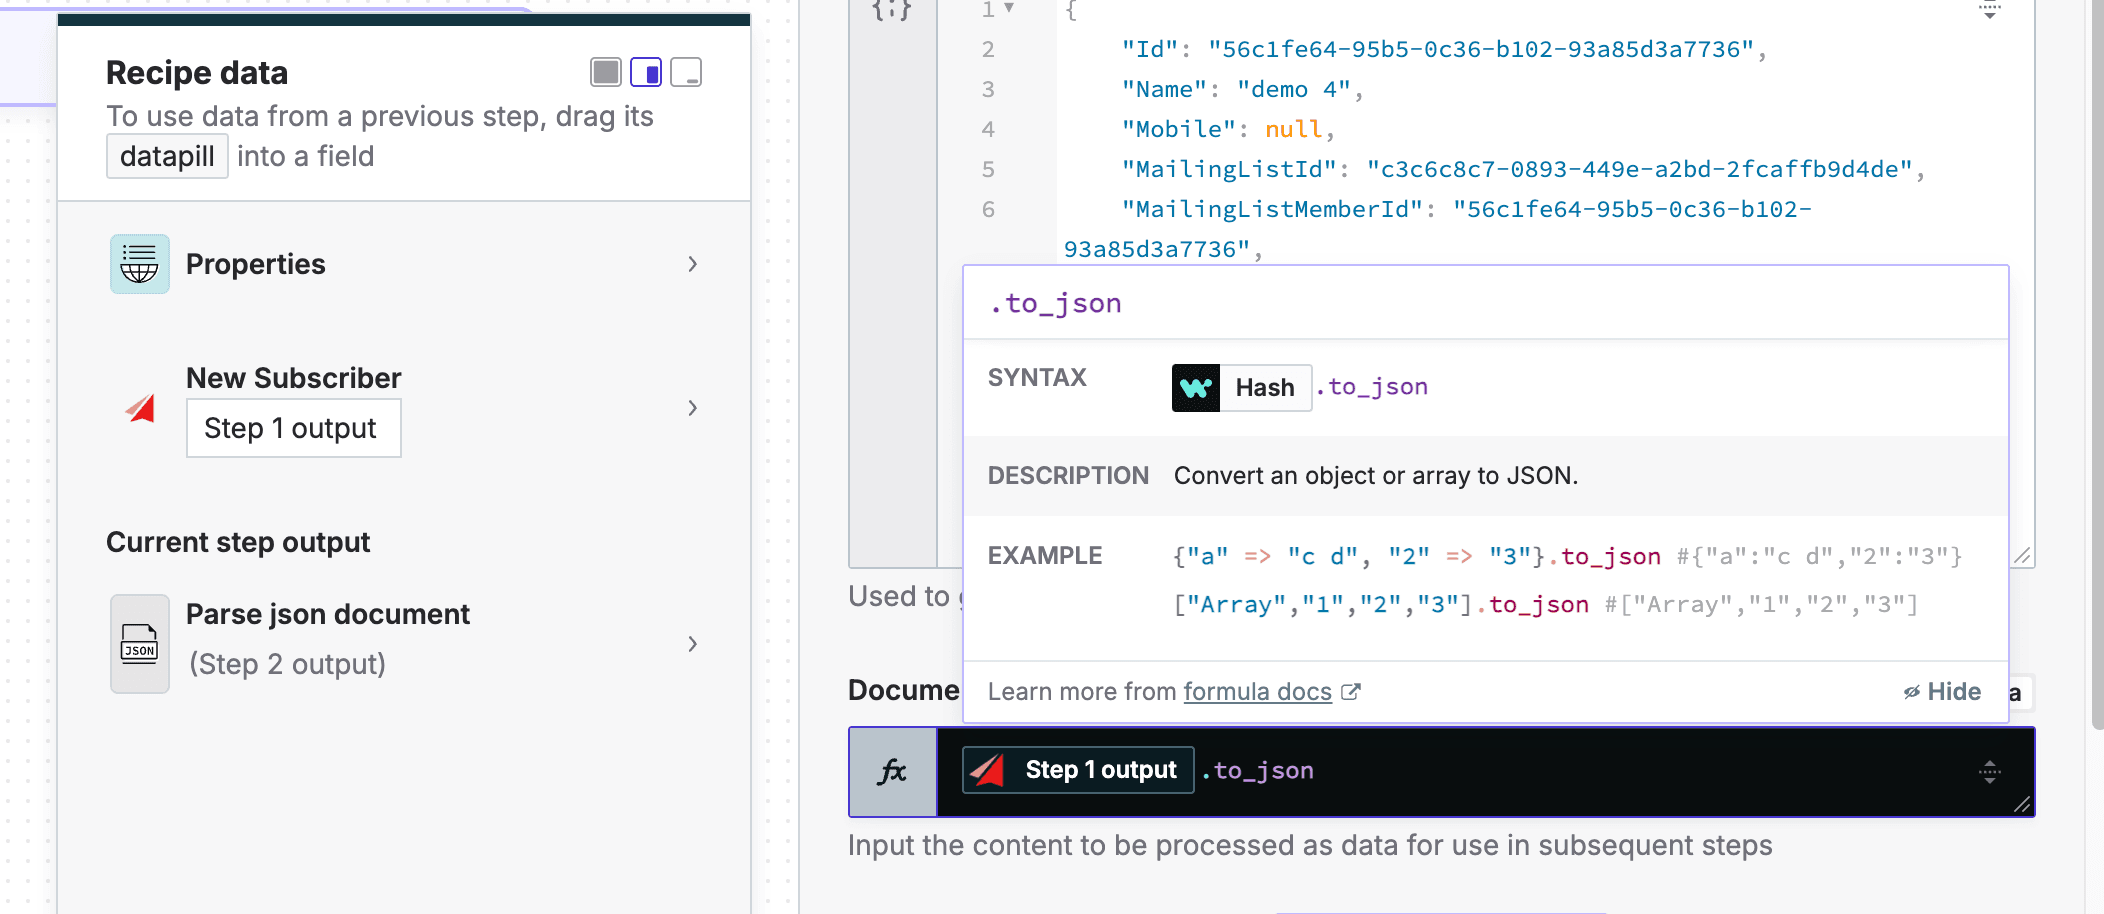
Now, data acquired with Json can be handled as items in the following Excel linkage screen.
Working with Excel
Select Action in app as the next action in the above recipe to search for and specify Excel.
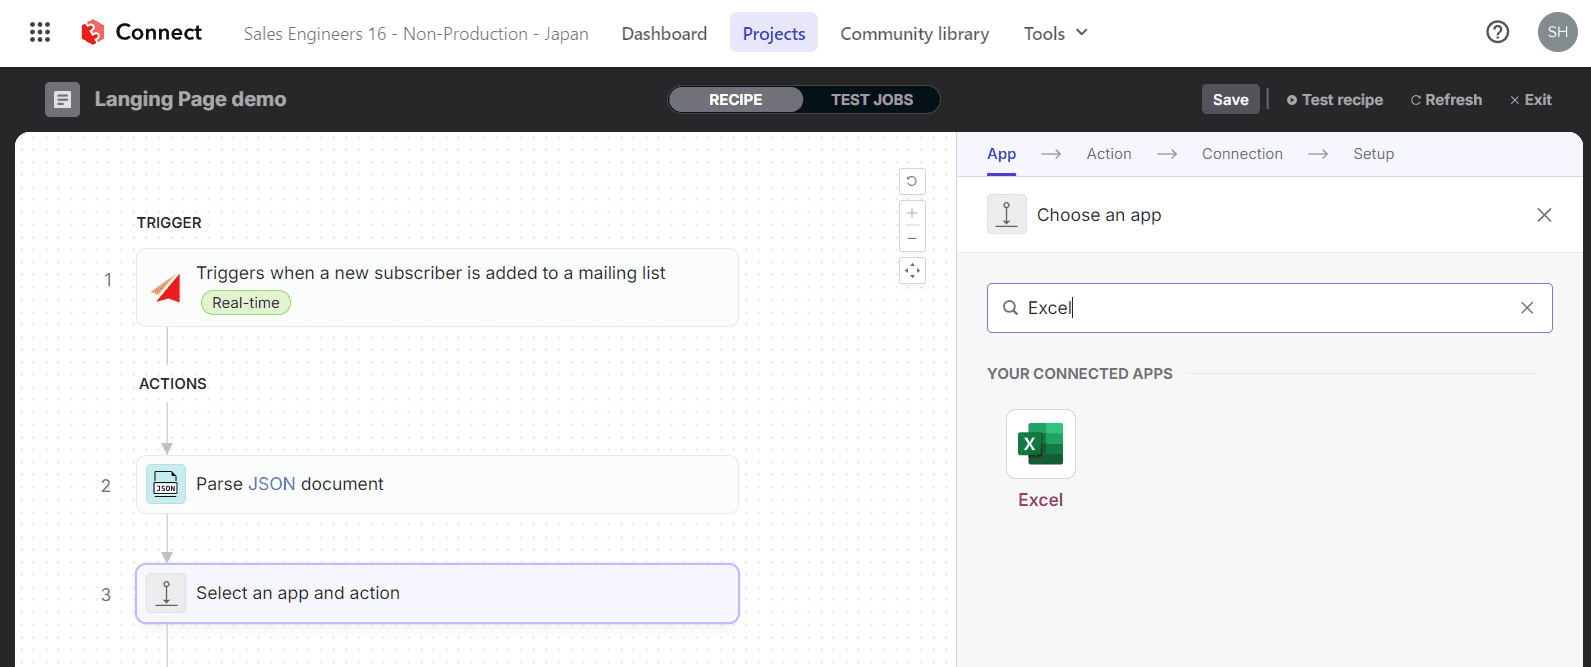
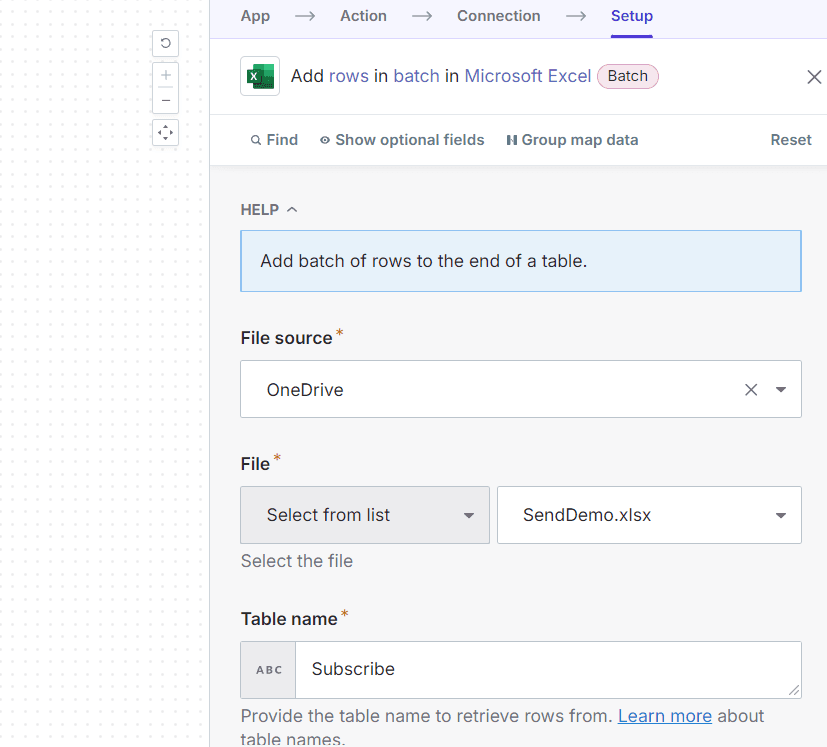
This time we will select Add rows in batch. As an action specification, we are going to set up an Excel file that is placed in OneDrive. Please log in and select the target file.
In addition, the Excel file that is being linked this time prepares tables as follows.
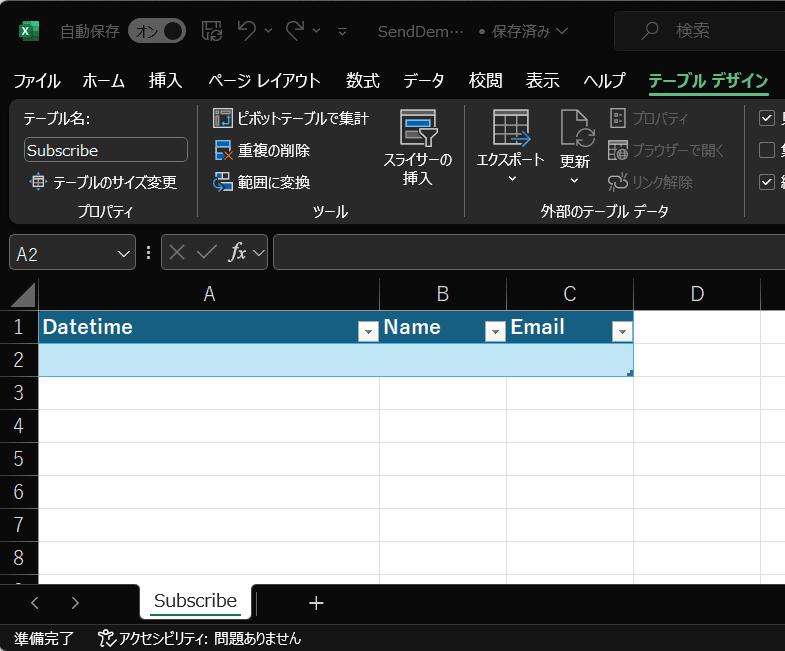
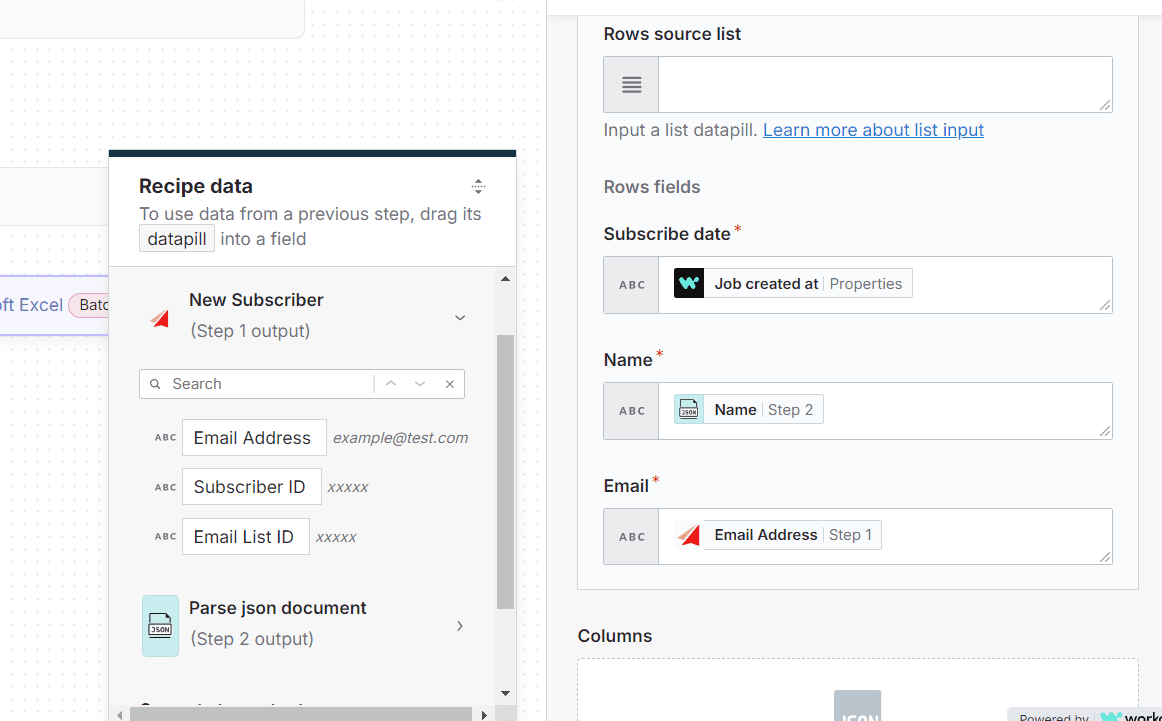
The items already prepared are assigned to each item in the Excel table.
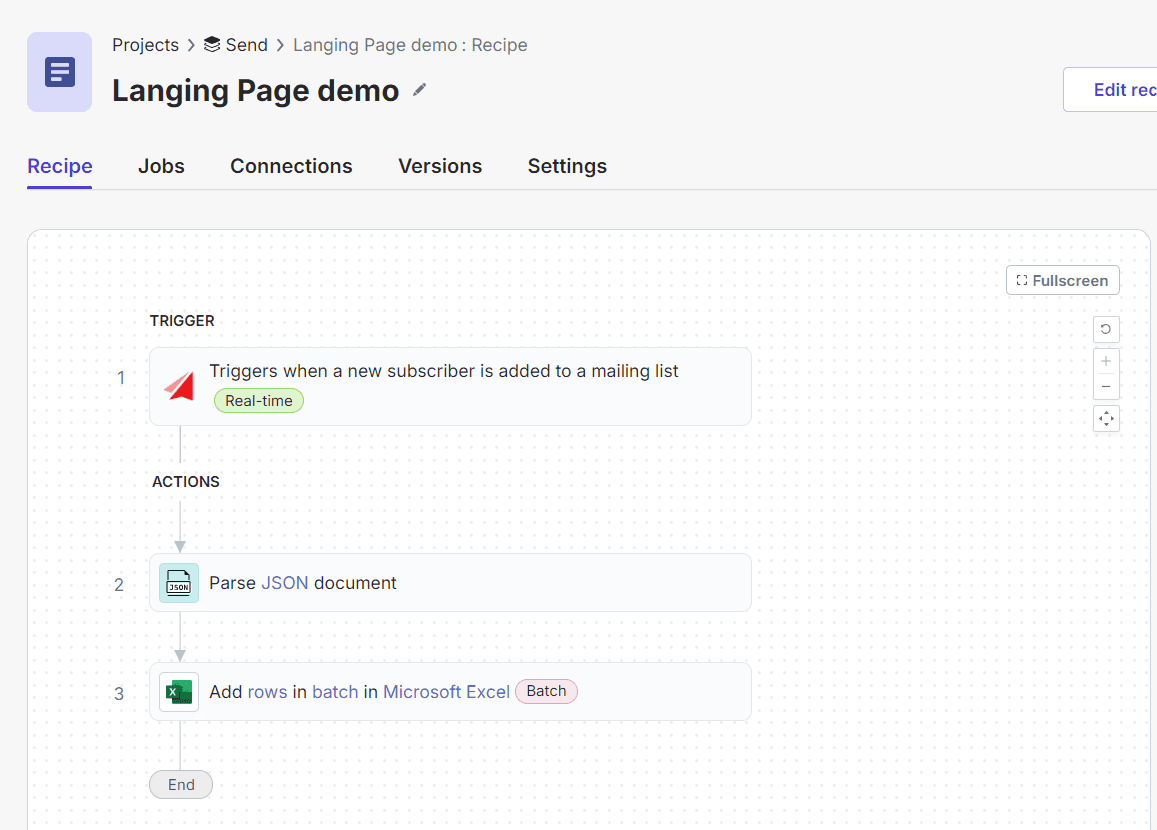
The finished recipe was as follows.
Operation check
We will run a test of the resulting recipe; we will run the Sitecore Connect recipe as a test. Then subscribe from the landing page as follows

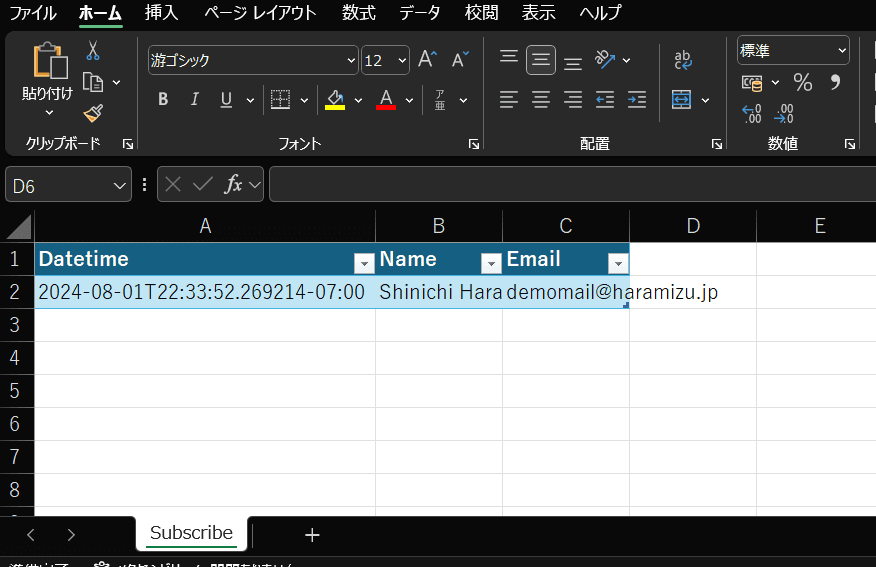
The execution results are as follows, with one additional line added.
Summary
In this case, we have implemented a connector provided by Sitecore Send and Sitecore Connect to record information about subscribed users in Excel. In fact, by recording the email address as a key in the form of a subscription in a CRM or other system, it is possible to keep a record of when a user started a subscription. This time, we confirmed that Sitecore Connect can be used to implement data integration without writing any code.