In the last issue, we proceeded to the SSO setup. This time, we will invite the target users, configure the applications they can use, and proceed to login. We can now proceed to the SSO settings and adding users.

Content Update
Please check the latest information on the following page
Adding Users
First, access the Team members screen on the Sitecore Cloud Portal administration page.
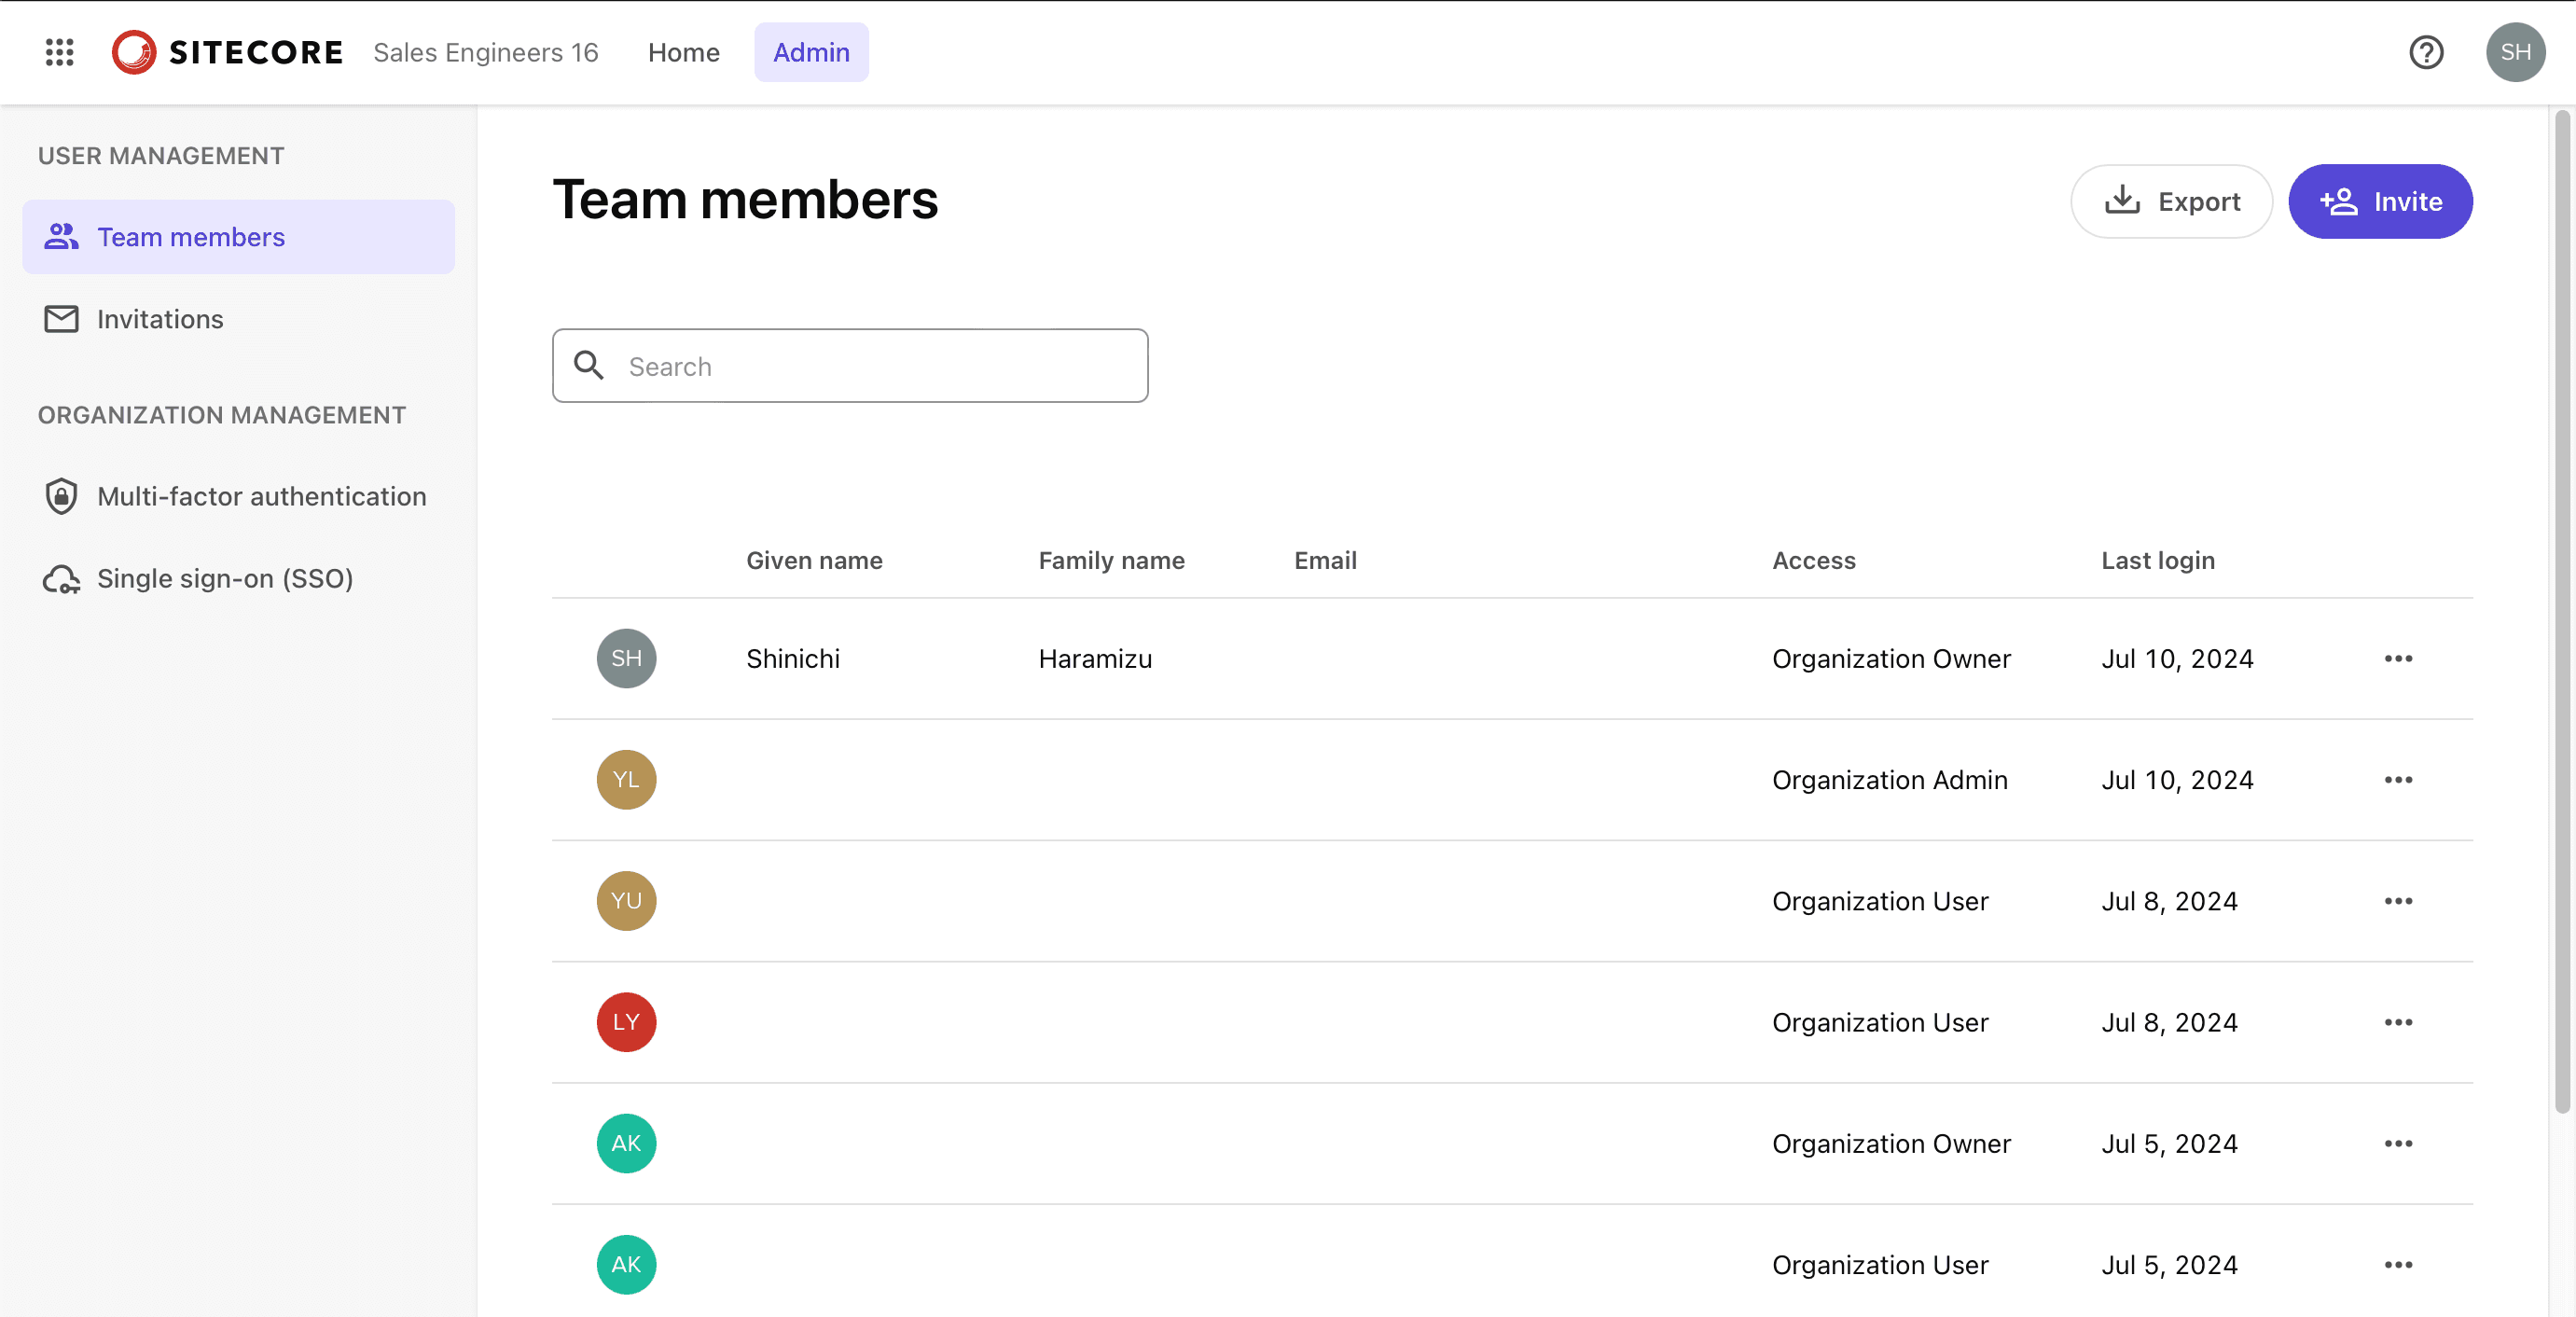
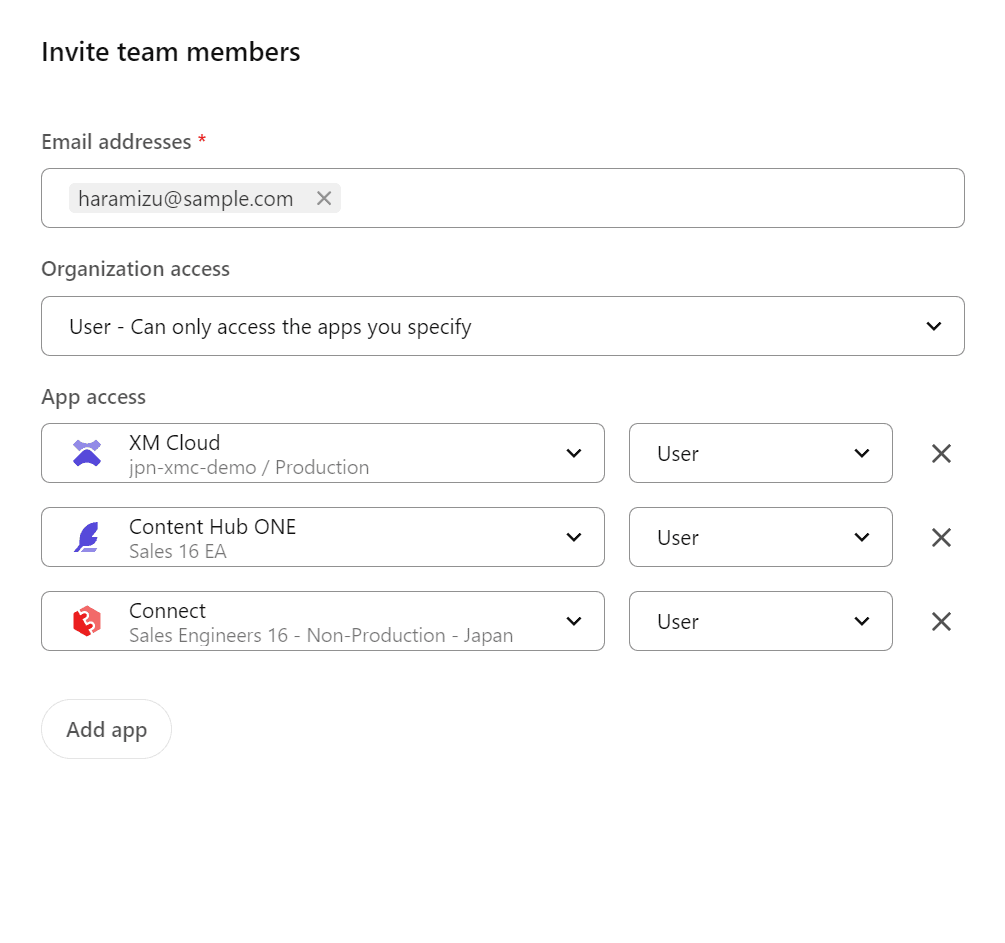
Click on the Invite button in the upper right corner. The same process can be accessed from Quick LInks on the right side of Home. Enter the email address to which you want to send the invitation and select the permissions of the users in the target organization.
This time, we will grant User privileges. For example, the following three applications can be accessed as User.
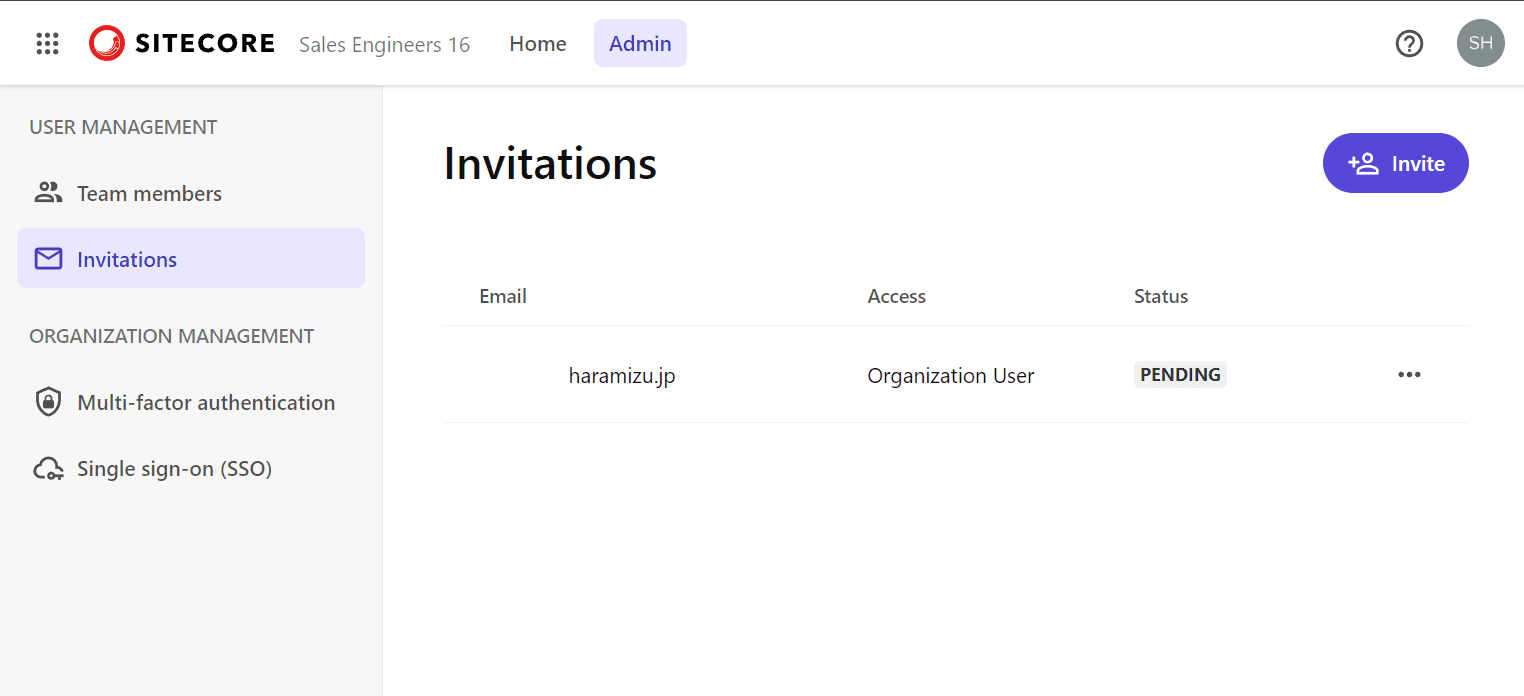
Once the Invitation has been sent, a click on User management - Invitations will show that it has been sent and the work has not yet been completed.
Complete user registration
Invited users will receive an Invitation email as follows

When you click on the e-mail button, the following screen will appear.

From here, we will proceed with the login process. The account we are using is set up for multi-factor authentication, and we were able to confirm that we can log in using Microsoft Authenticator.
The screen after login is as follows
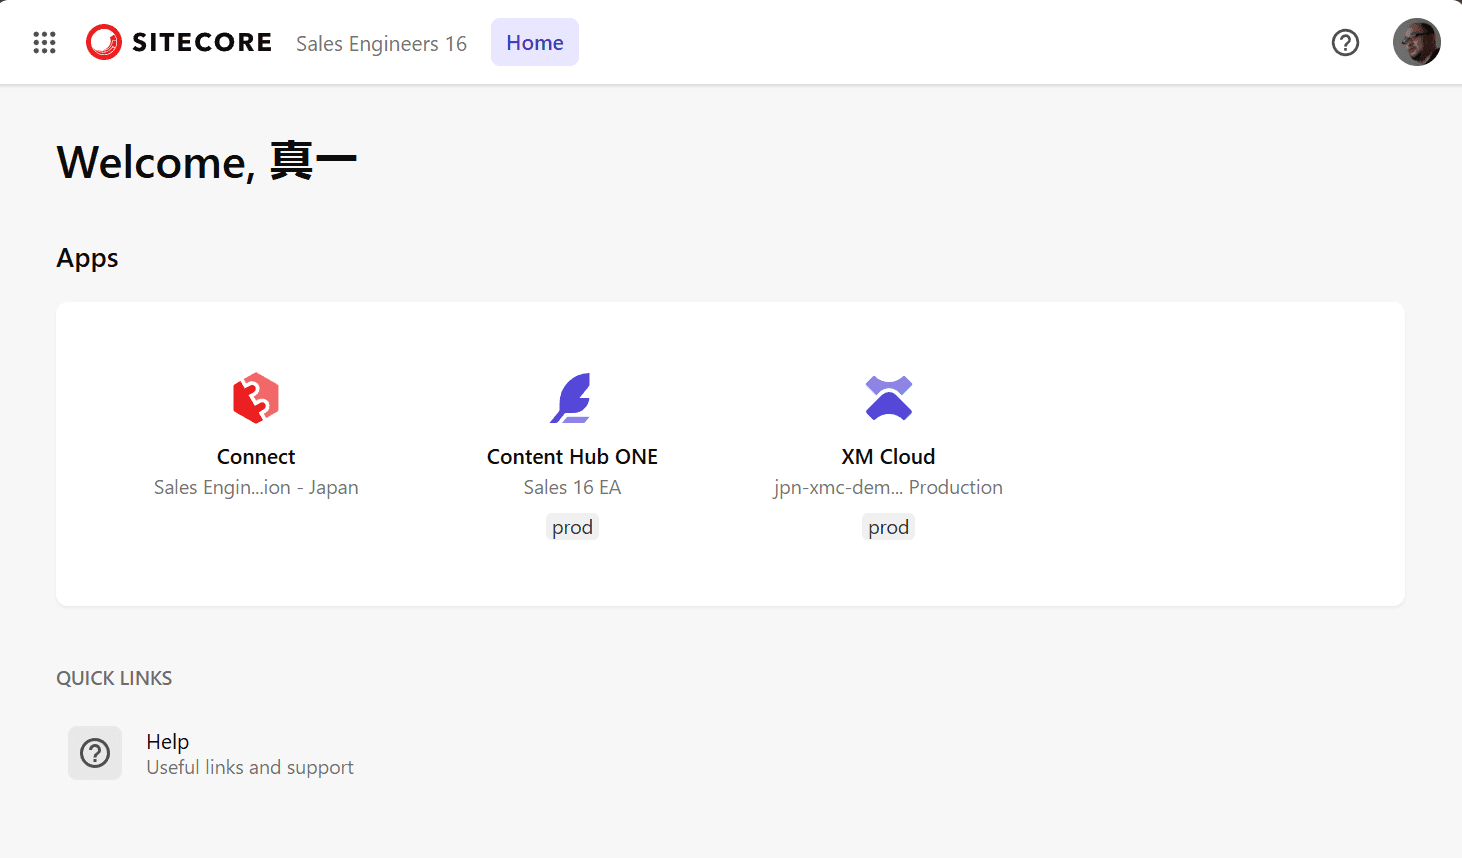
You will see that only the apps you have configured are displayed.
Check login status
The SSO login information can be obtained from the Entra ID side. First, access the Microsoft Entra Management Center and select the application you have just configured. In the application, there is a Sign-in logs section.
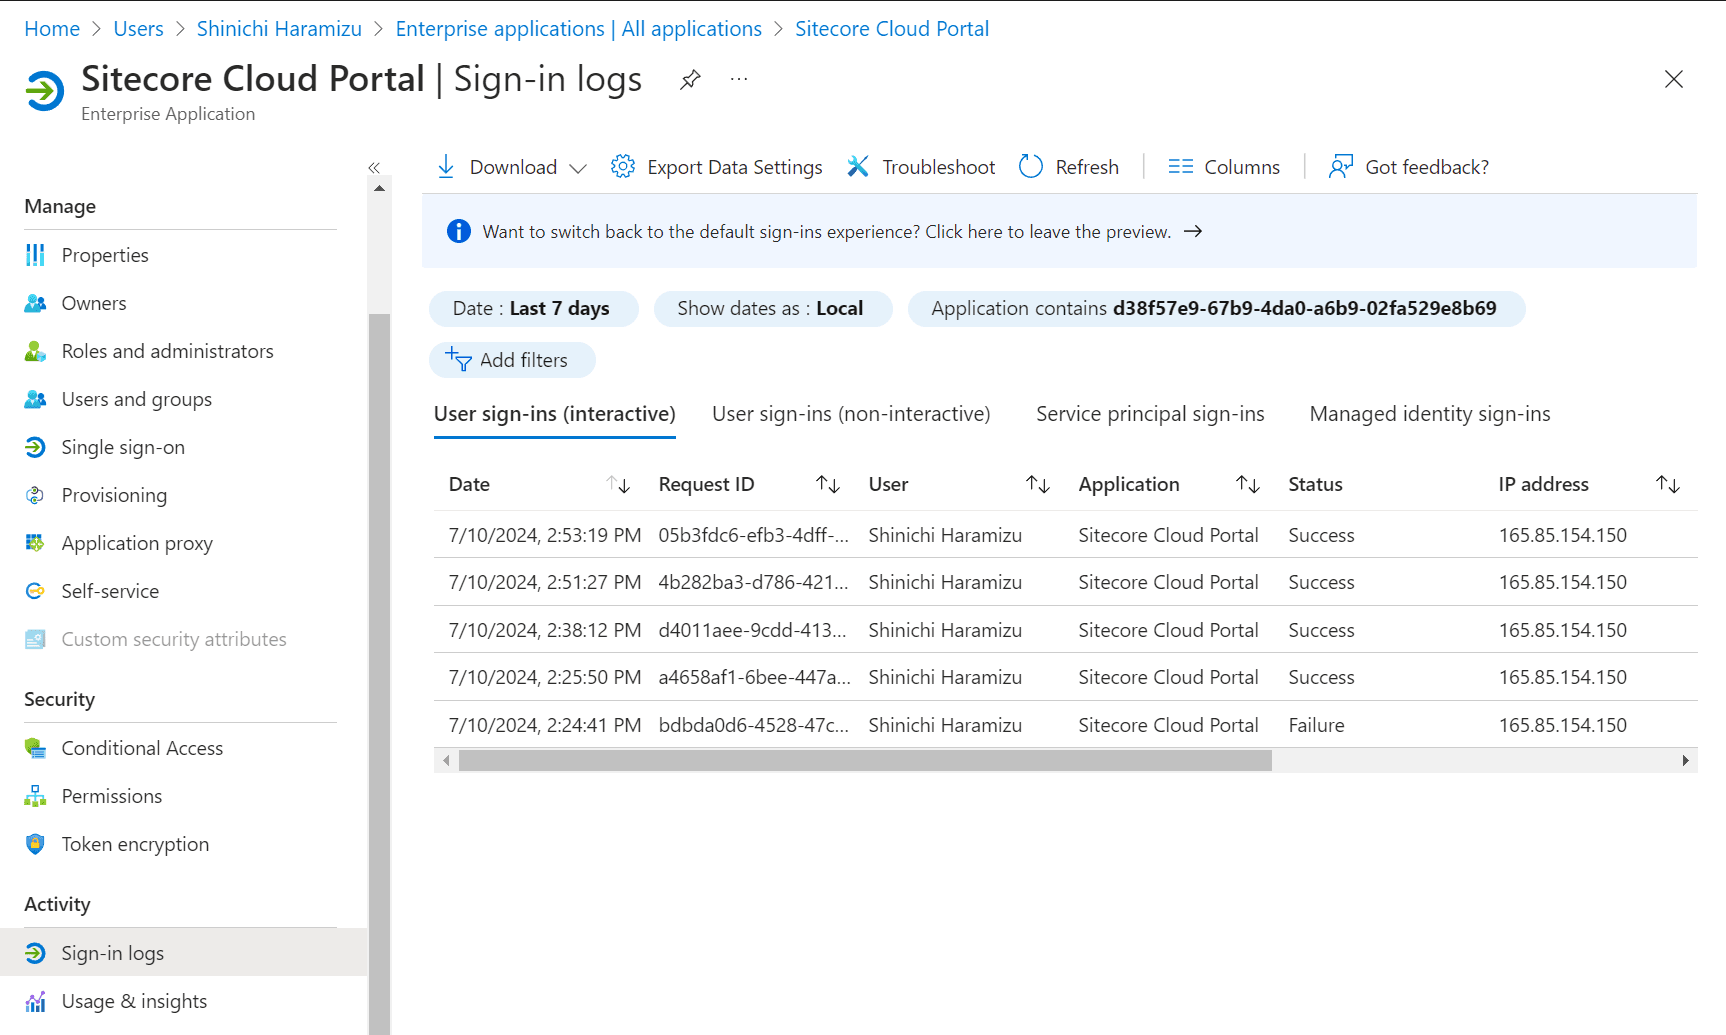
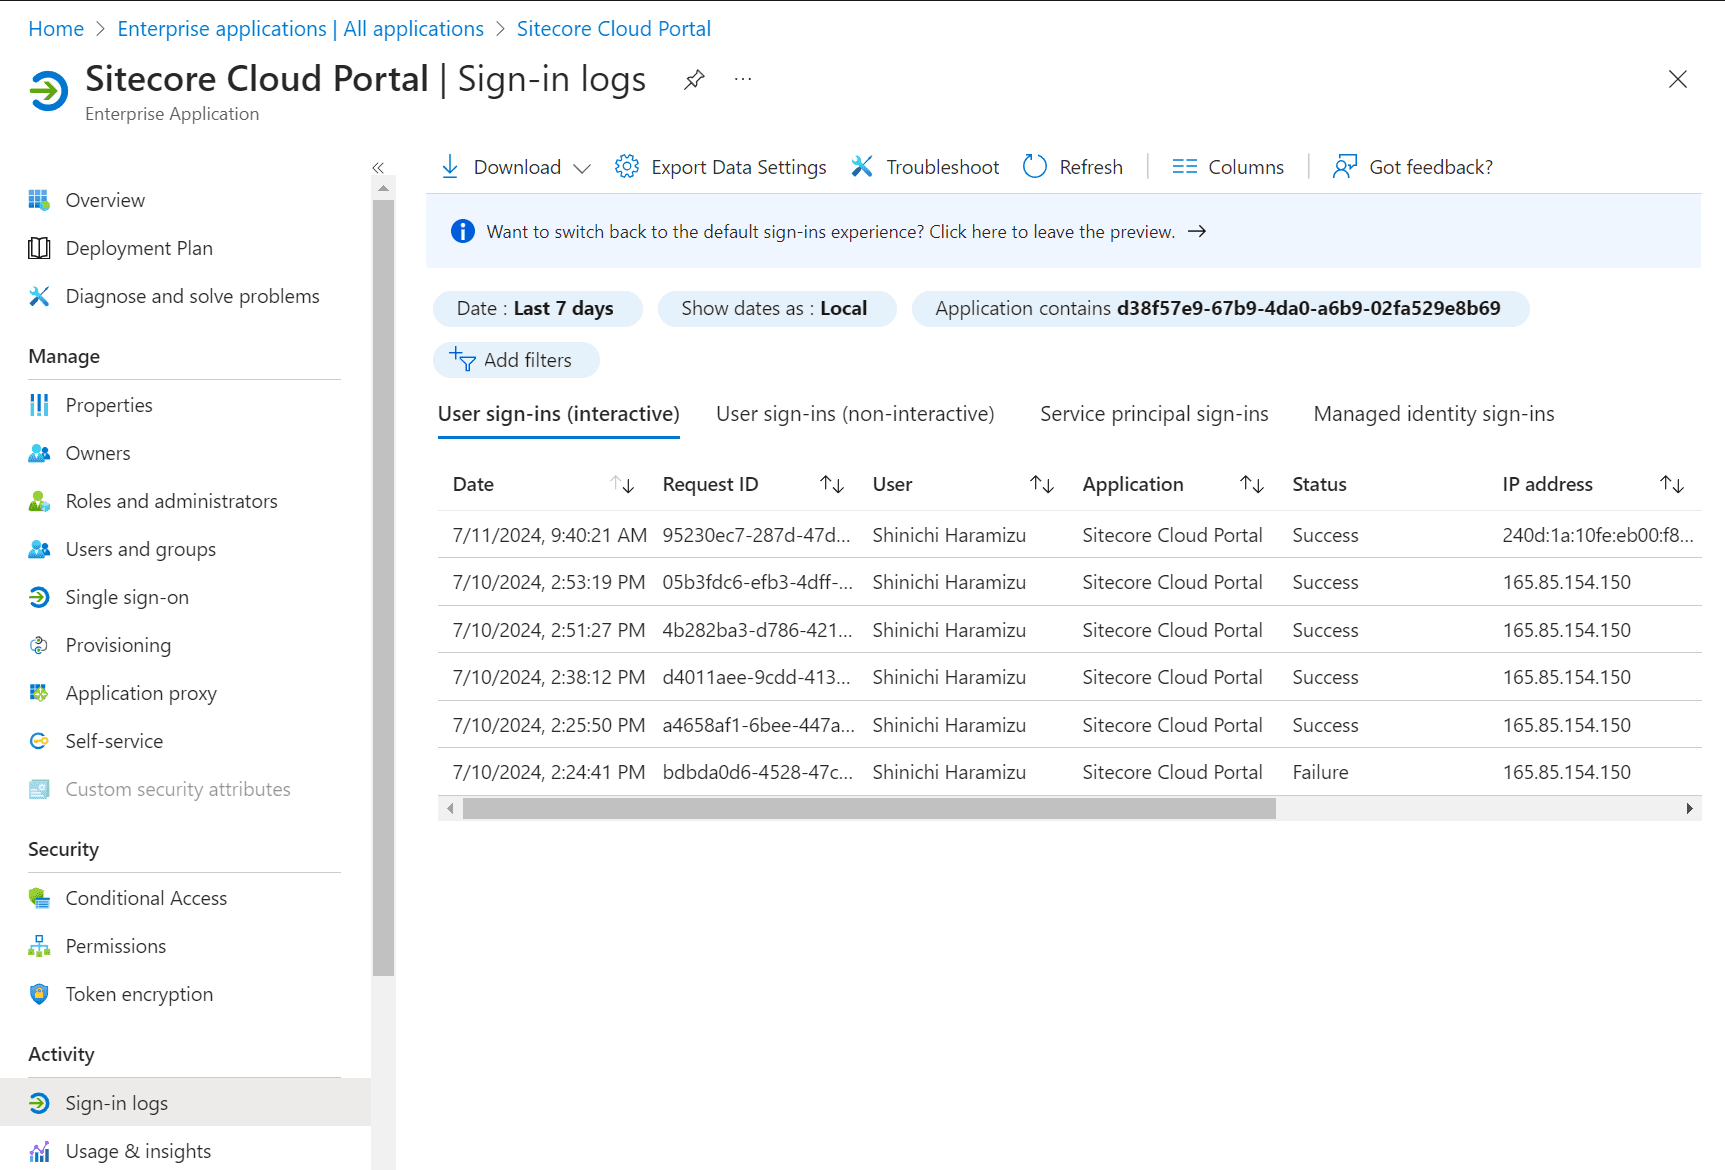
After signing in to the Sitecore Cloud Portal in private mode in your browser with the corresponding account in SSO, check the logs to see the increase.
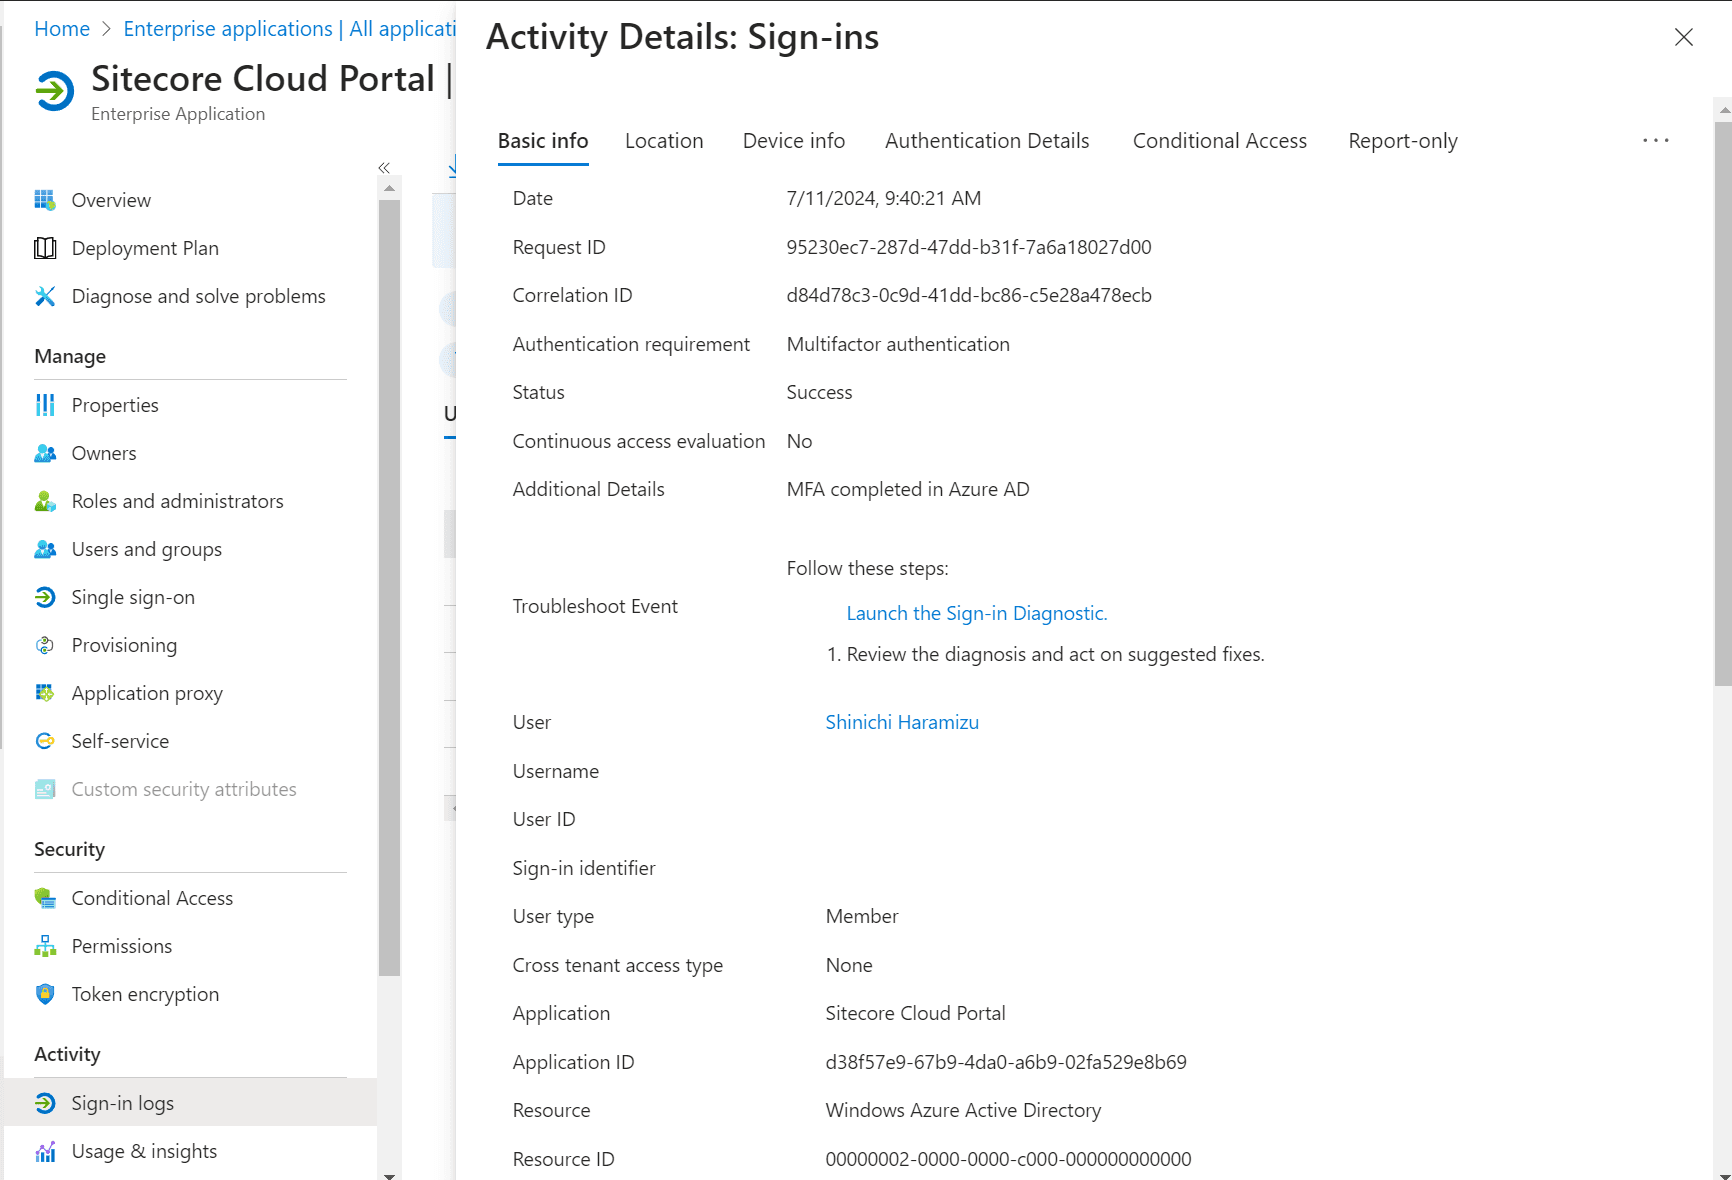
More information on the most recent sign-in can be found by clicking on the appropriate record.
The retention period for Entra ID sign-in data is listed on the following page.
Data is retained for 30 days, and the data can also be stored in storage for an even longer period of time.
Summary
In this article, after setting up SSO, we showed the procedure for adding a target user. We were able to confirm that users can be added using basically the same procedure as for standard user addition. We also checked the sign-in log data and confirmed that it was still in the application's sign-in log.