This time, we will use the tutorial on adding Auth0 authentication to Next.js to get to the point where we can log in.

Content Update
Please check the latest information on the following page
The tutorial can be found at the following page.
In this case, we will create the system to the point where you can log in, sign up, and log out.
The Next.js code used as the base for this project is based on the following Sitecore Blok sample.
Application Creation
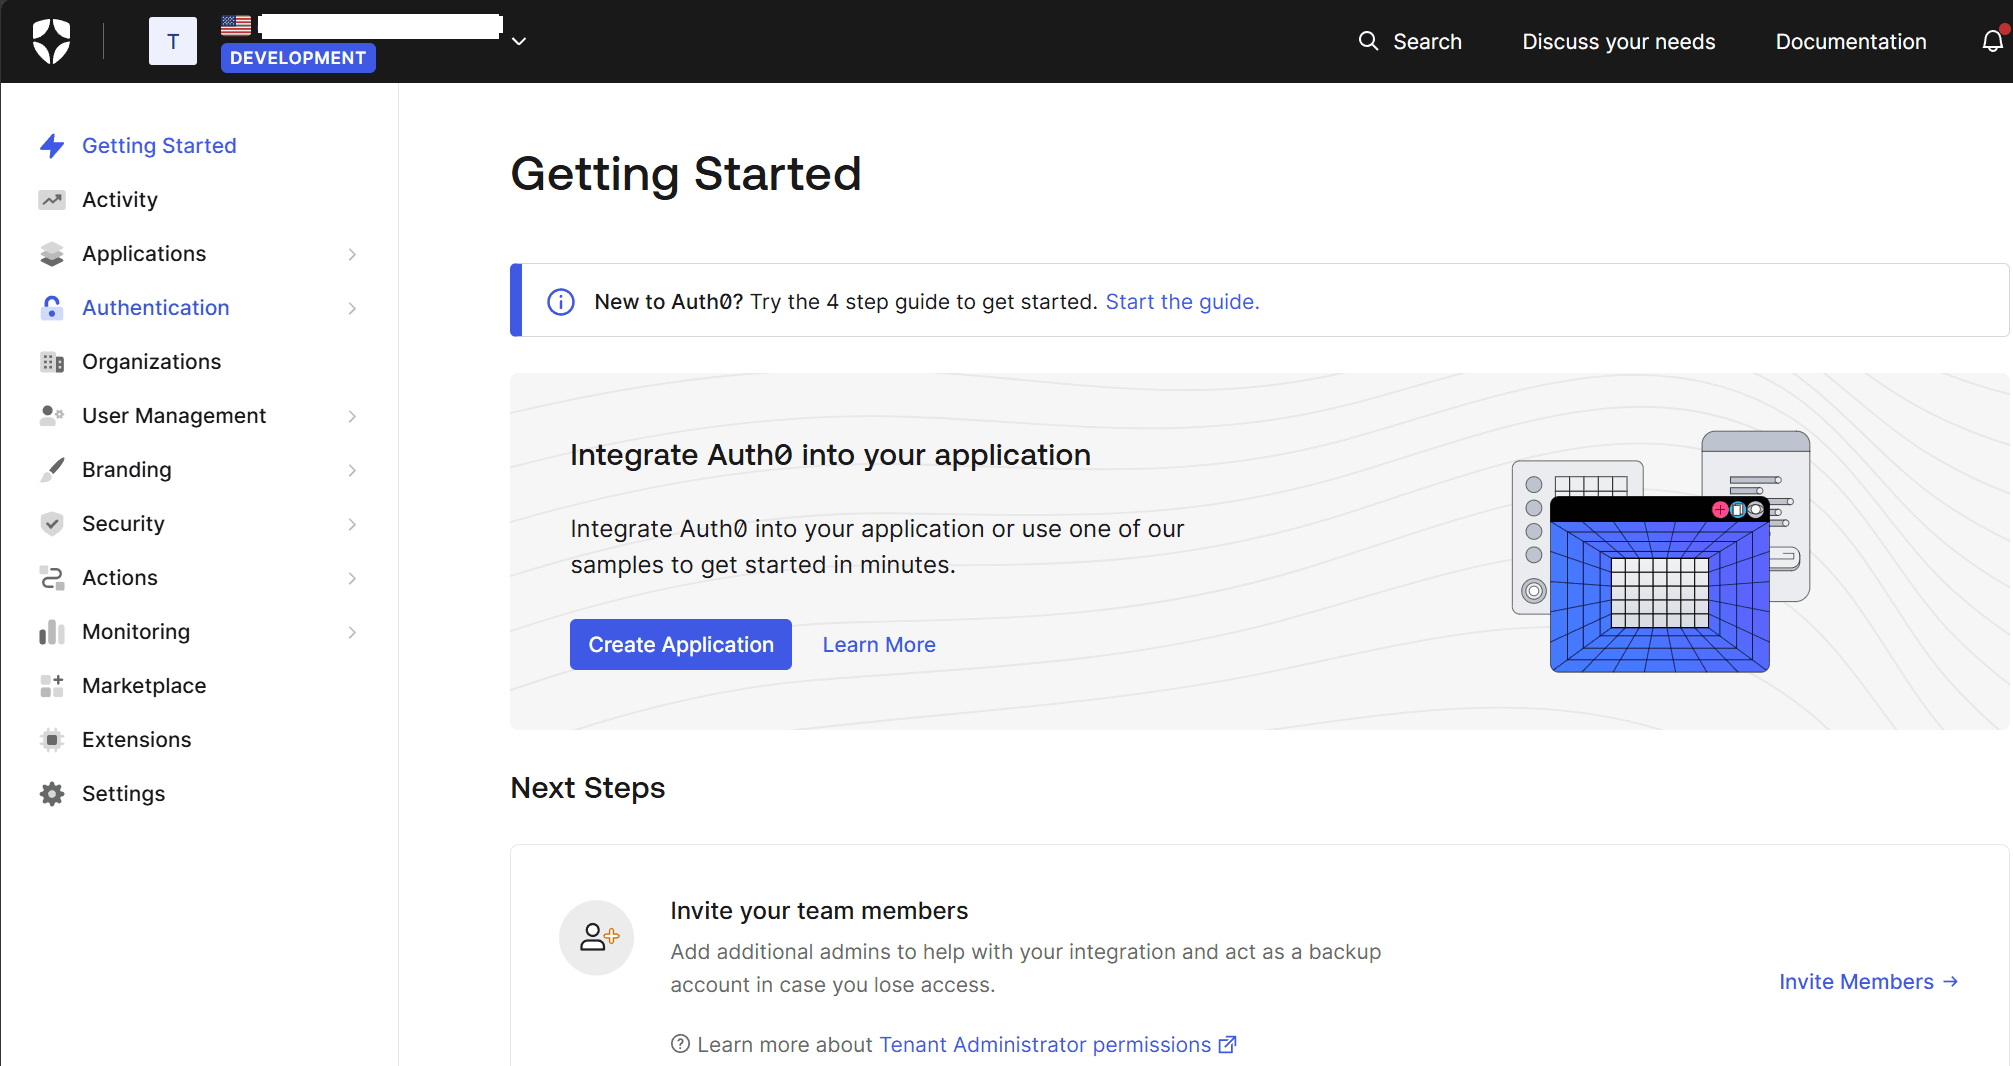
The first step is to create an application; after you have created an Auth0 free account, you should see a screen similar to the one below where you can click Create Application.
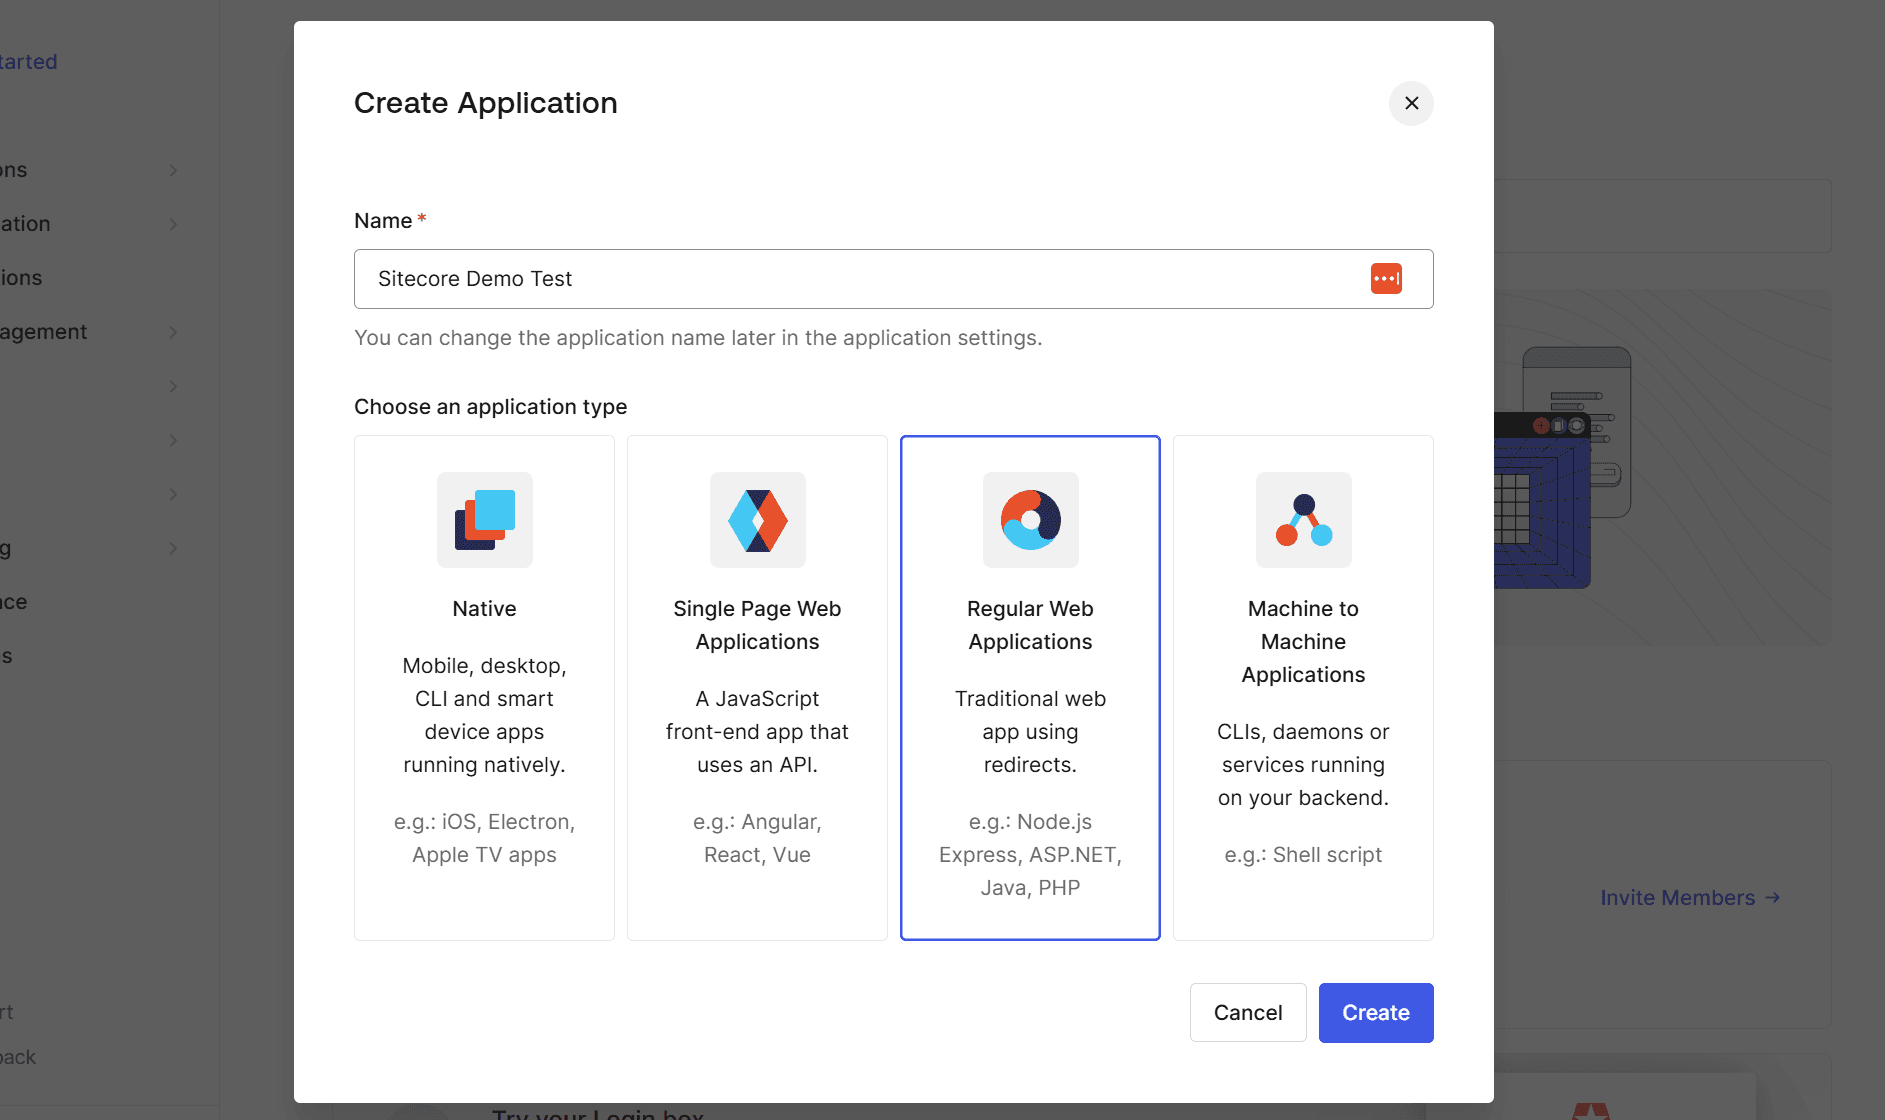
When creating an application, choose an application name and application type. In this case, the application type is Regular Web Applications.
Application Settings
Let's proceed with the configuration of the application you have created. If you open the page of the application you have created, you will see the following.
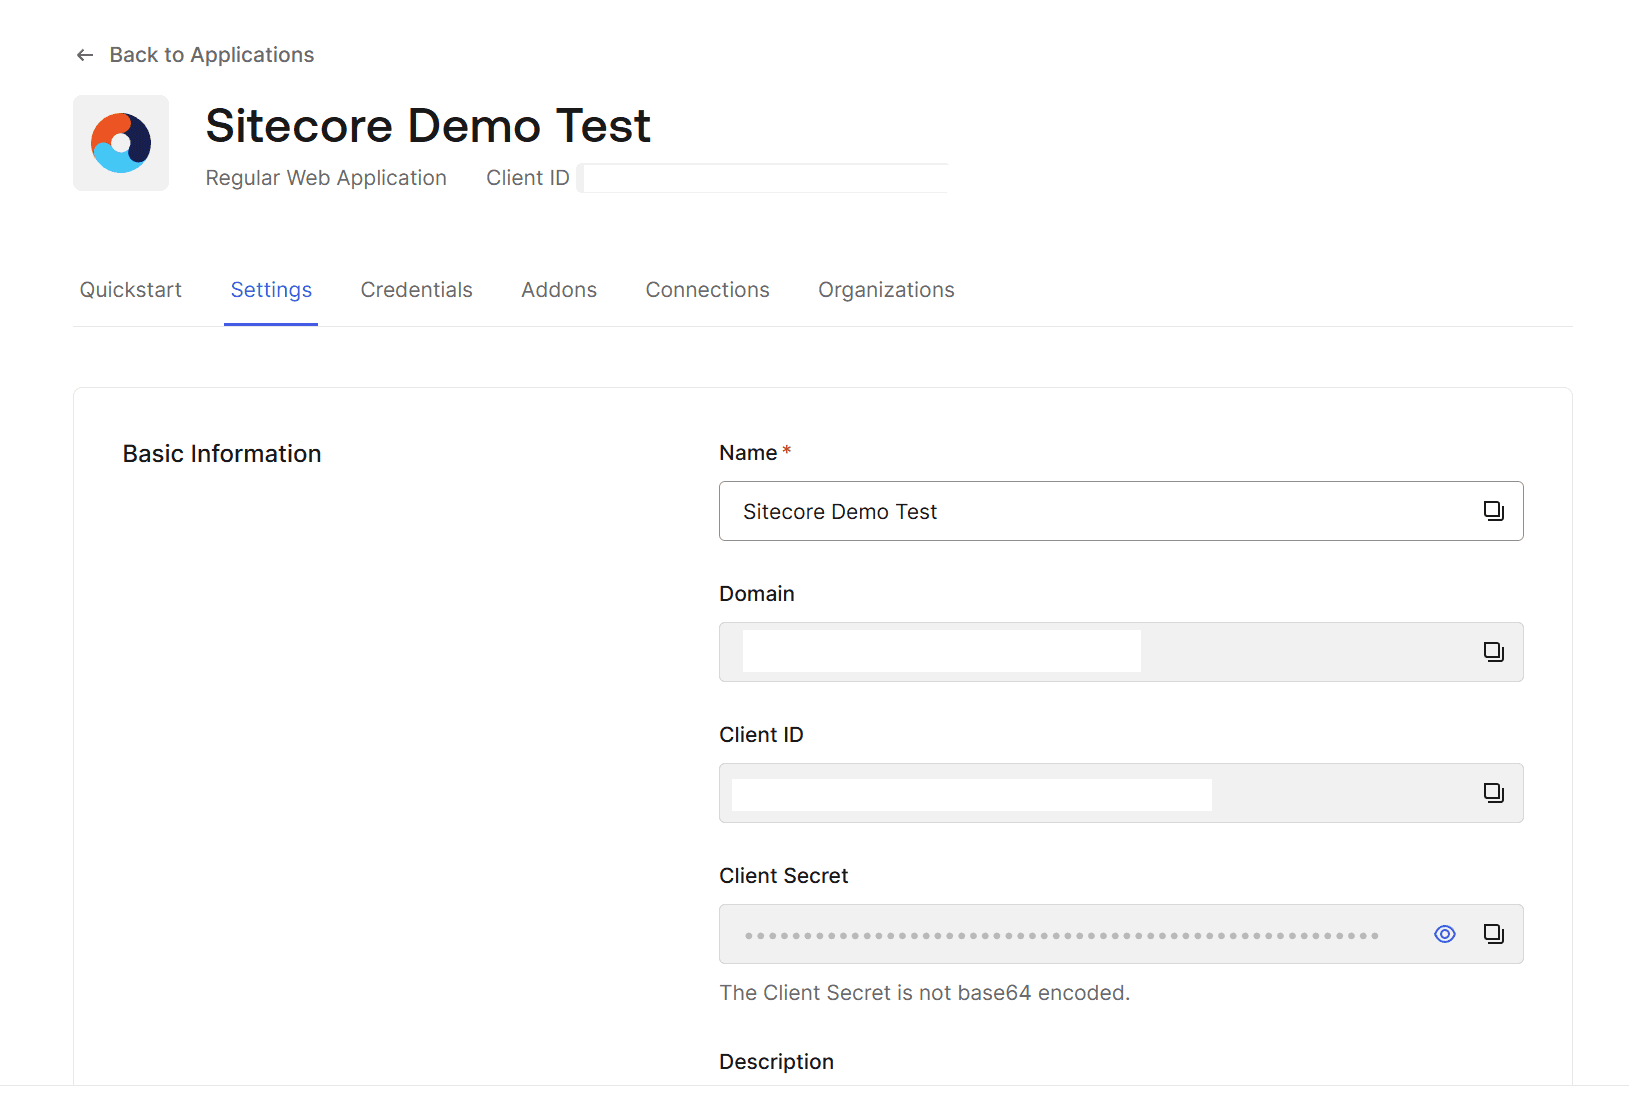
If you move to the bottom of the Settings section, you will find the "Application URIs" section. This time, configure as follows.
- Allowed Callback URLs: http://localhost:3000/api/auth/callback
- Allowed Logout URLs: http://localhost:3000
After completing the above settings, click Save Changes.
Adding environment variables to Next.js
Next, the environment variables for linking Next.js and Auth0 are described for .env. The items are as follows.
AUTH0_SECRET=KEY-VALUE
AUTH0_BASE_URL=http://localhost:4040
AUTH0_ISSUER_BASE_URL=https://AUTH0-DOMAIN
AUTH0_CLIENT_ID=AUTH0-CLIENT-ID
AUTH0_CLIENT_SECRET=AUTH0-CLIENT-SECRET
Of the above, for AUTH0_SECRET, it is necessary to generate a unique key on hand, not on the administration screen. Use the characters generated by the following command.
node -e "console.log(crypto.randomBytes(32).toString('hex'))"The environment variables are now all in place.
Install Auth0 package to Next.js
First, install Auth0 package.
npm install @auth0/nextjs-auth0Then, create route.ts in src\app\api\auth\[auth0]\route.ts The contents of the file are as follows
import { handleAuth } from '@auth0/nextjs-auth0';
export const GET = handleAuth();
Then add the authentication provider settings: add import to the file src\app\layout.tsx and return UserProvider during return.
import type { Metadata } from "next";
import { Providers } from "./providers";
import { UserProvider } from "@auth0/nextjs-auth0/client";

export const metadata: Metadata = {
  title: "Create Next App",
  description: "Generated by create next app",
};

export default function RootLayout({
  children,
}: Readonly<{
  children: React.ReactNode;
}>) {
  return (
    <html lang="en">
      <body>
        <UserProvider>
          <Providers>{children}</Providers>
        </UserProvider>
      </body>
    </html>
  );
}
Login Button
Create the file src/components/buttons/login-button.tsx to implement the login button so that the actual login can be tested. The code for the login button is as follows. Note that we use Sitecore Blok, which was introduced in the previous article, for the stylesheet.
import { Button } from "@chakra-ui/react";

export const LoginButton = () => {
  return (
    <Button as="a" href="/api/auth/login" marginX={1}>
      Log In
    </Button>
  );
};
To implement the movement after login, rewrite the file src\app\api\auth\[auth0]\route.ts as follows
import { handleAuth, handleLogin } from "@auth0/nextjs-auth0";

export const GET = handleAuth({
  login: handleLogin({
    returnTo: "/",
  }),
});
Sign Up Button
This will be done on an as-needed basis, but we will also implement it for signups. In this case, rewrite the file src\app\api\auth\[auth0]\route.ts as follows.
import { handleAuth, handleLogin } from "@auth0/nextjs-auth0";

export const GET = handleAuth({
  login: handleLogin({
    returnTo: "/",
  }),
  signup: handleLogin({
    authorizationParams: {
      screen_hint: "signup",
    },
    returnTo: "/",
  }),
});
To use this, create the file src/components/buttons/signup-button.tsx and set the code as follows
import { Button } from "@chakra-ui/react";

export const SignupButton = () => {
  return (
    <Button as="a" href="/api/auth/signup" marginX={1}>
      Sign Up
    </Button>
  );
};
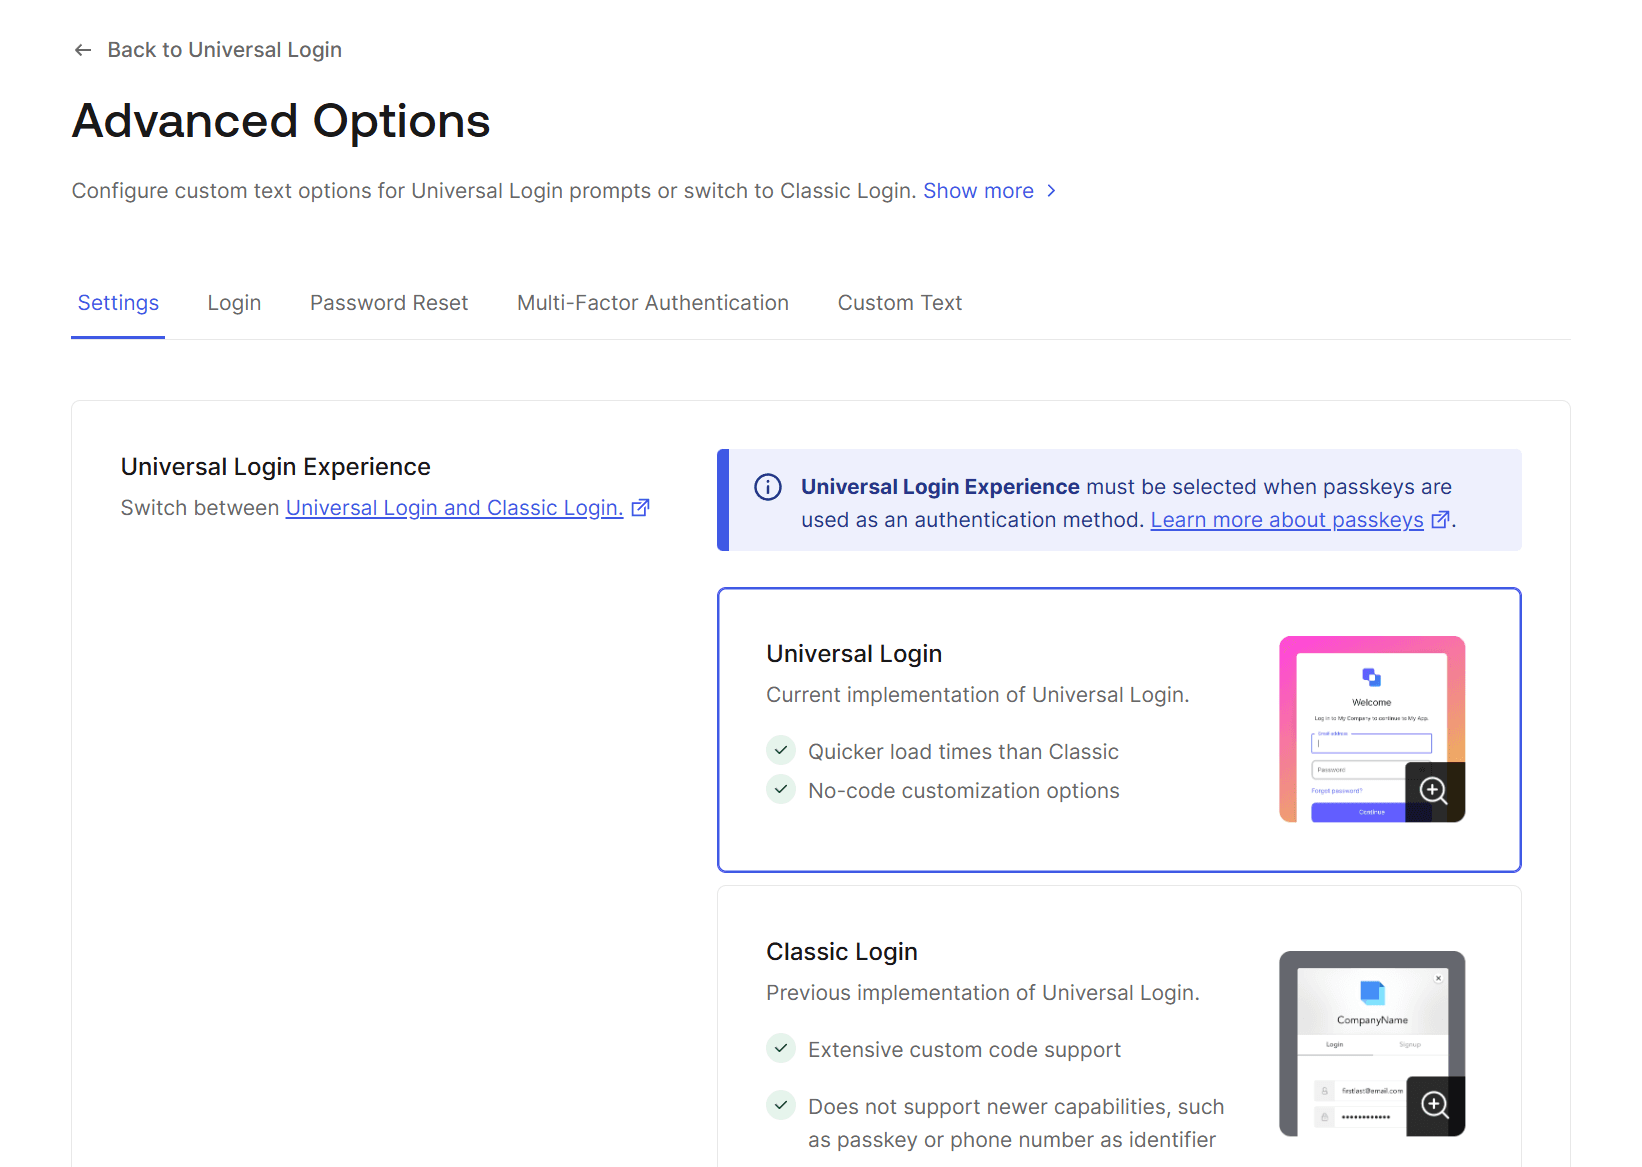
To turn on the Sign-up feature, go to the Auth0 administration page, select Branding - Universal Login, click on Advanced Options at the bottom, and make sure Univercal Login is enabled. Univercal Login is enabled.
Logout button
As before, create the file src\components\buttons\logout-button.tsx and set the following code.
import { Button } from "@chakra-ui/react";

export const LogoutButton = () => {
  return (
    <Button as="a" href="/api/auth/logout" marginX={1}>
      Log Out
    </Button>
  );
};
The button is now ready.
Creating Navigation
We will create a navigation section that displays buttons according to the login status. In the official tutorial, two navigation sections are created for PC and mobile, but we will skip that part this time and create the file src\components\navigation\nav-bar-buttons.tsx and include the following code.
"use client";

import { useUser } from "@auth0/nextjs-auth0/client";
import React from "react";
import { SignupButton } from "@/components/buttons/signup-button";
import { LoginButton } from "@/components/buttons/login-button";
import { LogoutButton } from "@/components/buttons/logout-button";

export const NavBarButtons = () => {
  const { user } = useUser();

  return (
    <>
      <div className="nav-bar__buttons">
        {!user && (
          <>
            <SignupButton />
            <LoginButton />
          </>
        )}
        {user && (
          <>
            <LogoutButton />
          </>
        )}
      </div>
    </>
  );
};
This code is designed to display the Sign Up and Log In buttons when you are not logged in, and the Log Out button when you are logged in.
Make the created button available on the page by adding the following code to the file src\app\page.tsx.
import { NavBarButtons } from "@/components/navigation/nav-bar-buttons";

export default function Home() {
  return (
    <>
      <header>
        <Flex
          as="header"
          align="center"
          justify="space-between"
          padding="1rem"
          boxShadow="0 2px 4px rgba(0,0,0,0.1)"
        >
          <Flex flex="2" align="center" justify="flex-end">
            <NavBarButtons />
          </Flex>
        </Flex>
      </header>
All codes can be found at the following URL
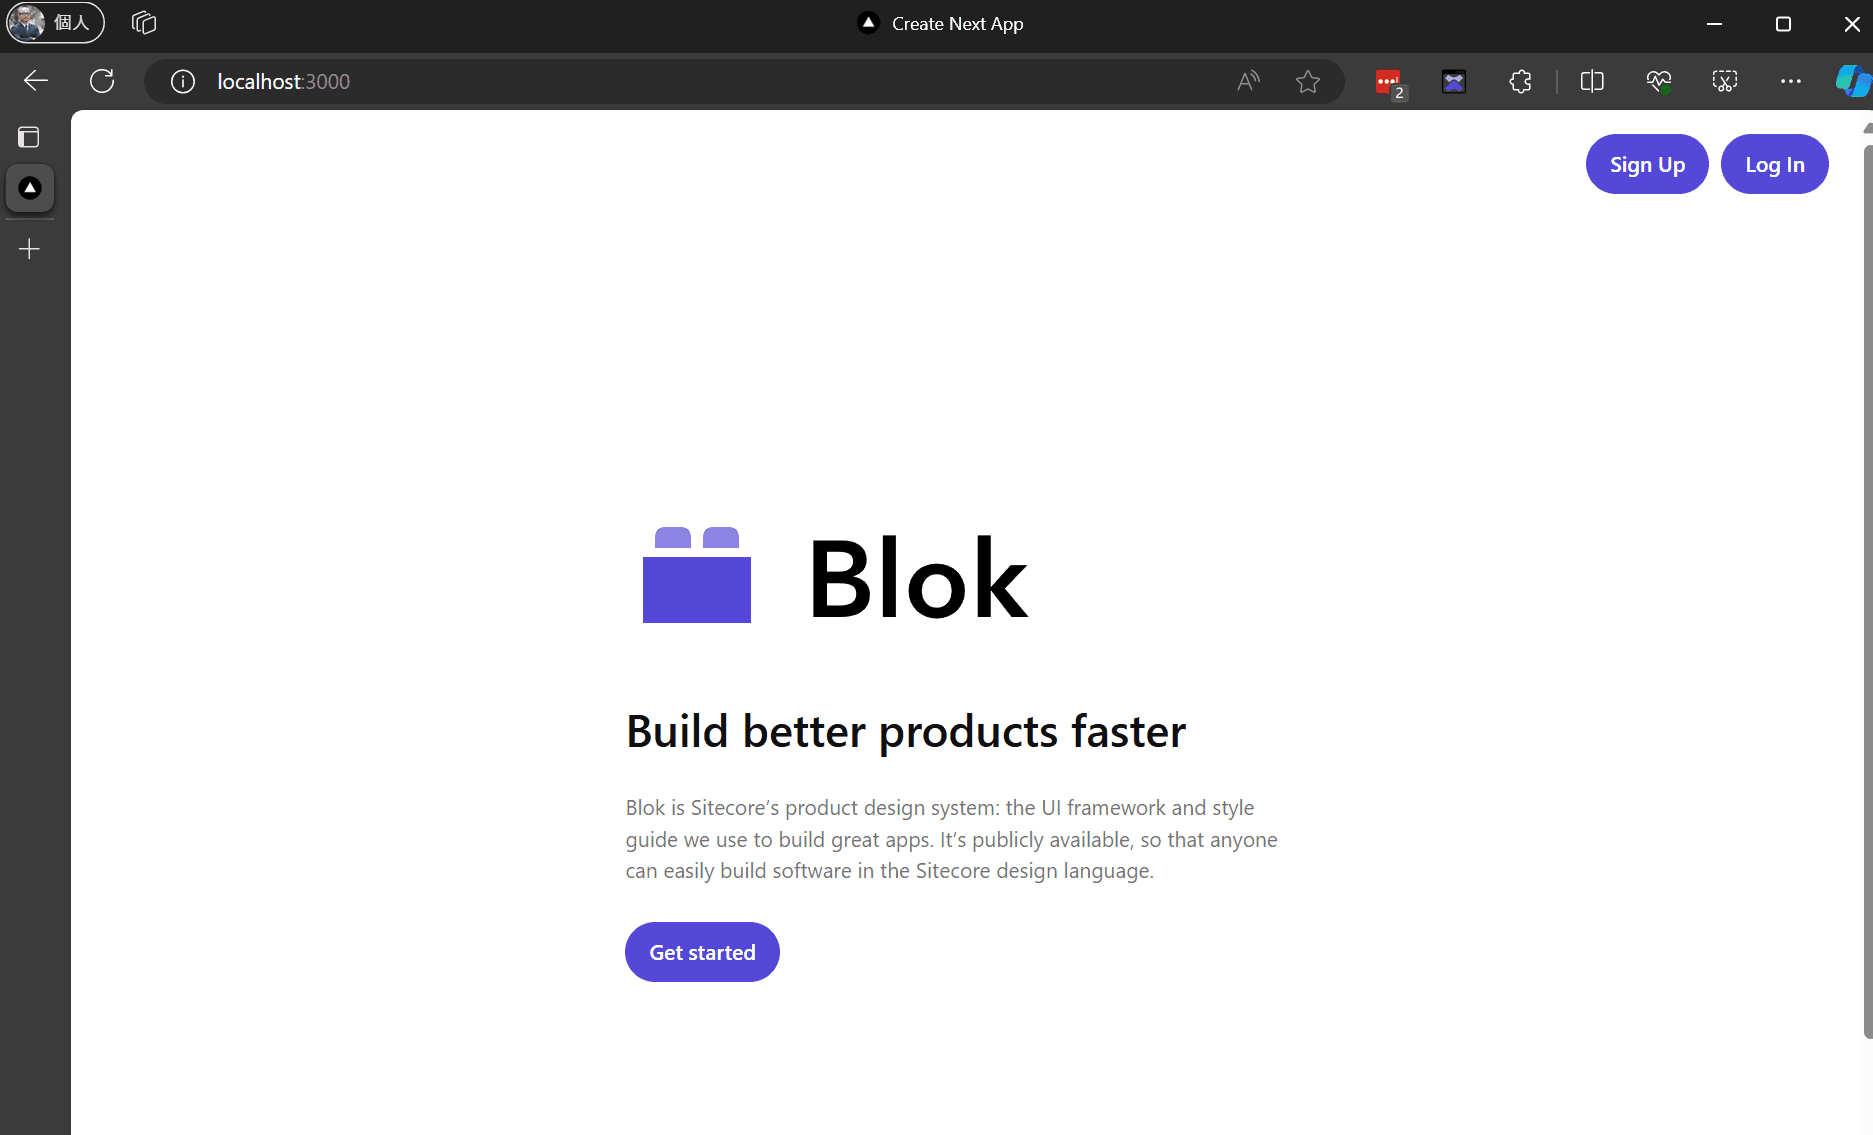
At this stage, run npm run dev to start it locally. A button appears in the upper right corner of the screen.
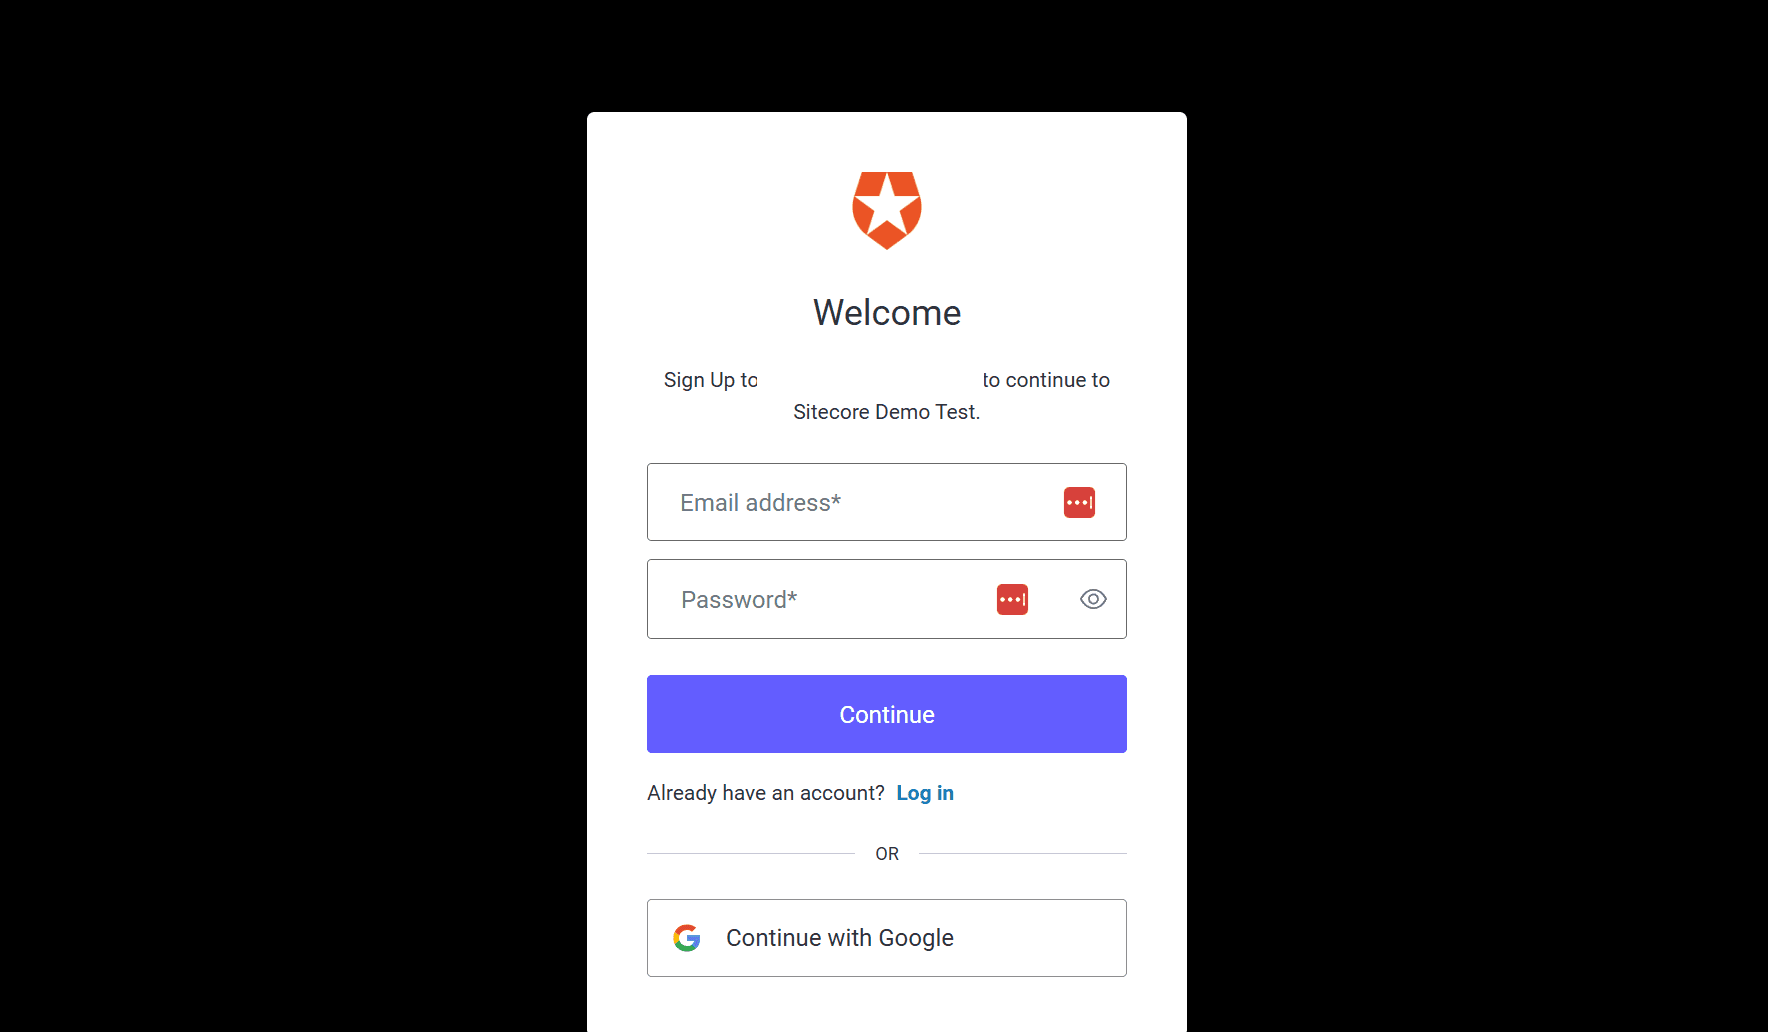
After clicking the Sign up button, an e-mail address and password screen will appear.
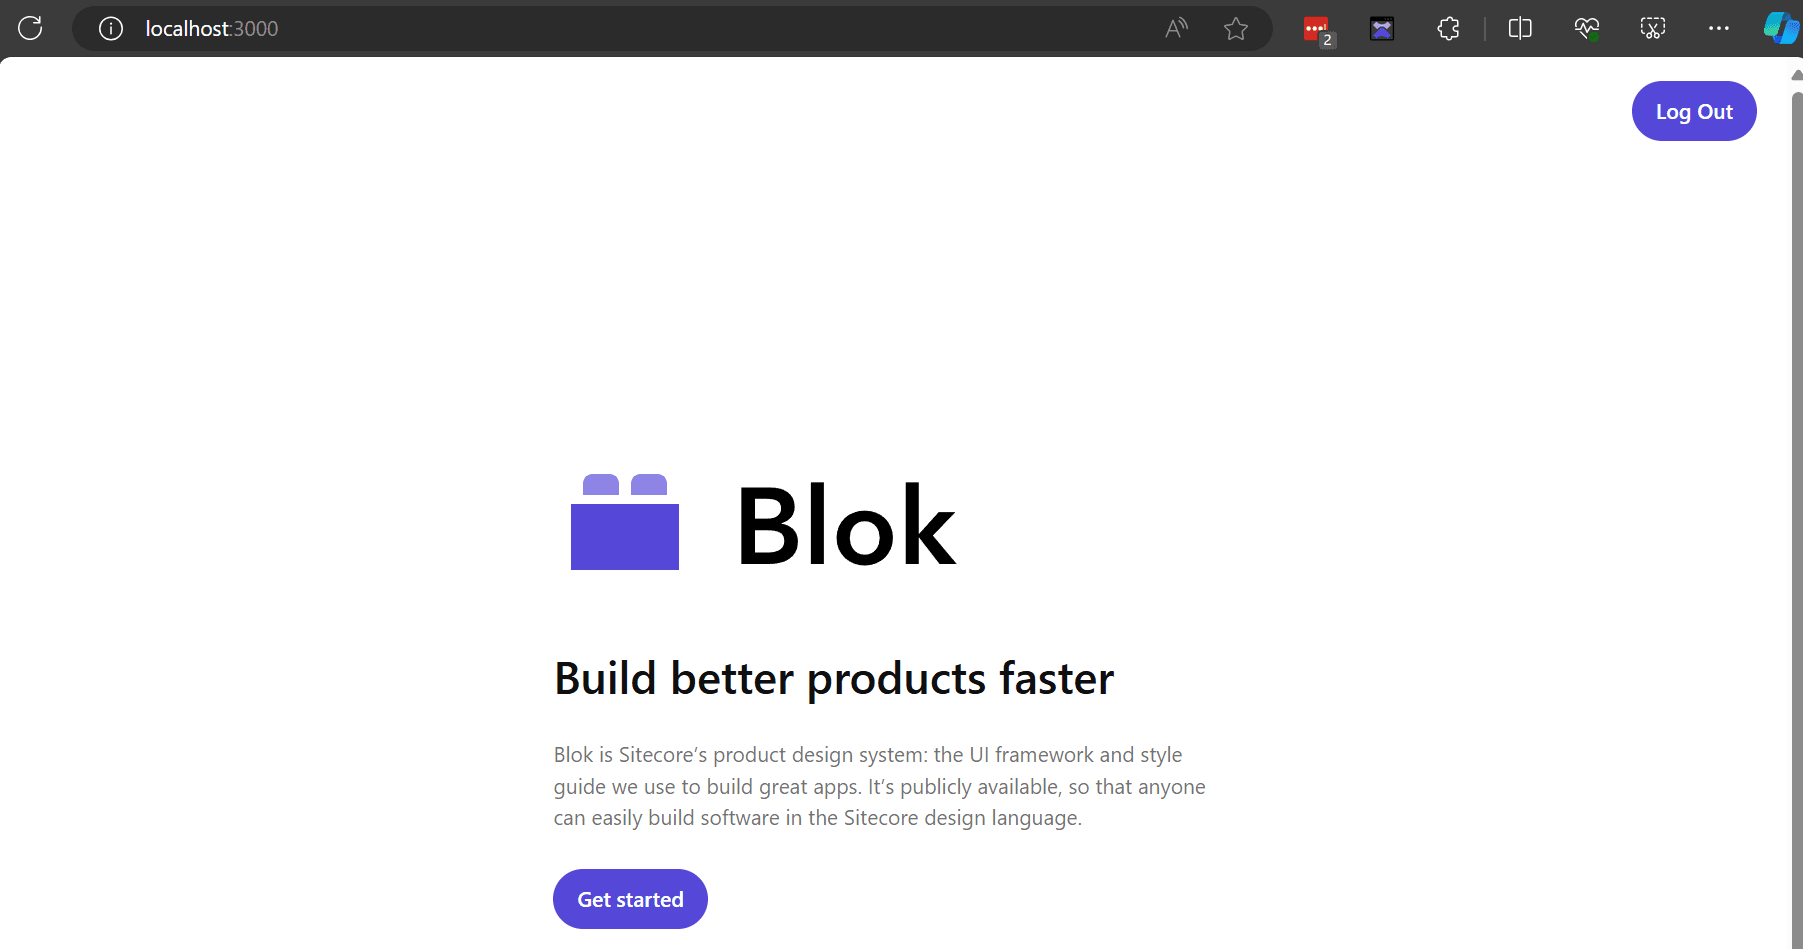
You can now log in with your registered email address and password. When you log in, you will see the button in the upper right corner is logout.
Summary
In this case, we have packaged and configured Next.js to allow signup, login, and logout using Auth0. As for the code up to this time, you can refer to the code below.