In the last issue, we created a header that just displays the logo in the upper left corner. This time, we will create a footer using the navigation component.
Create a footer
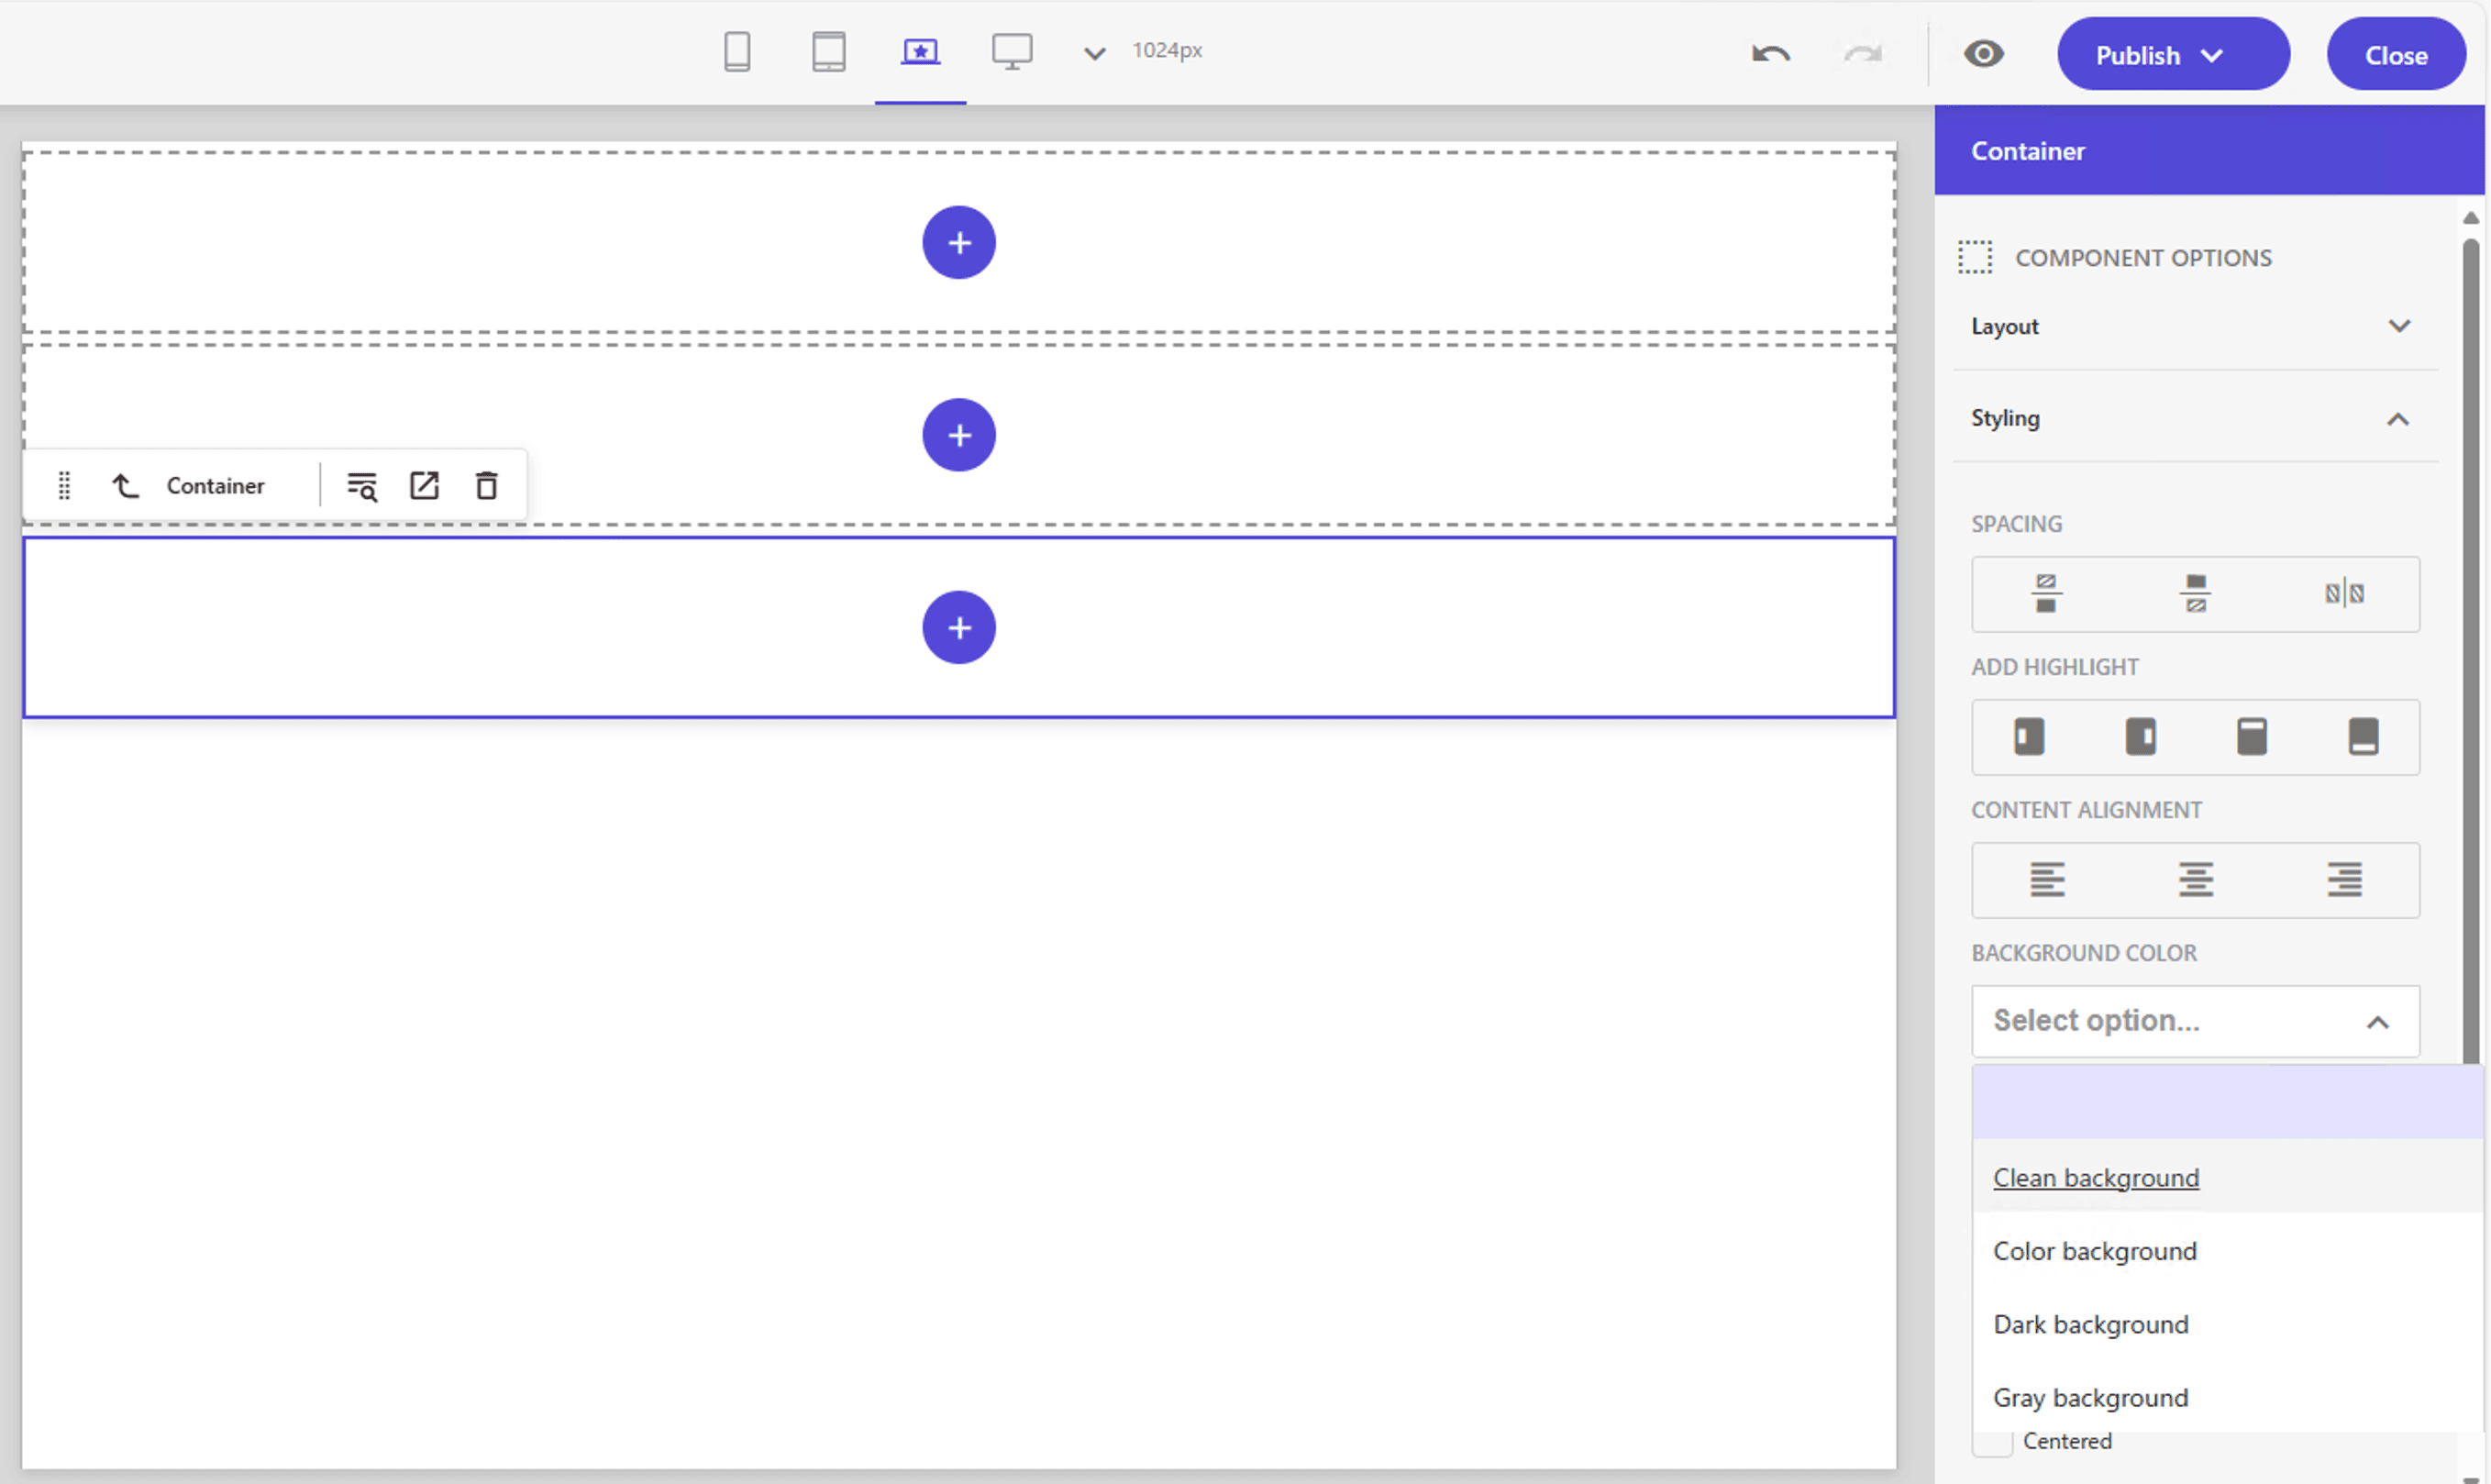
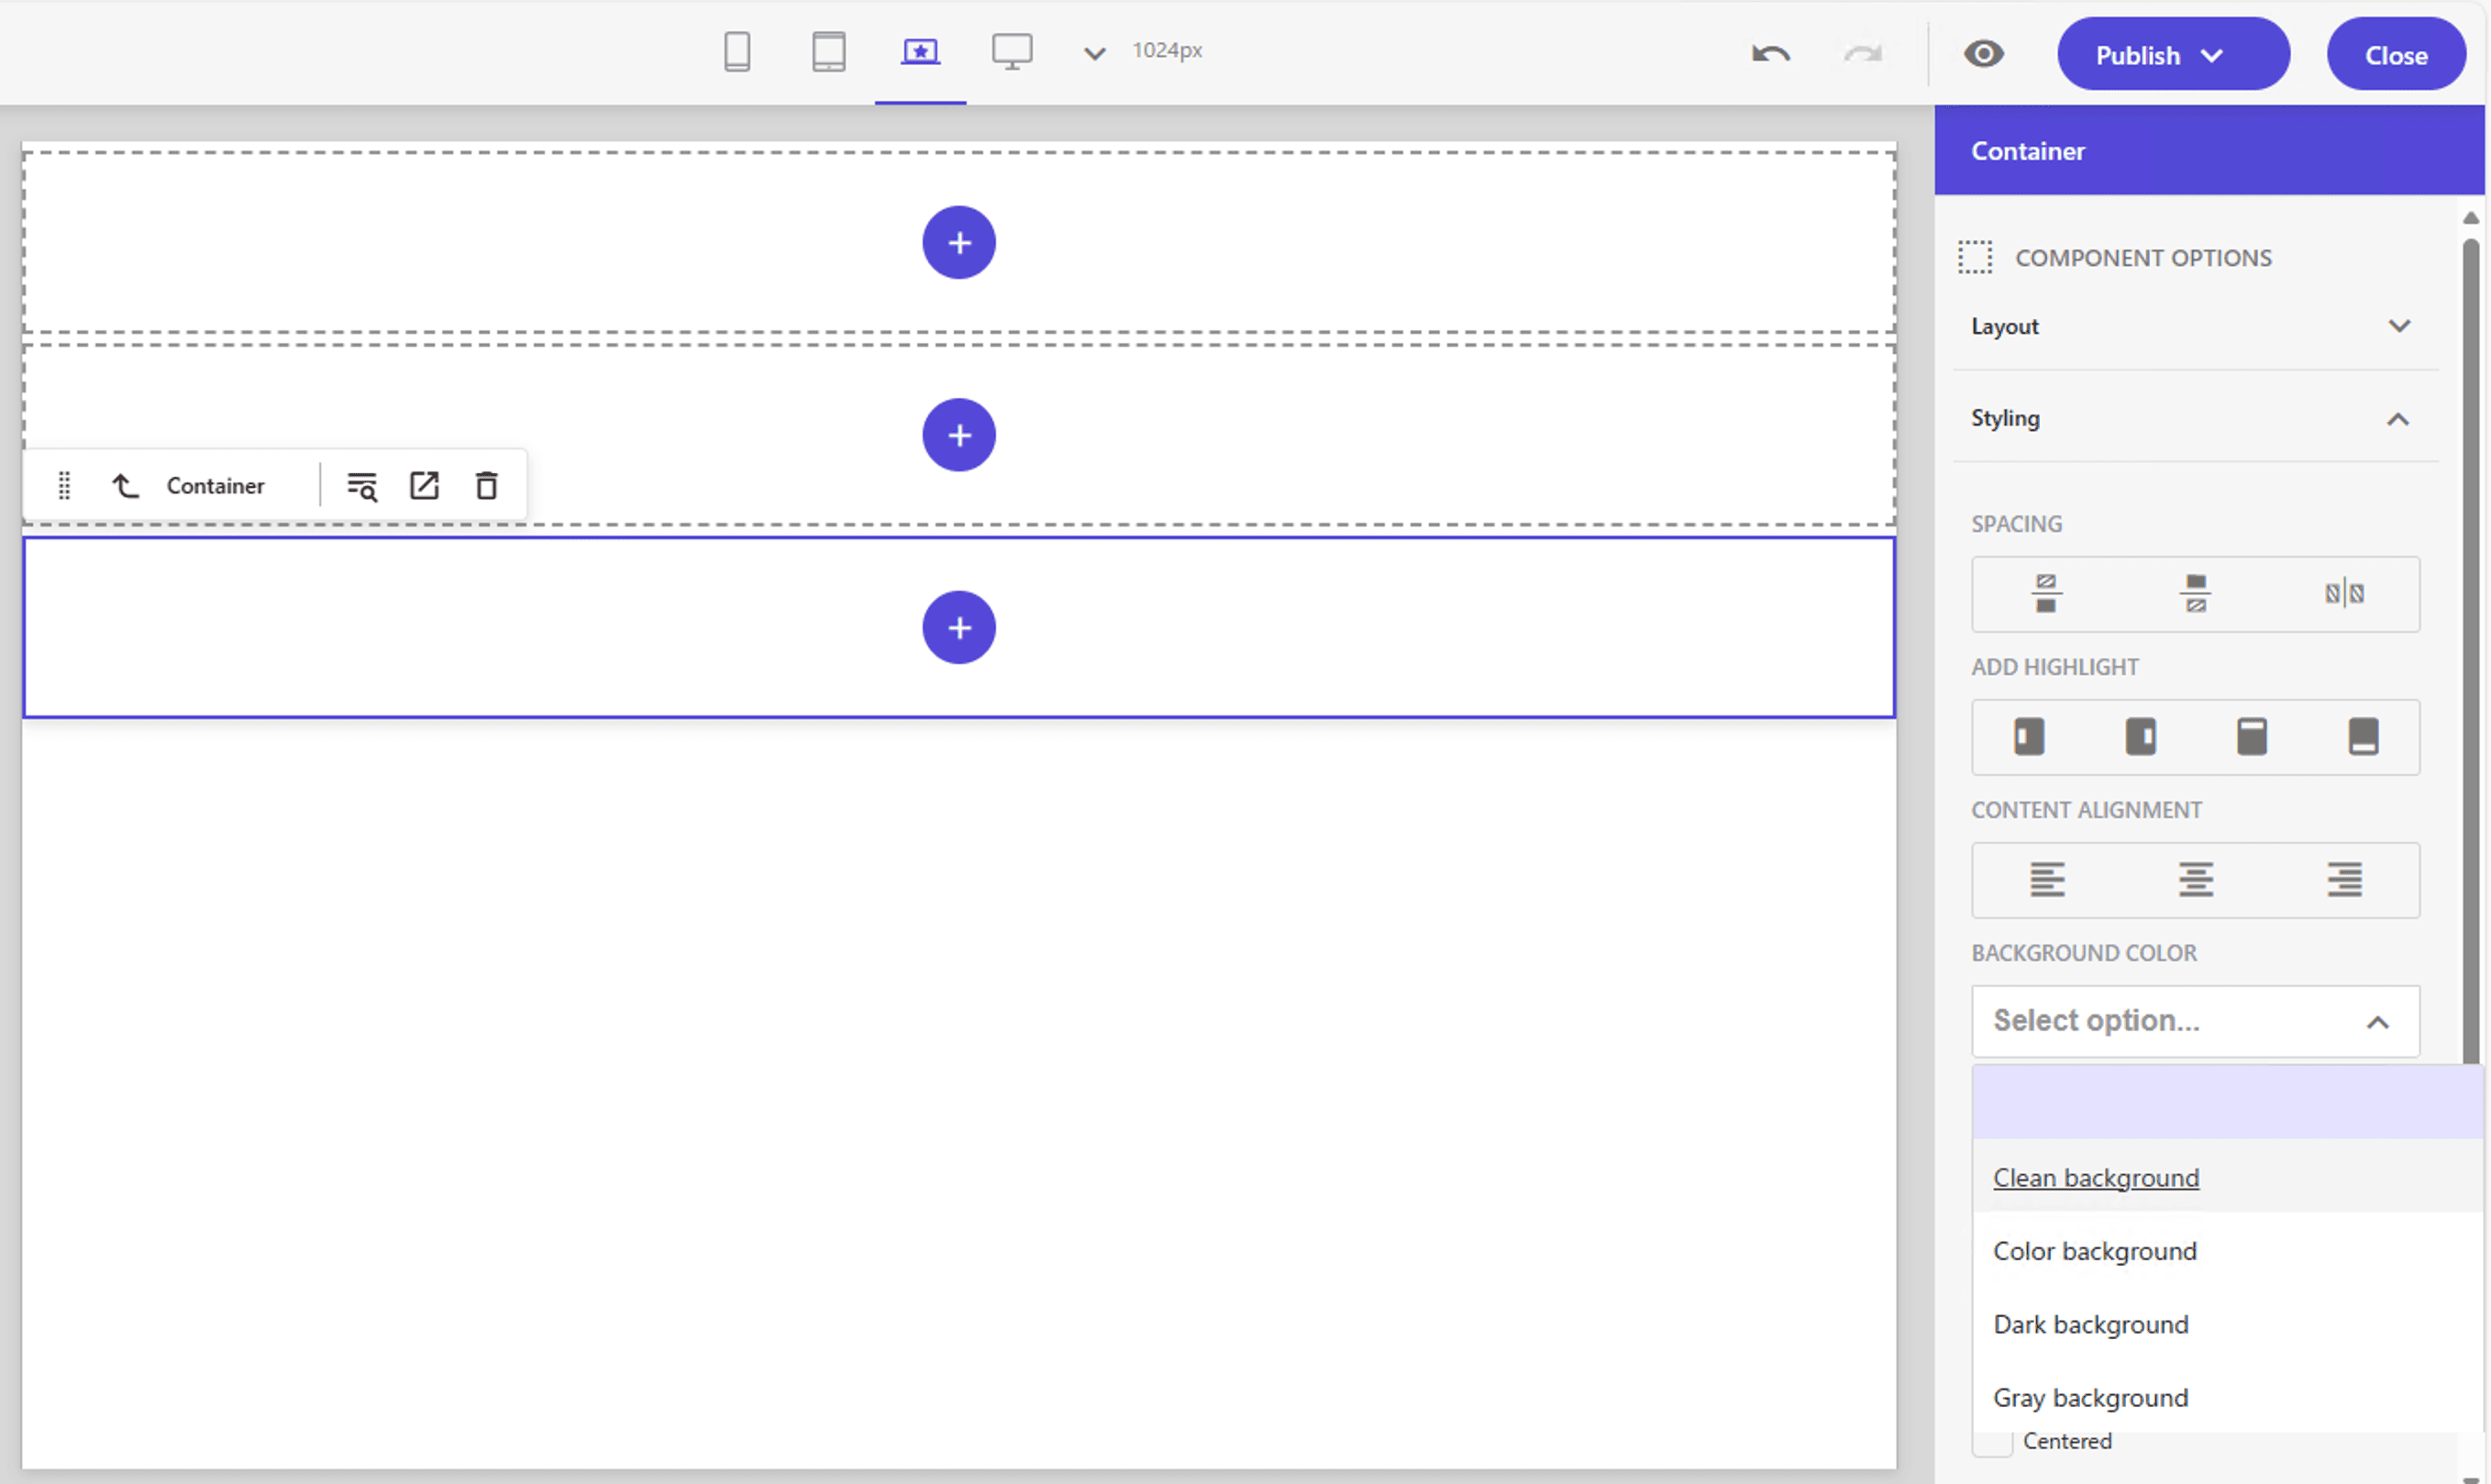
In this case, we will create a simple footer. First we will place a container on the Footer. In fact, you can choose a background color for the container.
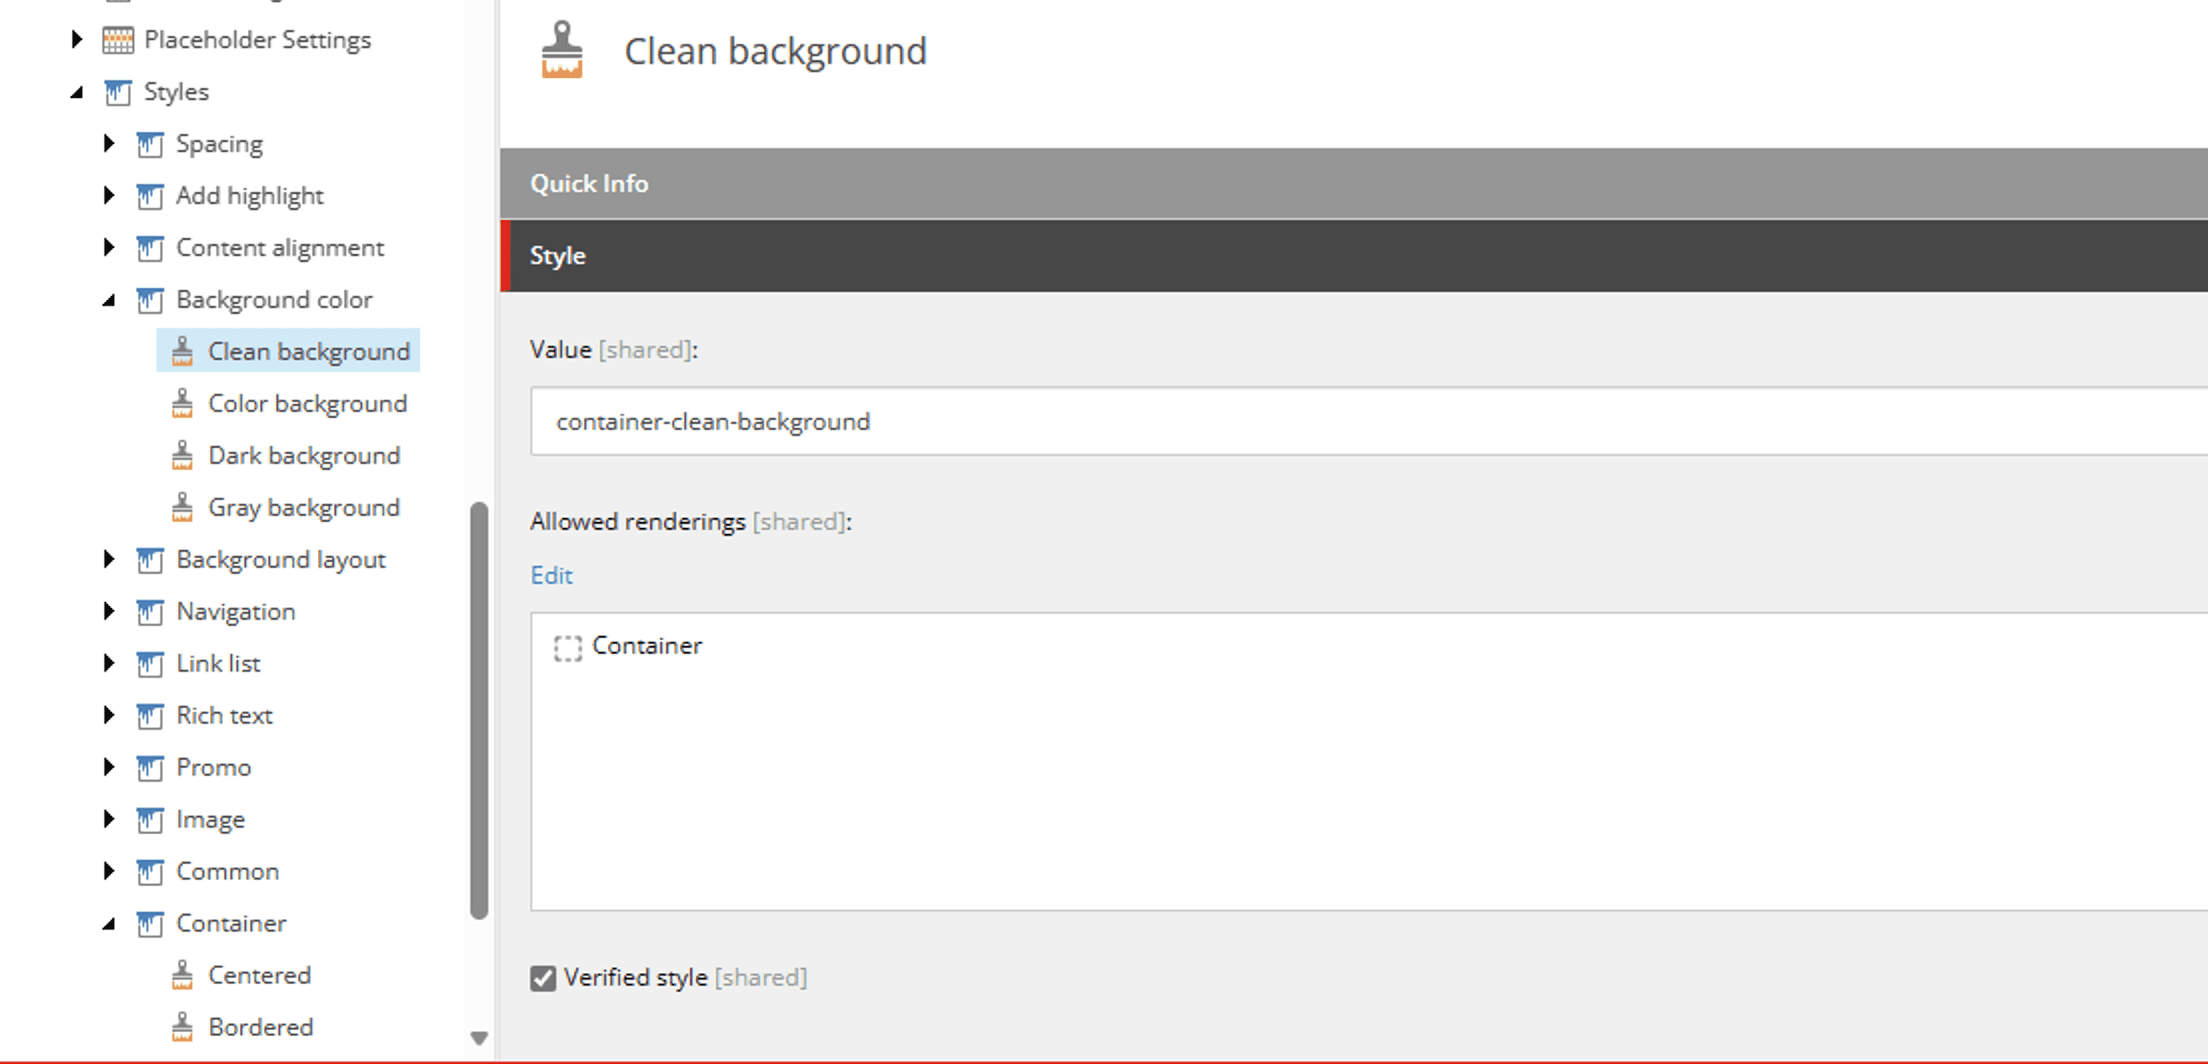
This definition is defined in Style as follows
For now, we will rewrite only Color. src\assets\components\Container\background-color.css file and set the following code
.container-gray-background {
  @apply bg-gray-200;
}
.container-clean-background {
  @apply bg-white;
}
.container-dark-background {
  @apply bg-gray-800;
}
.container-color-background {
  @apply bg-blue-300;
}
Adding the above file to globals.css activates the style sheet selection. Apply this style sheet with respect to the container.
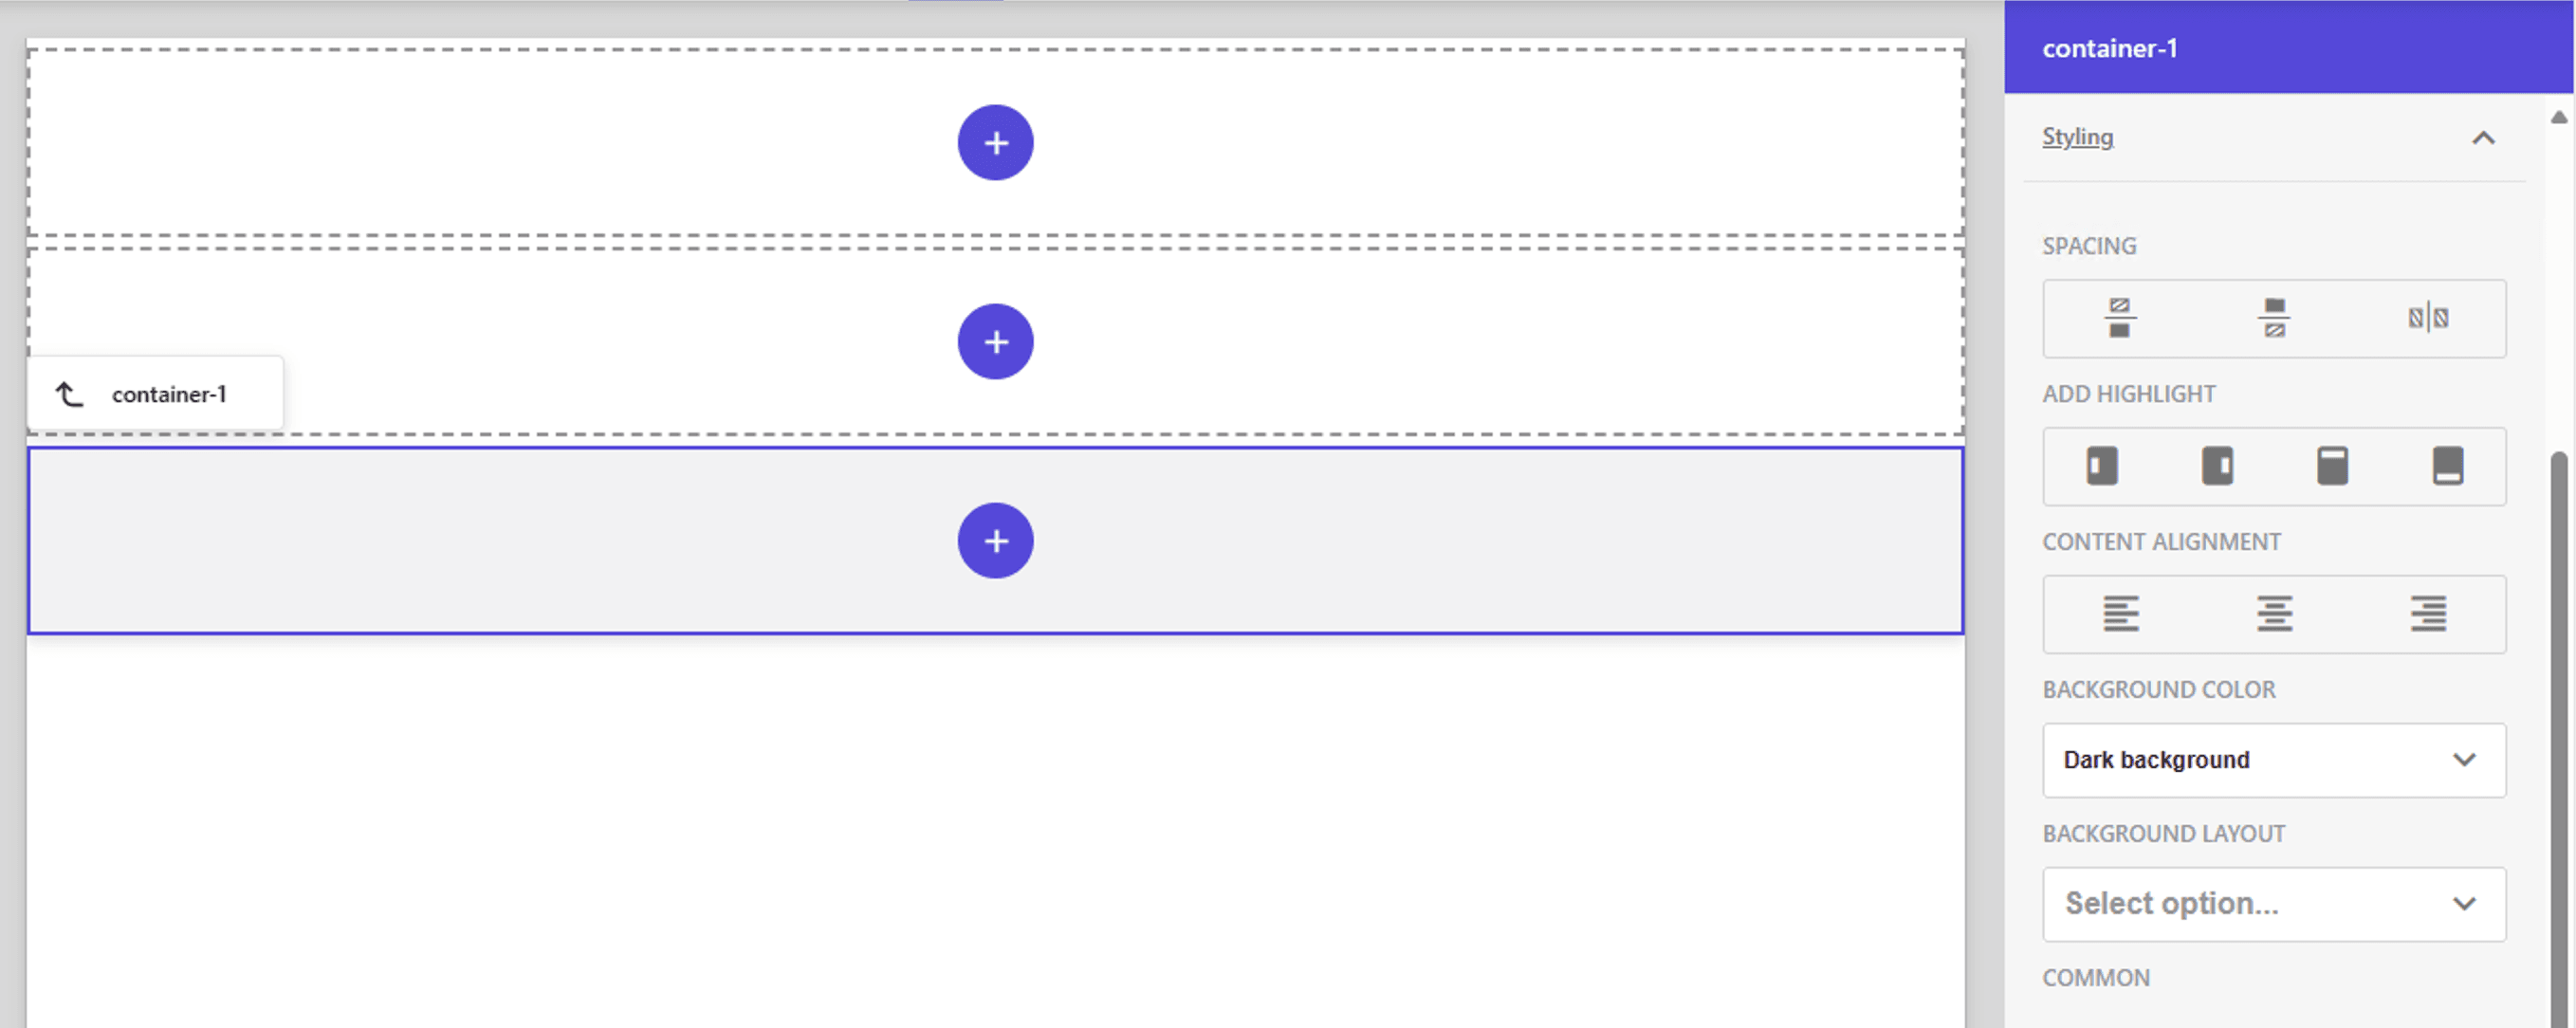
When actually displayed, it looks more gray, but it is lighter now because it is still in the design process. This time, we will set the Row Splitter here.
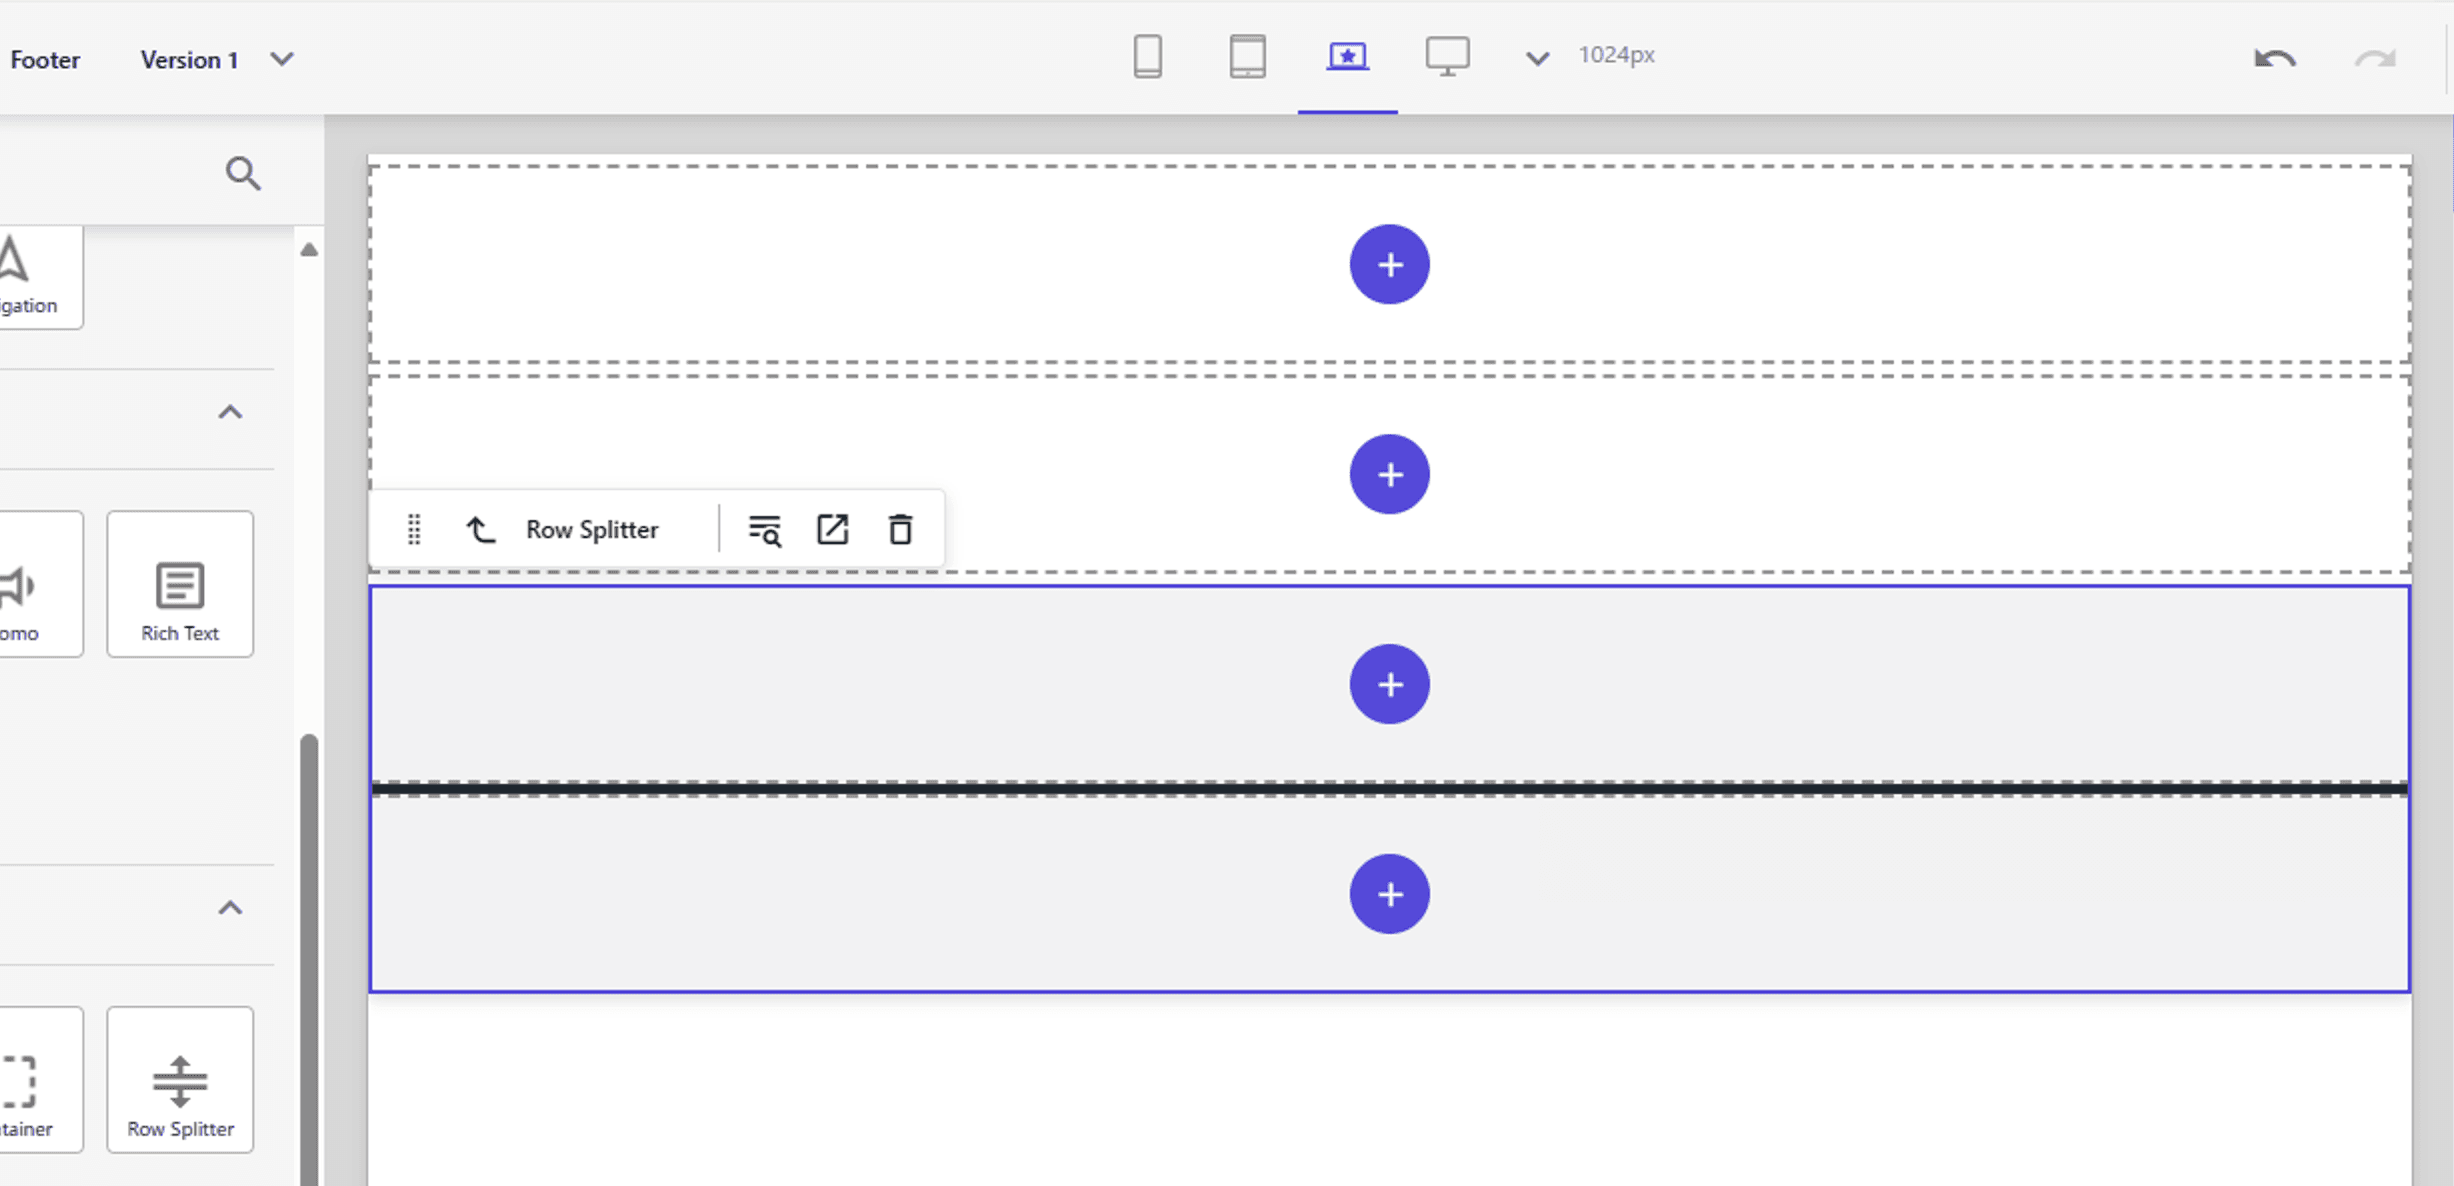
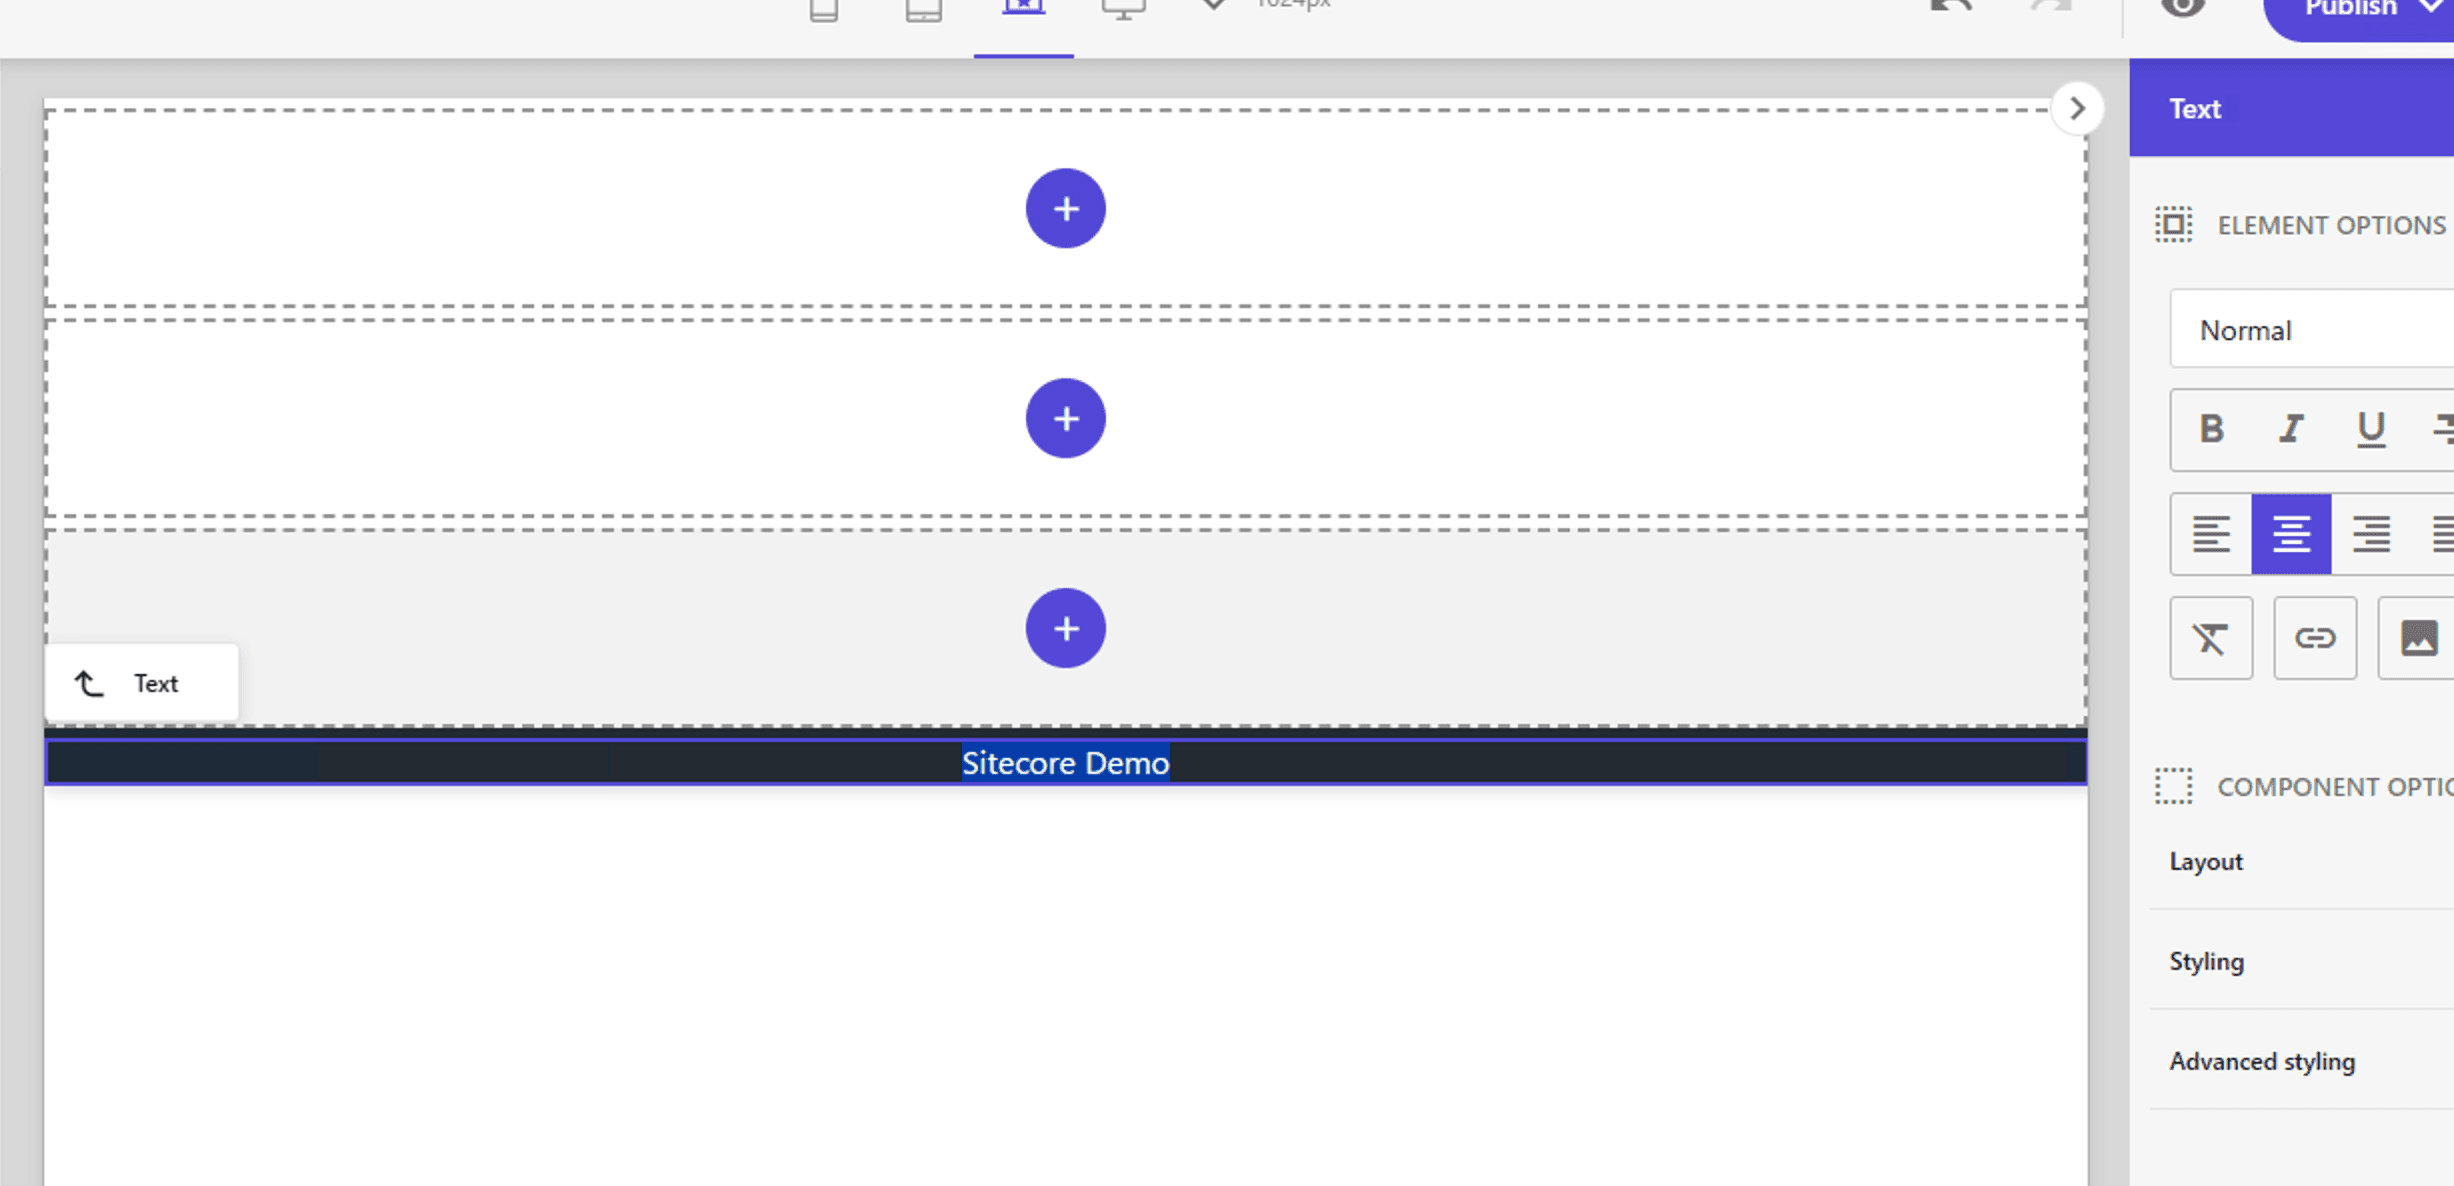
Place the RichText component below and center it. The text decoration is not done now, so it is hard to see, but this is what it looks like.
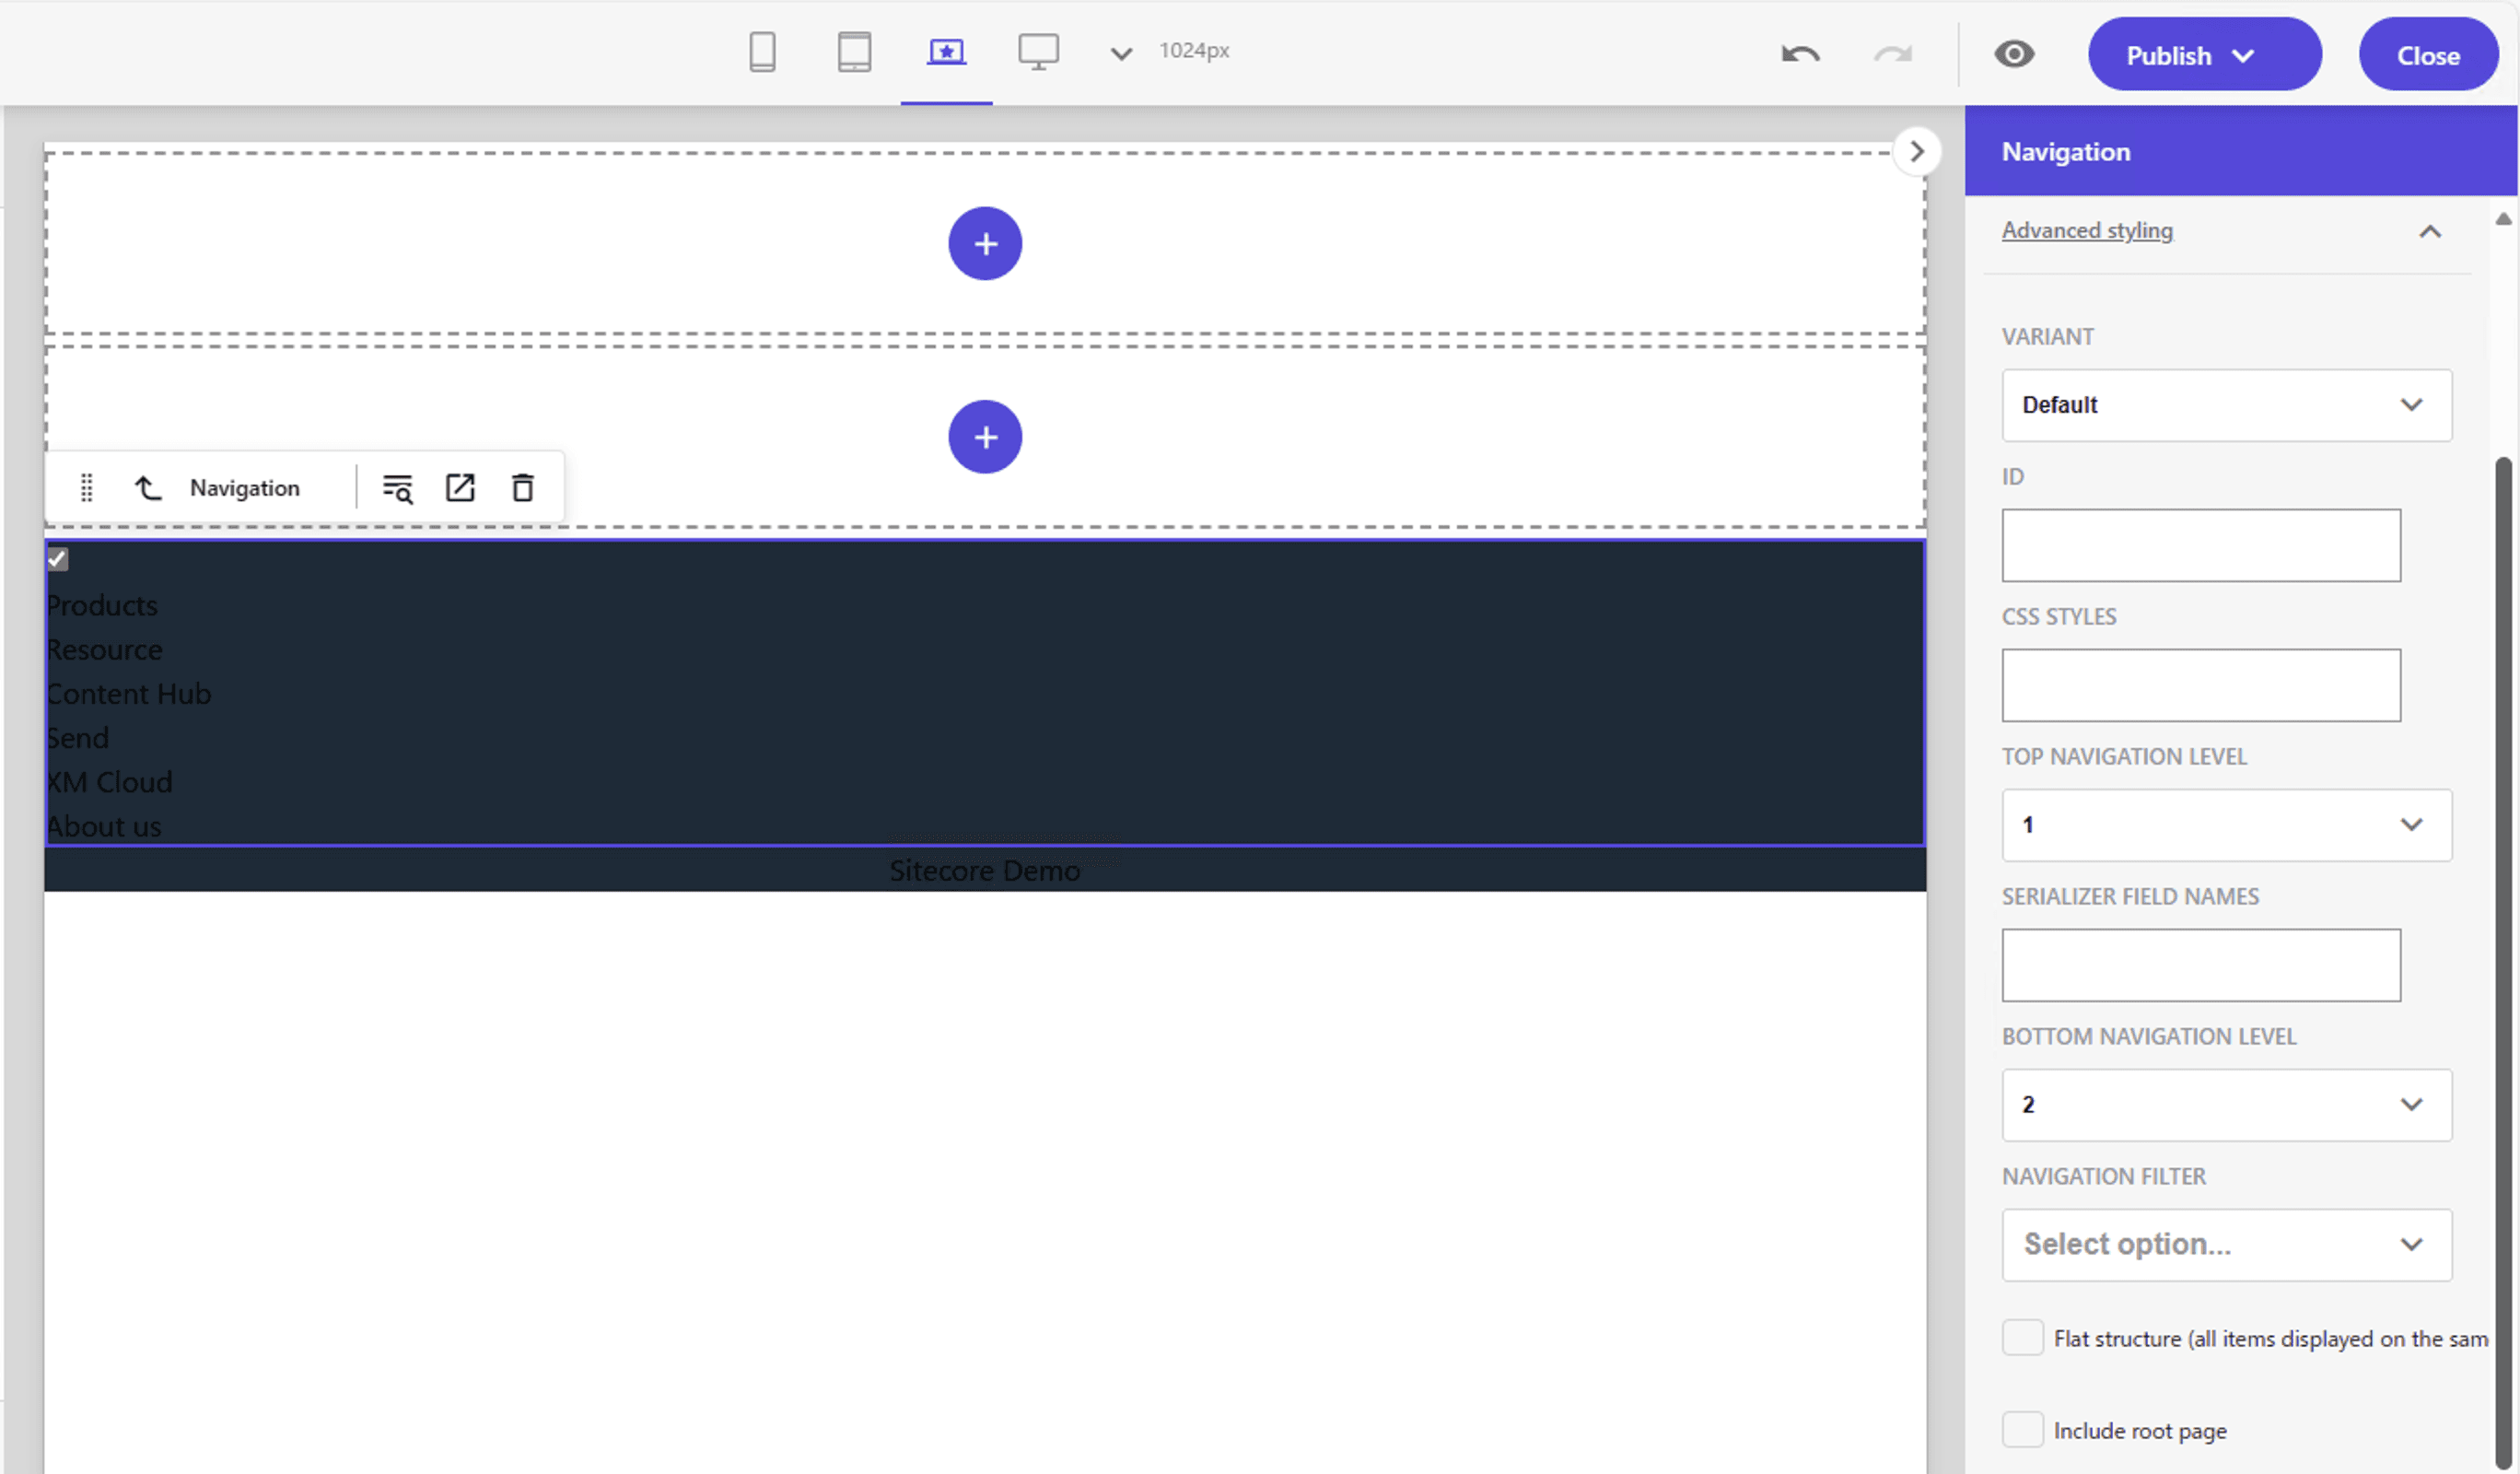
The Navigation component is placed above the Row Splitter. In this case, we would like to display a menu using the top level and items up to the second level. This is how it will look when placed.
Apply this header to the Home page template. This is complete, but there is still some more work to be done.
Adjust style
As it is now, the text is disappearing in the background color, so there are two adjustments that need to be made here.
- Correct text color
- Corrected for visibility with respect to navigation
- Set margins, etc.
First, create the file src\assets\components\Common\footer.css. For this, specify the text color as follows
footer{
    @apply text-white;
}
Don't forget to add the import of this file to globals.css. Now you can make the text in the footer white.
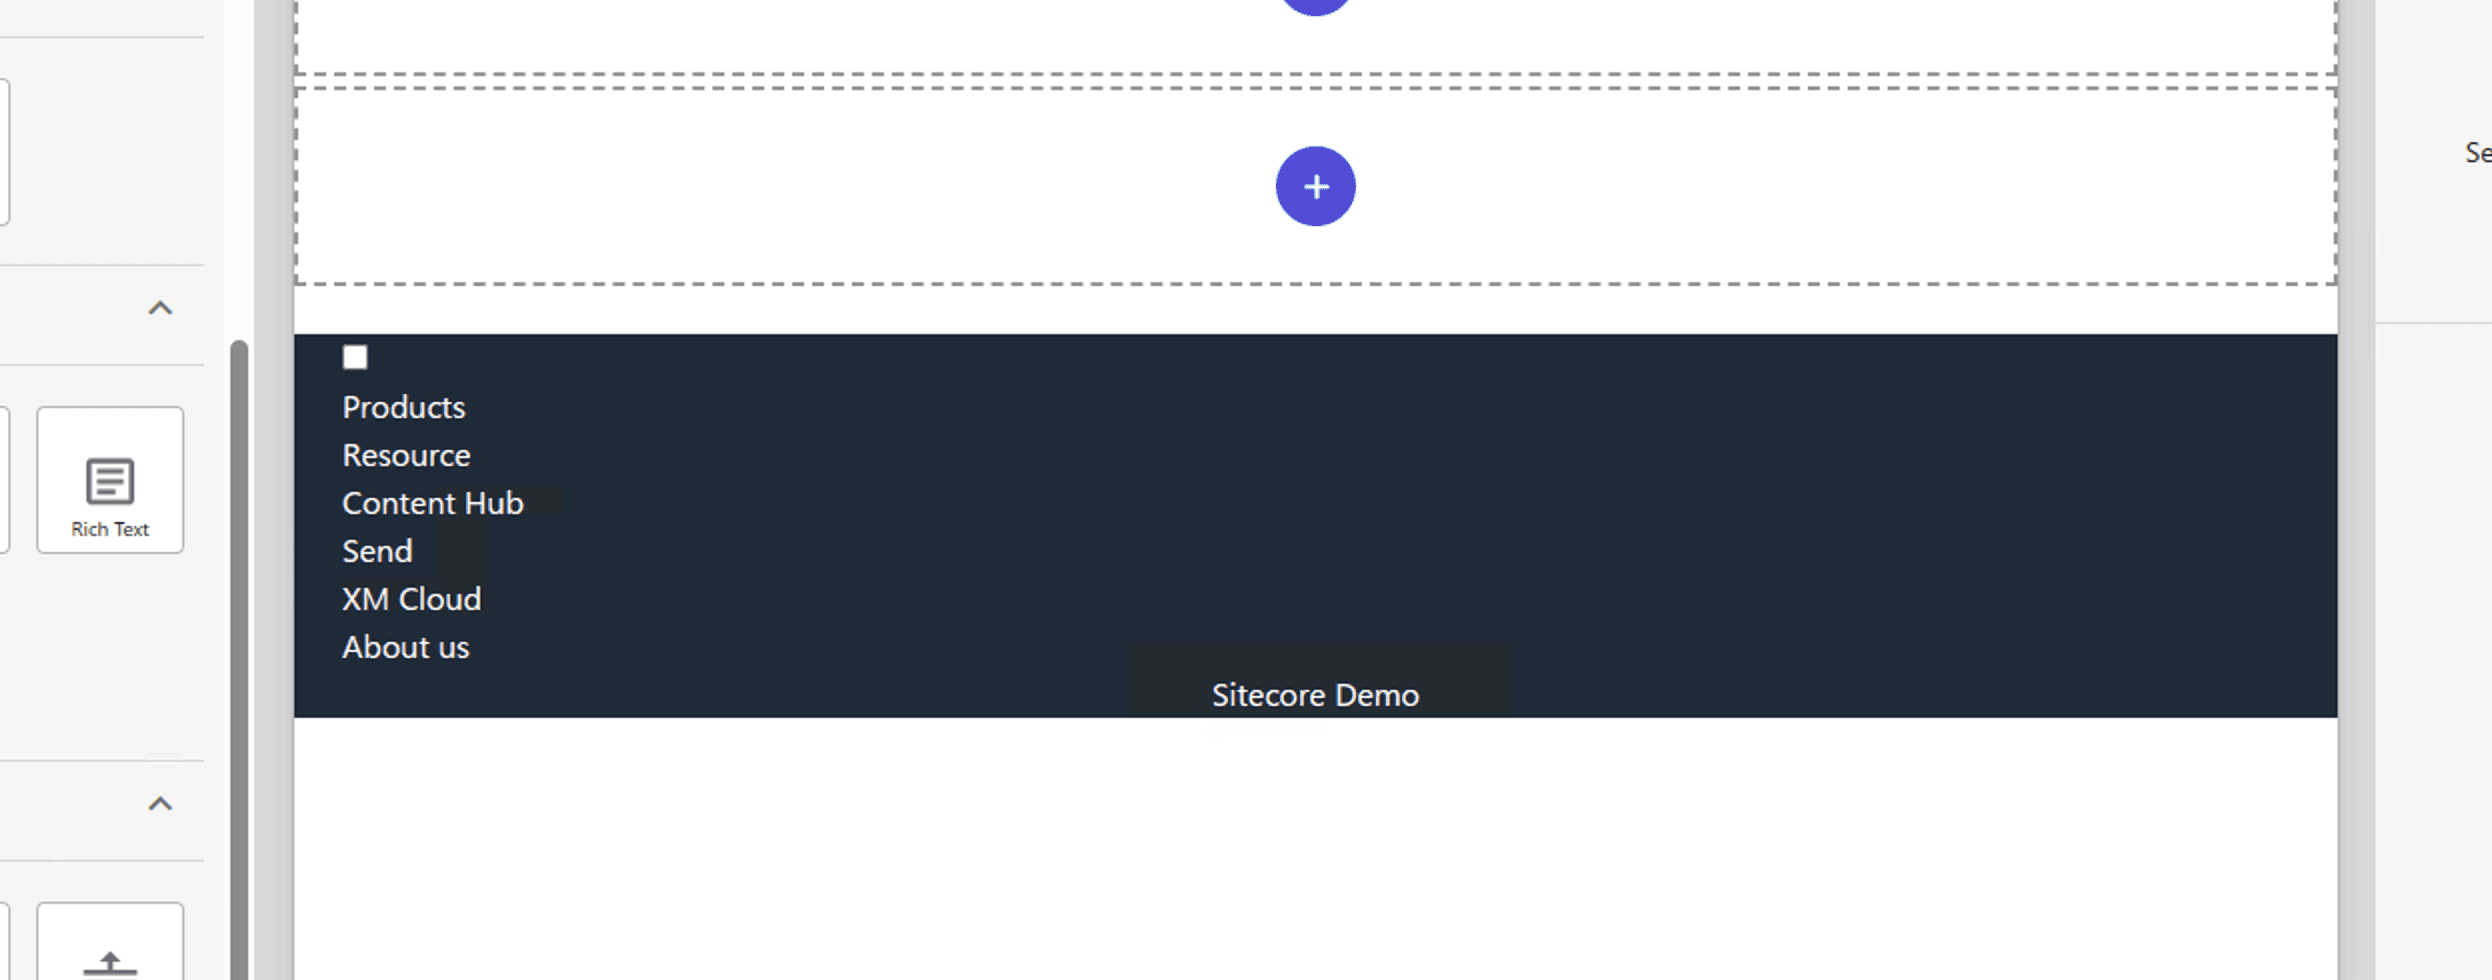
Next, we will adjust the navigation.The following items are provided as standard Navigation styles, but they do not work as they are because they are in Bootstrap code.
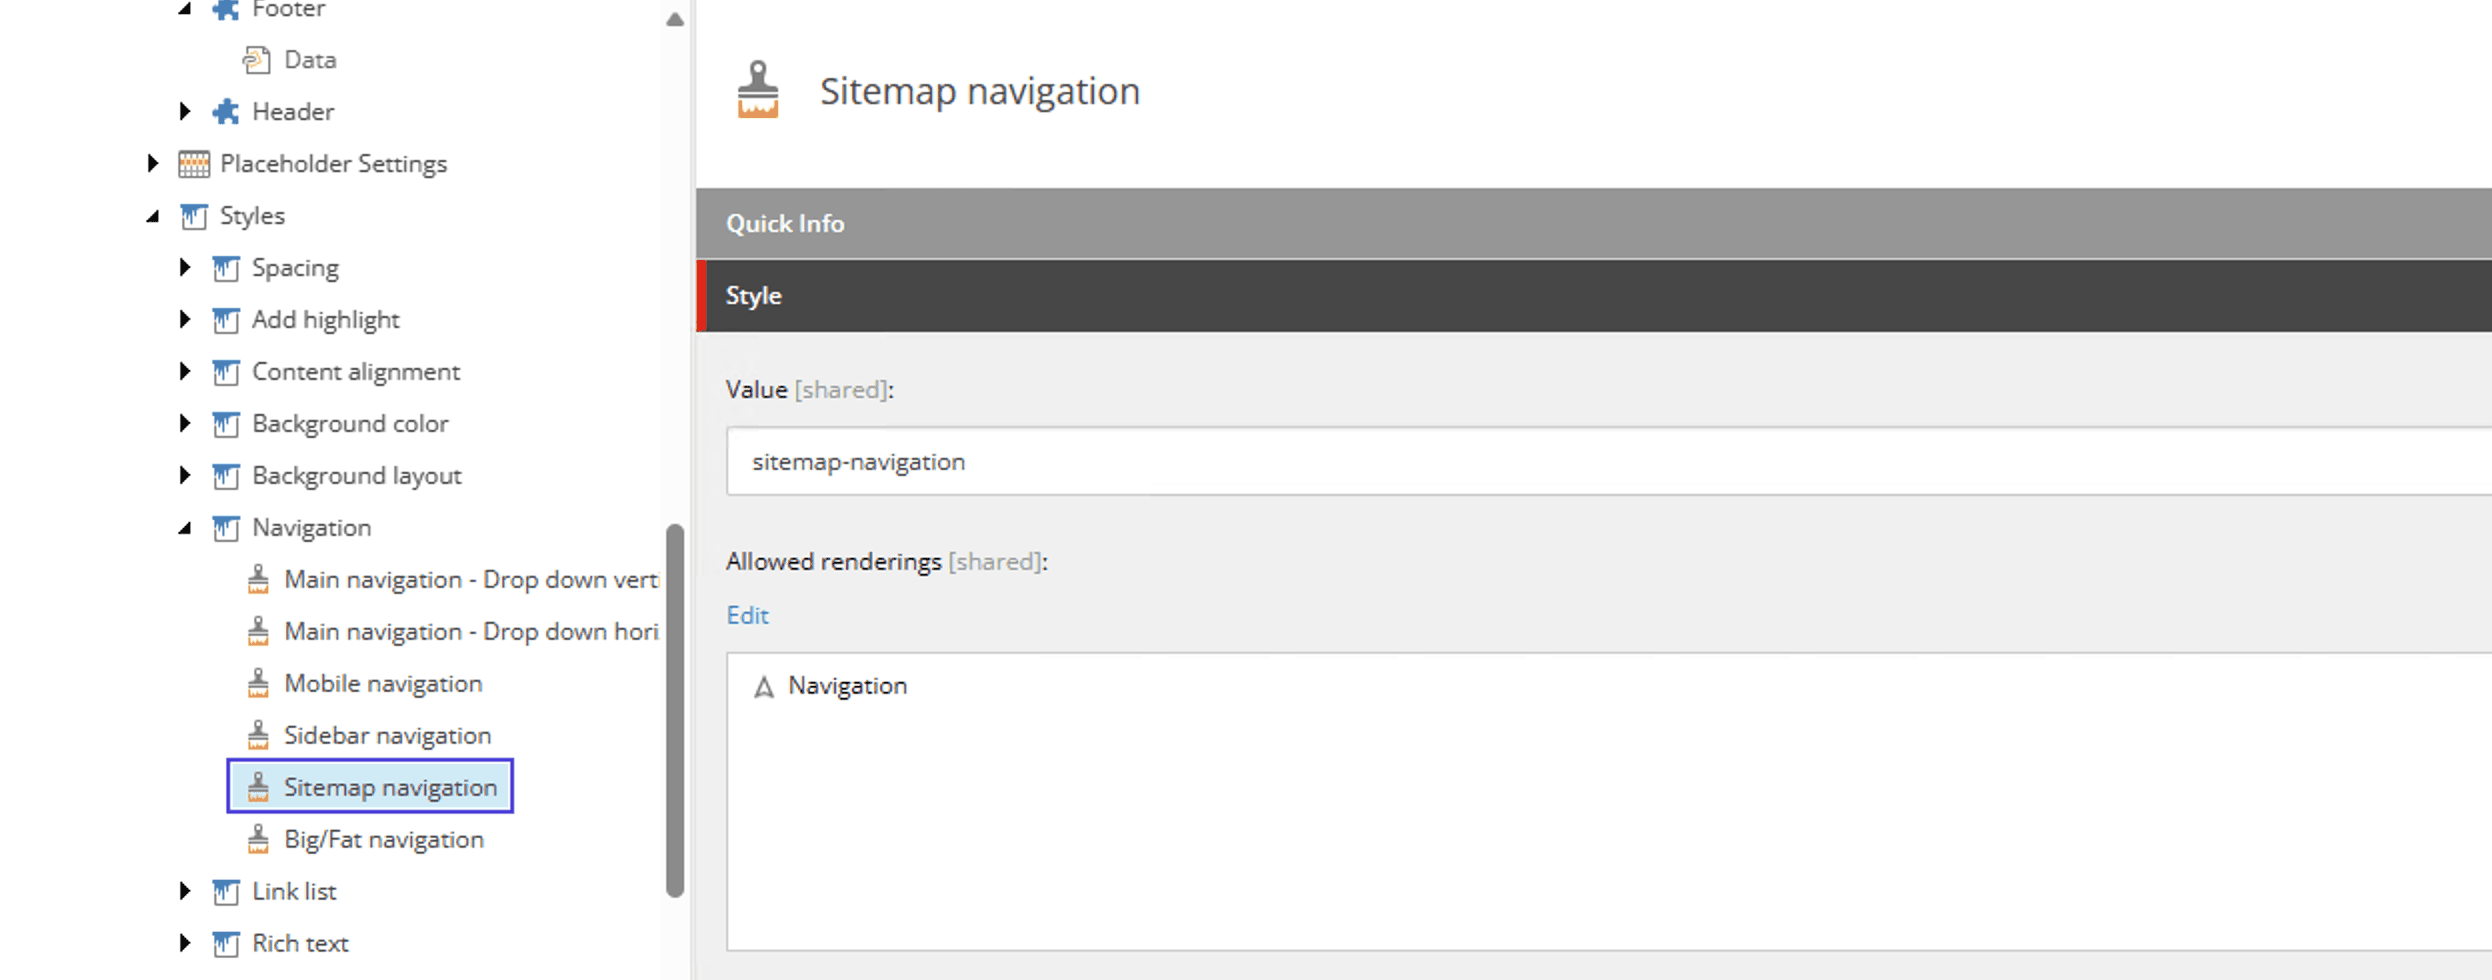
This time, we will create the file src\assets\components\Navigation\index.css and apply the style as follows
.navigation.navigation-fat {
  @apply flex;
  .menu-mobile-navigate {
    @apply hidden;
  }

  nav > ul {
    @apply p-0 flex;
  }

  .rel-level1 {
    @apply inline-block mr-8;
  }
  .rel-level2 {
    @apply list-disc ml-4 mr-4;
  }
}
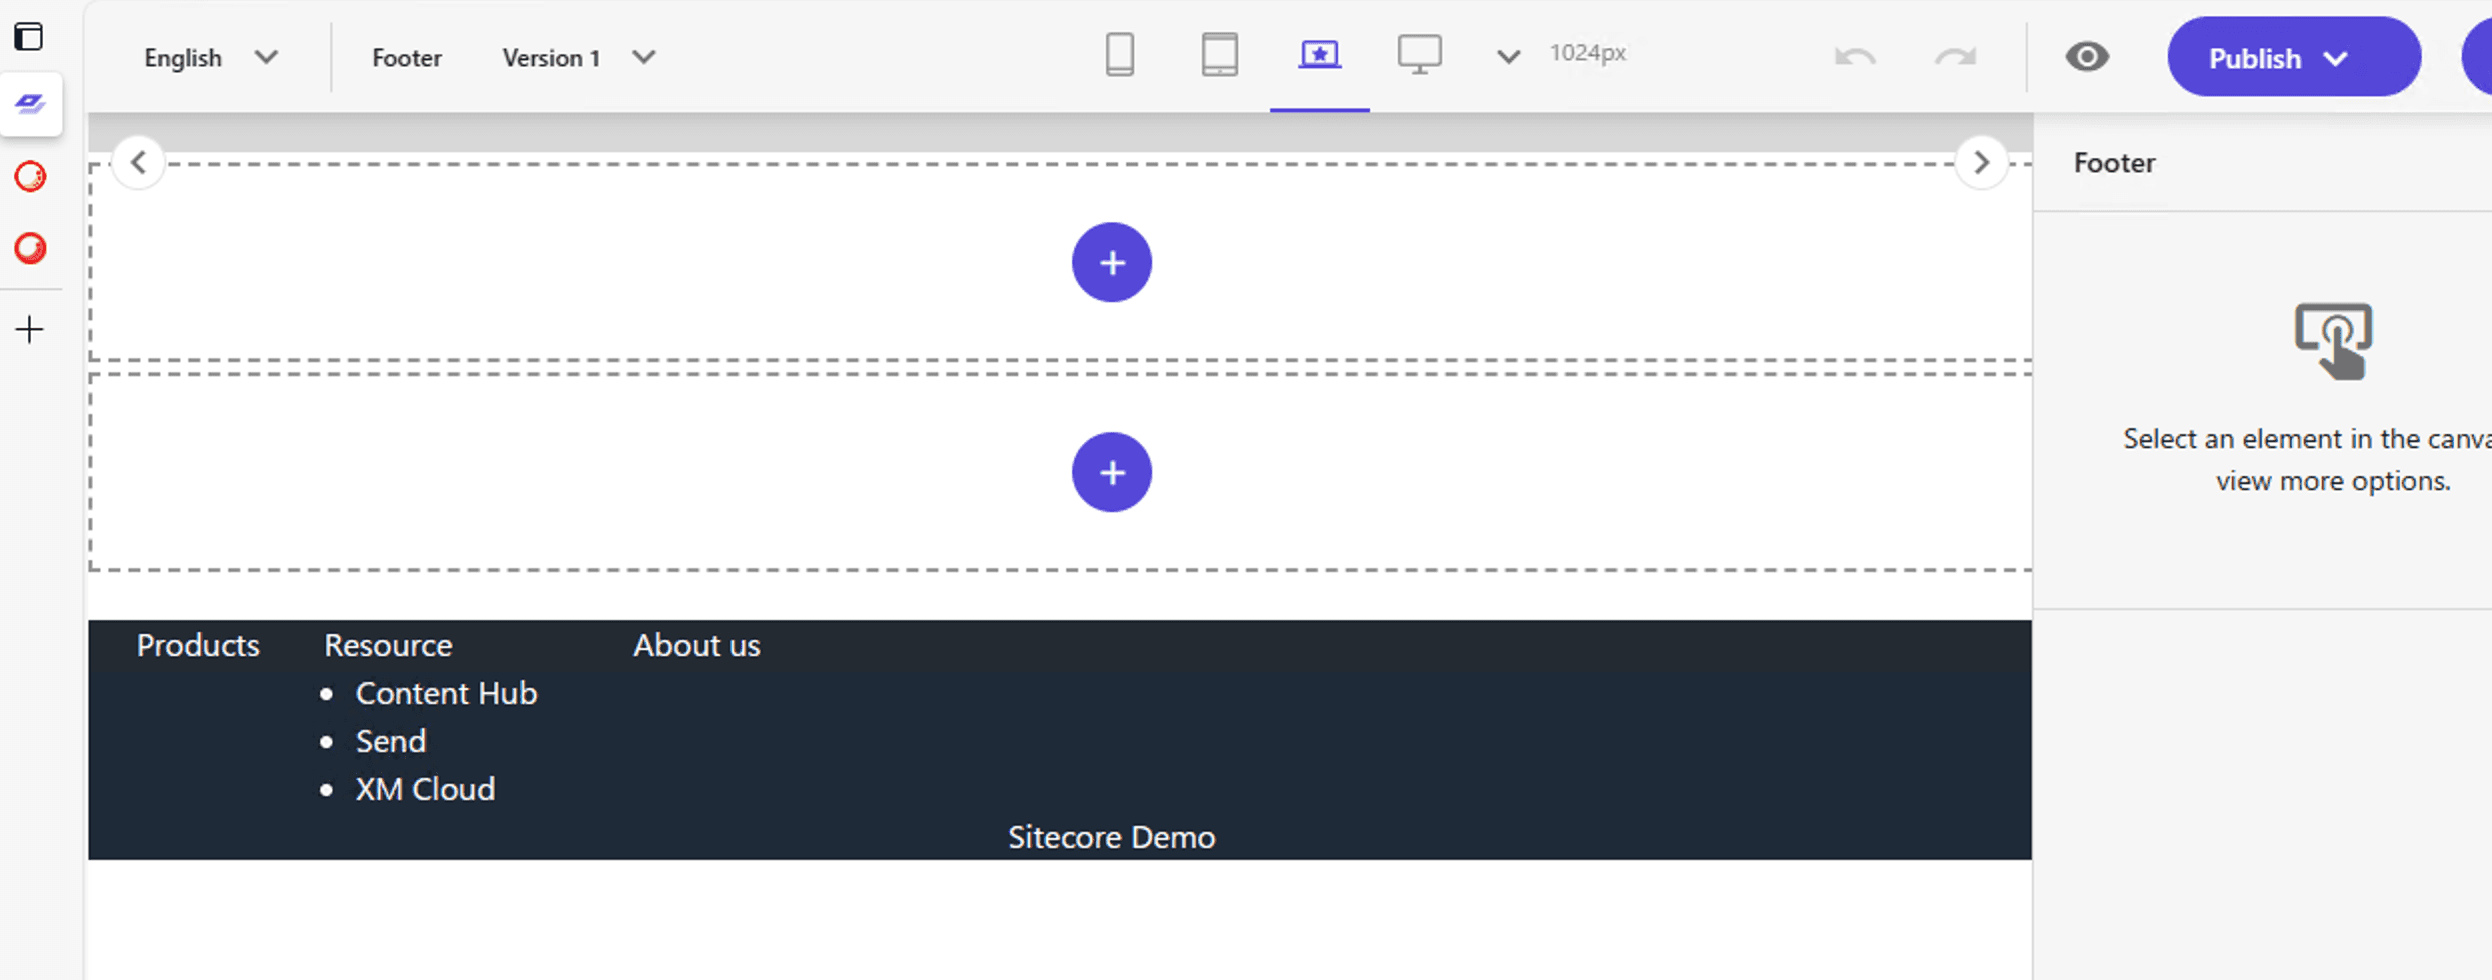
By applying this, the footer is now displayed as such.
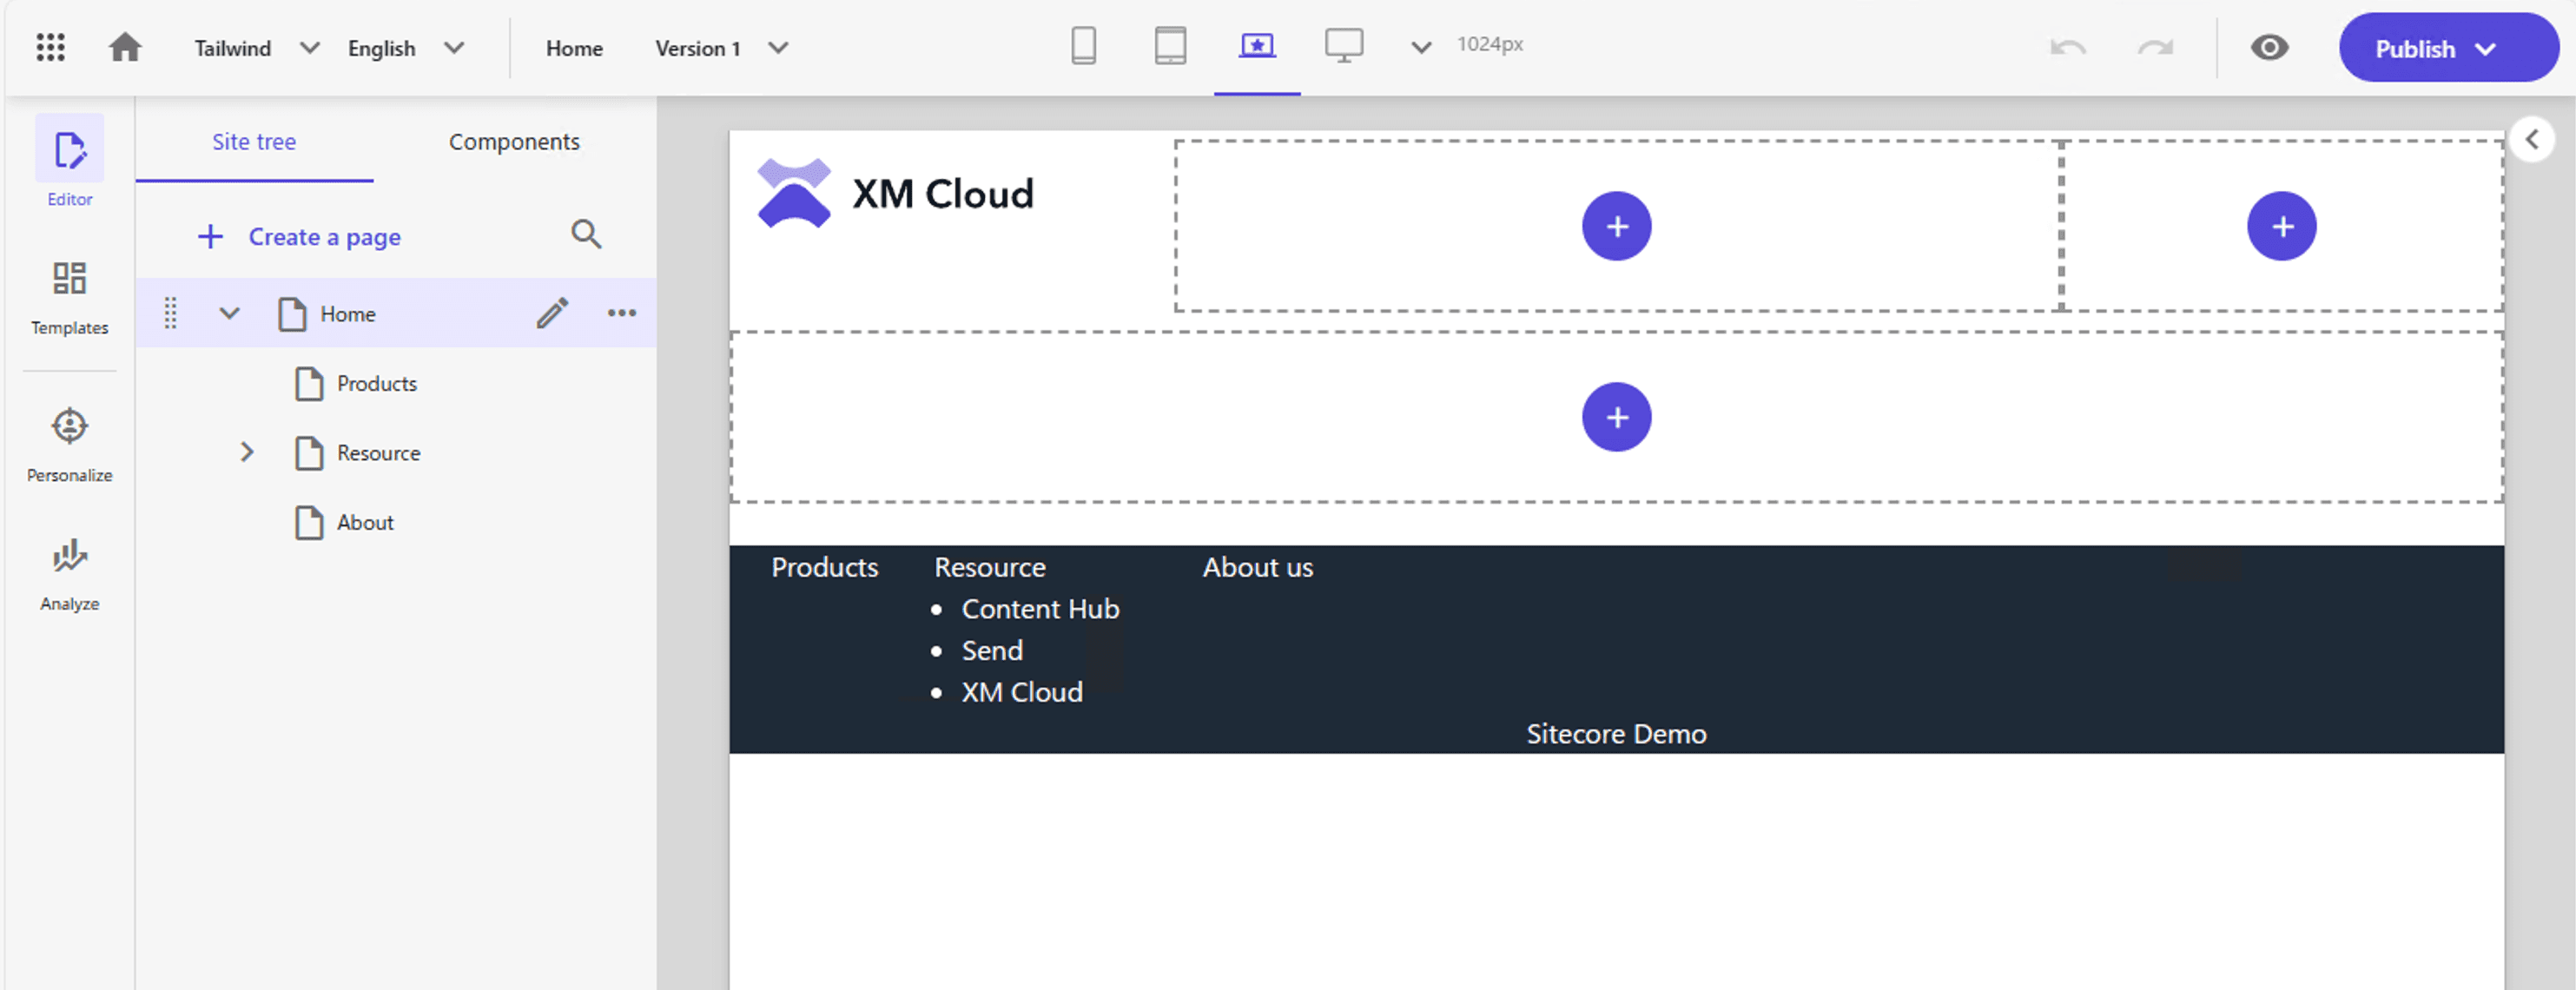
A page with a header and footer would look like this
Summary
We have created a partial header and footer design in two installments, the last one and this one. The pages to which these designs are applied are defined and assigned to the top page. In the next article, we will create Partial Design and Page Design using Shared Layout.