The Basic site is working with Bootstrap 5, but for the time being we will check the steps to make it work with Tailwind.css. This will allow us to verify the default behavior. This time we will apply styles.

Previous post
We simply placed the Titile and RichText components on top of the page. This results in the following code output.
<main>
  <div id="content">
    <div class="component title basis-full ">
      <div class="component-content">
        <div class="field-title">
          <a title="sitecoredemo-jp" href="/en">sitecoredemo-jp</a>
        </div>
      </div>
    </div>
    <div class="component rich-text basis-full indent-top">
      <div class="component-content">
        <div>
          <p>Sample Content</p>
        </div>
      </div>
    </div>
  </div>
</main>
If the application of Tailwind.css in Next.js is complete, the display will look like this

Change Title
First, we would like to display a larger font size for the Title. First, prepare a stylesheet for Title in the form src/assets/components/Title/title.css. The code is simply as follows
.component.title {
  @apply text-3xl font-bold;
}
To activate this file, import it in the globals.css file.
@import './app.css';

@tailwind base;
@tailwind components;
@tailwind utilities;

@import './components/Title/title.css';
Now it is ready. When executed, the text size of the title has changed as shown below.

Rich Text Control
Then, as above, create a file src/assets/components/RichText/rich-text.css for rich text, and write the code as follows
.component.rich-text {
  p {
    @apply text-3xl;
  }
}
Add this import to globals.css and run it. The style is now reflected and the text is displayed larger.

However, a warning about CSS nesting is now displayed.

A workaround for this is described below.
Rewrite the settings in postcss.config.js as follows. The addition is in the nesting section.
module.exports = {
  plugins: {
    'tailwindcss/nesting': {},
    tailwindcss: {},
    autoprefixer: {},
  },
};
Now the warning no longer appears. The code is a little strange as it is, so we will rewrite it as follows.
.component.rich-text {
  h1 {
    @apply text-4xl;
  }
  h2 {
    @apply text-3xl;
  }
  h3 {
    @apply text-2xl;
  }
}
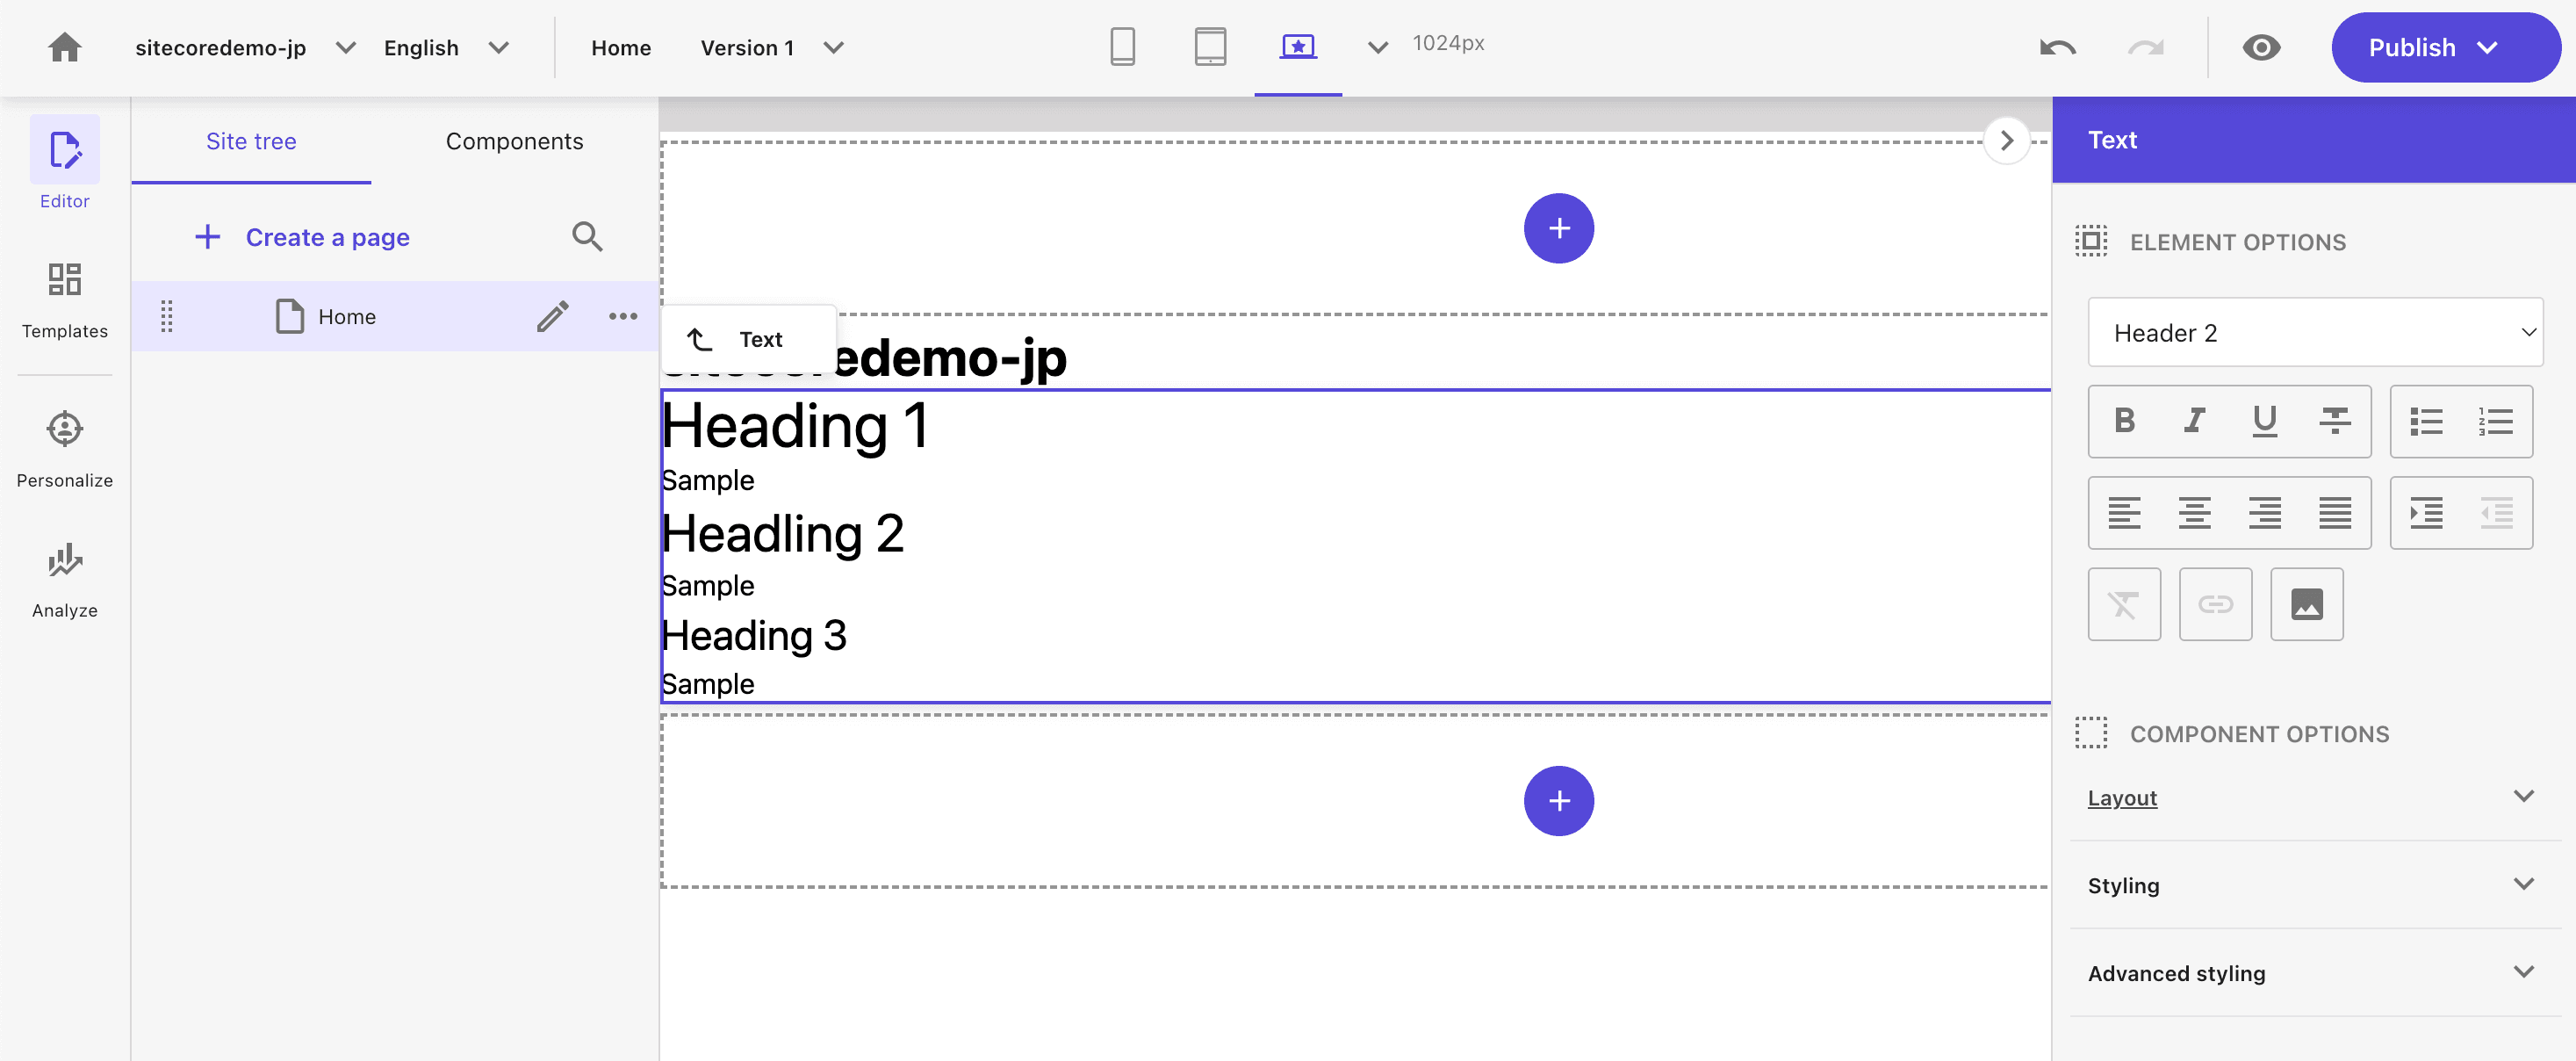
When the code is reflected on the XM Cloud side and the rich text is edited, you can see that the editing is properly controlled as you see it.

Summary
In this article, we will look at how to specify the size of each tag. In the next article, we will examine the control of component styles.