In order to use Azure Open AI, it is necessary not only to create it from the Azure administration screen, but also to apply for it so that it can be created. This article is a memo of the procedure to do so.

Before creating
When I create a resource group in Azure Portal and try to add Azure Open AI to it, I am not able to select a price level.
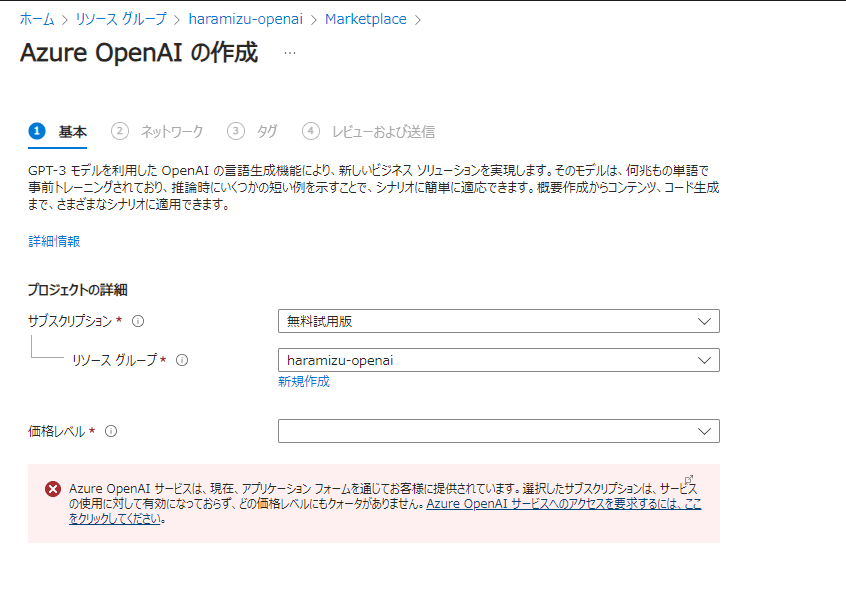
The default form of the application is that it cannot be created, so if you click on the link from the warning on the page above, you will be taken to a page where you can make an application.
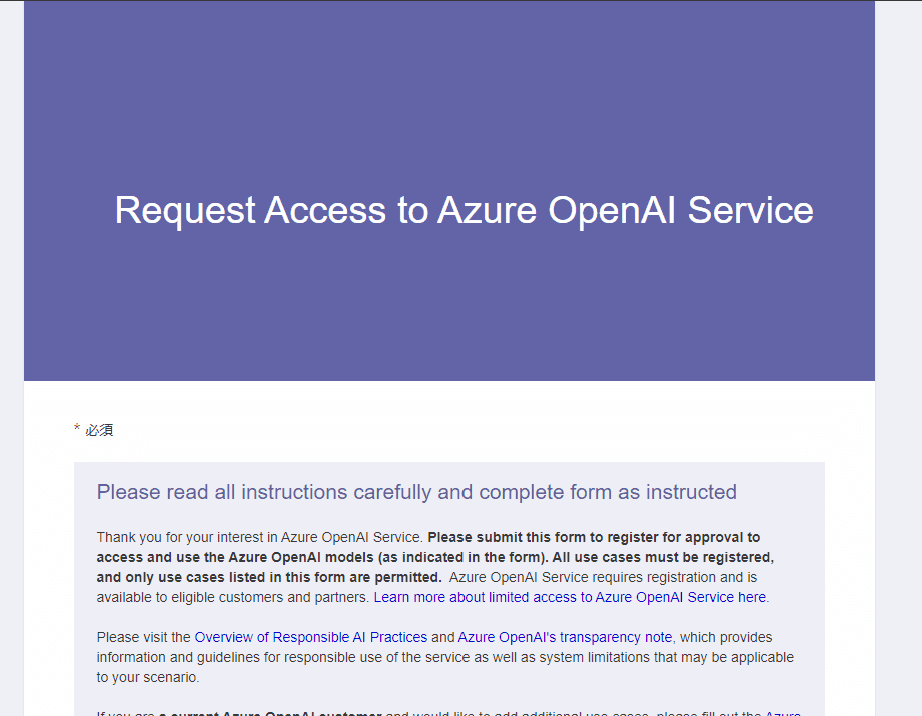
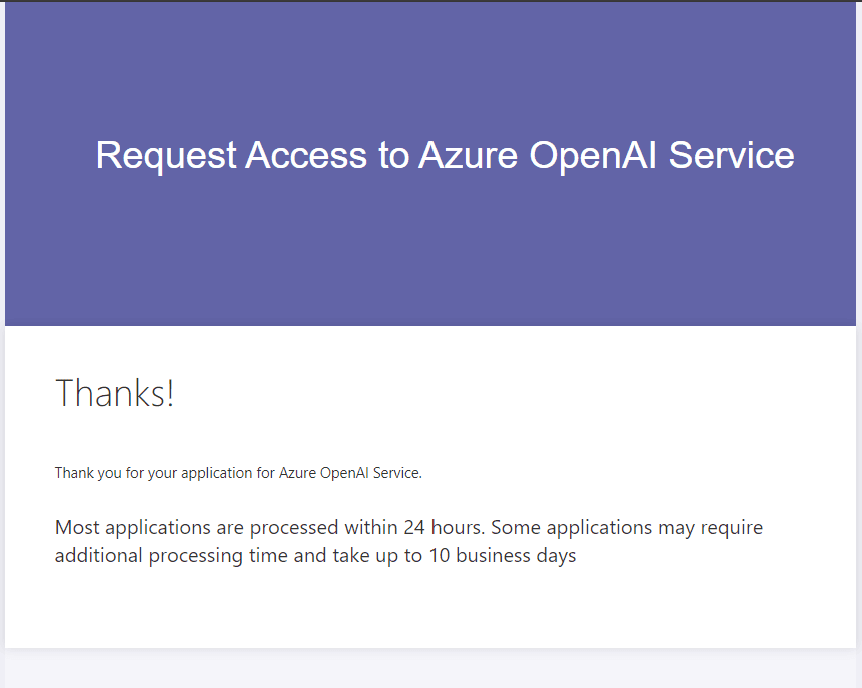
There are many items. Do your best to enter the relevant information. The application is written in English, but it is not so difficult if you use a browser's translator. When you complete the application, you will see the "Thanks" screen as shown below.
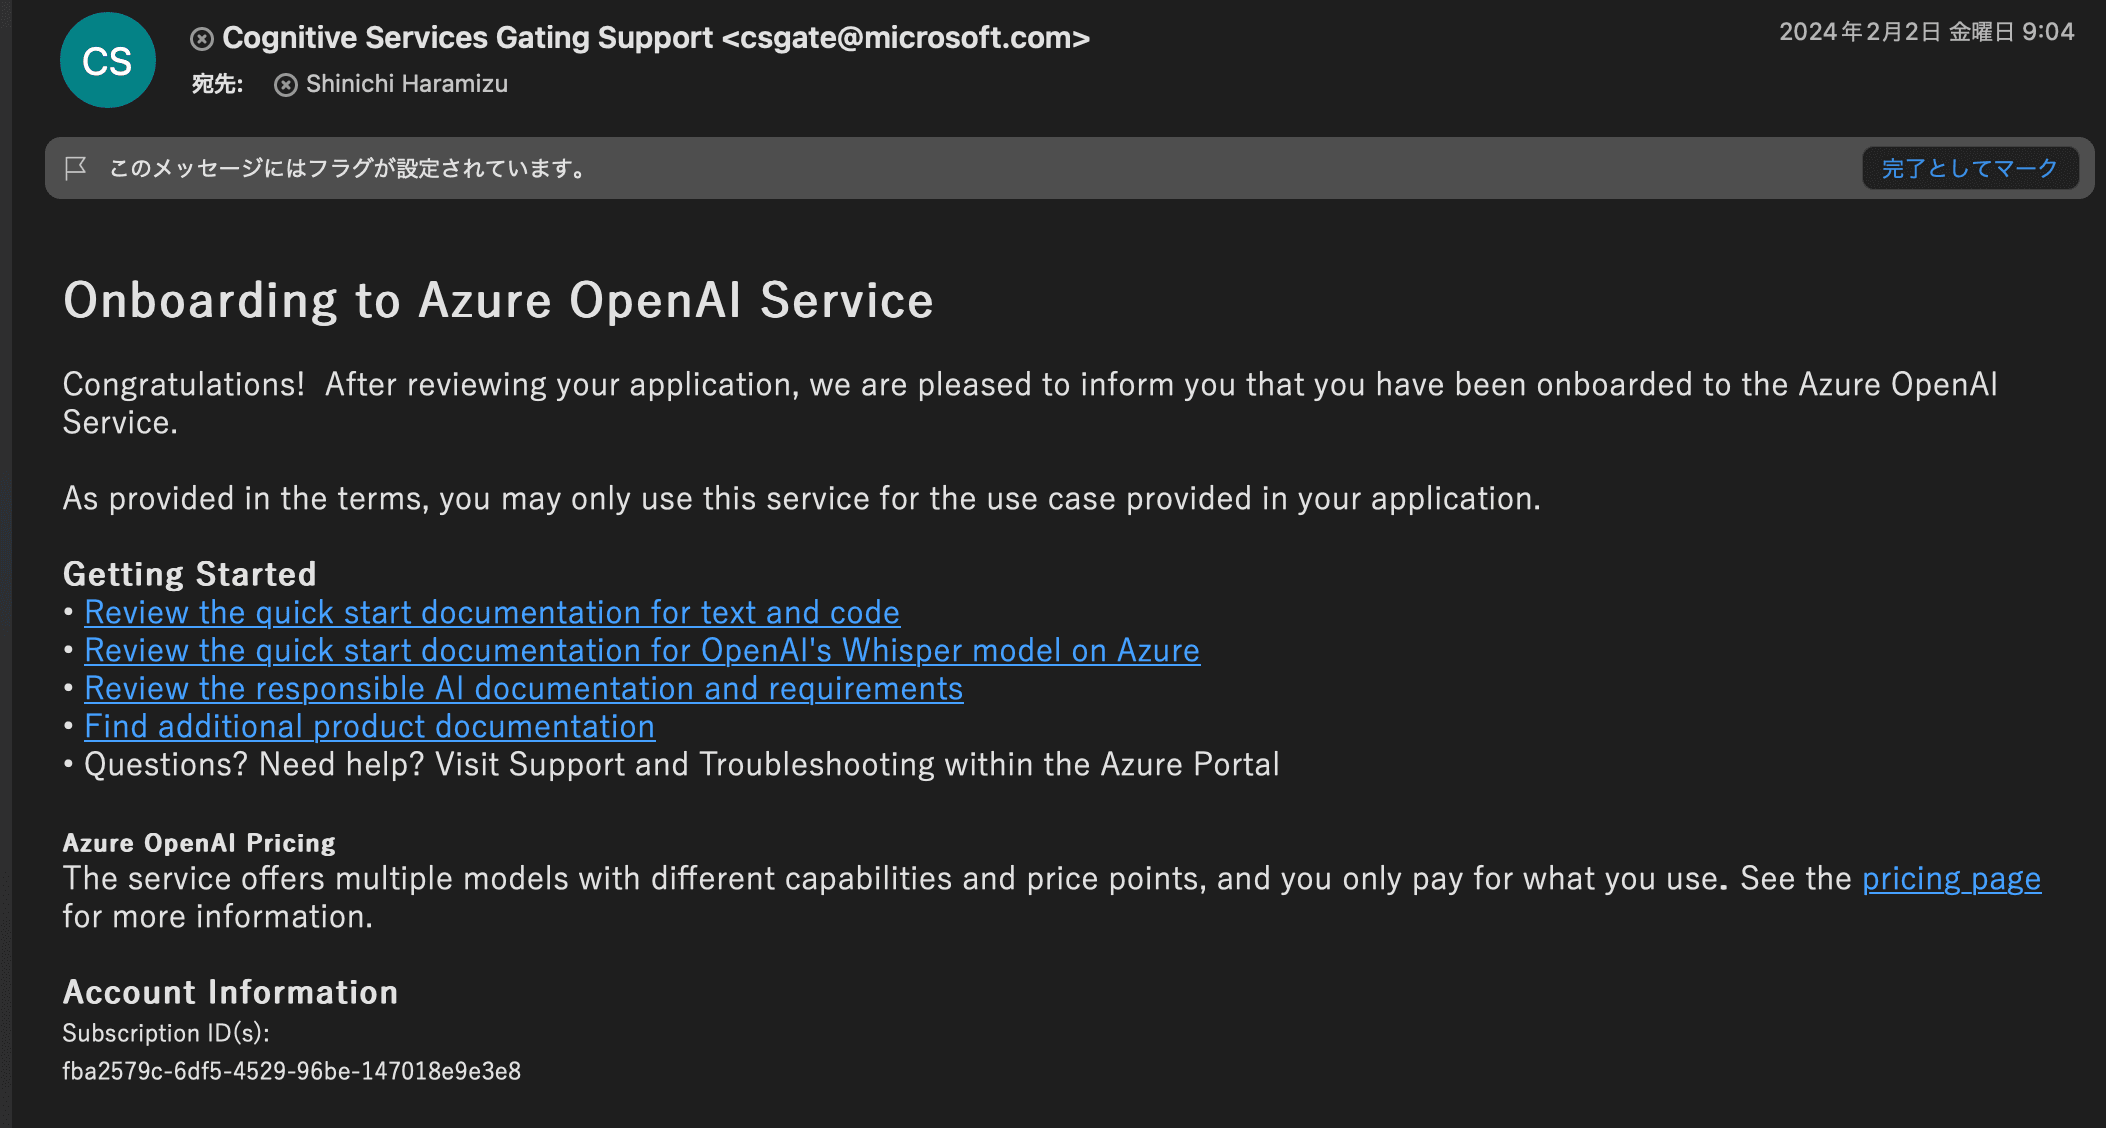
This time it was a few days later, and I received an email stating that Azure Open AI was available as follows
Creating Azure Open AI
When you go to create a new one after the application is complete, you can now select a price level as follows.
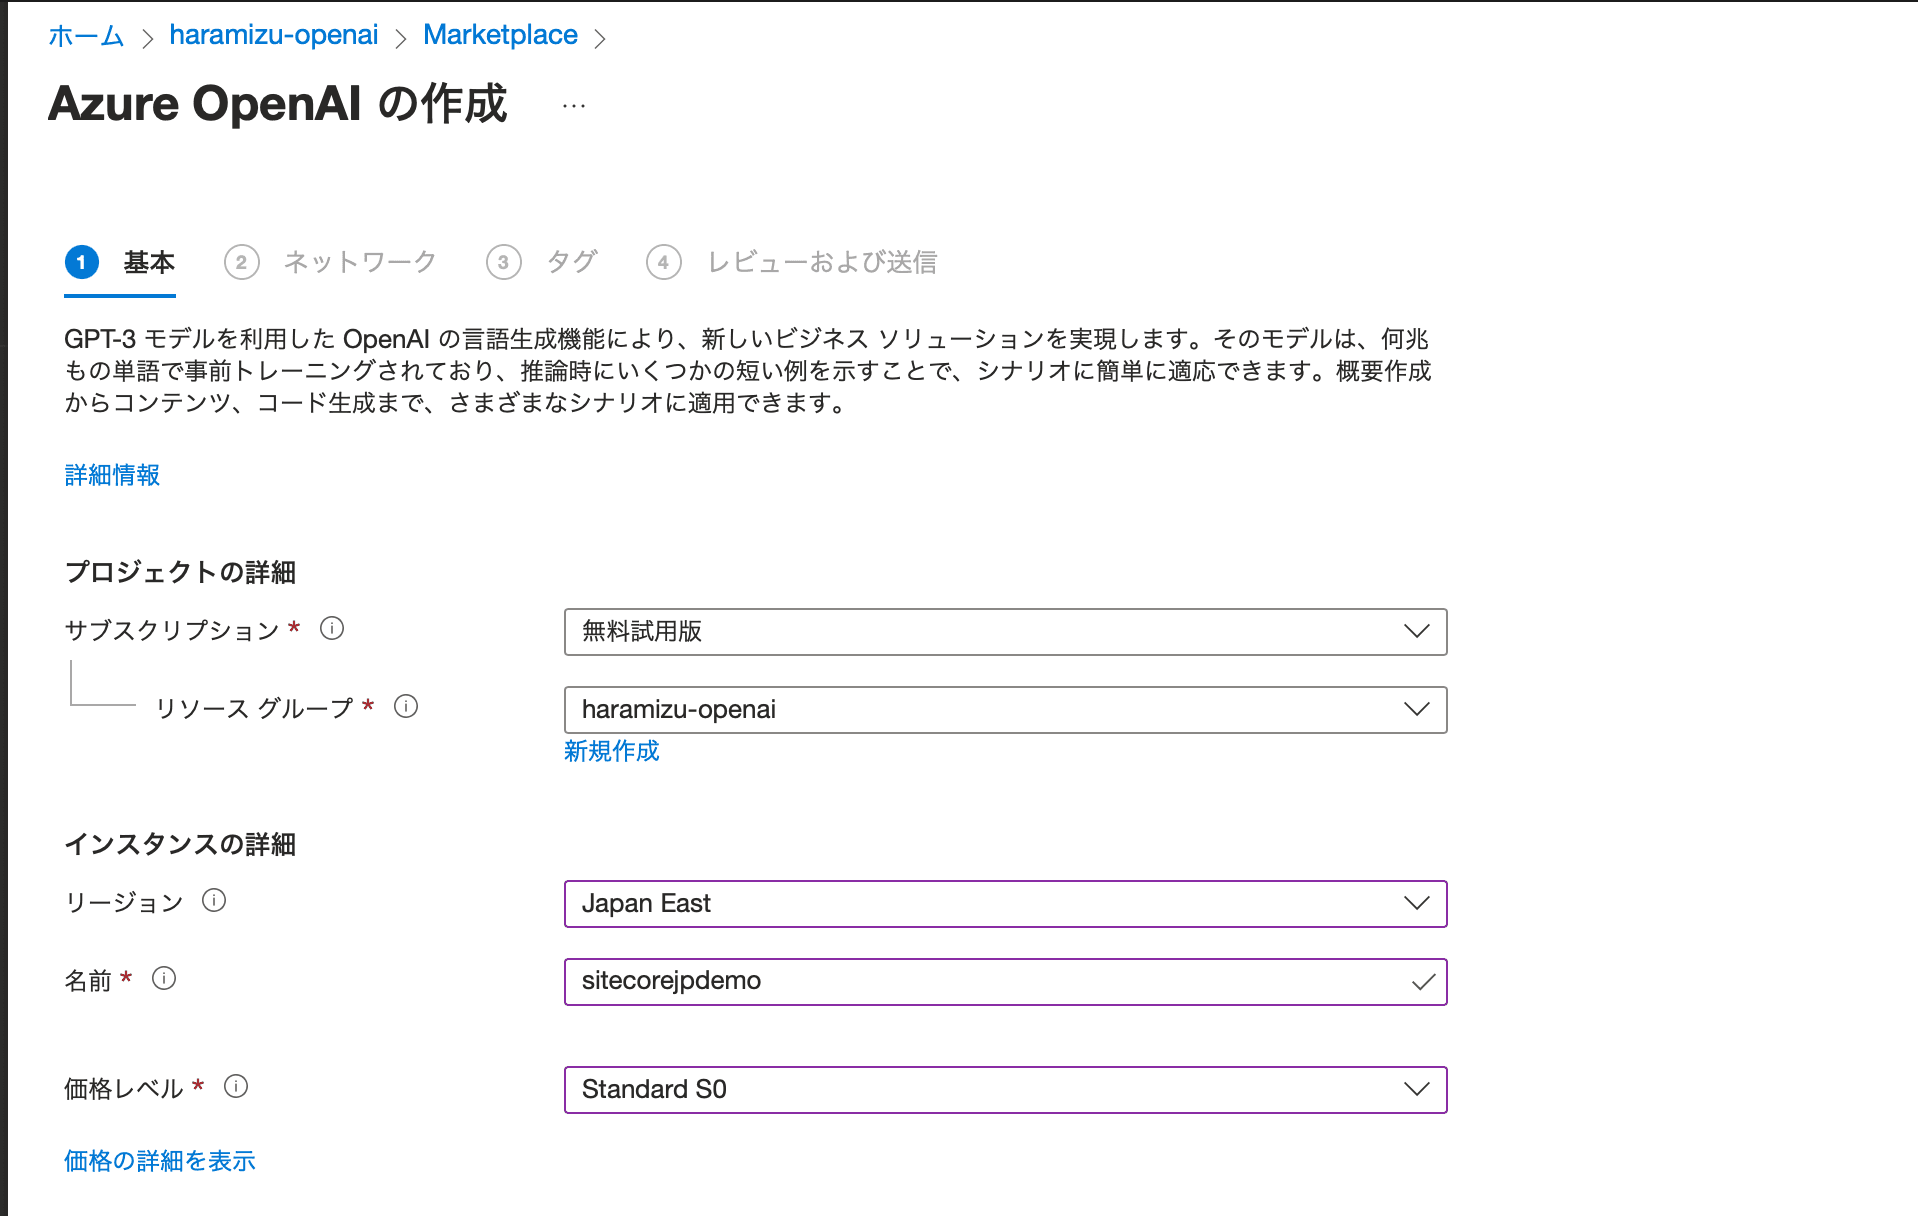
A few transitions through the screens will get you ready for Azure Open AI resources.
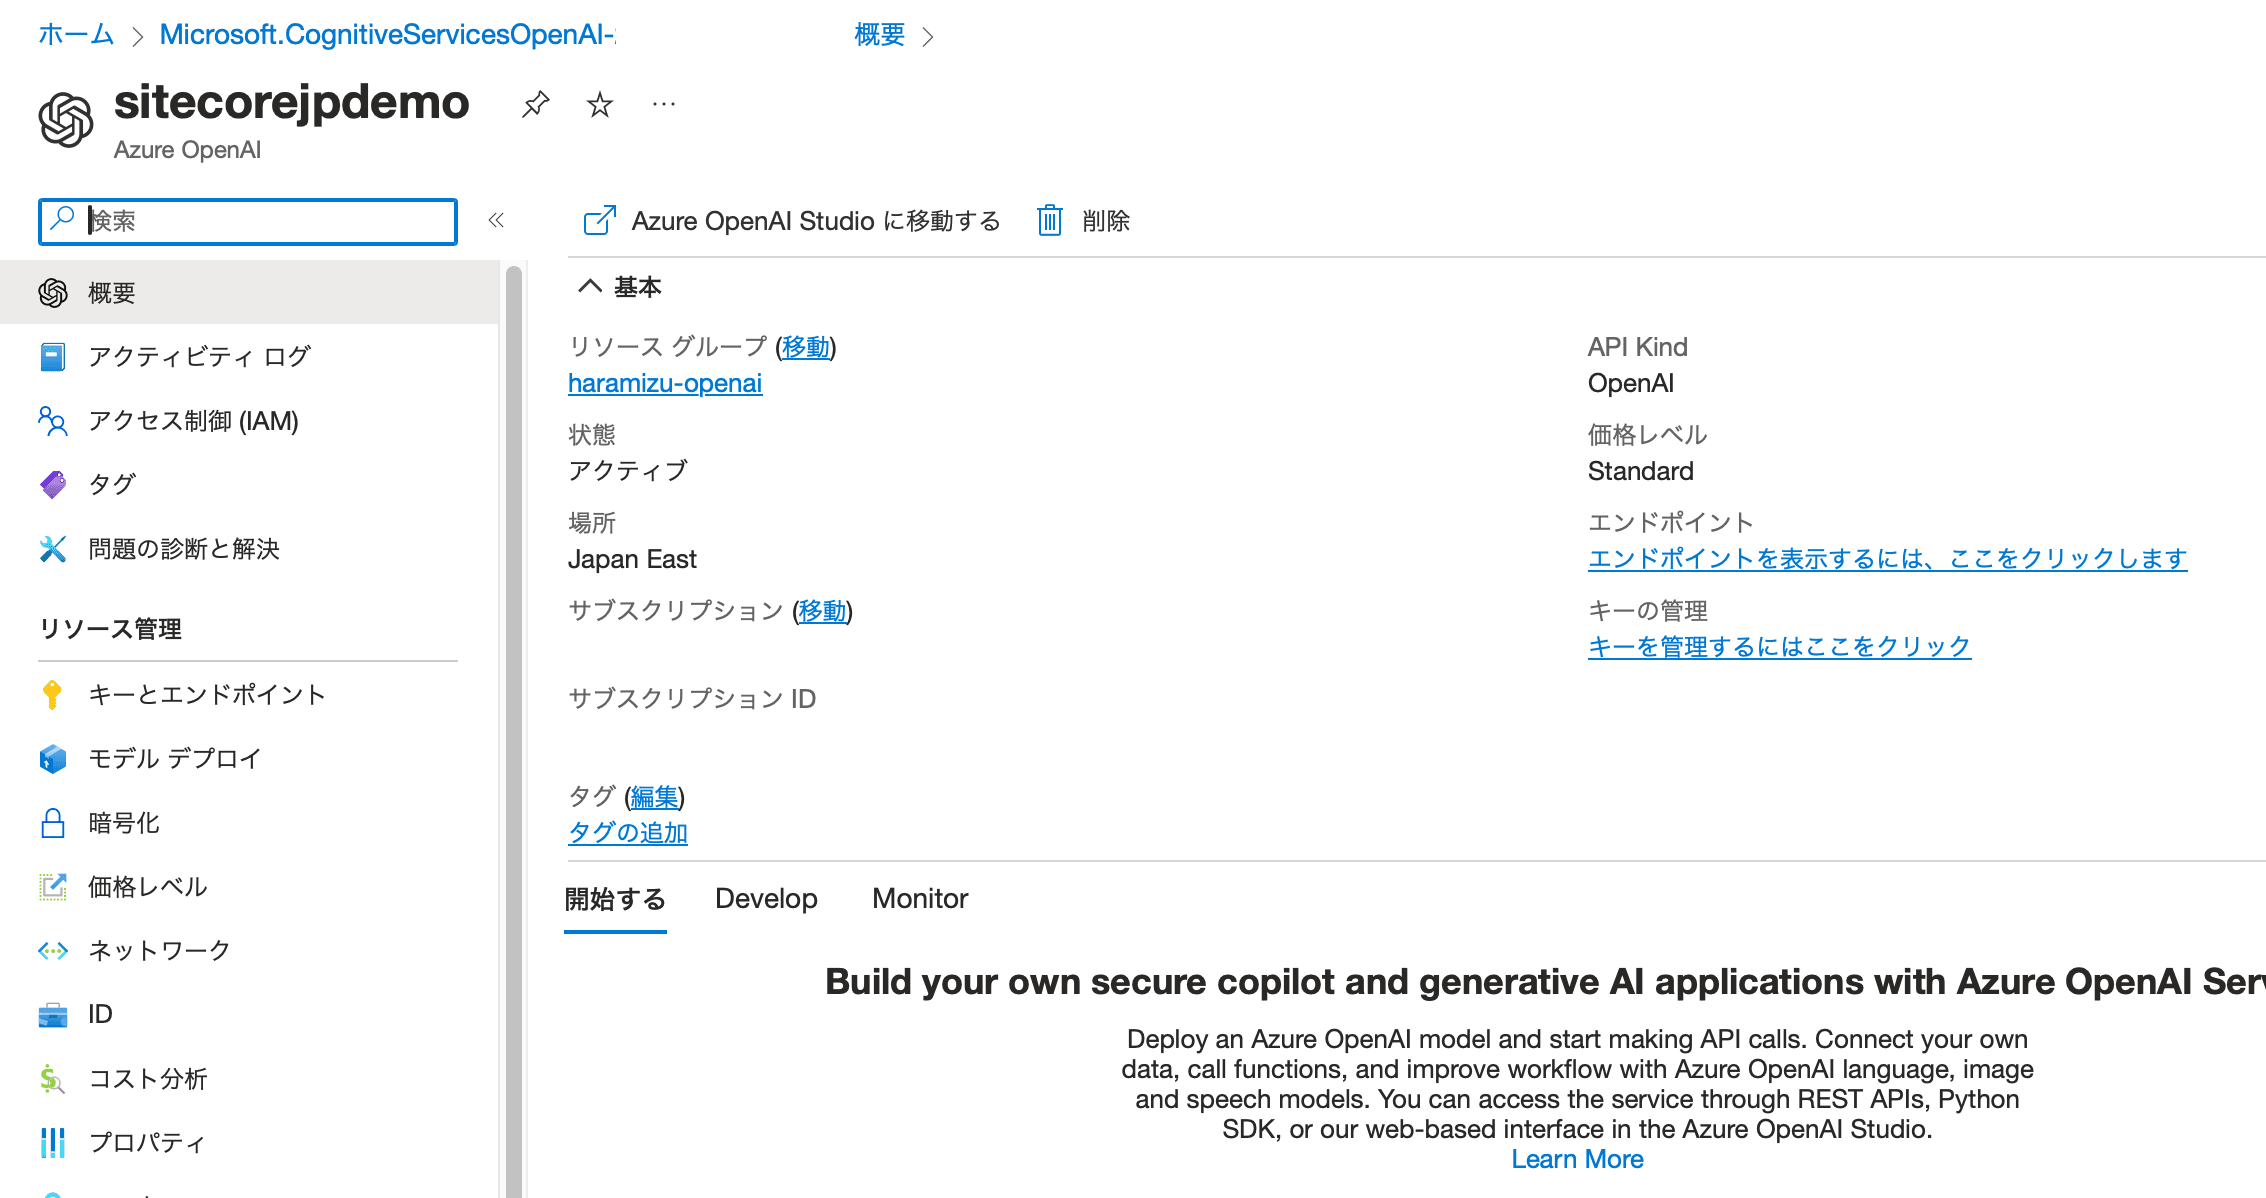
Click Go to Azure OpenAI Studio on the screen.
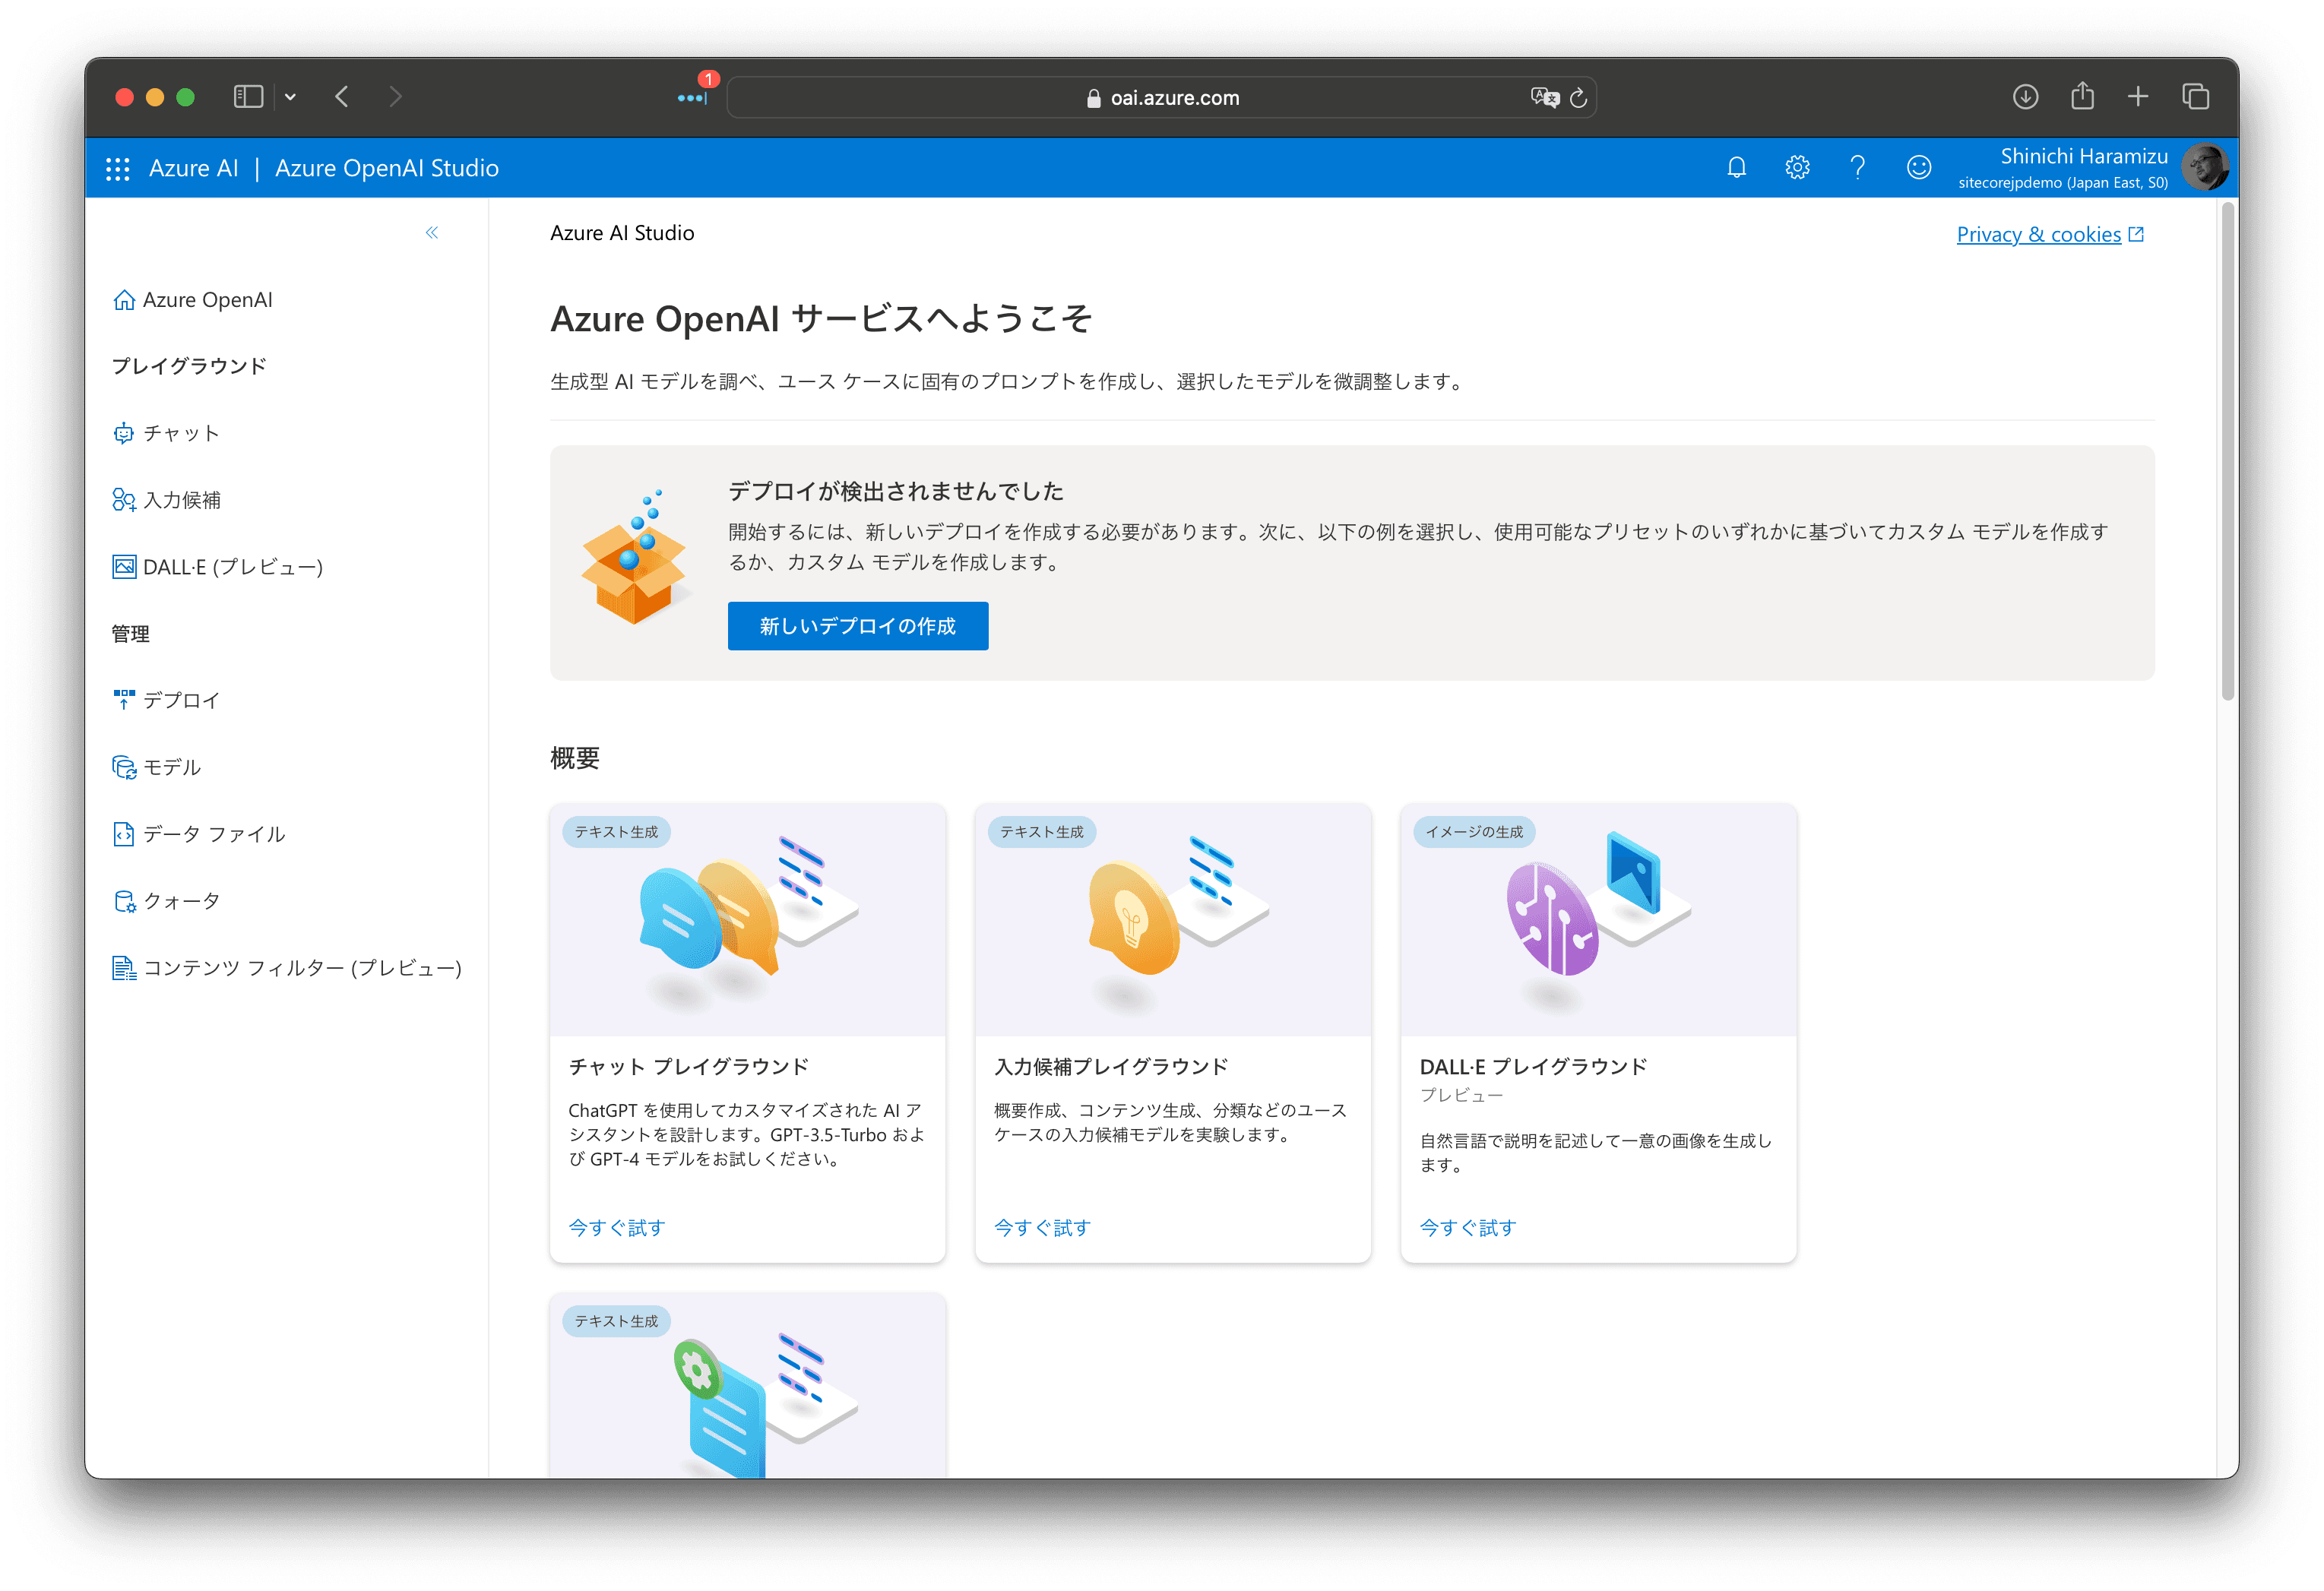
First, press the Create New Deploy button to add a model.
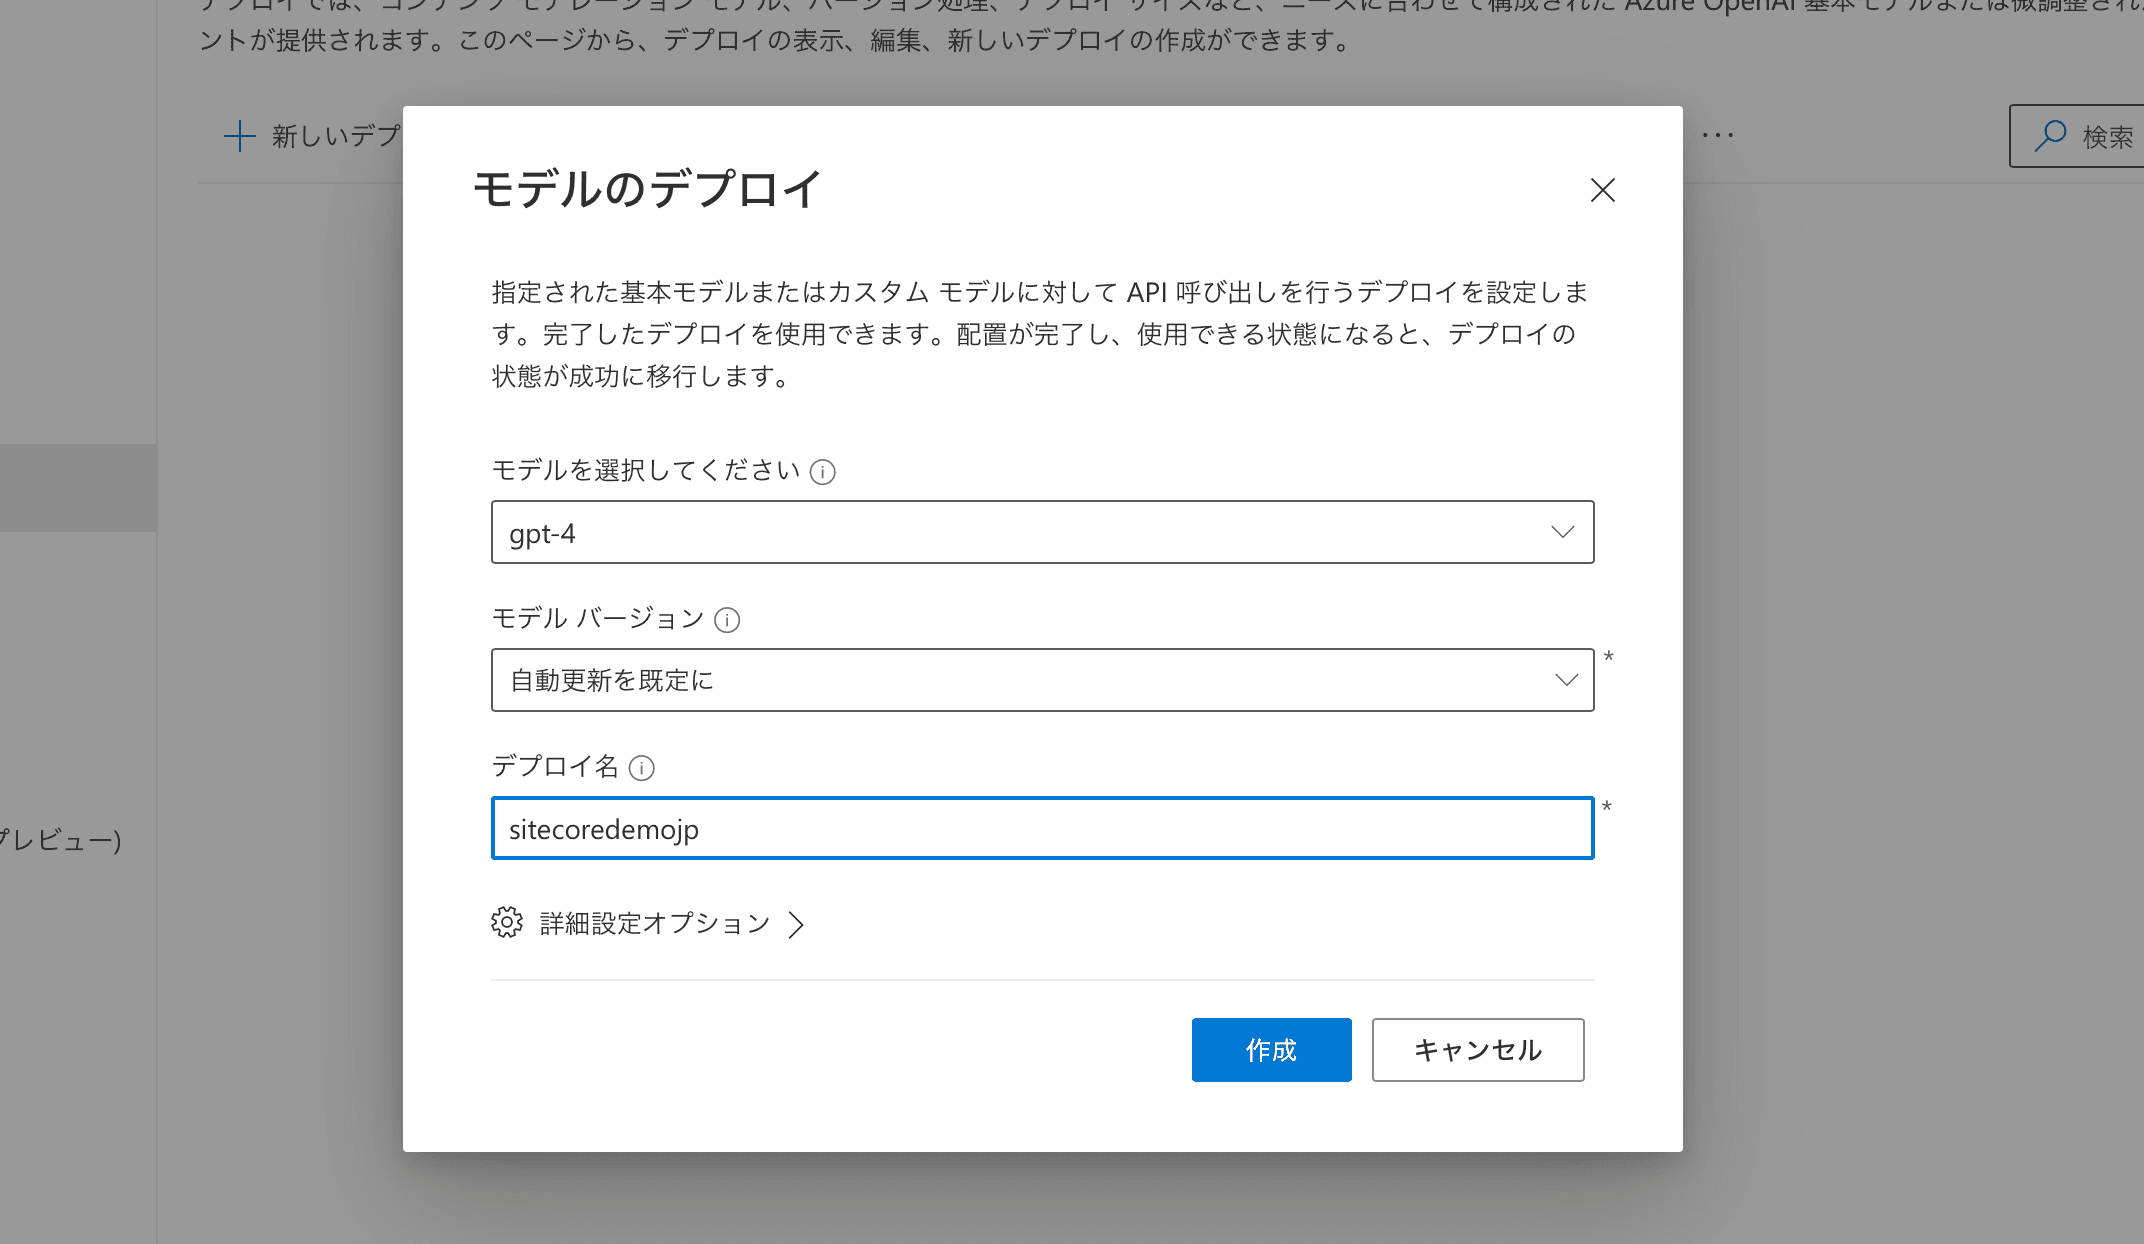
When you create one, it will be expanded. After expanding, the next step is to select Chat from the menu on the left side.
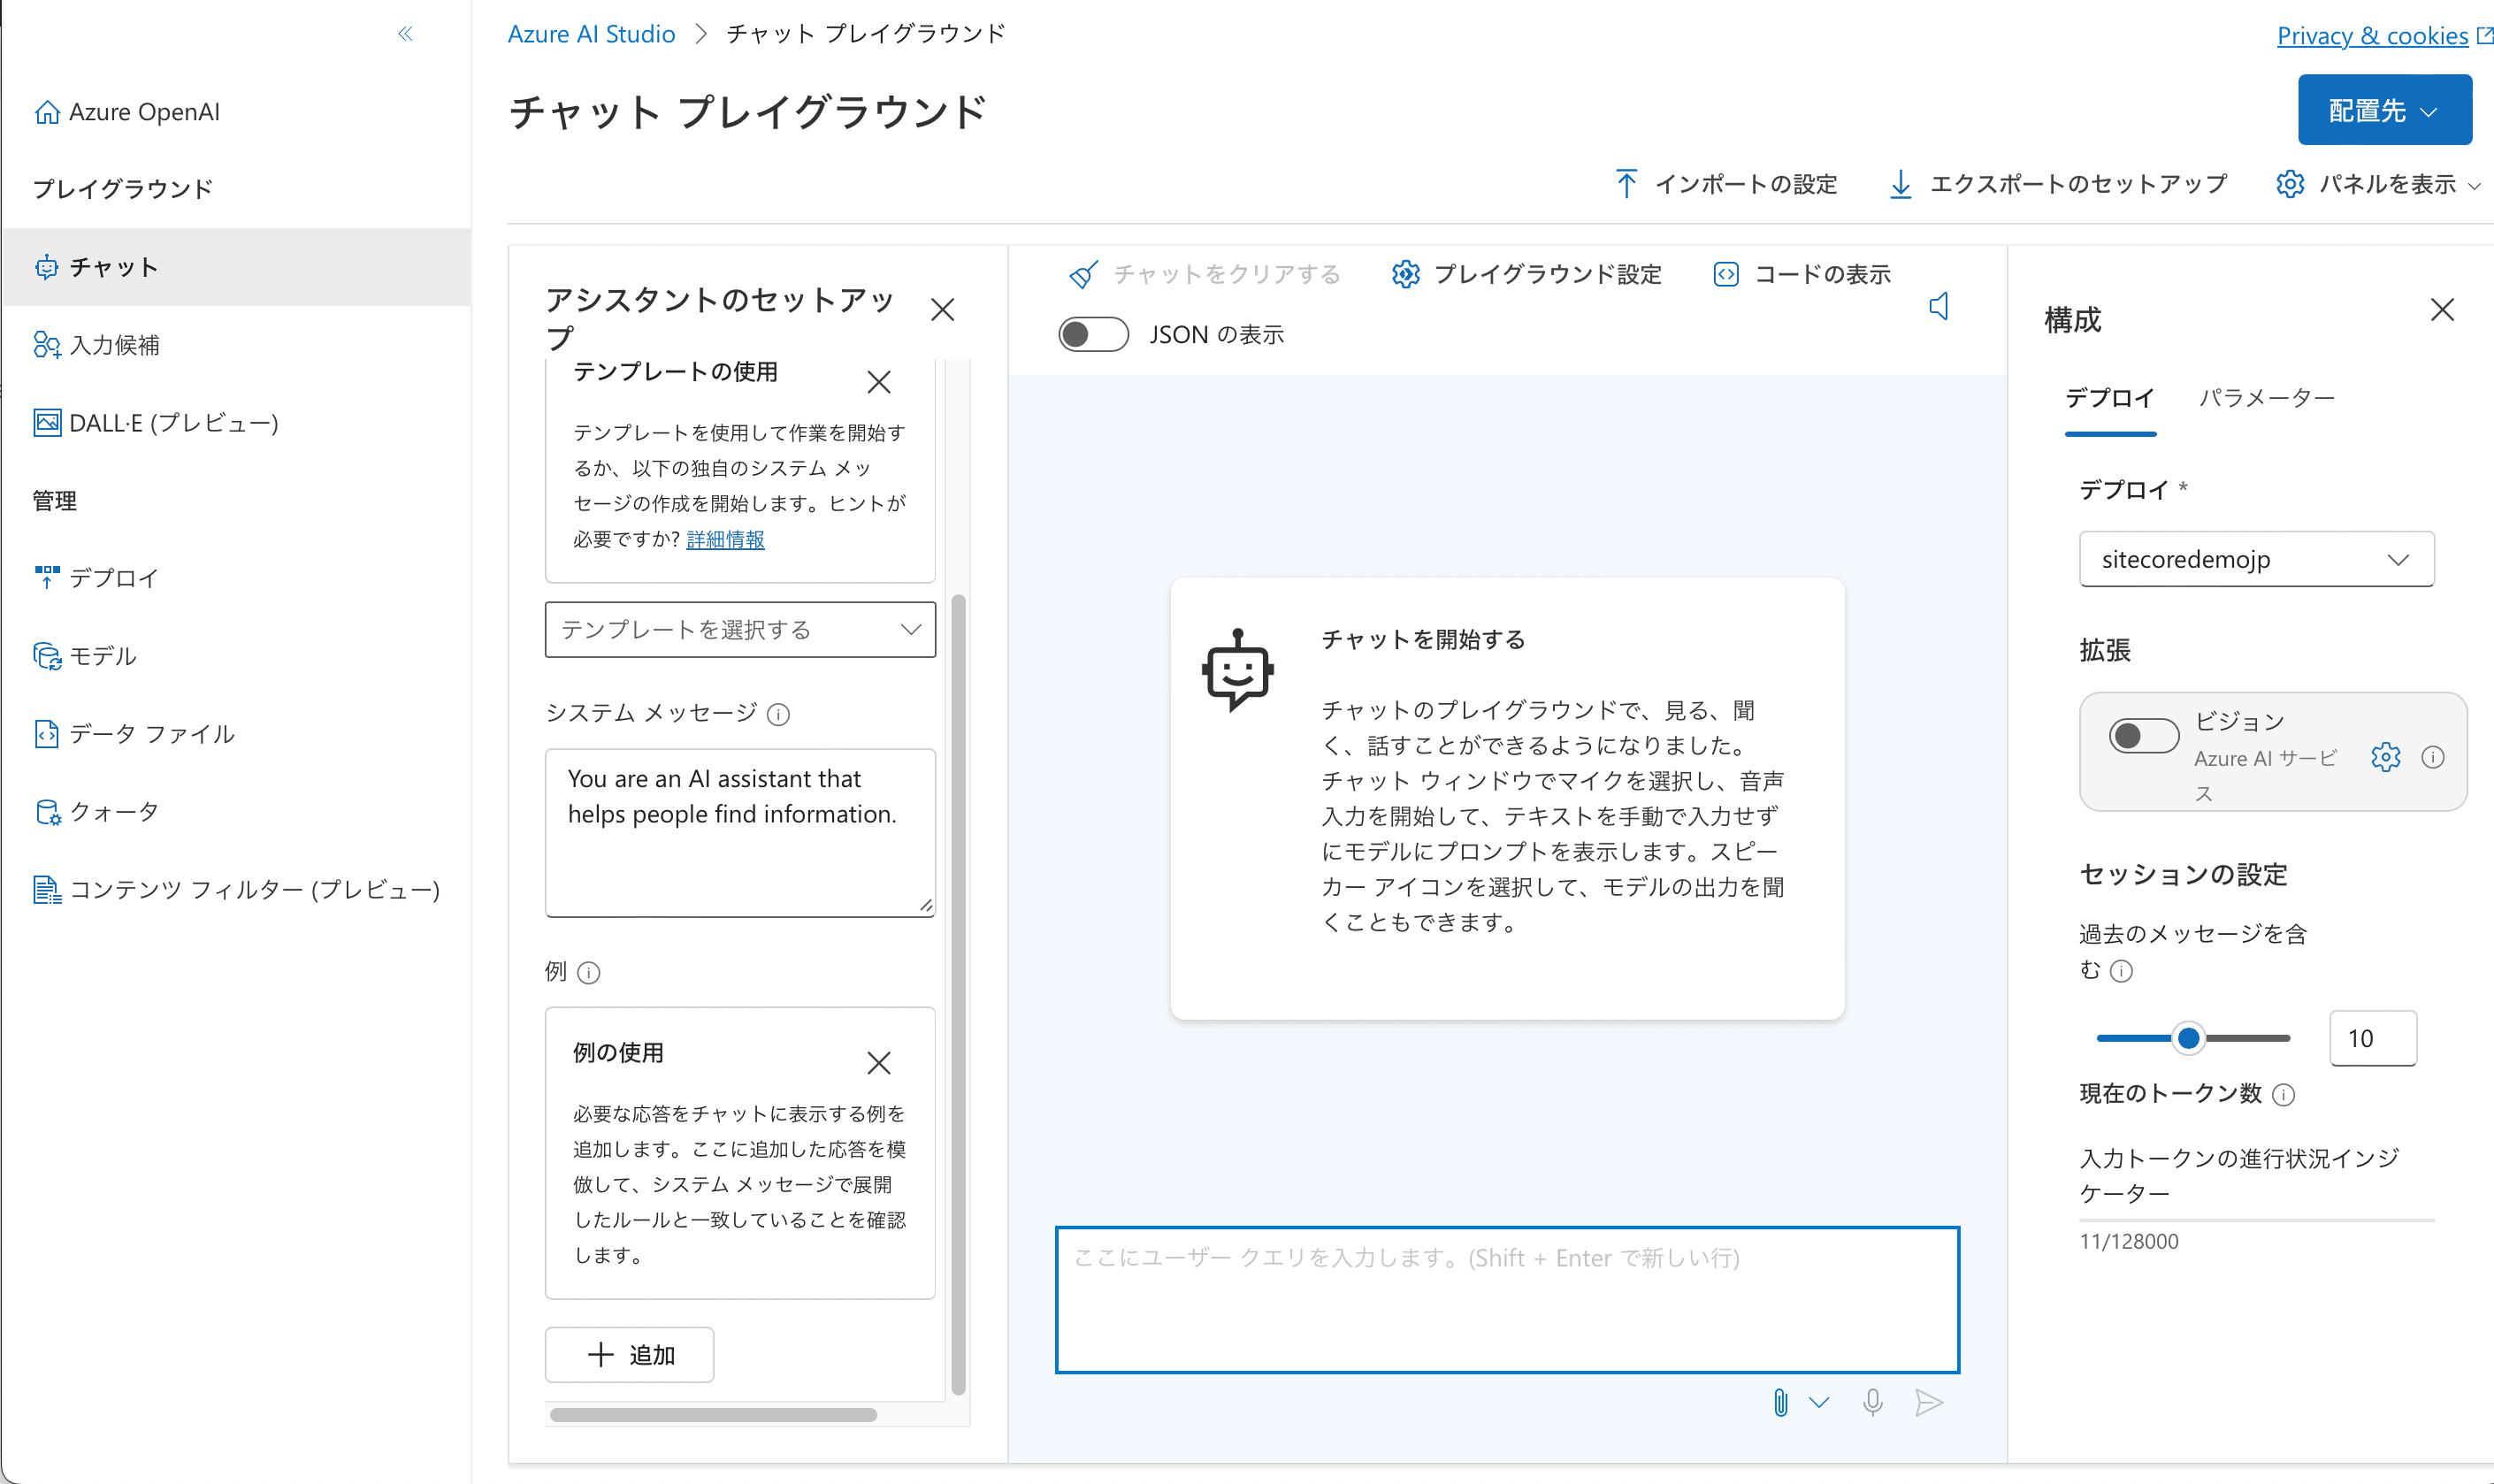
If you are now ready to chat, you are ready for Azure Open AI.
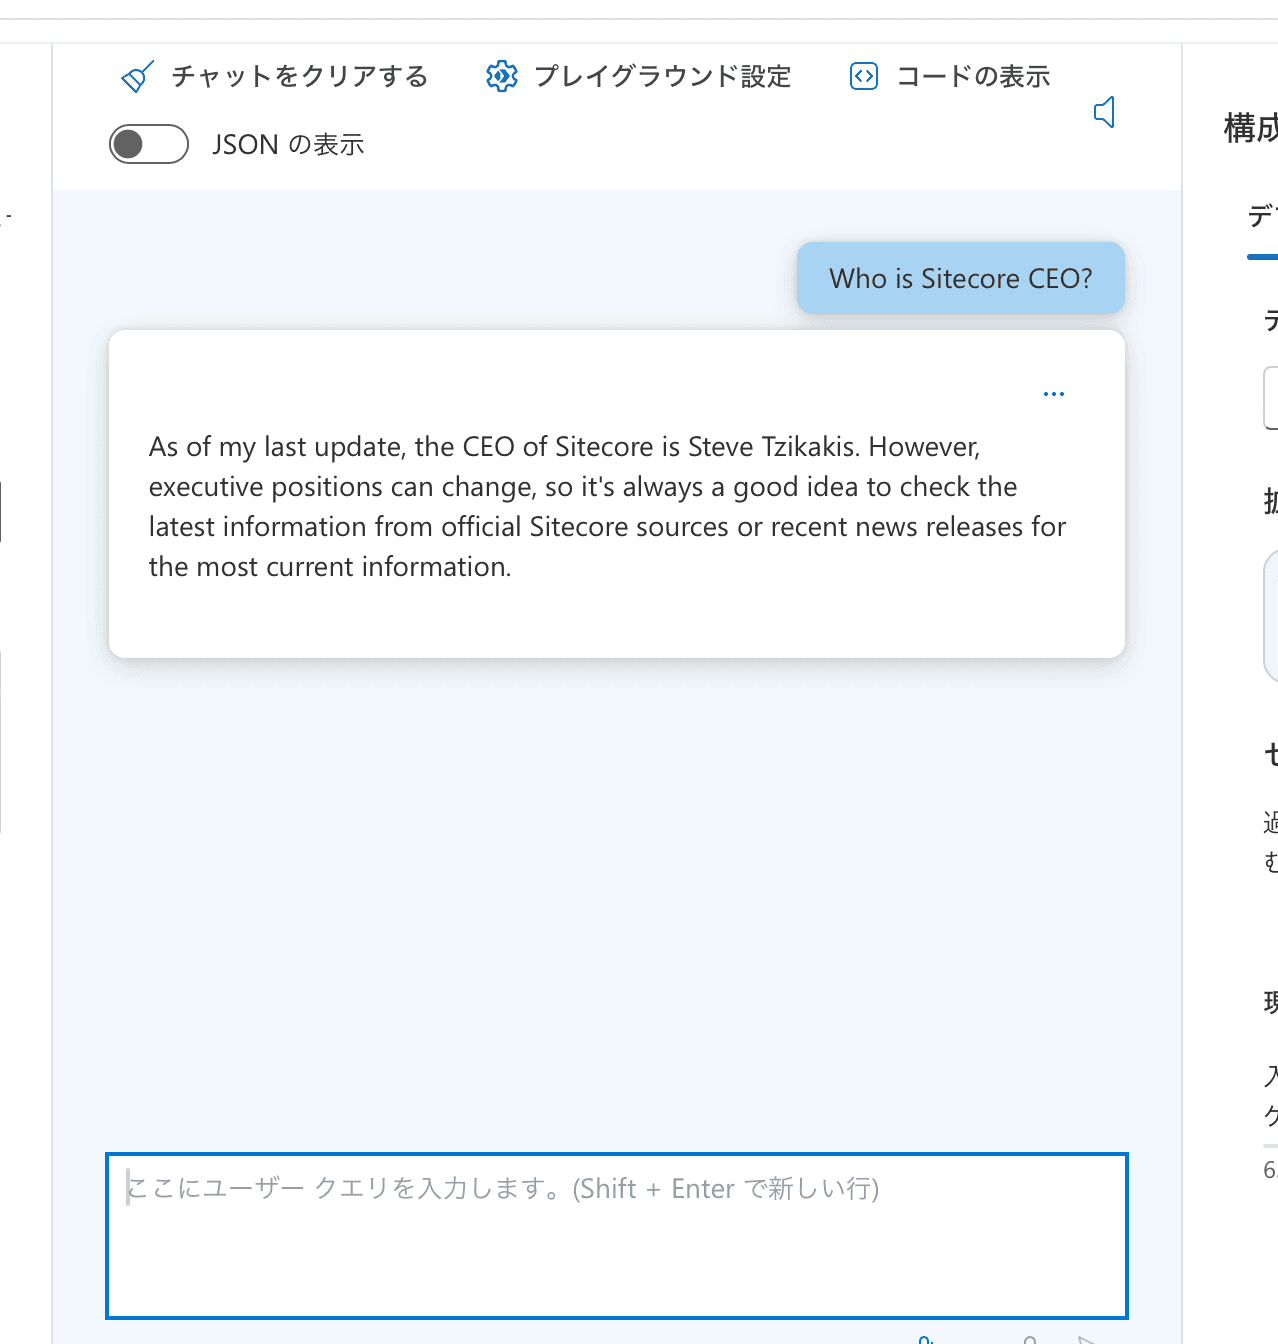
Summary
This time, we confirmed the Azure Open AI service in Azure to the point where chatting is possible. Unlike ChatGPT, we were able to prepare AI services that could be used on Azure.