Like Sitecore's CMS, XM Cloud also allows for content management in multiple languages. In this article, we will introduce the configuration of the CMS side.

Add content language
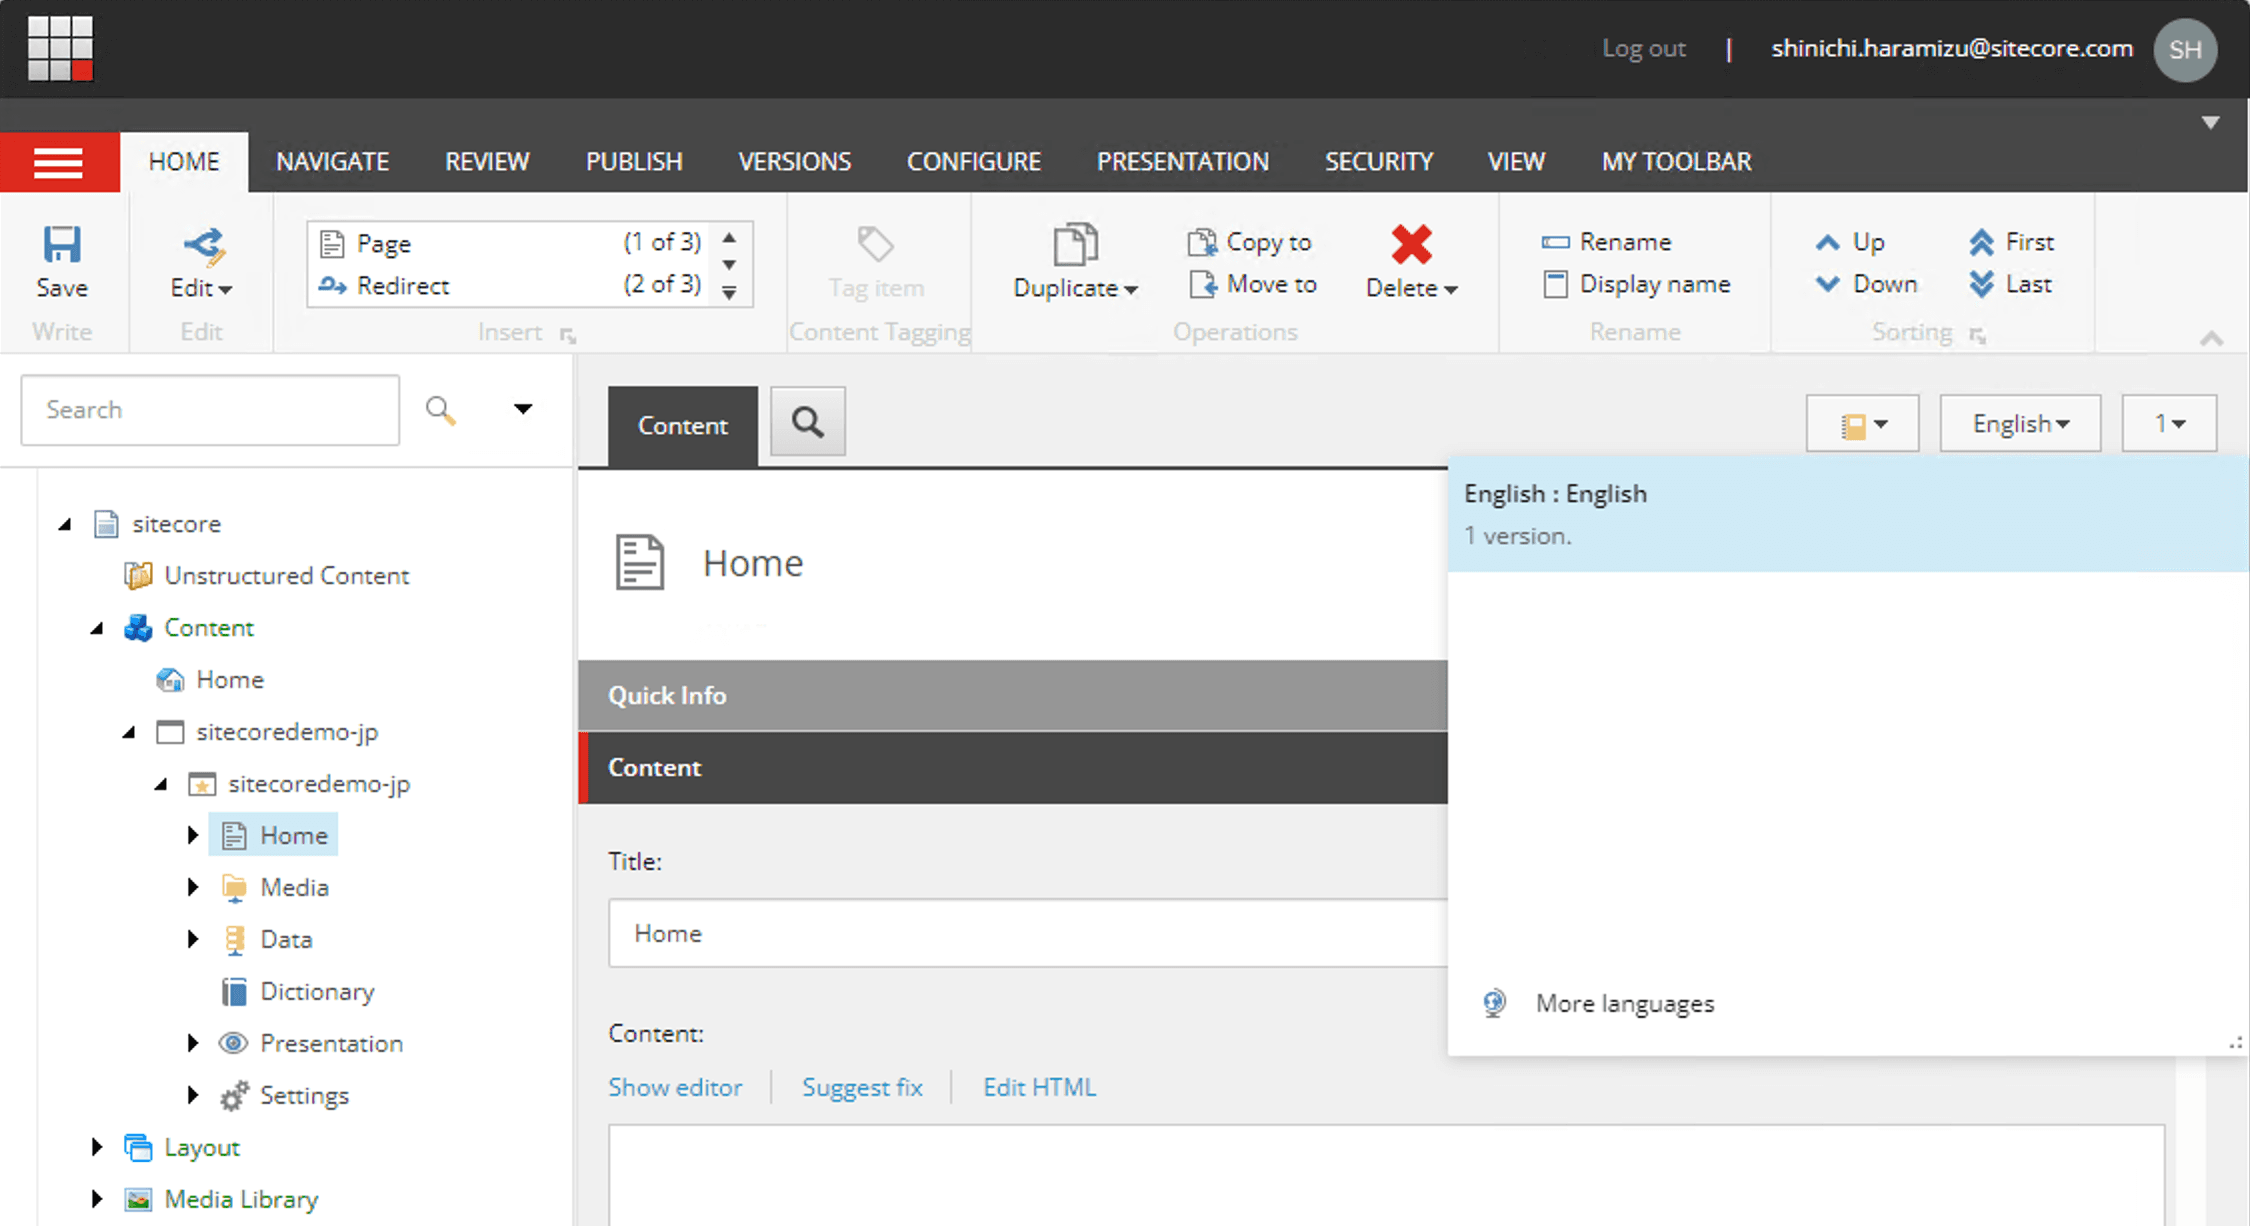
When the sample XM Cloud site is launched, it holds only English resources, as shown below.
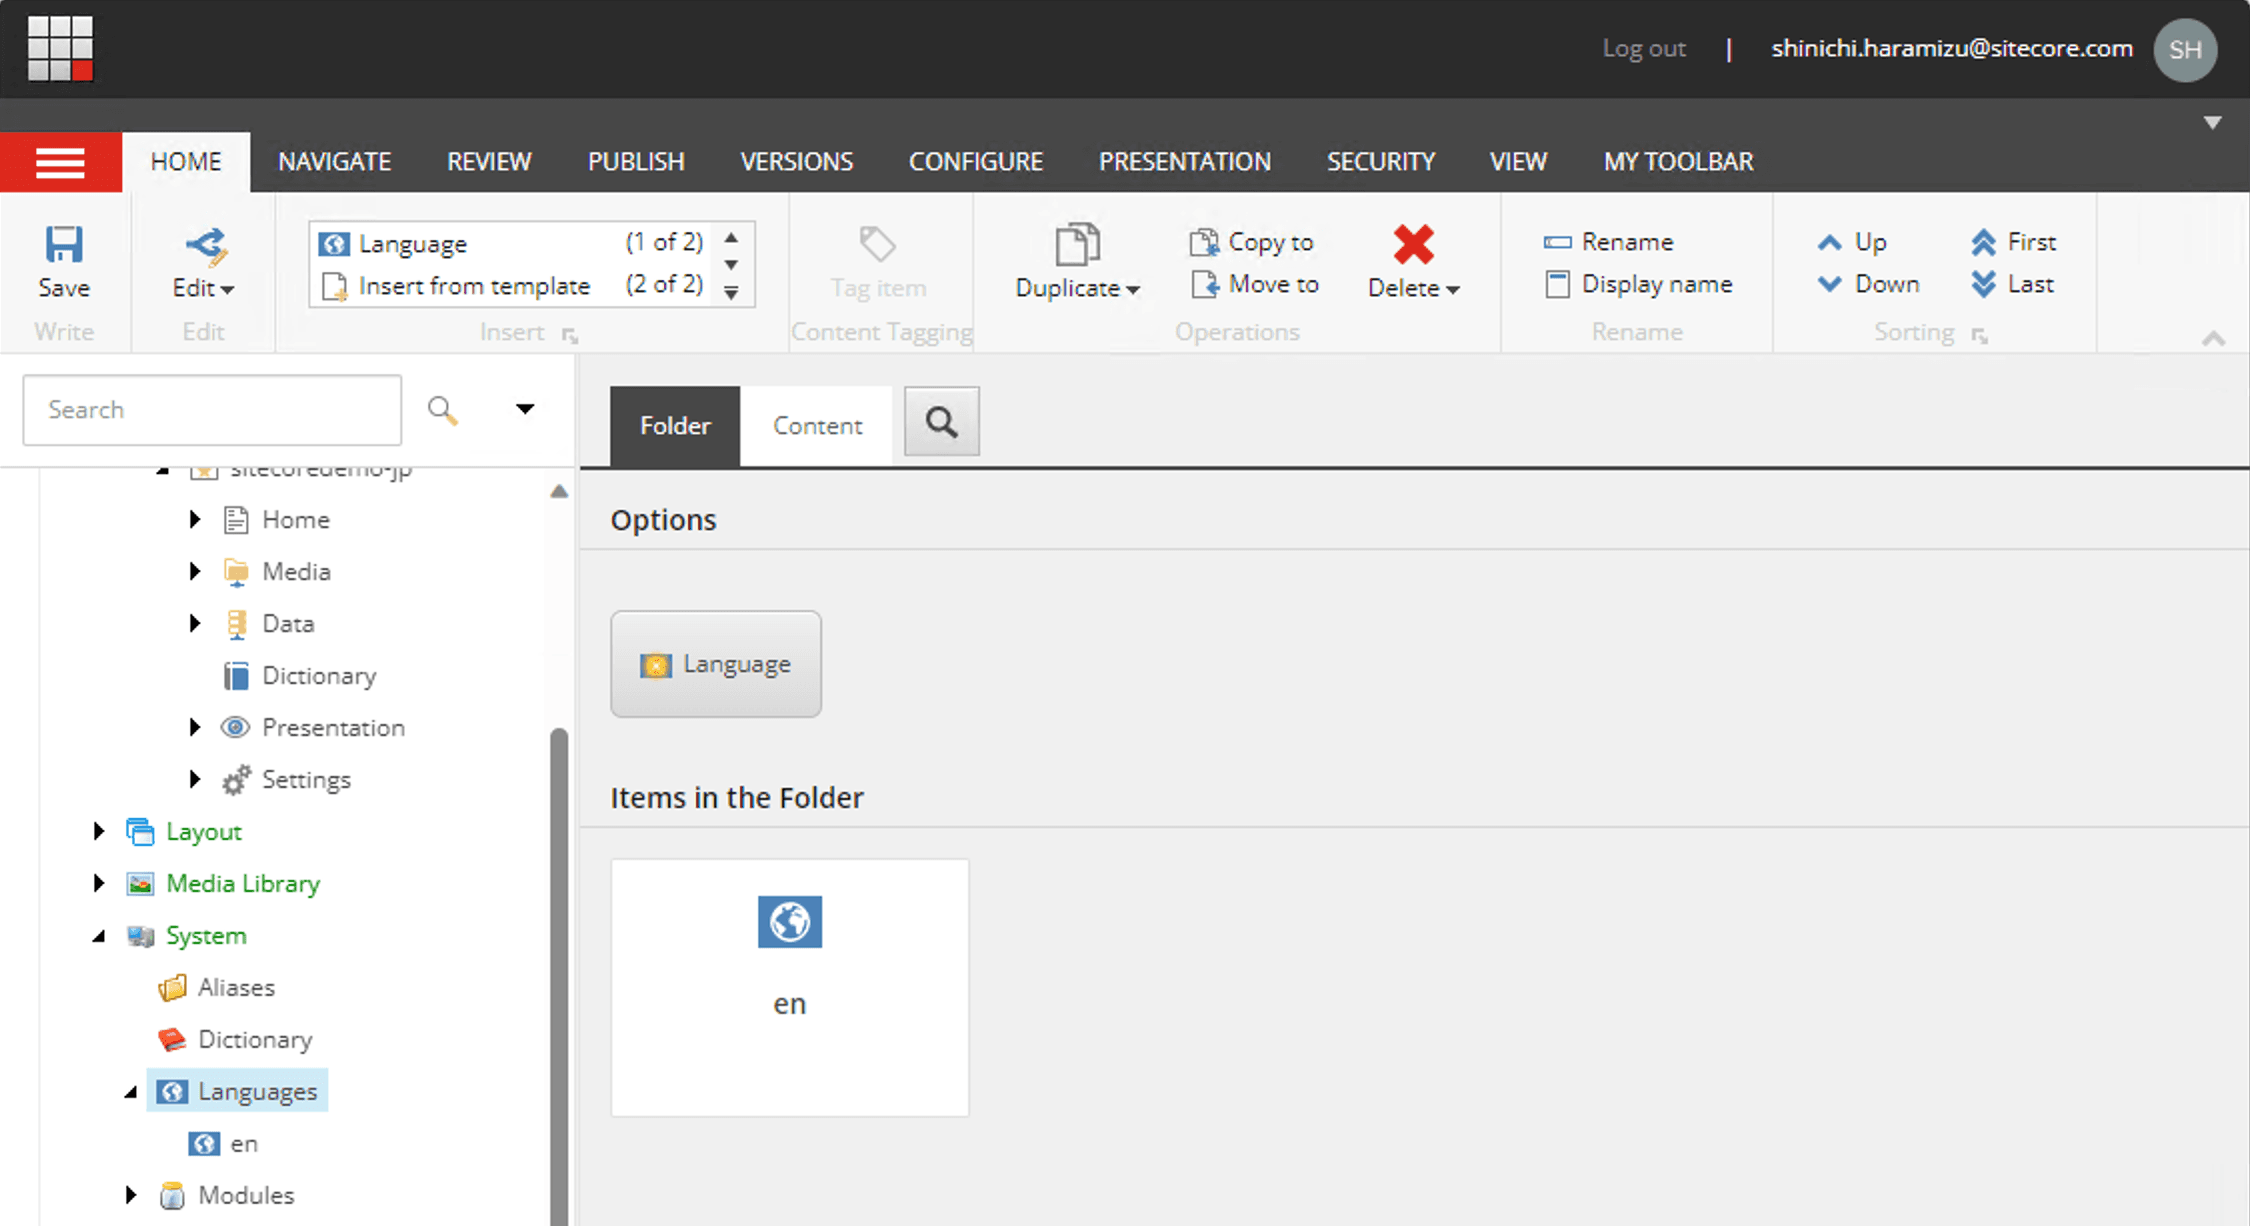
Languages can be added by adding items to the /sitecore/system/Languages path.
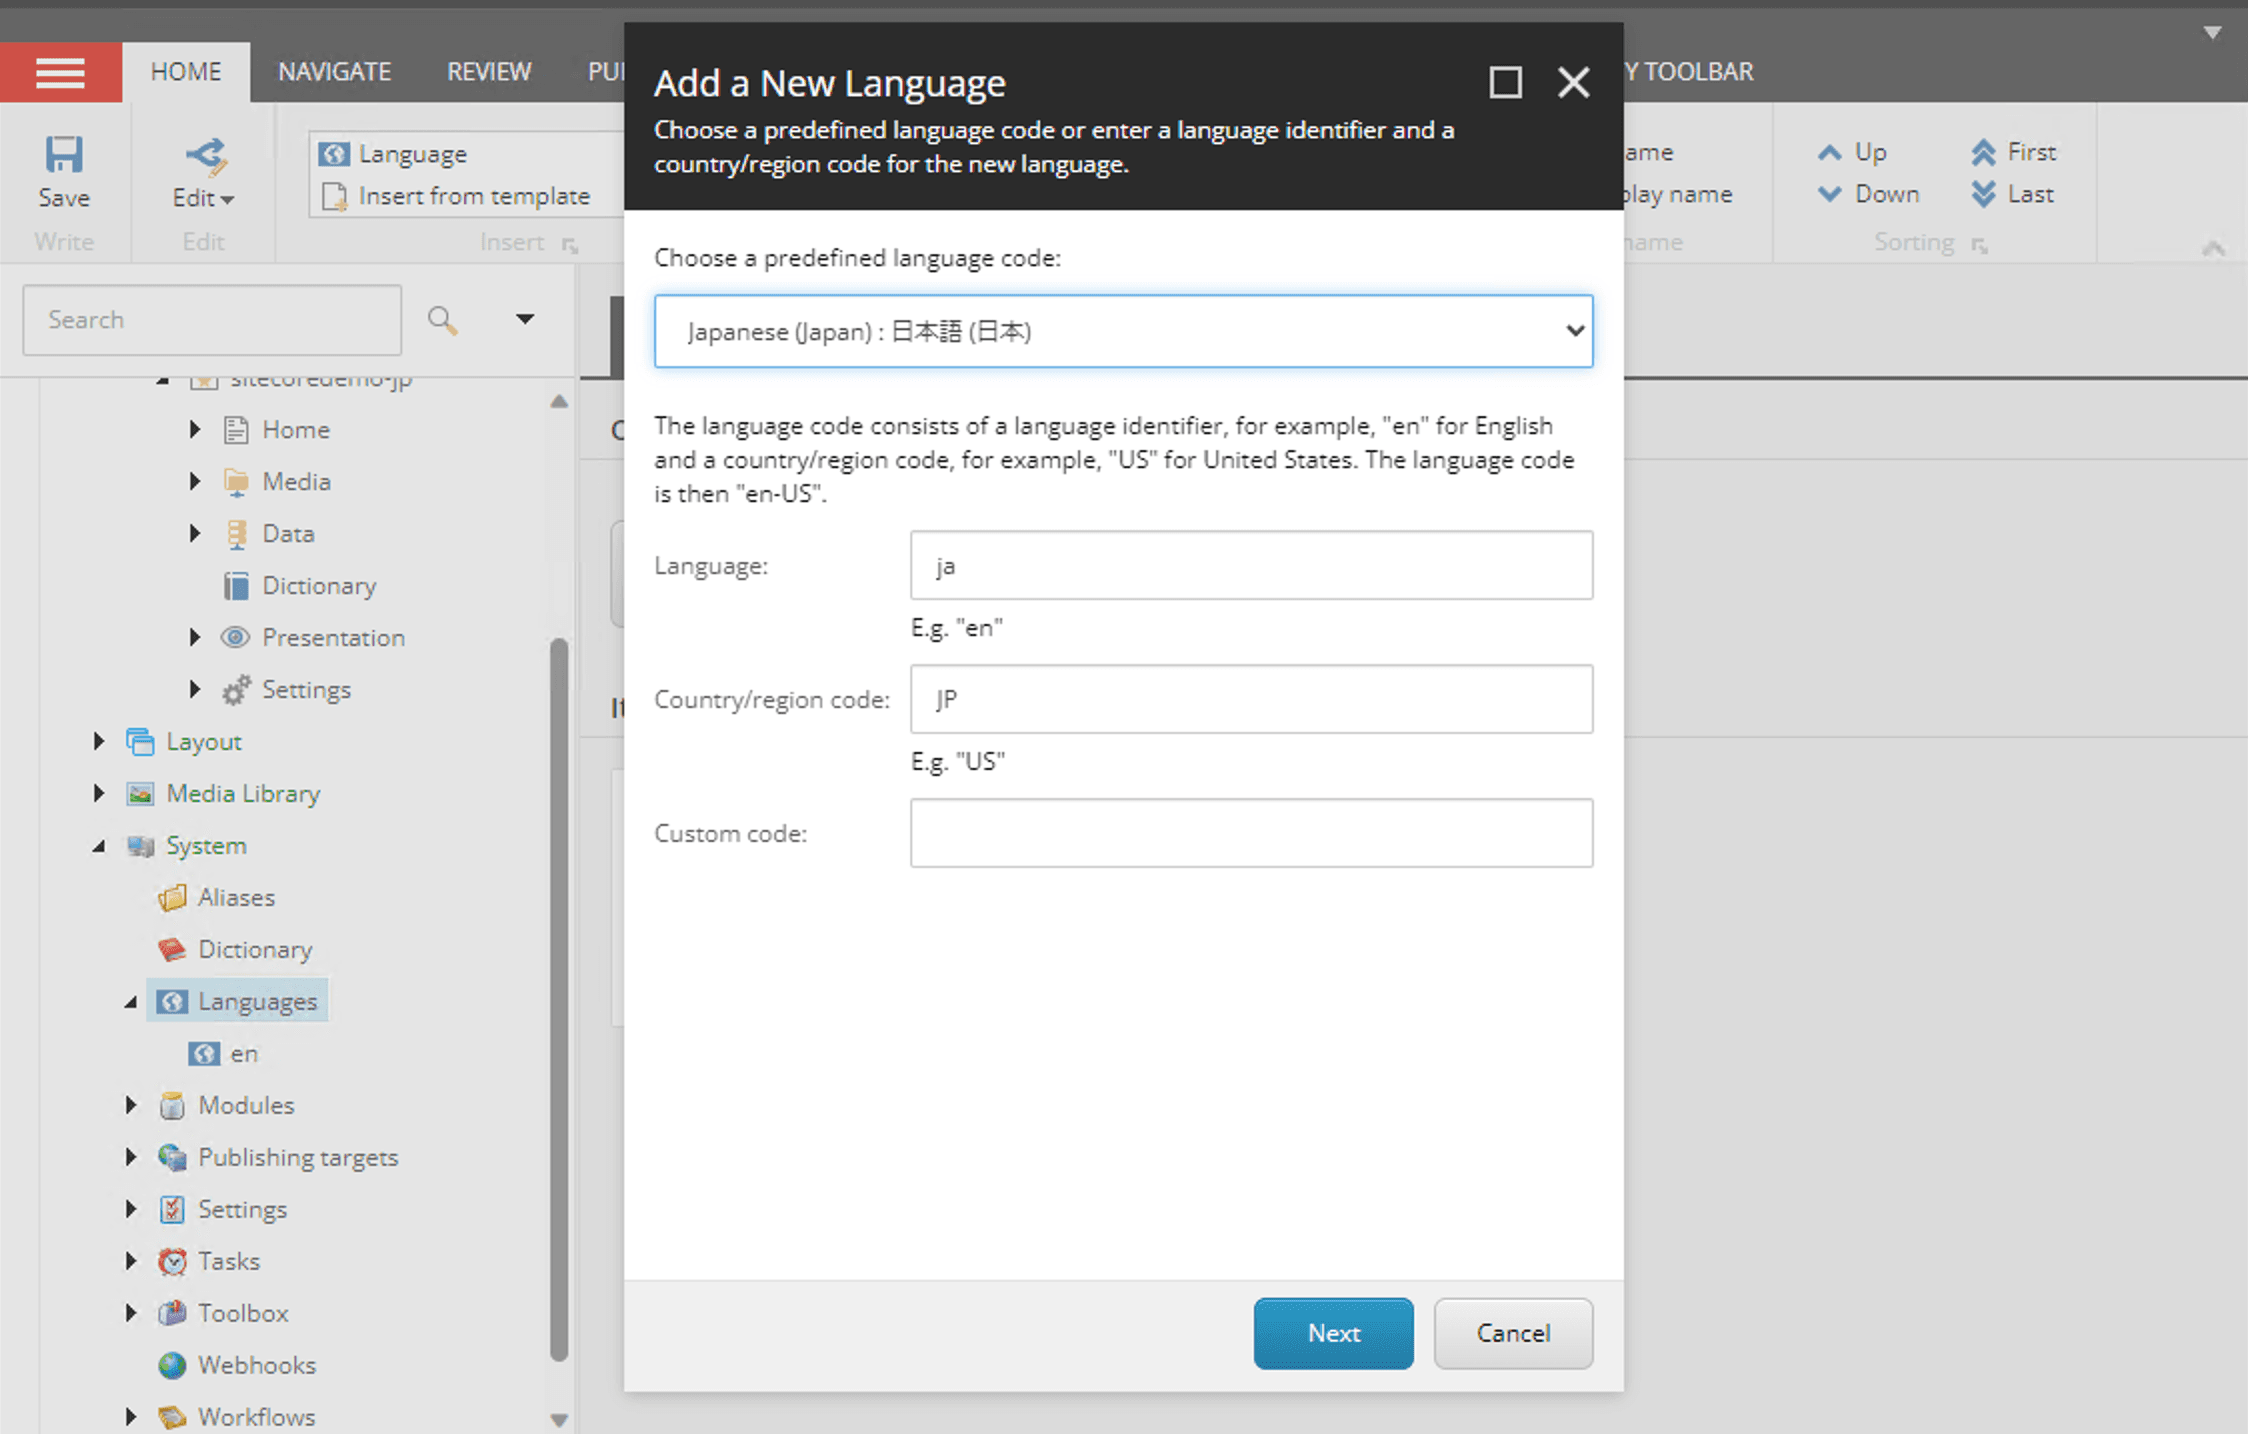
When you click on the Language button, the following dialog box appears. The screen shows that Japanese has already been selected.
After adding the language, go to the Home item and you will see that Japanese has been added.
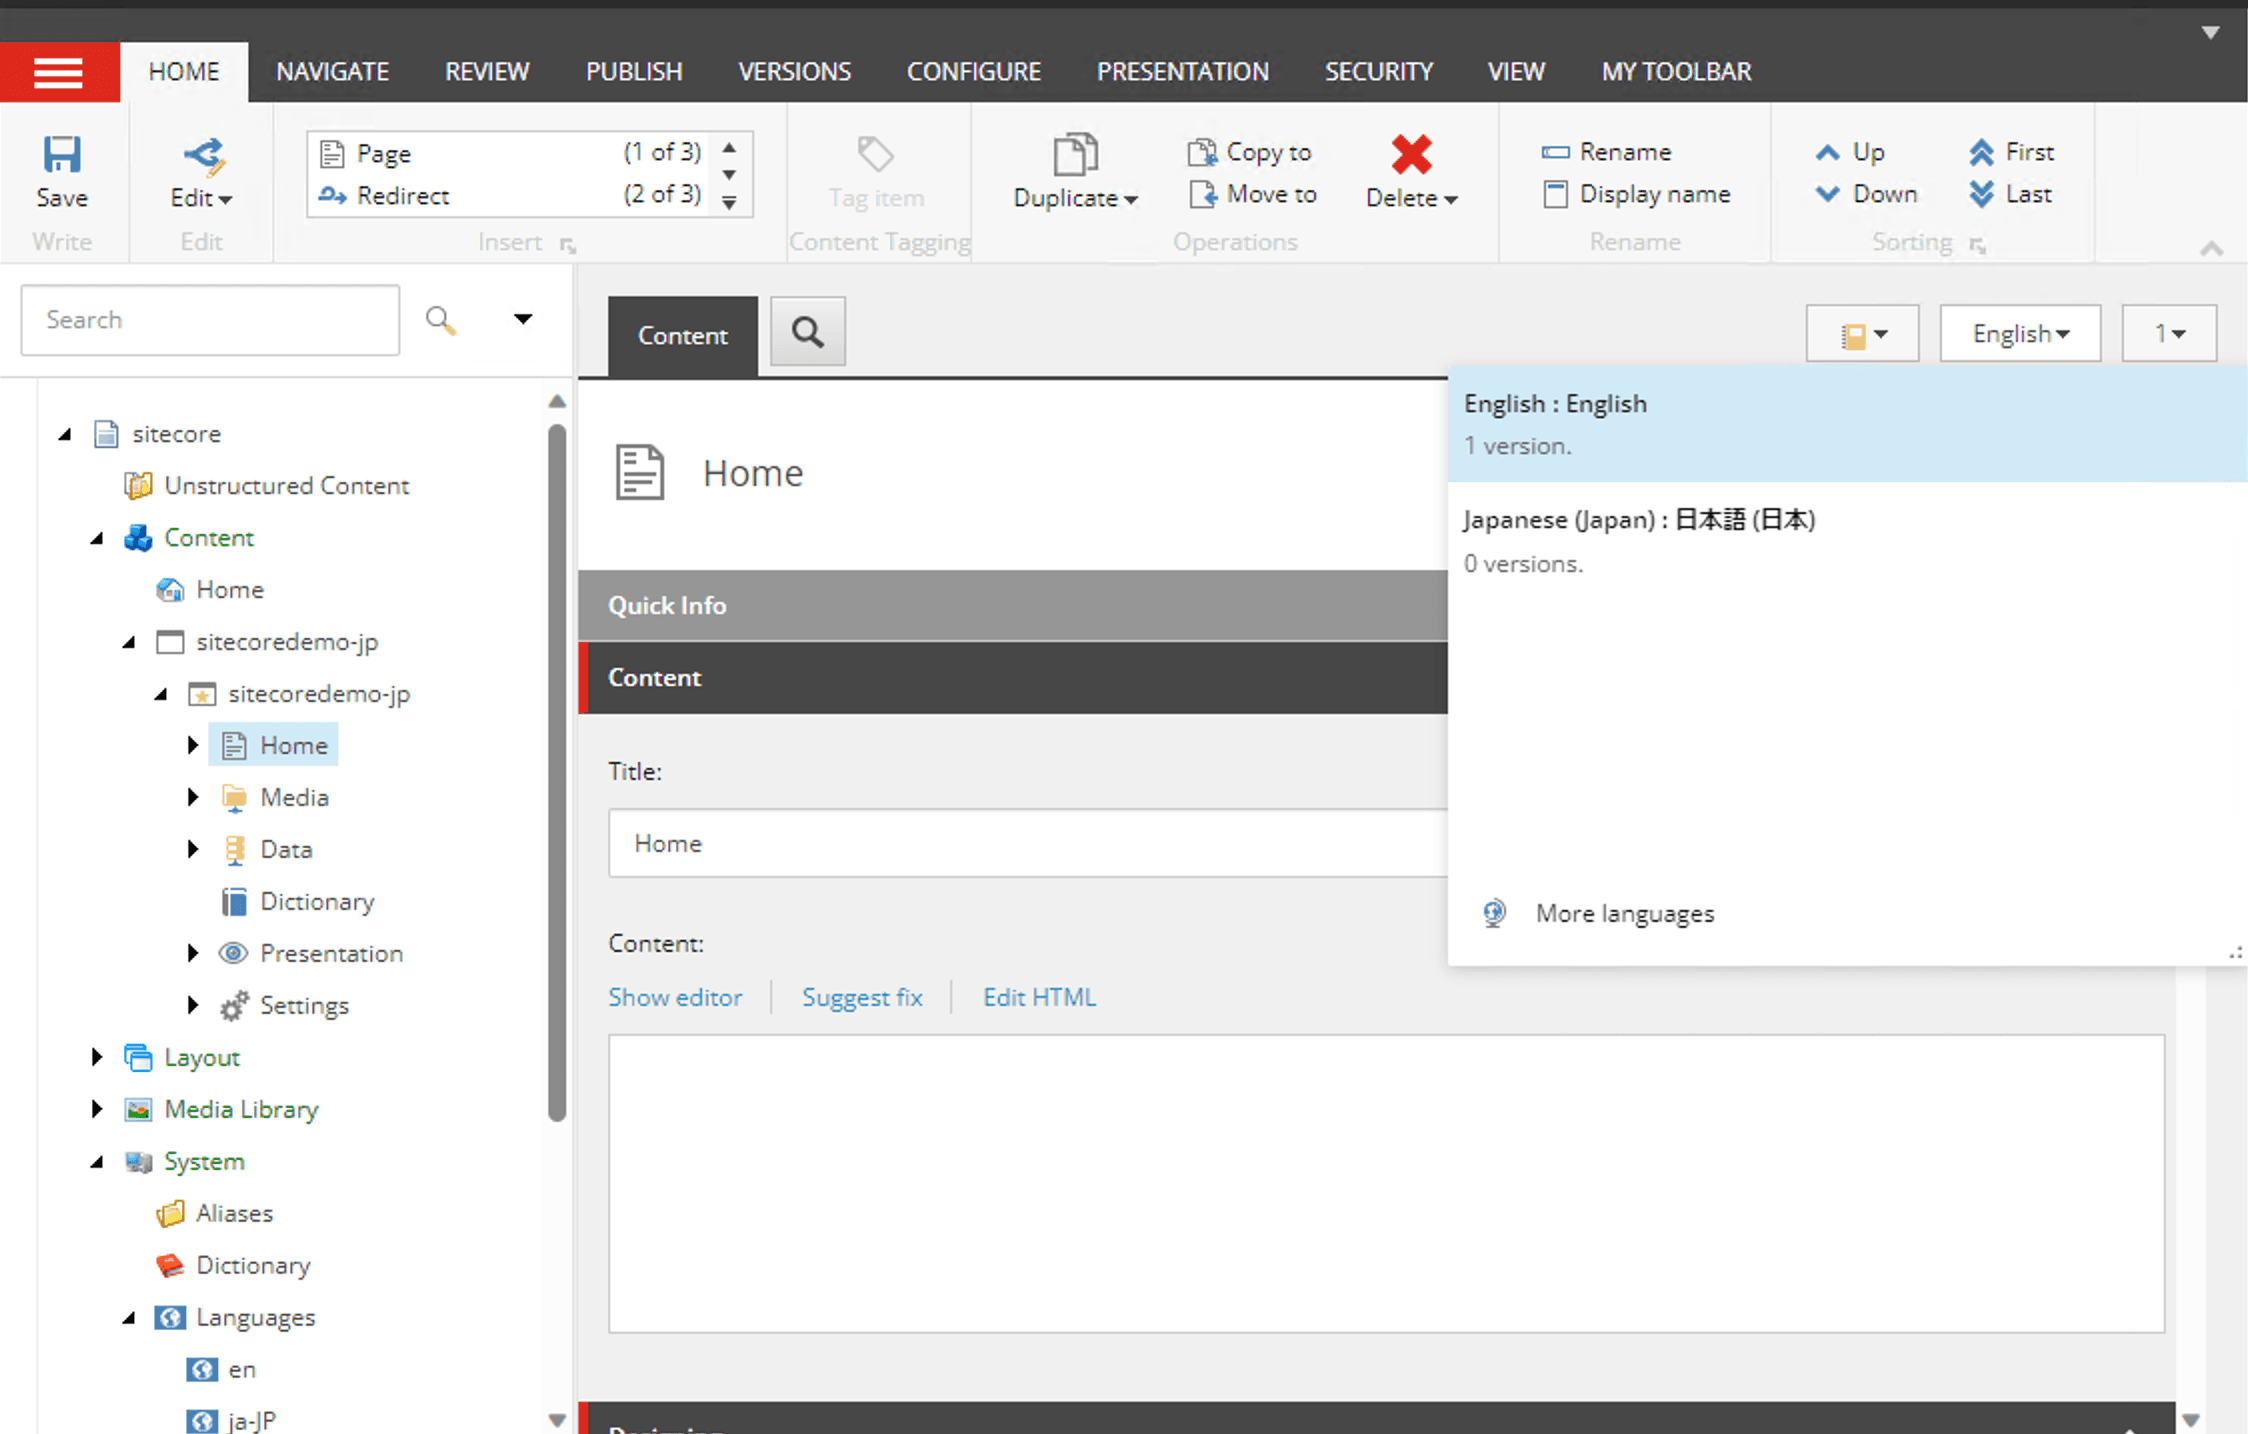
It is now possible to handle Japanese data.
Content Verification
For Basic Site data, please create Japanese data for items related to Home and About as site items. Also, for the site's partial design, prepare Japanese resources for the header and footer, which are also available.
When you are ready, launch the experience editor, switch languages, and check to see if it displays correctly.

Reflects the cloud environment
In this case, we have created content in our local environment. To apply this to the XM Cloud environment, we will perform serialization.
sitecore dotnet ser pull -n defaultYou will see that several items have been updated as follows

The following commands are used to reflect the item data.
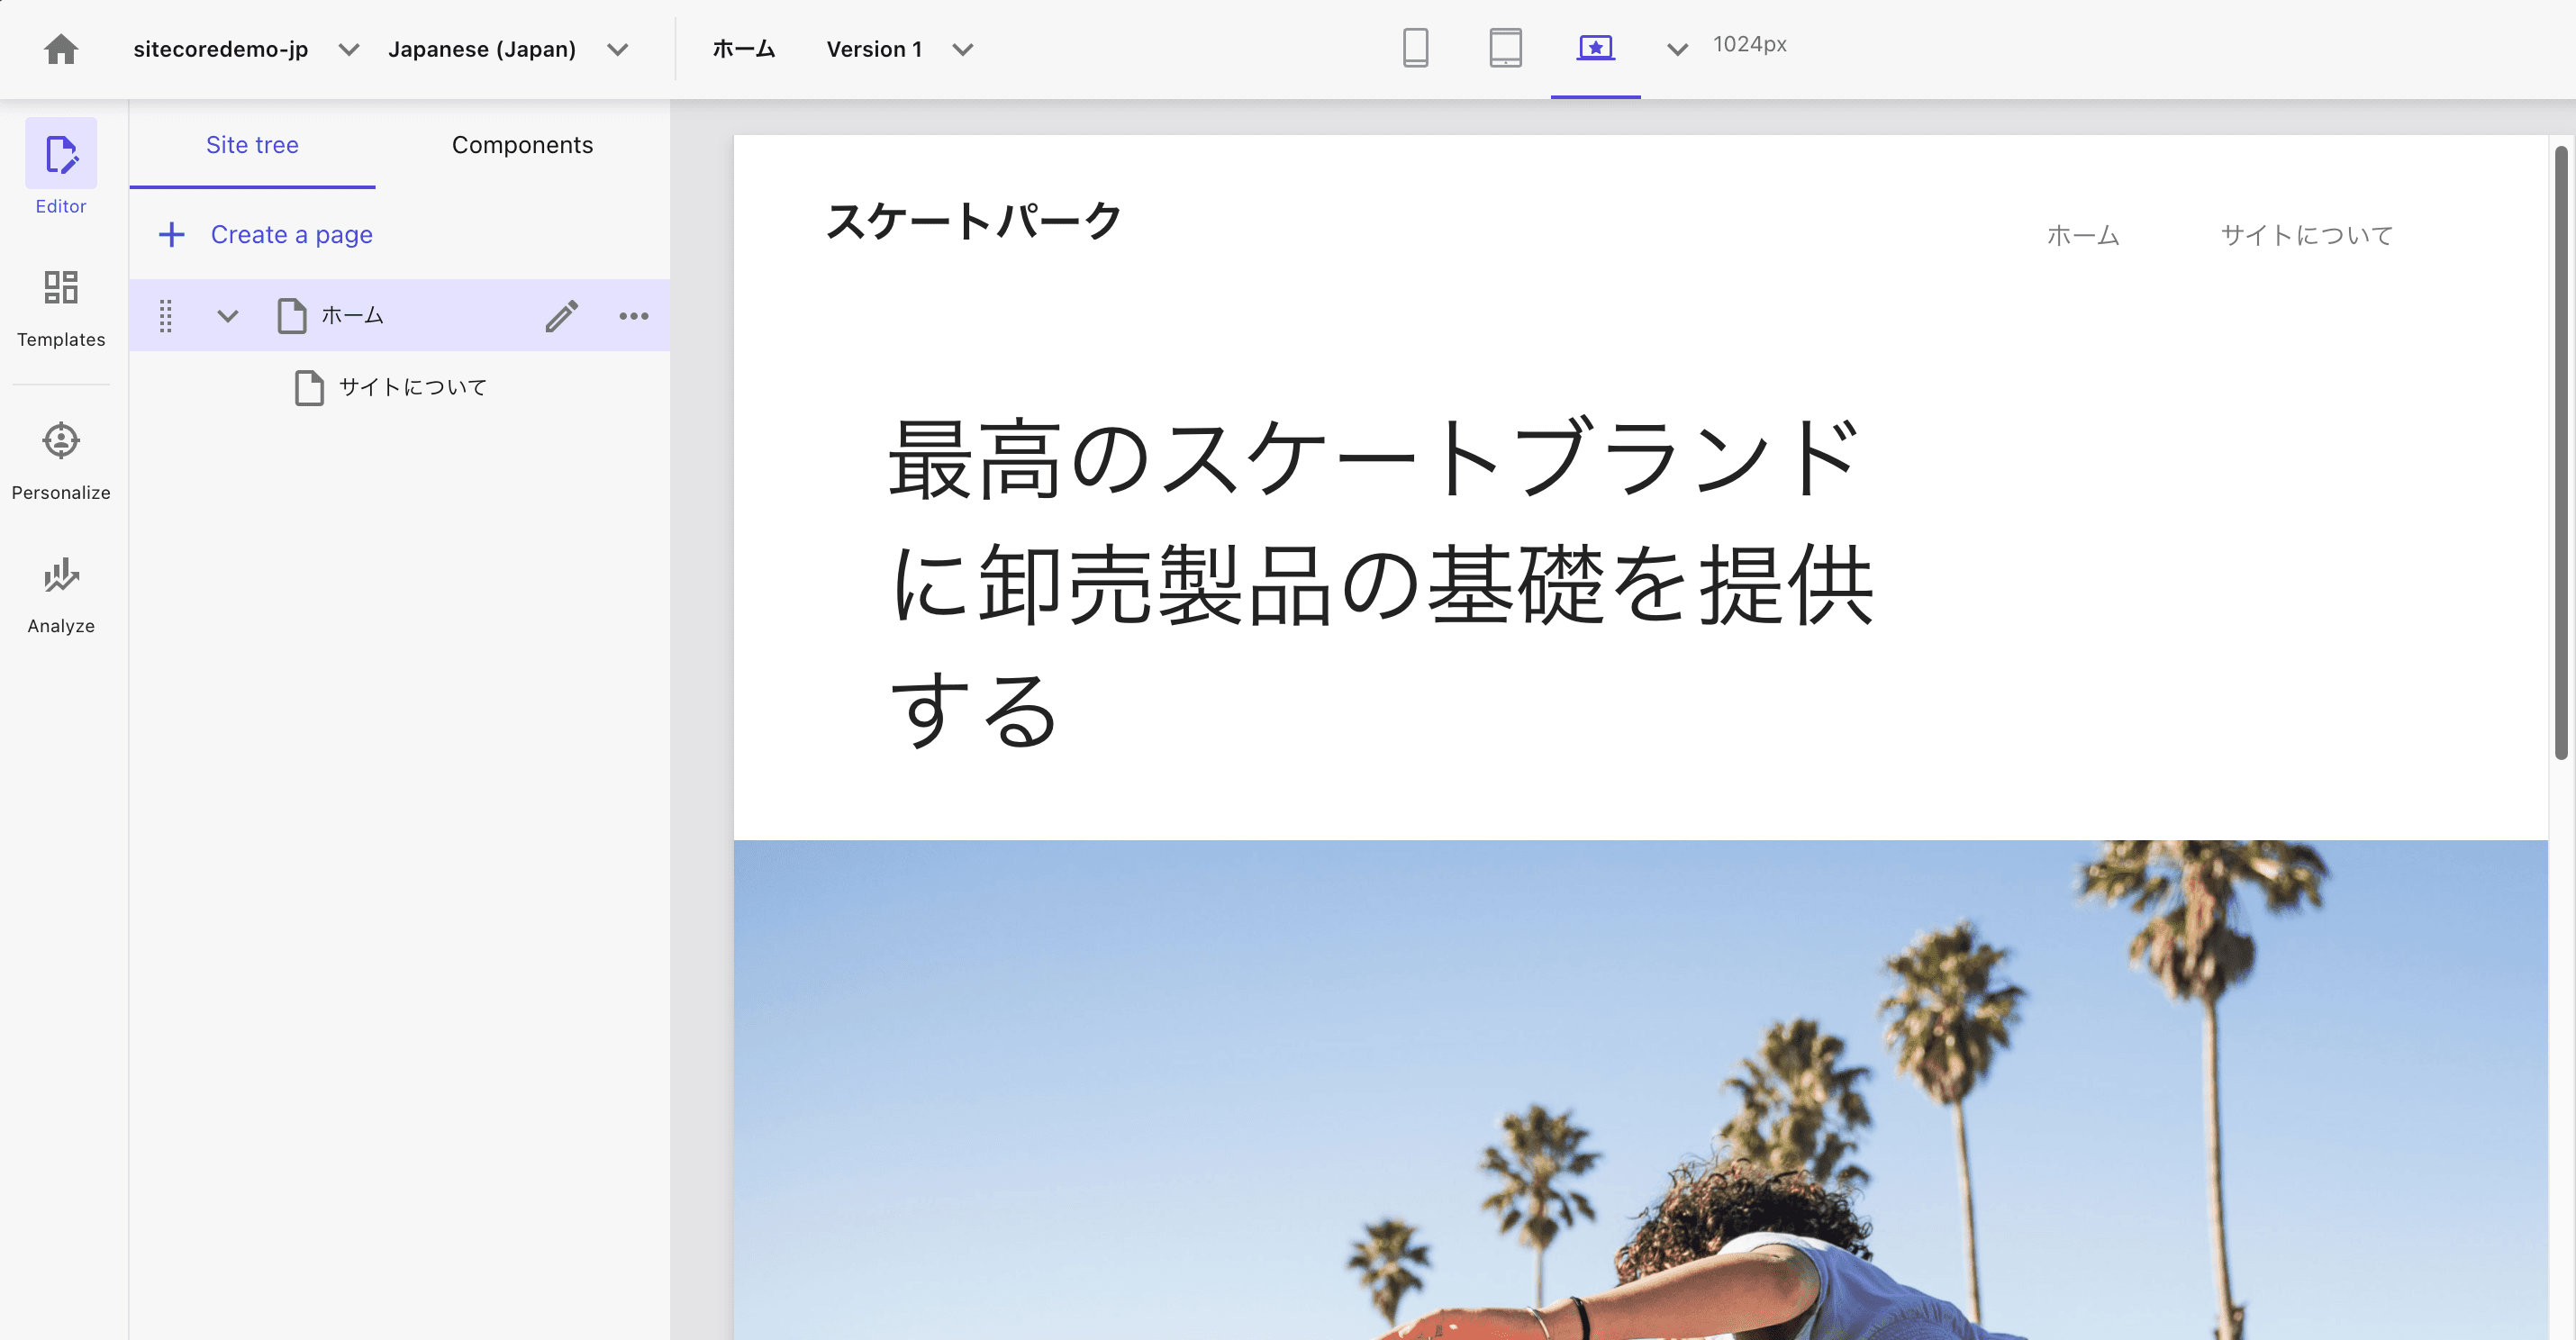
sitecore dotnet ser push -n stagingAs a result of the reflection, we were able to confirm that Japanese is also displayed in Pages.
Summary
This time, we added languages and confirmed that the Experience Editor can switch between and display data in multiple languages. We also reflected the data in the cloud environment and finally confirmed that Pages can also manage content in multiple languages.