Yesterday we briefly set up an environment on macOS, and this time we will set up a Docker environment that works with WSL on Windows 11. This will allow us to work with Visual Studio Code in the Windows environment while continuing development on Linux.

Prerequisite
As a prerequisite for this project, we will create a development environment on Linux using WSL. Visual Studio Code, which can be used on Windows, is convenient from a work efficiency standpoint, so we will be able to make good use of it.
If you use WSL, you can also set up a Docker environment without using Hyper-V. This time, we will set up a Docker environment including Docker Desktop.
Setup
First, install Docker Desktop for Windows.
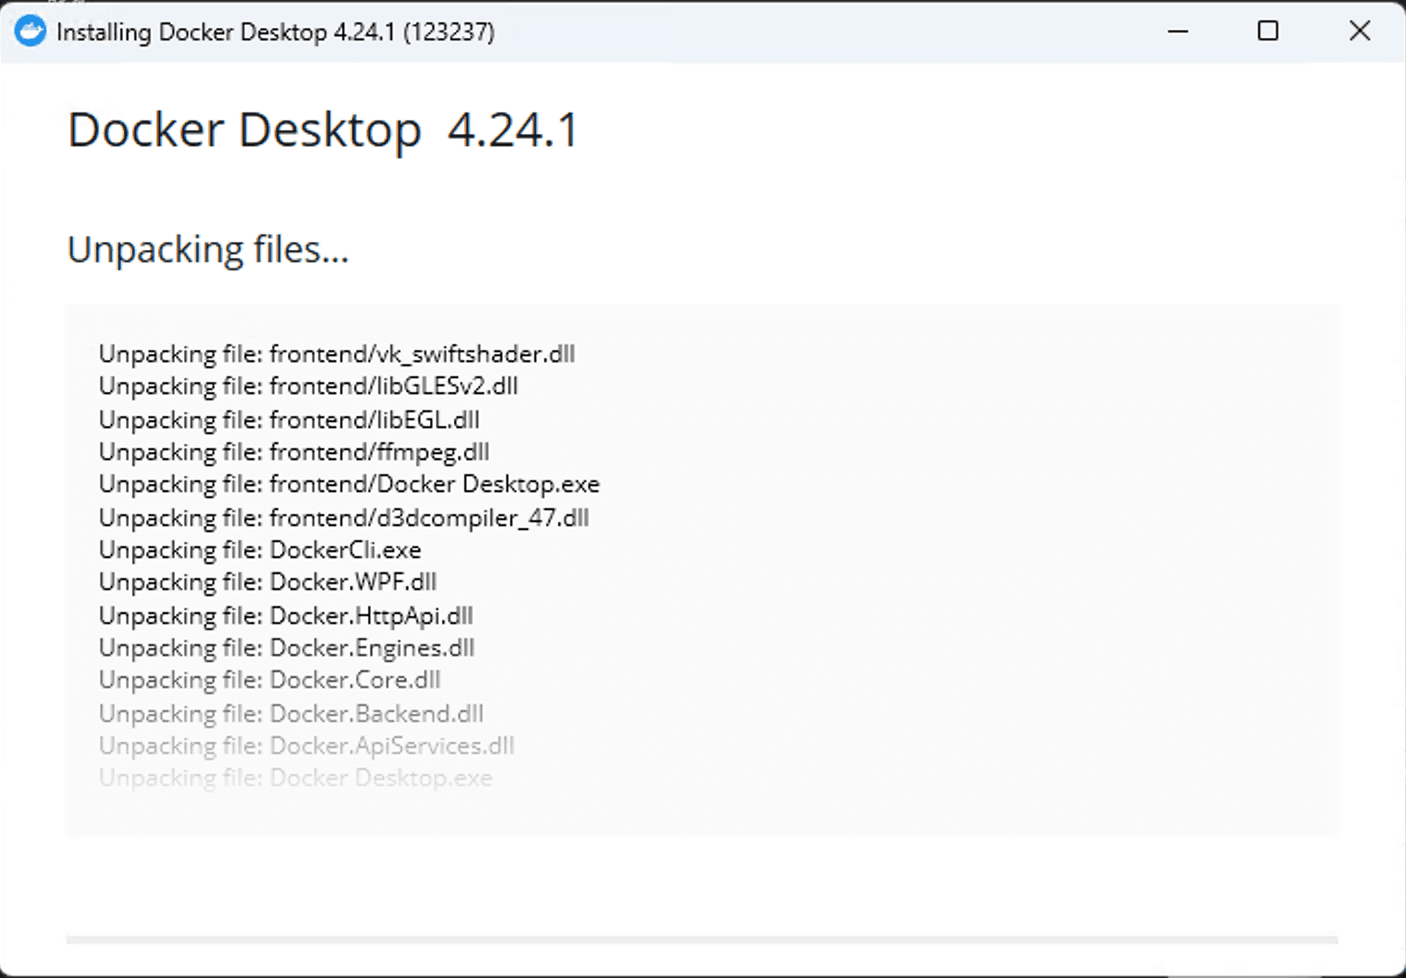
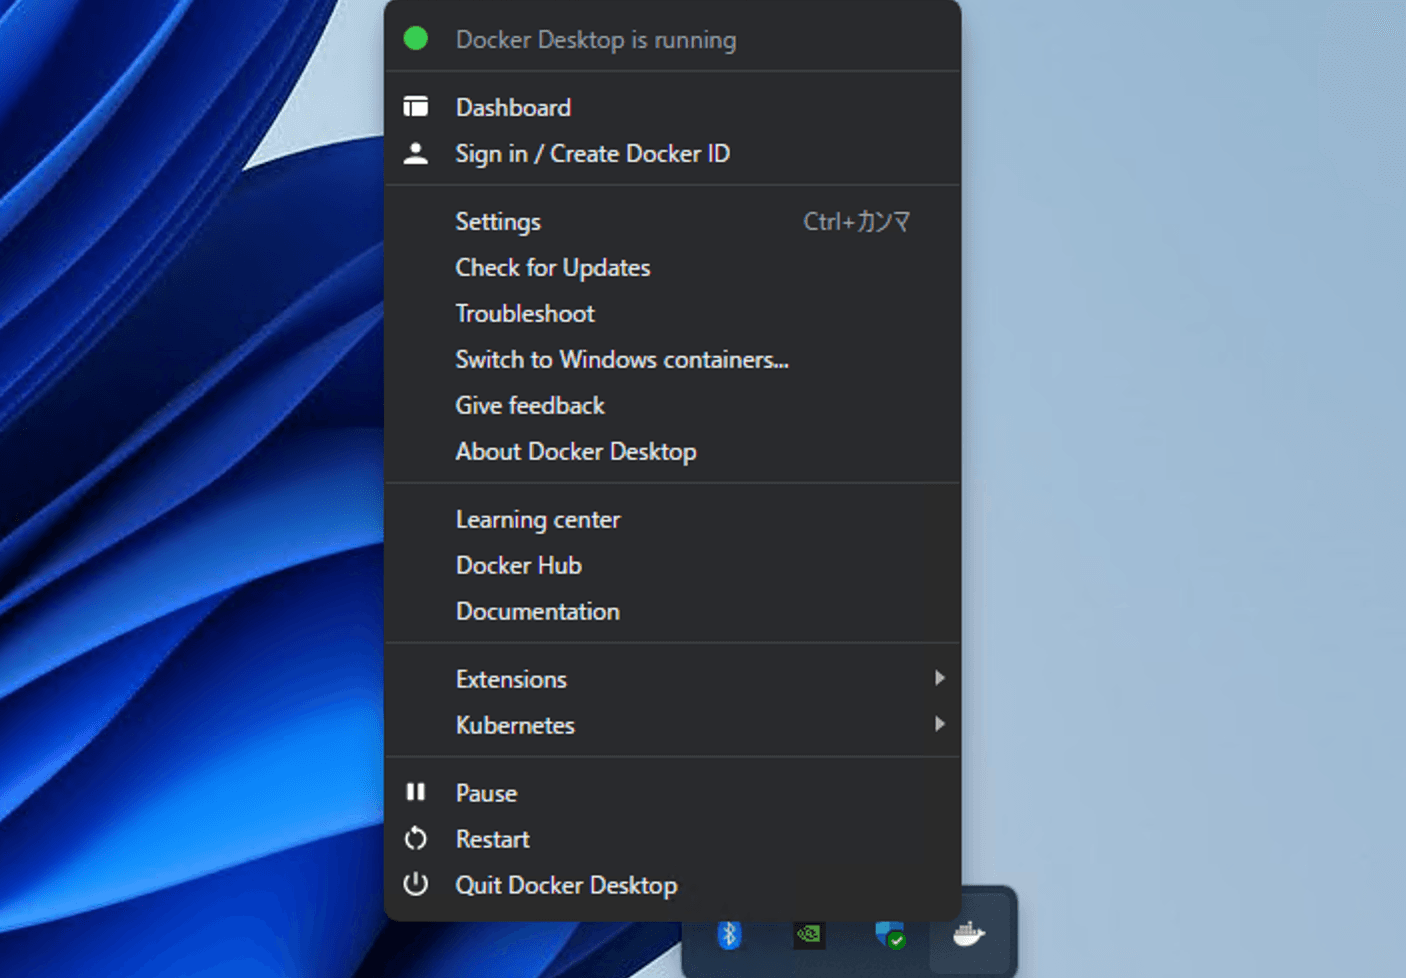
After installation is complete, right-click on the running icon and you will see the following screen: Switch to Windows Containers... is displayed, you can use Linux containers, so we will proceed as is.
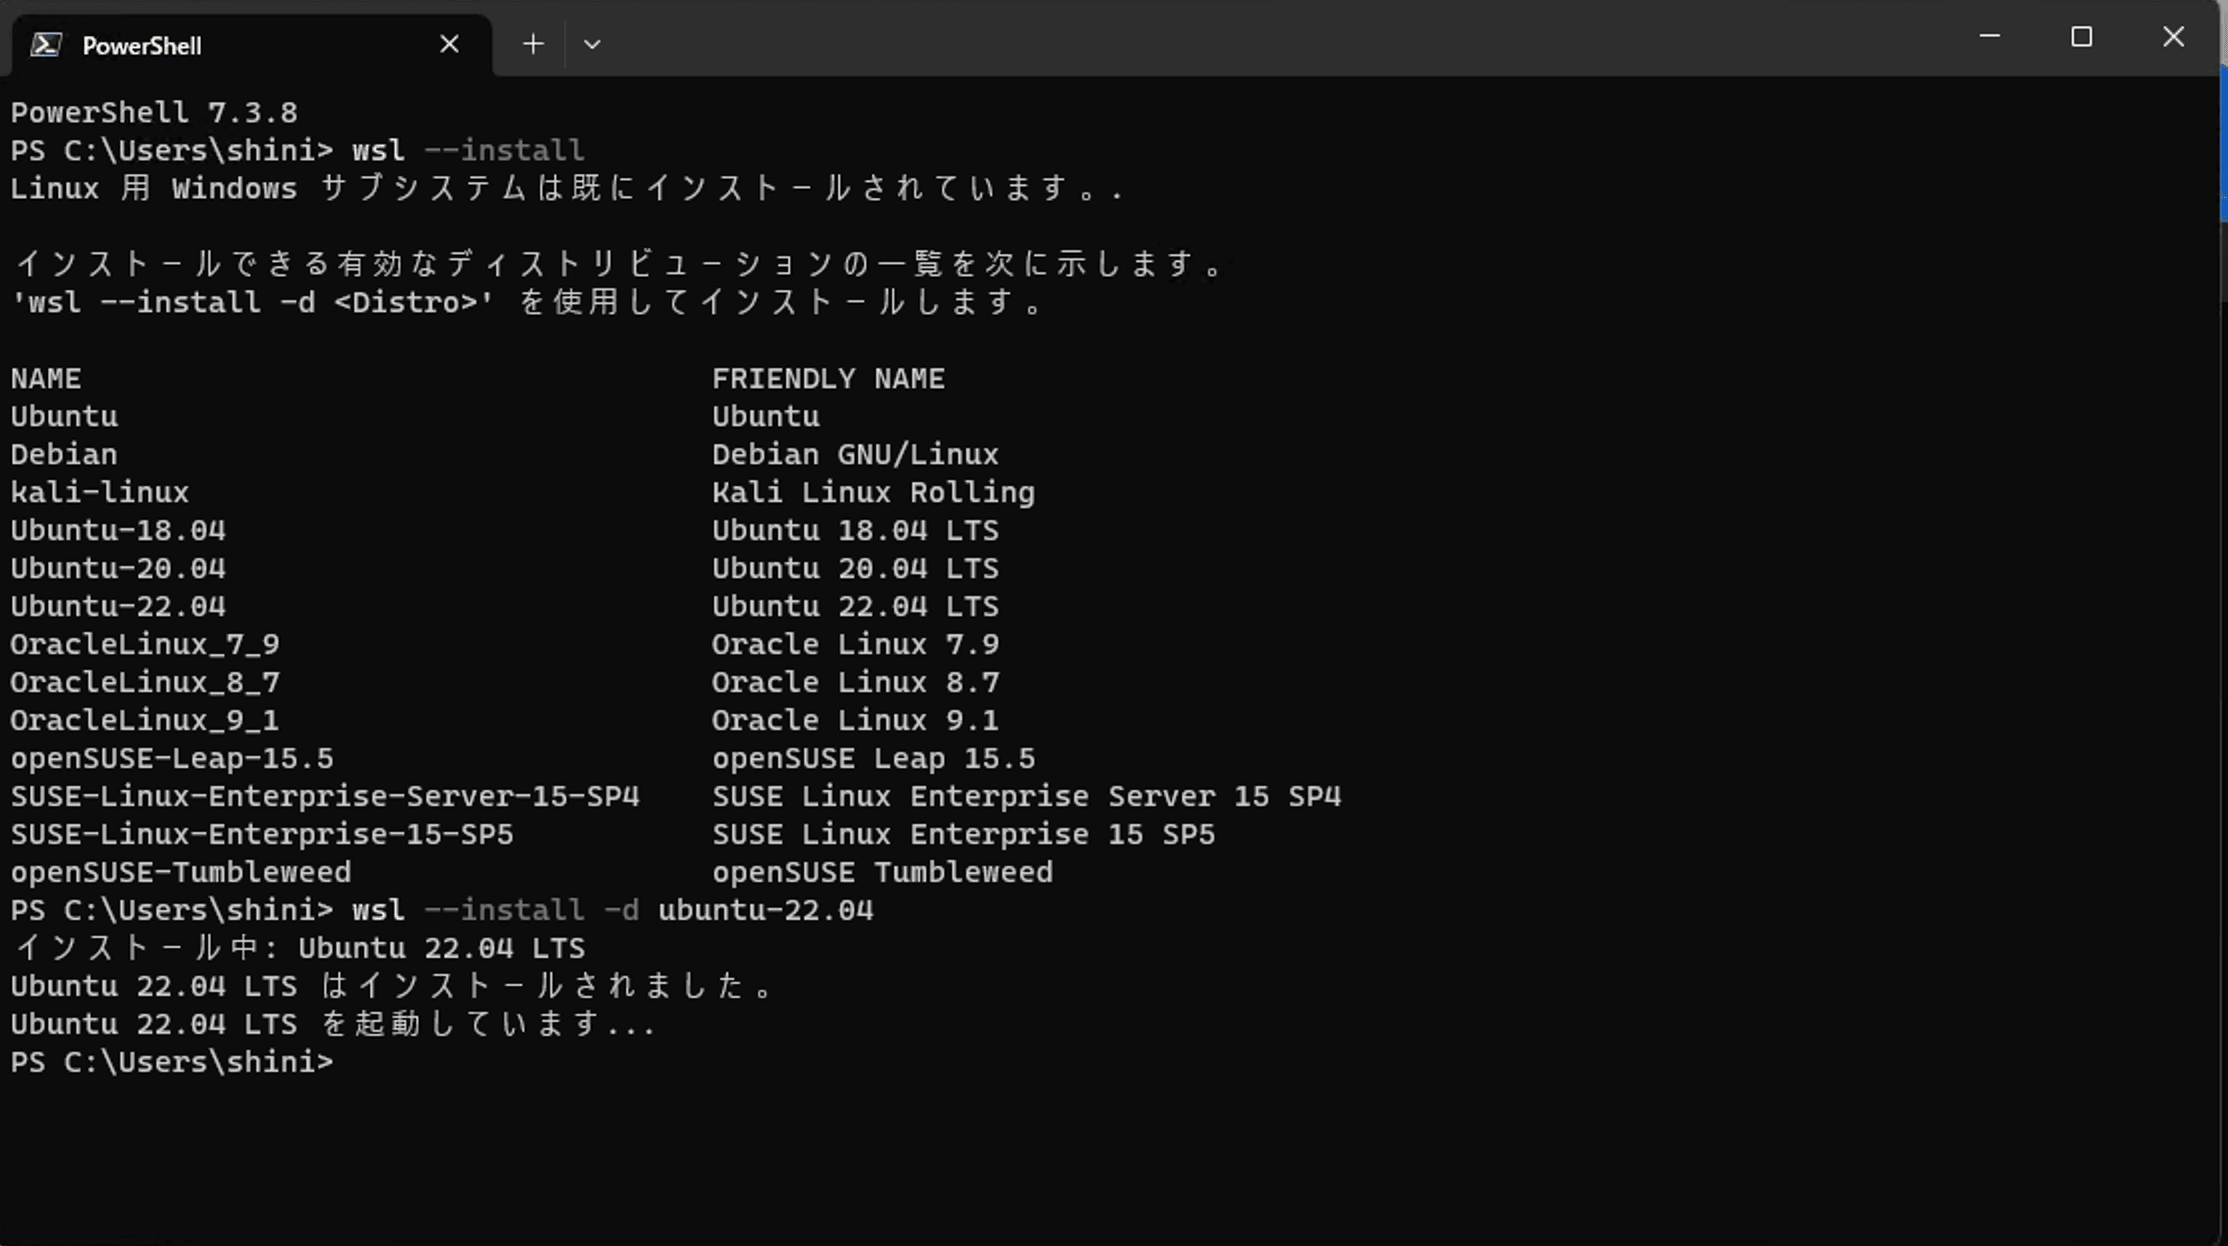
Next, the Windows subsystem for Linux must be installed. The procedure is simple, and takes the form of executing the following command in a terminal environment.
wsl --installThis completes the installation. The next point is which distribution to use. To install this, also run the following command in the terminal.
wsl --install -d ubuntu-22.04When the installation starts, the image will begin downloading and will boot when the download is complete.
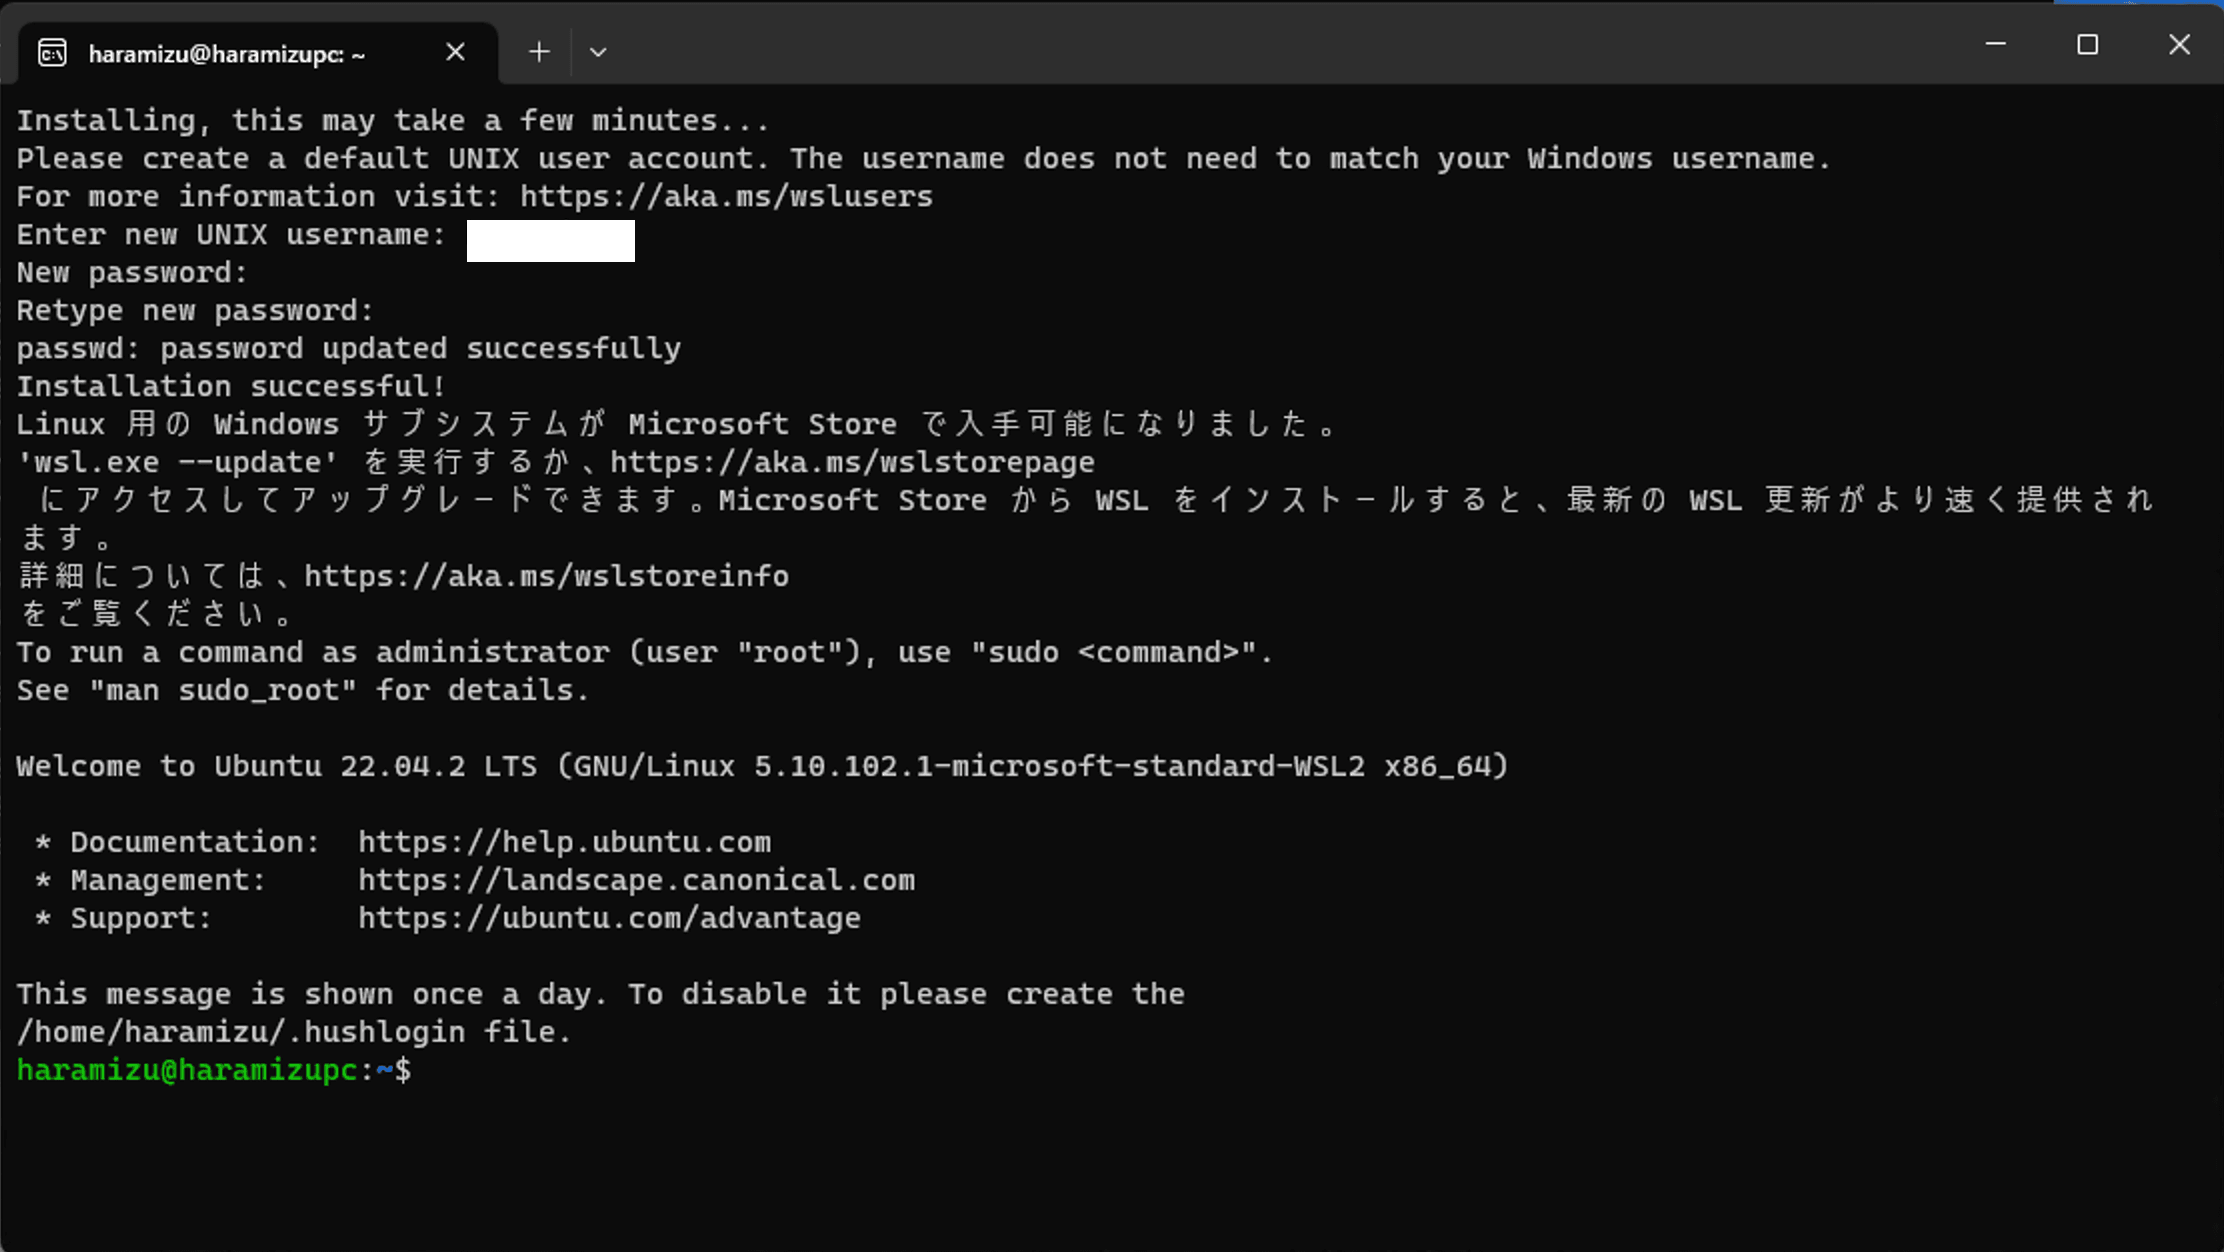
Once started, the process of creating an account to be used in the Linux environment will begin. Simply reconfirming your user name, password, and password will complete the preparation of your Linux environment.
When completed, the following dialog box will appear in the lower right corner.
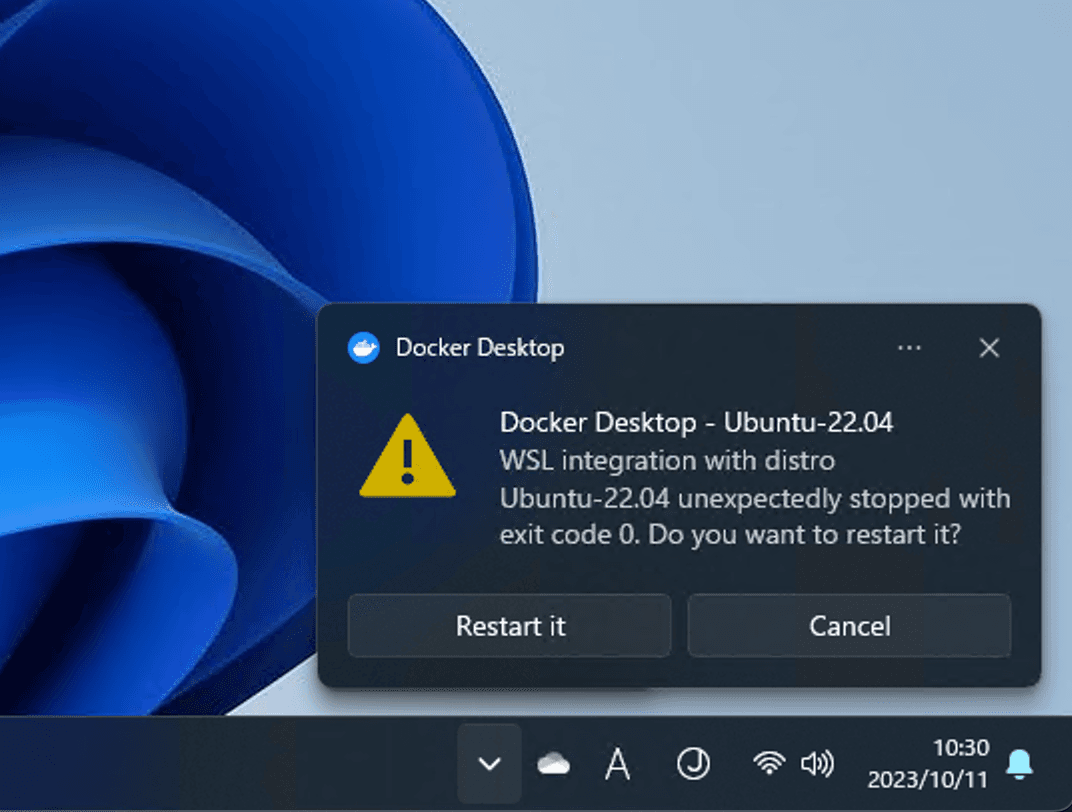
Now that Docker Desktop has recognized the Ubuntu environment, you will be prompted with a dialog asking if you want to restart. Please restart at this point.
When actually accessing the Ubuntu environment, Ubuntu 22.0.4.2 LTS will be displayed when selecting the environment you wish to use after launching the terminal.
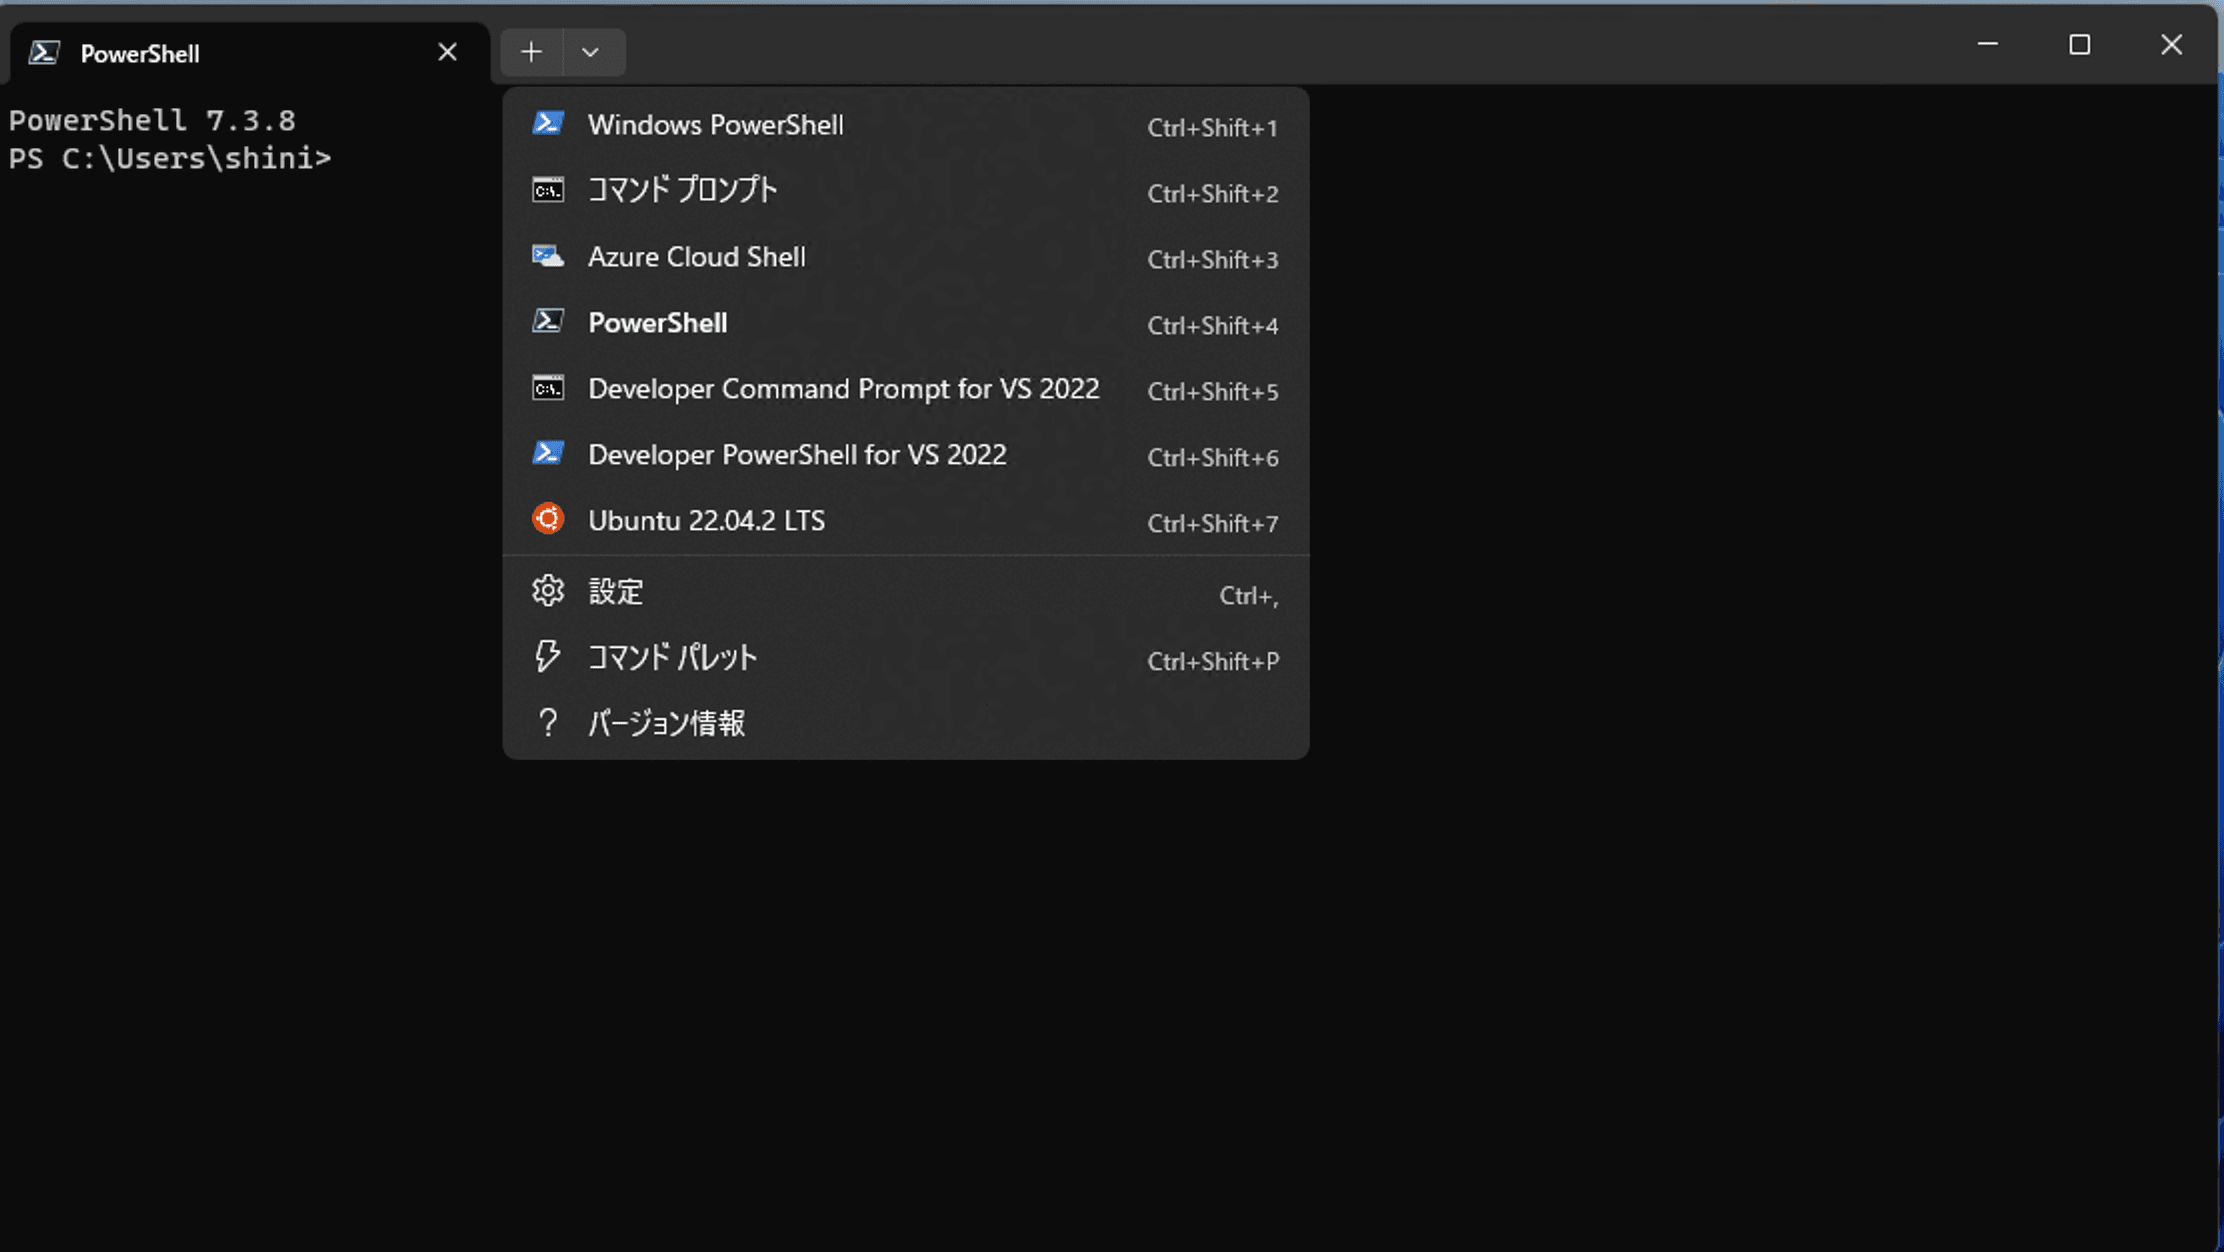
First, the Linux environment is ready.
Working with Visual Studio Code
Not only can you access Linux from the terminal, but you can also seamlessly connect Visual Studio Code. Next, we will proceed with the procedures for linking with Visual Studio Code.
First, to manage the repositories in Github, I have created a personal directory called github. After navigating to the directory, start Visual Studio Code from the command line with code . and start Visual Studio Code from the command line.
mkdir github
cd github
code .
For the first time, VS Code Server installation will run automatically.
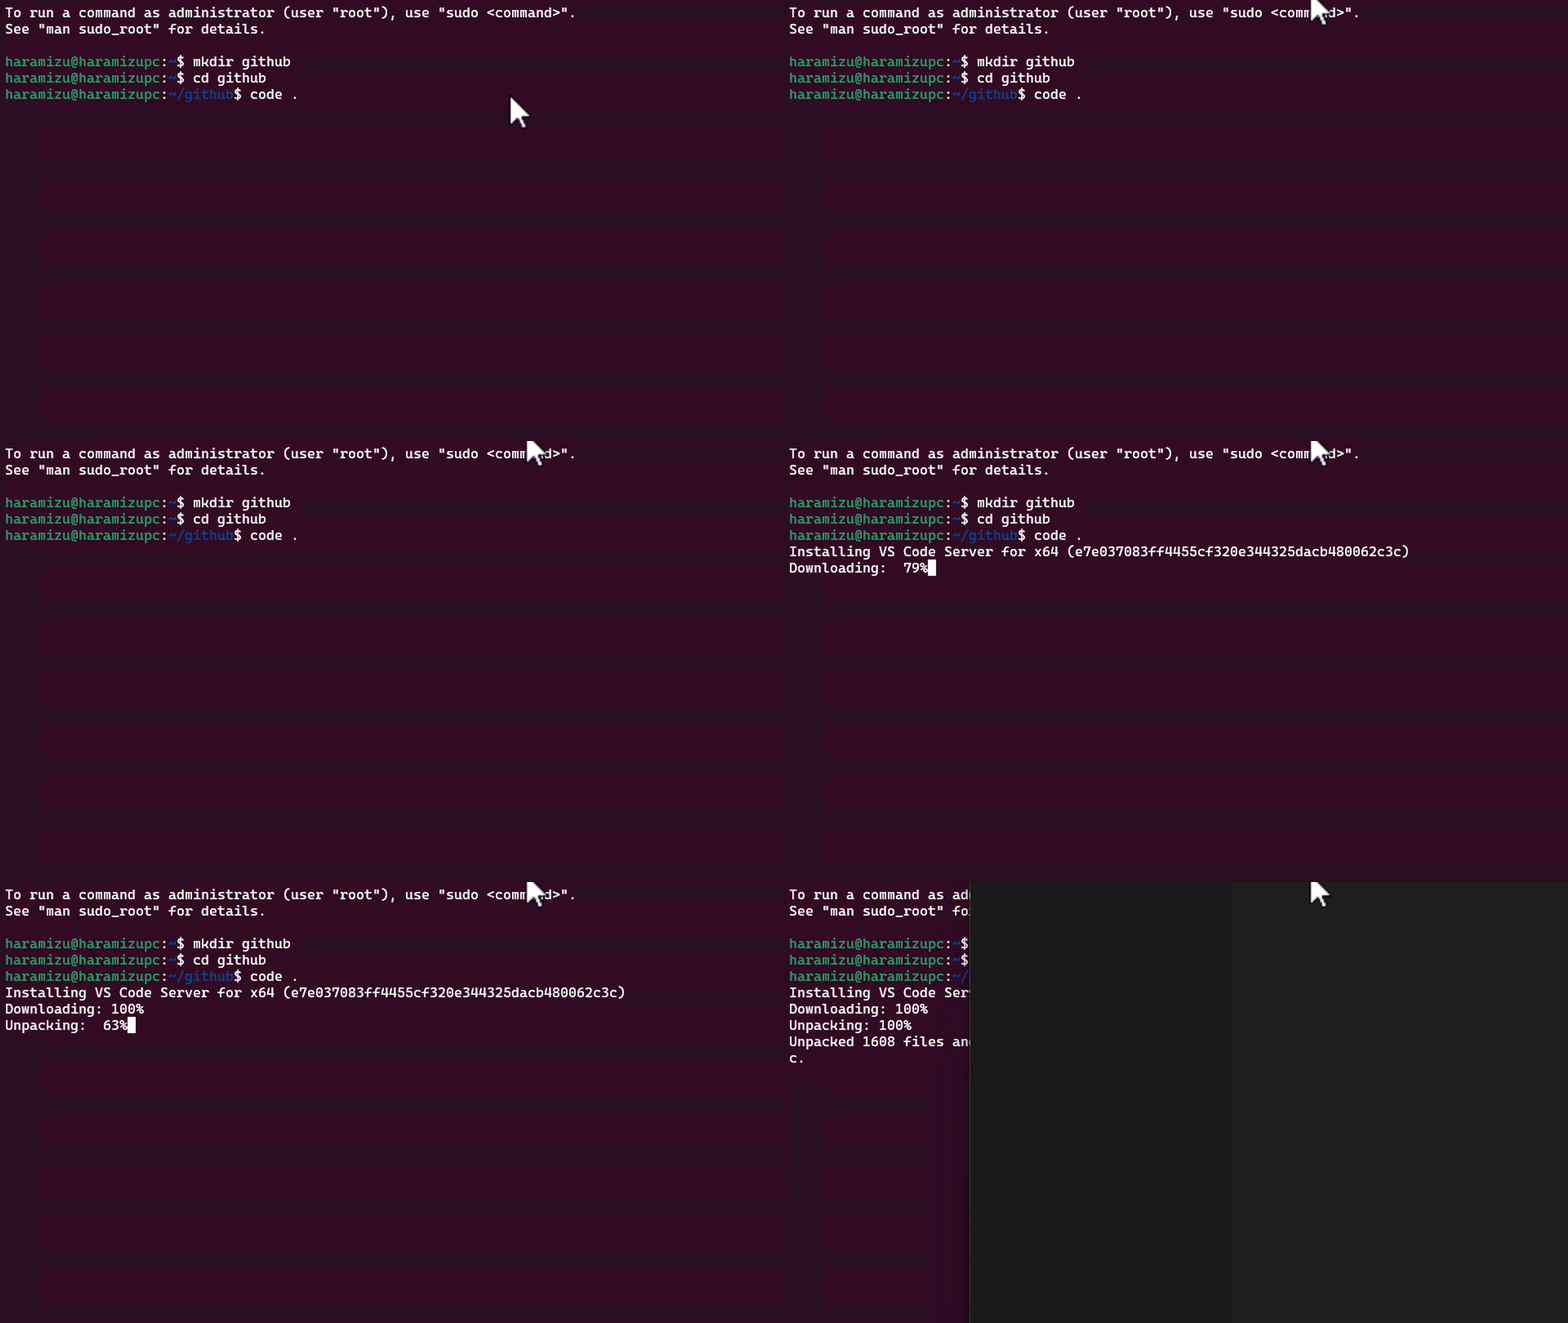
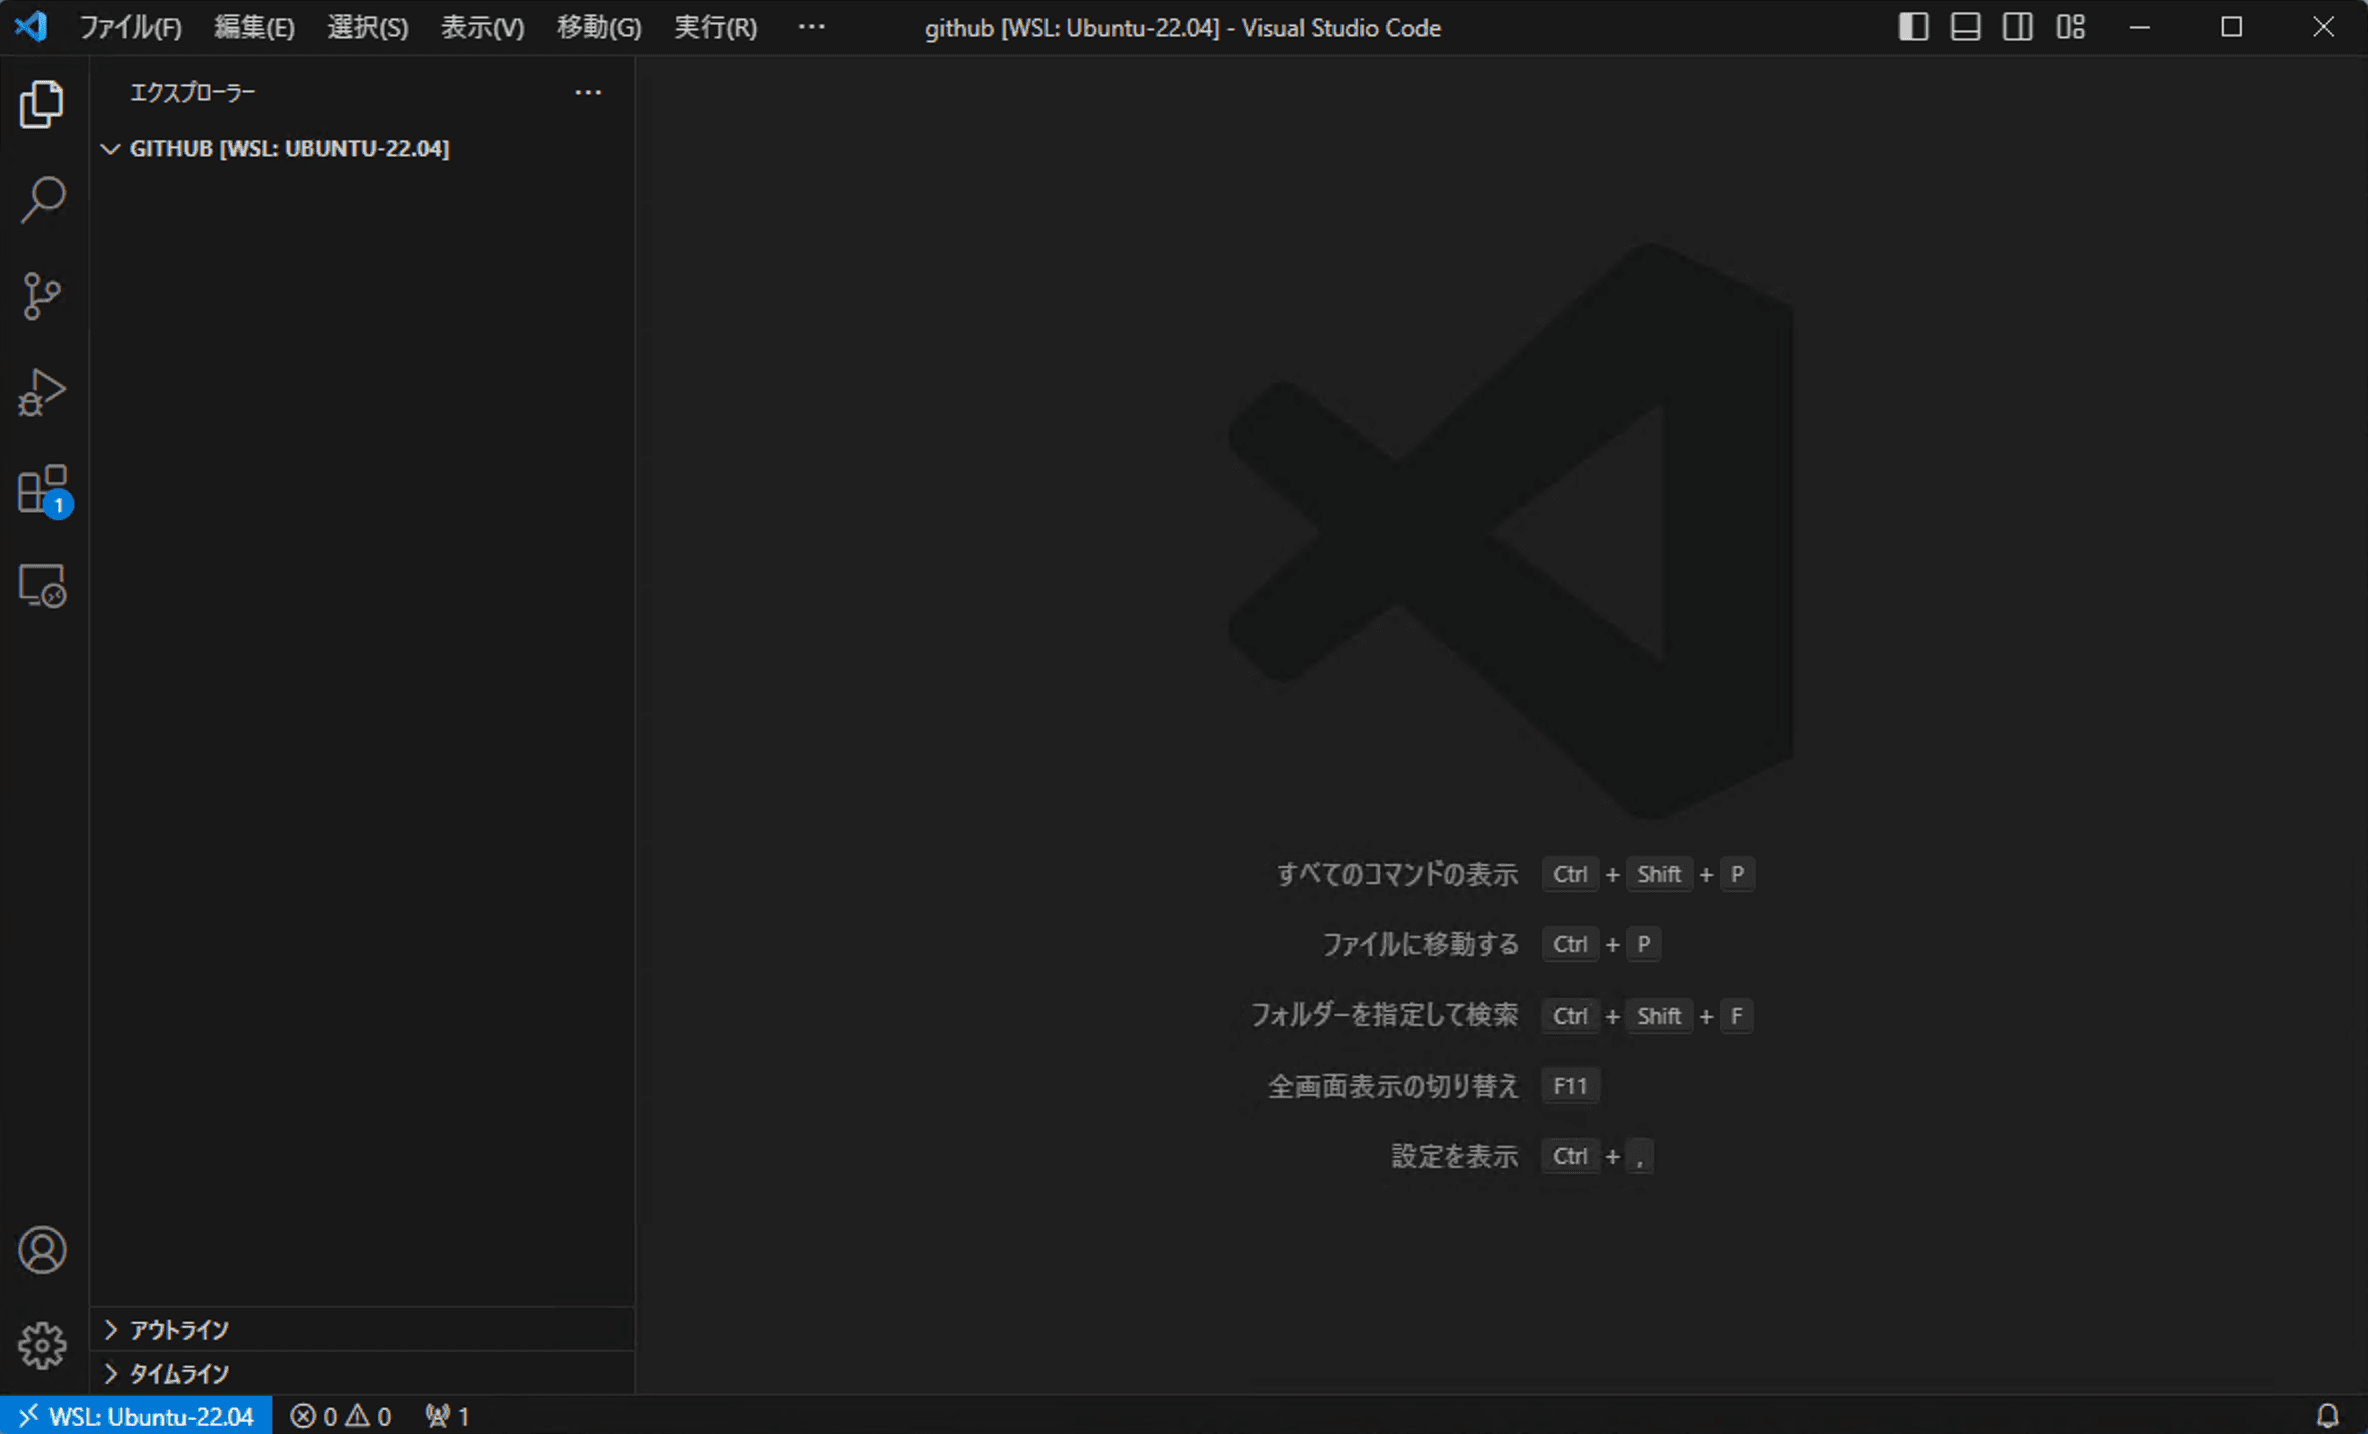
The Visual Studio Code that has been launched shows that it is accessing the github directory where it was created, and in the lower left corner, it displays information that it is using Ubuntu-22.04.
Cloning a GitHub Repository
Visual Studio Code view - From the command palette, run the Git clone command.

You have cloned the repository from the Visual Studio screen, and you can see that the destination is now on the Ubuntu side.
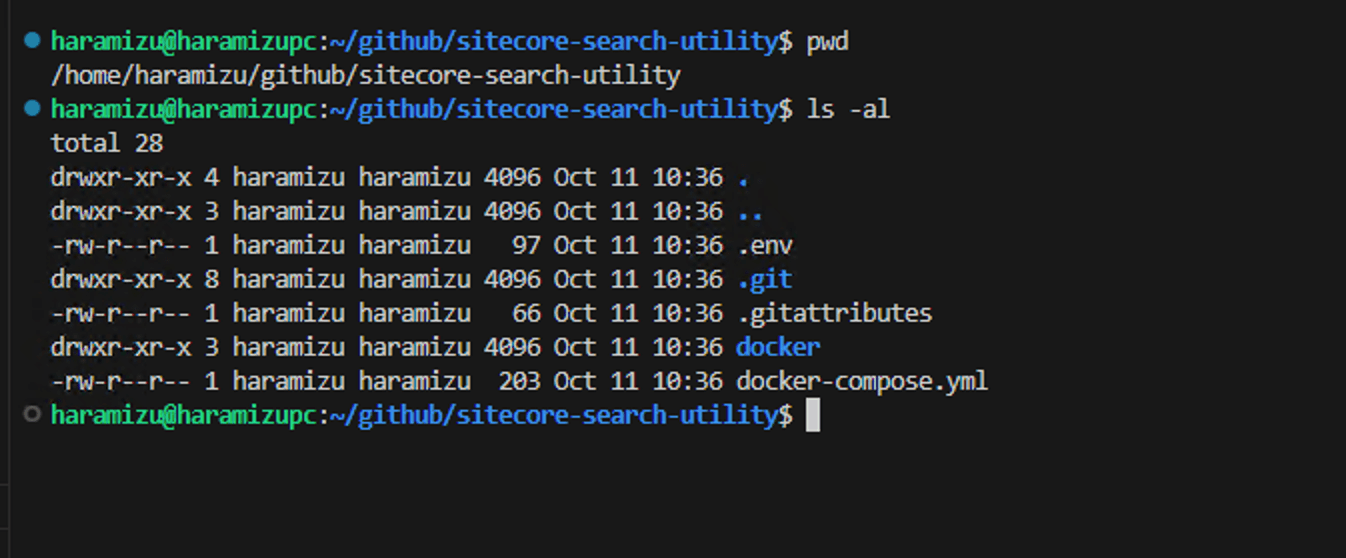
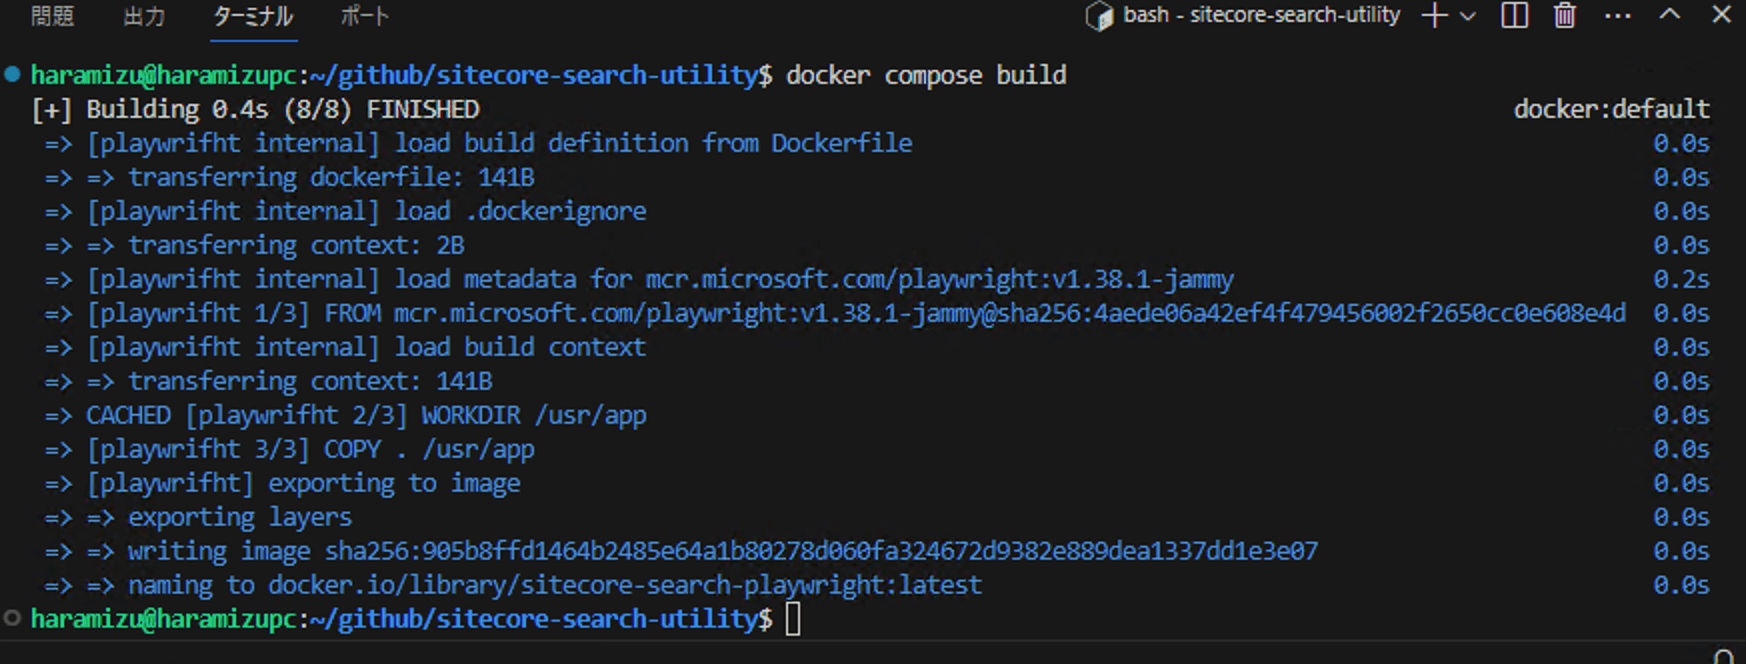
I actually ran docker compose build and the image was successfully built.
Install the latest version of Node
In future blog posts, it will basically be typescript applications that will be run on Linux. For this reason, we would like to install Node.js, and since the version of node that can be easily installed on Ubuntu is 12, which is very old, we will use nvm (node version manager) to do the installation.
Execute the following command to install nvm
curl -o- https://raw.githubusercontent.com/nvm-sh/nvm/v0.39.5/install.sh | bashOnce the installation is complete and nvm commands are enabled, run the following commands to install the LTS version.
nvm install --ltsAt the time of this writing, 18.18.1 has been installed.

Summary
This time, we combined the Windows and WSL environments to prepare an environment that allows development on the Linux side. This enabled us to use Visual Studio Code on Windows, which we are familiar with, while preparing a development environment on Linux.