We will launch the Sitecore Search Starter Kit locally and then deploy it in Vercel to build an actual working environment.

Sitecore Search - Additional steps to get the Starter Kit working - Deployment
SearchPublished: 2023-08-23
Starts locally
The environment started in the first part was connected to an environment that had already been prepared. We would like to check how it works by creating the Widgets that we created in the middle part. The Asian search instance we created this time looks like the following.
VITE_SEARCH_ENV=apse2
VITE_SEARCH_CUSTOMER_KEY=<Customer-Key>
VITE_SEARCH_API_KEY=<API-KEY>
VITE_SEARCH_PATH=/
This is the person who is changing the server for the search. The above data can be found on the Developer Resources page. VITE_SEARCH_ENV is also described in readme.md, but if you access Developer Resources, you will see that the Server API Host name has been changed to apse2.
The following is a screen shot of the actual operation.
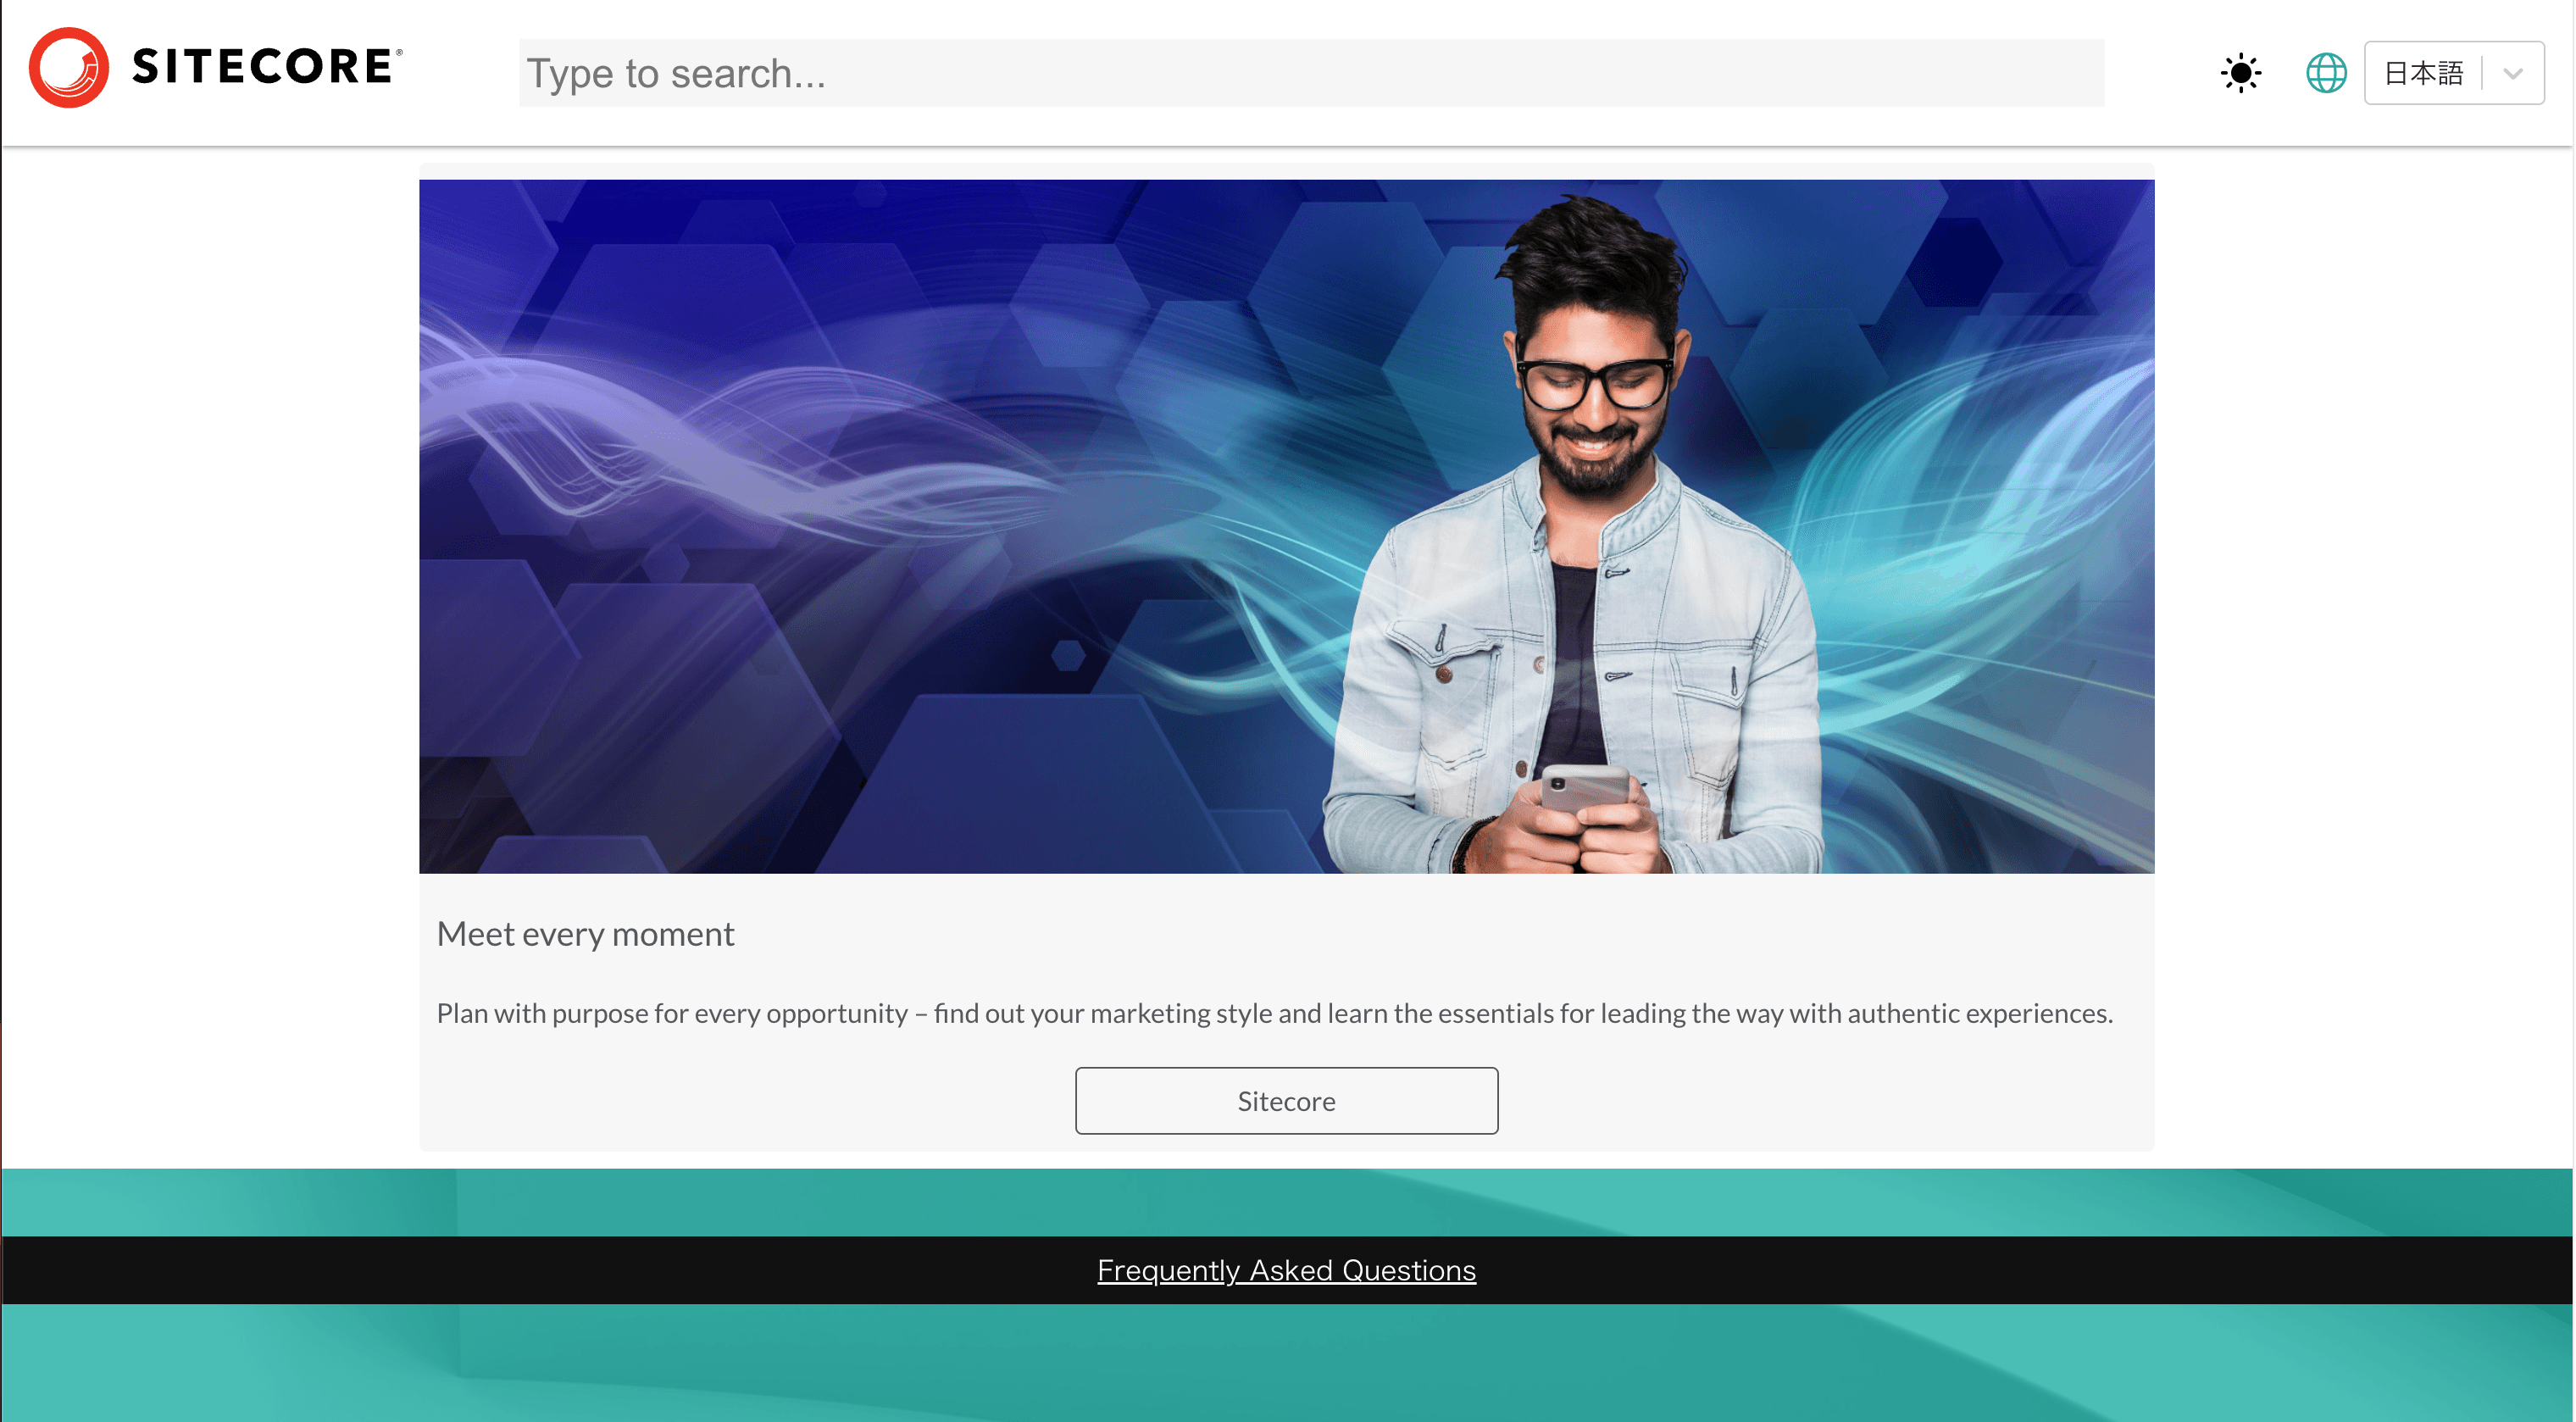
You can see that the HTML Block you created has been applied and displayed. Next, switch the search language to Japanese and display the preview.
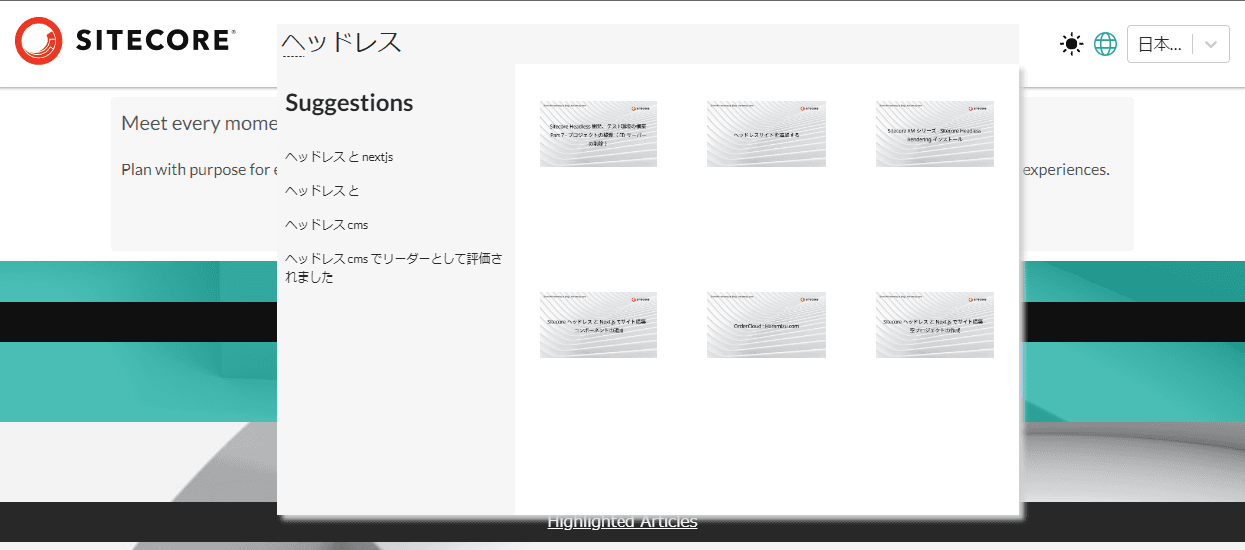
Search results are displayed. The local environment and the Starter Kit are now linked.
Deploy to Vercel
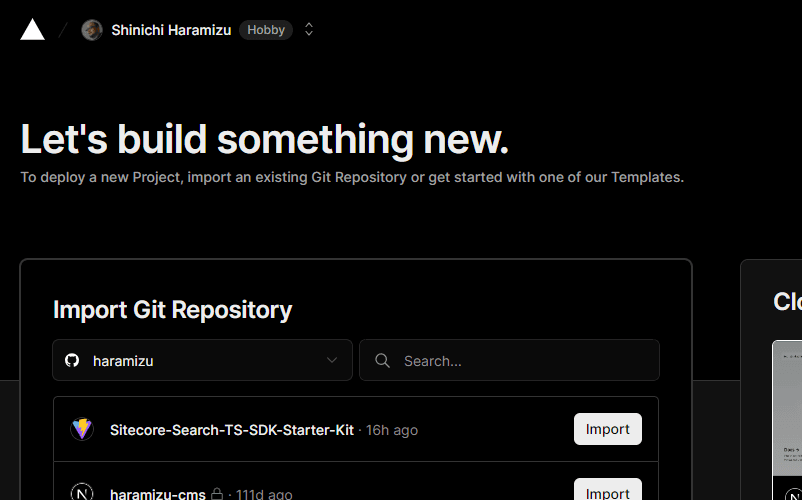
We will deploy the environment we are deploying to the Vercel environment. First, log in to your Vercel account that is linked to GitHub. First, create a project.
After creating the project, set Environment Variables. Set the same items and values here that you set in .env.
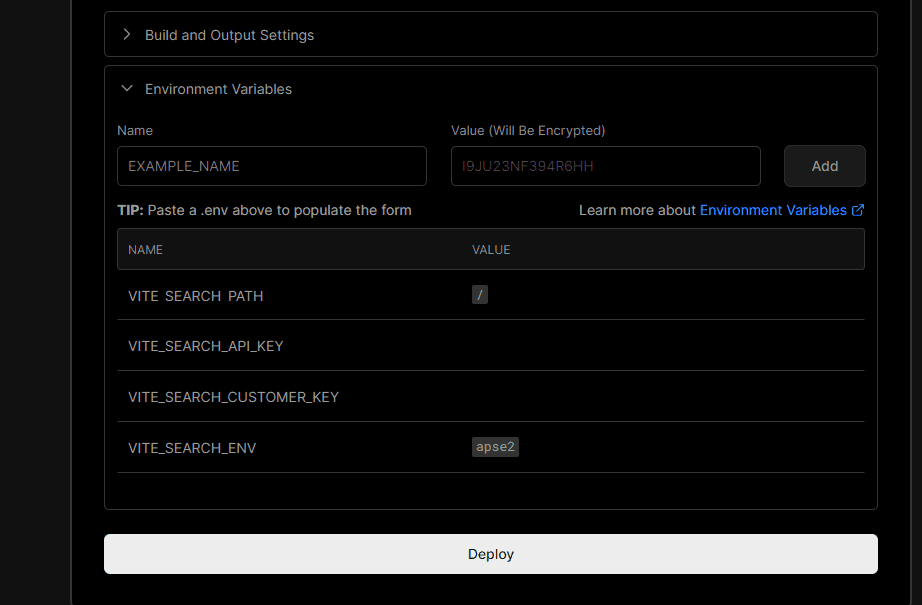
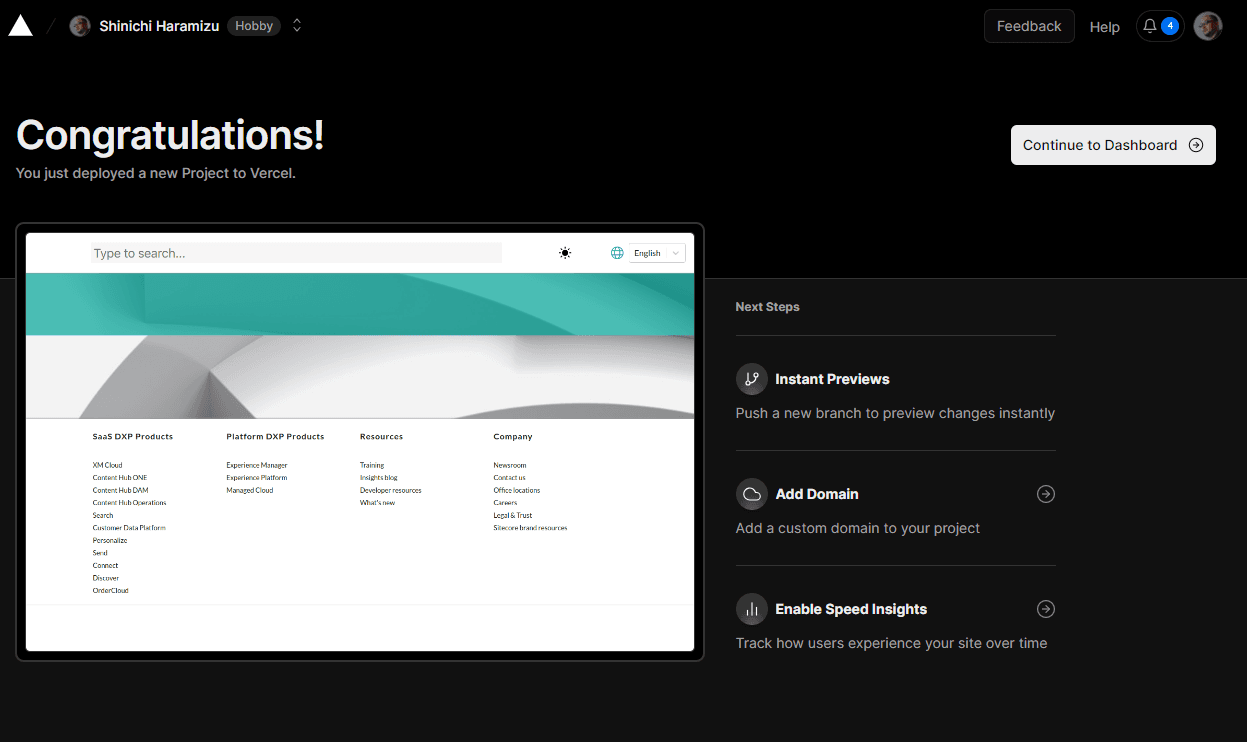
After clicking the Deploy button, the deployment is completed as shown below.
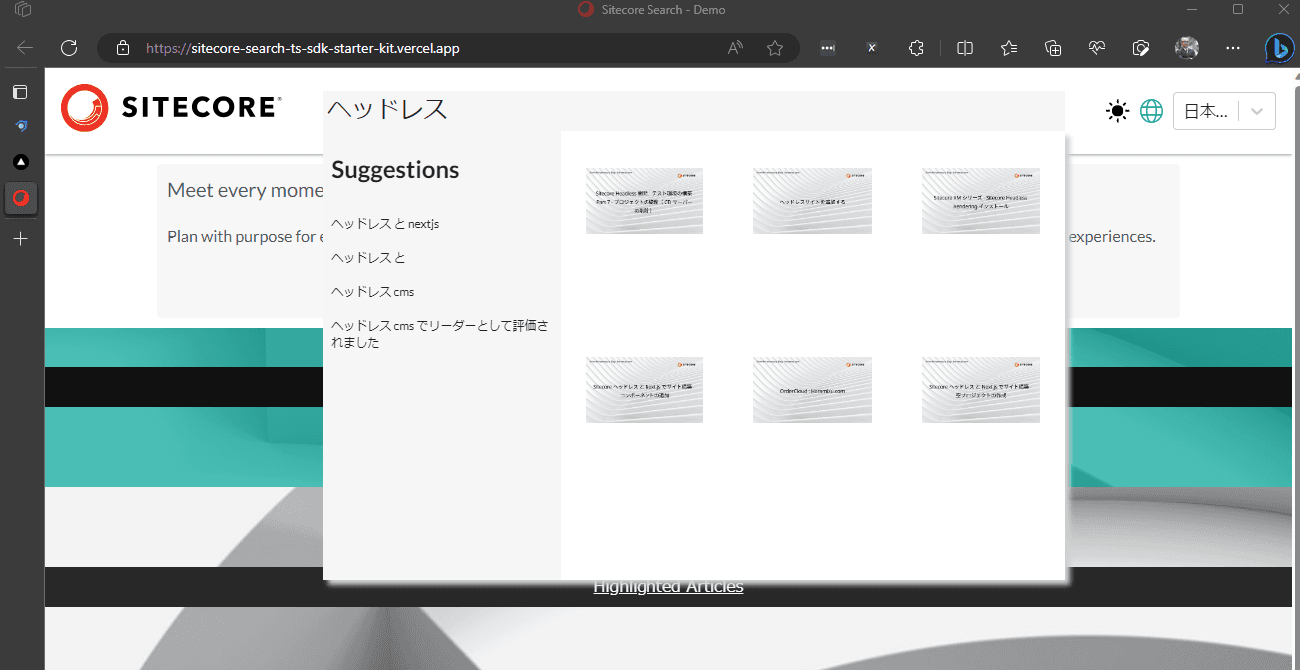
I accessed the site, switched the menu to Japanese, and searched for results.
Summary
Using the Sitecore Search Starter Kit, we were able to deploy a sample on our website. The sample is still in the form of Japanese data only, but we are going to start tuning the site by touching various aspects.