In this article, we will introduce how to connect your Next.js project directly to an instance of XM Cloud.
Content Update
Please check the latest information on the following page
Create API Keys
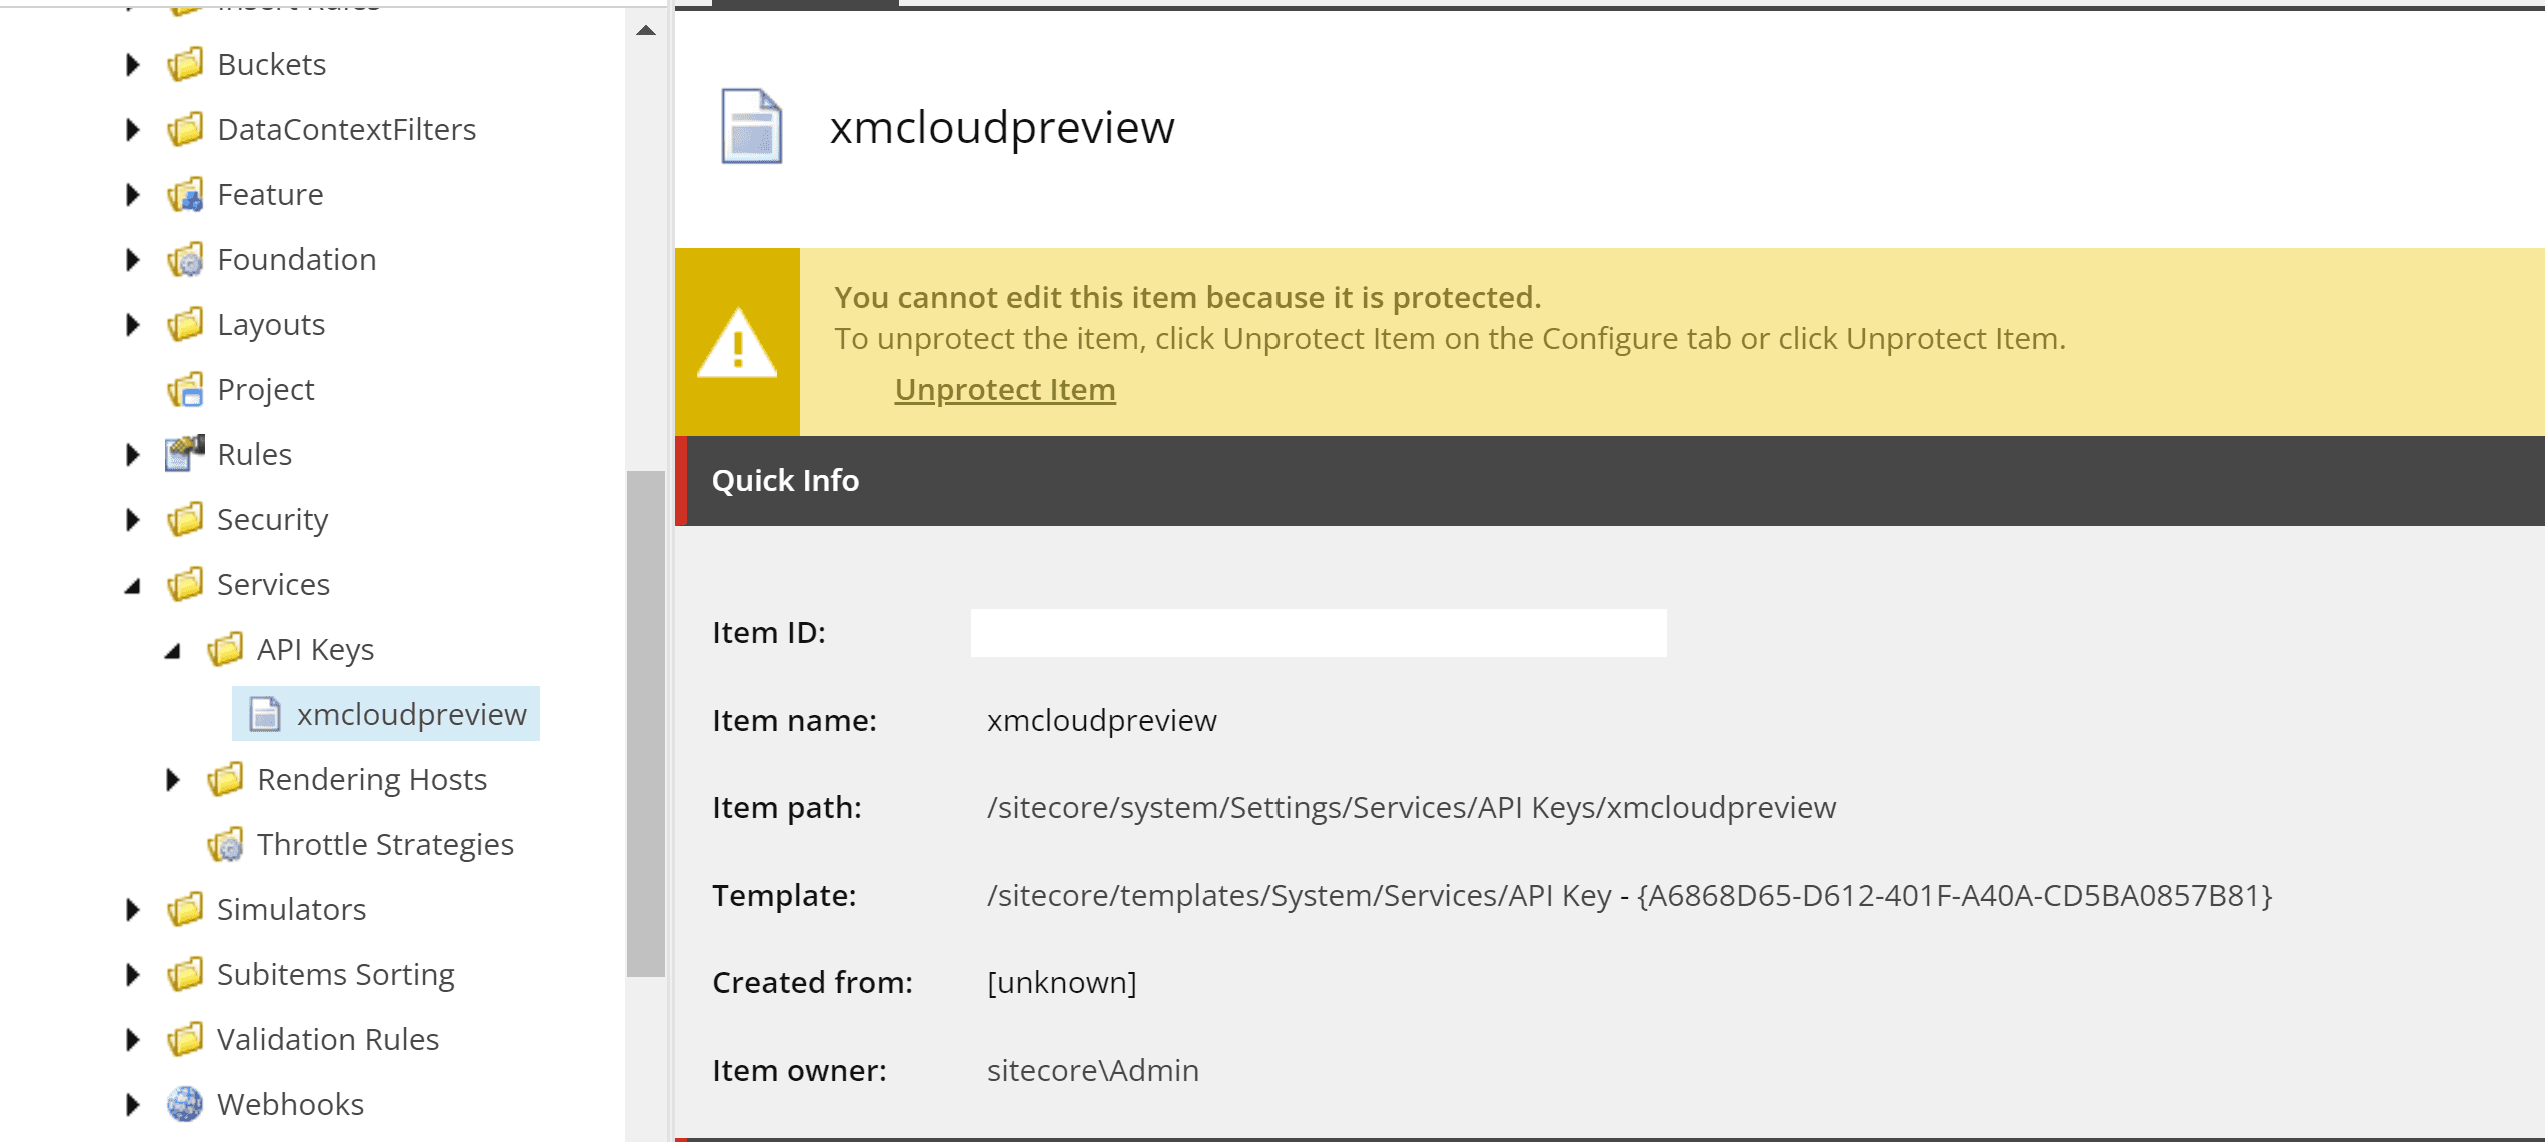
Start the content editor of the CMS that is already running. Then select the item in the path /sitecore/system/Settings/Services/API Keys/xmcloudpreview as the item. The Item ID of this item is the API key.
CM Server Information
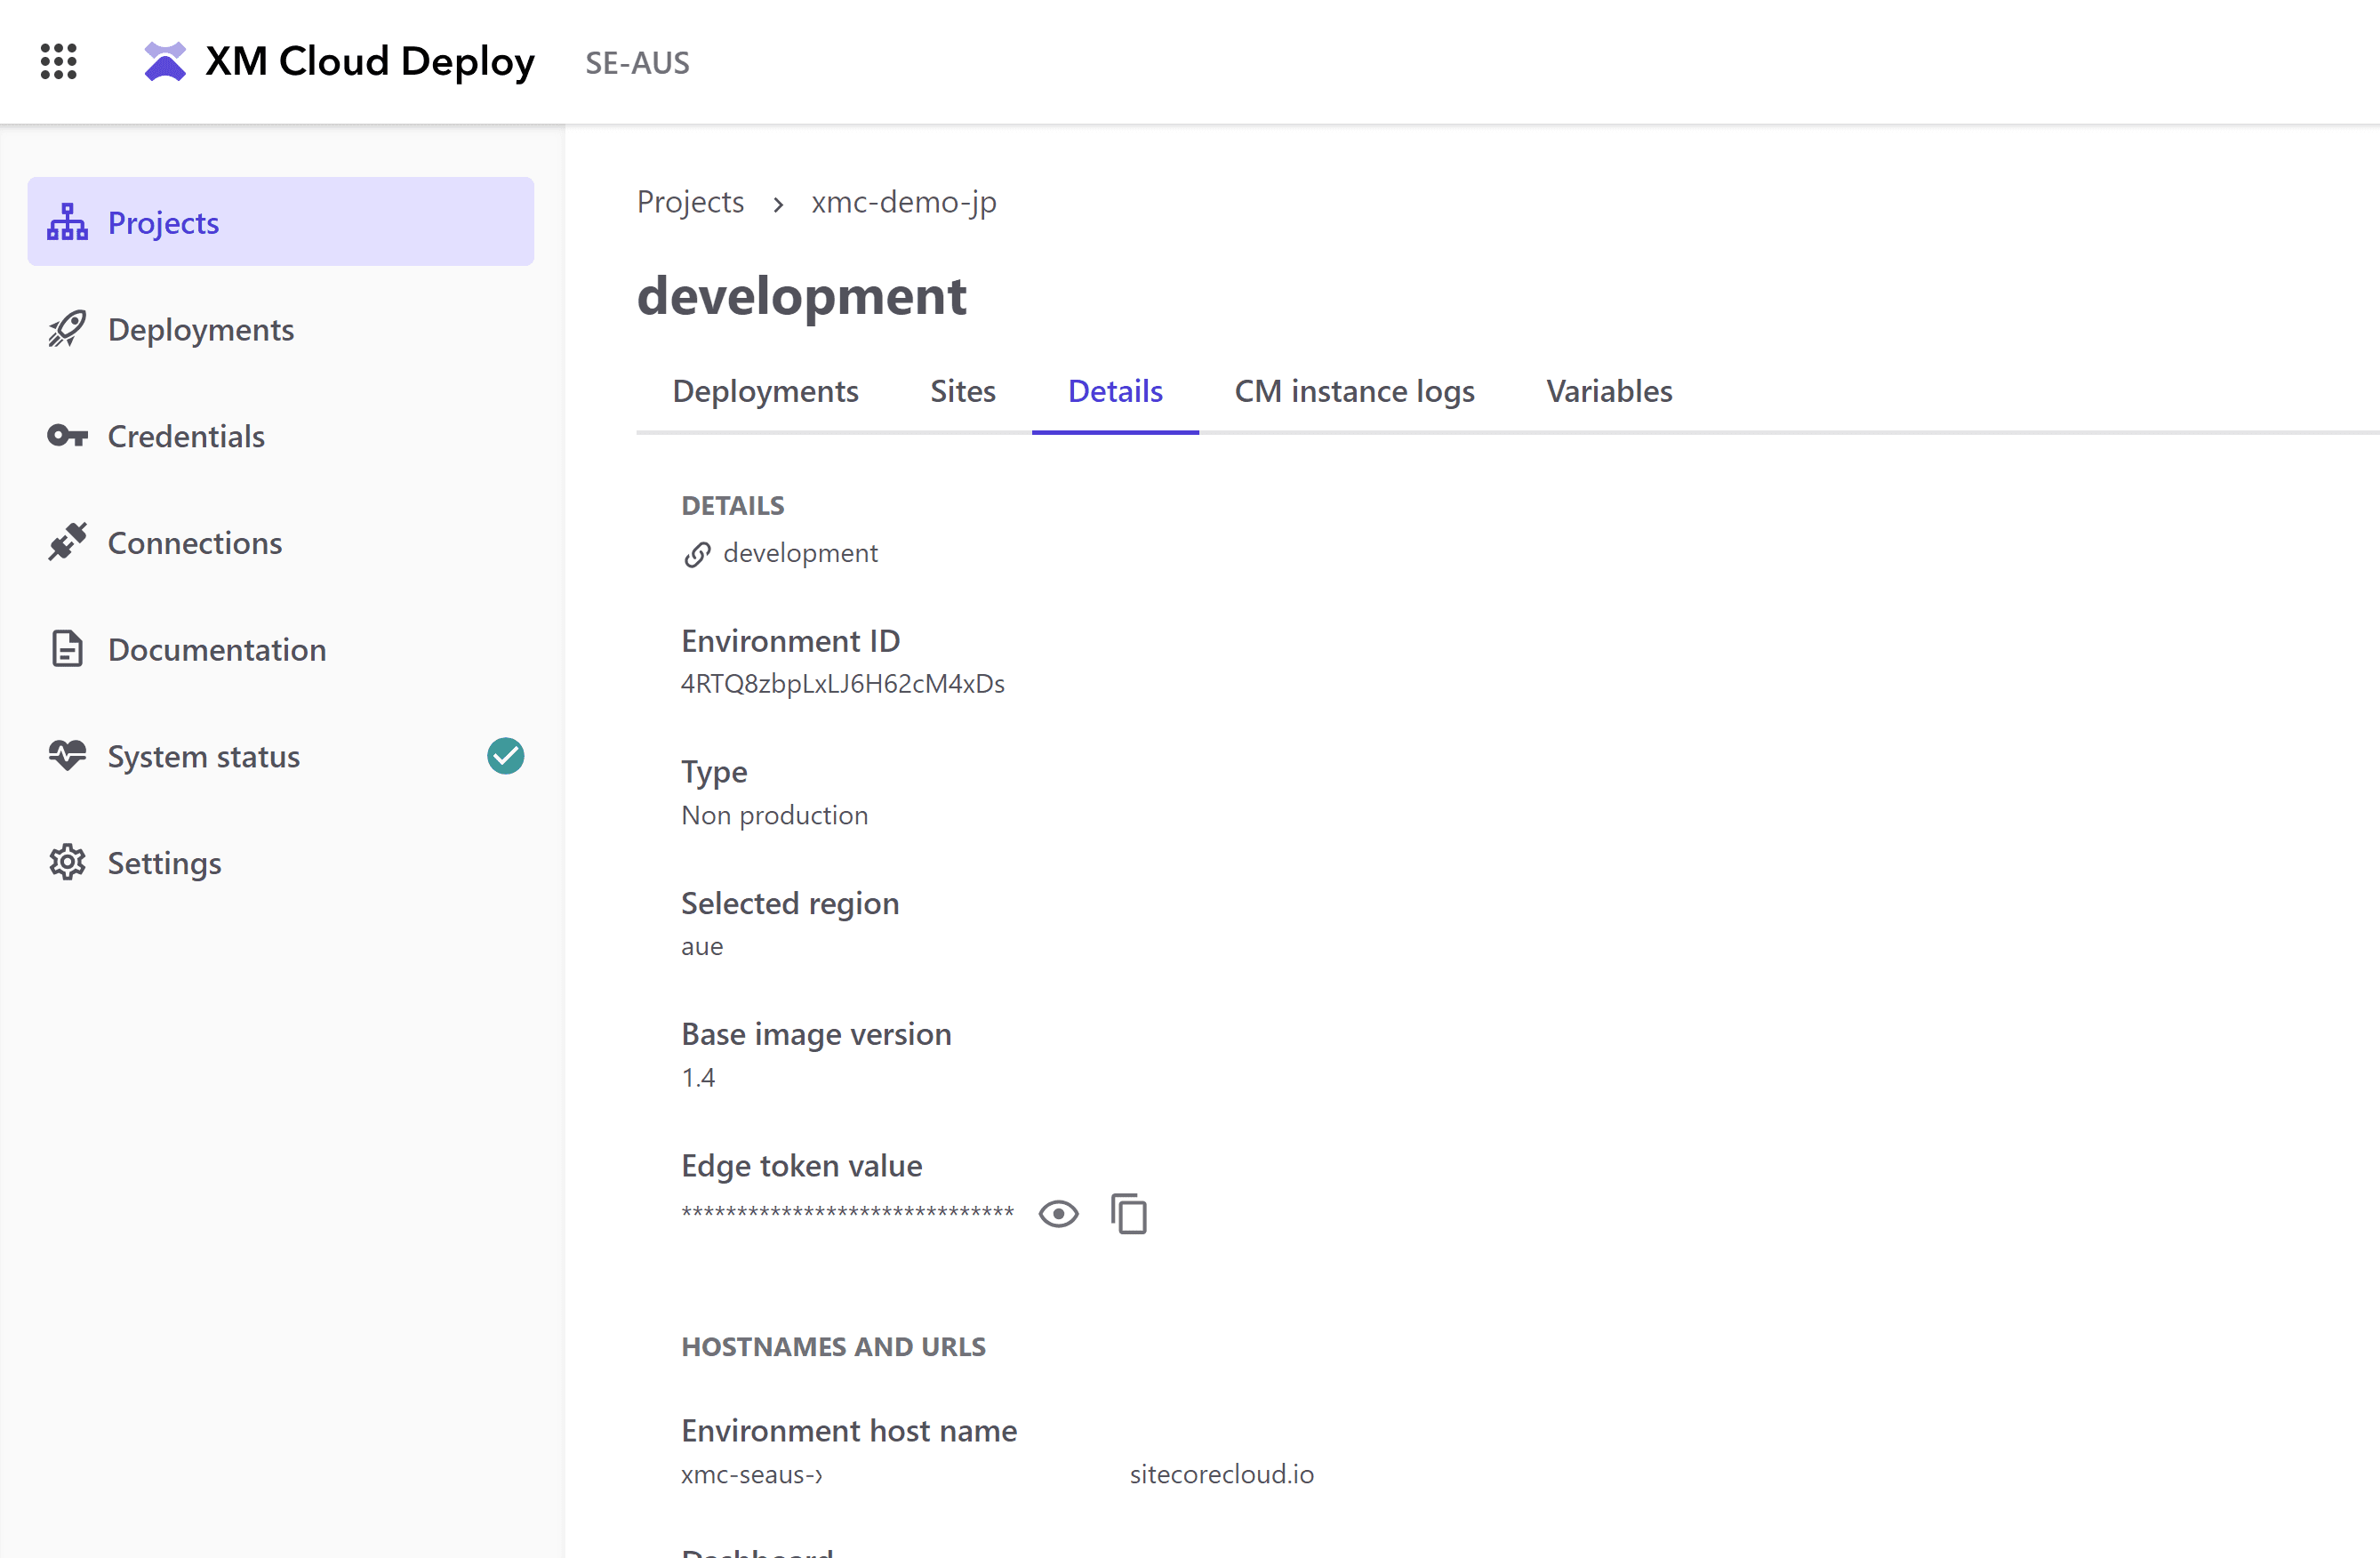
To find out the name of the instance of the XM Cloud CMS server already running, go to the XM Cloud Deploy administration page and click on the Detail tab to retrieve the server name and other information.
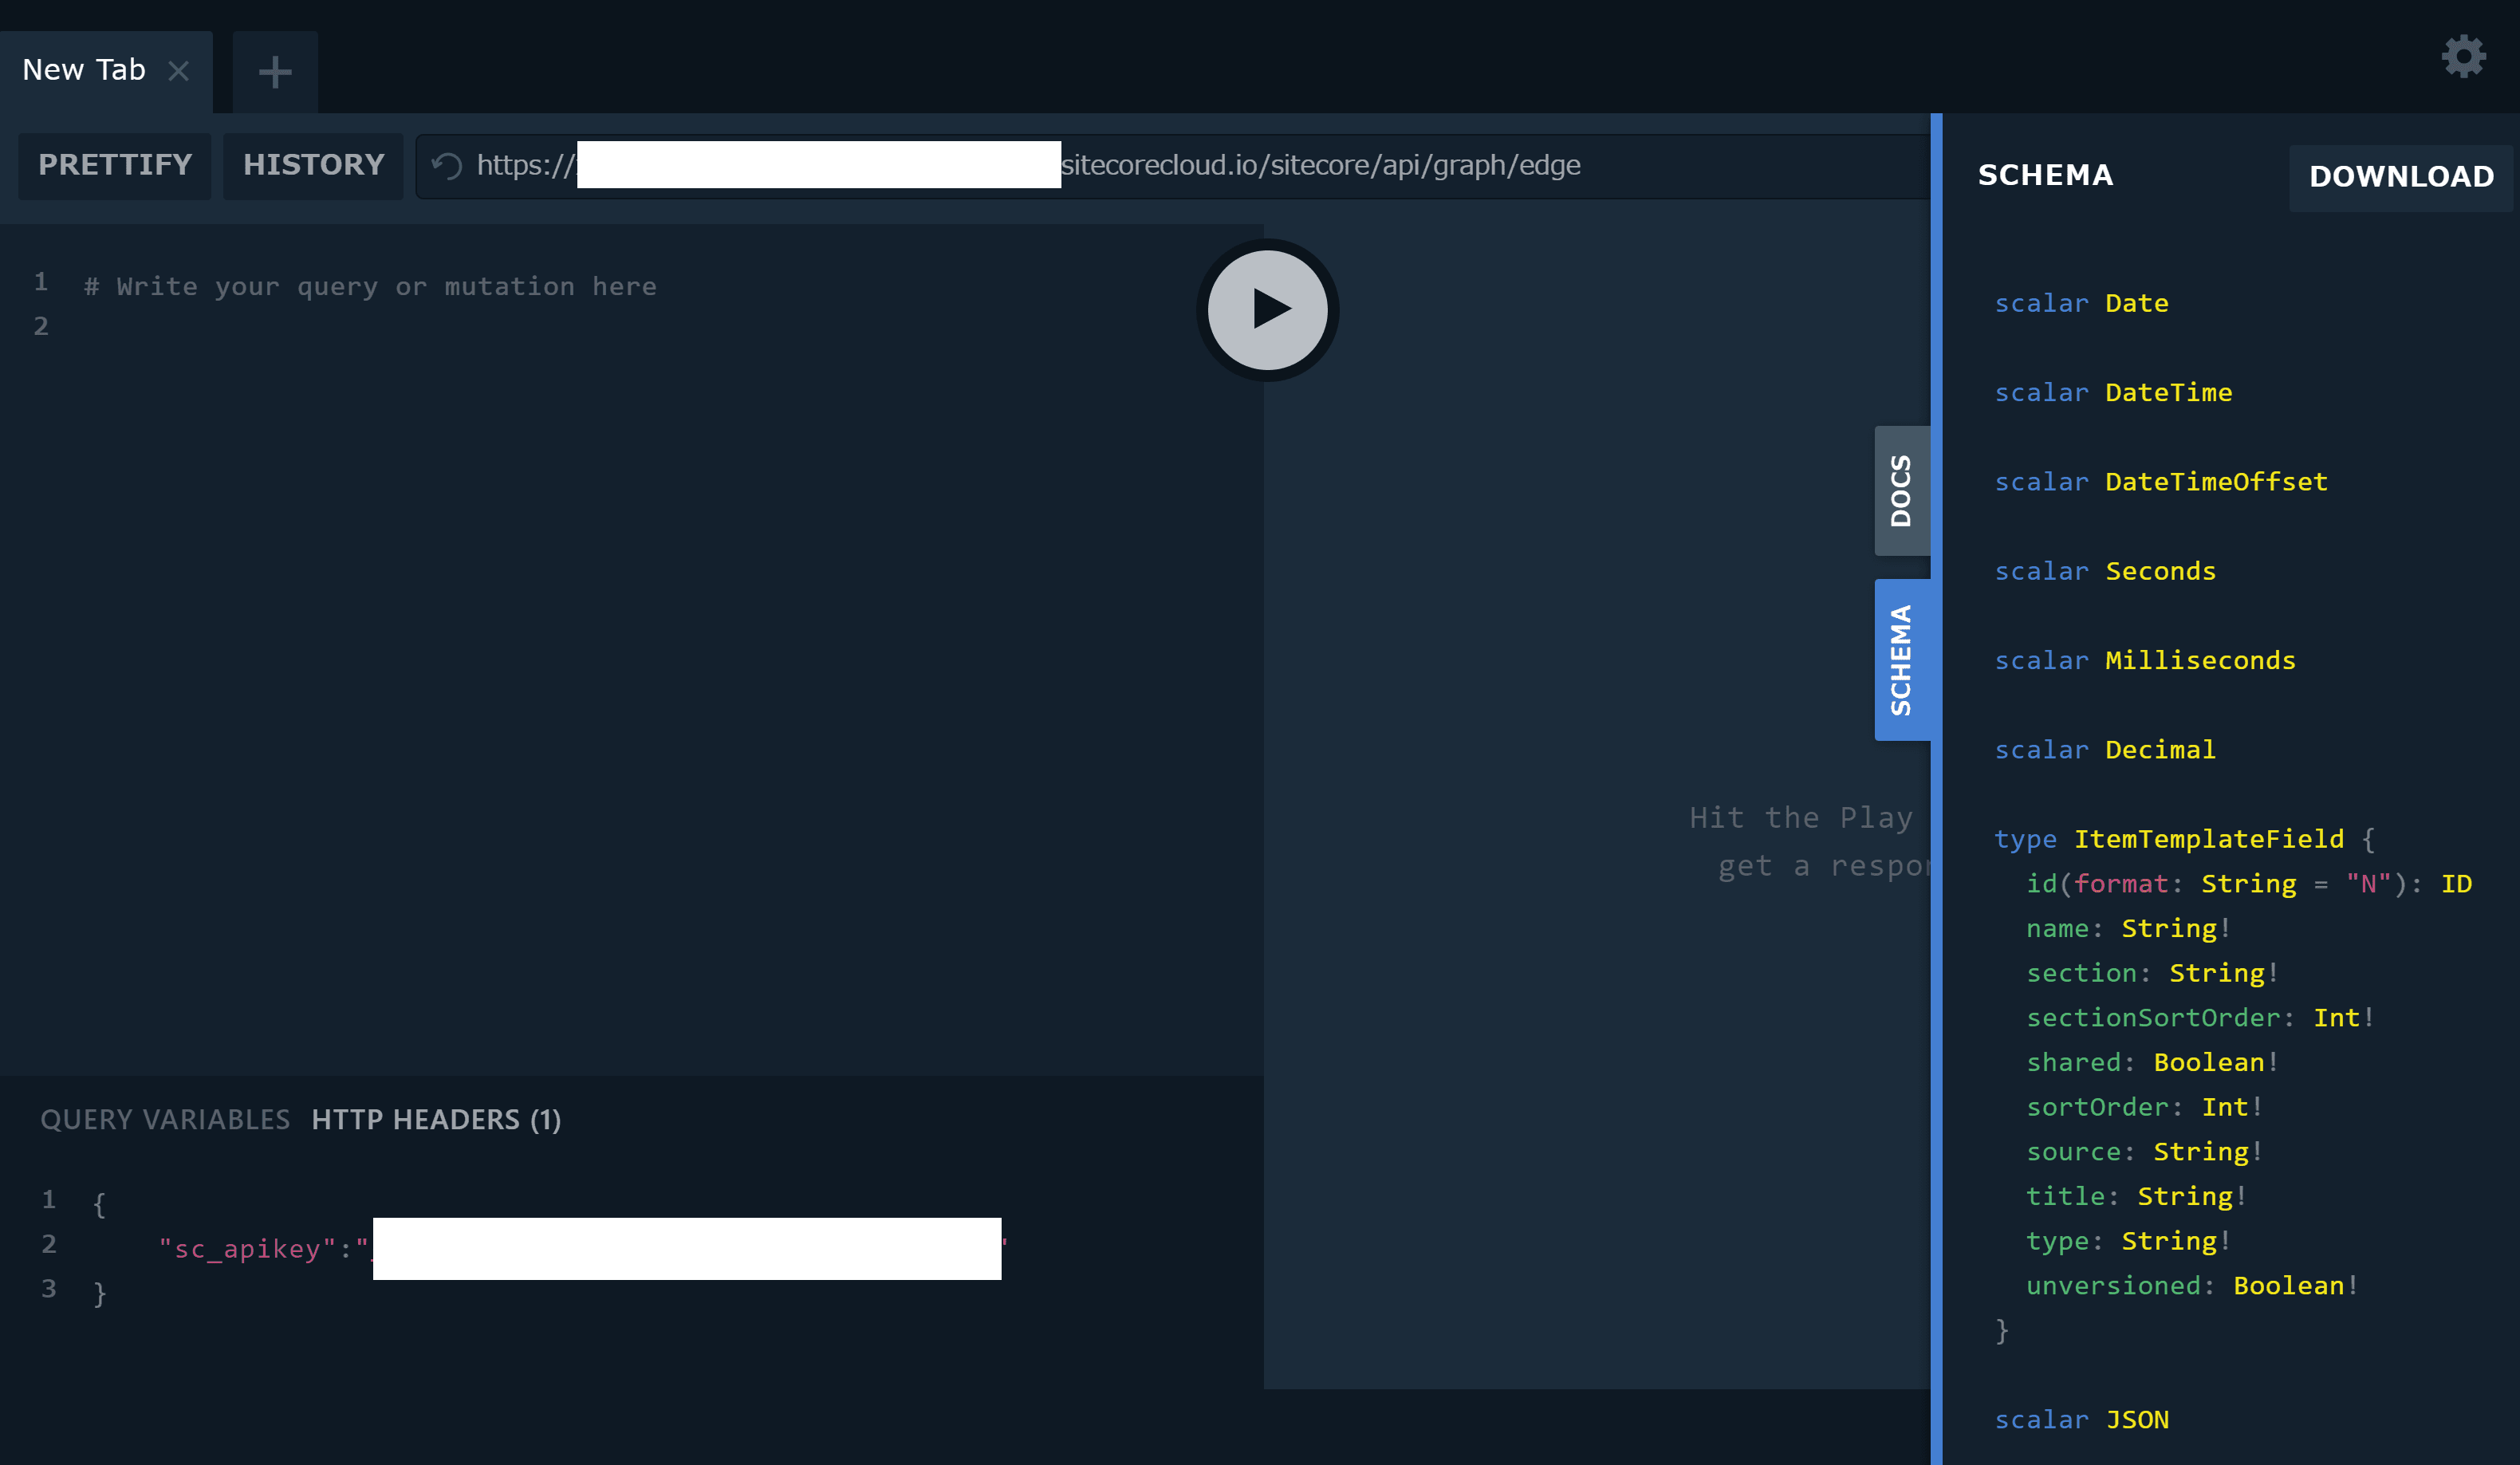
At the bottom of this administration page, there is a URL named Edge Preview Endpoint, so switch to the GraphQL Playground screen. Header should be set to the following JSON using the API key obtained in advance.
{
    "sc_apikey":"YOUR-API-KEY"
}
If the keys are correct, it will function as a GraphQL administration page as shown below.
Editing .env files
The configuration file for running the local Next.js is the file src\sxastarter\.env. The following items in this file are configured.
SITECORE_API_KEY=your-api-key
SITECORE_API_HOST=https://yourhostname
DISABLE_SSG_FETCH=true
After changing the above settings, start Next.js.
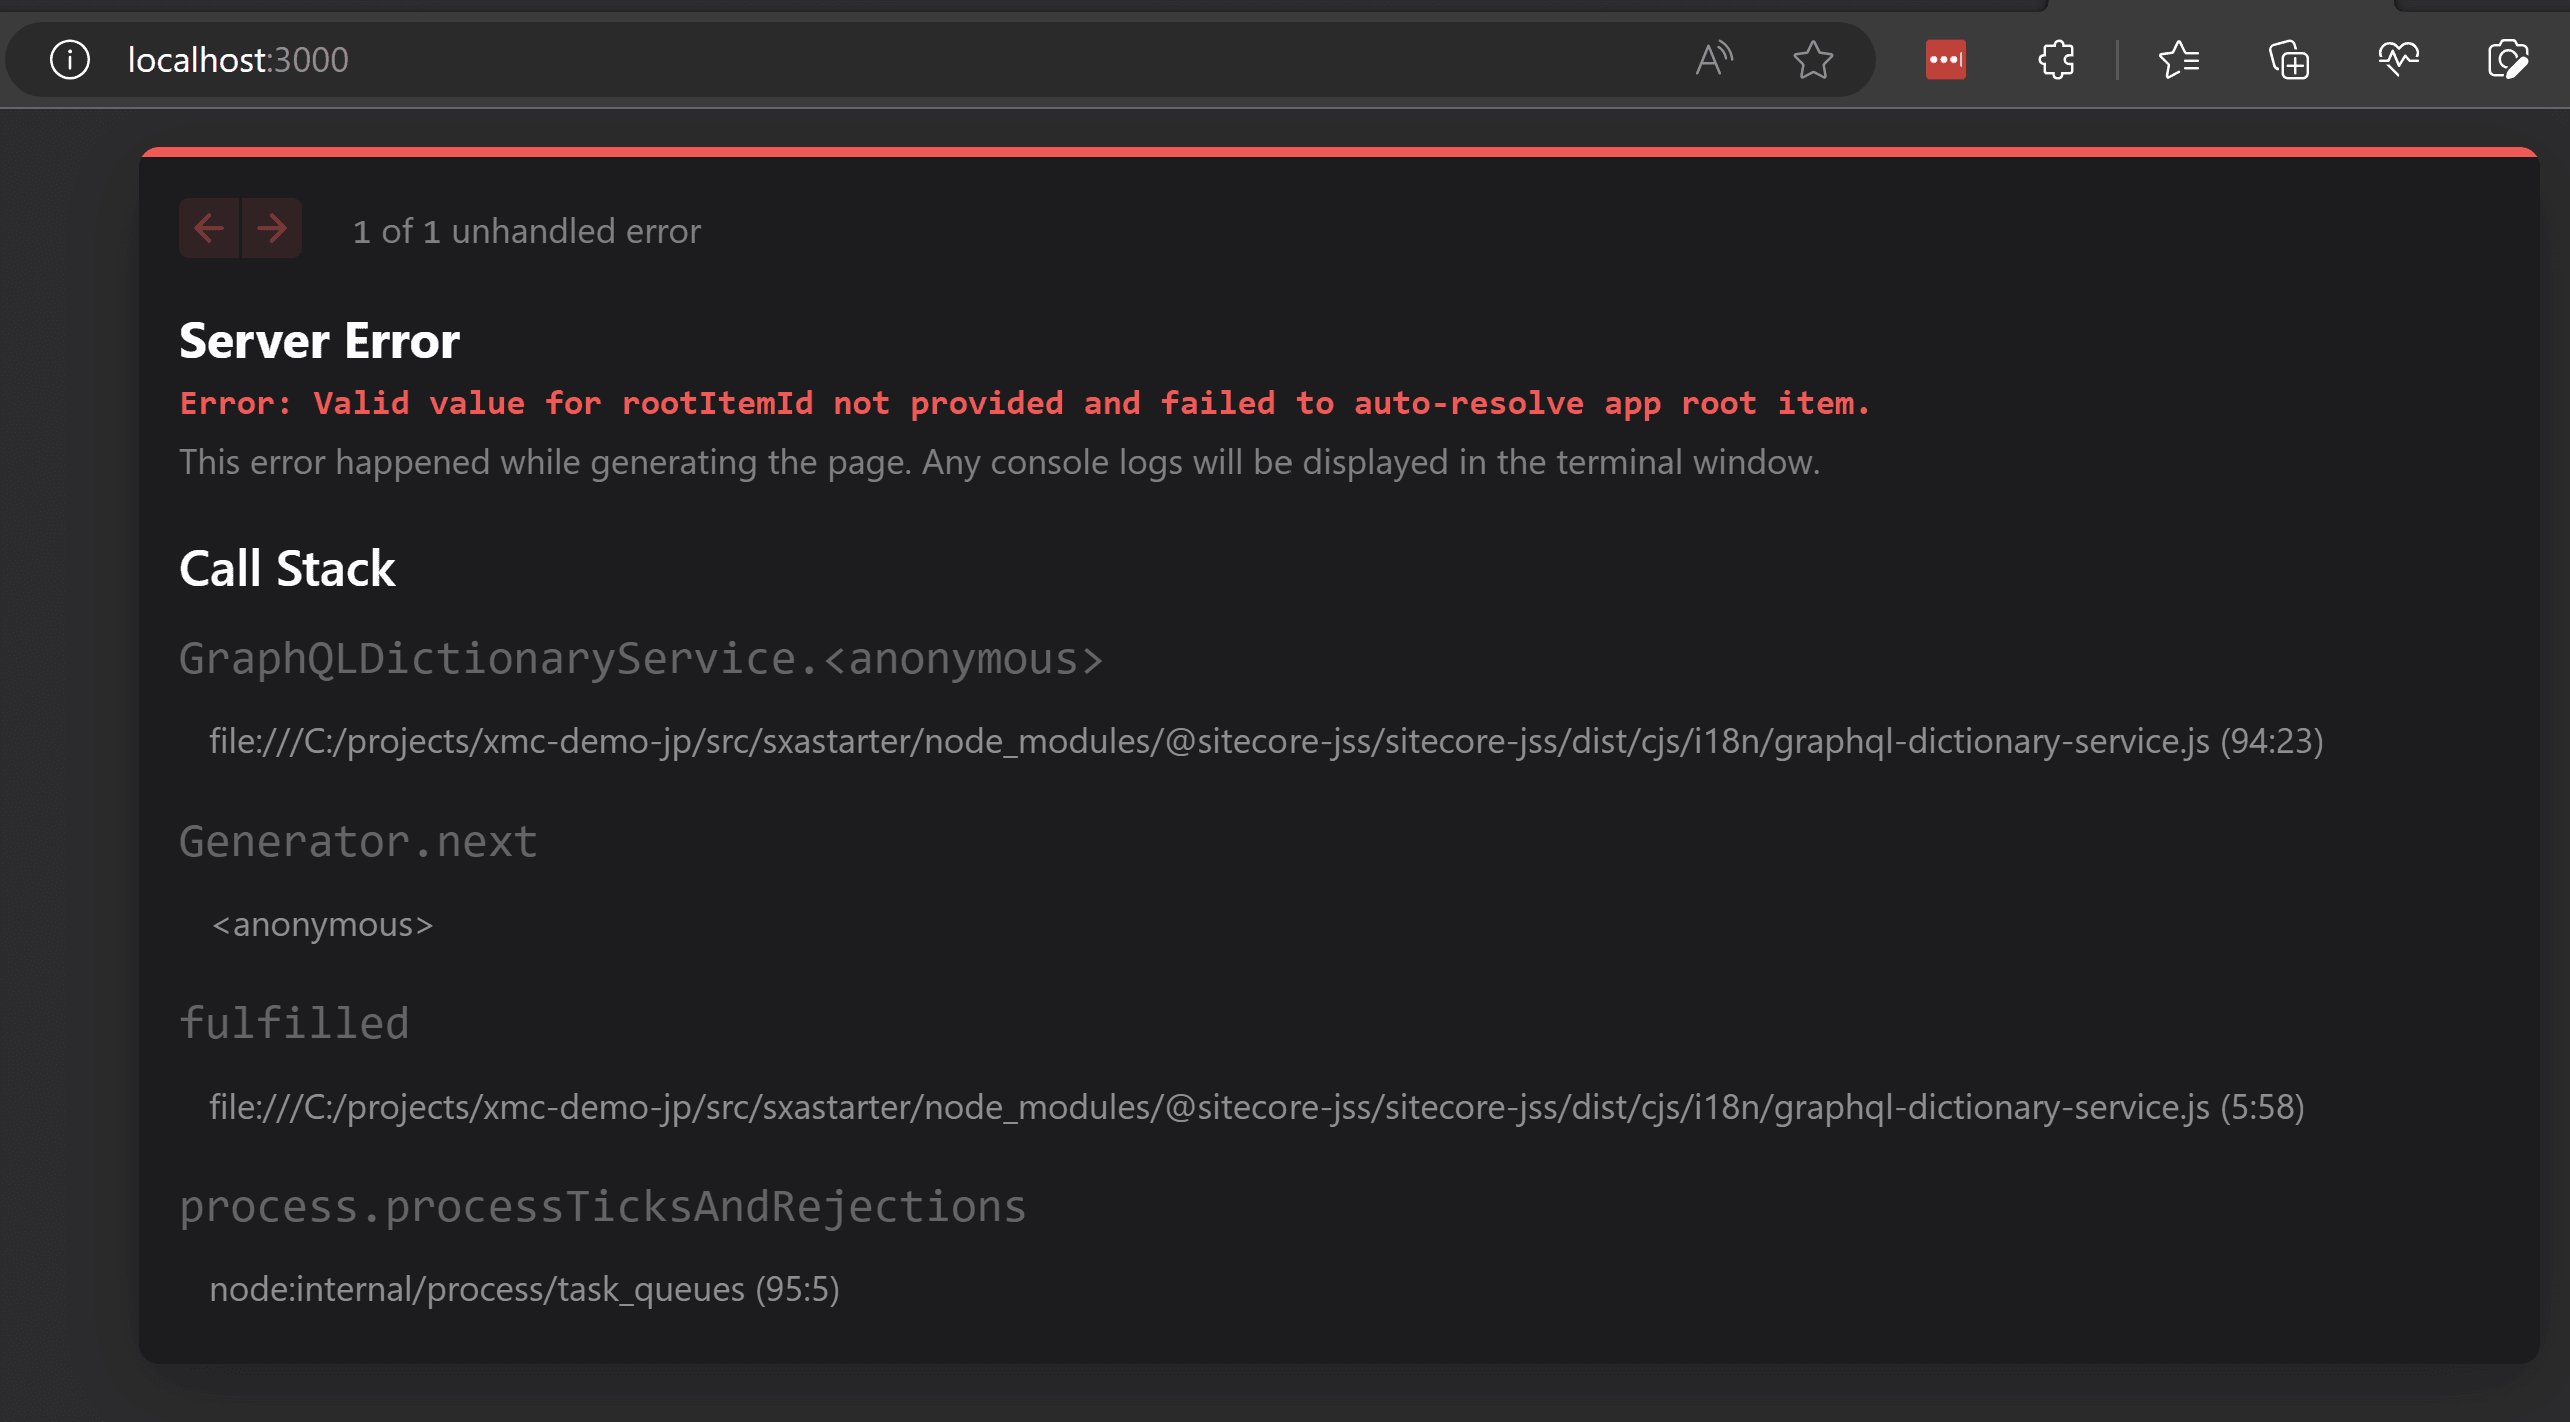
jss start:connectedYou can now reference it at http://localhost:3000. However, you may receive the following error
Error Countermeasures
The error message indicates that this error occurs because the rootItemId entry is missing. This setting needs to be changed in two places.
First, get the value to be set for rootItemId. This ID will be the template ID of the Home item.
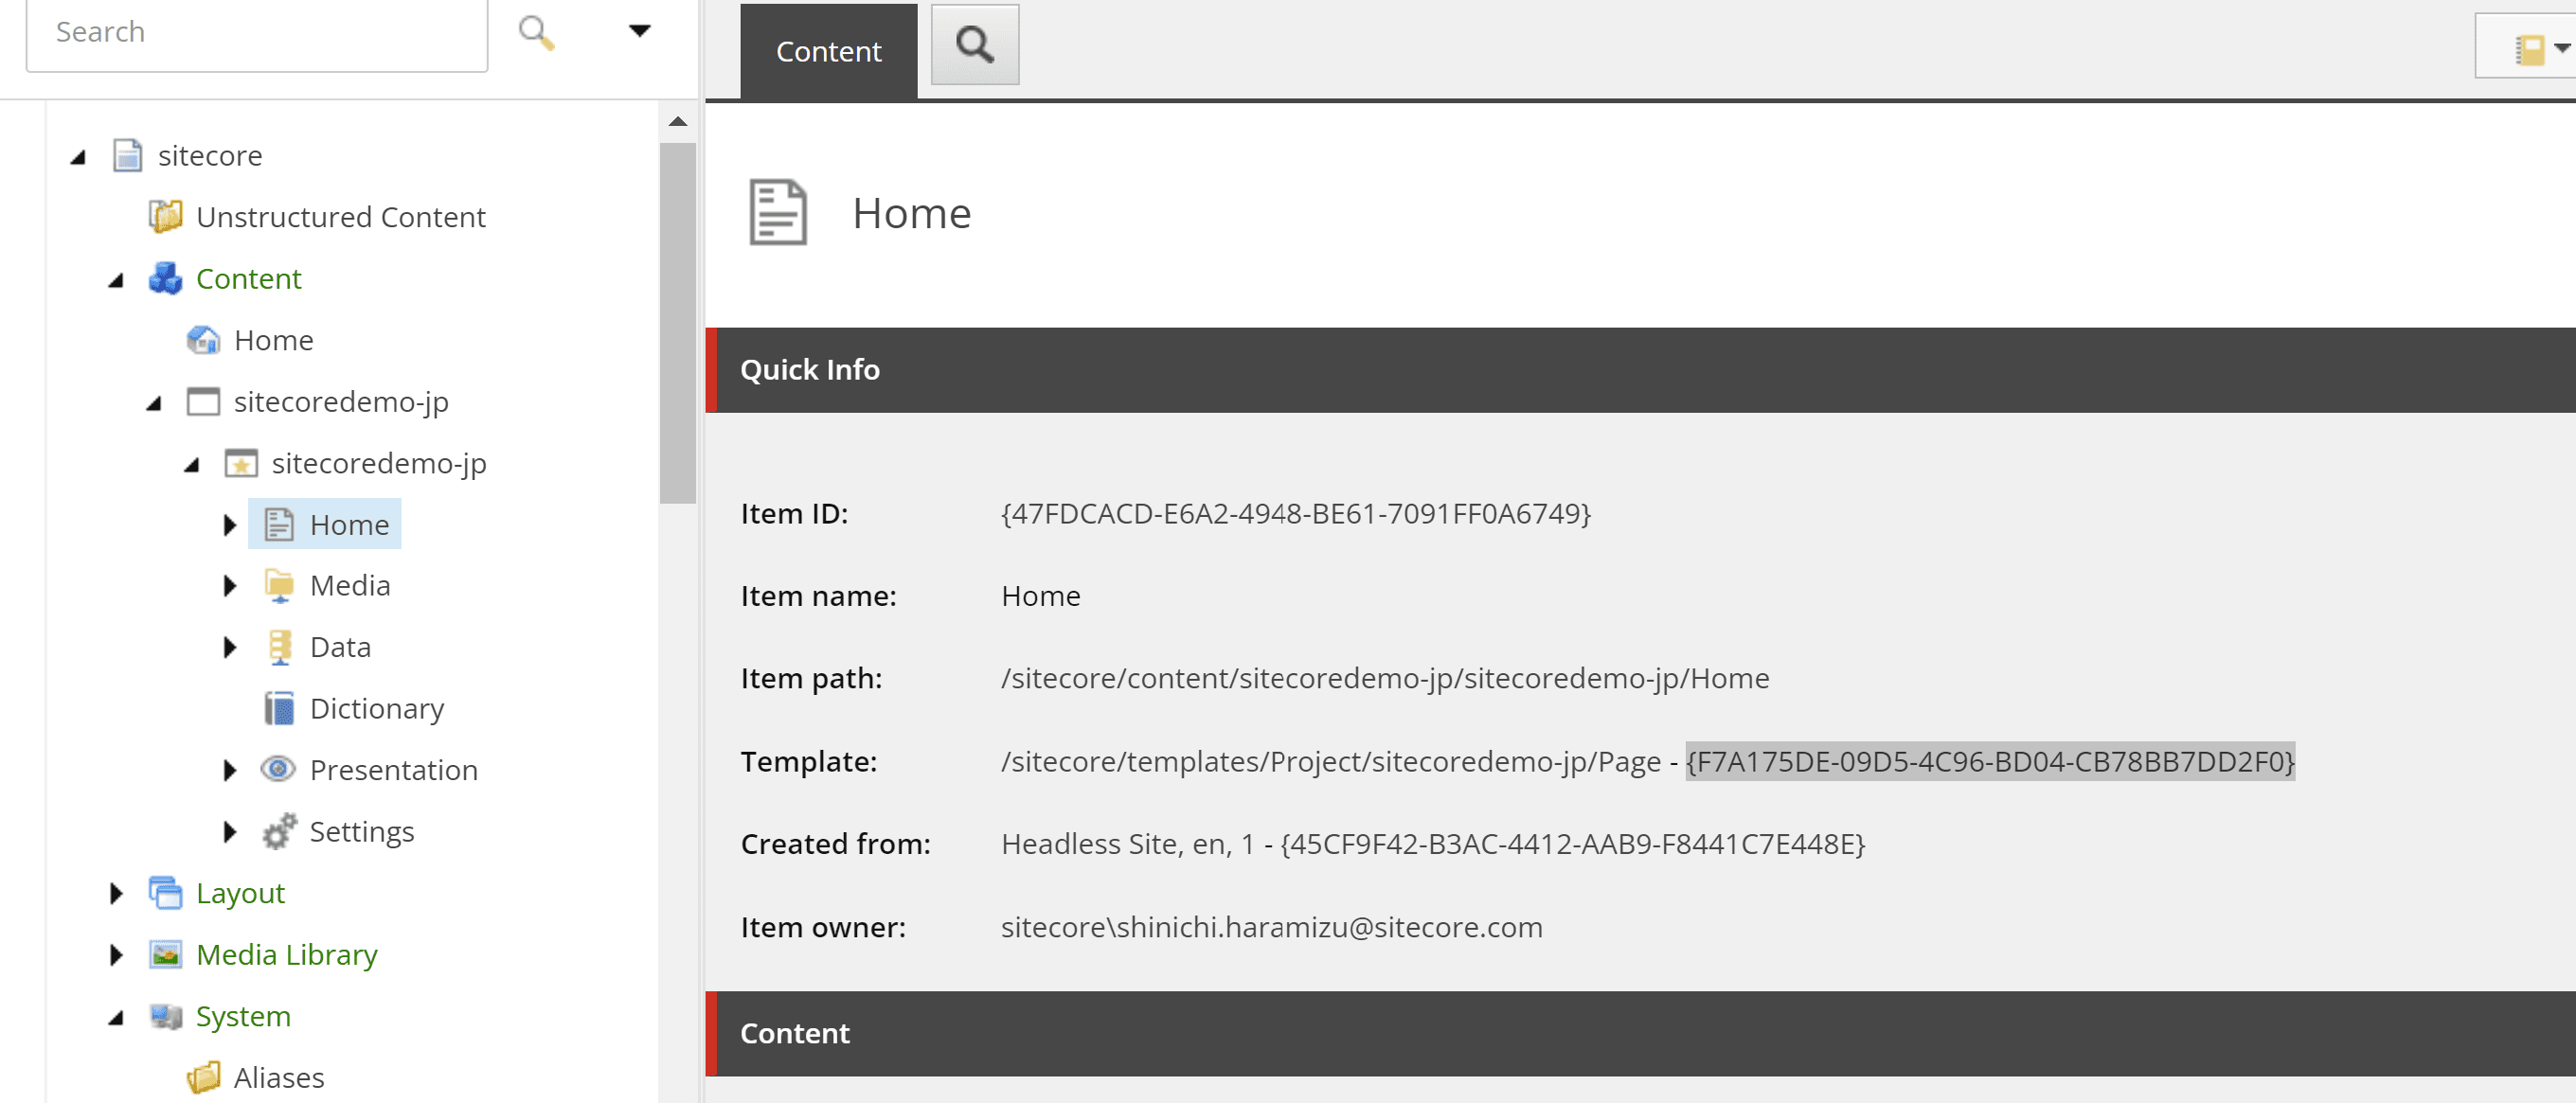
This value should first be added to src\sxastarter\src\lib\dictionary-service-factory.ts. This item can be added using the commented out code as follows.

The following pages were used as references
We will also take this opportunity to align the names of the applications. In the Settings section of the site, there is an item called App name.
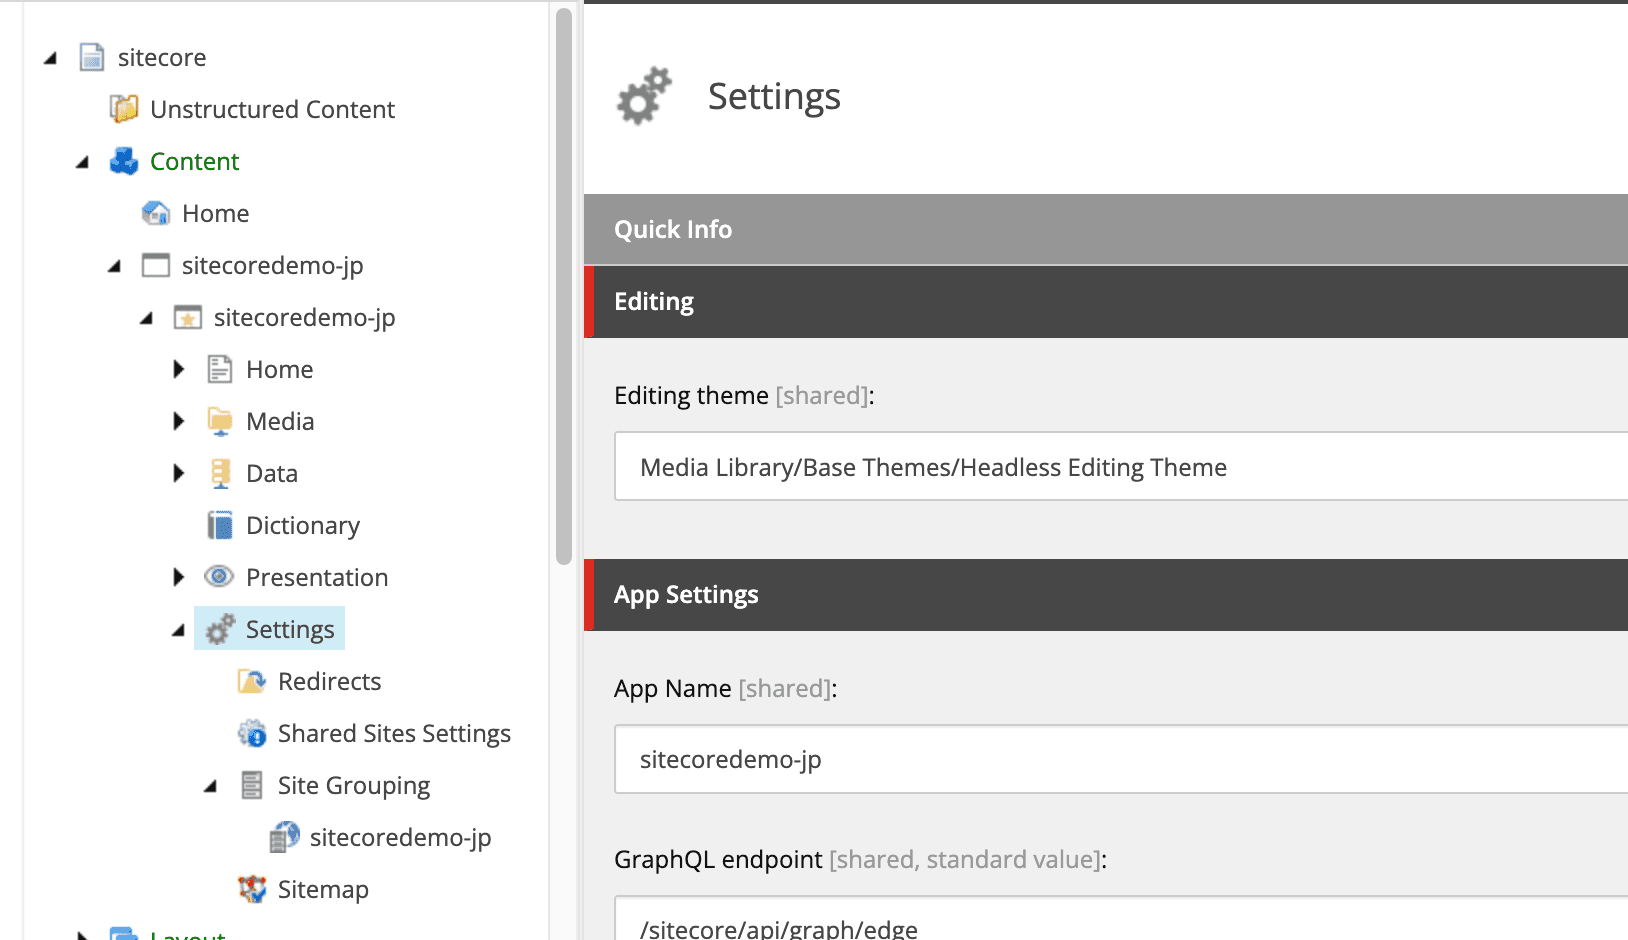
Align this name with the name in package.json. In this case, the appName entry is rewritten as follows
{
  "name": "sxastarter",
  "description": "Application utilizing Sitecore JavaScript Services and Next.js",
  "version": "21.2.0",
  "private": true,
  "config": {
    "appName": "sitecoredemo-jp",
    "rootPlaceholders": [
      "jss-main"
    ],
The preparations are now complete. Access your XM Cloud instance using the following command
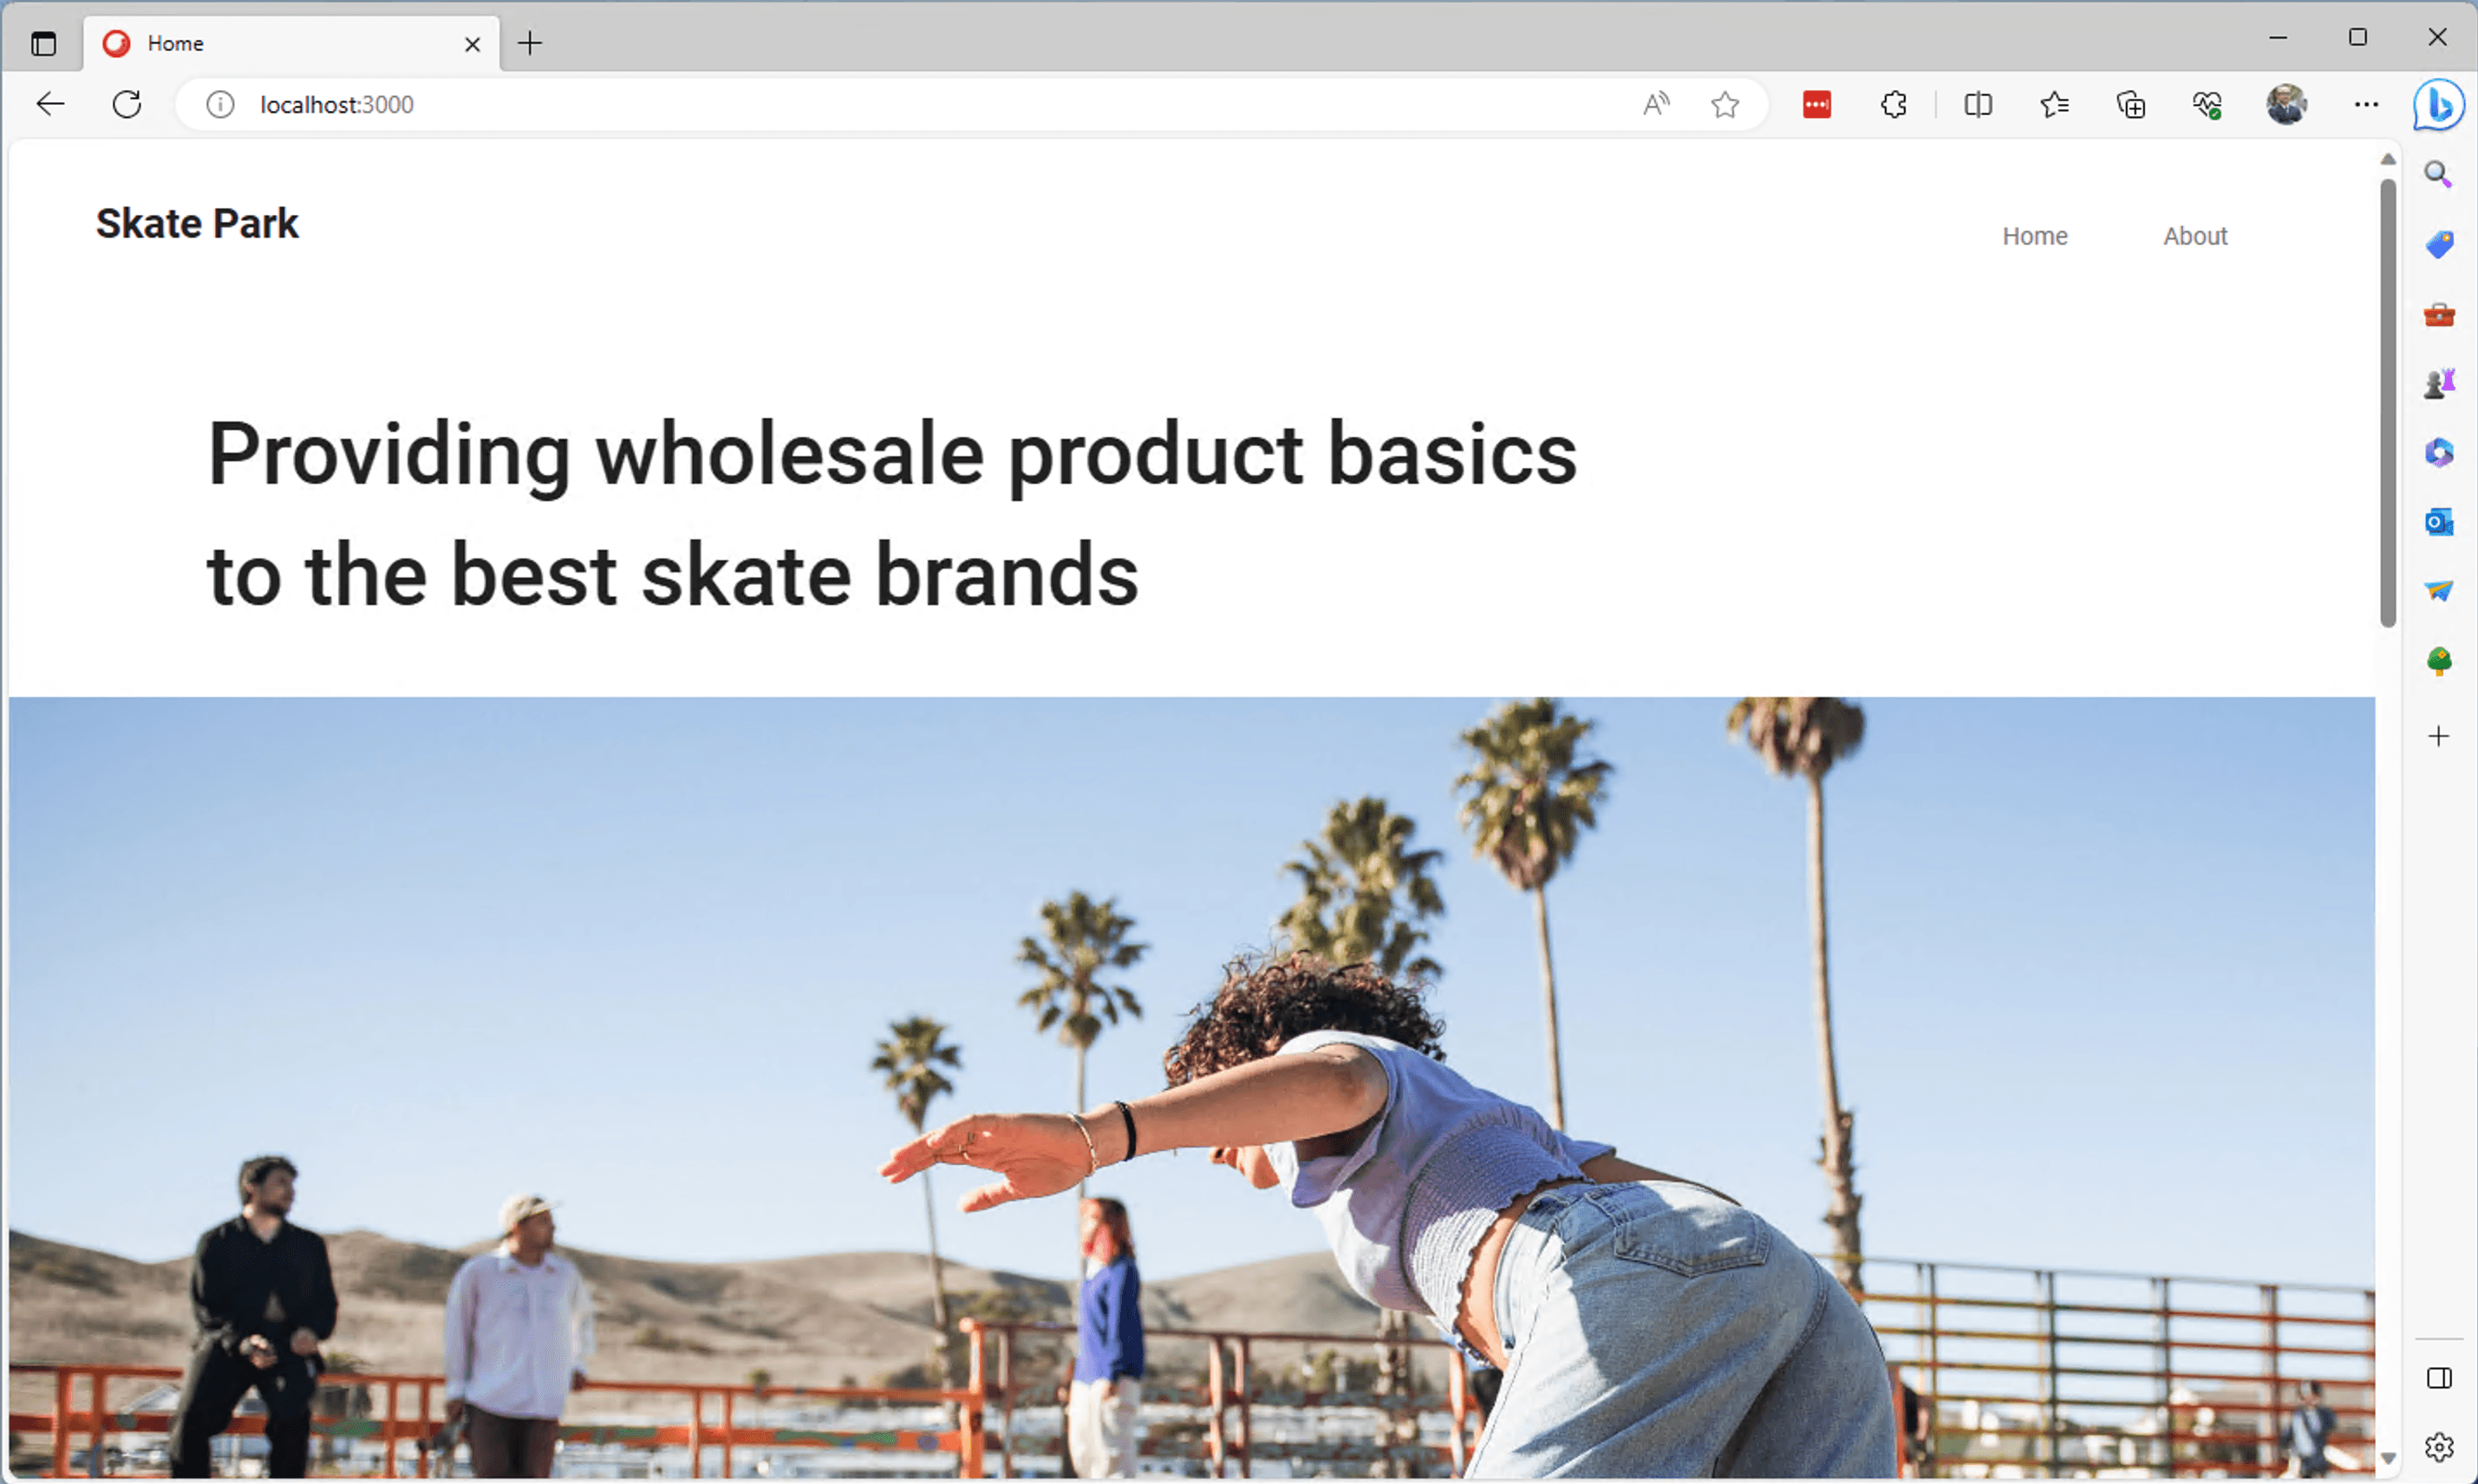
jss start:connectedThe page was successfully displayed.
Summary
In this article, we introduced the procedure for connecting to a server instance of XM Cloud without using a container at hand. Since rendering is performed on hand, it is possible to operate in non-Windows environments. Just understanding that this kind of mode exists is a useful mechanism when a scenario arises to use it.
