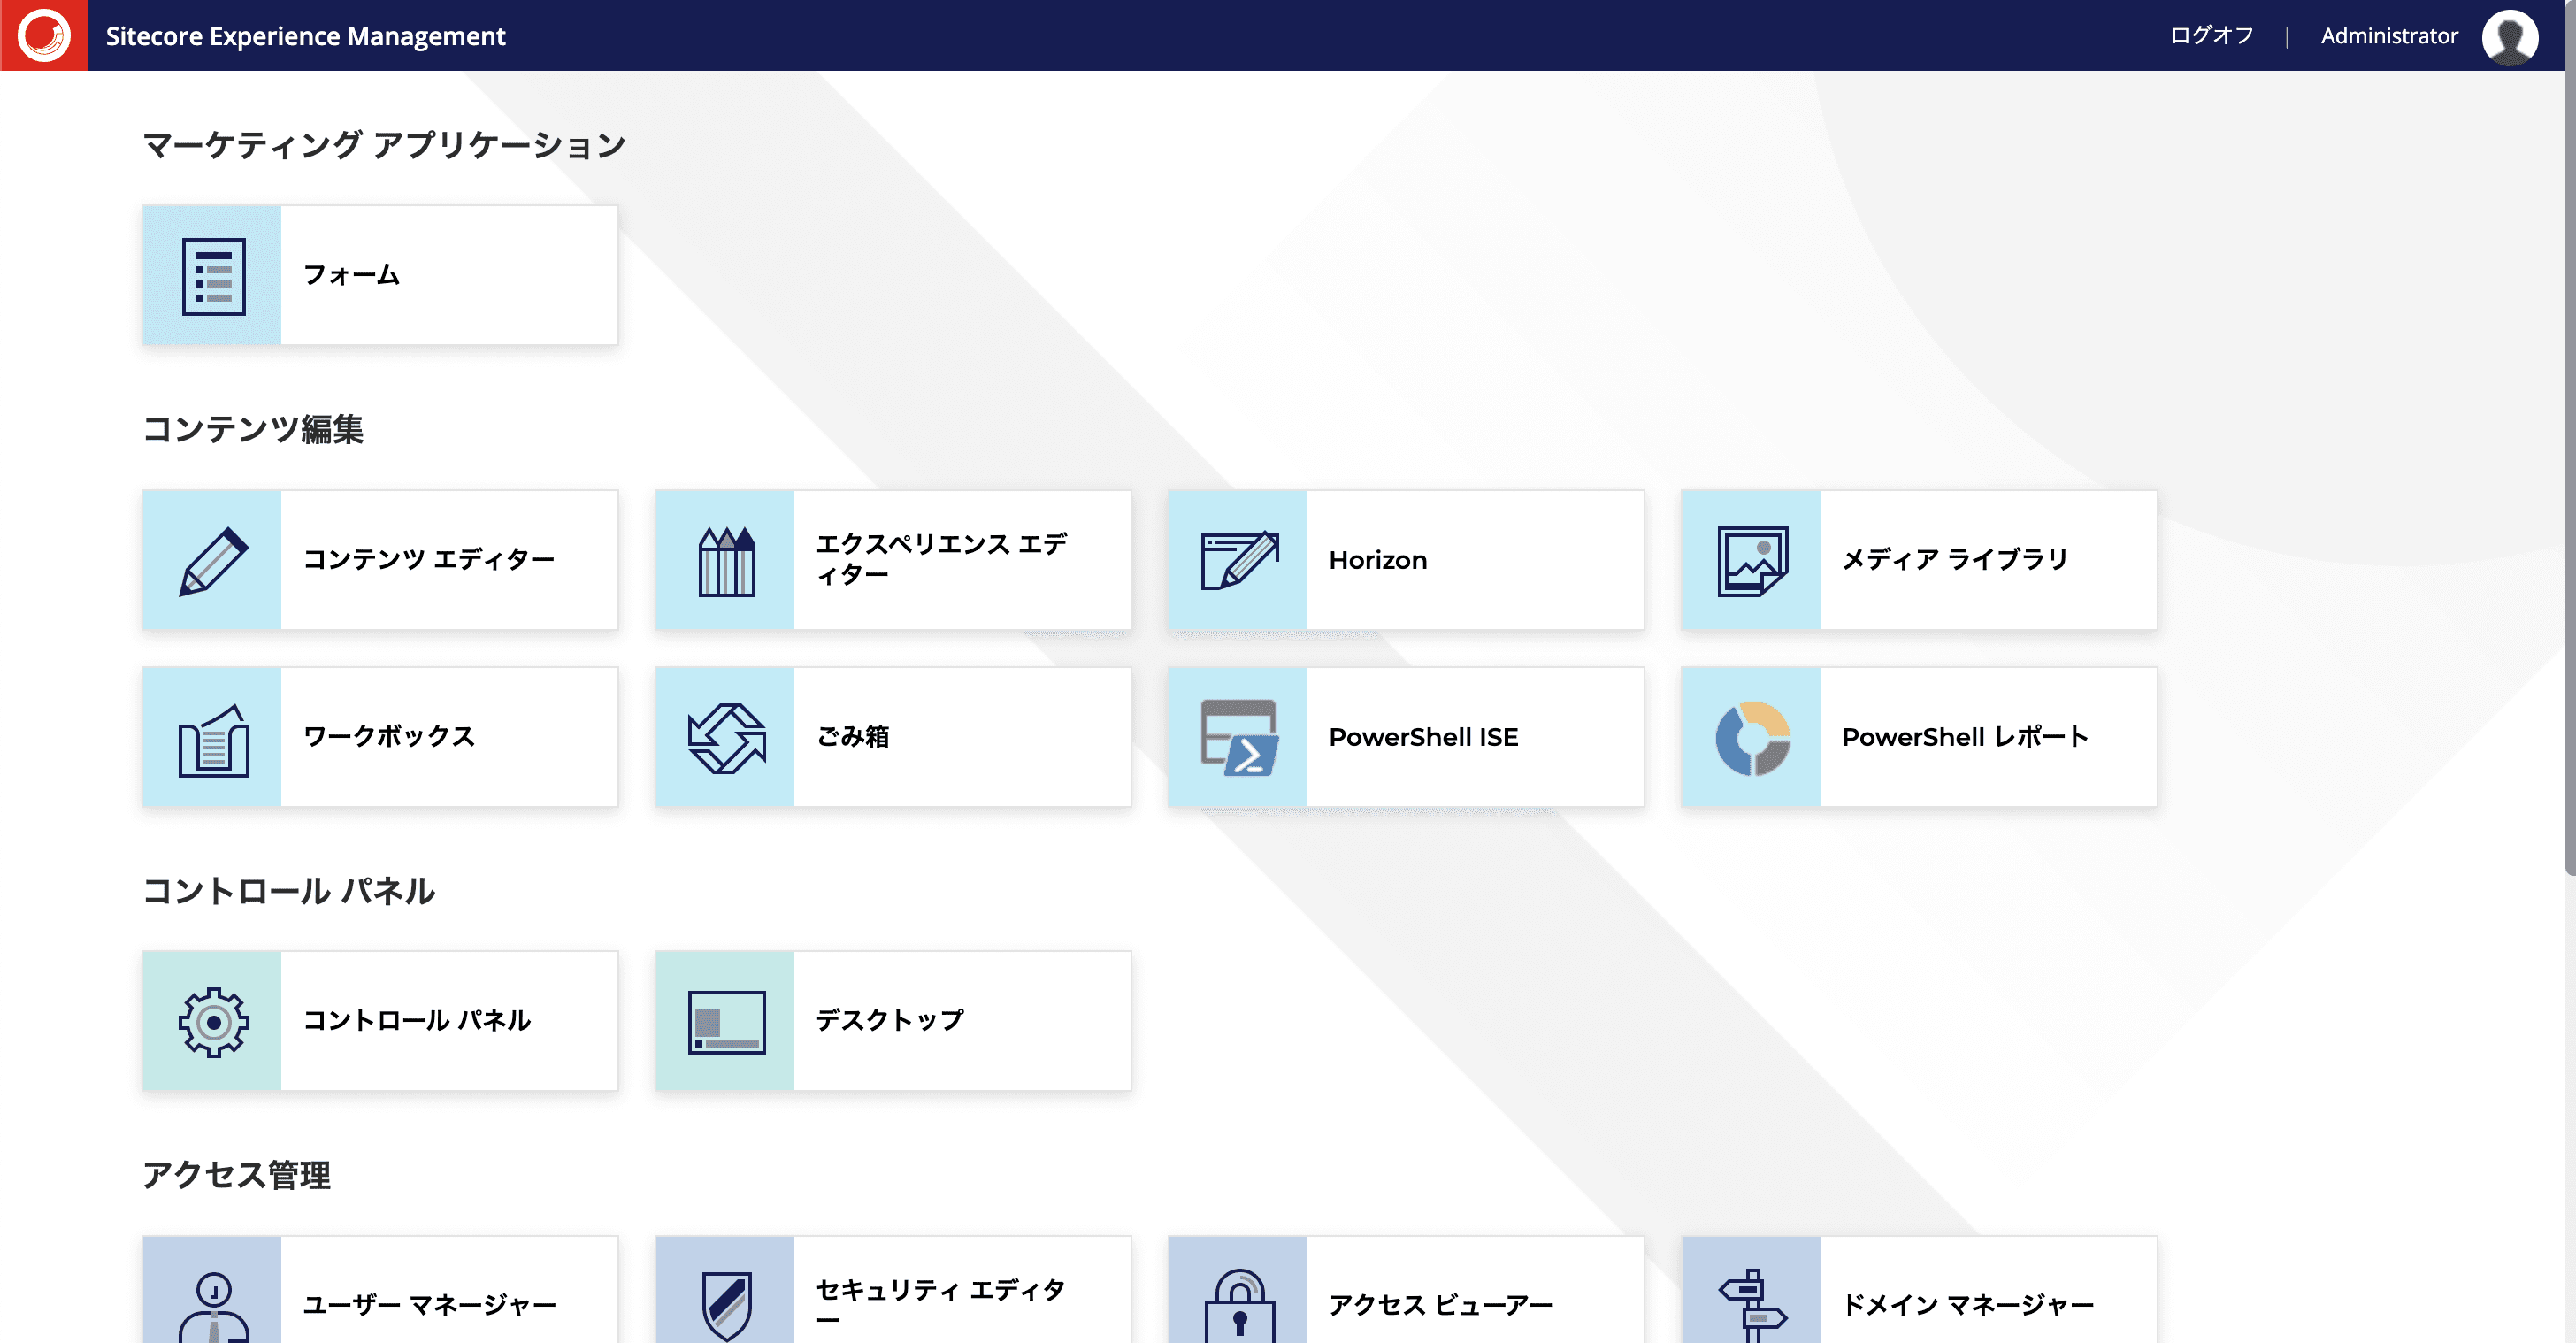
After setting up the container environment, the admin interface is still in English. This time, we'll introduce the process to switch it to Japanese. We'll demonstrate how to deploy resources by copying files when creating the Docker image.

Building a Sitecore Headless Development and Testing Environment Part 4 - Japanese Language Conversion of Administrative Screens
DockerPublished: 2022-08-29
Prepare resources
Japanese resources can be downloaded from https://developers.sitecore.com/. The module we are using this time imports the following resources.
- Sitecore Experience Manager 10.2
- Sitecore Experience Accelerator 10.2
- Sitecore Connect for Content Hub 5.0.0
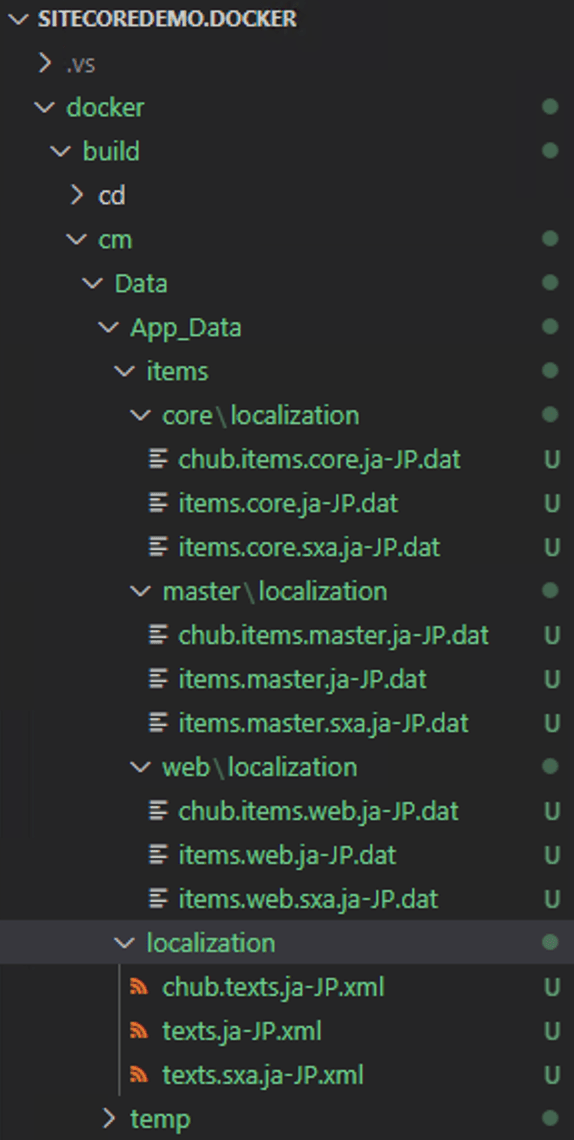
After downloading the file, the next step is to extract the file. Create a folder docker\build\cm\Data and under it create a folder App_Data.
Note: If you have already installed the Sitecore Content Hub Connector in the previous article, this is not necessary as the same code is provided.Extract the above resource file to this folder. The extracted situation will look like this

Editing Docker Files
To deploy the above prepared file into a container, add the following one line to the Docker file.
# Copy CM Resource
COPY .\Data\ .\
The above command will deploy the resource files to a container on the CM server. The files will be deployed when the container is built and executed. The following is a screen shot of the Japanese-language version of the file.

Summary
This time, we have practiced the Japanese-language resource of the administration screen, albeit a simple one. If you also deploy the resource file on the server, you will be able to use the Japanese-language administration screen on either server.