We will be introducing several features of Sitecore's media library. In this article, we will discuss two scenarios: uploading files in bulk, and displaying files in a browser instead of downloading them.
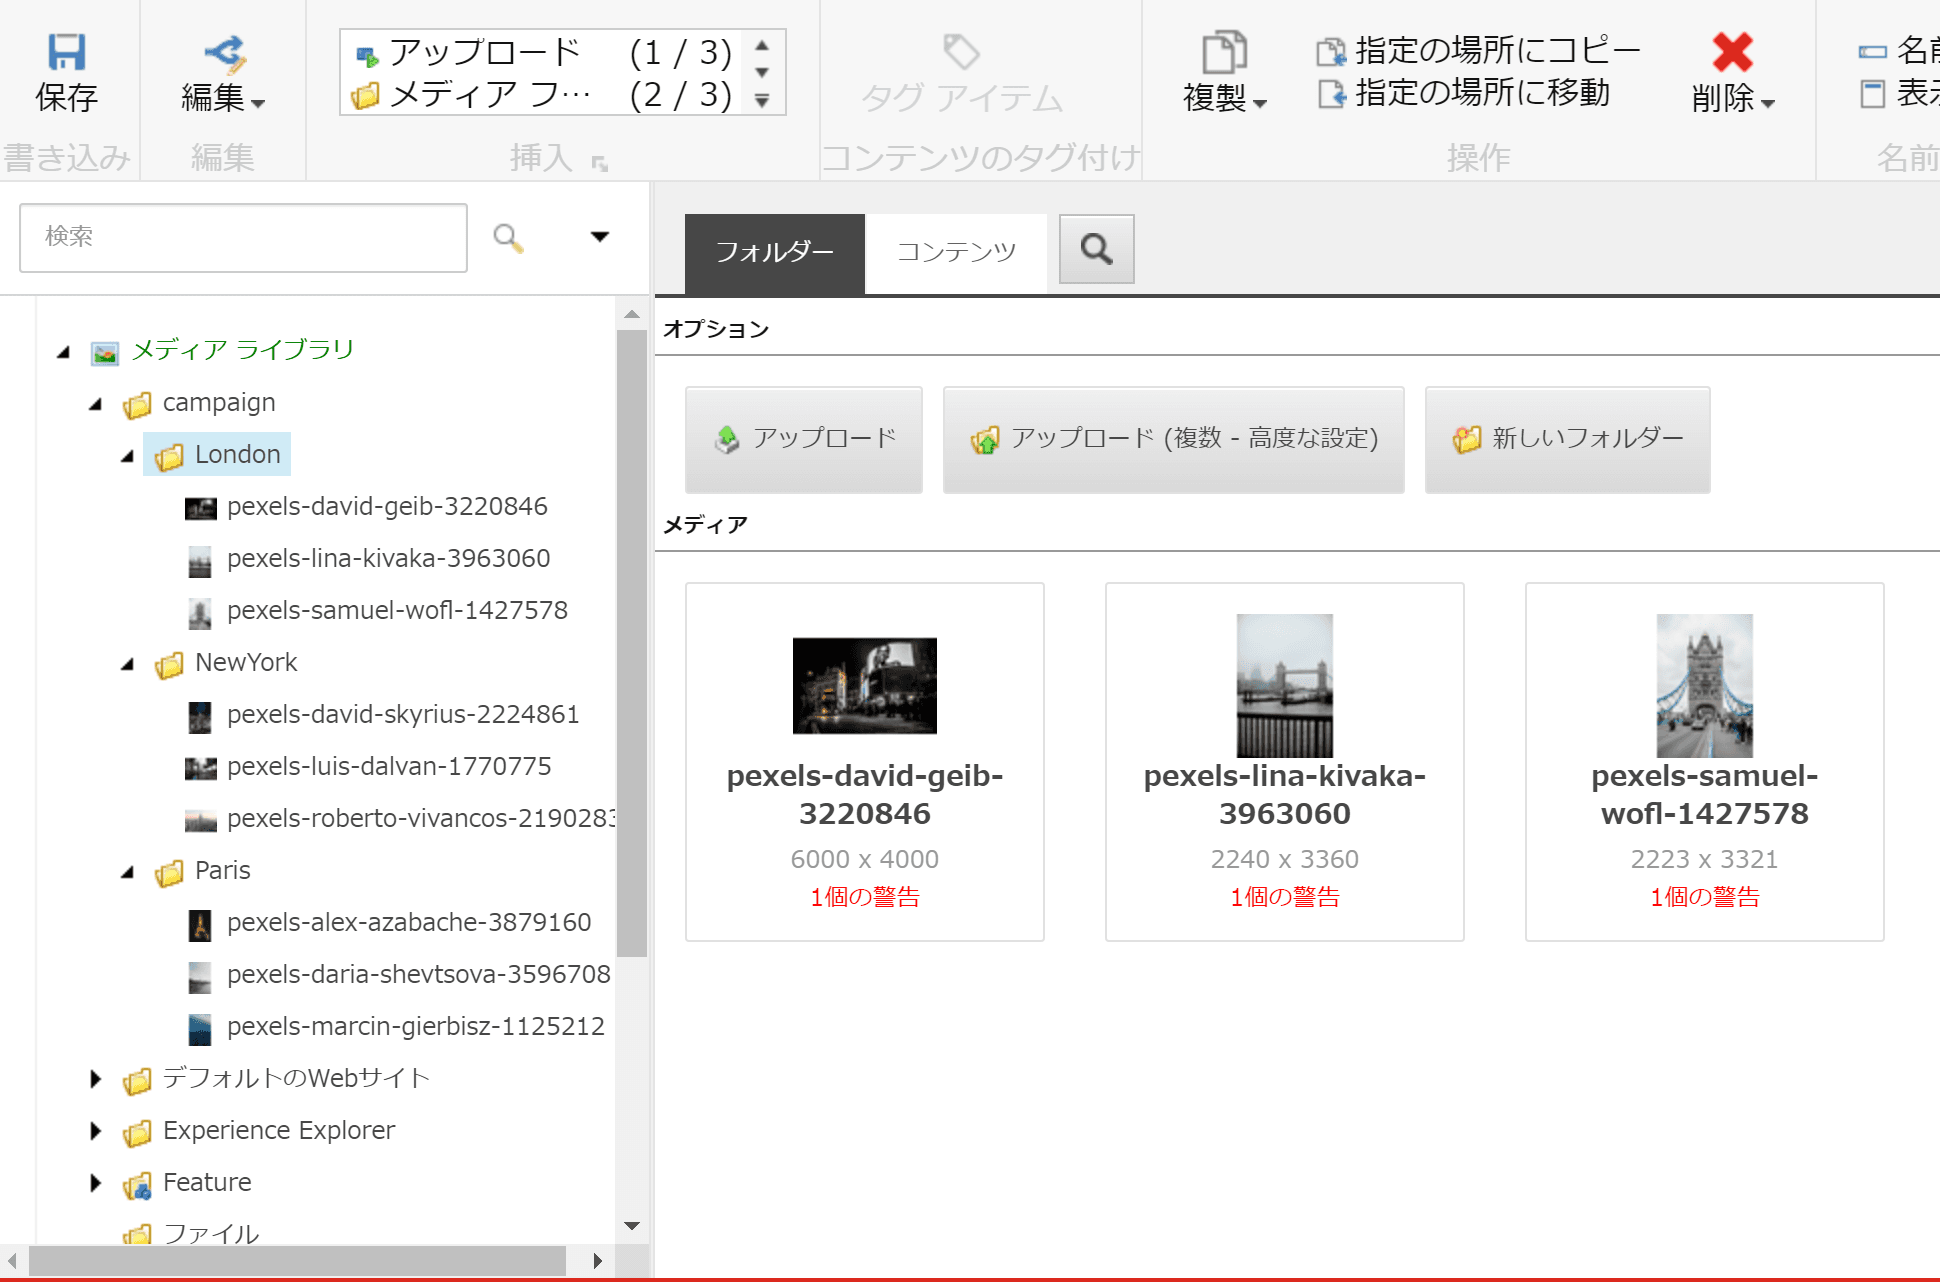
Extract the Zip file on the server side
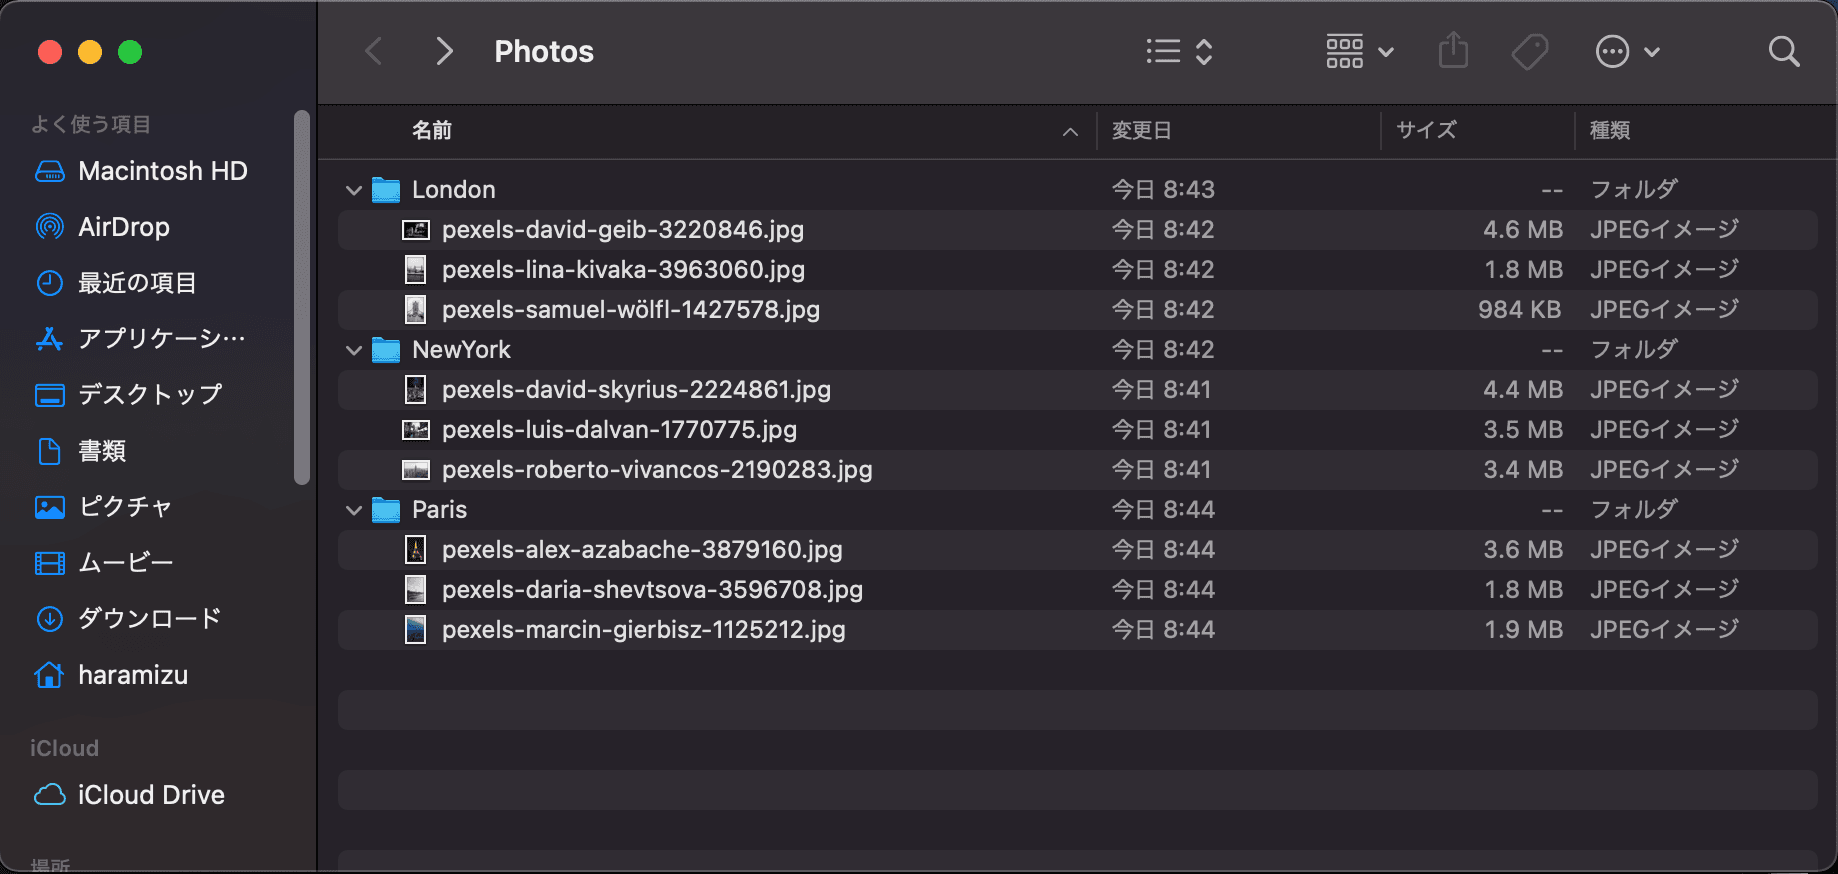
Uploading media files one by one carefully can lead to misoperation. Therefore, in this article, we will introduce a procedure for setting up a hierarchy in a Zip file and uploading it. First, create a Zip file with the folder hierarchy set as follows
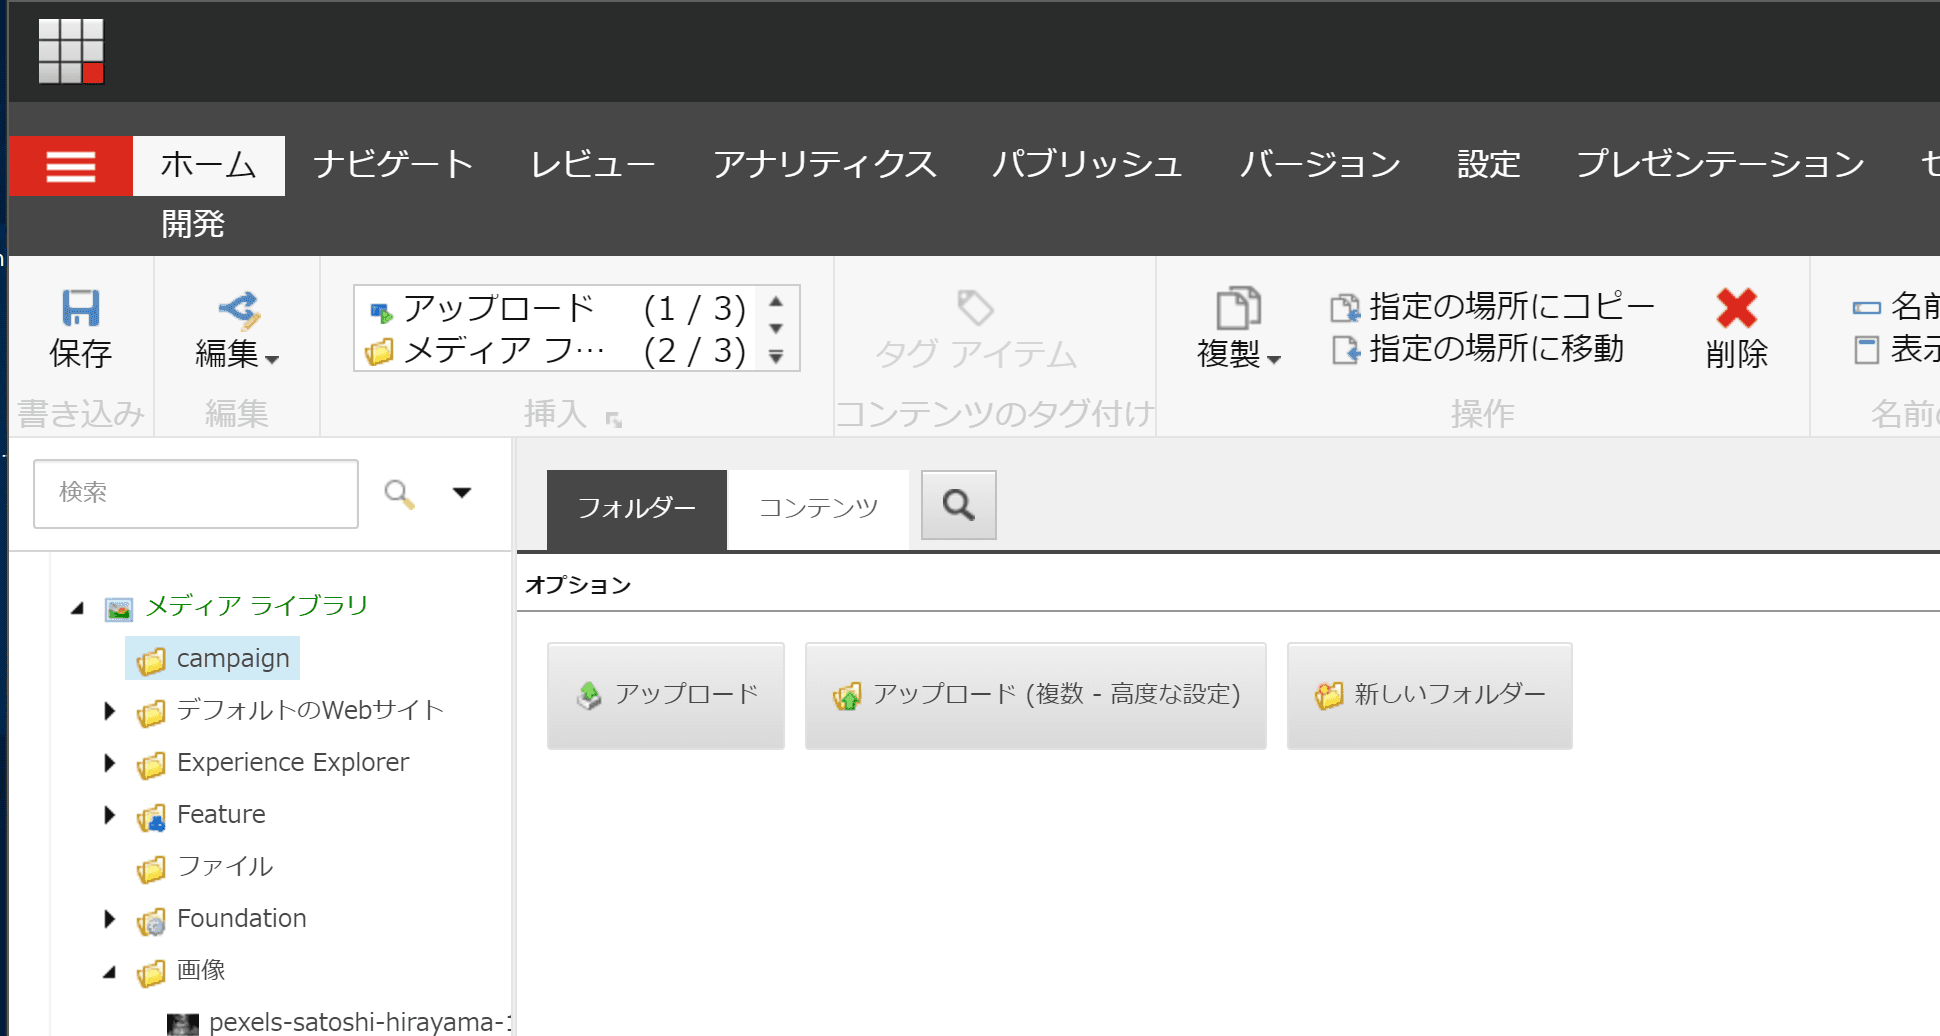
In this case, we created a folder named Campaign in the media library.
Click on the Upload (Multiple - Advanced) button to the right of the folder and specify the files you wish to extract. Also, check the "Extract ZIP archives" box.
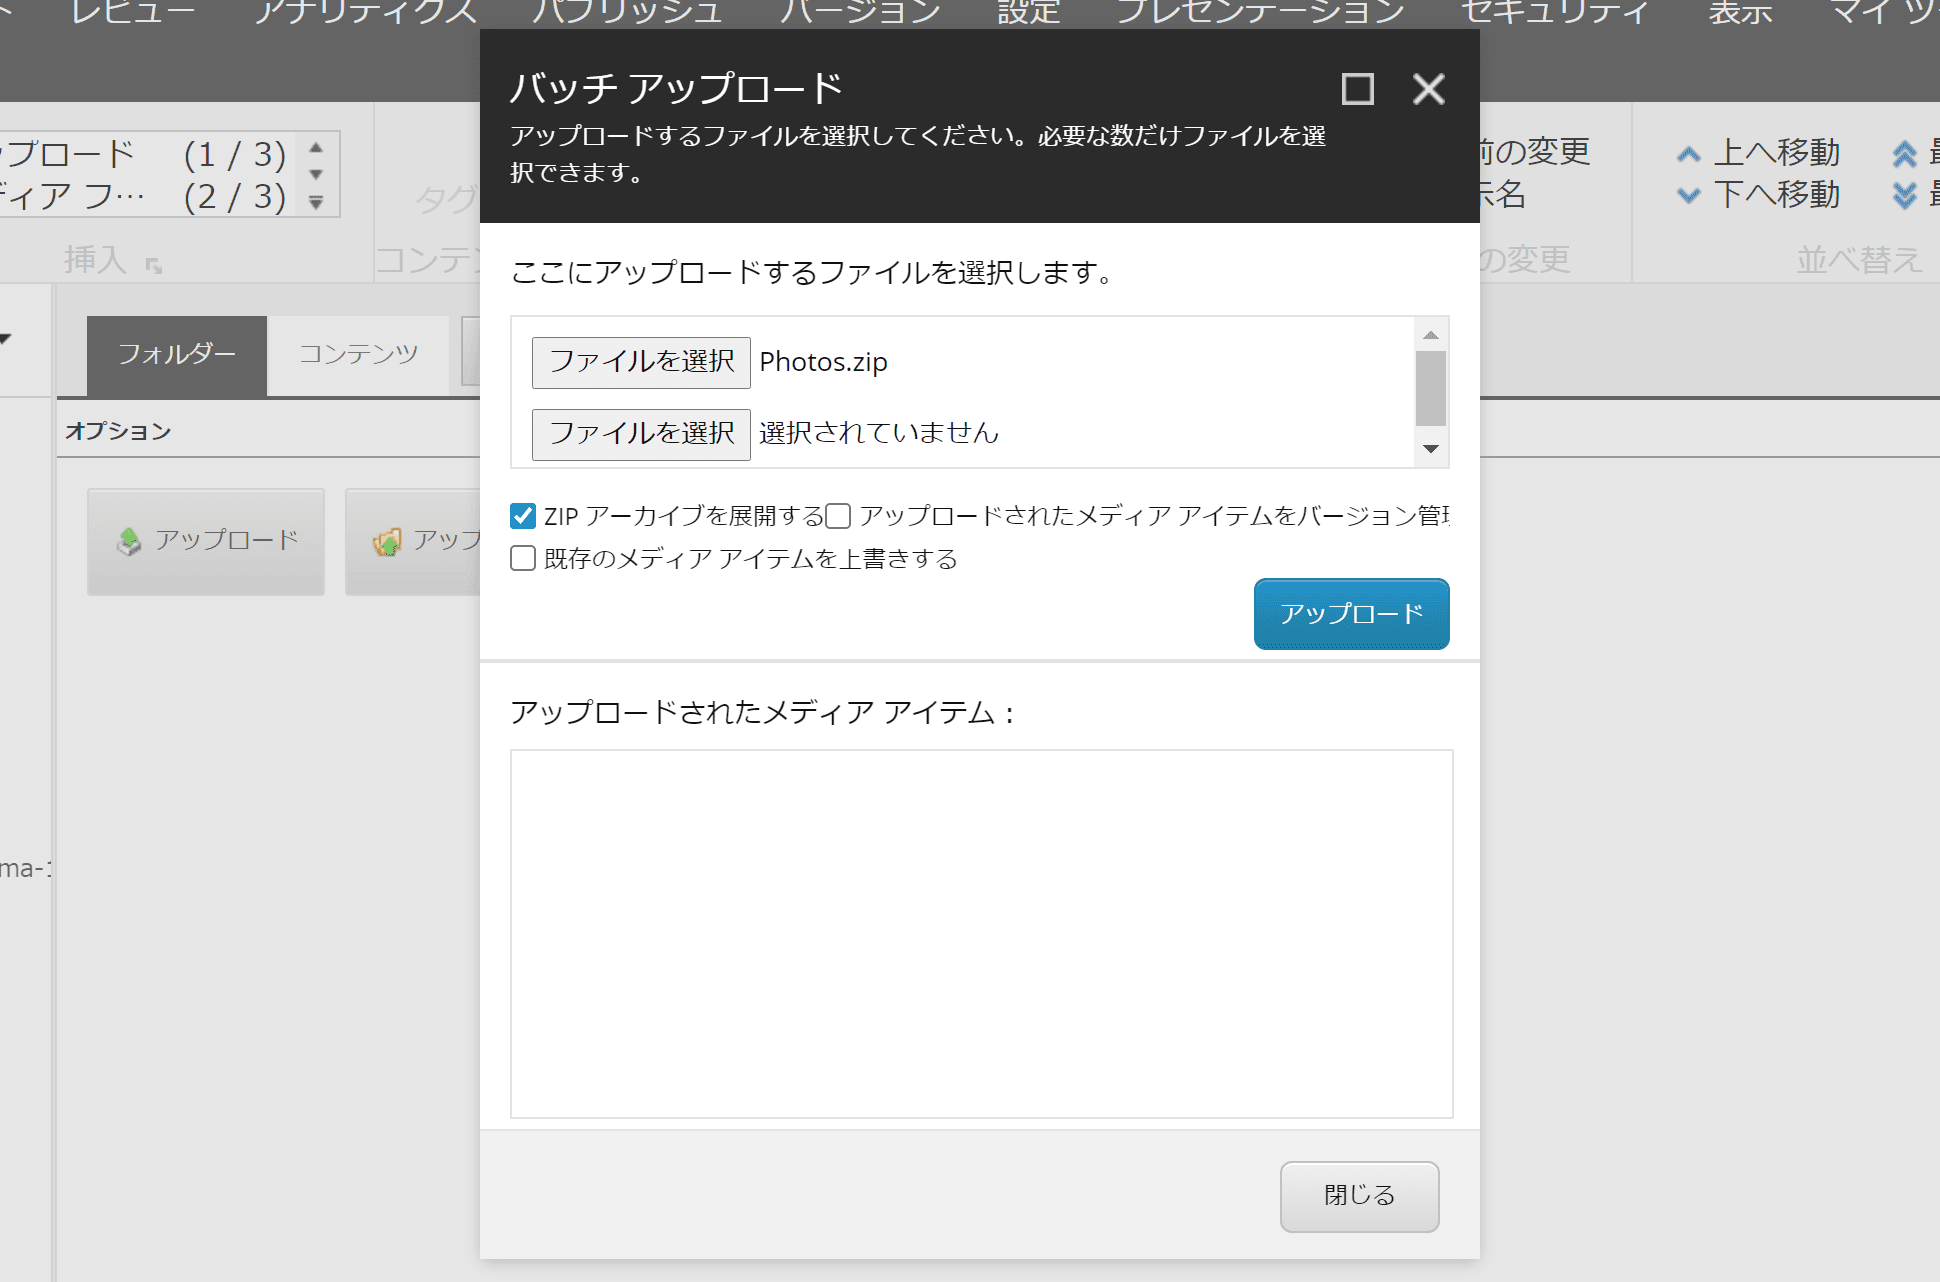
After clicking the Upload button, the screen switches to show the media you have uploaded at the bottom of the dialog.
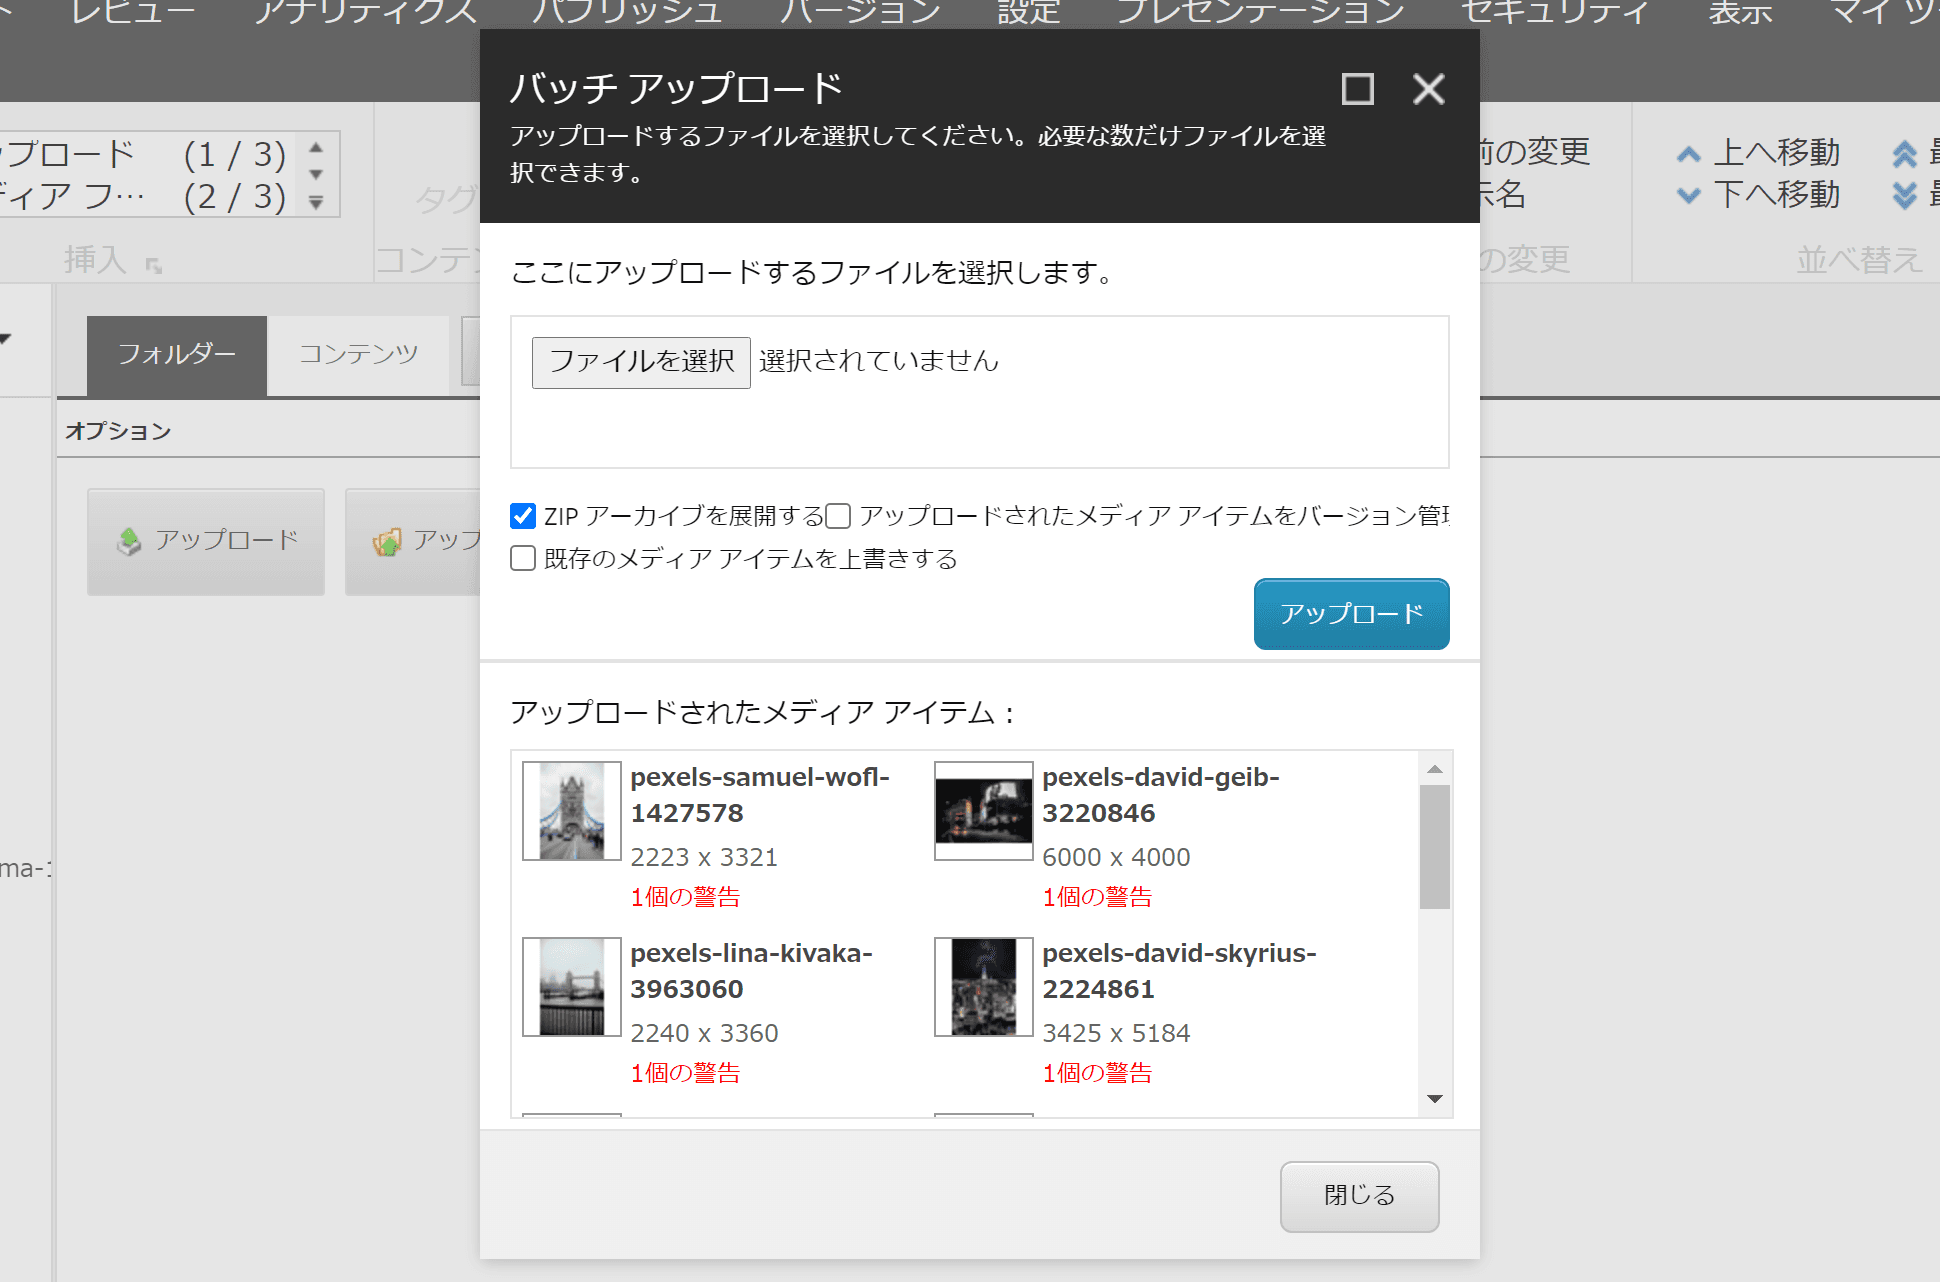
You will see that the uploaded file has been extracted. The warning is due to the fact that no alternate text has been set, which can be corrected later, or the file can be used without the warning. You can also see in the tree view that the file has actually been extracted.

HTML file support
What happens if you upload an HTML file in the same way as above? This time, we have created a very simple HTML file that contains the following information.
<html>
<head>
    <meta http-equiv="Content-Type" content="text/html; charset=UTF-8" />
    <title>タイトル</Title>
</head>
<body>
    <h1>タイトル</h1>
    <p>ここに文章を入れる</p>
</body>
</html>
When displayed in a browser, it looks like this
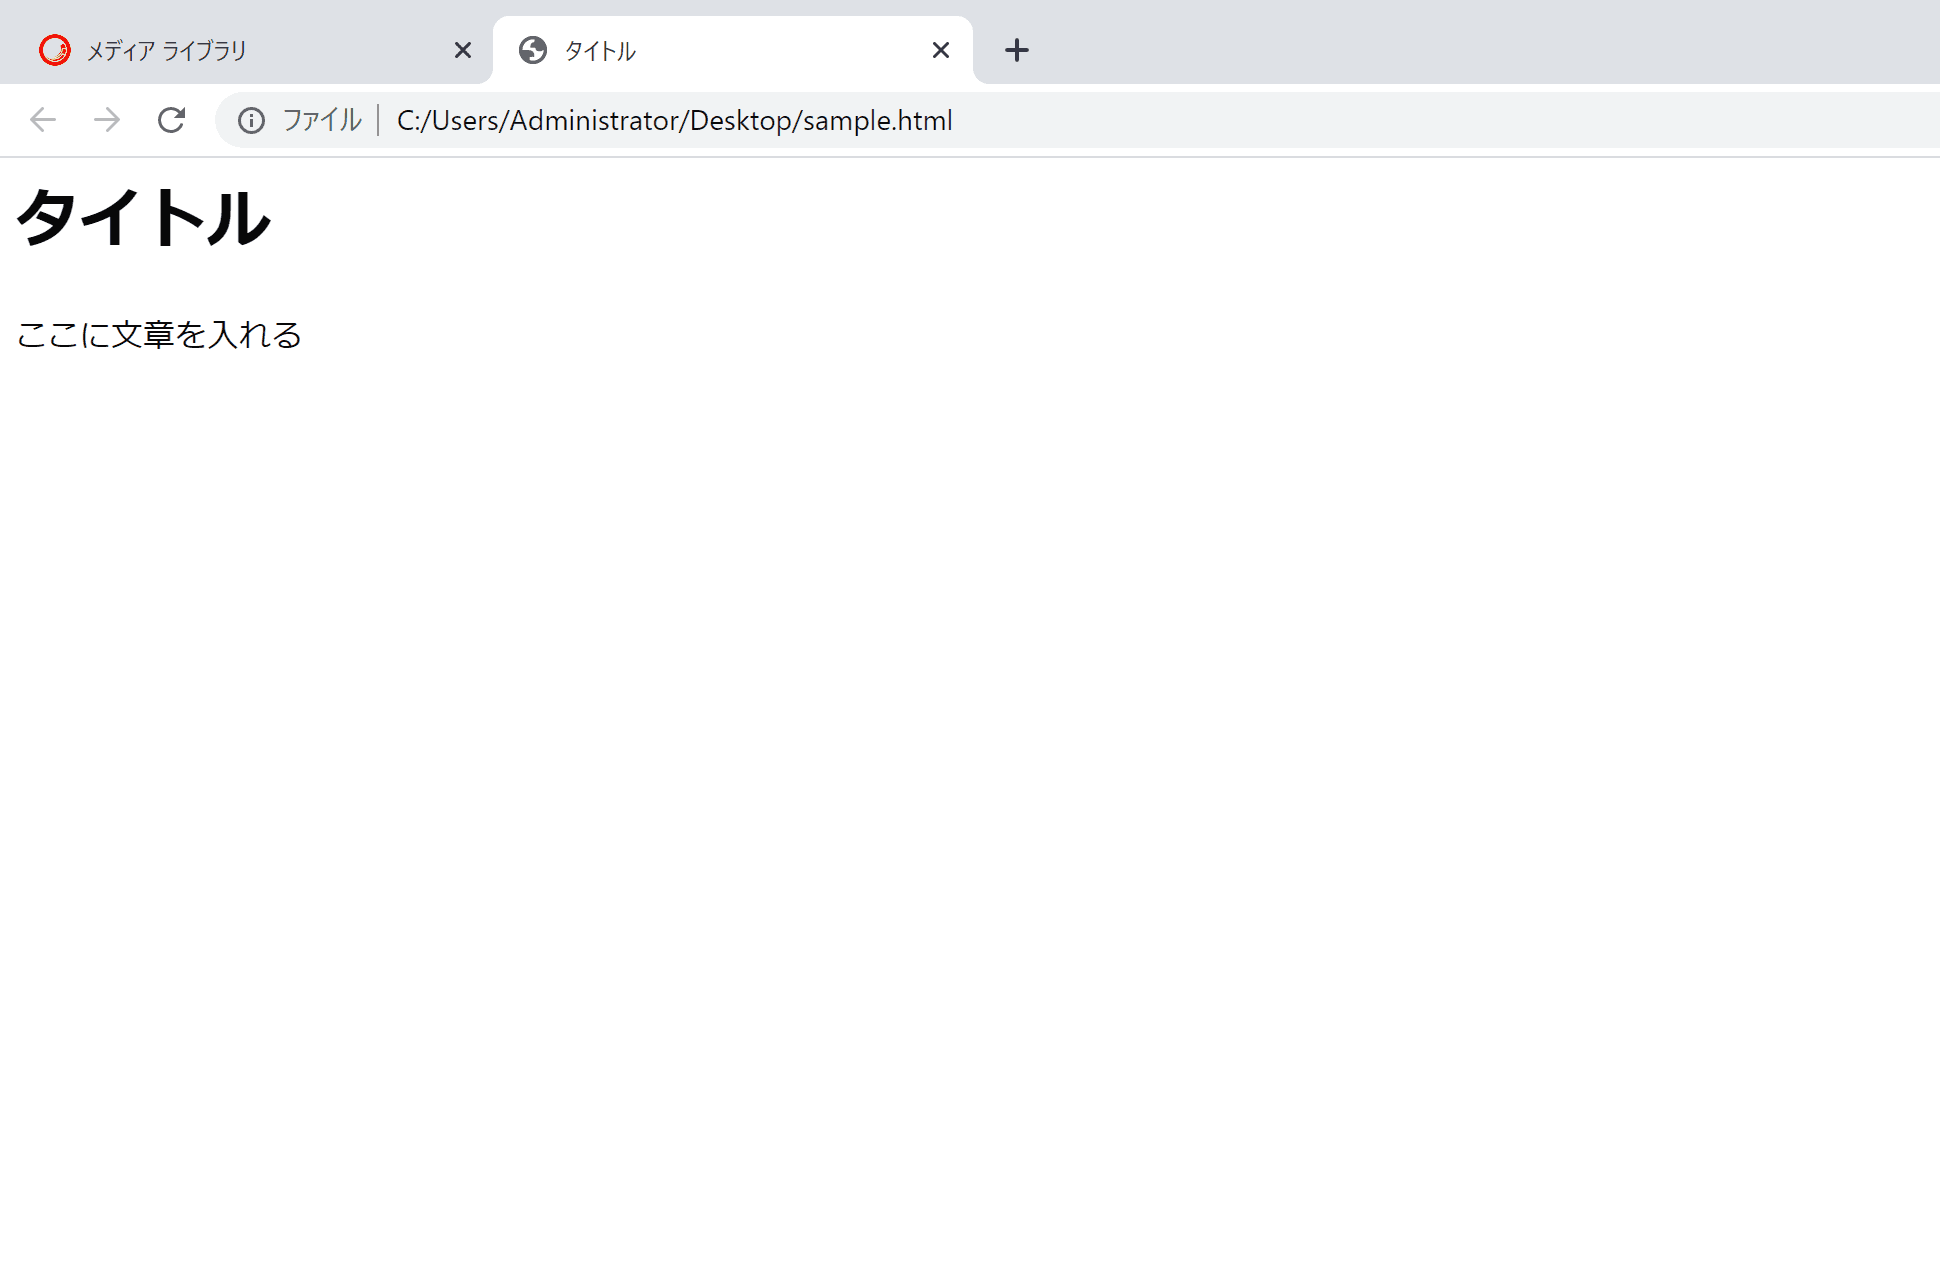
Upload this file in the same way as before, this time simply because it is a single file.
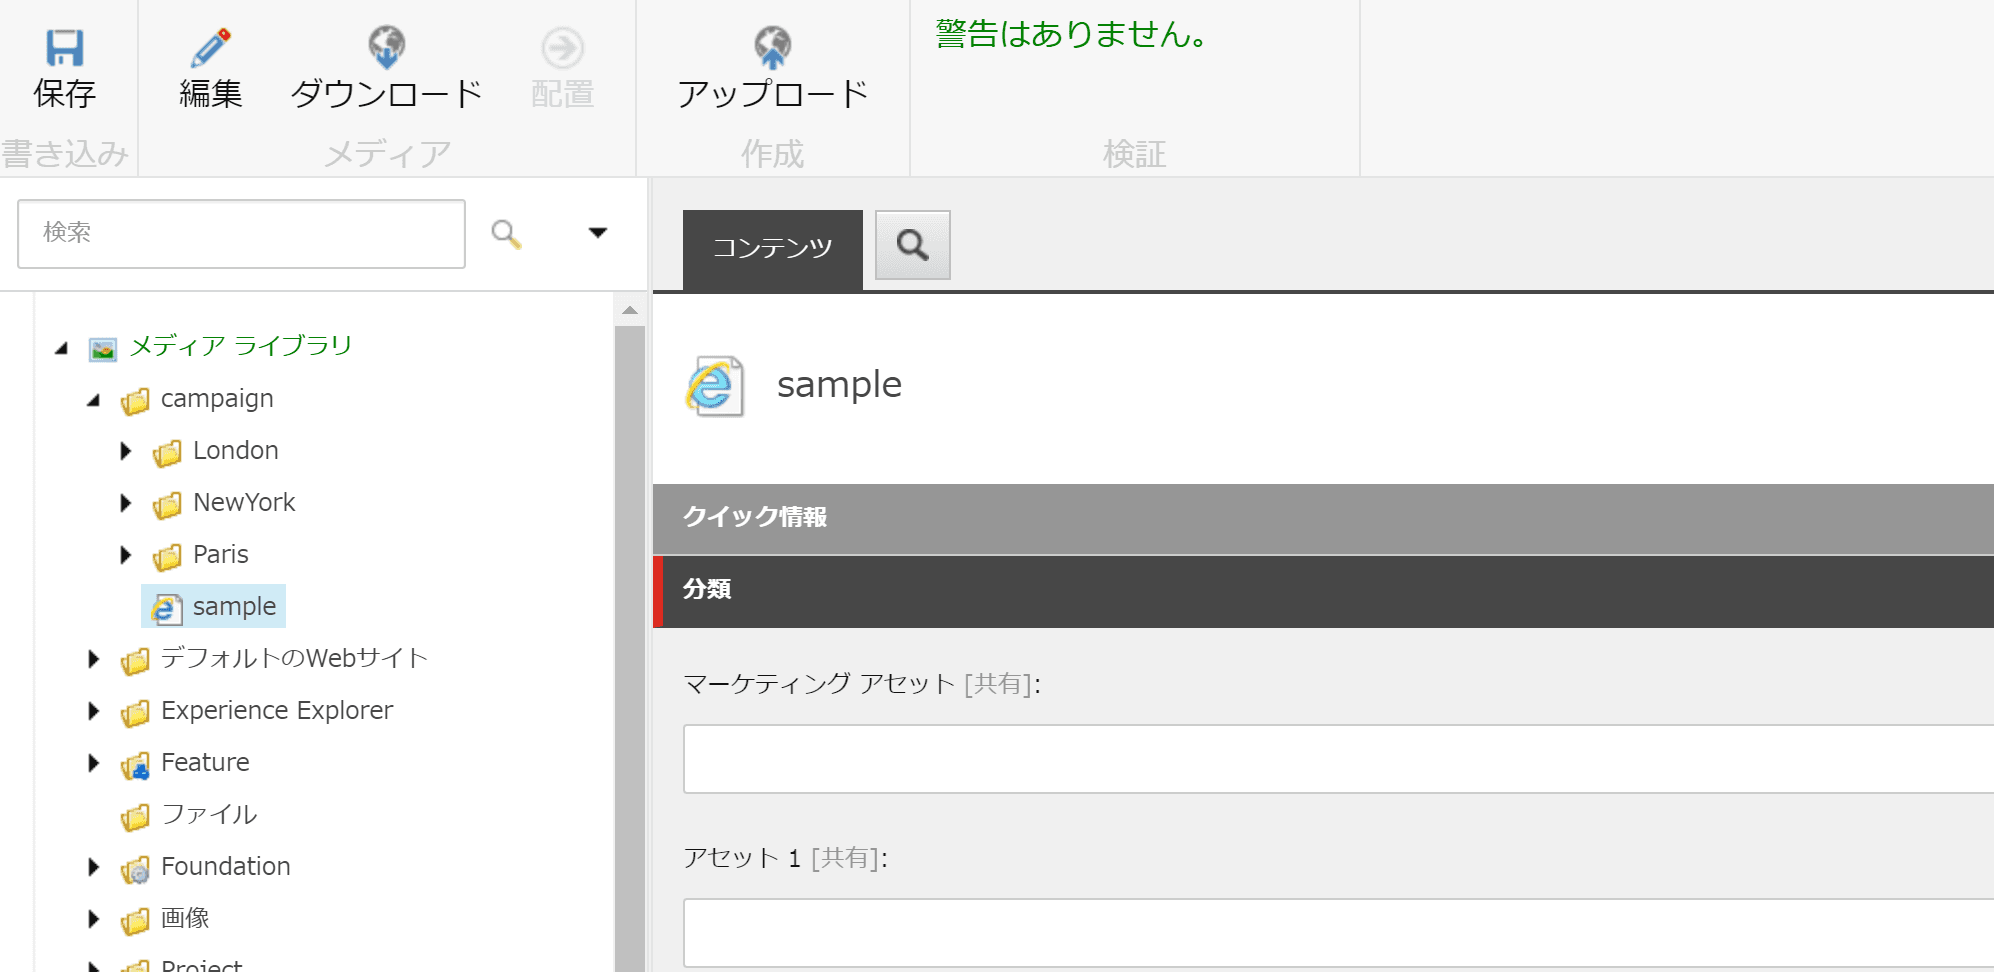
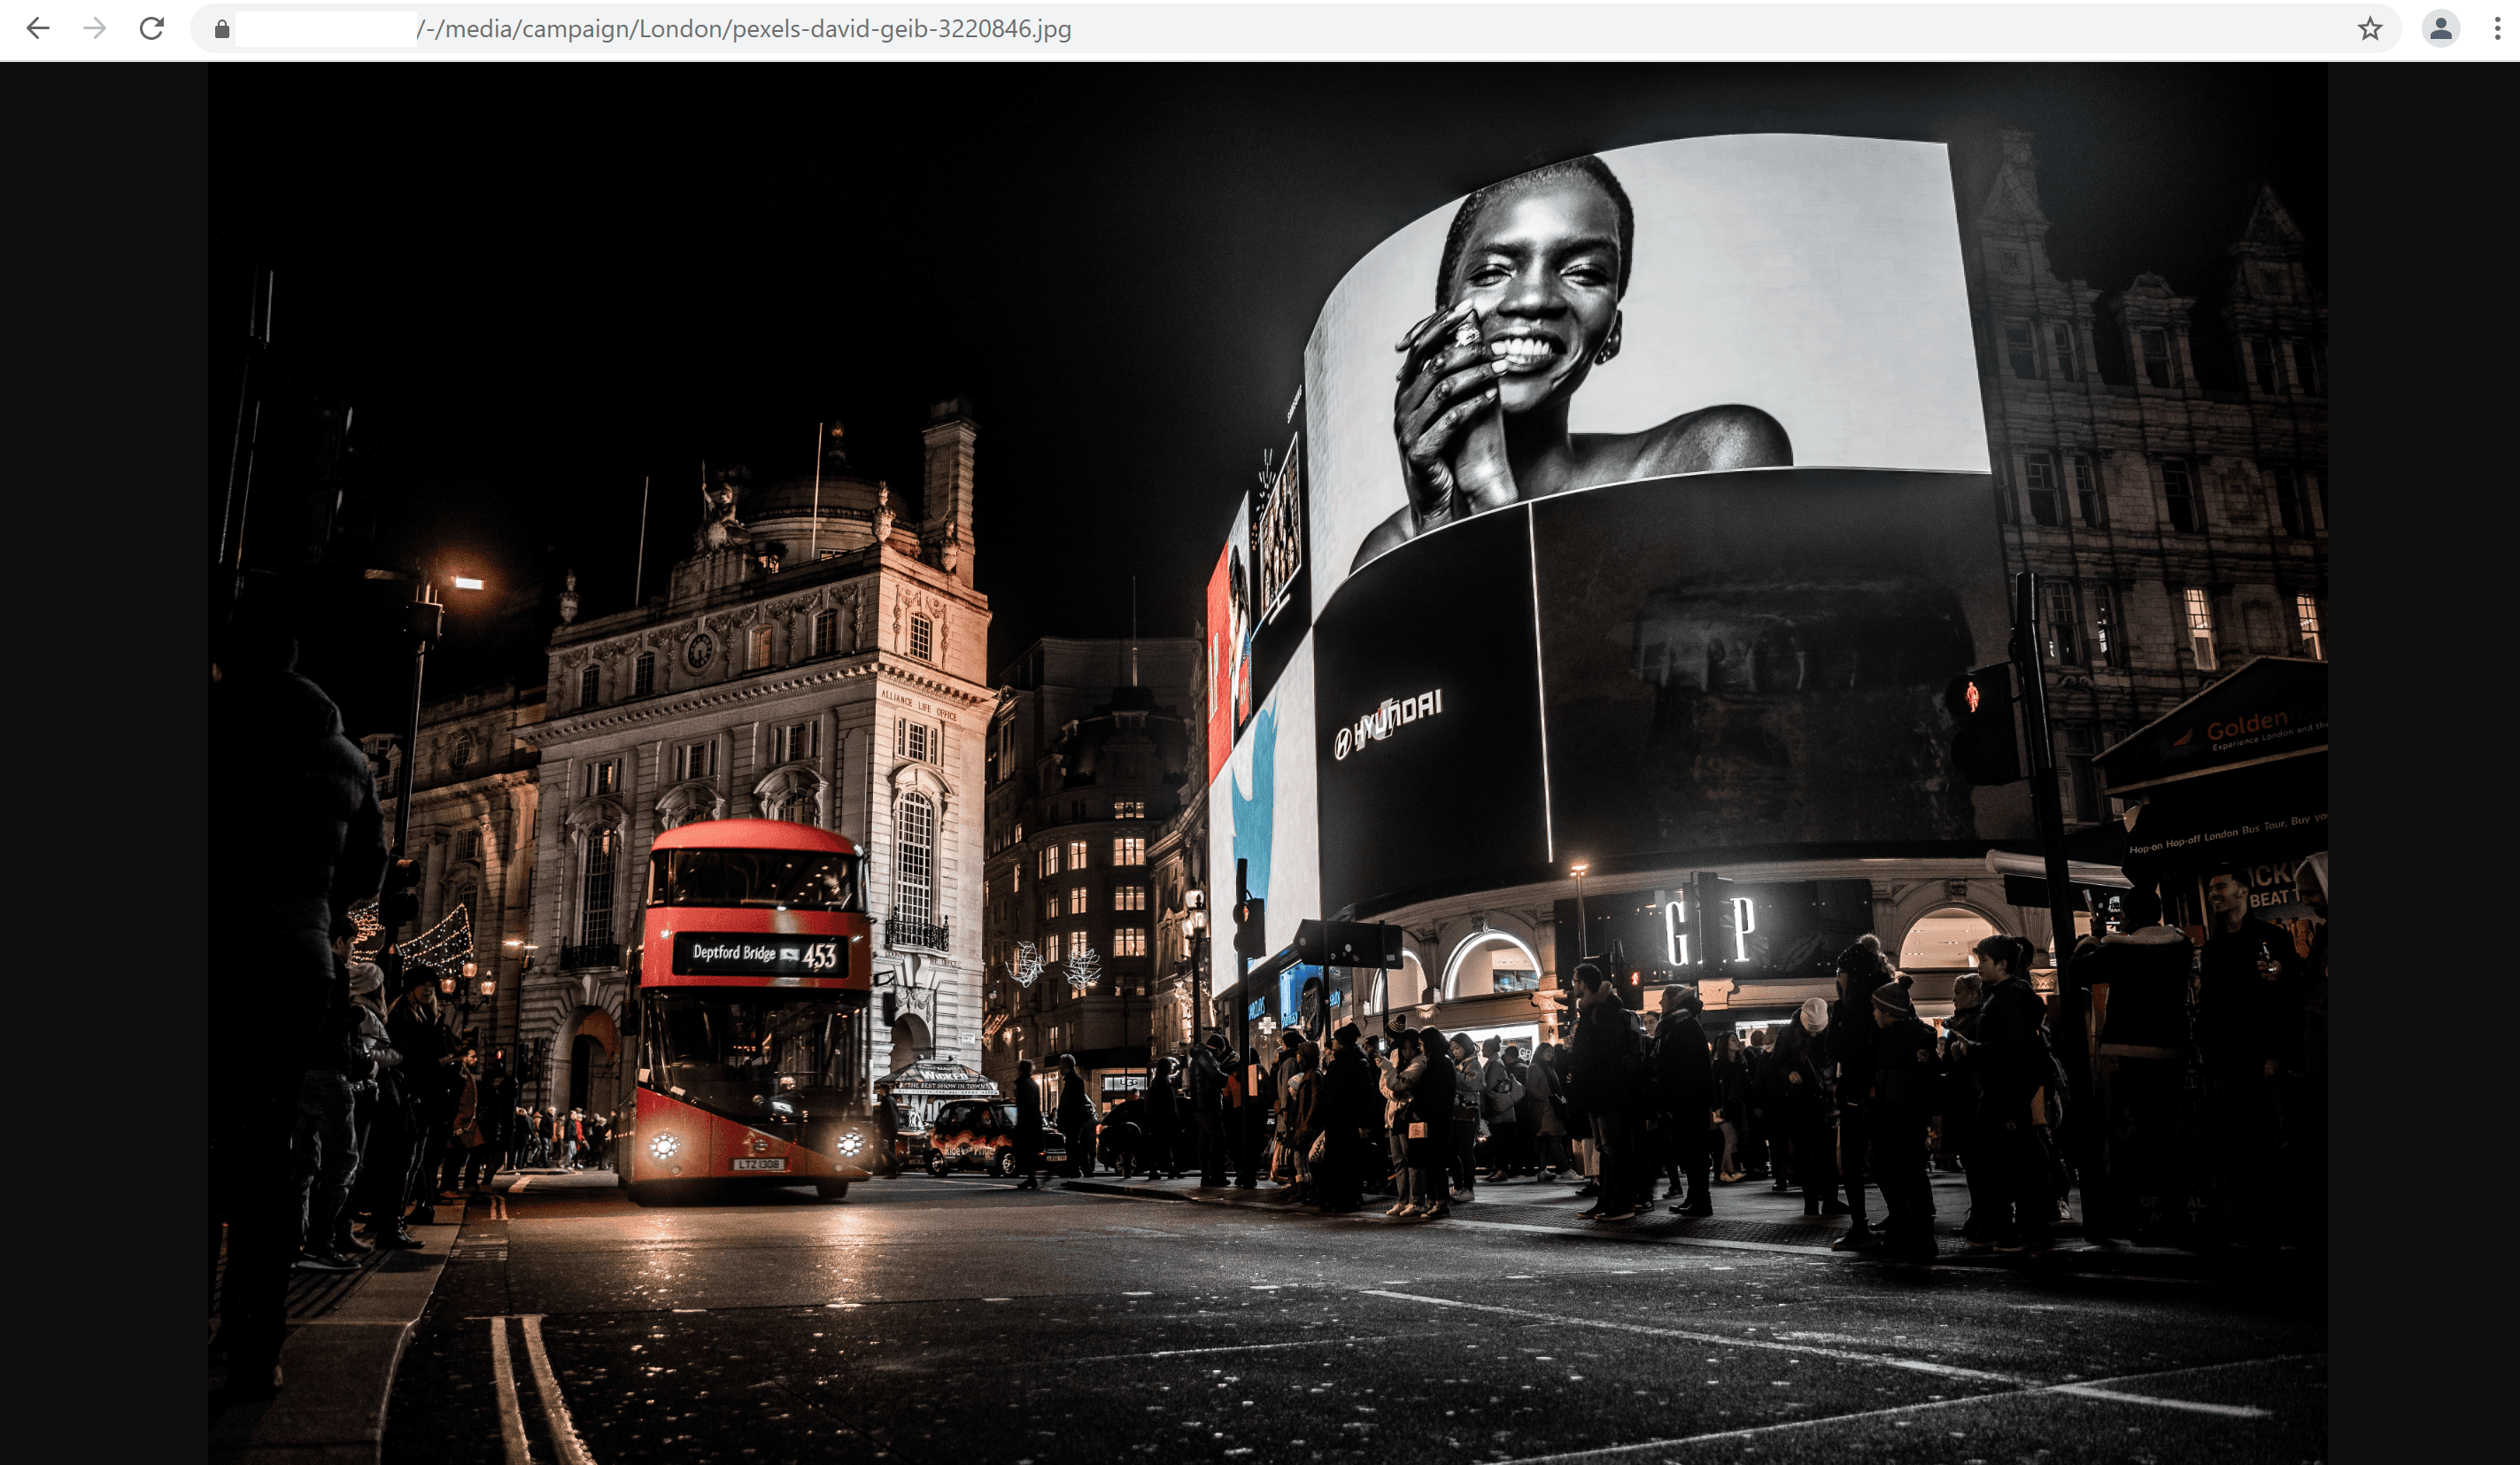
First, let's try accessing the uploaded image file from a browser.
- https://yourservername/-/media/campaign/London/pexels-david-geib-3220846.jpg
Access to the file is of course possible.
What about HTML files? Then what about HTML files?
- https://yourservername/-/media/campaign/sample.html
What do you think? The HTML file has been downloaded.

This is because HTML registered in the media library is set to download by default. This setting is described in \App_Config\Sitecore.config and is applicable to the following part.
      <mediaType name="HTML" extensions="htm,html,stm">
        <mimeType>text/html</mimeType>
        <forceDownload>true</forceDownload>
        <sharedTemplate>system/media/unversioned/file</sharedTemplate>
        <versionedTemplate>system/media/versioned/file</versionedTemplate>
        <defaultThumbnailFile>WordProcessing/32x32/imp_exp_html.png</defaultThumbnailFile>
      </mediaType>
The forceDownload setting is the recommended download behavior for browsers. You can see that all images etc. are set to falses. set the forceDownload entry to false and restart Sitecore with iisreset.
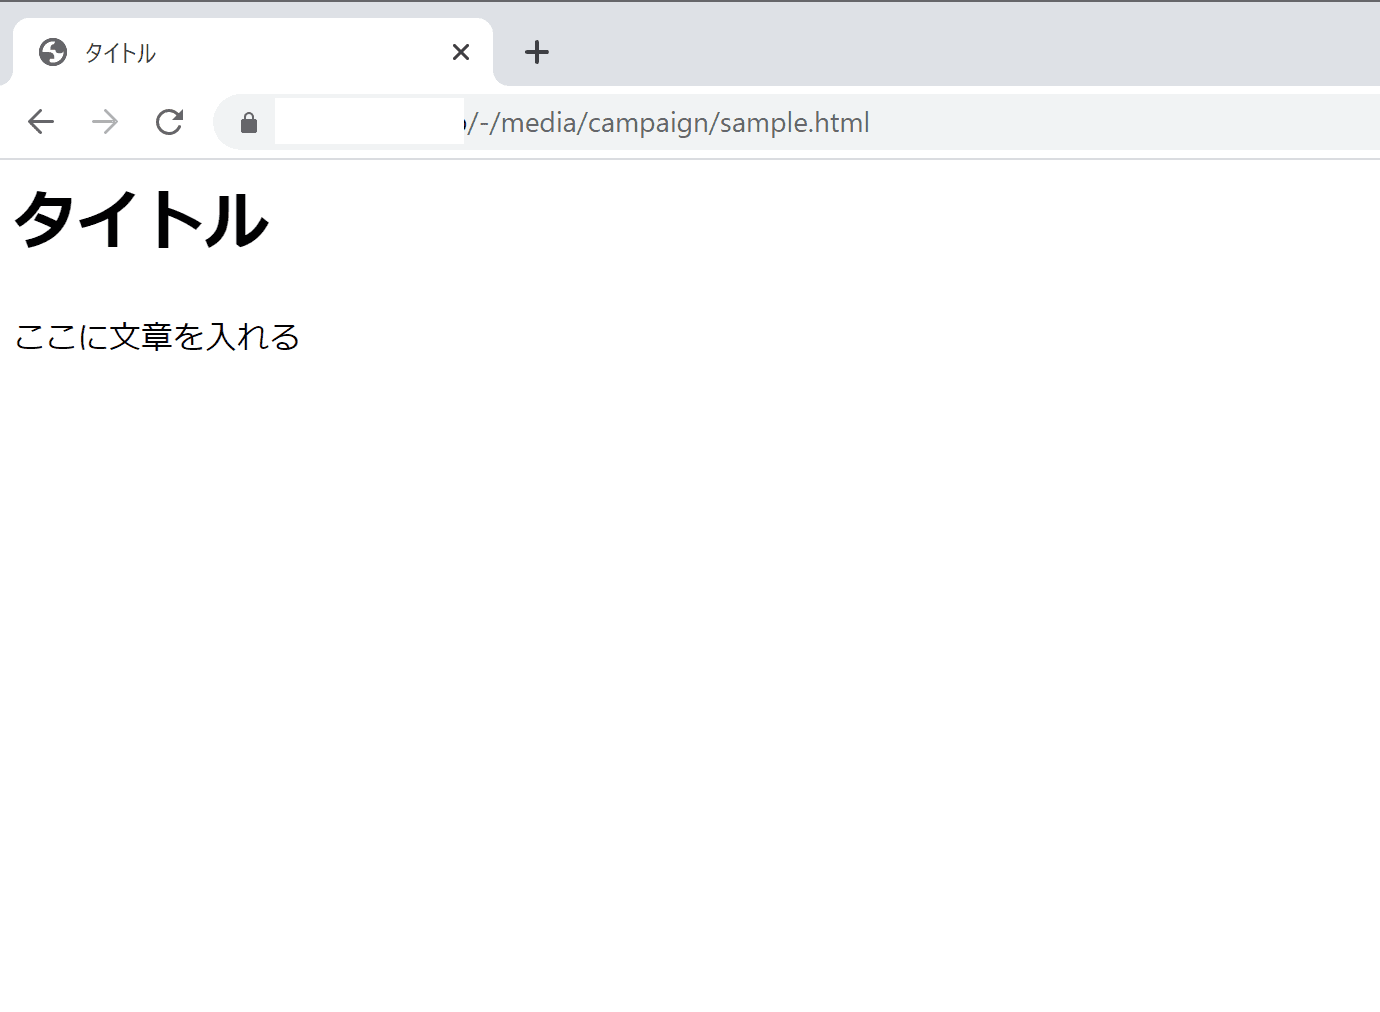
HTML files stored in the media library could be displayed in the browser.
Summary
In this article, we showed you how to upload files together and how to upload and display HTML files in the media library. This will allow you to deploy HTML files that are not to be edited by the CMS tools. Note that this procedure should not be used for site migration. The reasons are as follows
- Media libraries do not perform better than displaying files placed on the server
- This means that the process of placing media, HTML files, and so on during a site migration can lead to performance degradation.
- Do not use MediaLibrai to manage the files, but cut the folder and place the files in the environment where Sitecore is installed.
- This form allows files to be displayed with better performance than the media library.
By cutting off folders and arranging HTML files, a smooth transition from the existing site will be implemented, while expanding the area for content management, allowing for more efficient site operation.