This page describes how to assign your own domain name to your Netlify site. If you have some knowledge of domain setup, you should be able to proceed smoothly. The procedure is to change the DNS server to Netlify and leave the rest to us.
Content Update
Please check the latest information on the following page
Regarding domain settings
DNS Server Settings
By rewriting the DNS records, you can use your own domain name for your website in Netlify. After entering your domain name, you will be presented with the following screen
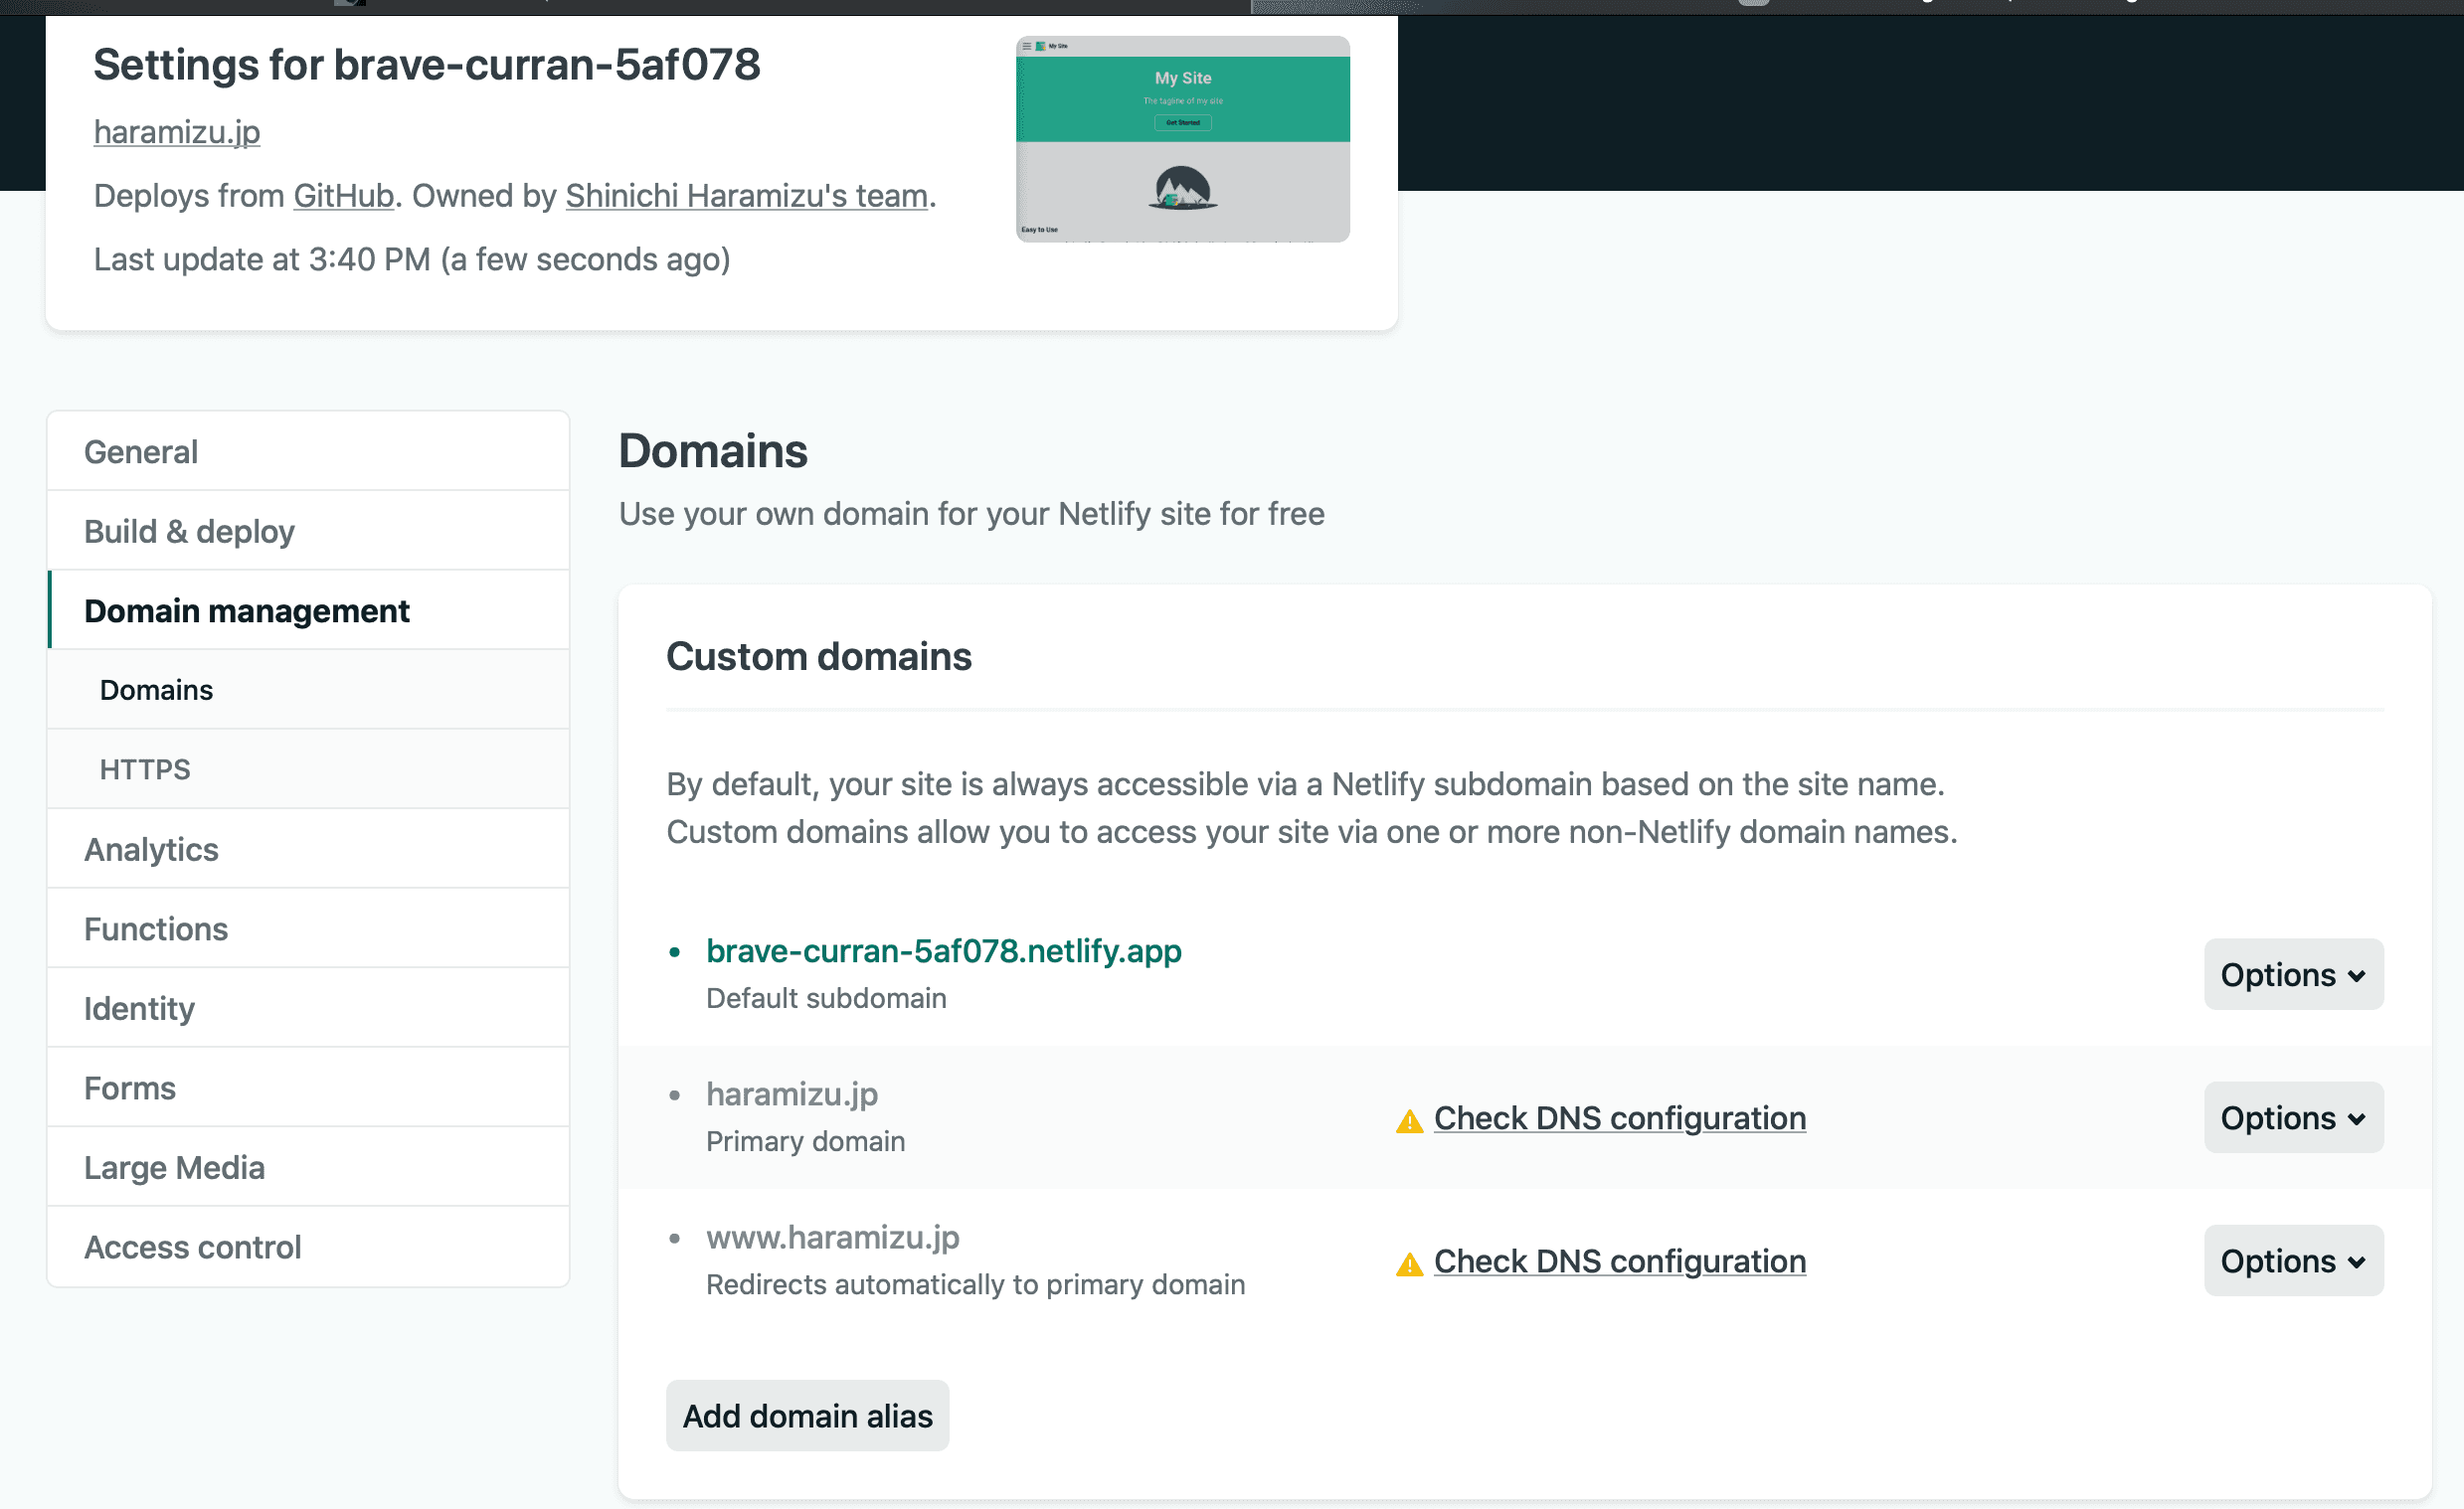
Check the Check DNS configuration item to display the information to be registered as a record.
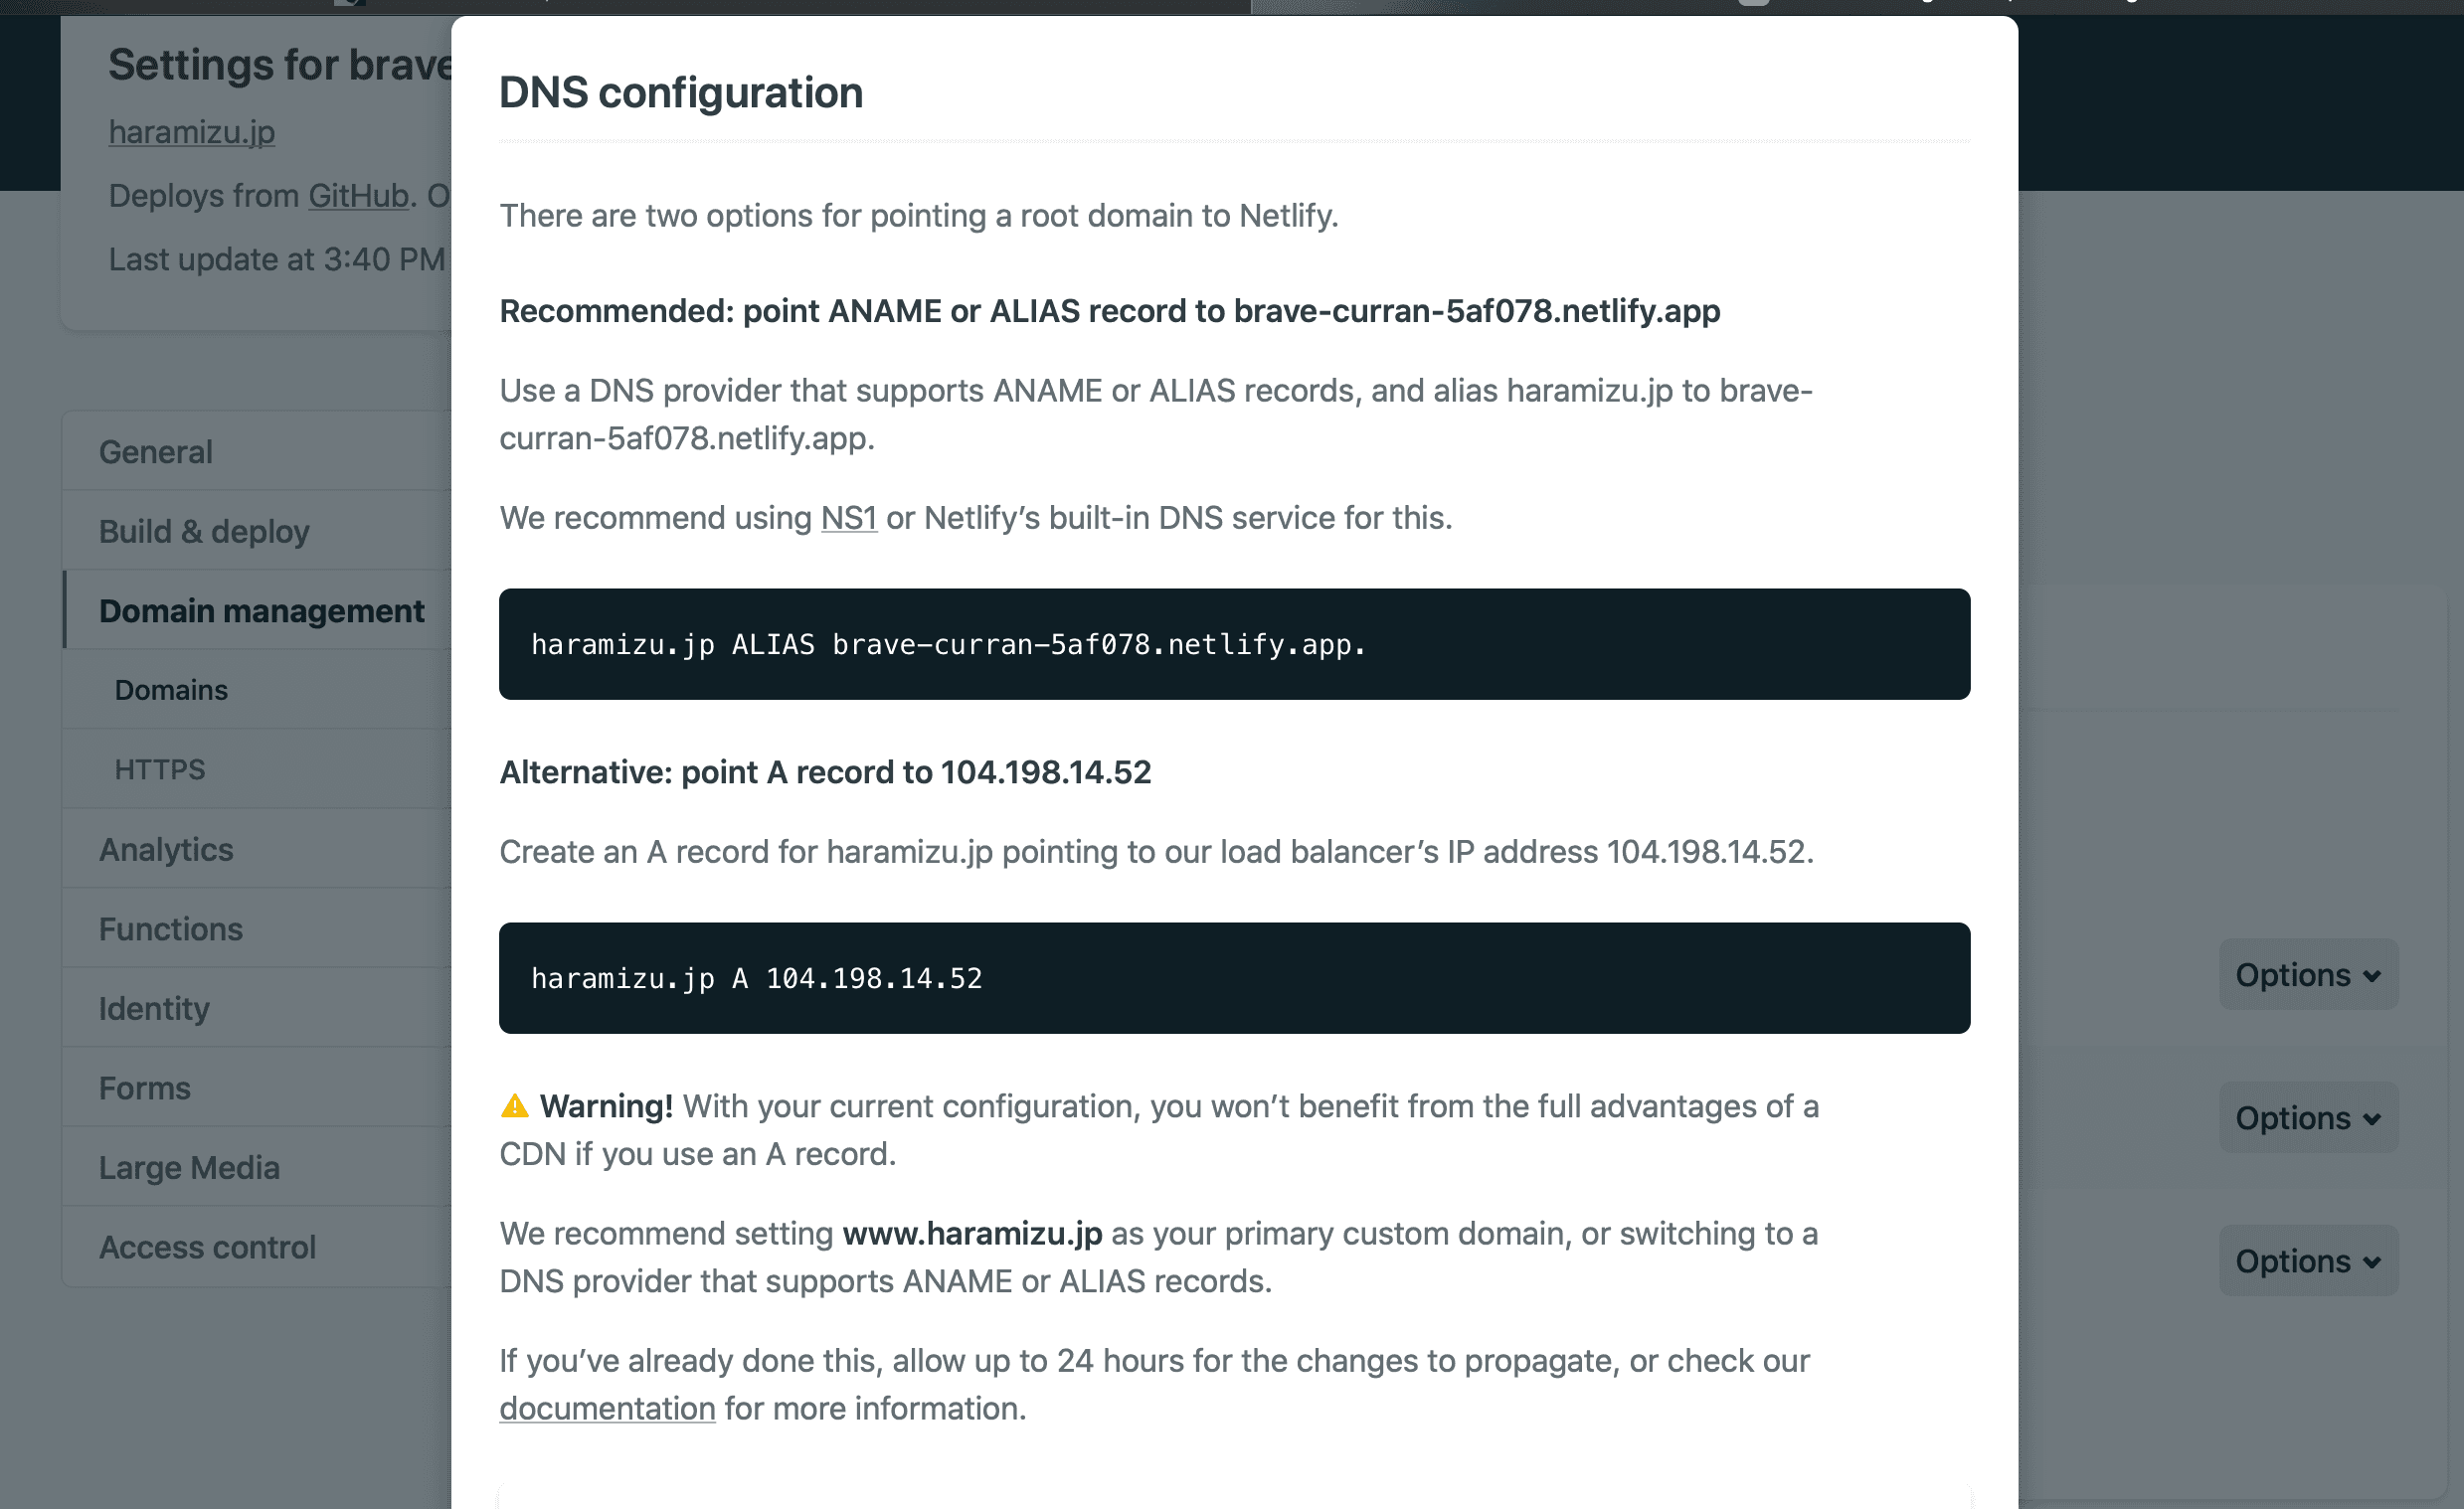
There are two types shown here: the first is the addition of ALIAS records.
haramizu.jp ALIAS brave-curran-5af078.netlify.app.If you can specify this ALIAS, you can use the features including CDN. Depending on where the domain is managed, it may not be possible to add this ALIAS record. In such cases, you can use your own domain name by specifying the IP address in the A record. After adding the www record, proceed to the next step of the certificate procedure.
If you specify an A record, you will continue to get the Check DNS configuration warning, but if it is working, there is no problem.
Transferring entire DNS servers
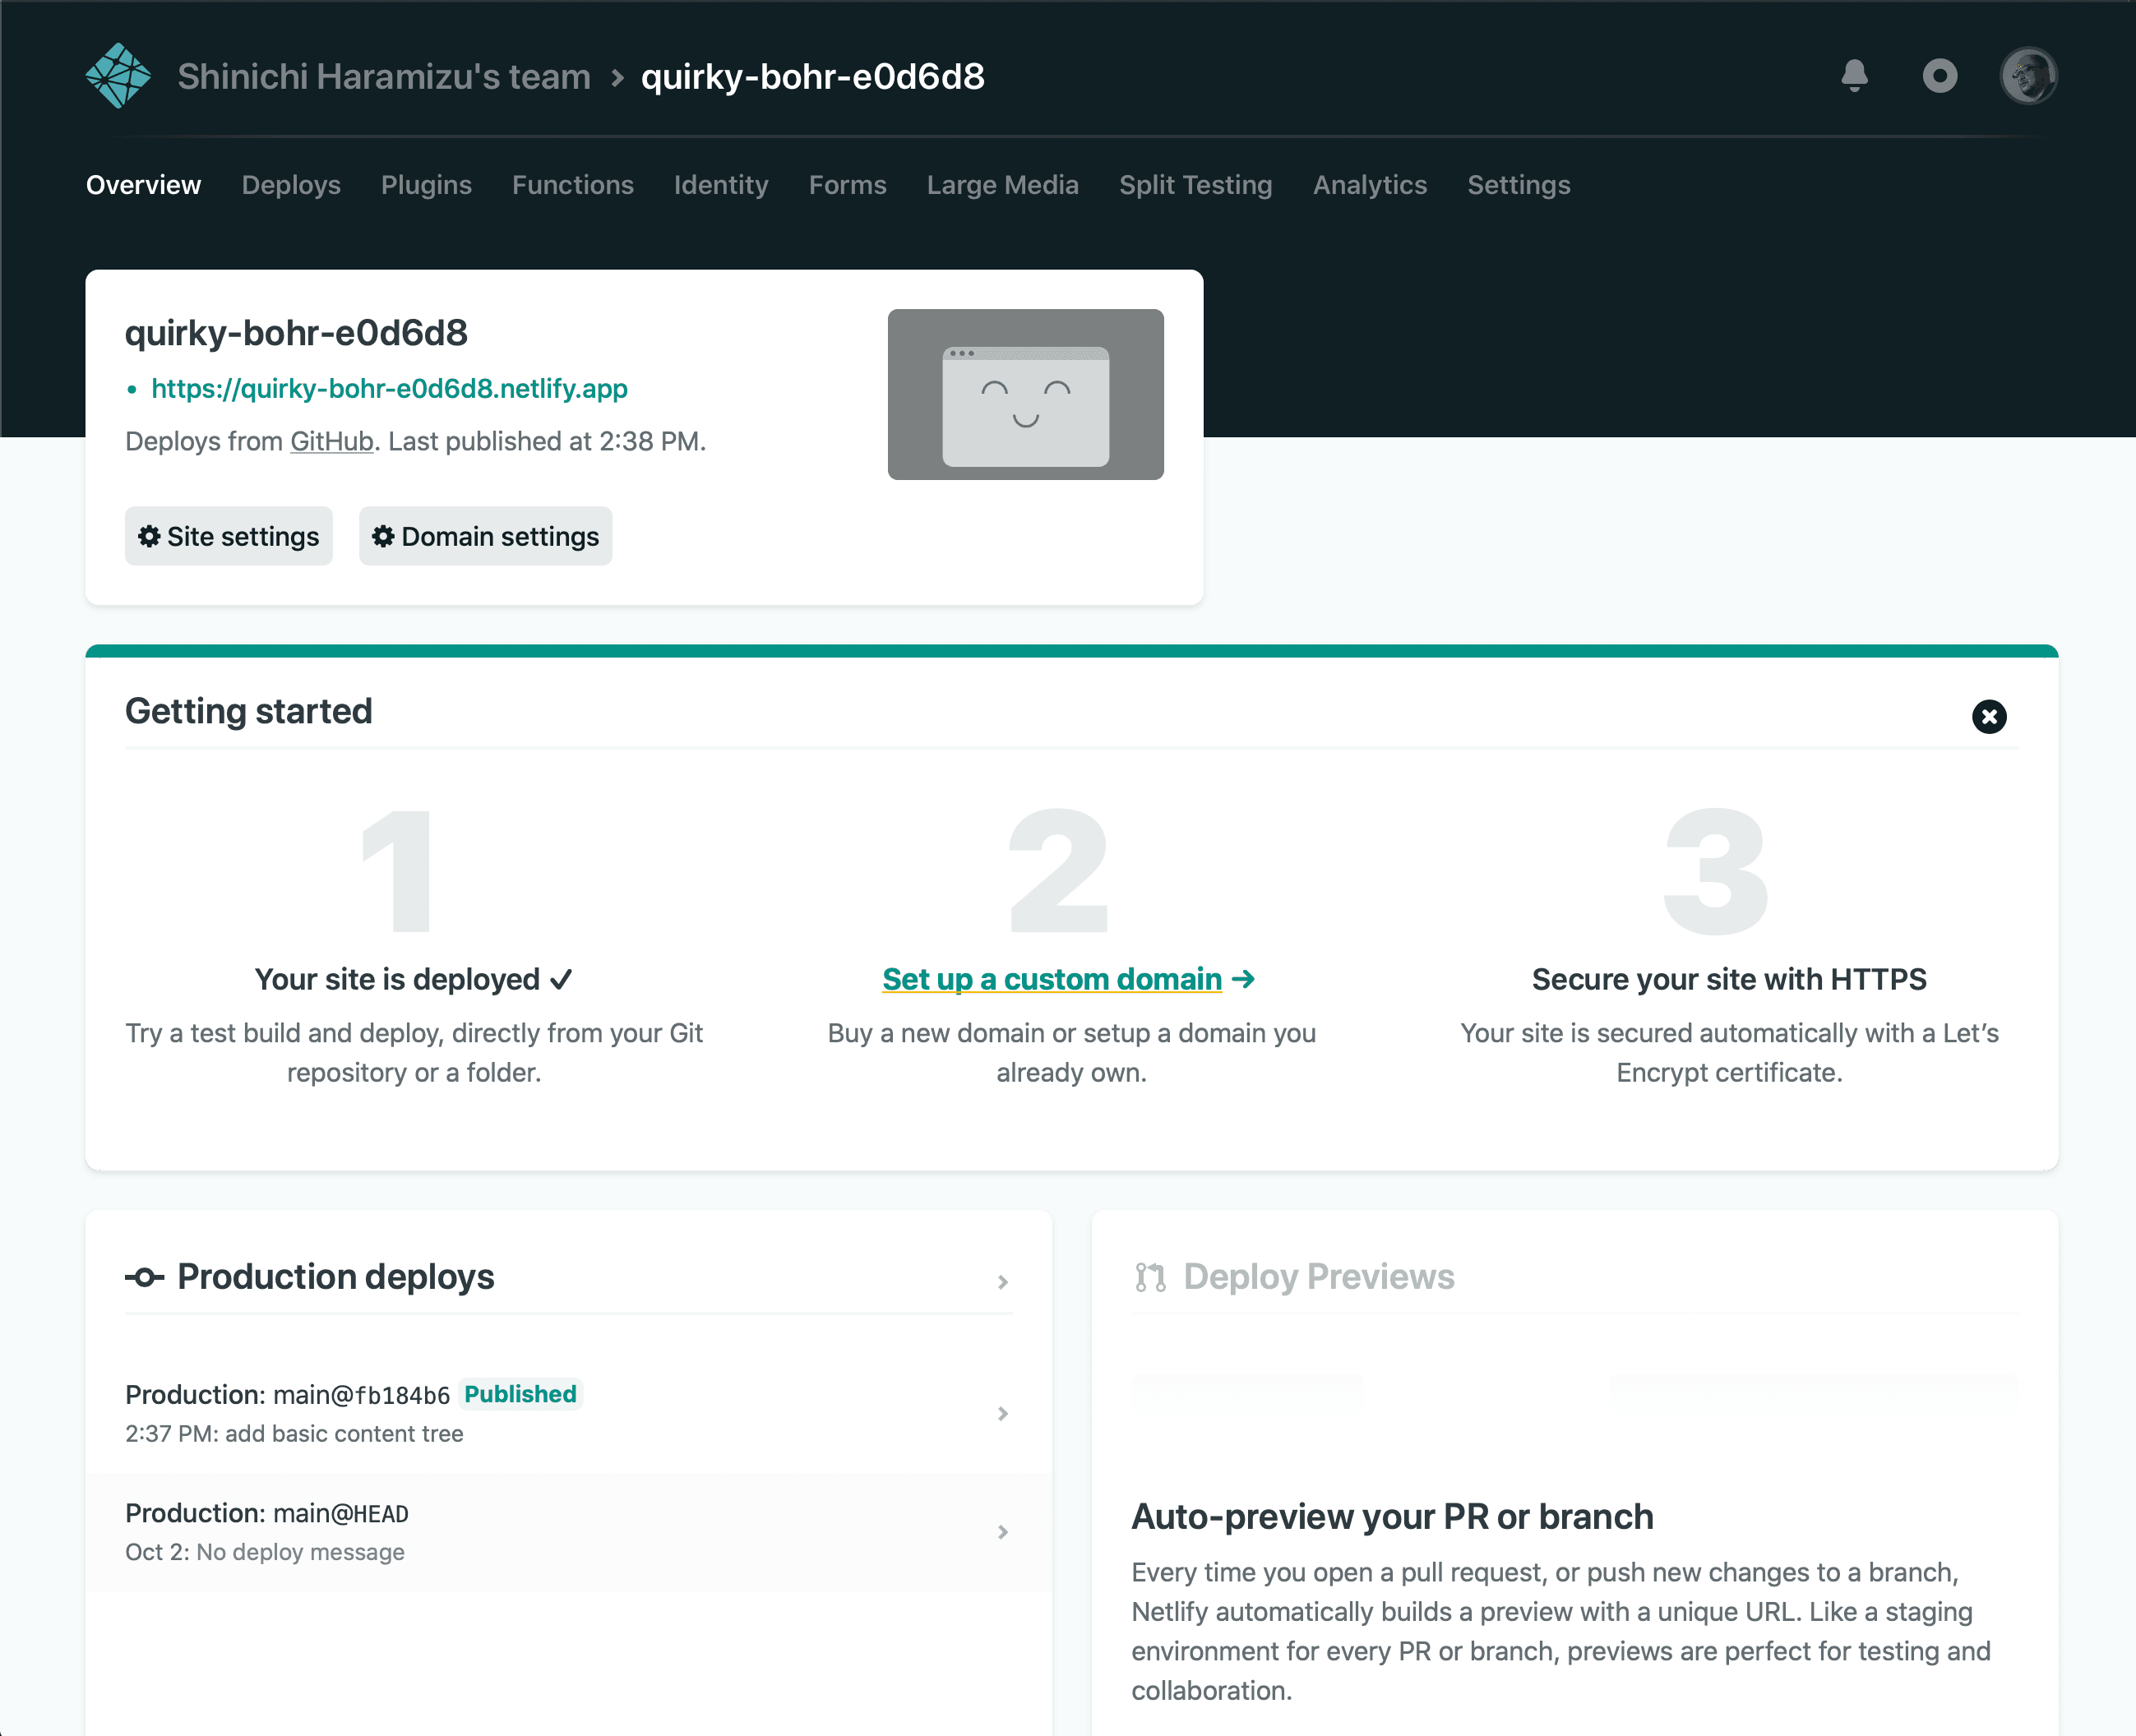
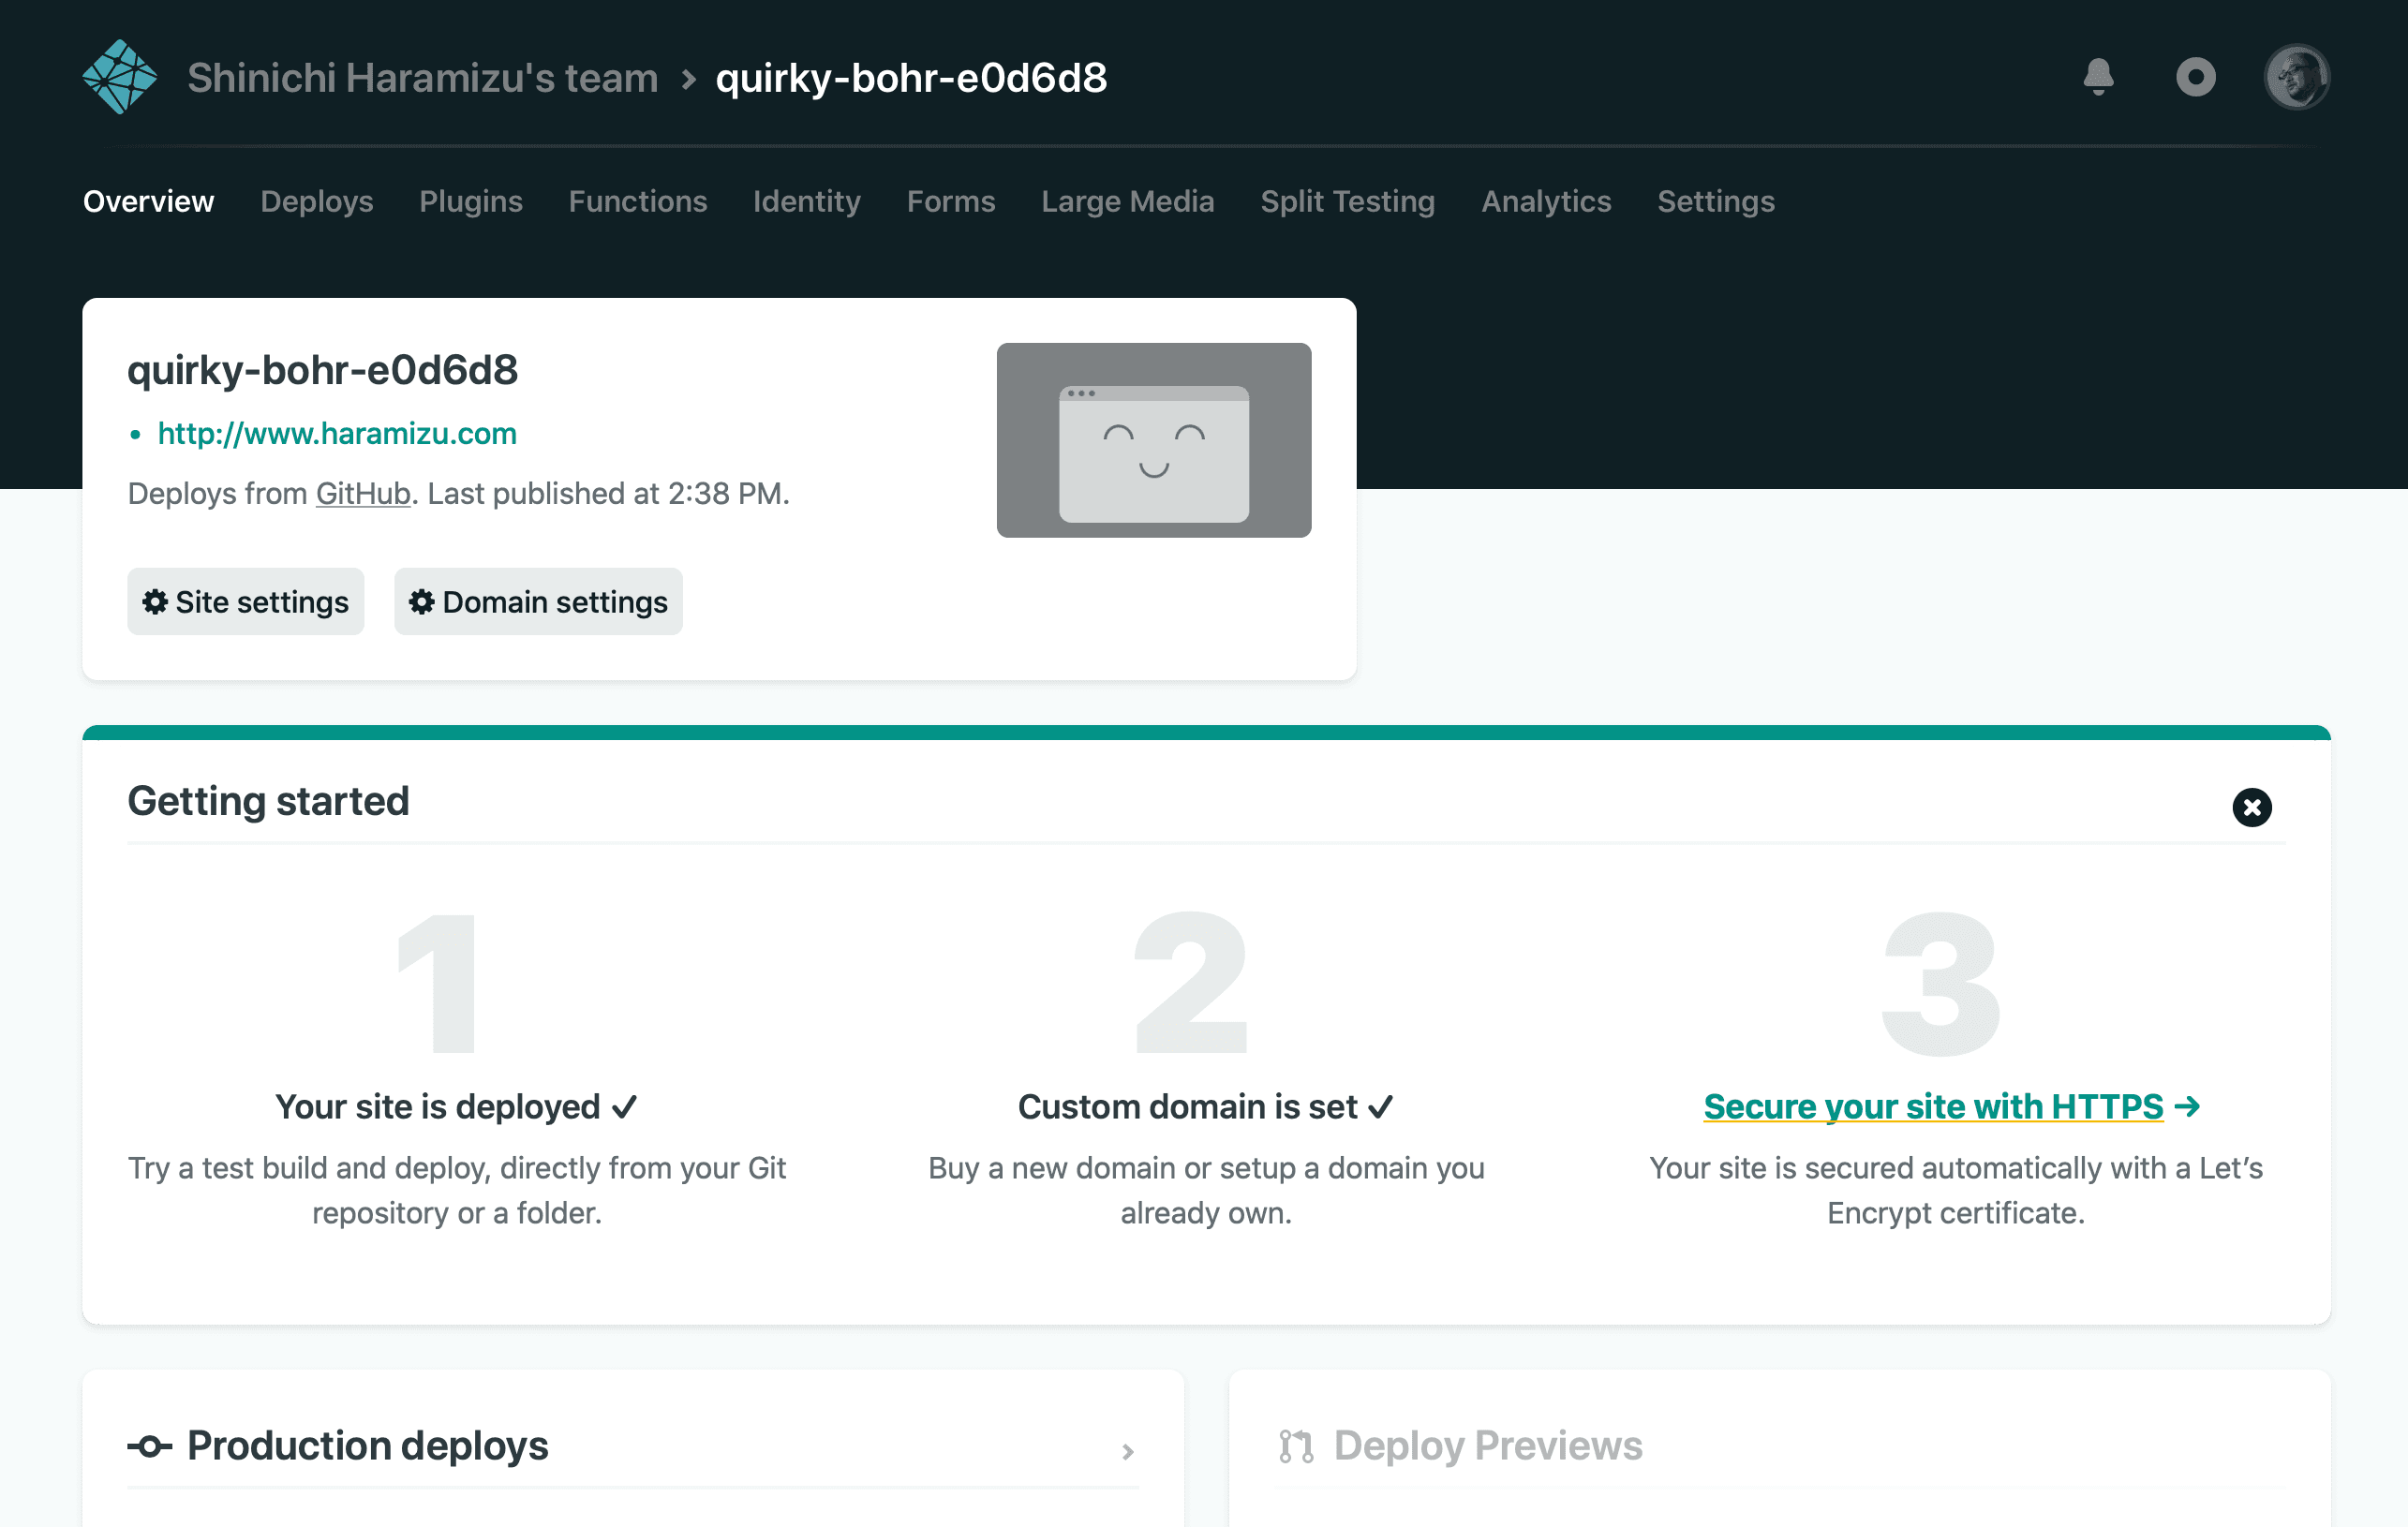
After launching the site, you will see the menu item Set up a custom domain appear on the Overview screen of the newly created site.
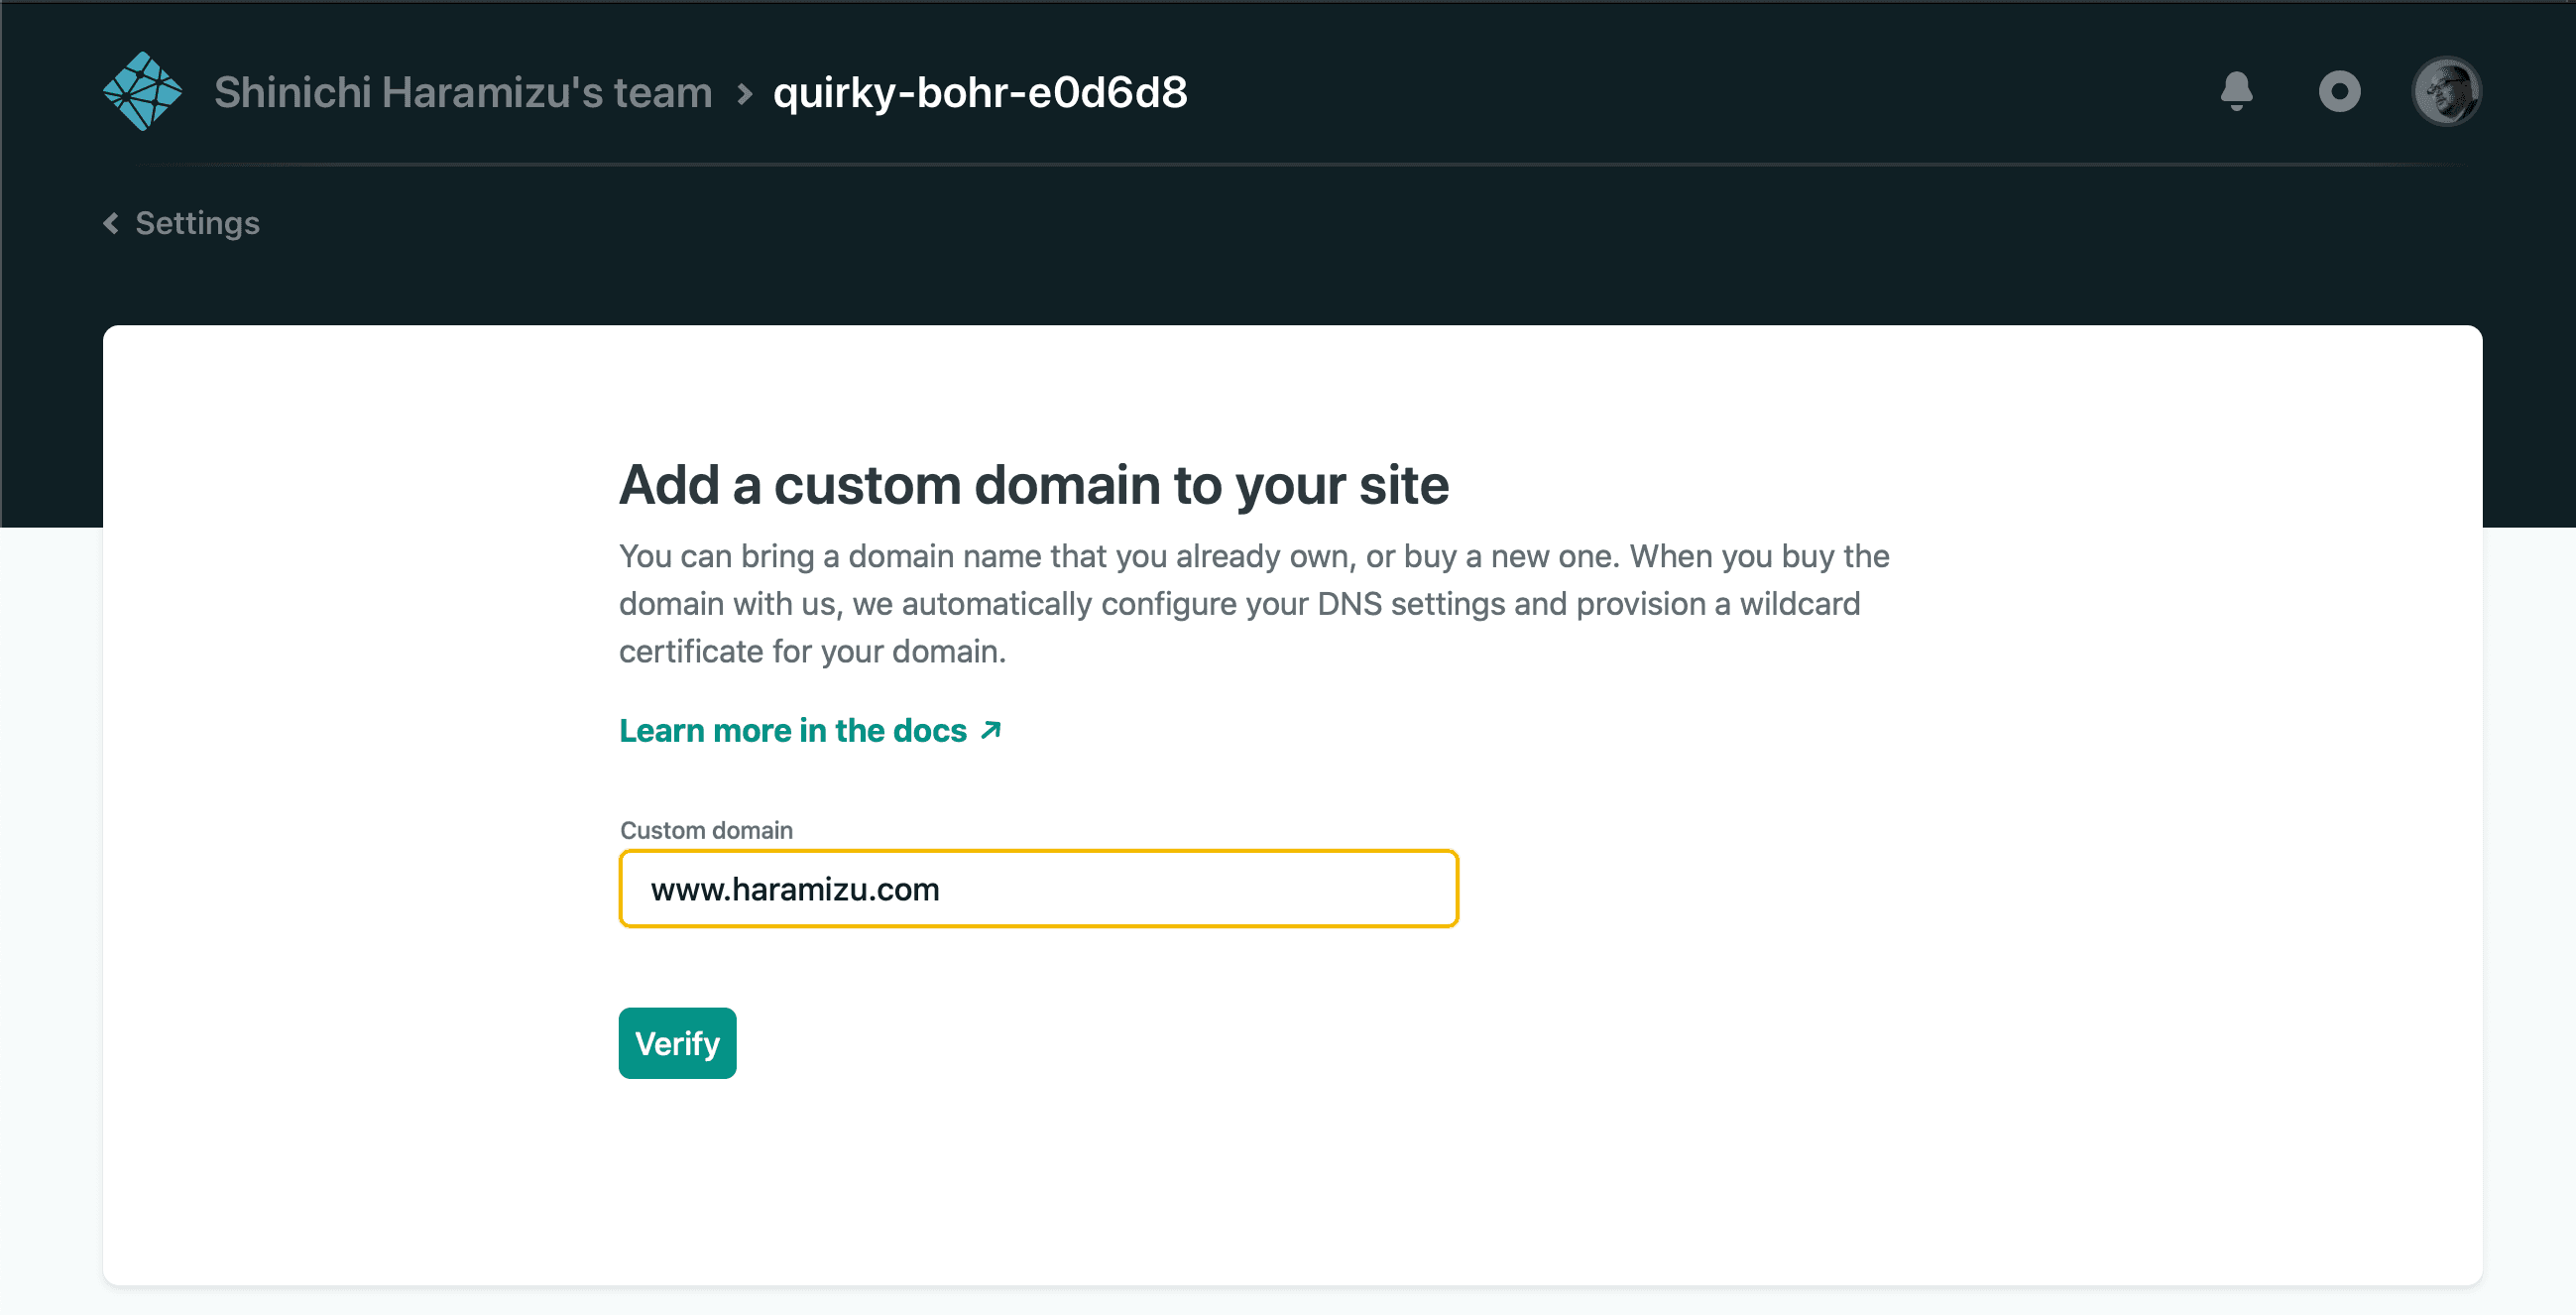
After clicking, an input box will appear where you simply enter your domain name. Specify a domain name that you have.
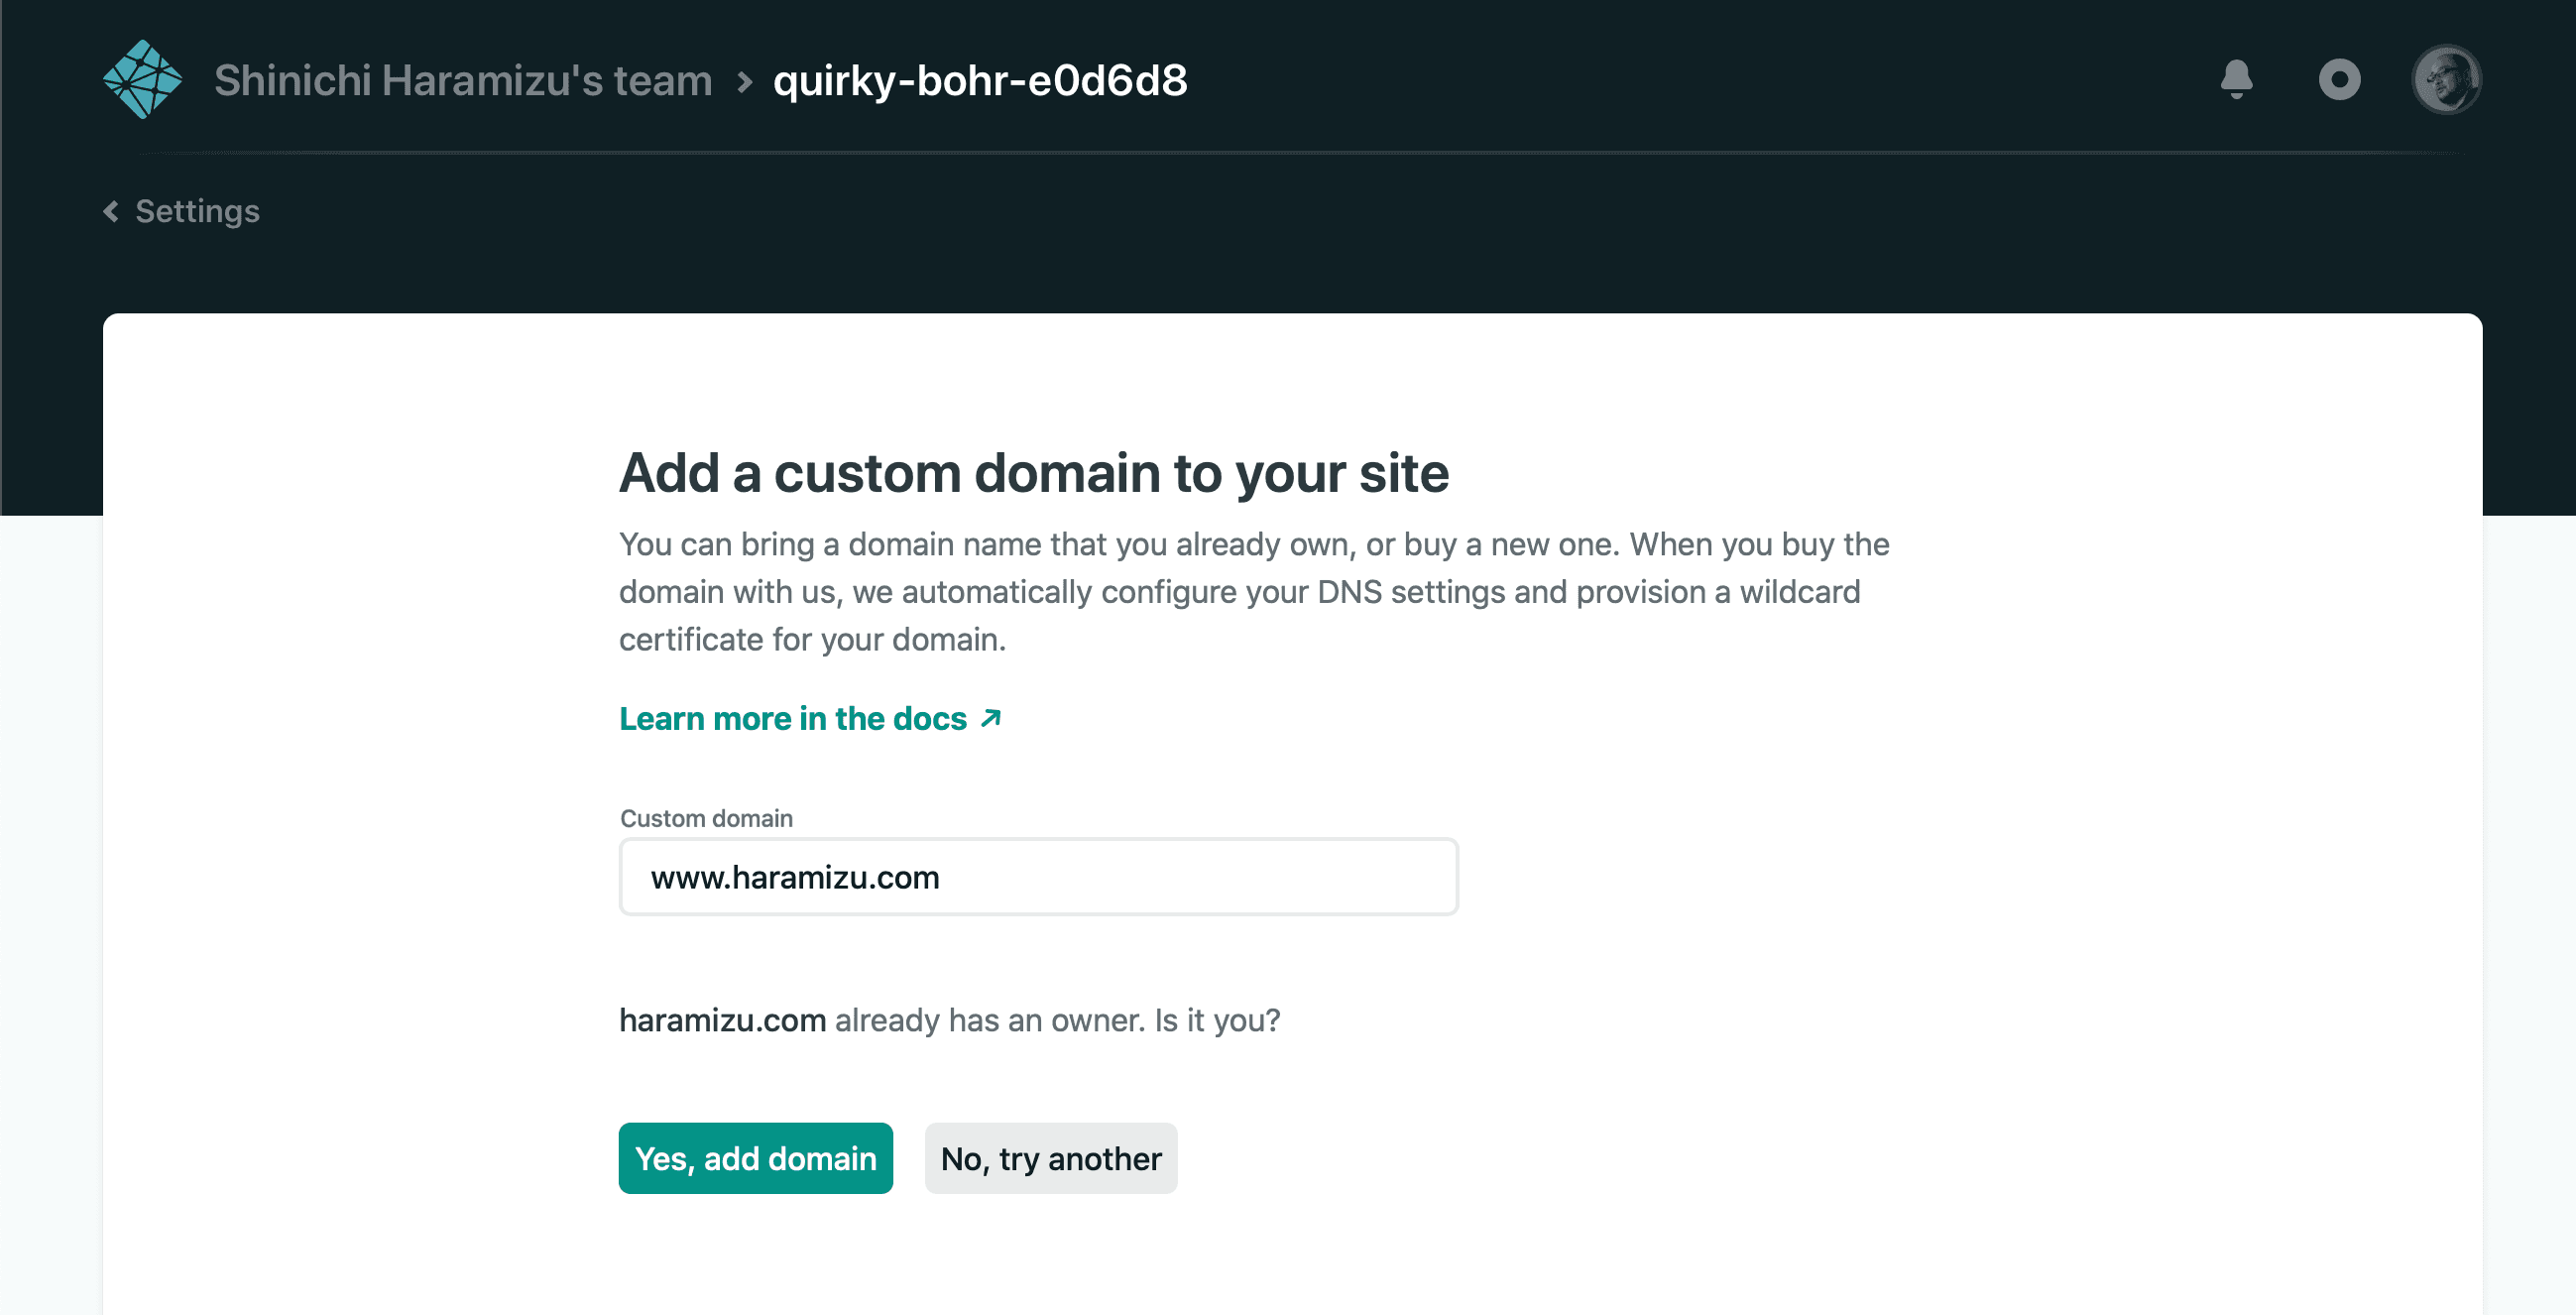
Since you already have your own domain name, specify Yes, add domain in the confirmation screen and proceed.
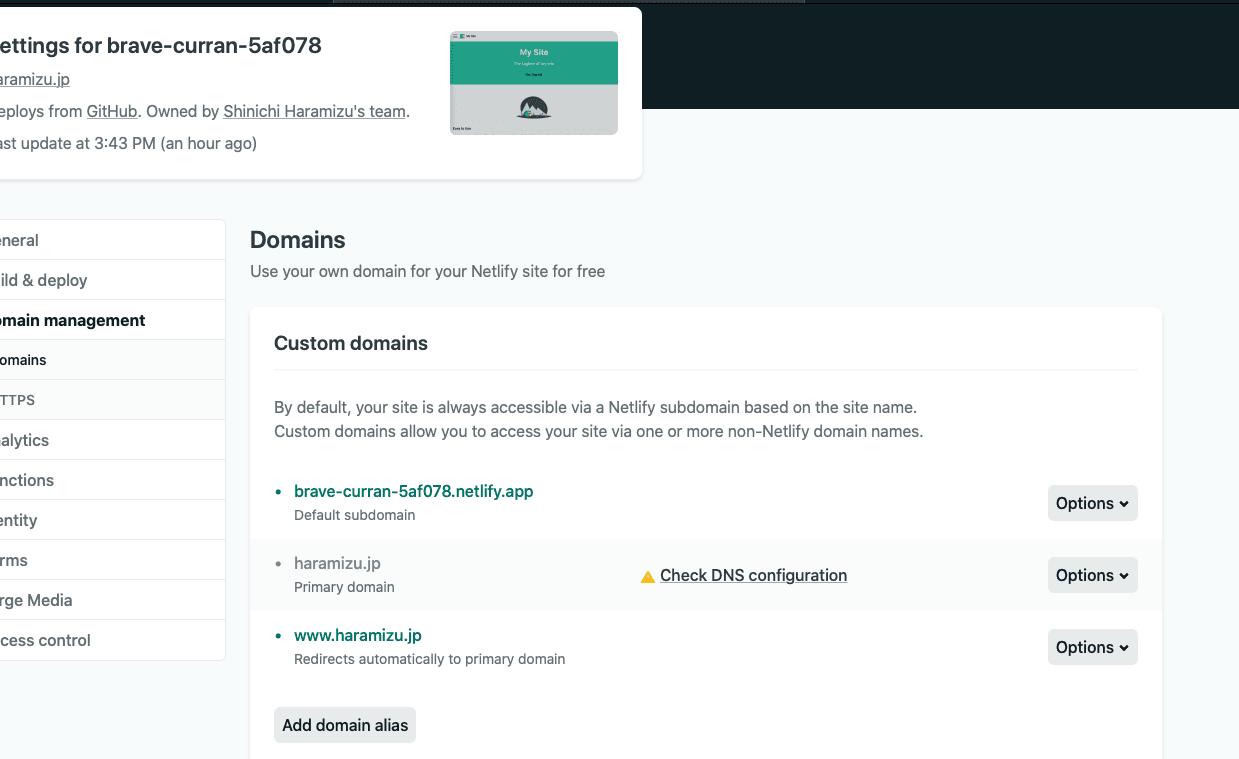
You will then see a yellow alert on the Custom Domains screen with the message Check DNS configuration.
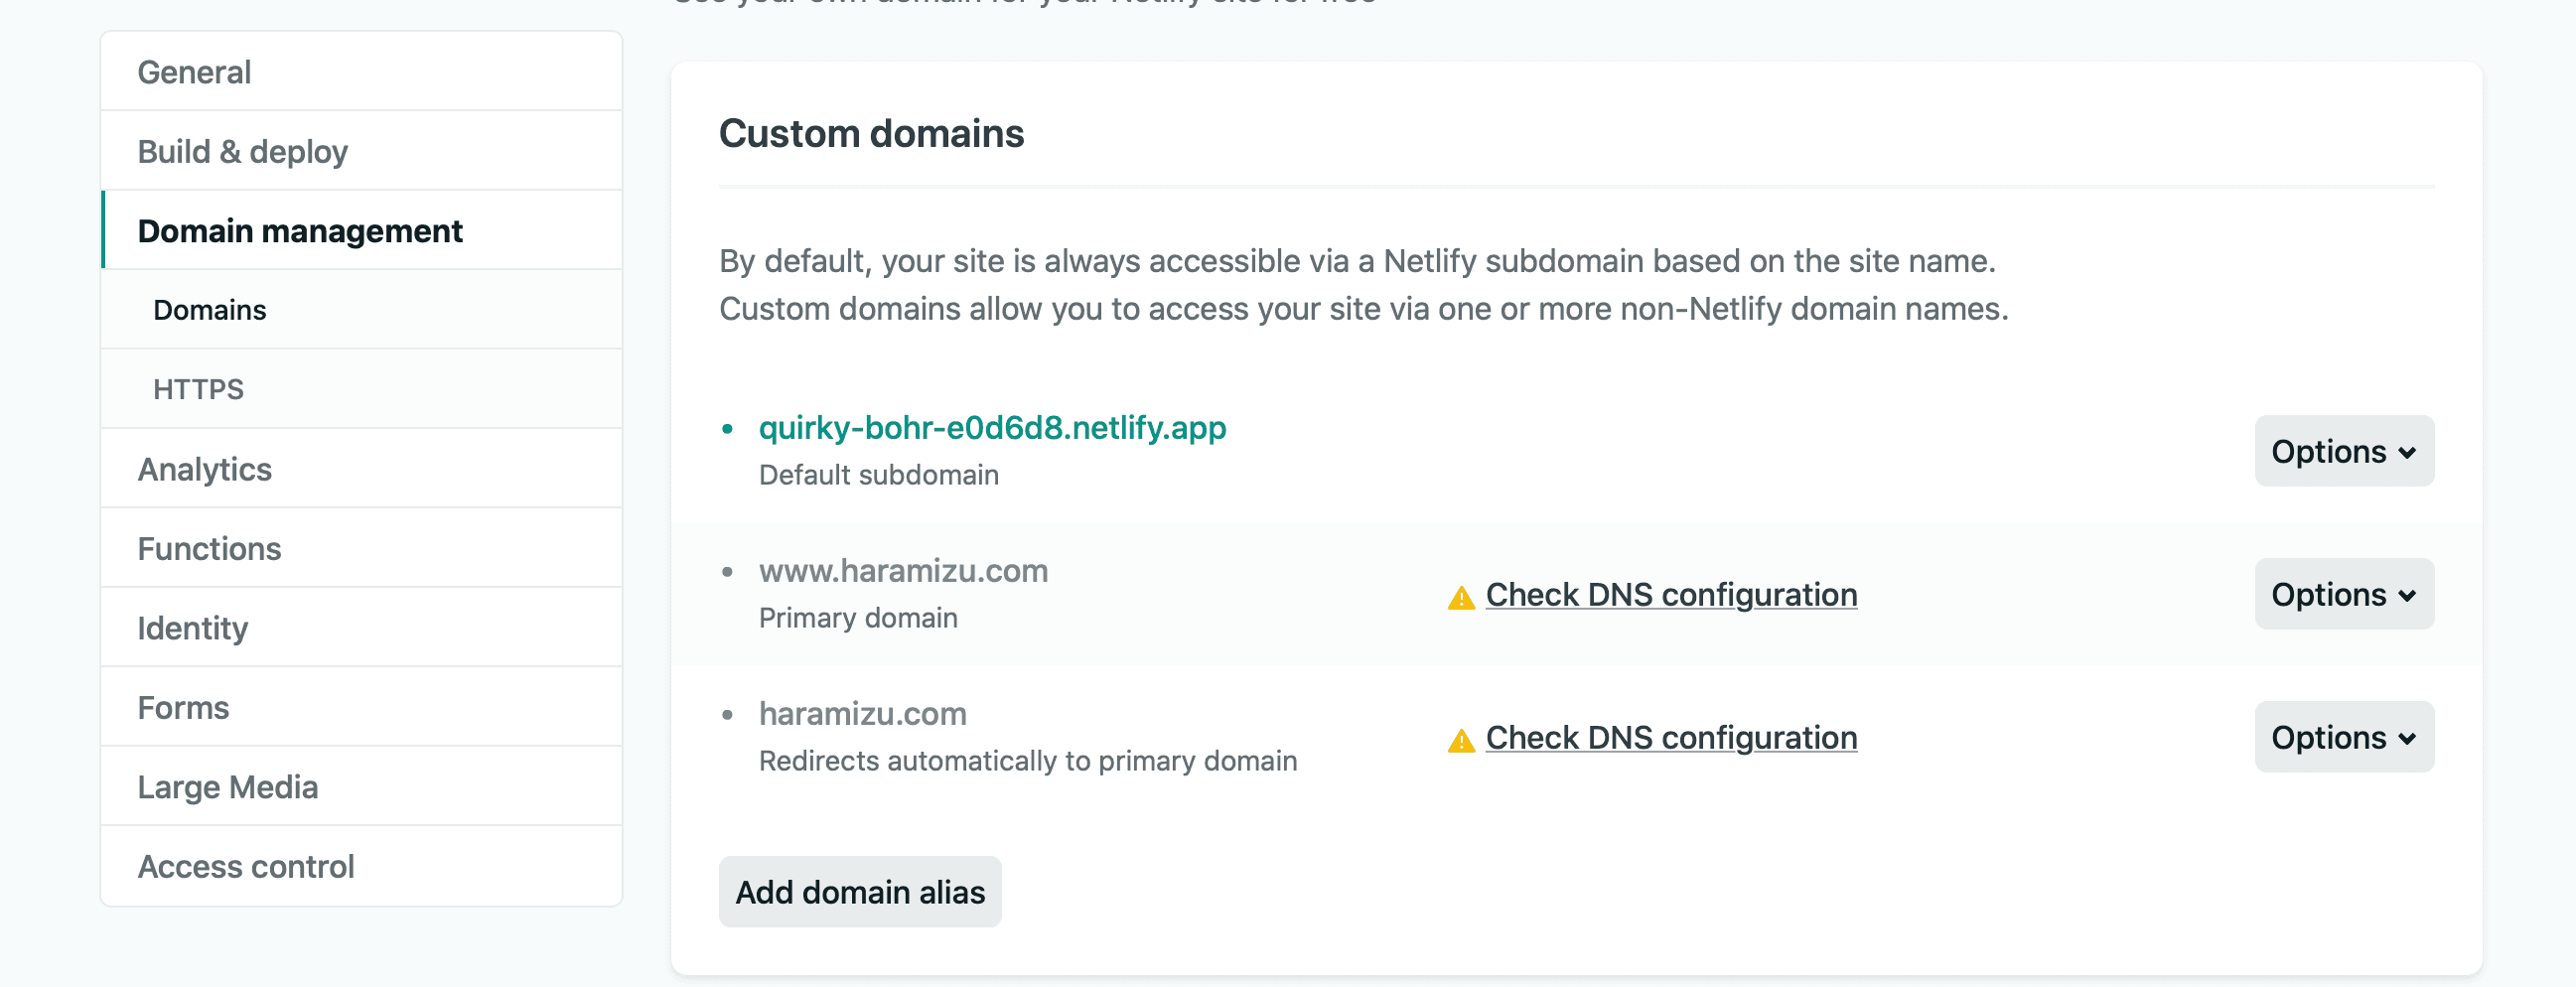
Clicking Check DNS Configuration displays the following screen related to DNS configuration.
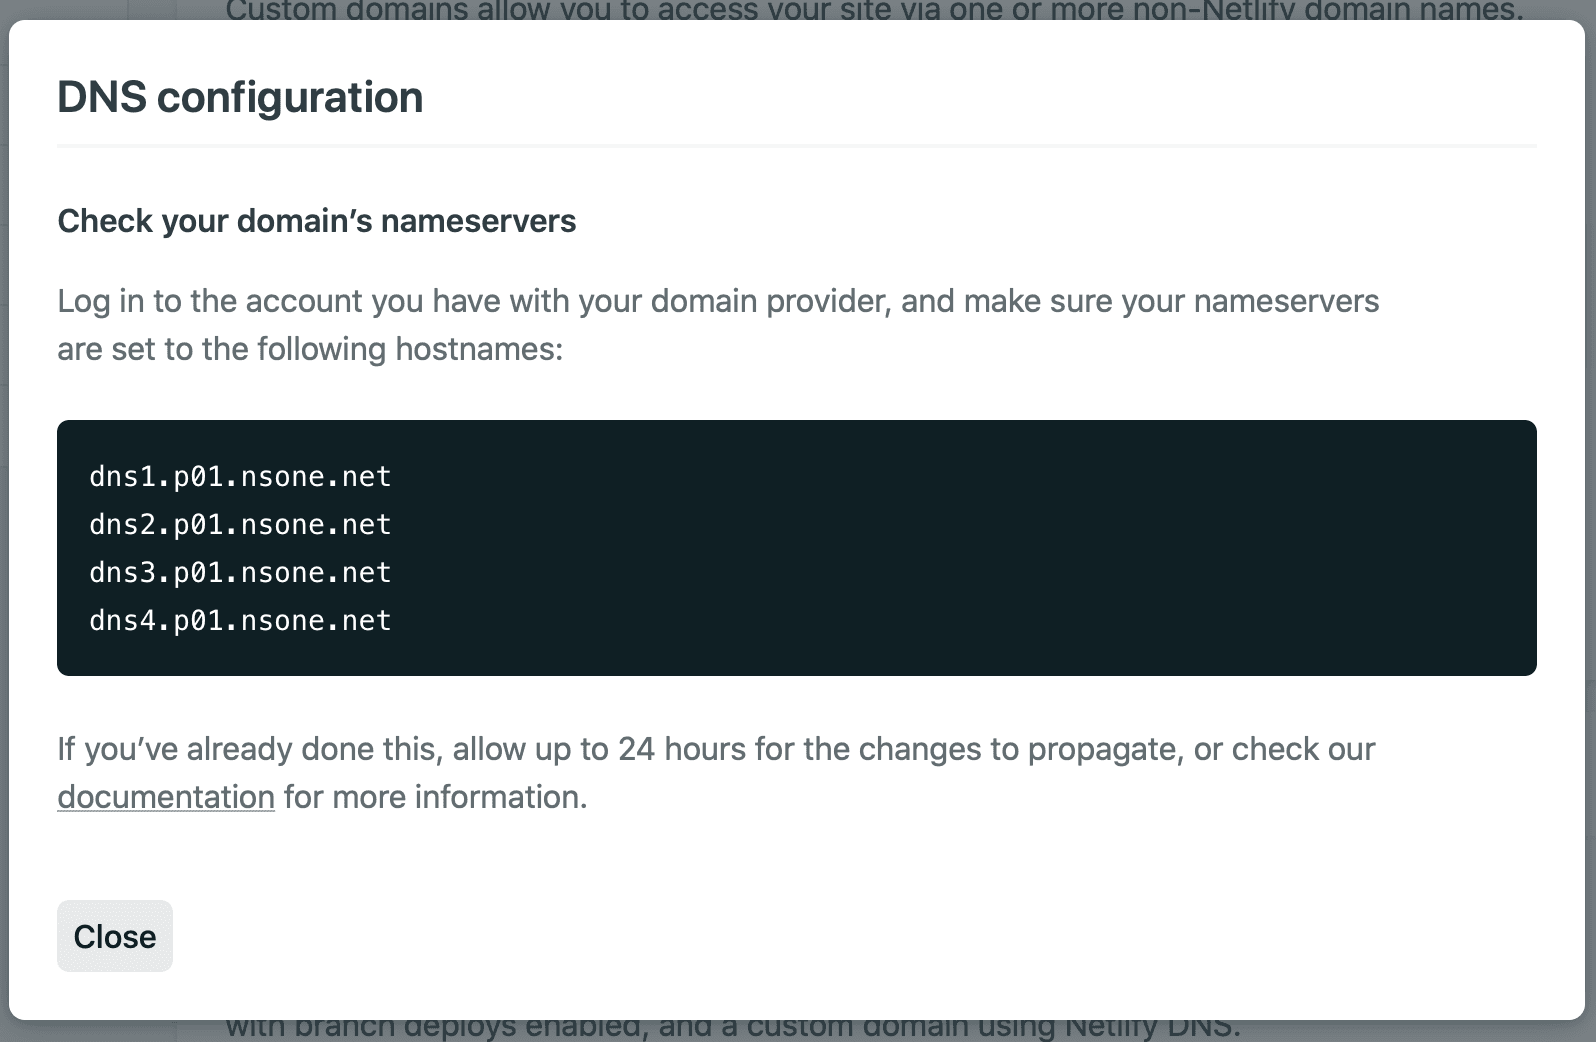
You want to switch to a different DNS server. The following four servers should be specified.
dns1.p01.nsone.net
dns2.p01.nsone.net
dns3.p01.nsone.net
dns4.p01.nsone.net
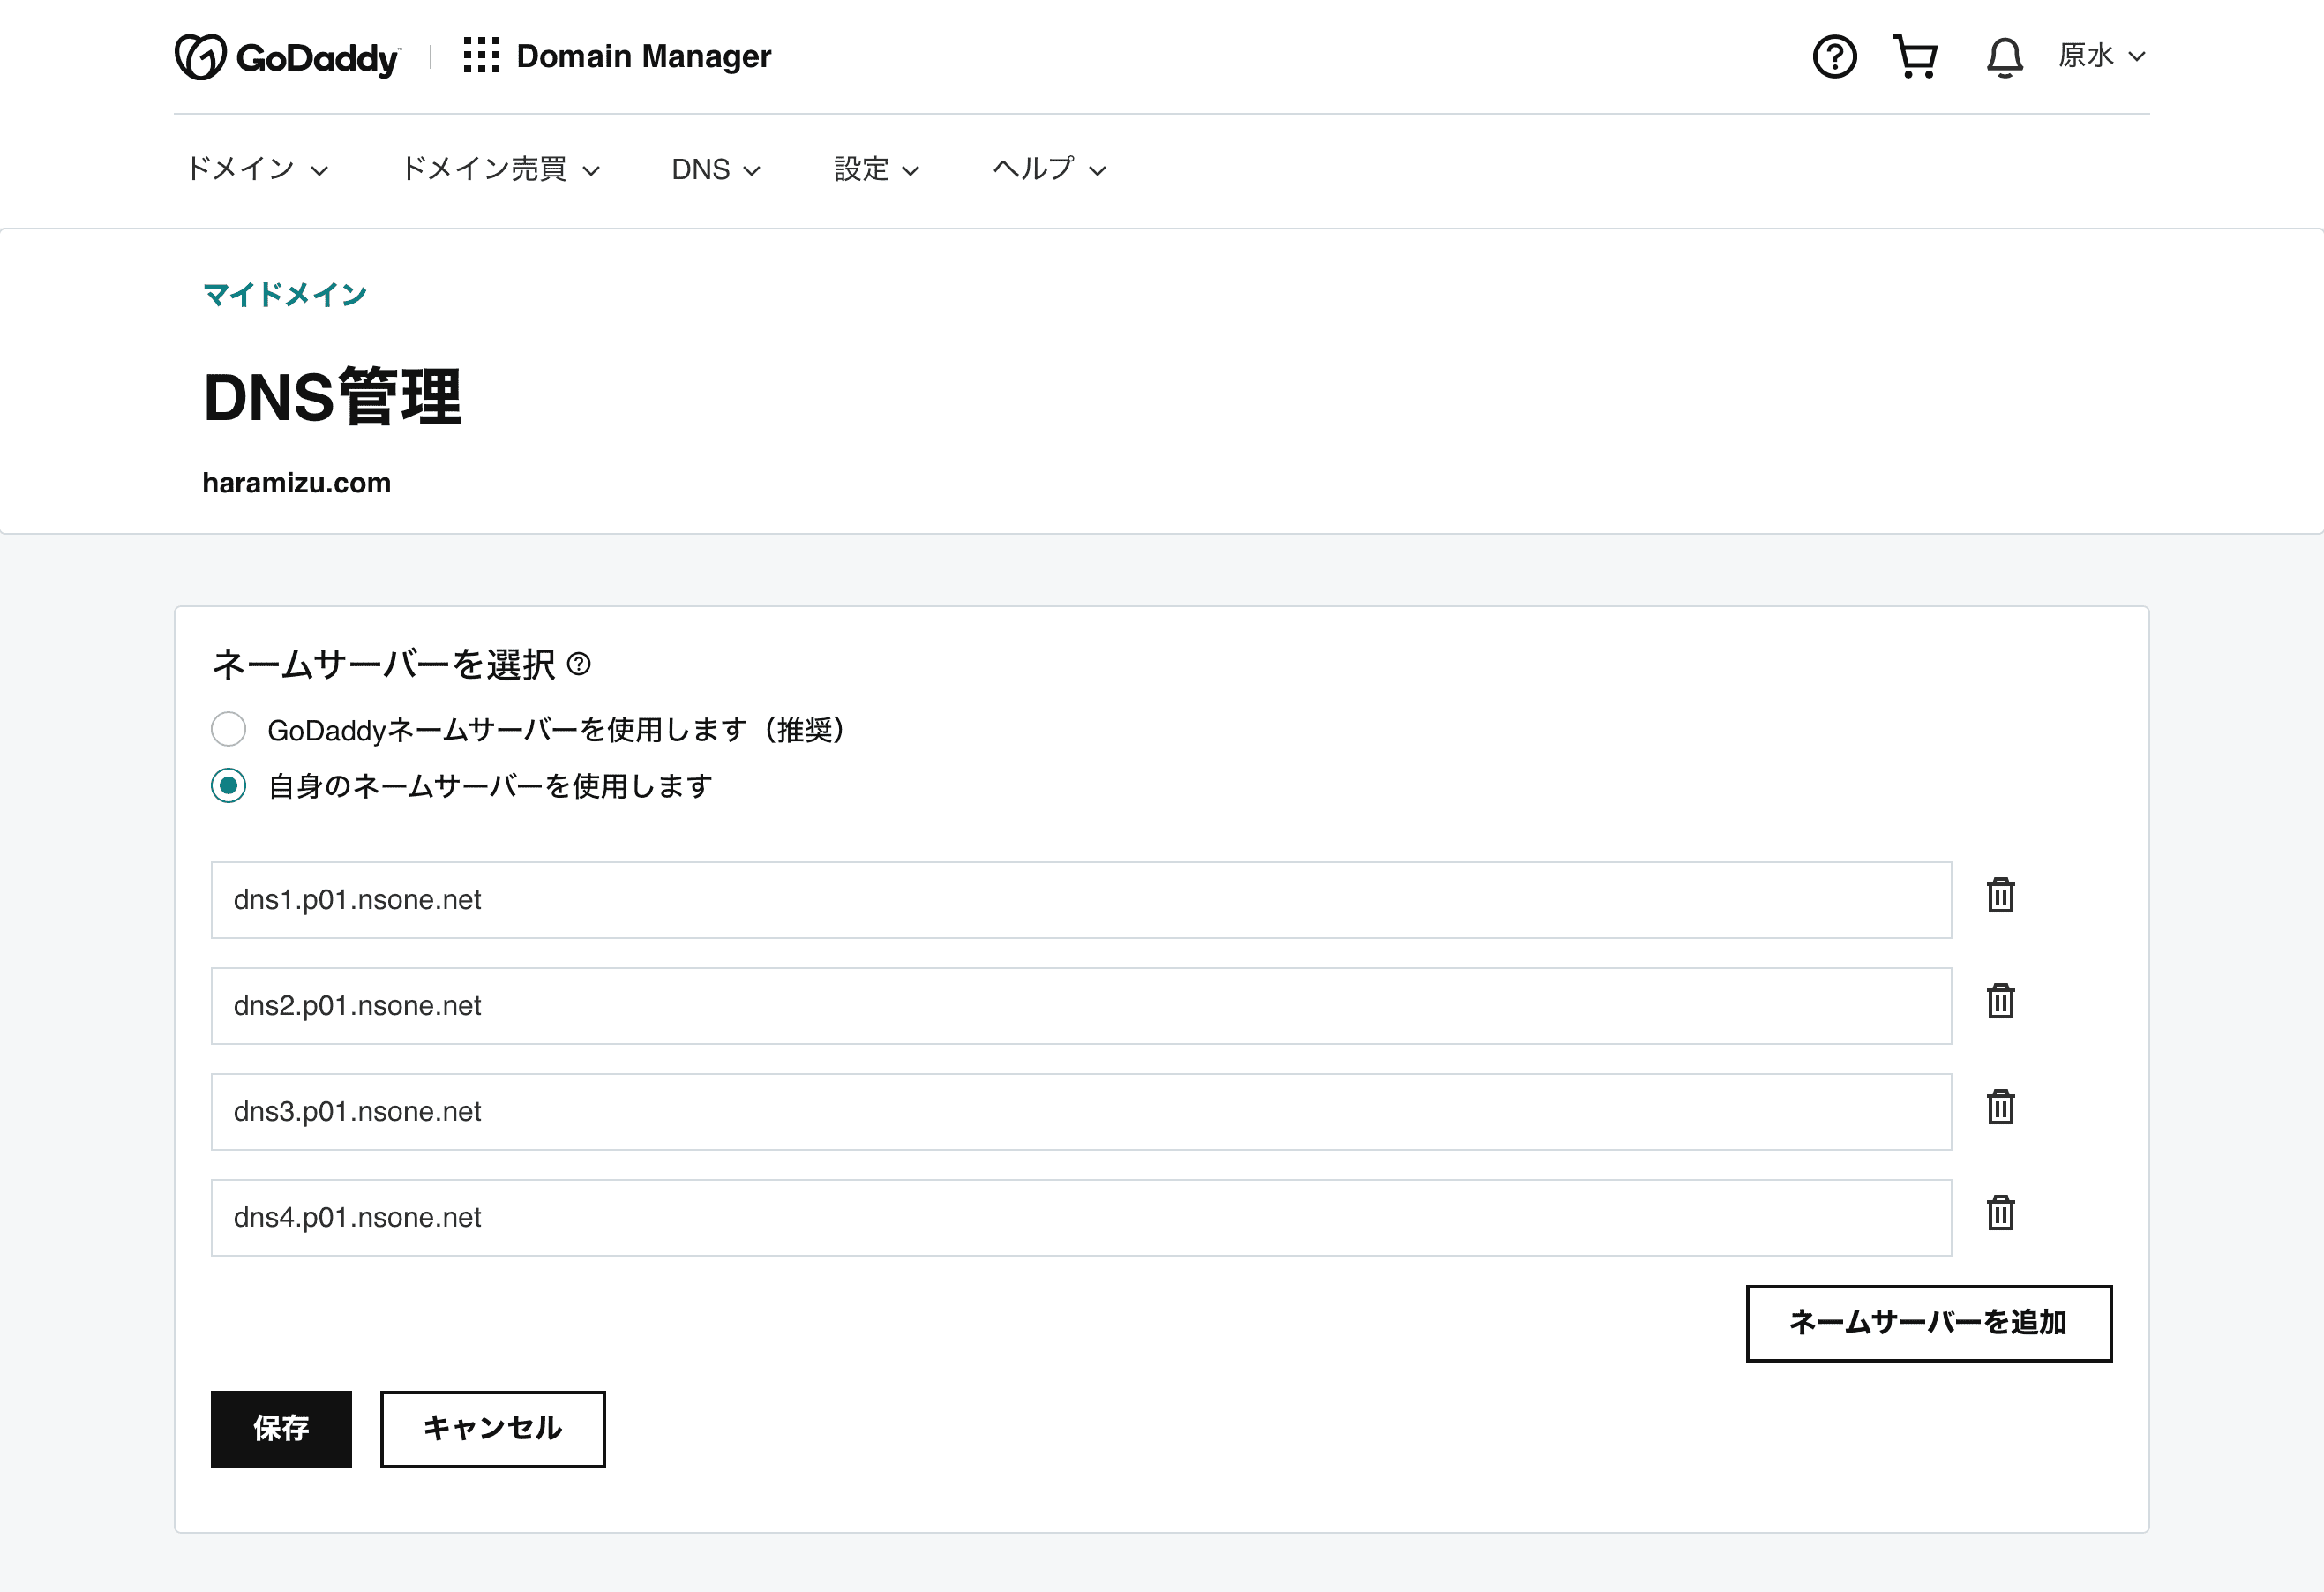
I use GoDaddy to manage my domains, so I launched Domain Manager and changed the DNS server settings. The changes took effect relatively quickly.
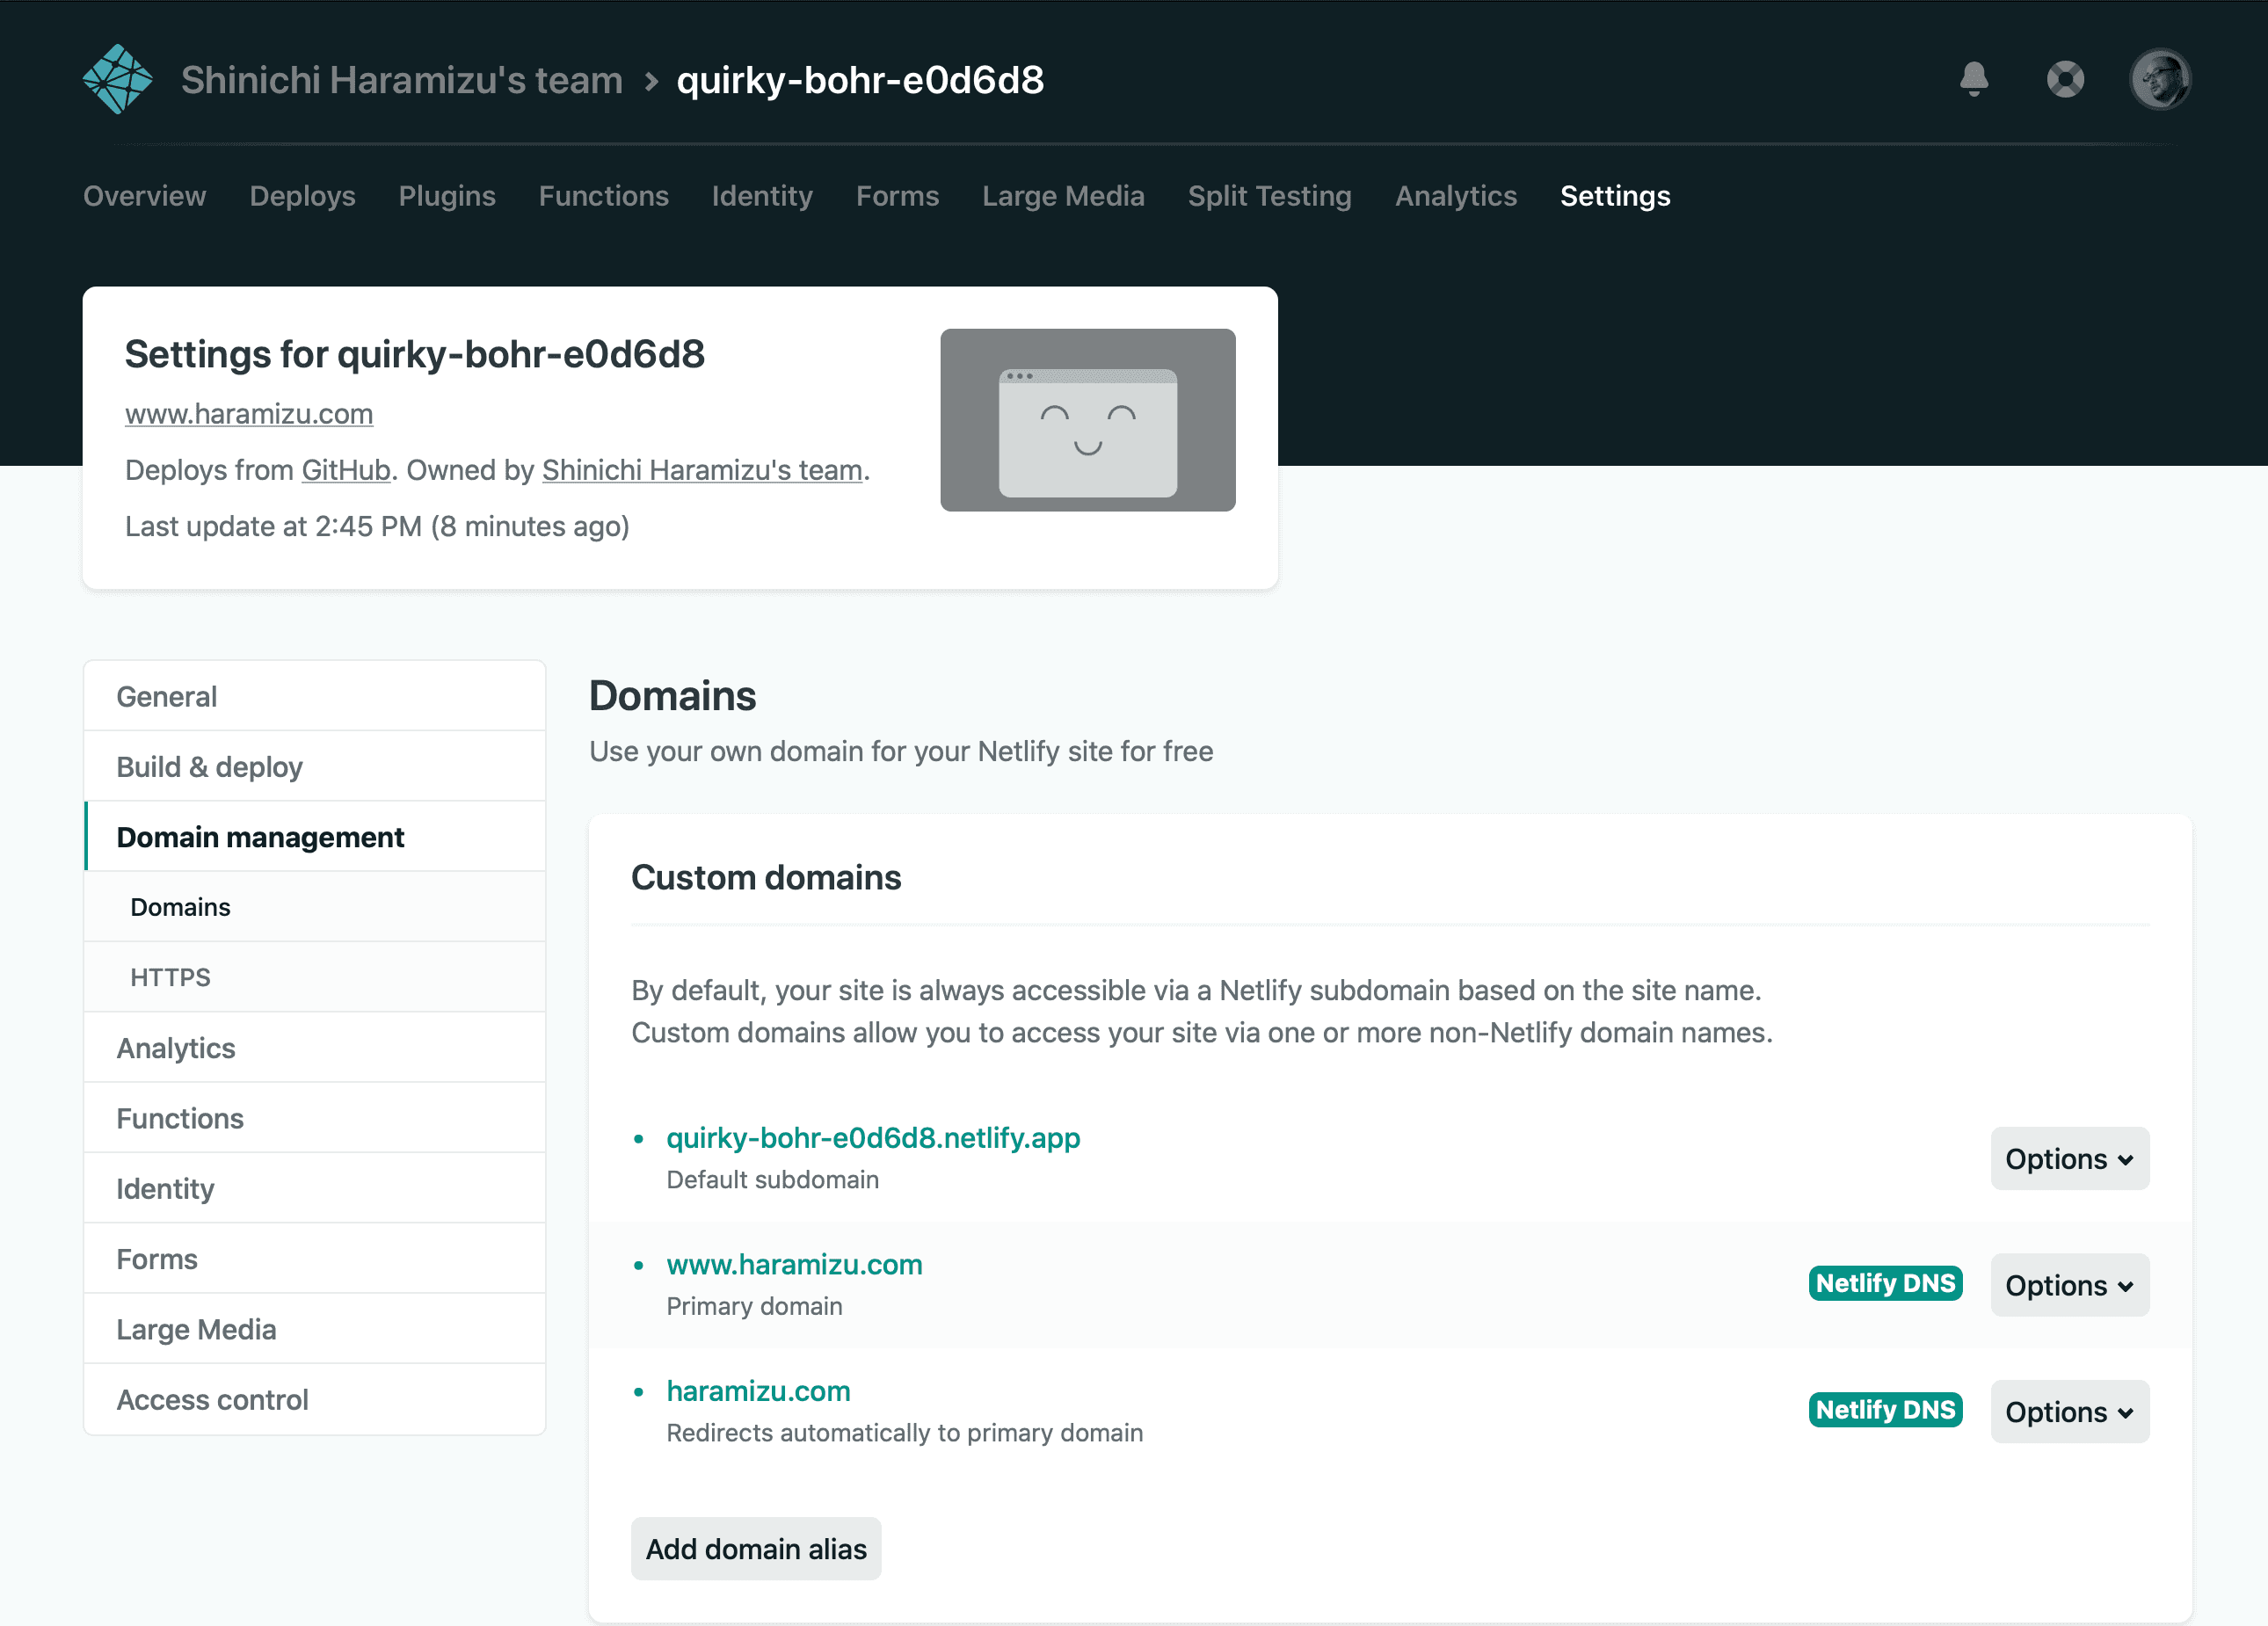
Once the change is confirmed, you can see it working correctly in green, with the indication Netlify DNS, as shown below.

Renewing a Certificate
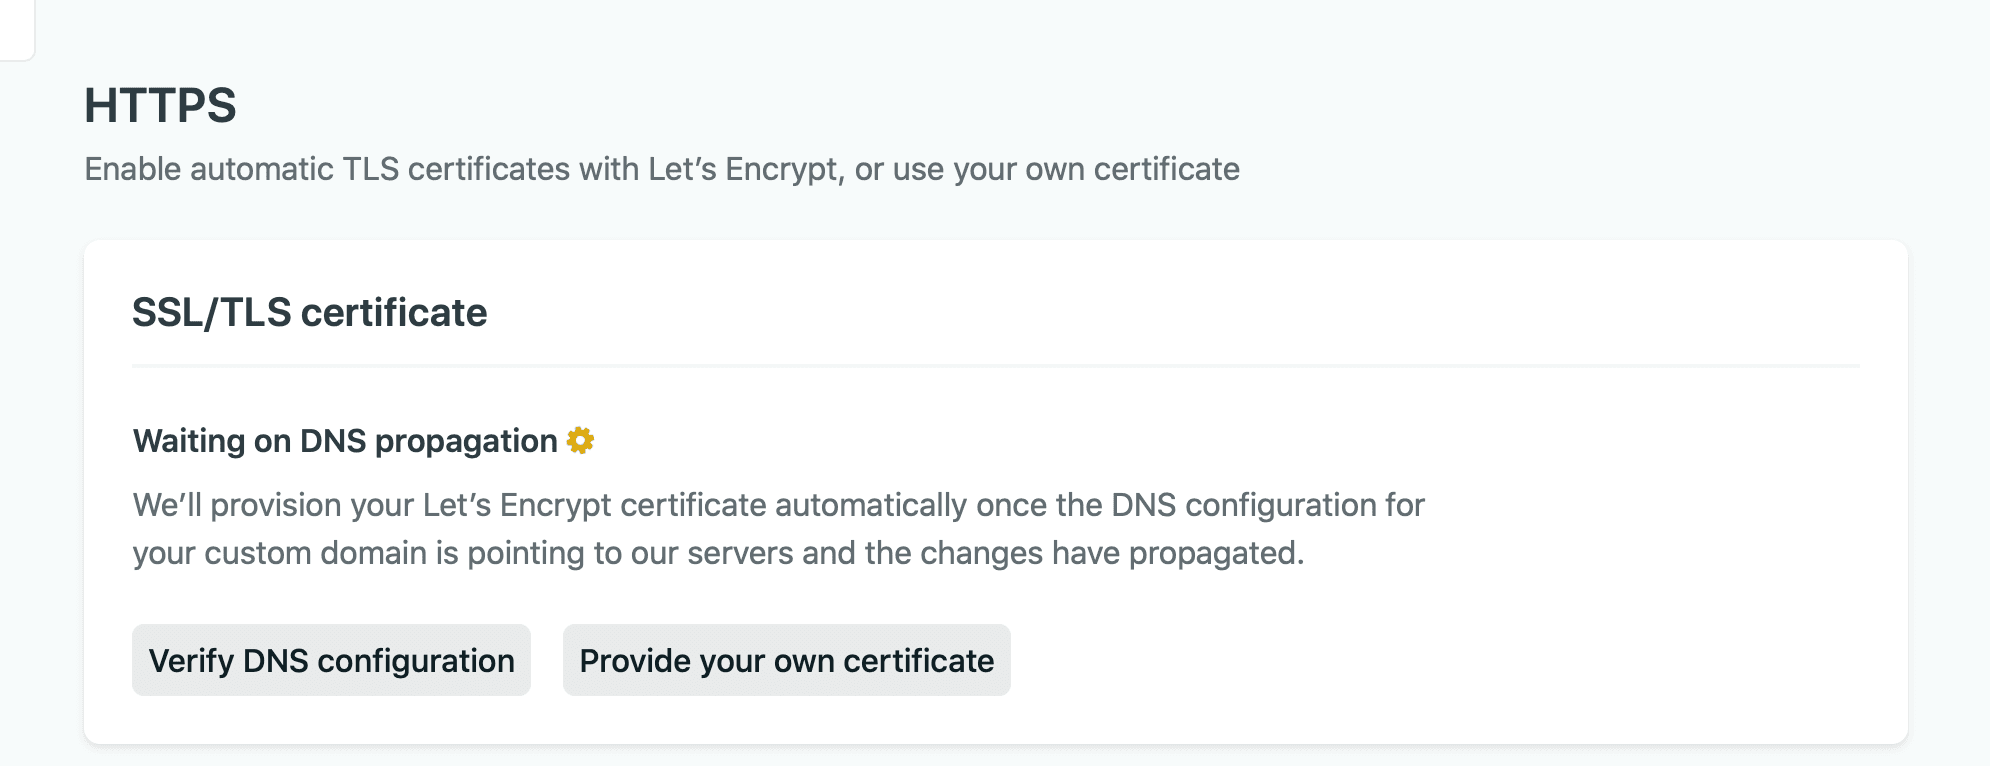
If you have set up your own domain name, you should also register a certificate.
If you have a certificate, you can upload it and use that certificate. Just click on Provide your own certificate and upload it, and the certificate you set up will be uploaded. If you do not have a certificate, that's okay, we work with the Let's Encrypt service and you can use your certificate for free. In that case, just click on the Verify DNS configuration button and you are done.
After a few moments, you will see something like "DNS Verification was successful" to confirm that the configuration is complete and the certificate has been set.
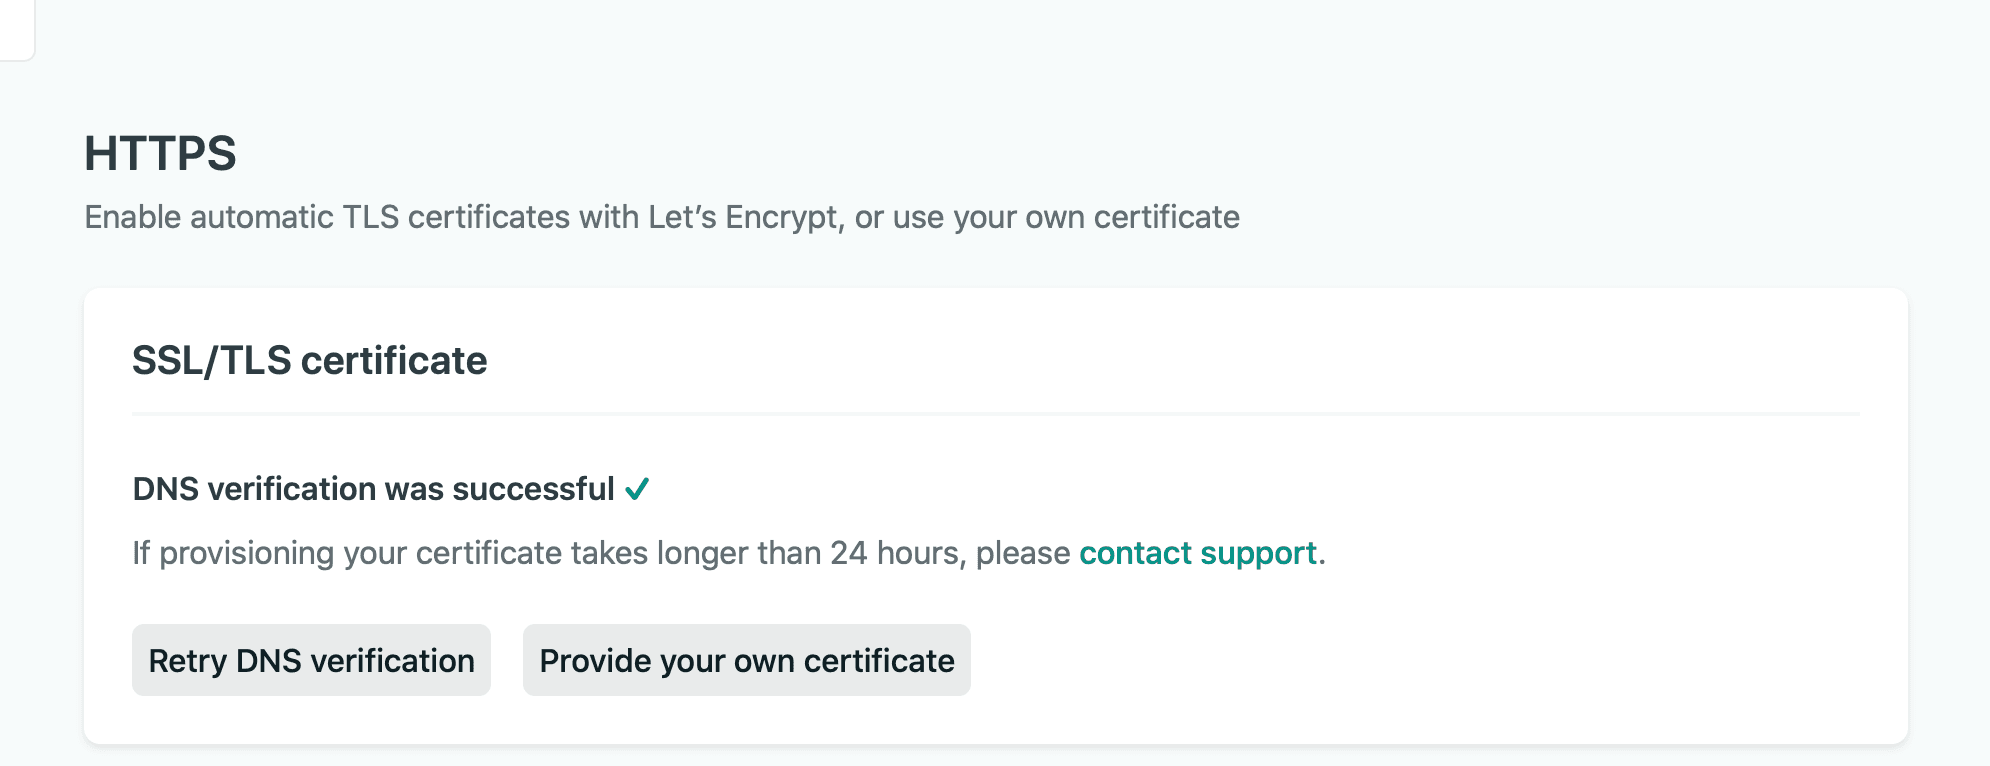
For this site, we have decided to use the services of Let's Encrypt for the certificate. Of course, since the certificates are available free of charge and automatic renewal is also provided, you can use the service without having to be particularly conscious of the certificate-related part.
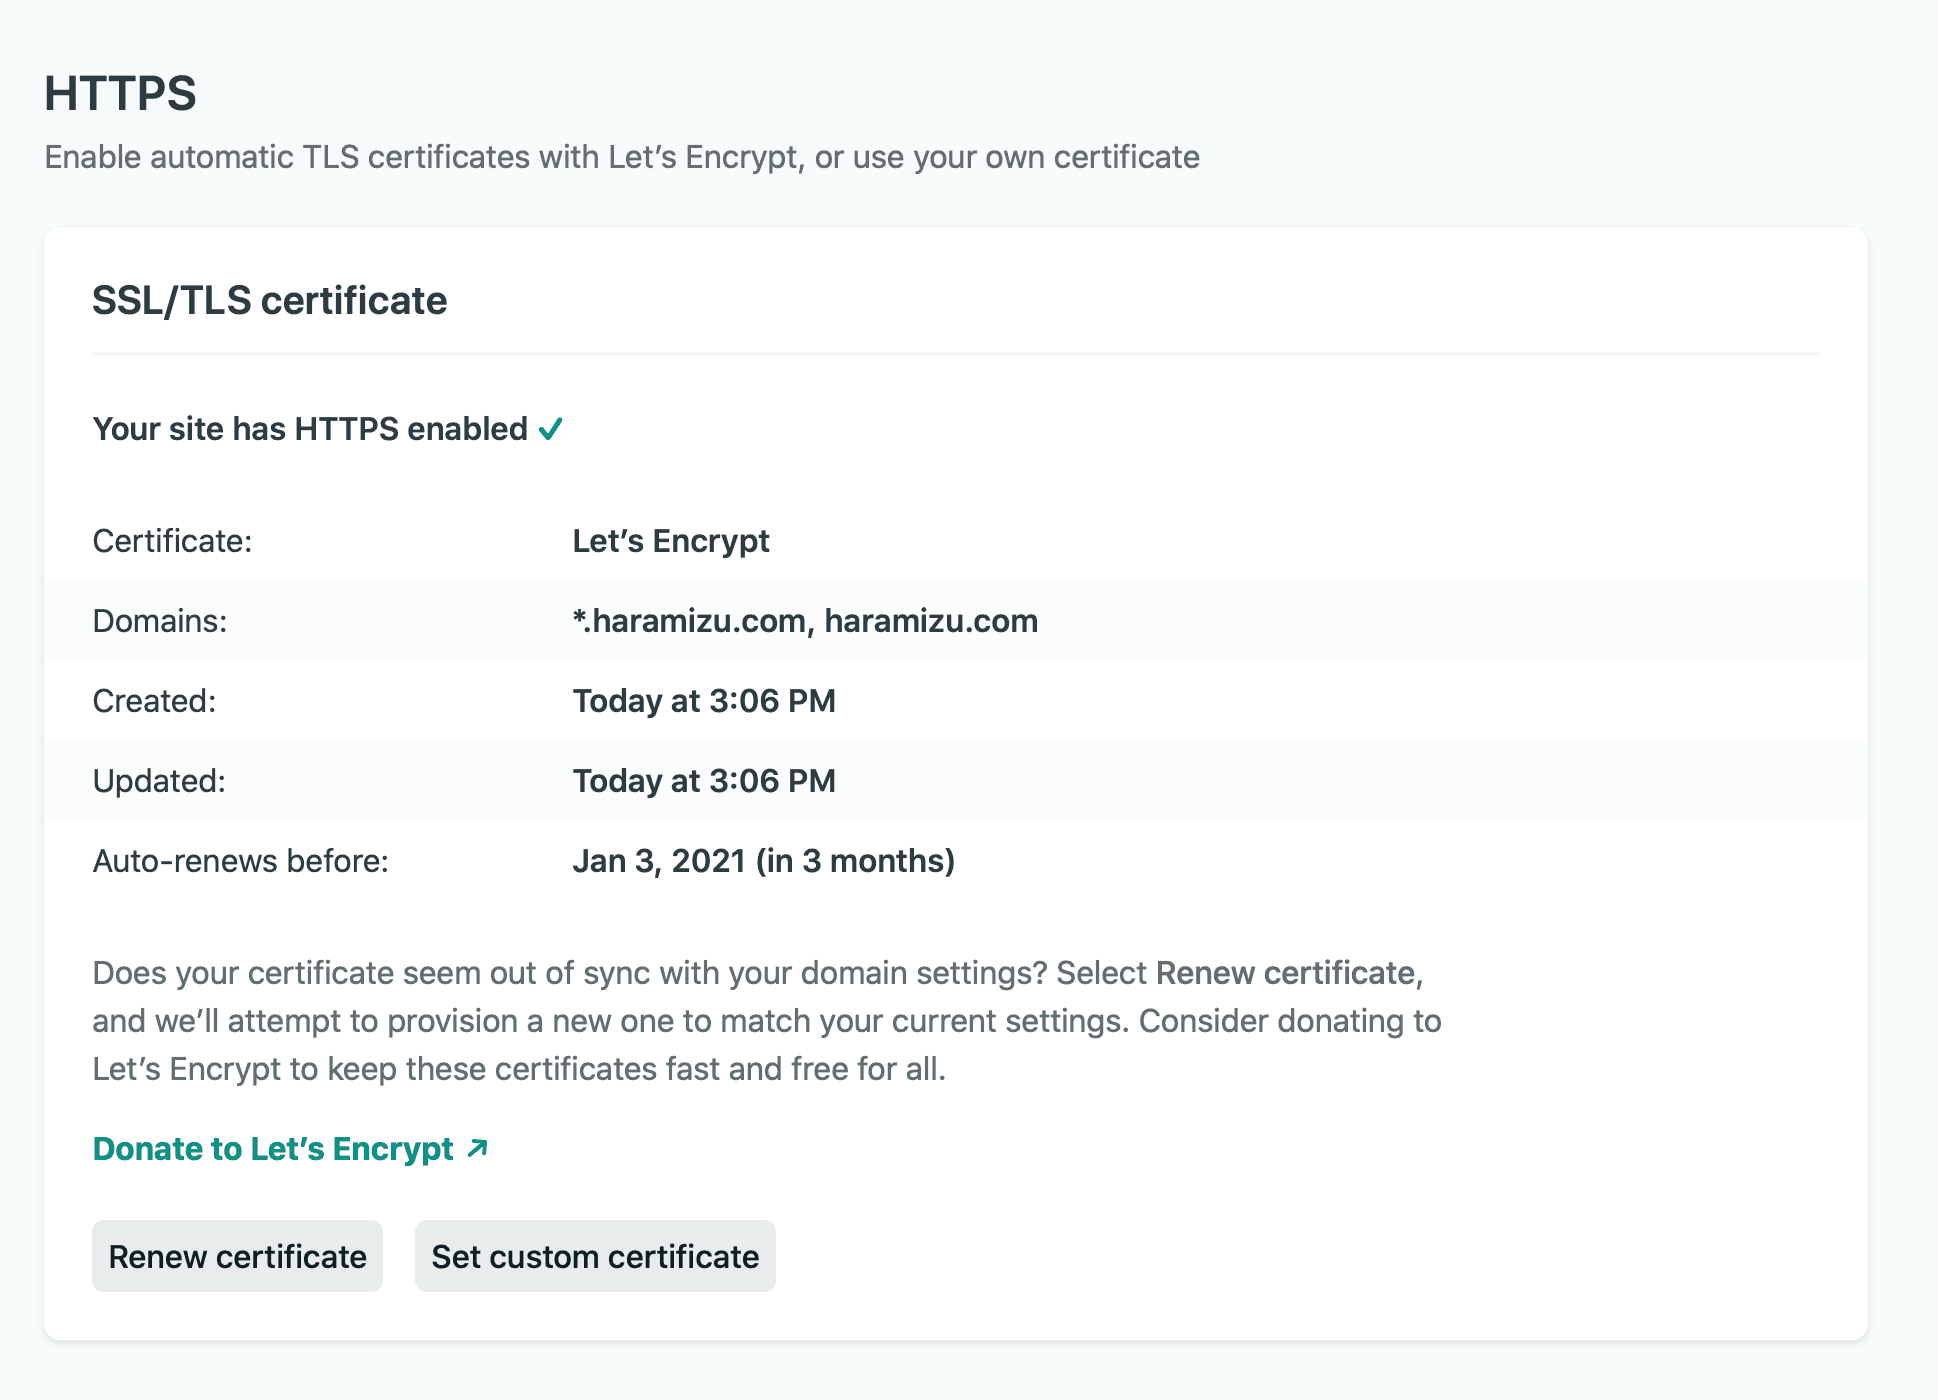
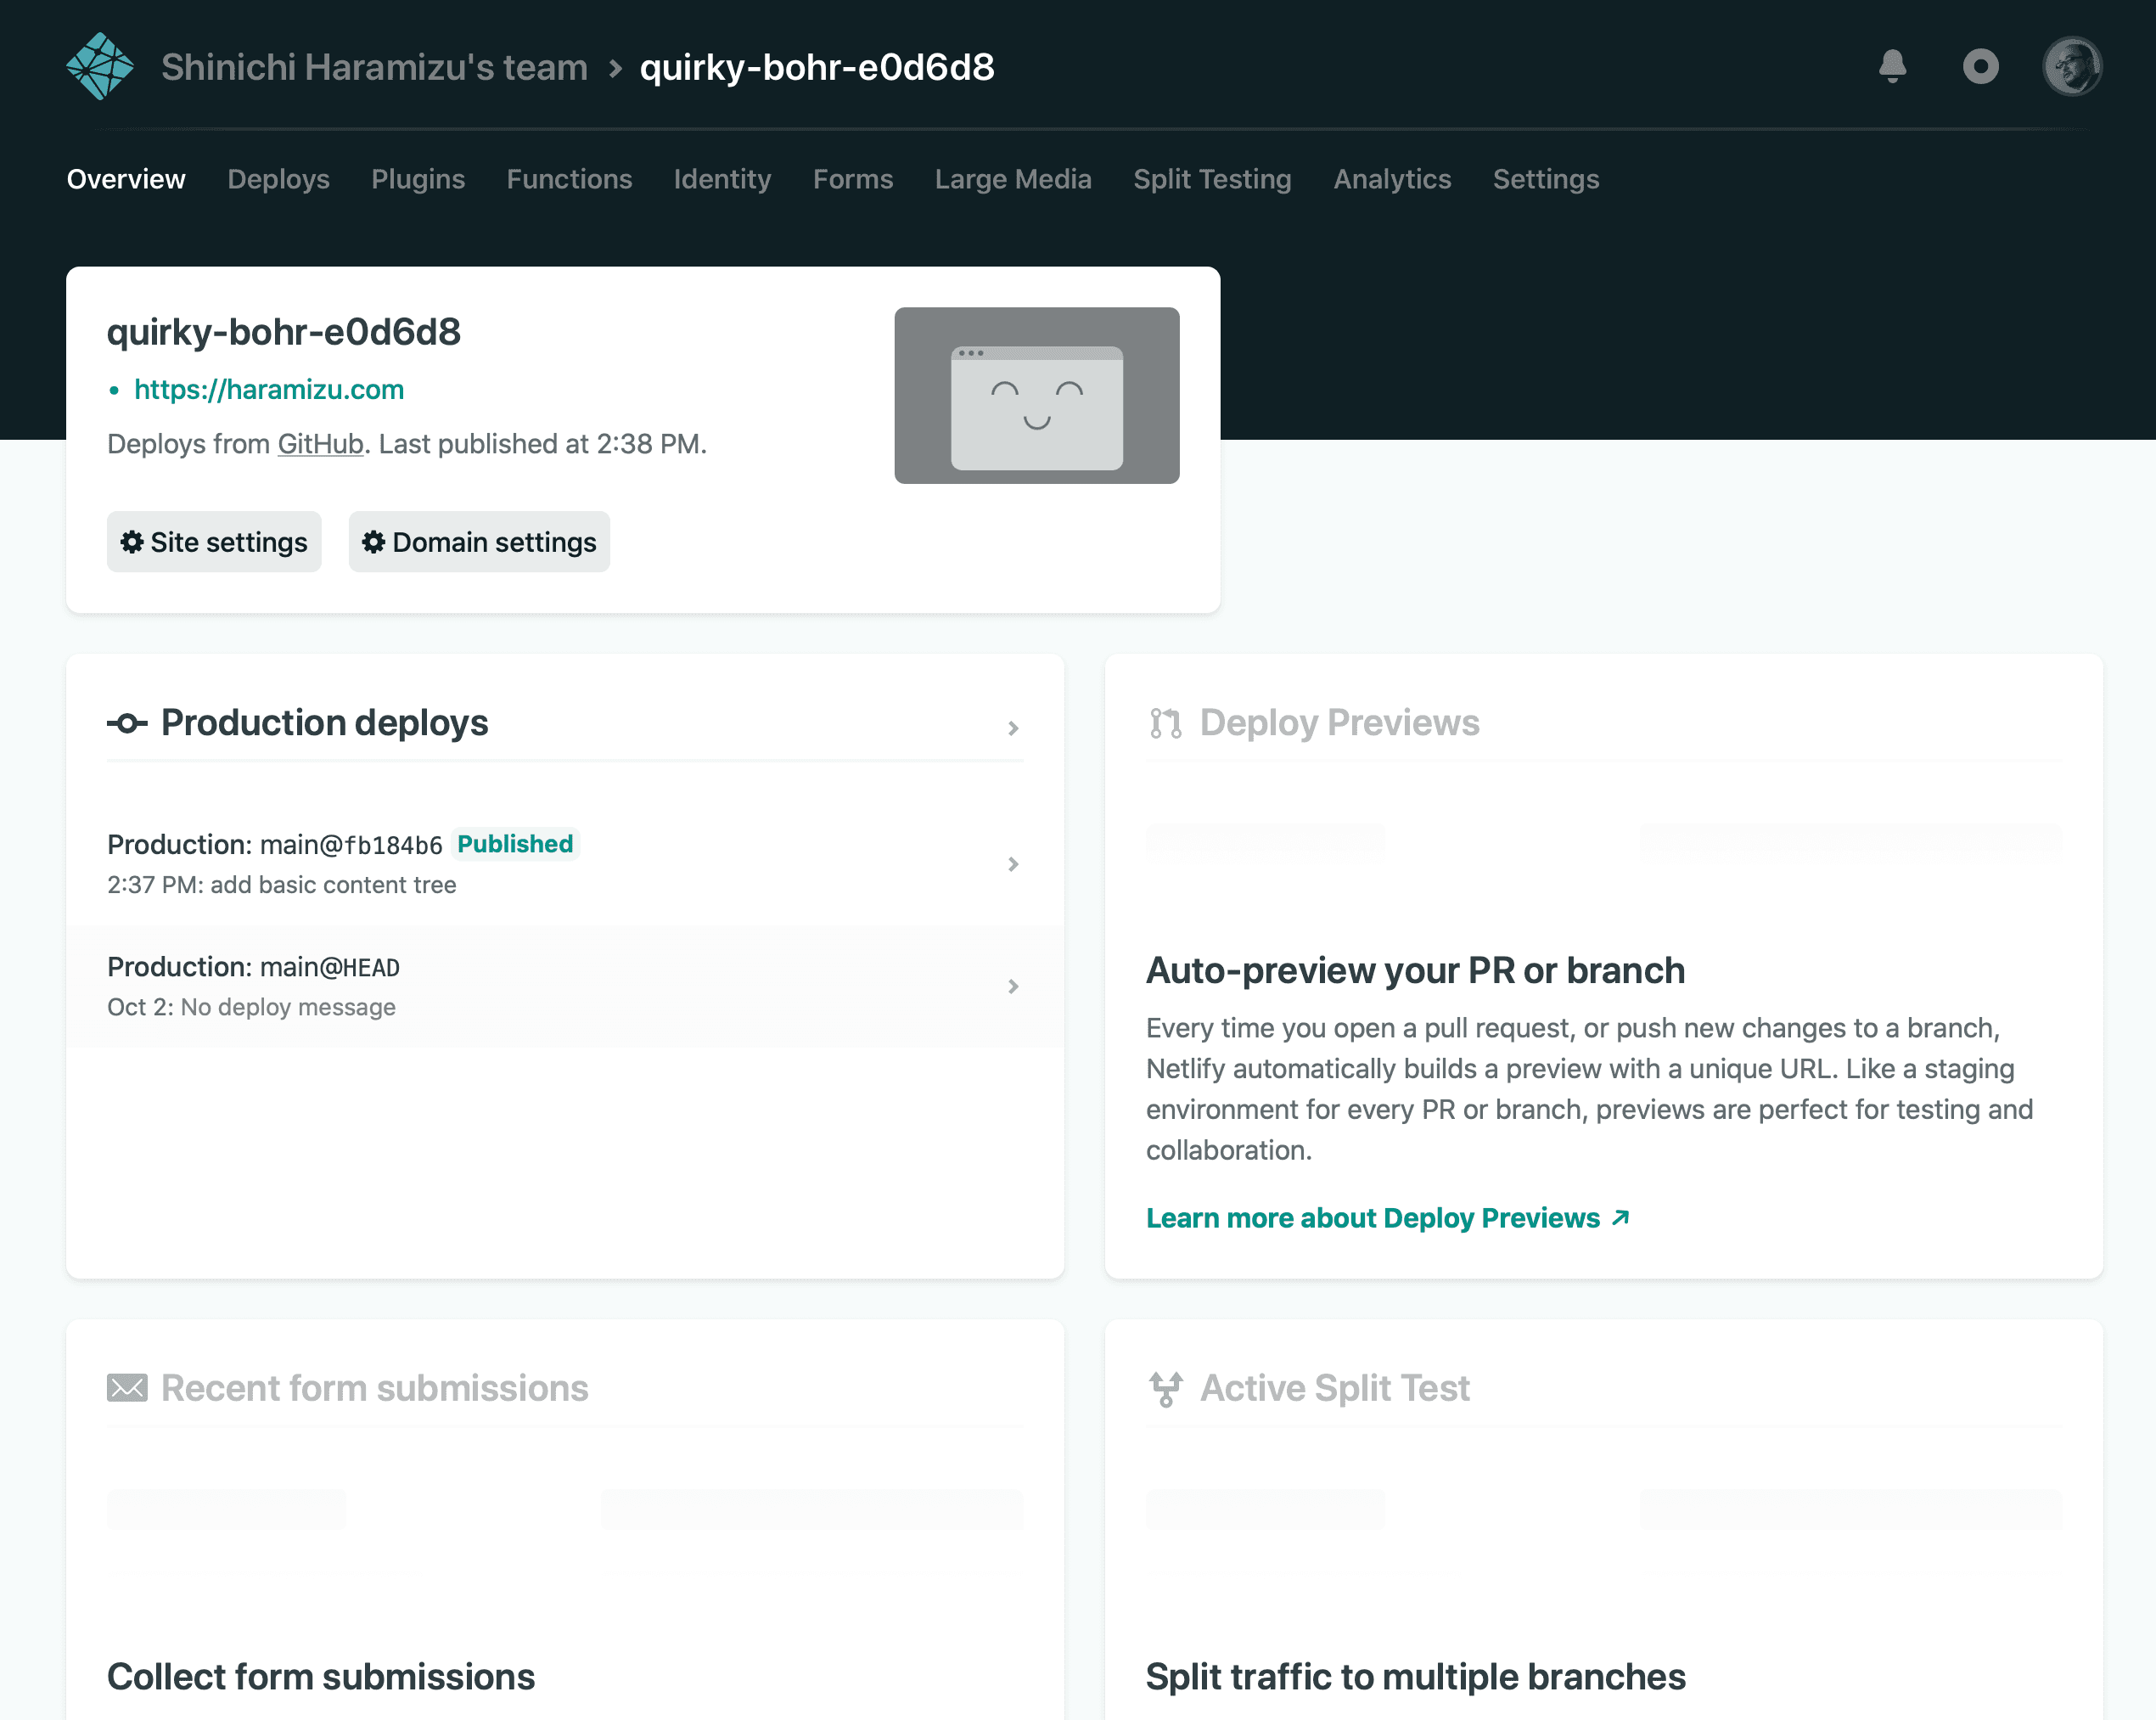
Once the certificate has been set up, the custom domain and HTTPS settings that were displayed on the Overview screen will disappear, and you will be able to access the items that you need for daily operations.
Summary
I was able to not only set up a site, but also set up my own domain. I had been using Wordpress for my blog, but the new version was not very user-friendly, and I had to pay for my own domain name, so I wondered what to do. I was wondering what to do with the new version, since I was not a winner and had to pay for my own domain. The fact that I can use my own domain name for free is really helpful for personal use.
Now I have completed the site setup and my own domain name. Now I would like to continue with the staging server settings.