In a previous article, we introduced the procedure for setting up a Sitecore demo environment, "Running the Sitecore Demo Platform". In this article, we will introduce the steps to set up the Japanese environment. The target version is 10.1.
Add Japanese language resources
The first step is to add a definition for Japanese to the Core database in order to add resources for the administration screen. The procedure for adding resources is the same for other languages, so please consider that the locale screen will change when adding other languages.
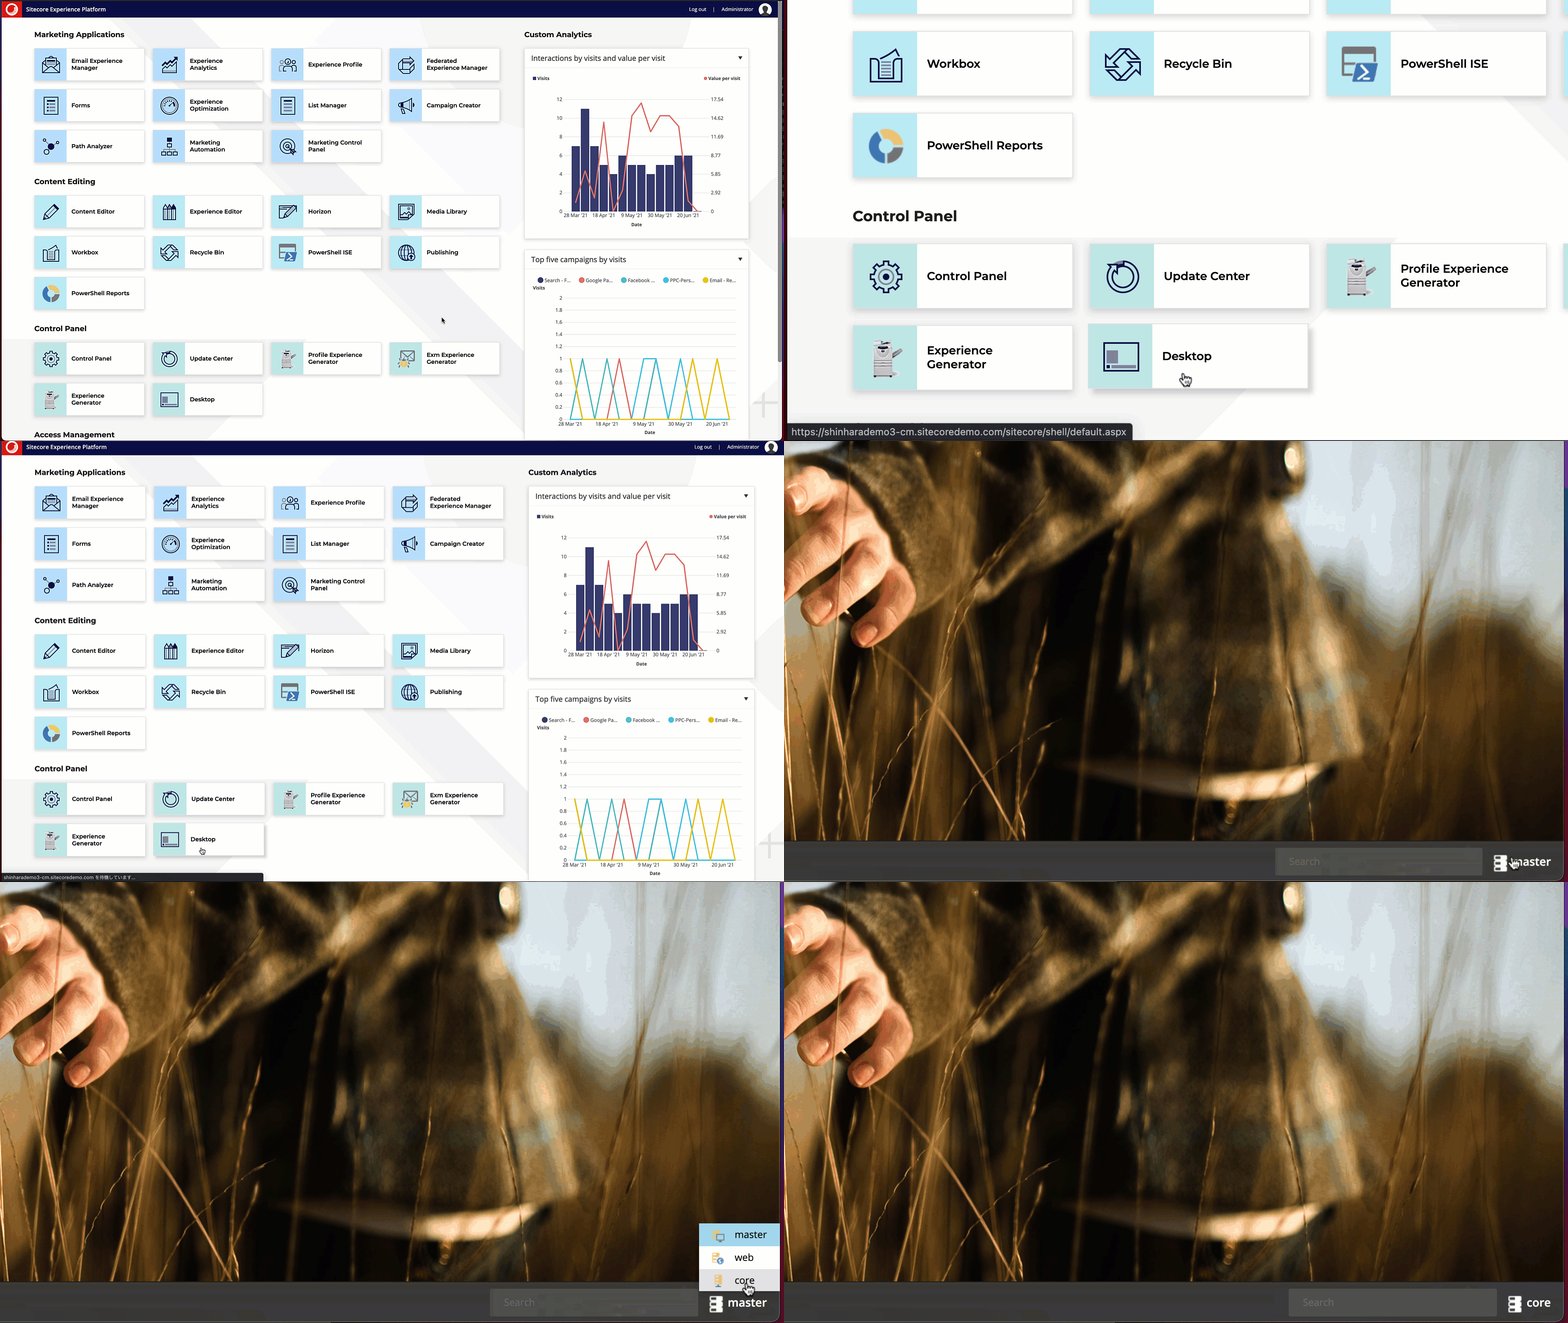
From the administration screen, open the desktop and select Core in the lower right-hand corner where you choose the database.
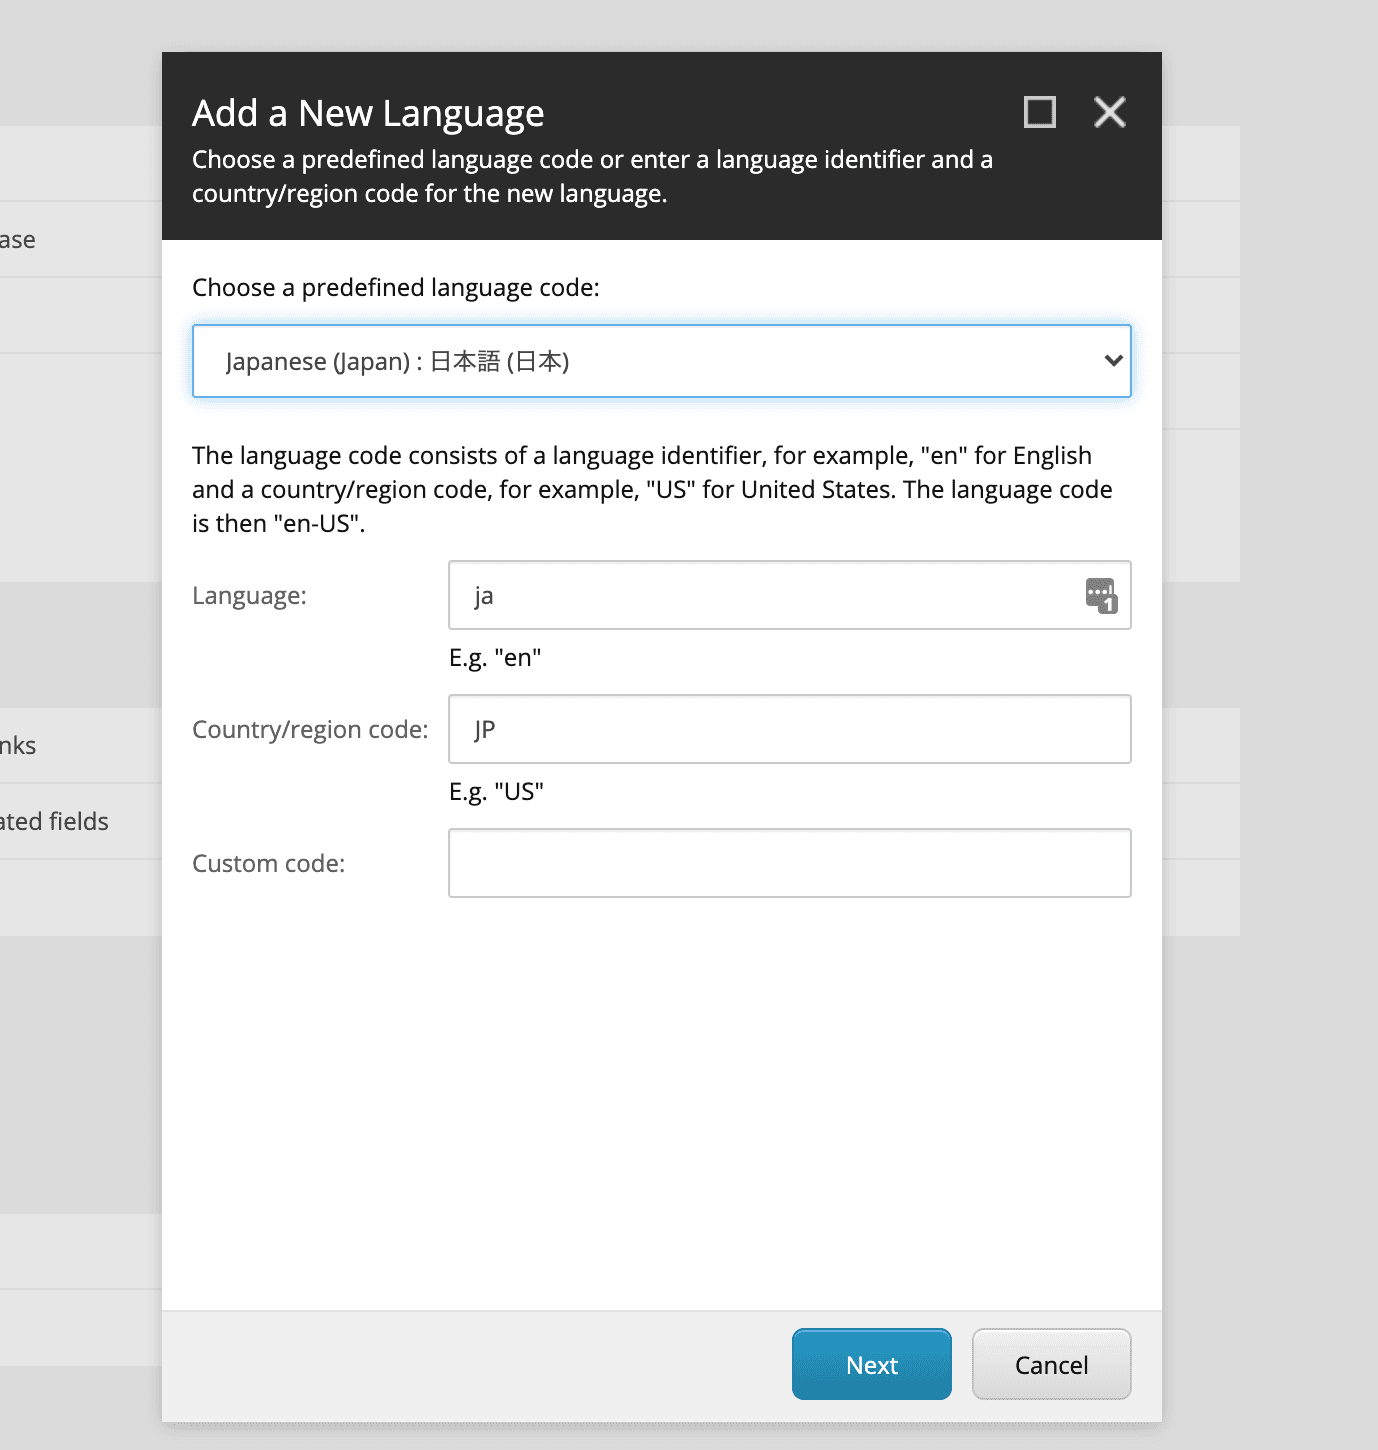
Next, open the Control Panel and add a language. Open the Control Panel and select Localization - Add a new language. Select Japanese (Japan) to complete the language addition process.
This completes the work on the Core database. Next, after adding the language, download the target Japanese resource from https://dev.sitecore.net. The file name this time is Sitecore 10.1.0 rev. 005207 (en-JP).zip. Select Localization - Import languages from the control panel.
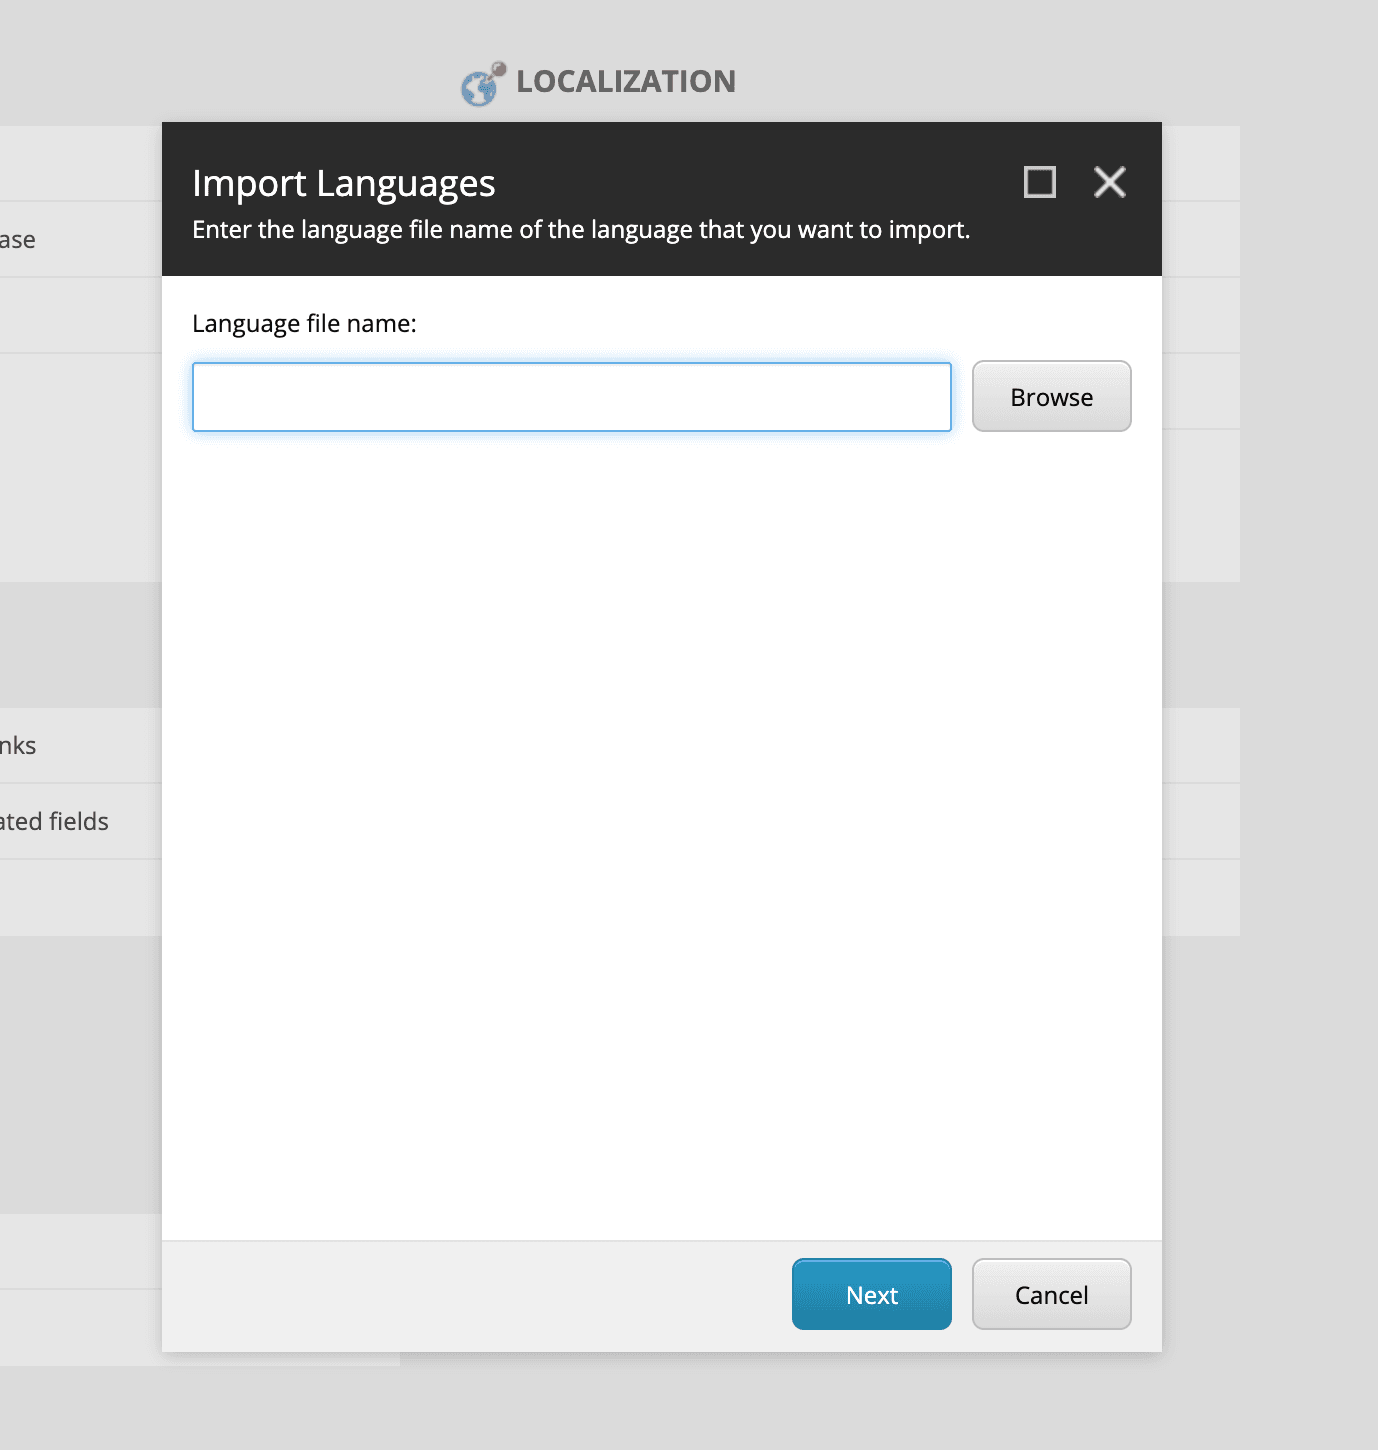
Next, upload the file, but the procedure is different from 10.1. Select App_Data as the upload destination.
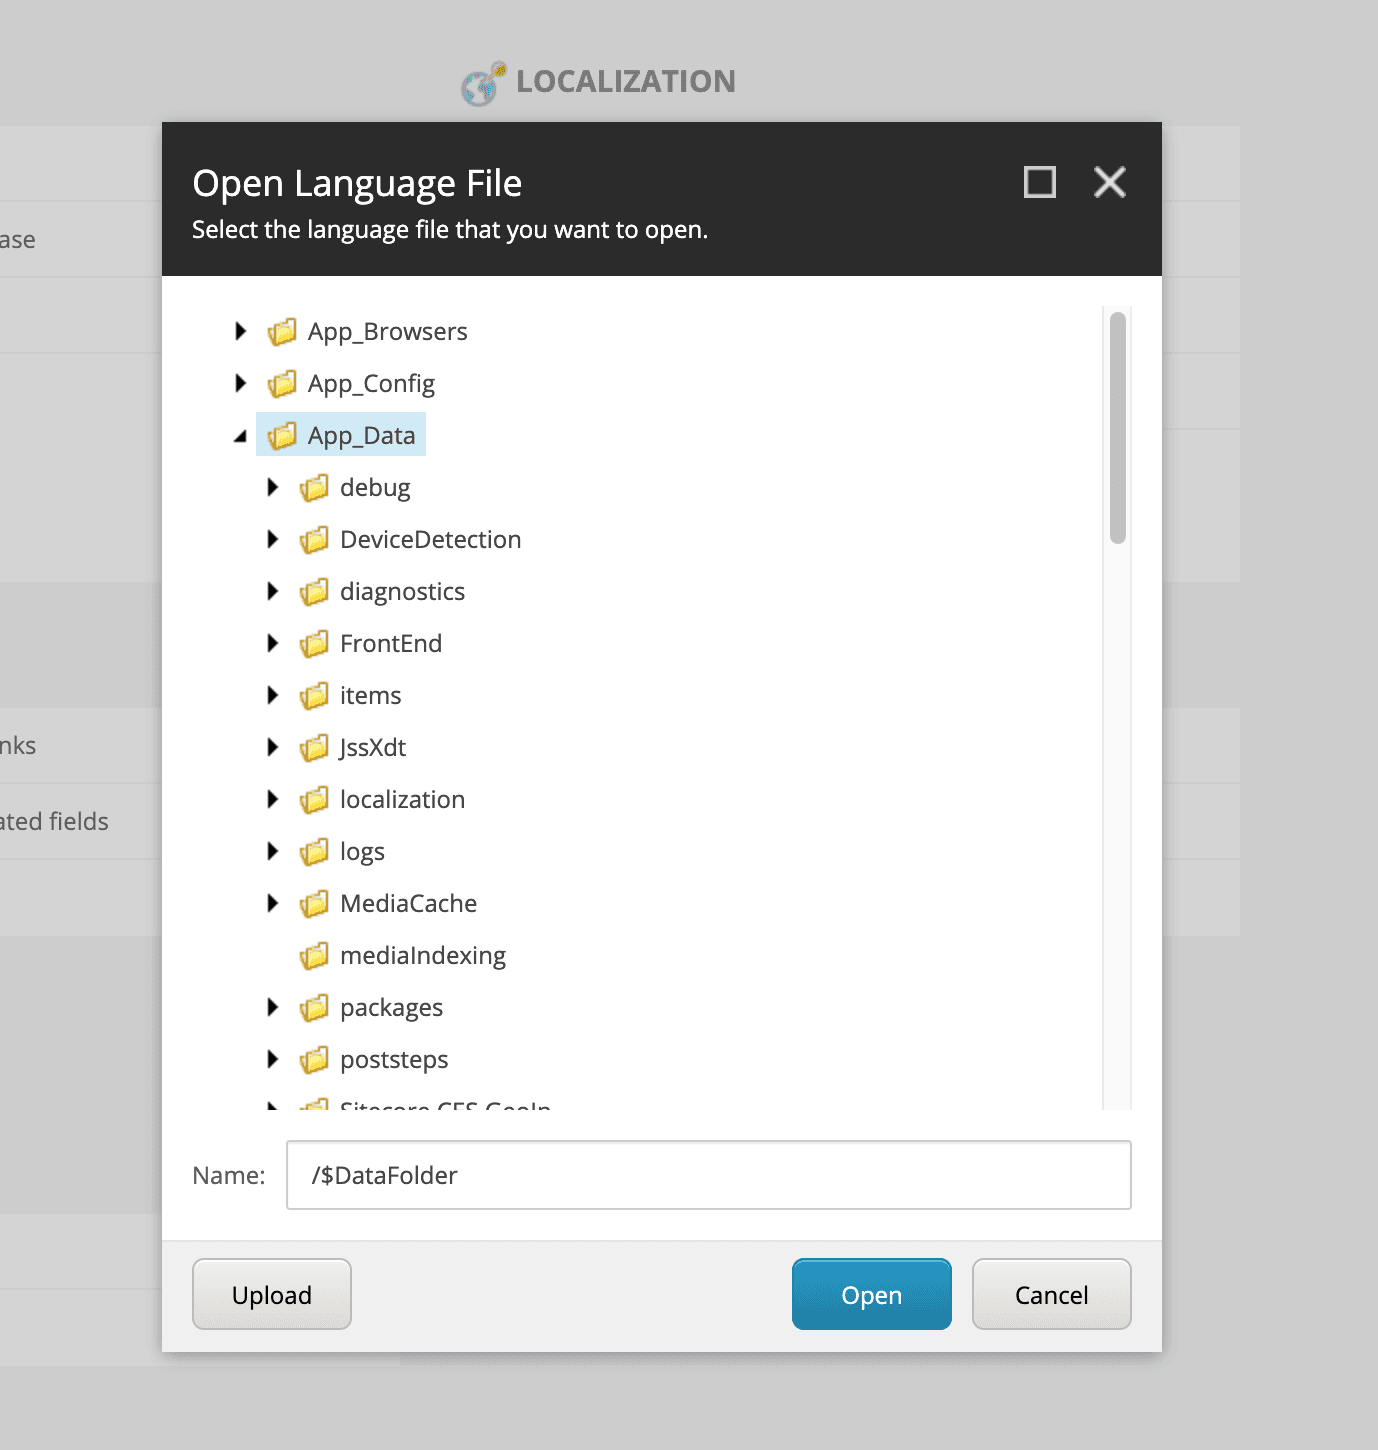
Click on the Upload button.
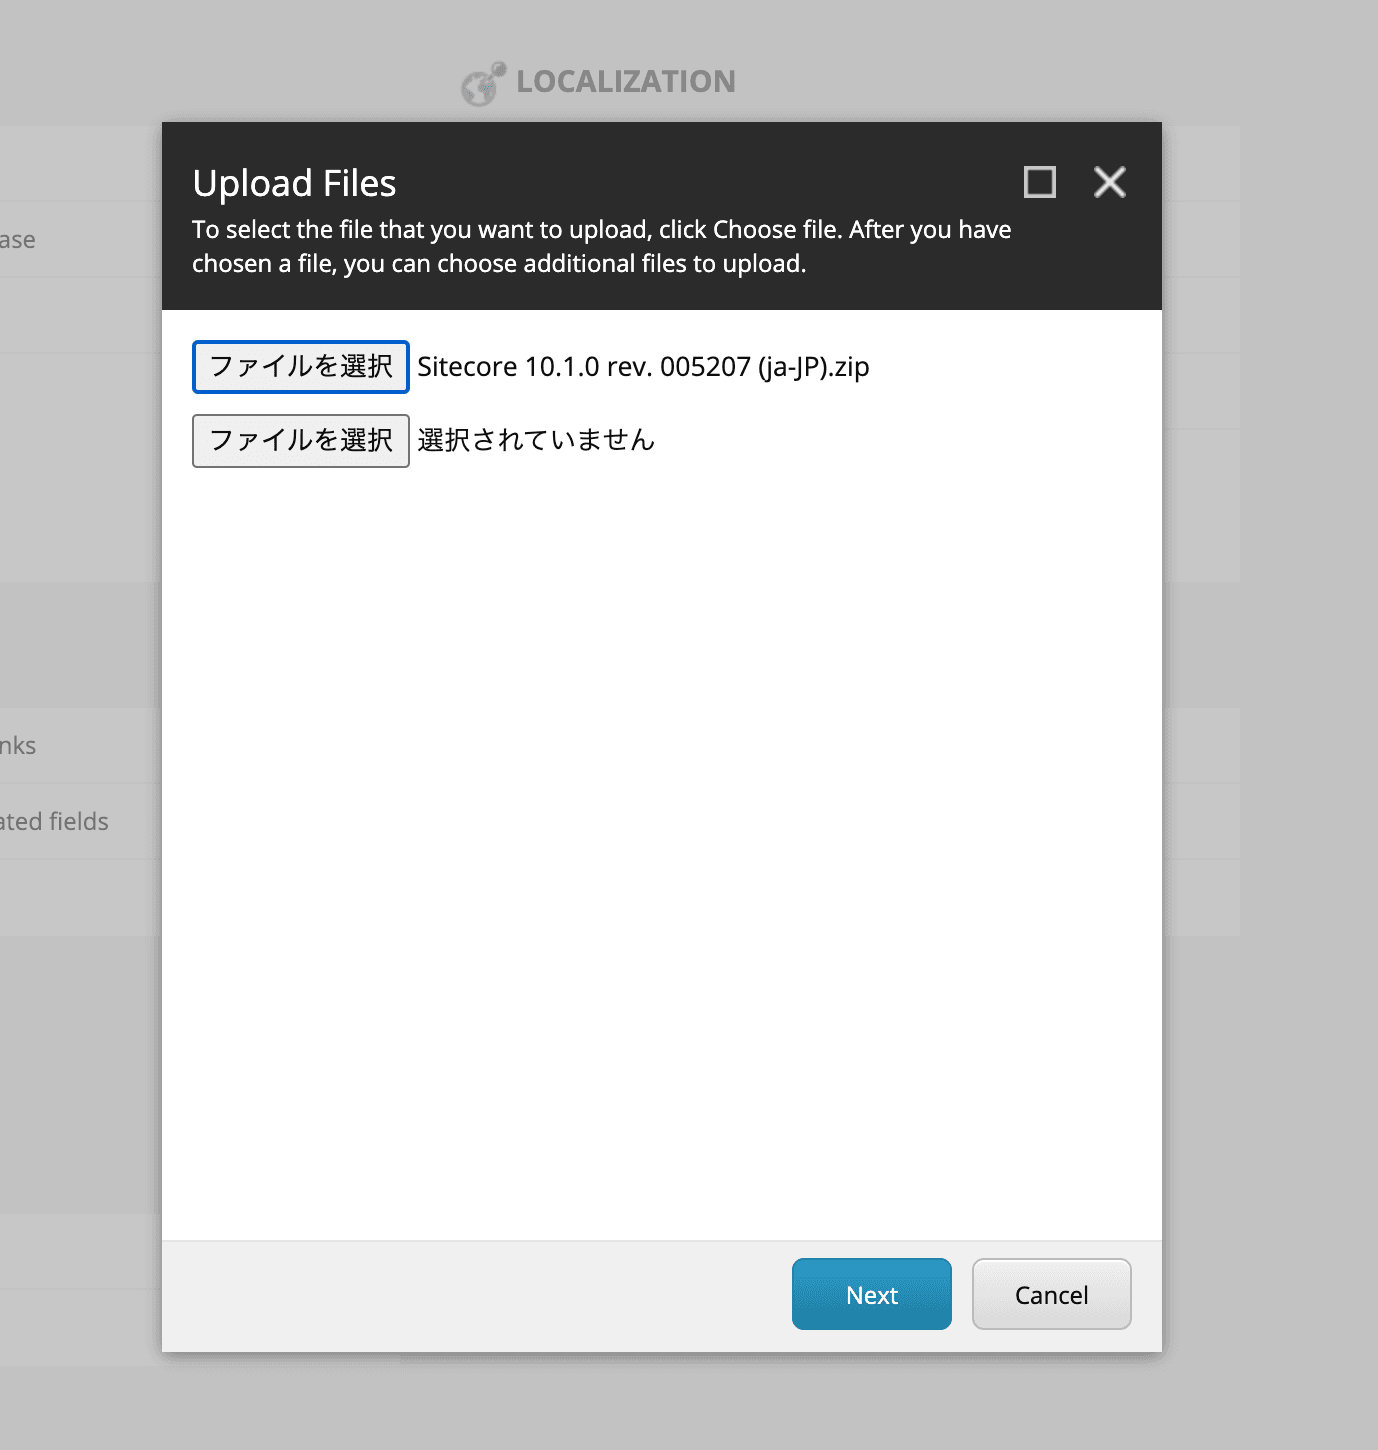
Check "Extract Zip on server during upload.
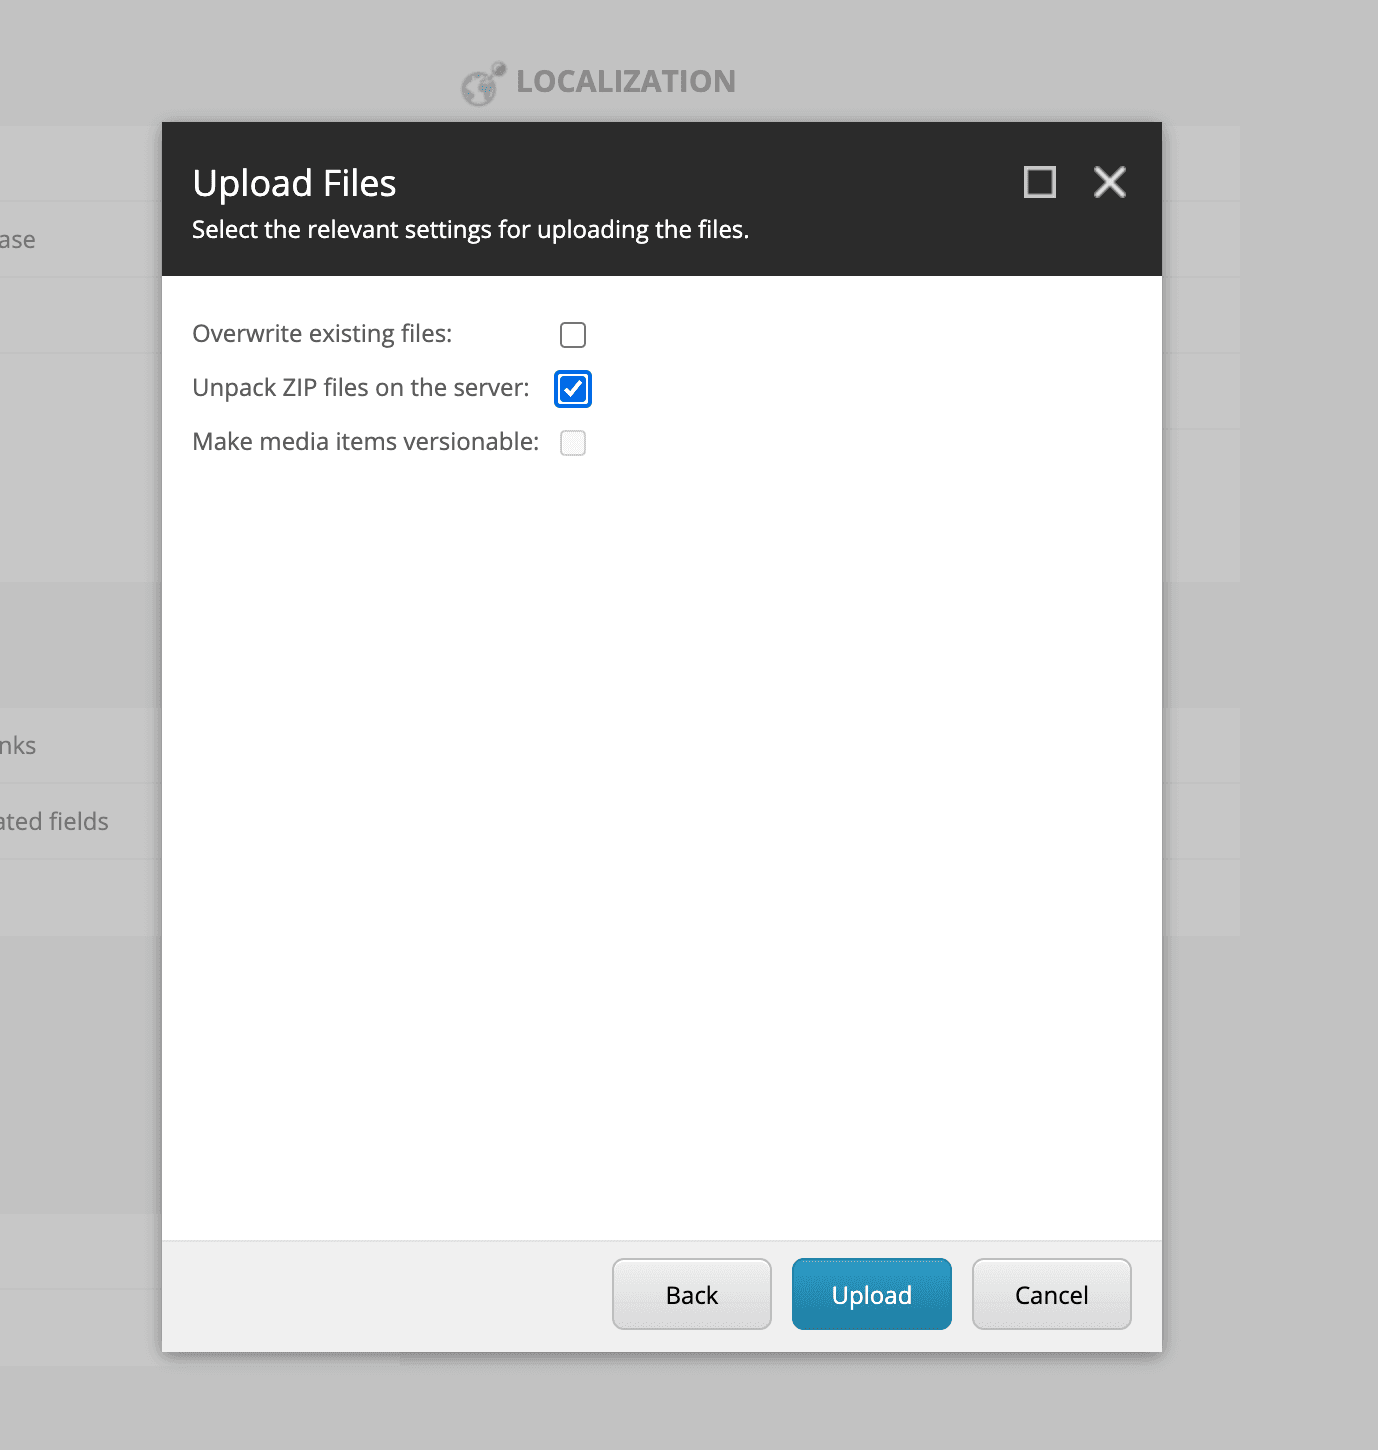
If you look in the folder to see if it has been extracted correctly, you will see that texts-ja-JP.xml has been added under app_data¥localization. This completes the import, so close the dialog.
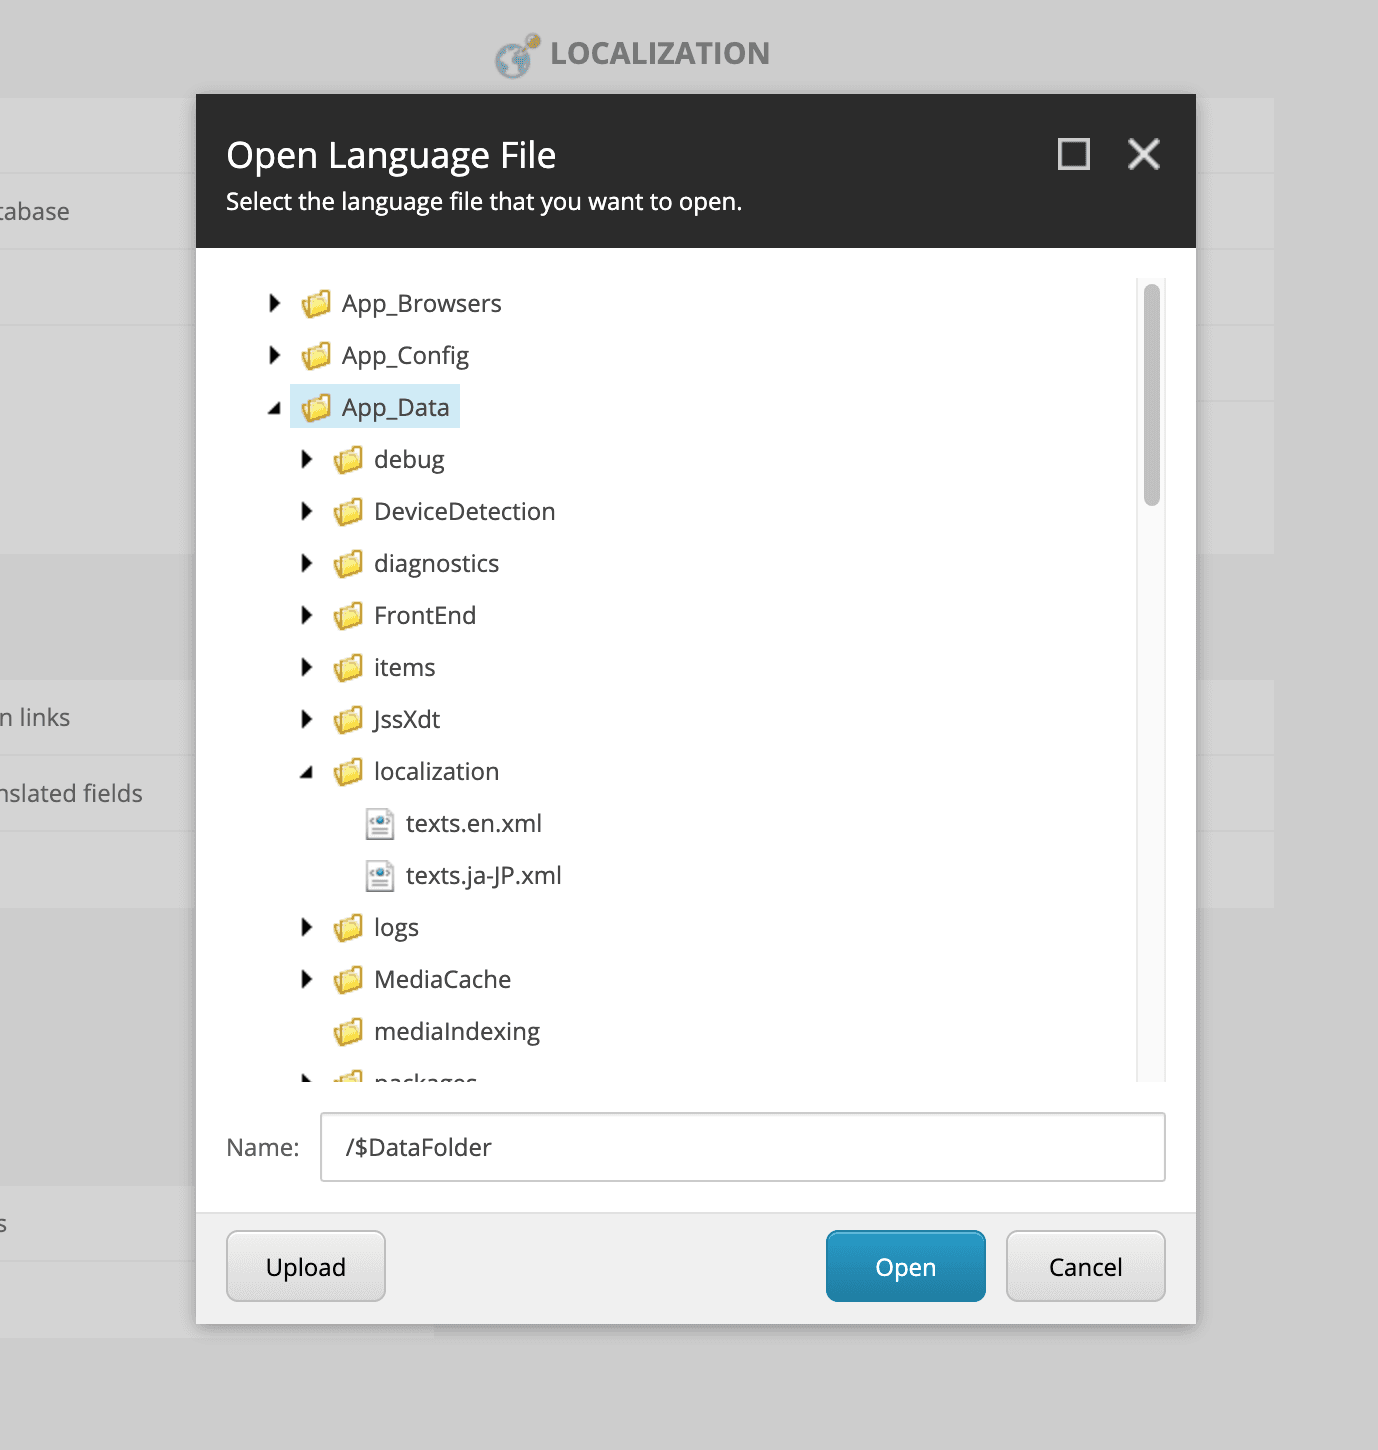
To activate the uploaded resources, open PowerShell ISE and execute the following command to restart the application. You will be prompted for a password to complete the process.
Restart-Application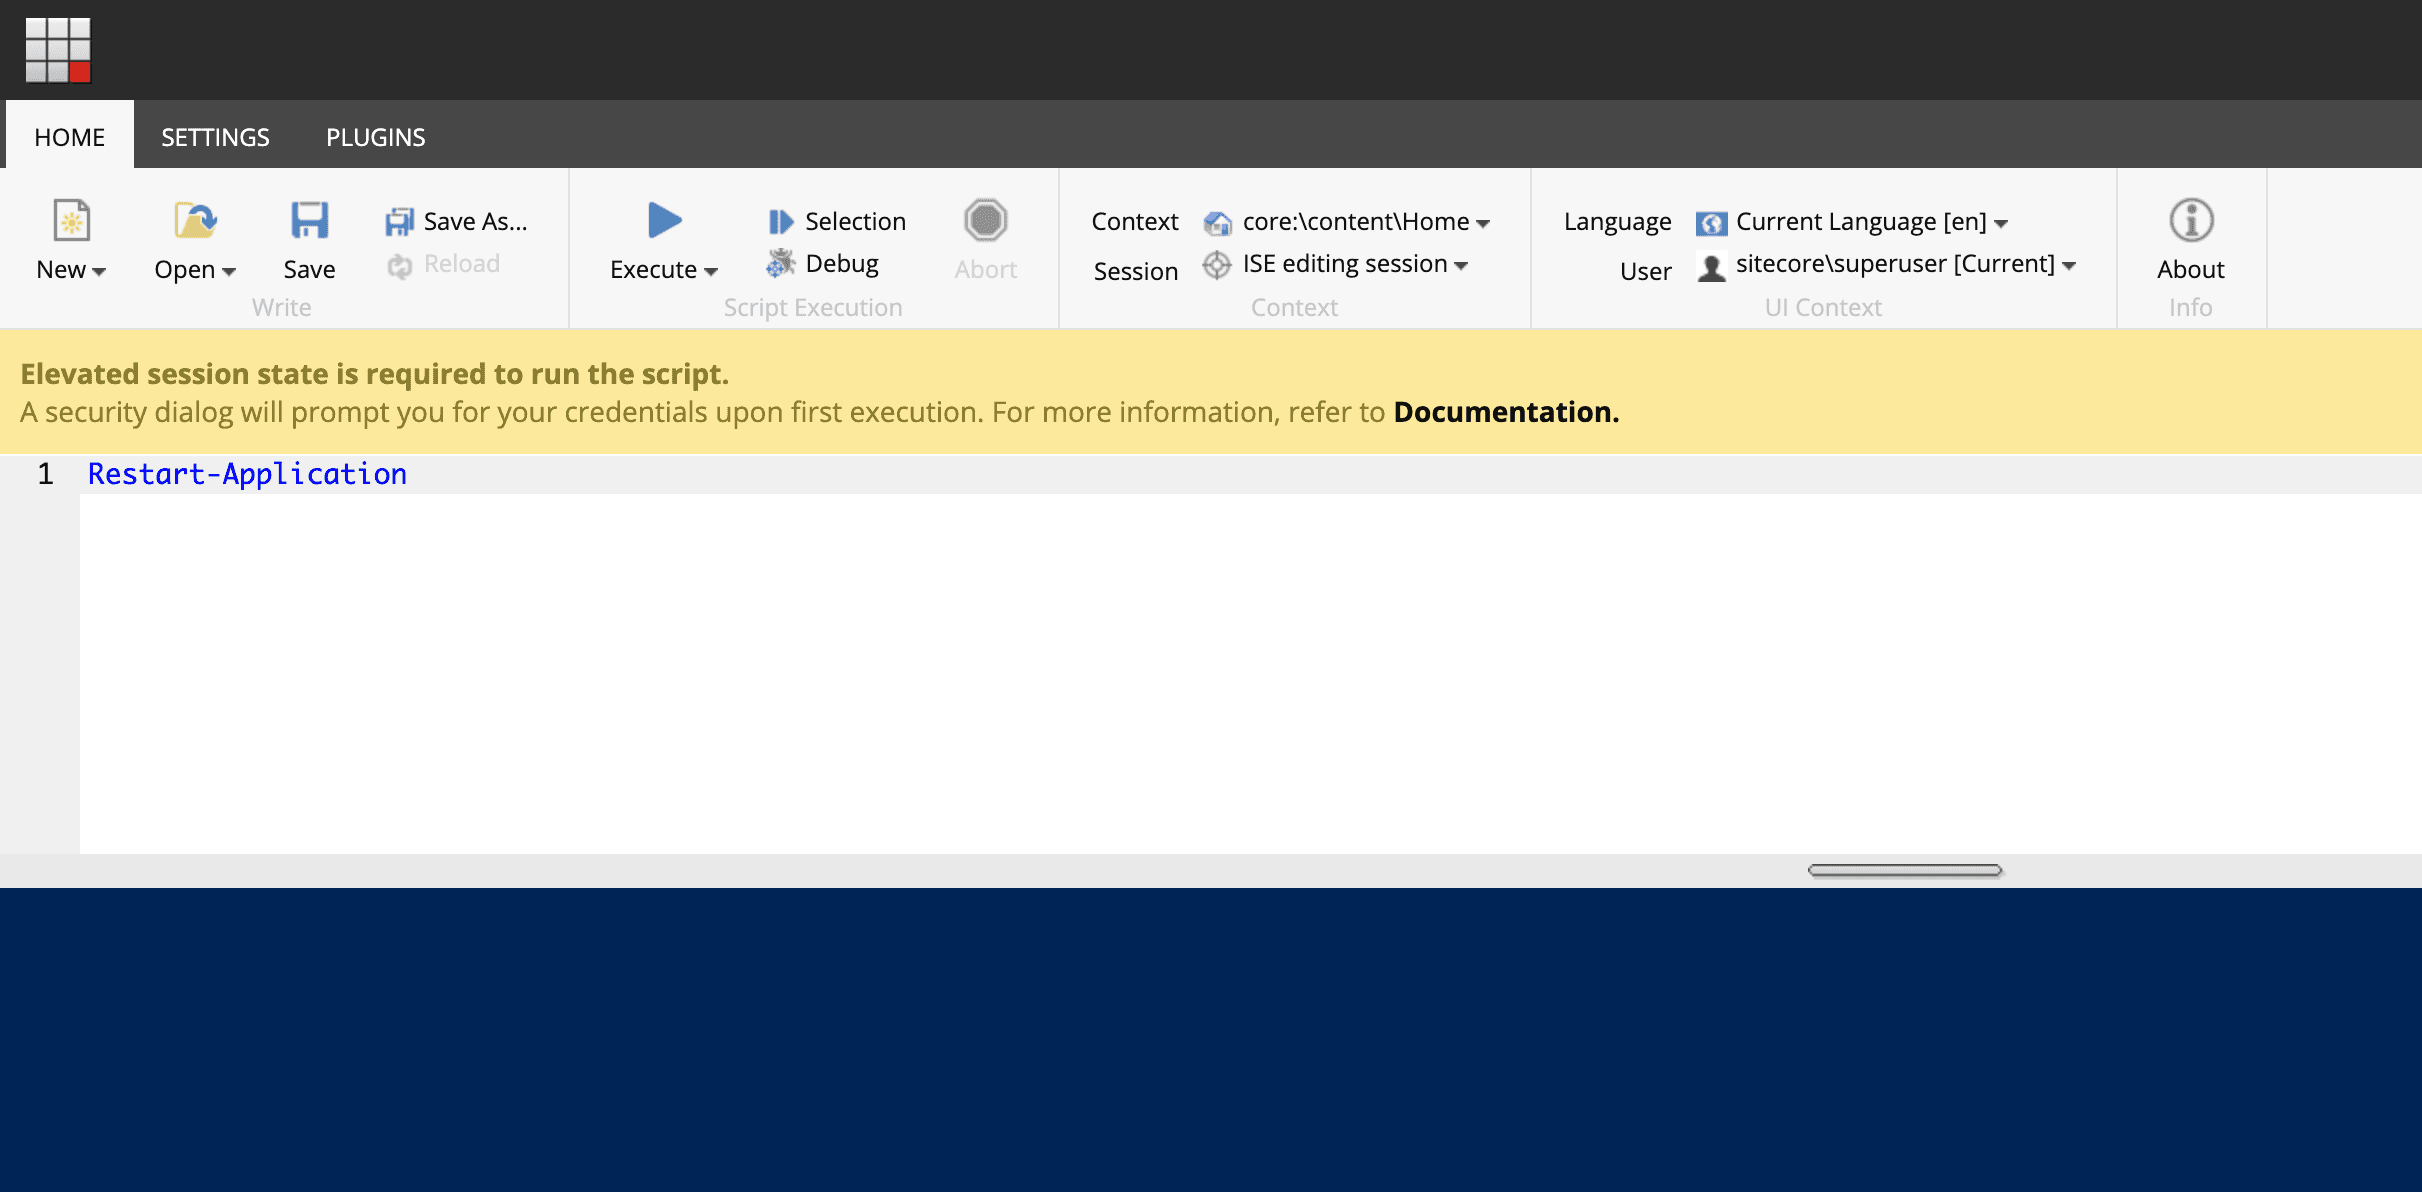
The import is now complete. Log out and back in, or open your desktop and switch from the Core database to the Master database to return to normal working mode.
Switch user display language
To switch the user's language, follow the steps below.
- Open the Controle Panel
- Open the Region and language options in My Settings
- Change the Display language to Japanese (Japan)
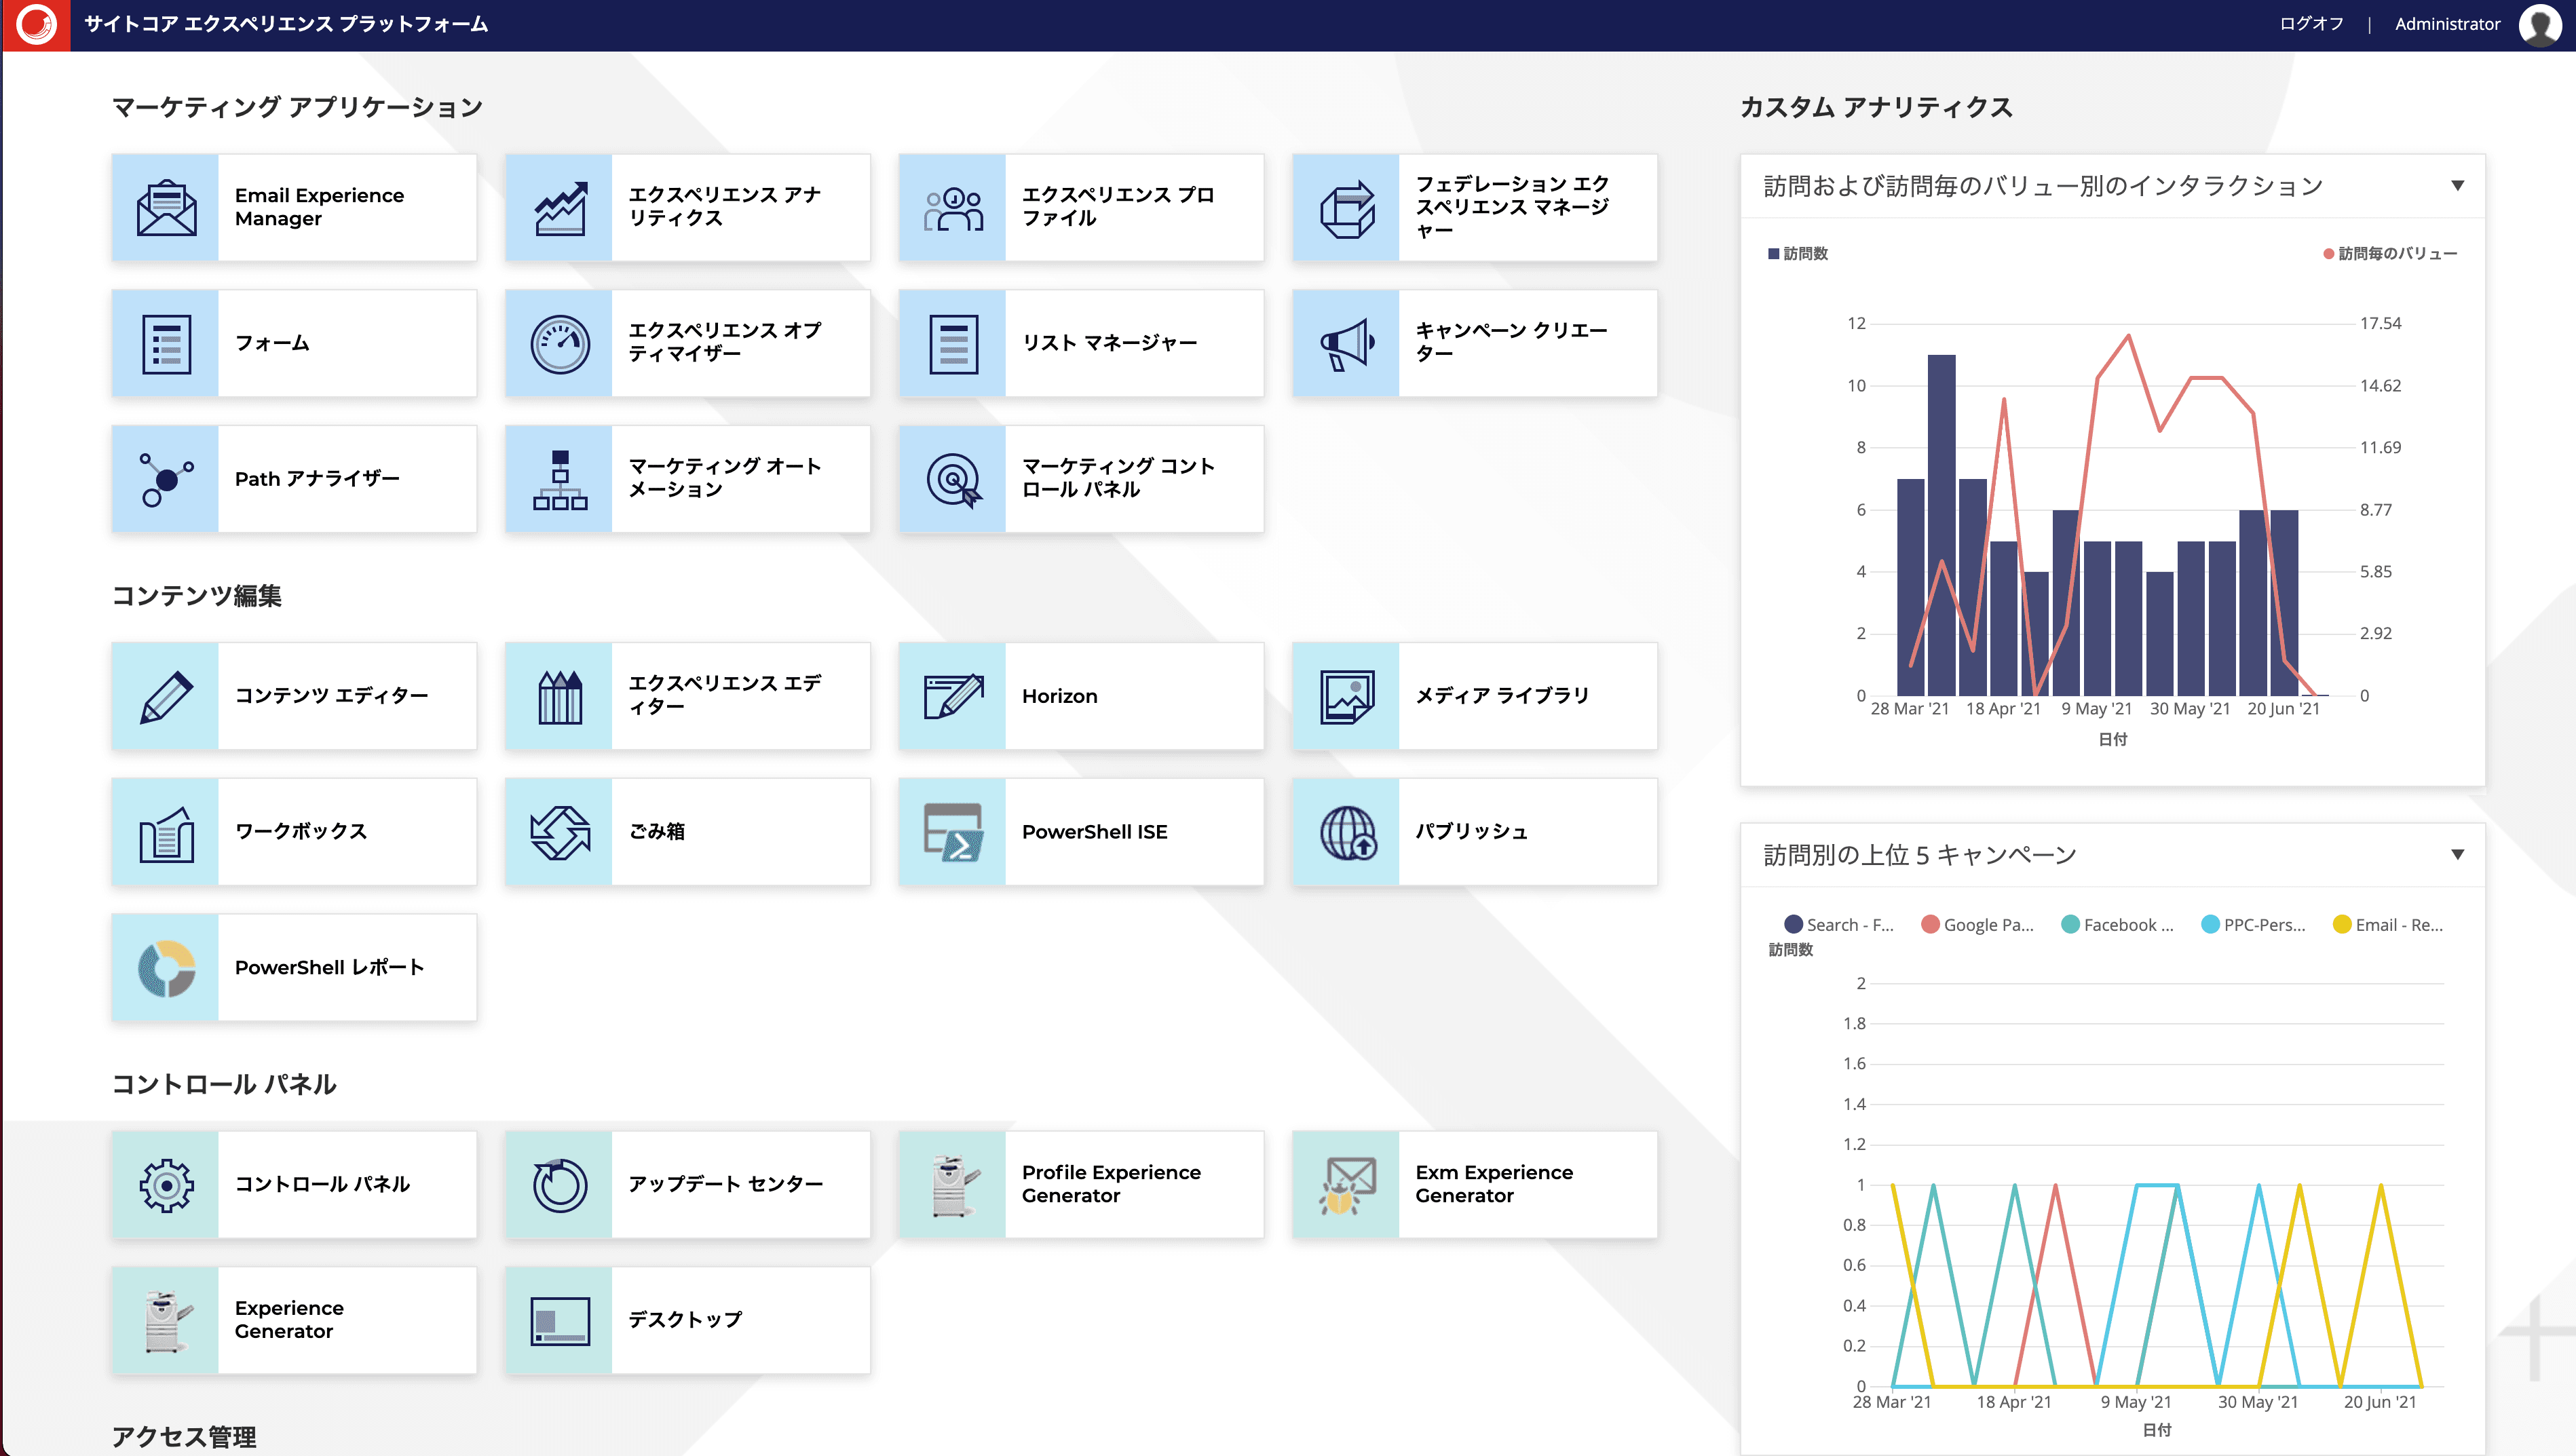
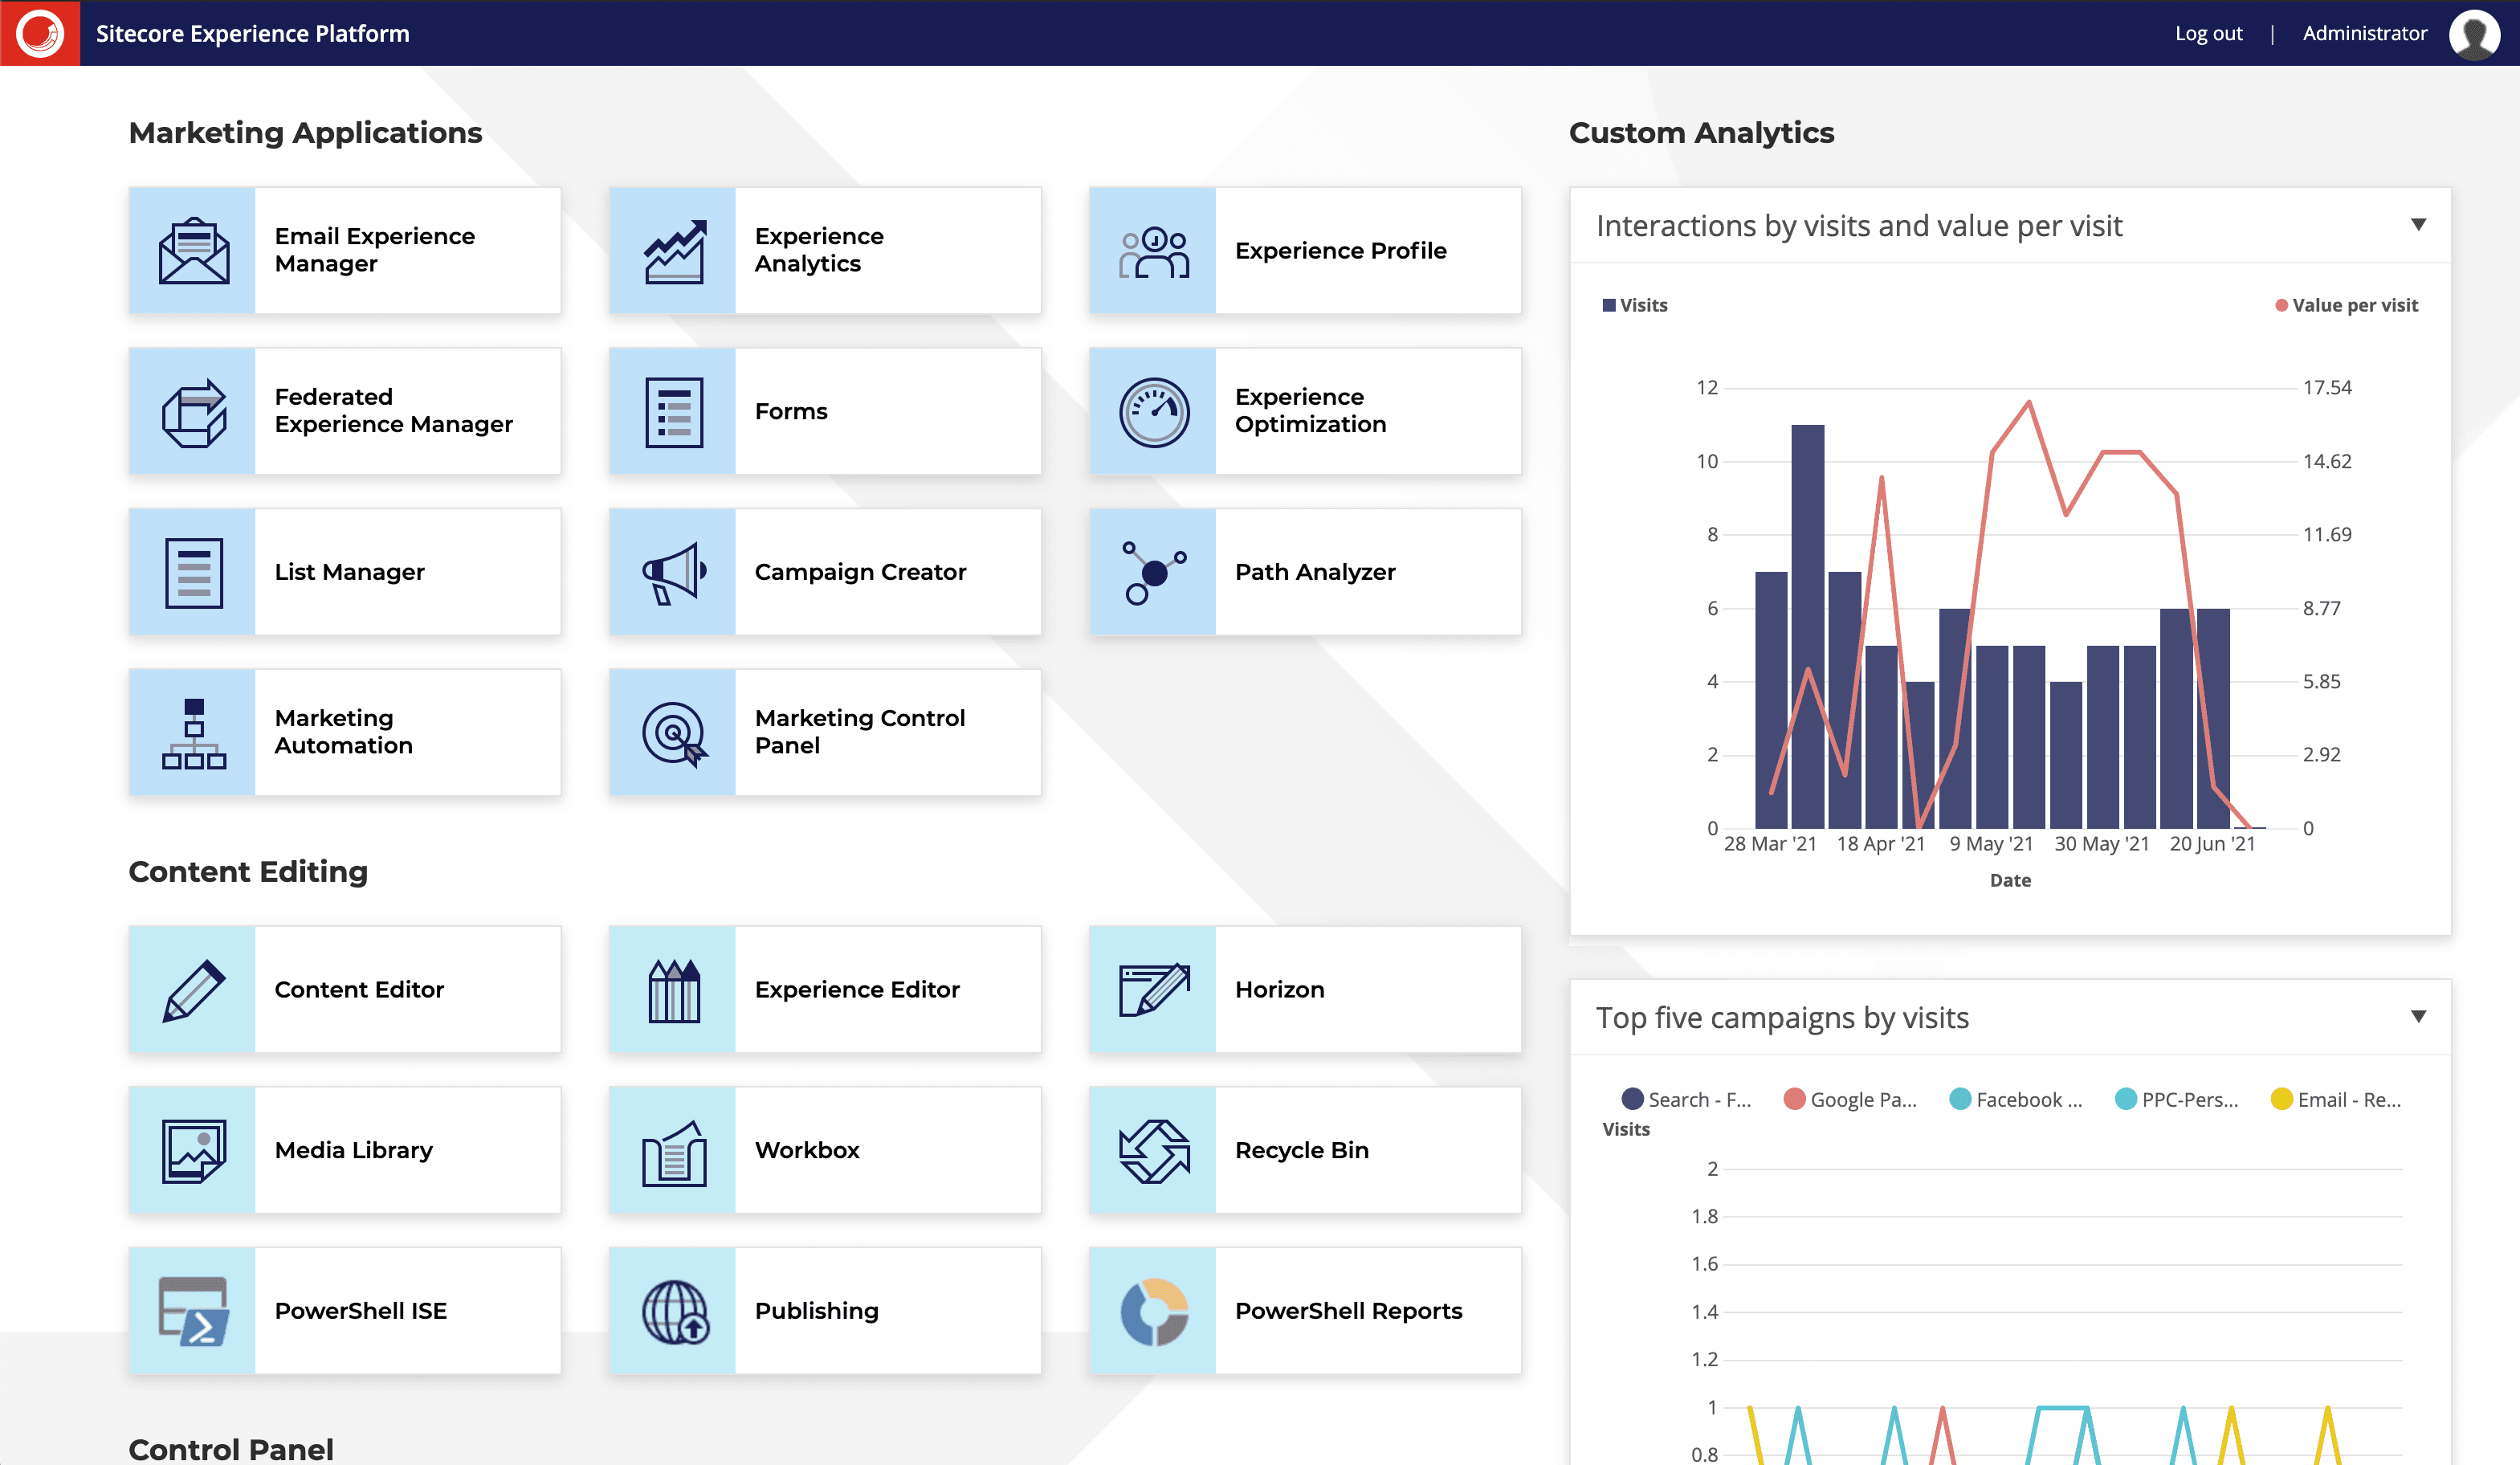
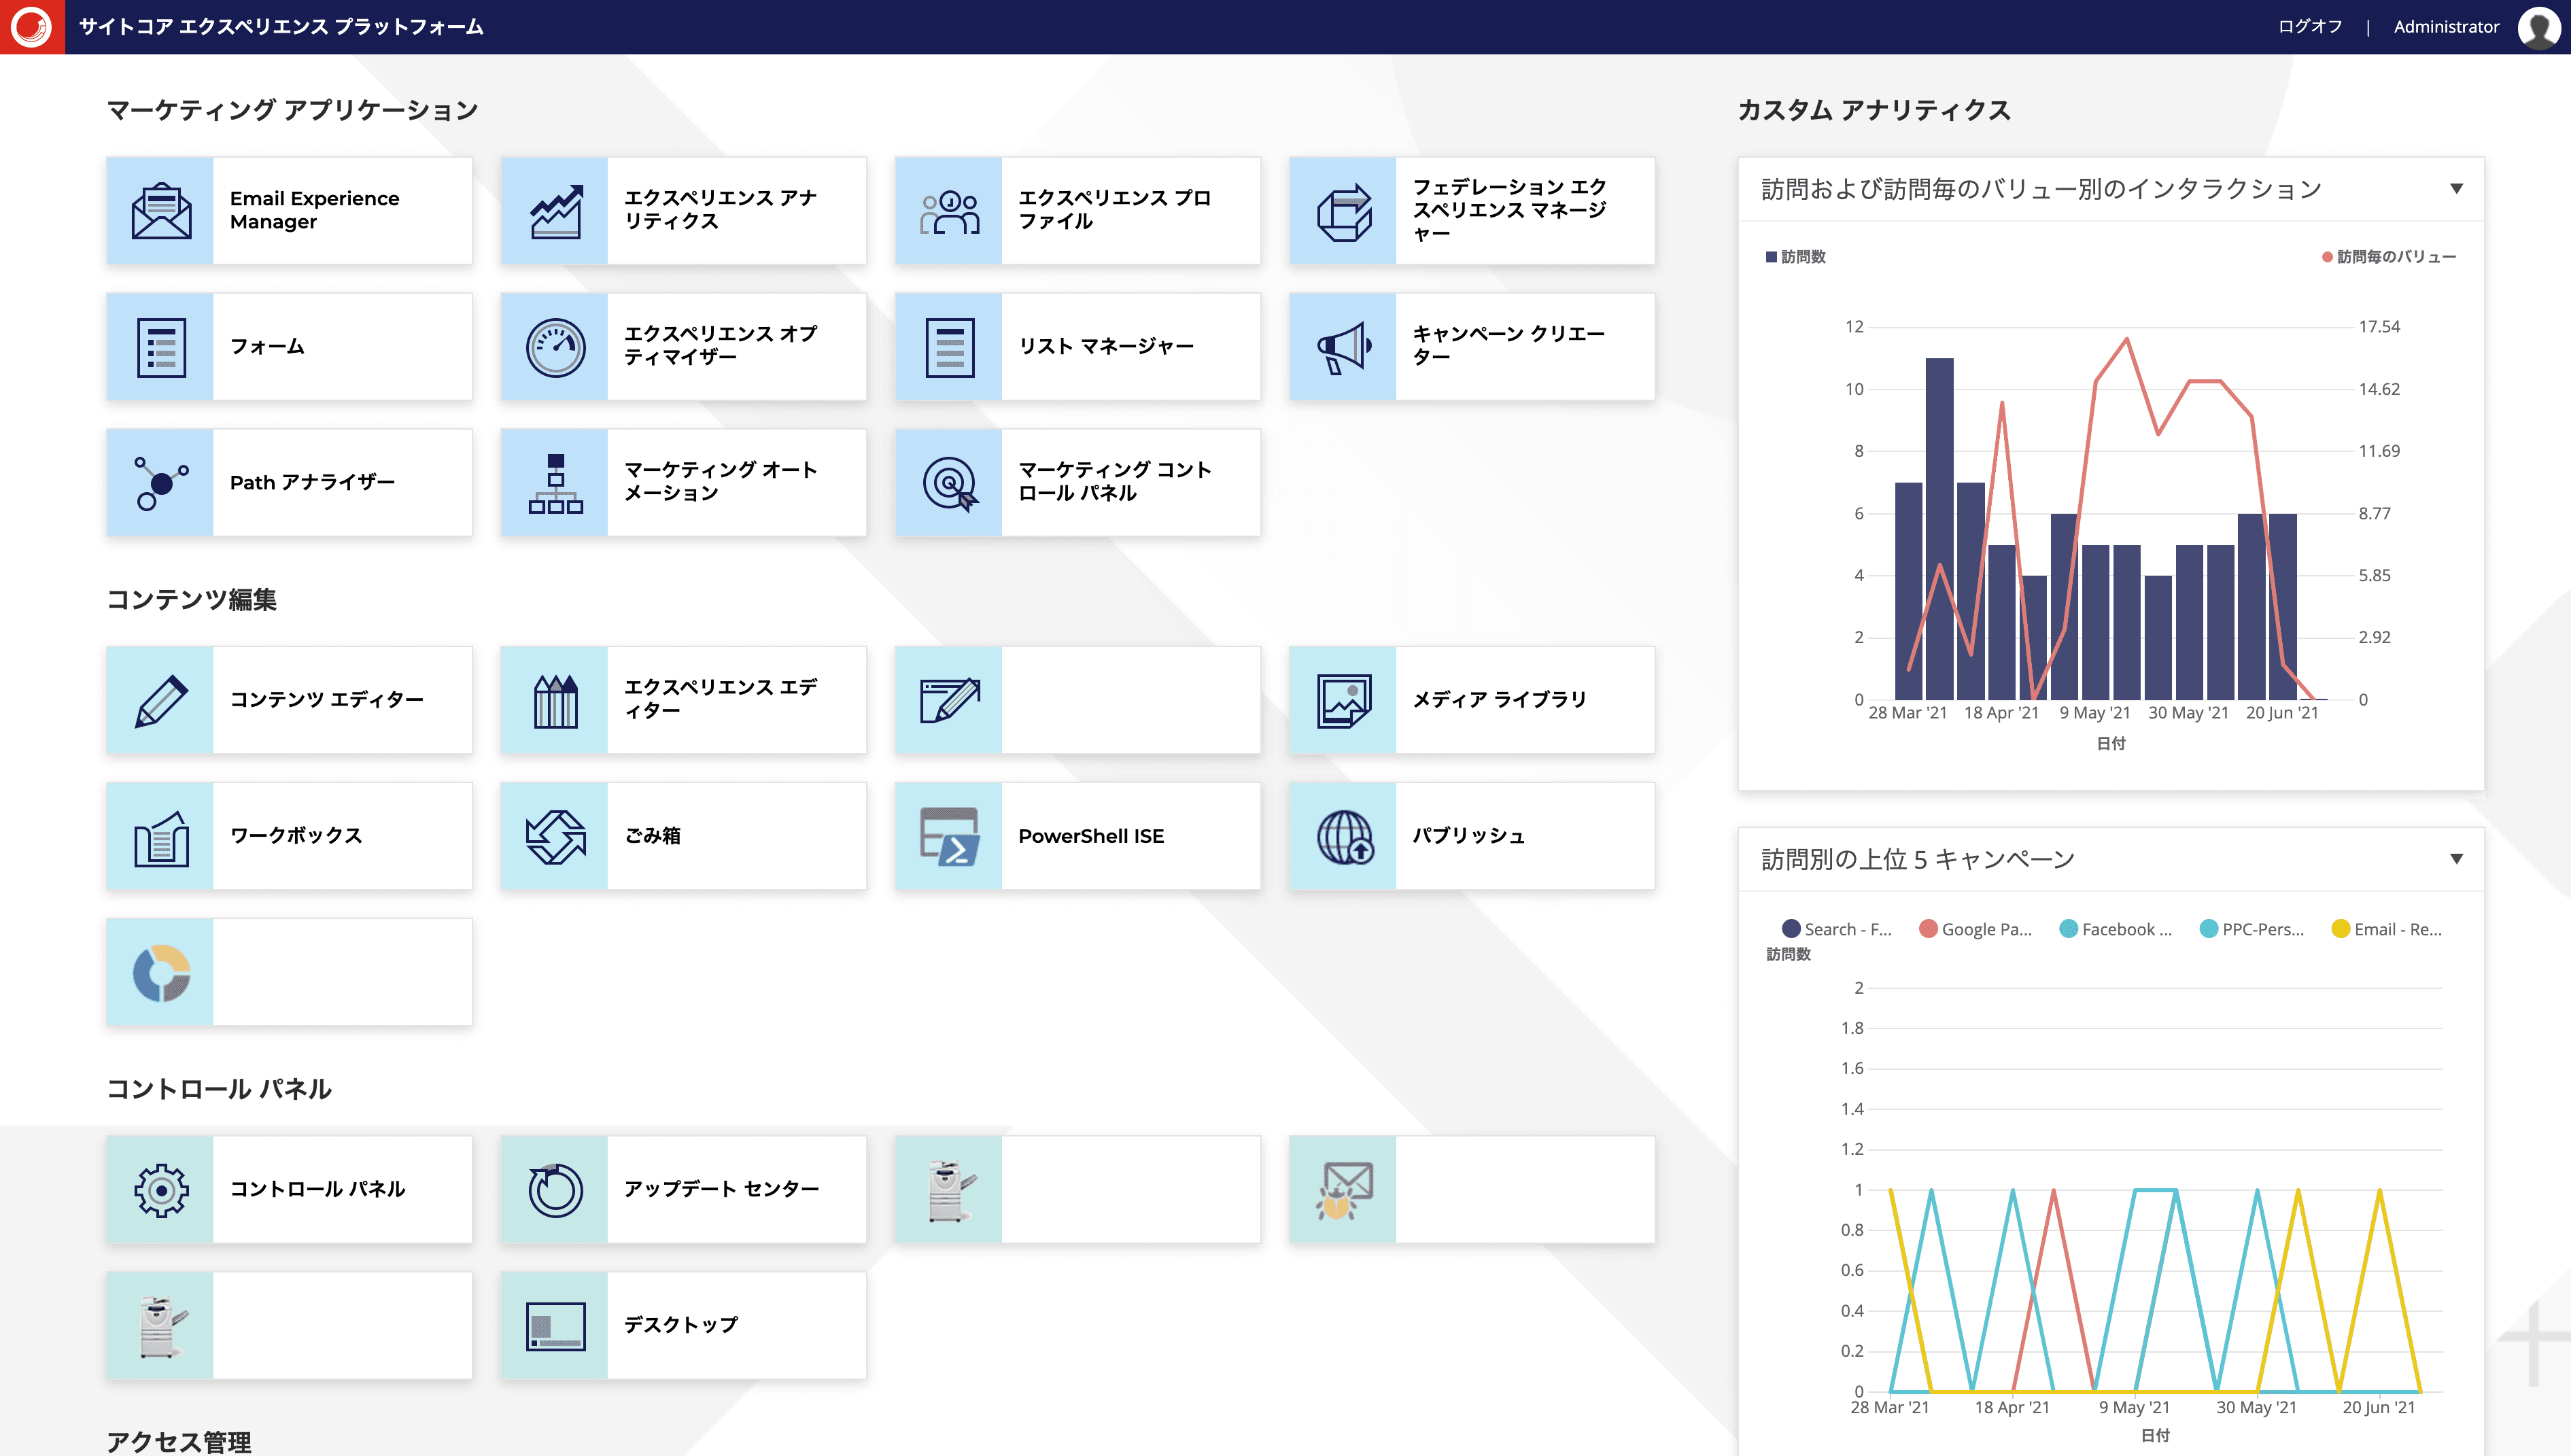
Once you have completed the changes, the Japanese resources will be added as shown in the screen below.
Additional Resources for Demos
The above screen still shows that resources are still missing. Since some resources are missing, please download the files from the following repository on Github.
- https://github.com/SitecoreJapan/InstallScript/
- 101/powershell-report-ja-jp.xml
- 101/horizon-ja-jp.xml
- 101/SXA-ja-JP-update.xml
- demo/LighthouseLifestyle/lighthouse-ja-jp.xml
- xGenerator/xGenerator-ja-jp.xml
Upload all the above files to temp. Switch to the import screen and specify /temp.
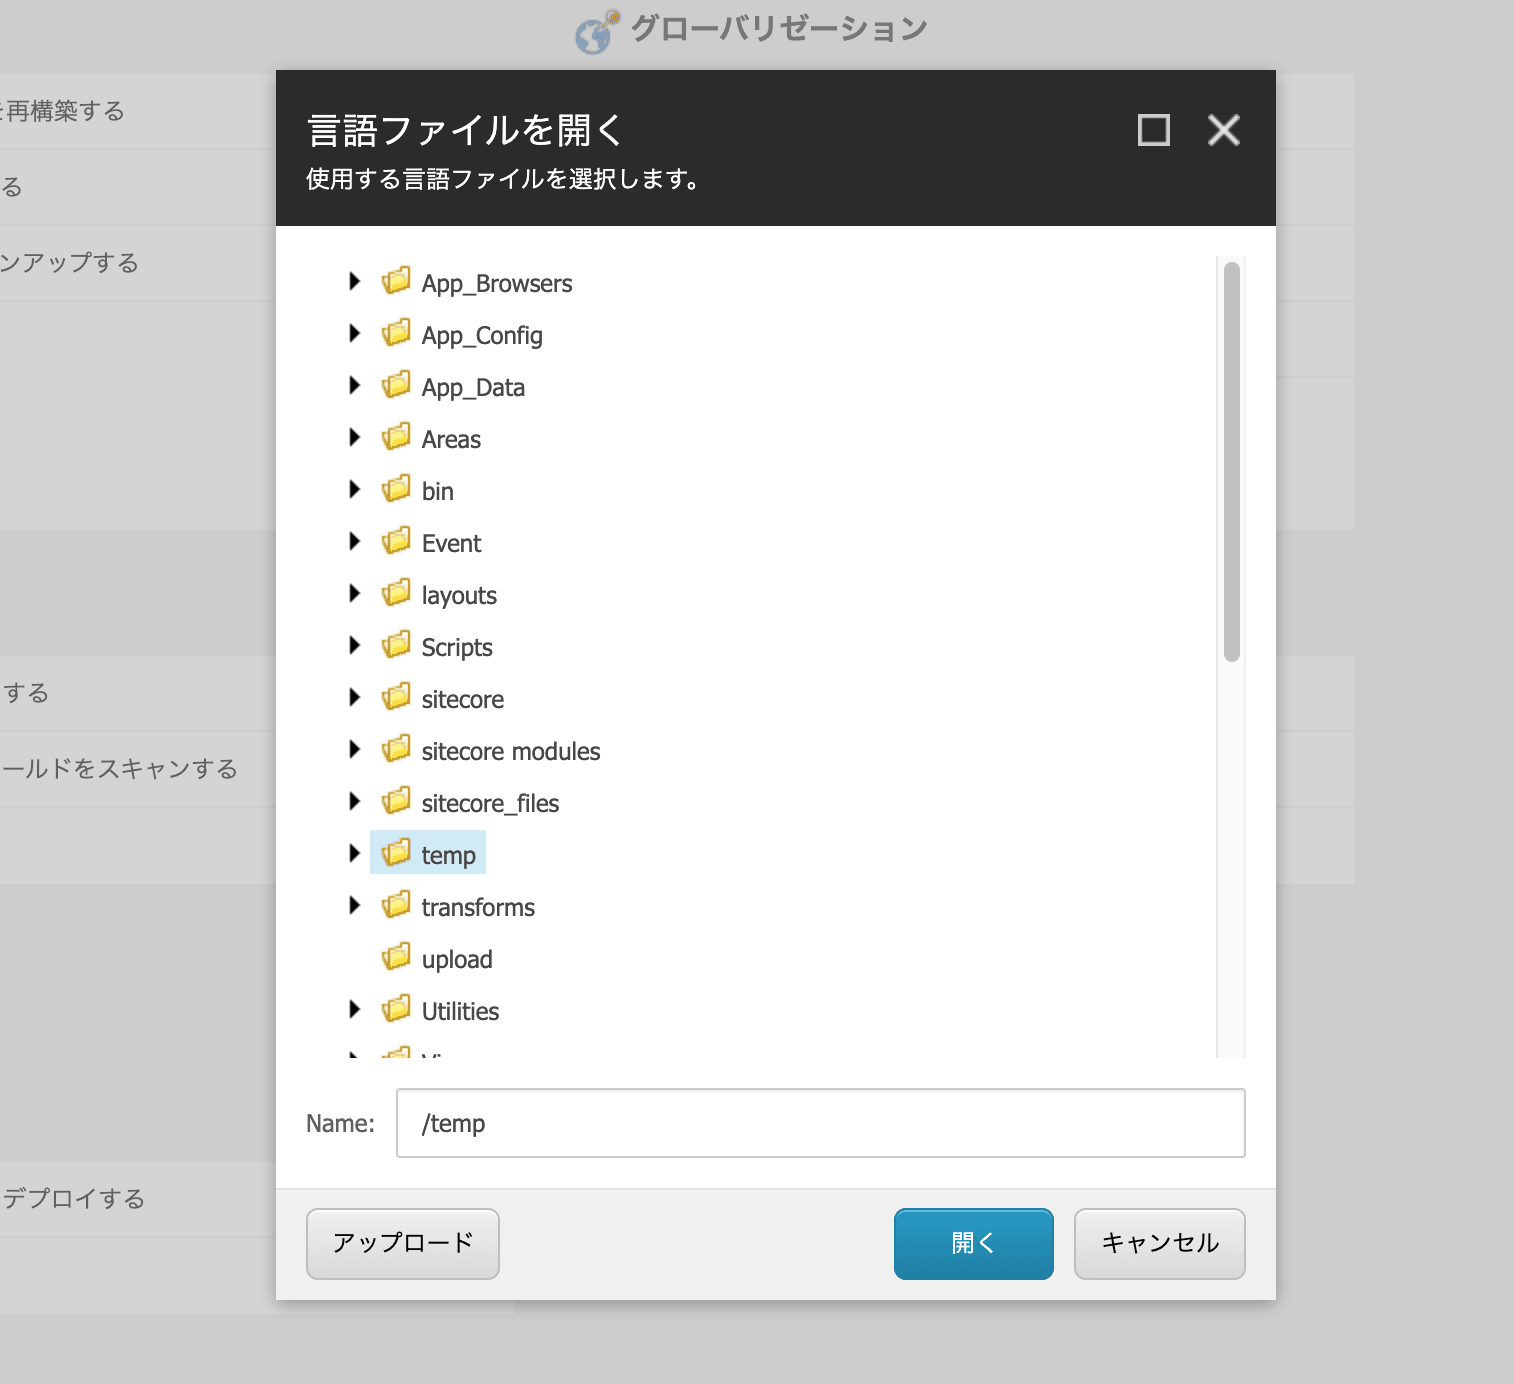
Click the Upload button to upload the above file.
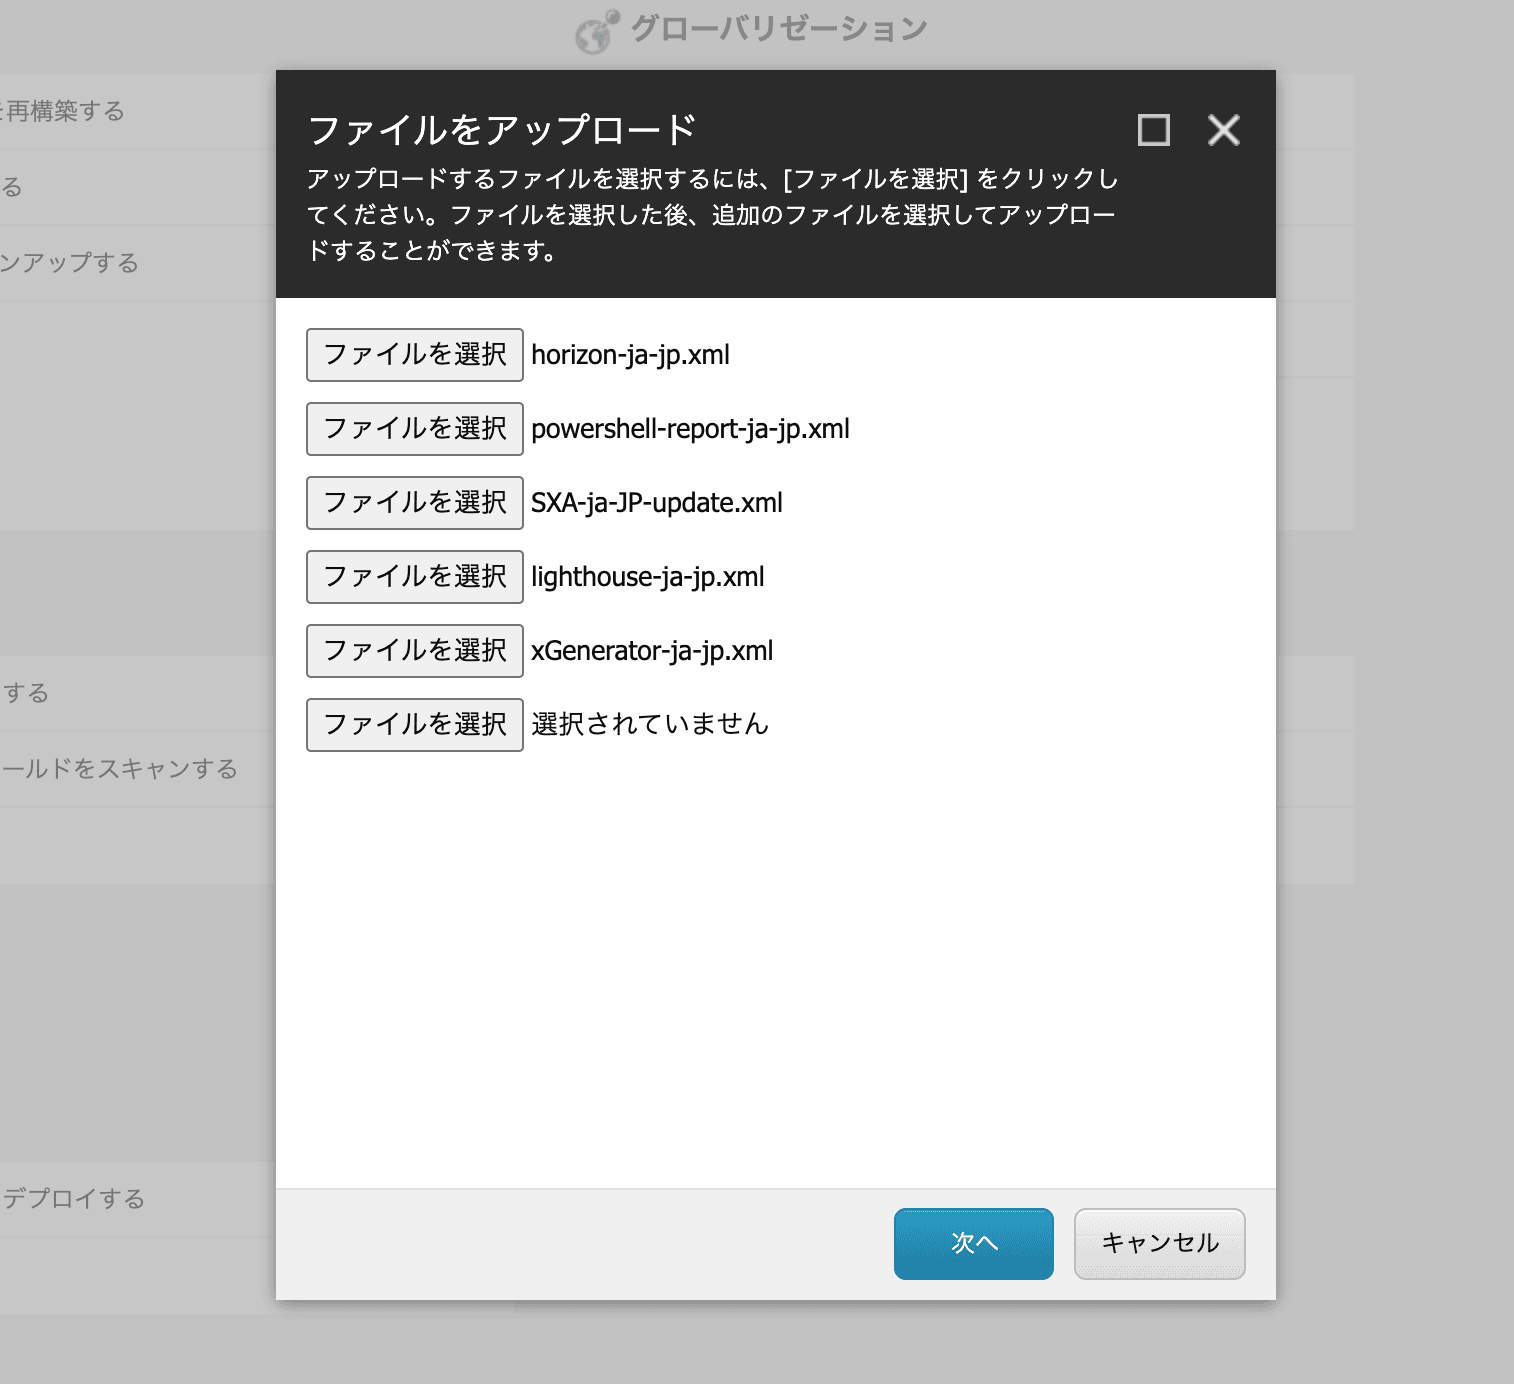
After the upload is complete, specify the files under /temp for import. First, specify the file /temp/SXAtranslations/ja-JP.xml. After that, proceed with the import procedure.
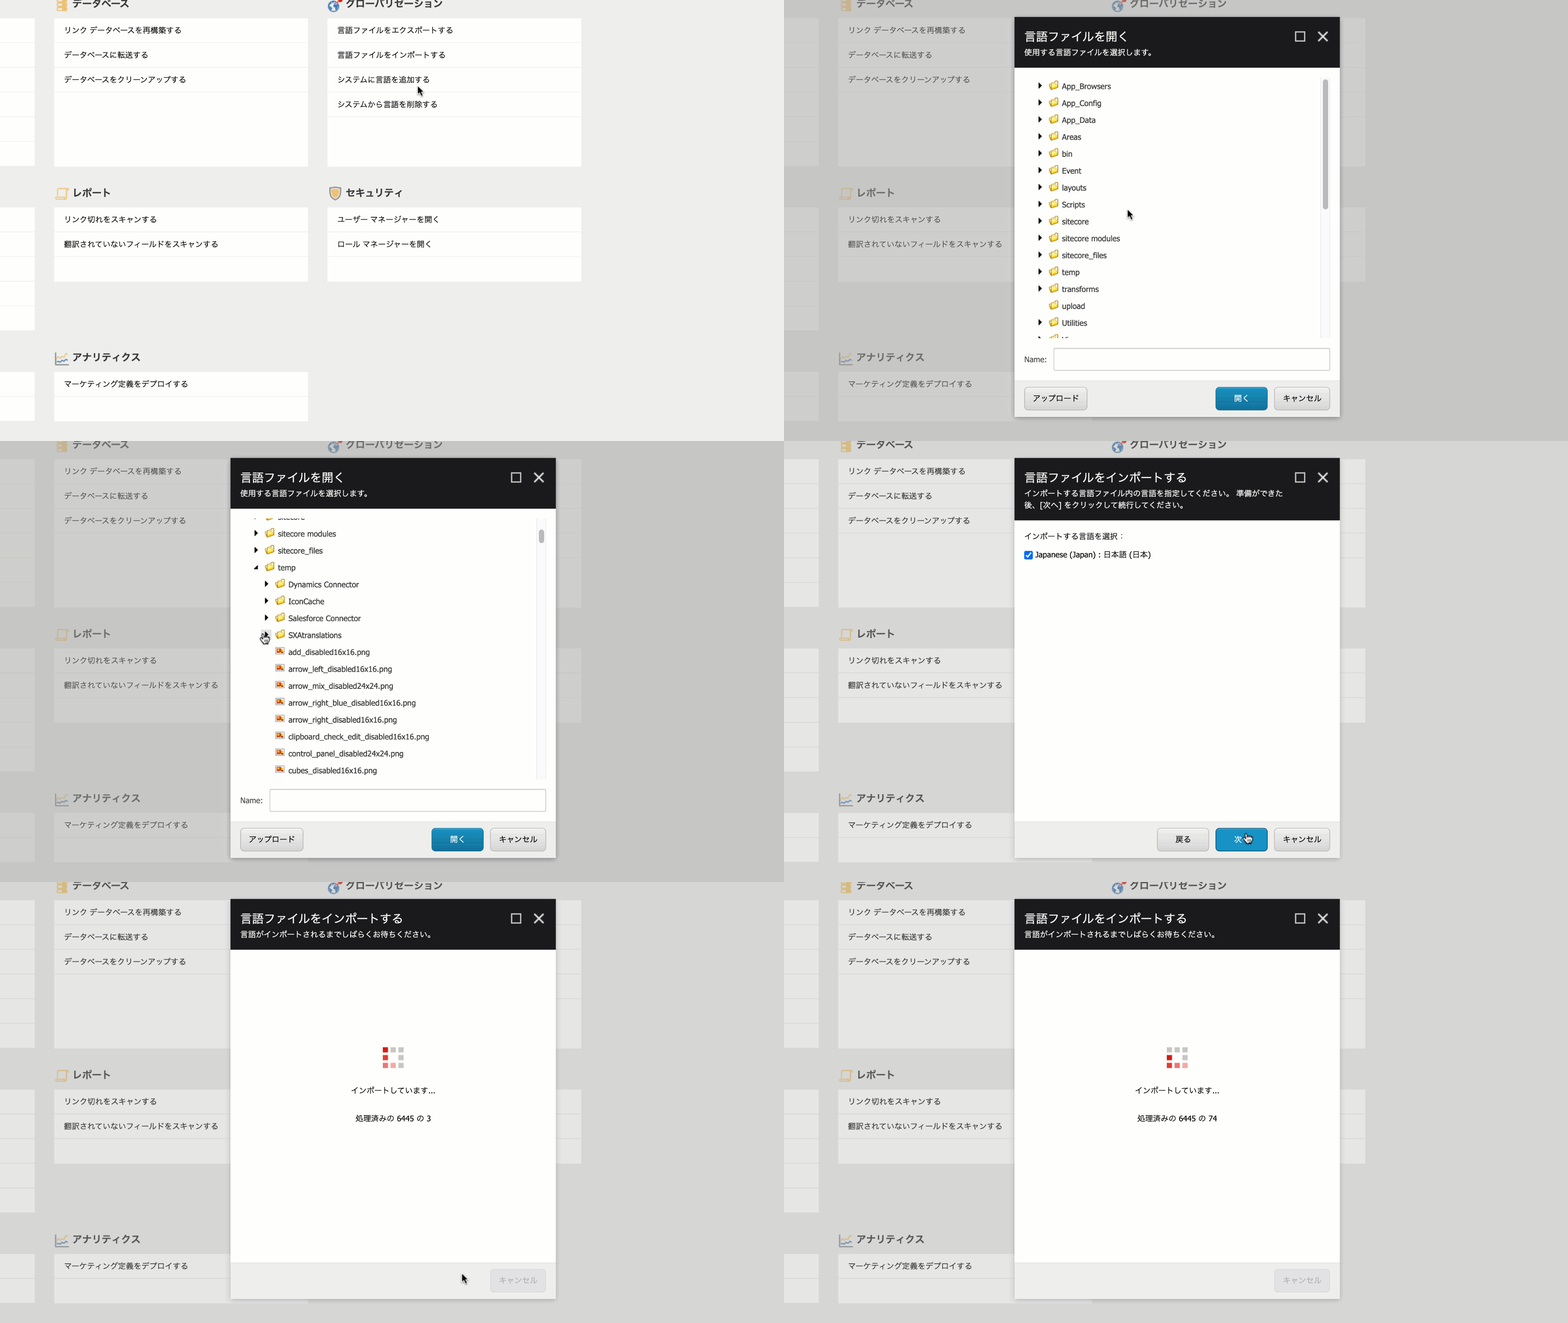
Follow this procedure in turn for the following files
- 101/powershell-report-ja-jp.xml
- 101/horizon-ja-jp.xml
- 101/SXA-ja-JP-update.xml
- demo/LighthouseLifestyle/lighthouse-ja-jp.xml
- xGenerator/xGenerator-ja-jp.xml
Once the above resources have been imported, the import of Japanese resources is complete. When you return to the administration screen, you will see the following

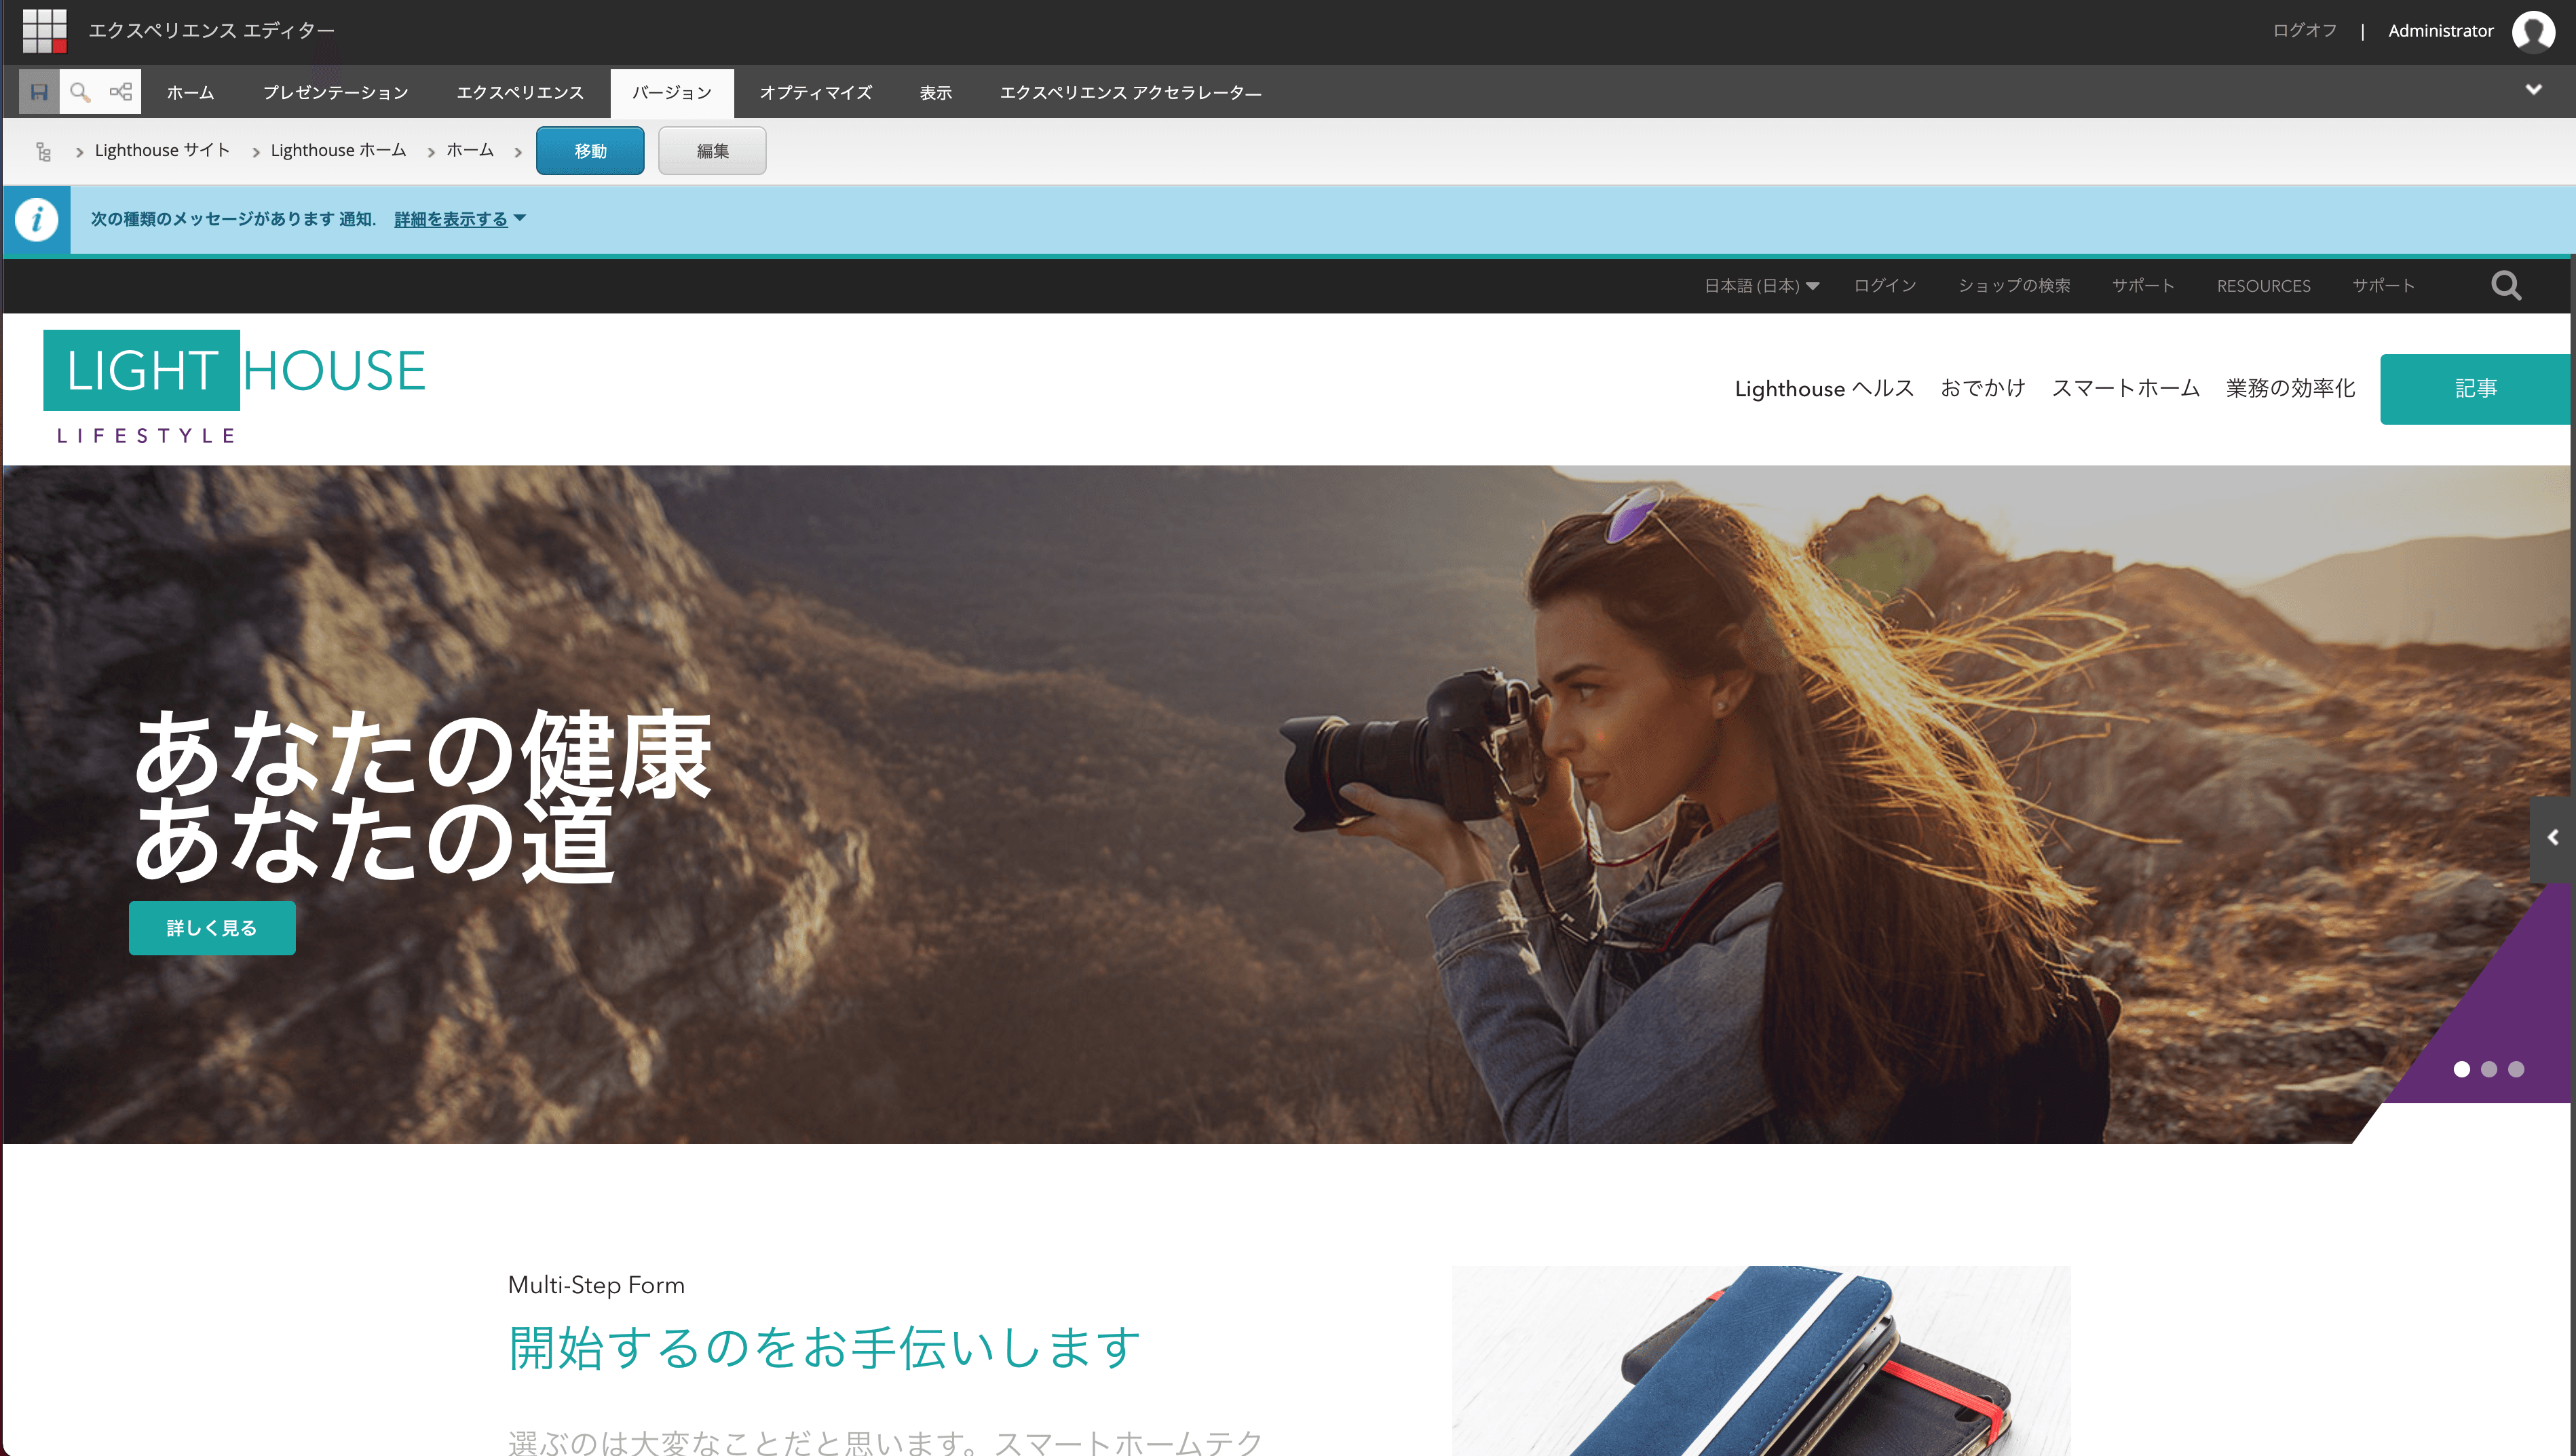
If you open the Experience Editor and switch to Japanese resources, you will see that Japanese resources have been added.
Switch user content language
Now that the import of Japanese resources is complete, the language to be managed is switched from English to Japanese. This setting can be switched by following the steps below.
- Open User Manager
- Double-click the target user to open the settings window
- Open the Language Settings tab and switch the content language to Japanese (Japan): Japanese.
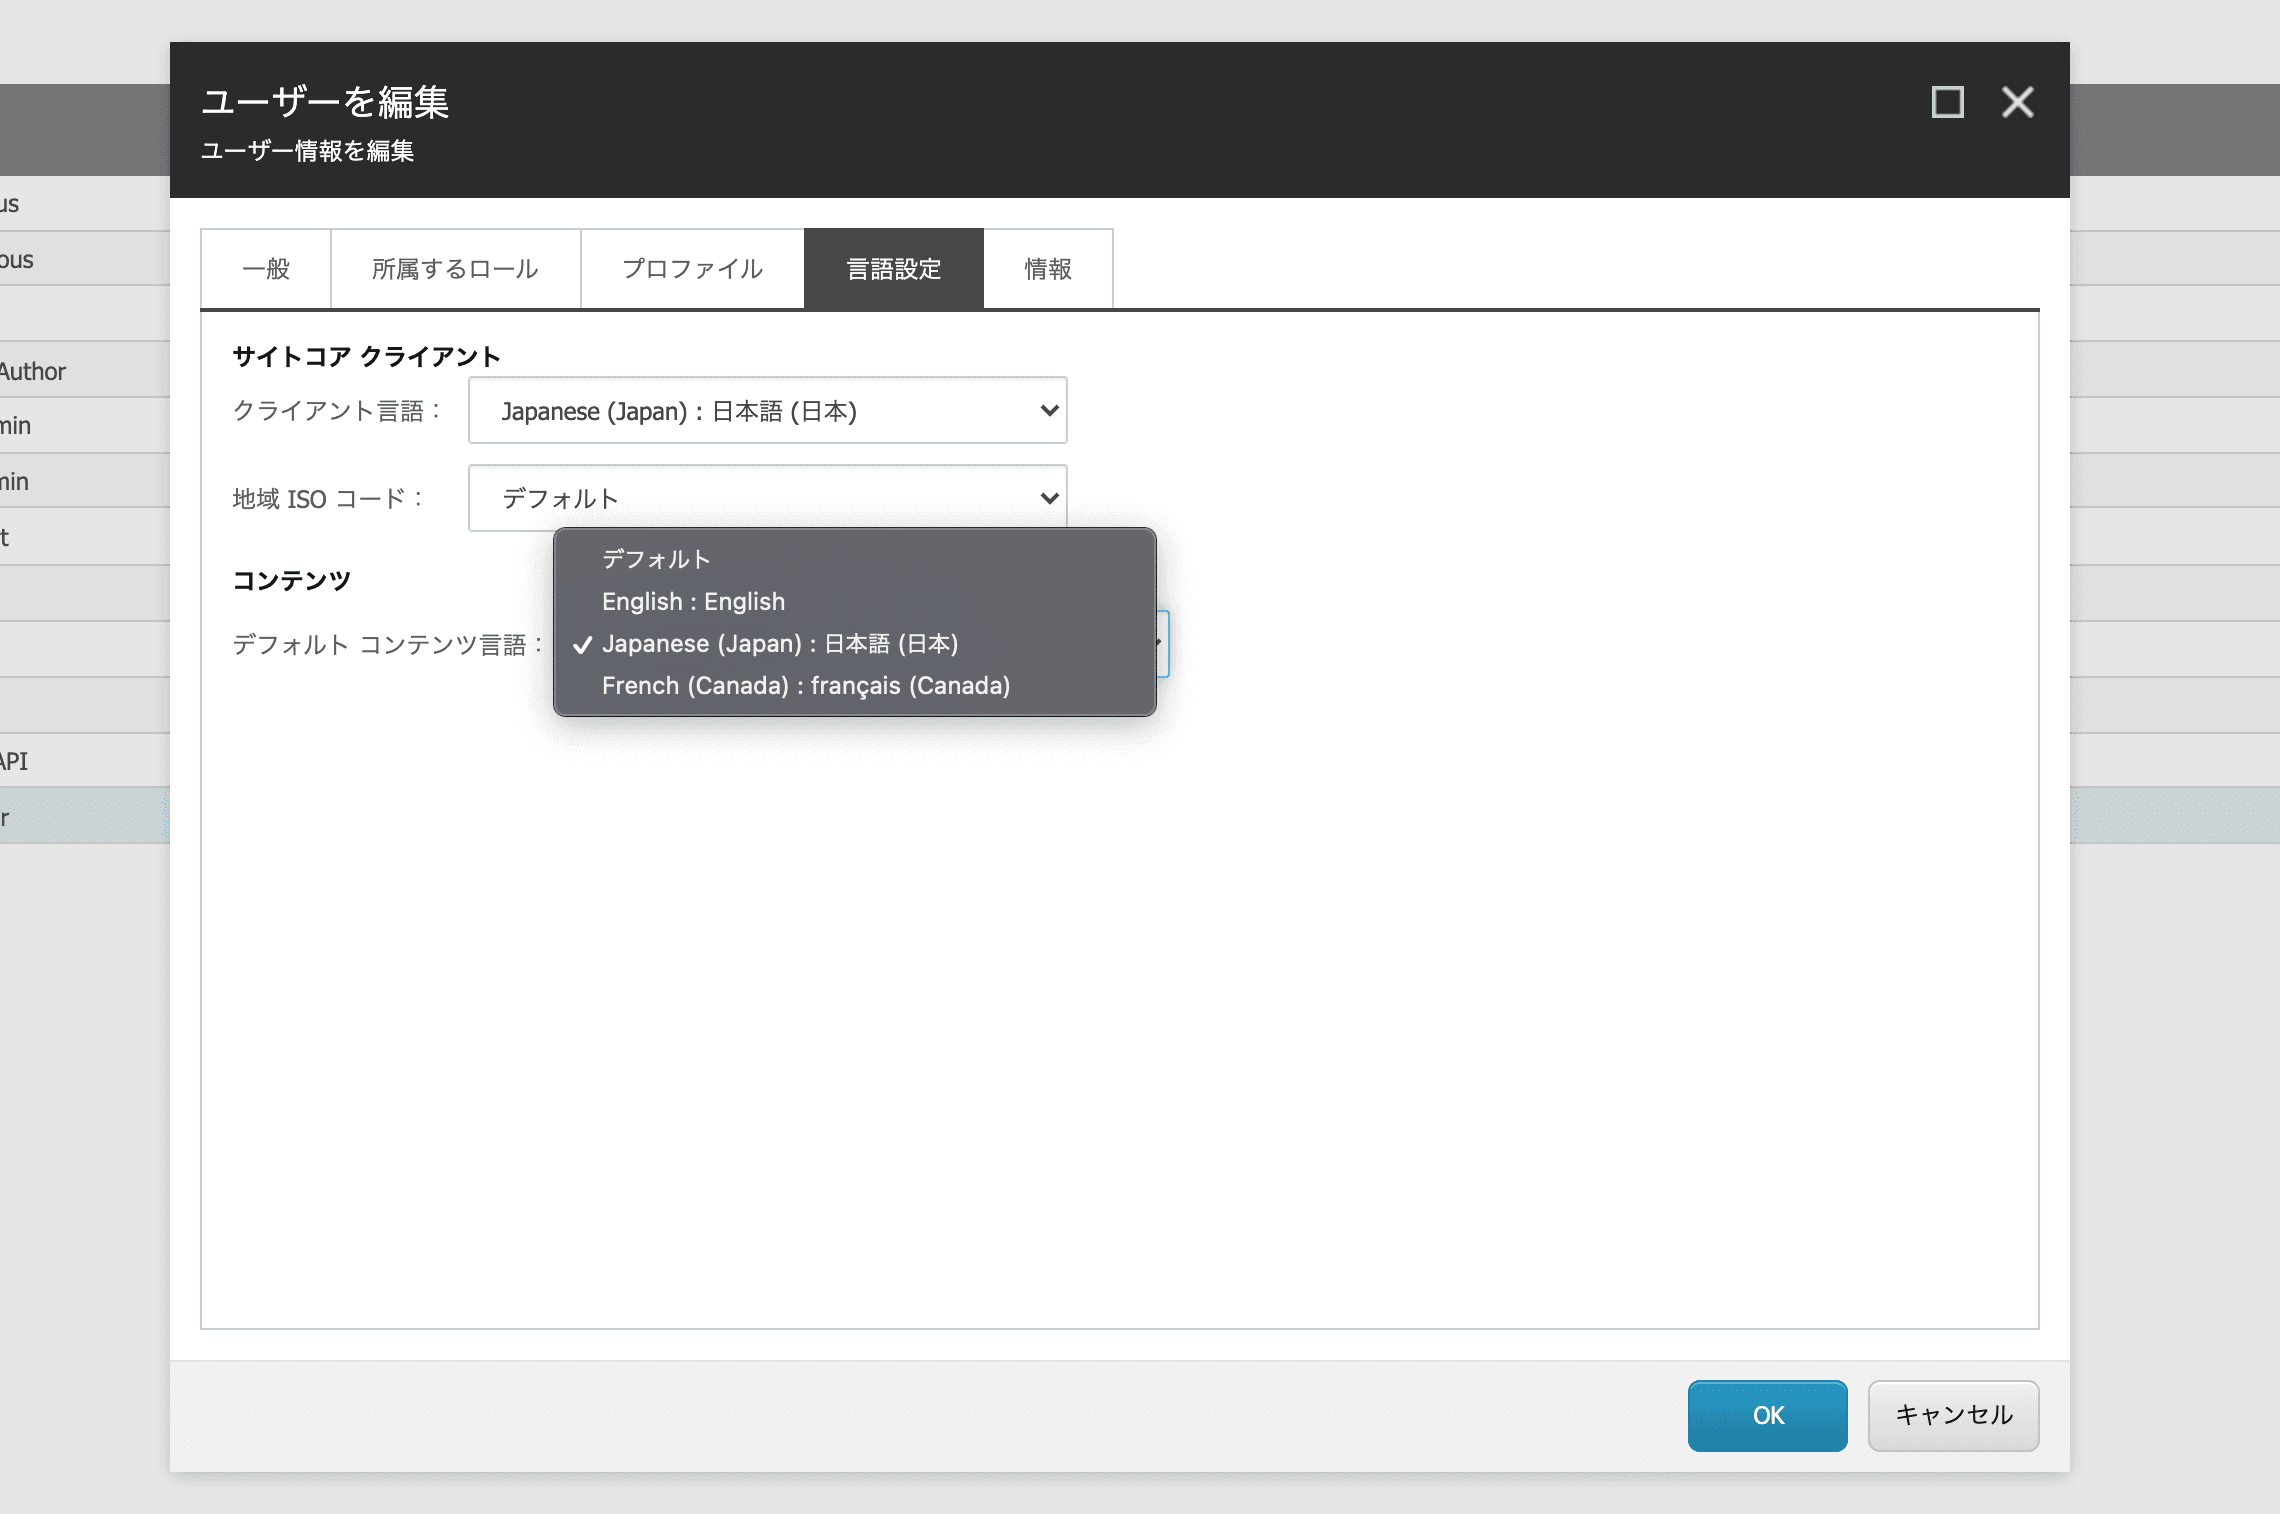
Click OK to switch content language.
Deletion of some resources
The Sitecore Demo Platform demo still has some old Japanese resources that were previously used, which will be manually removed and new resources will be added. All of the following operations will be performed in the Marketing Control Panel.
Profile Adjustment
If the profile contains Japanese resources, run Version - Exclude and go to English resources only. The target items are ???? Most of the items are displayed at
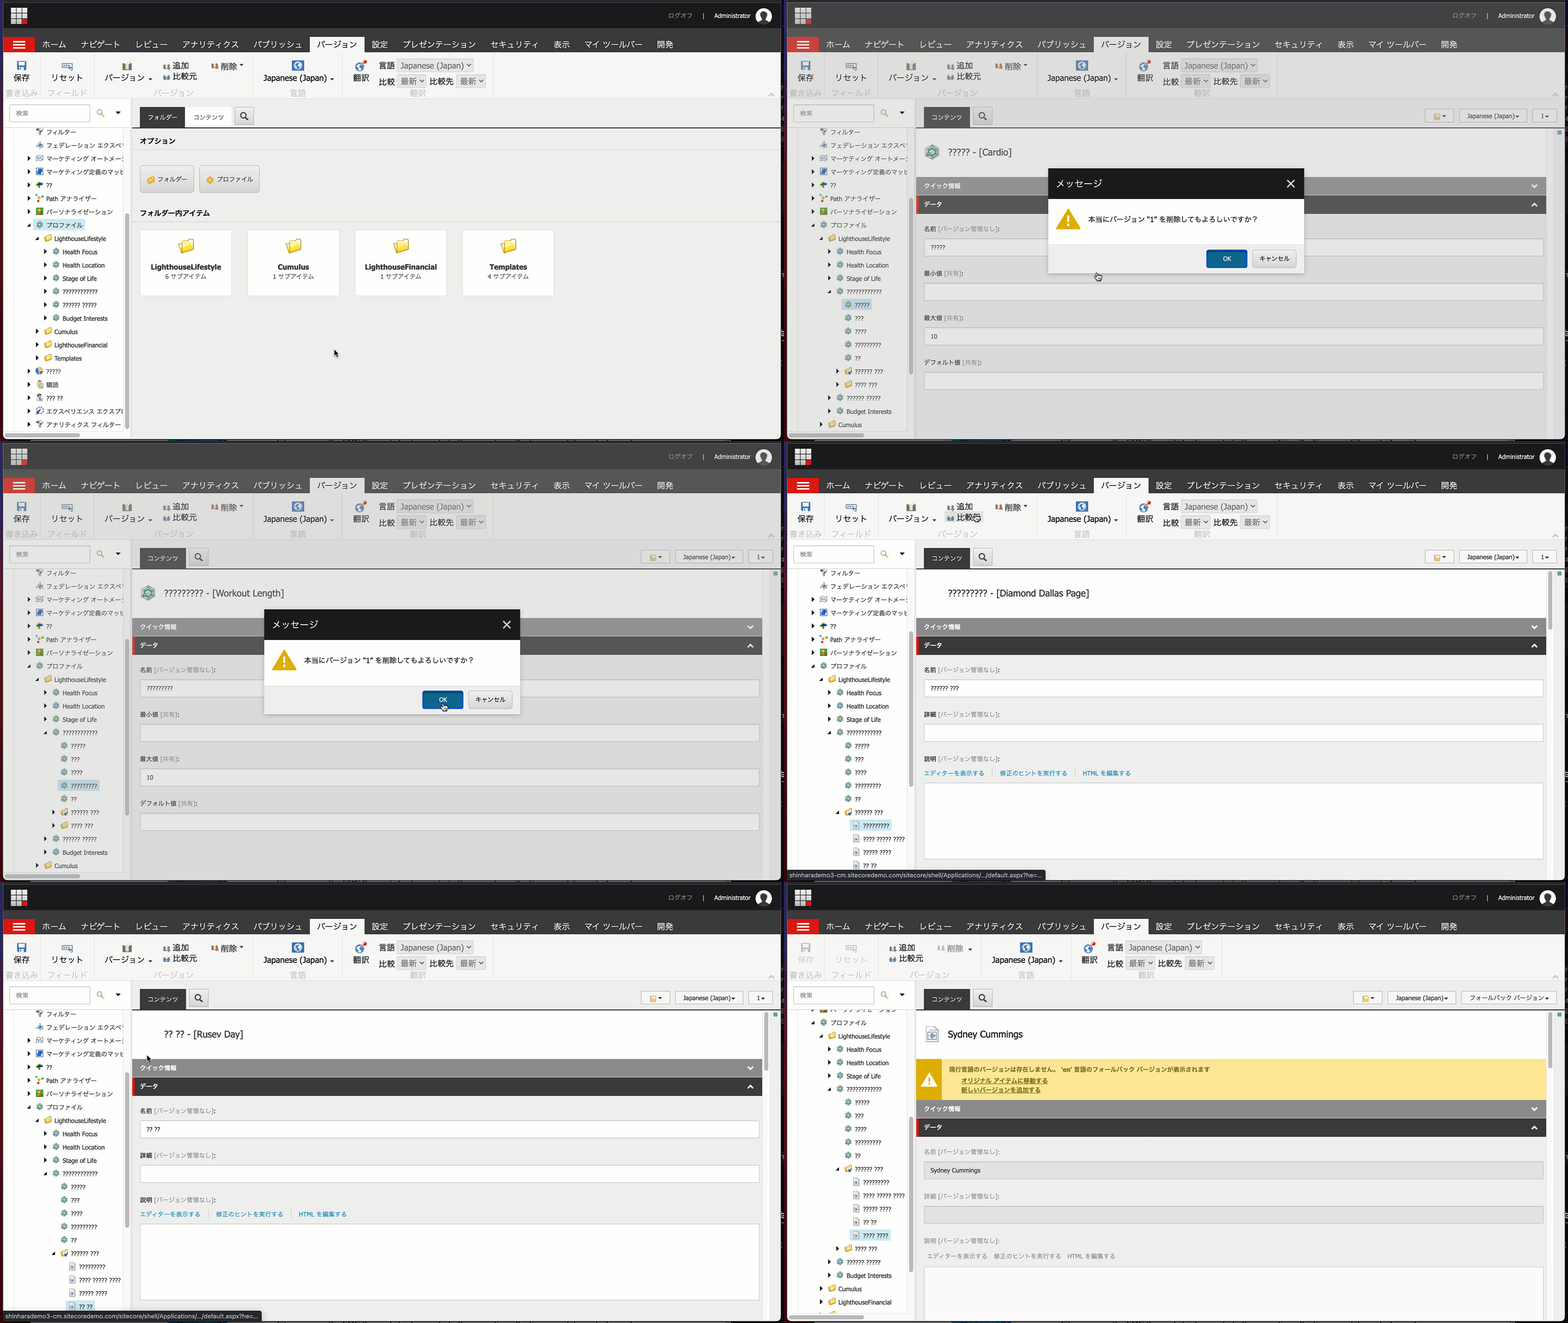
If you are able to remove Japanese resources from the following items and sub-items, you are good to go.
/sitecore/system/Marketing Control Panel/Profiles/LighthouseLifestyle/Fitness and Trainers
/sitecore/system/Marketing Control Panel/Profiles/LighthouseLifestyle/Product Interests
/sitecore/system/Marketing Control Panel/Profiles/Templates/Focus
Outcome
All of the resources for outcome are not correct data either, and the Japanese resources need to be removed.
Select the item /sitecore/system/Marketing Control Panel/Outcomes and delete the Japanese resource.
In addition to the above two, resources marked with ?? are not correct as Japanese data, and should be deleted. Since all of these resources are operated using English data in the fallback language, the demo environment will be prepared by deleting the Japanese resource drinks.
Summary
We introduced the Sitecore Demo Platform Japanese language resource coordination. The actual product does not include demo resources, so you will need to upload and complete them, and the resources for PowerShell / Horizon / SXA are provided as modules and can be used individually outside of the demo. Please use them according to your needs.