In the last issue, we proceeded to the sender settings and list creation. This time, we will proceed to the list creation and transmission test.
Send your first email
When the above settings have been completed, the number of check marks will increase as shown below, and the email will be sent only, as shown below.
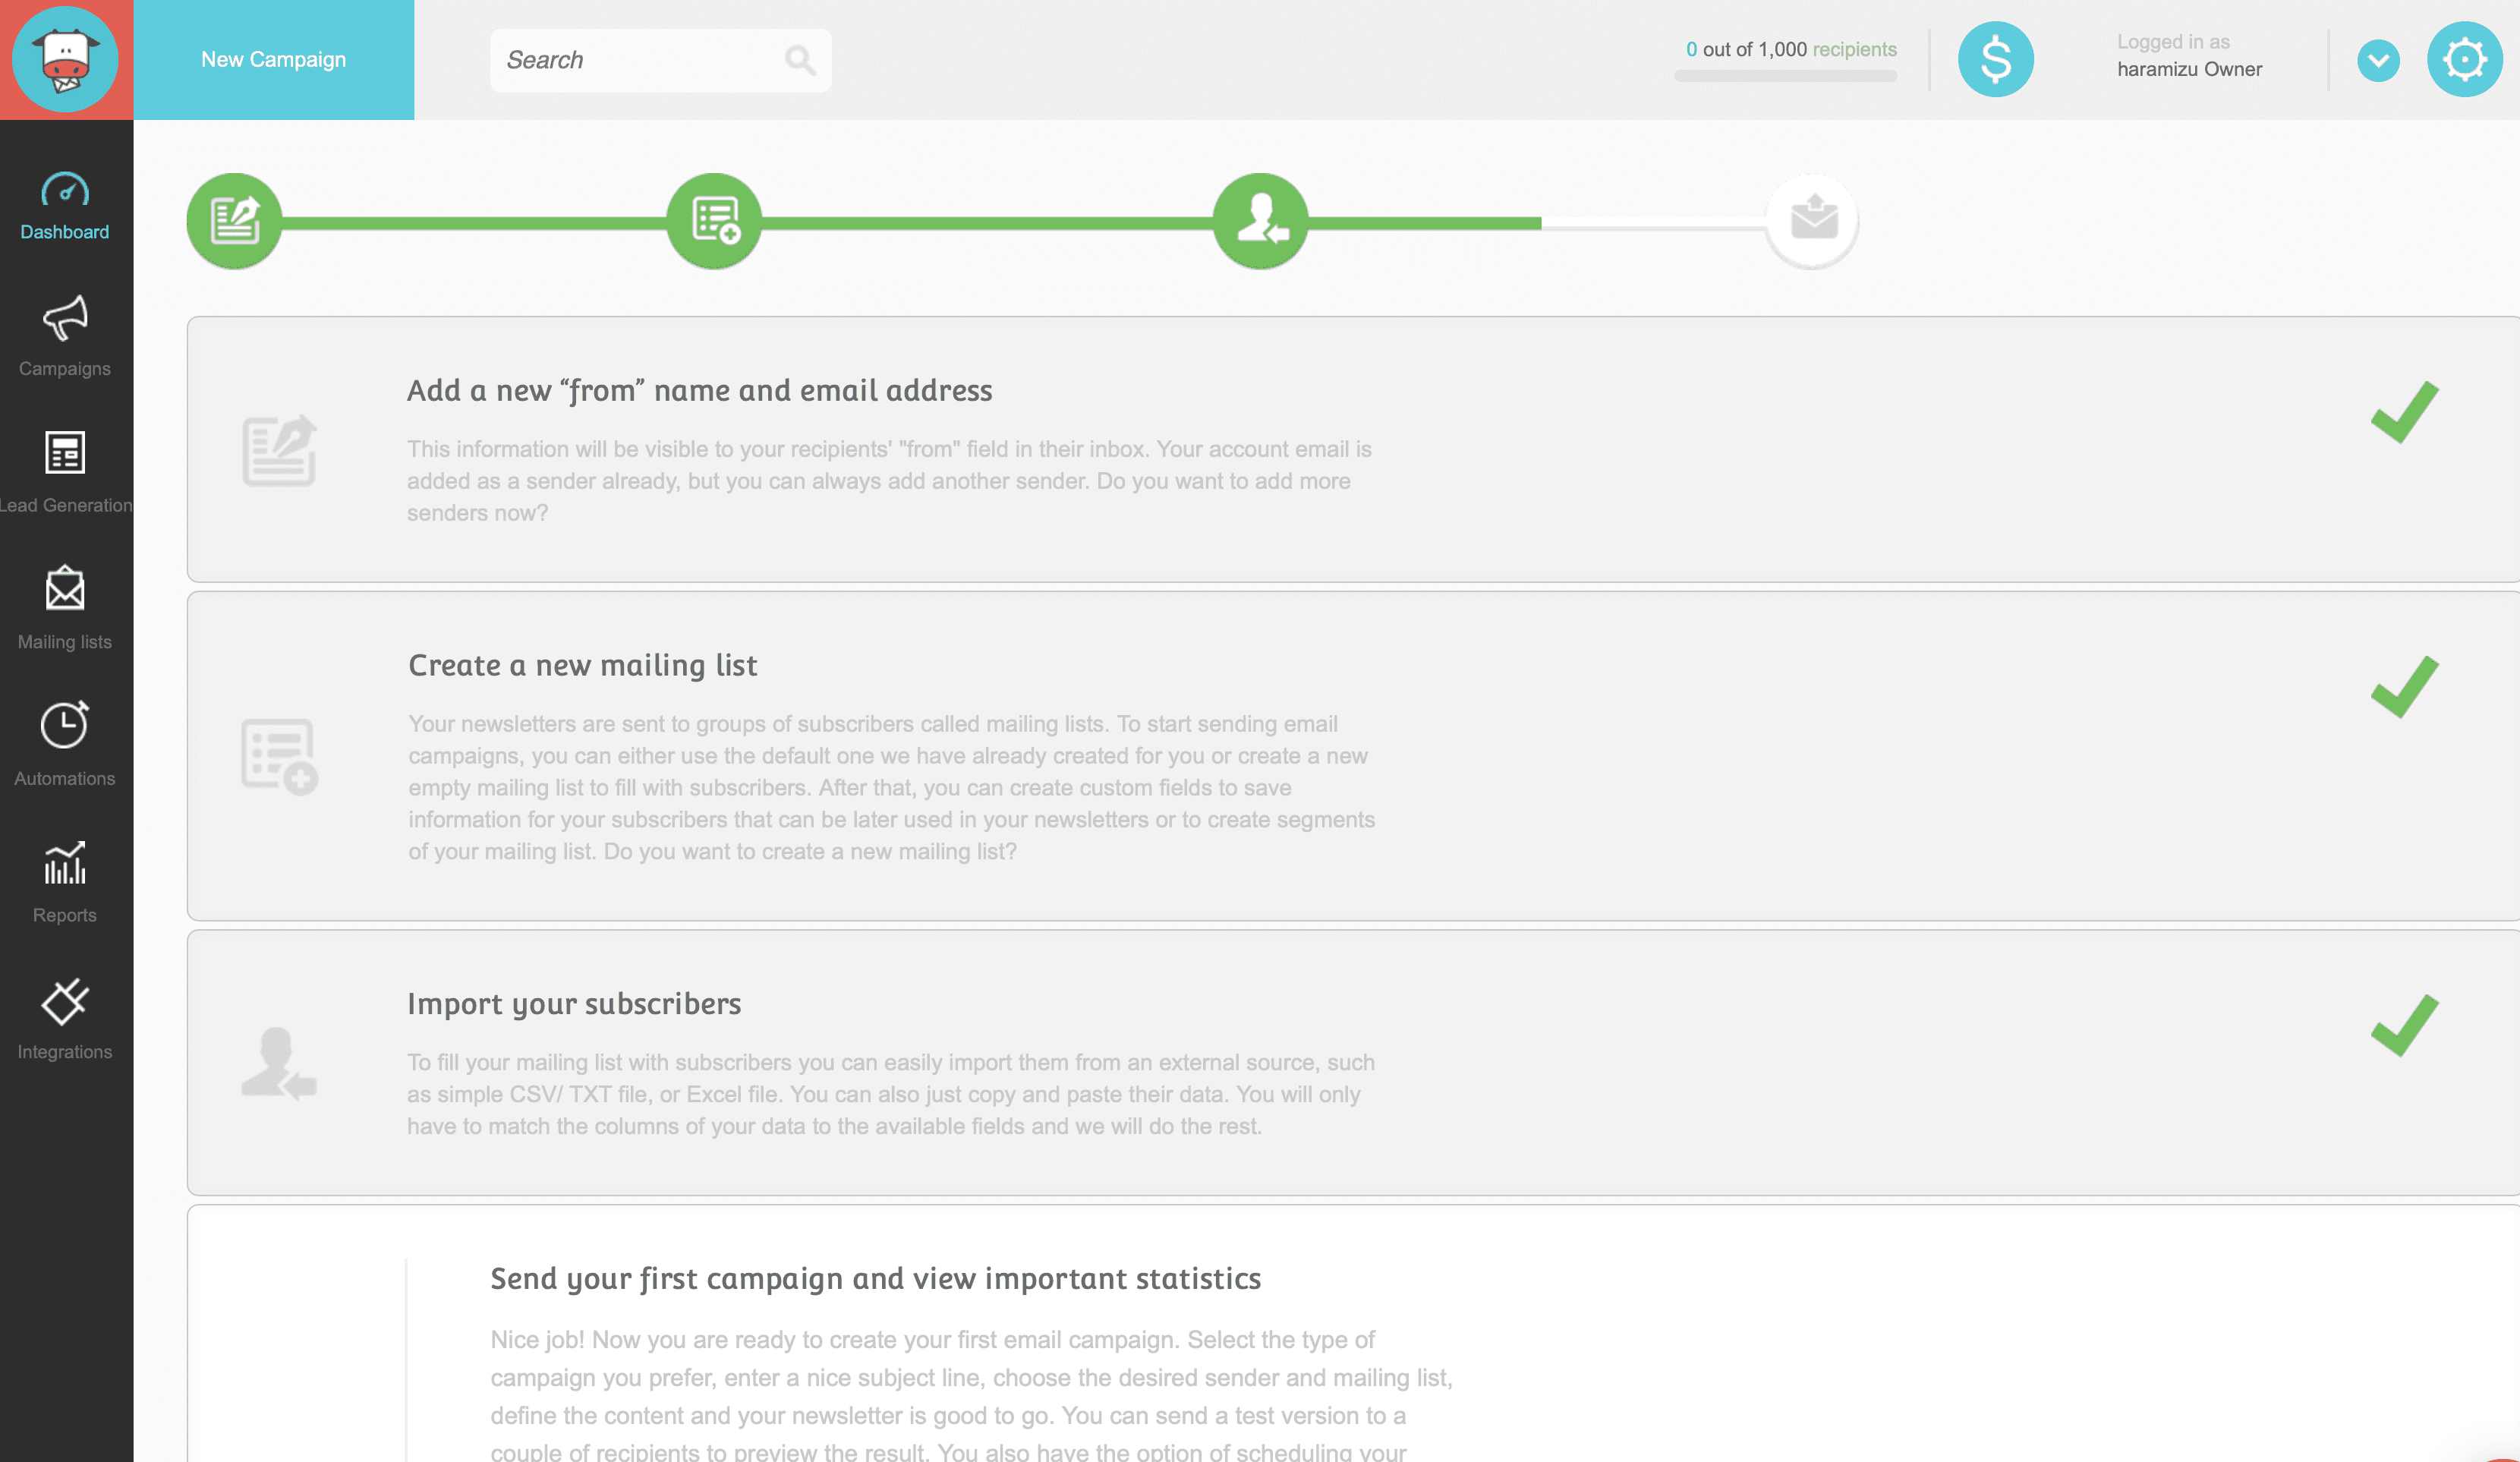
Now let's start composing an email. Clicking on the button will take you to the following screen.
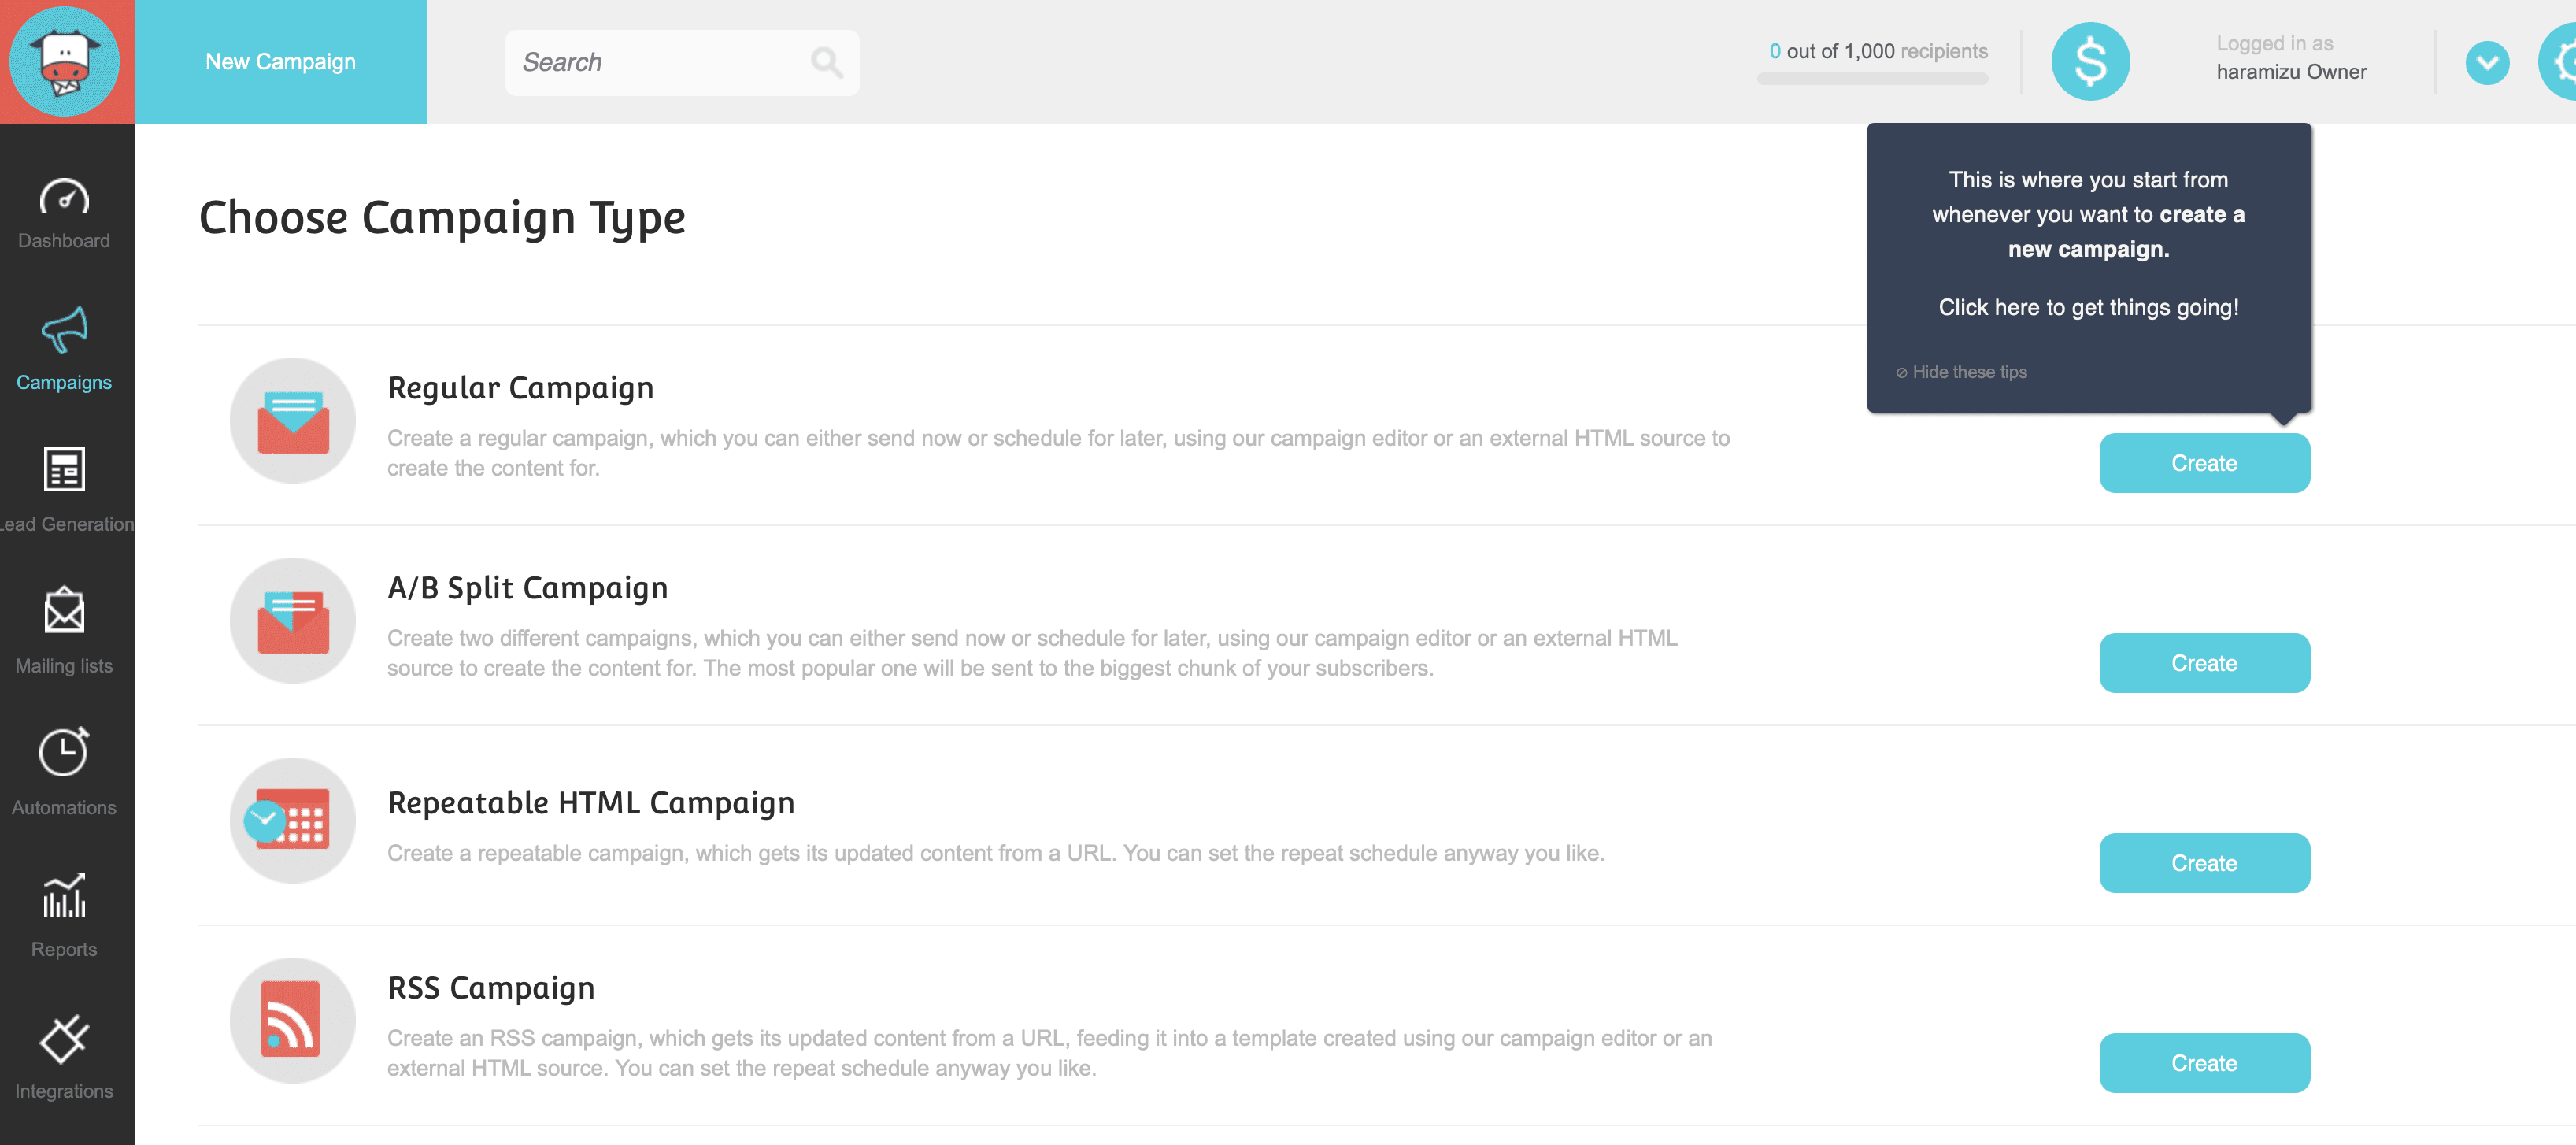
Campaign Creation
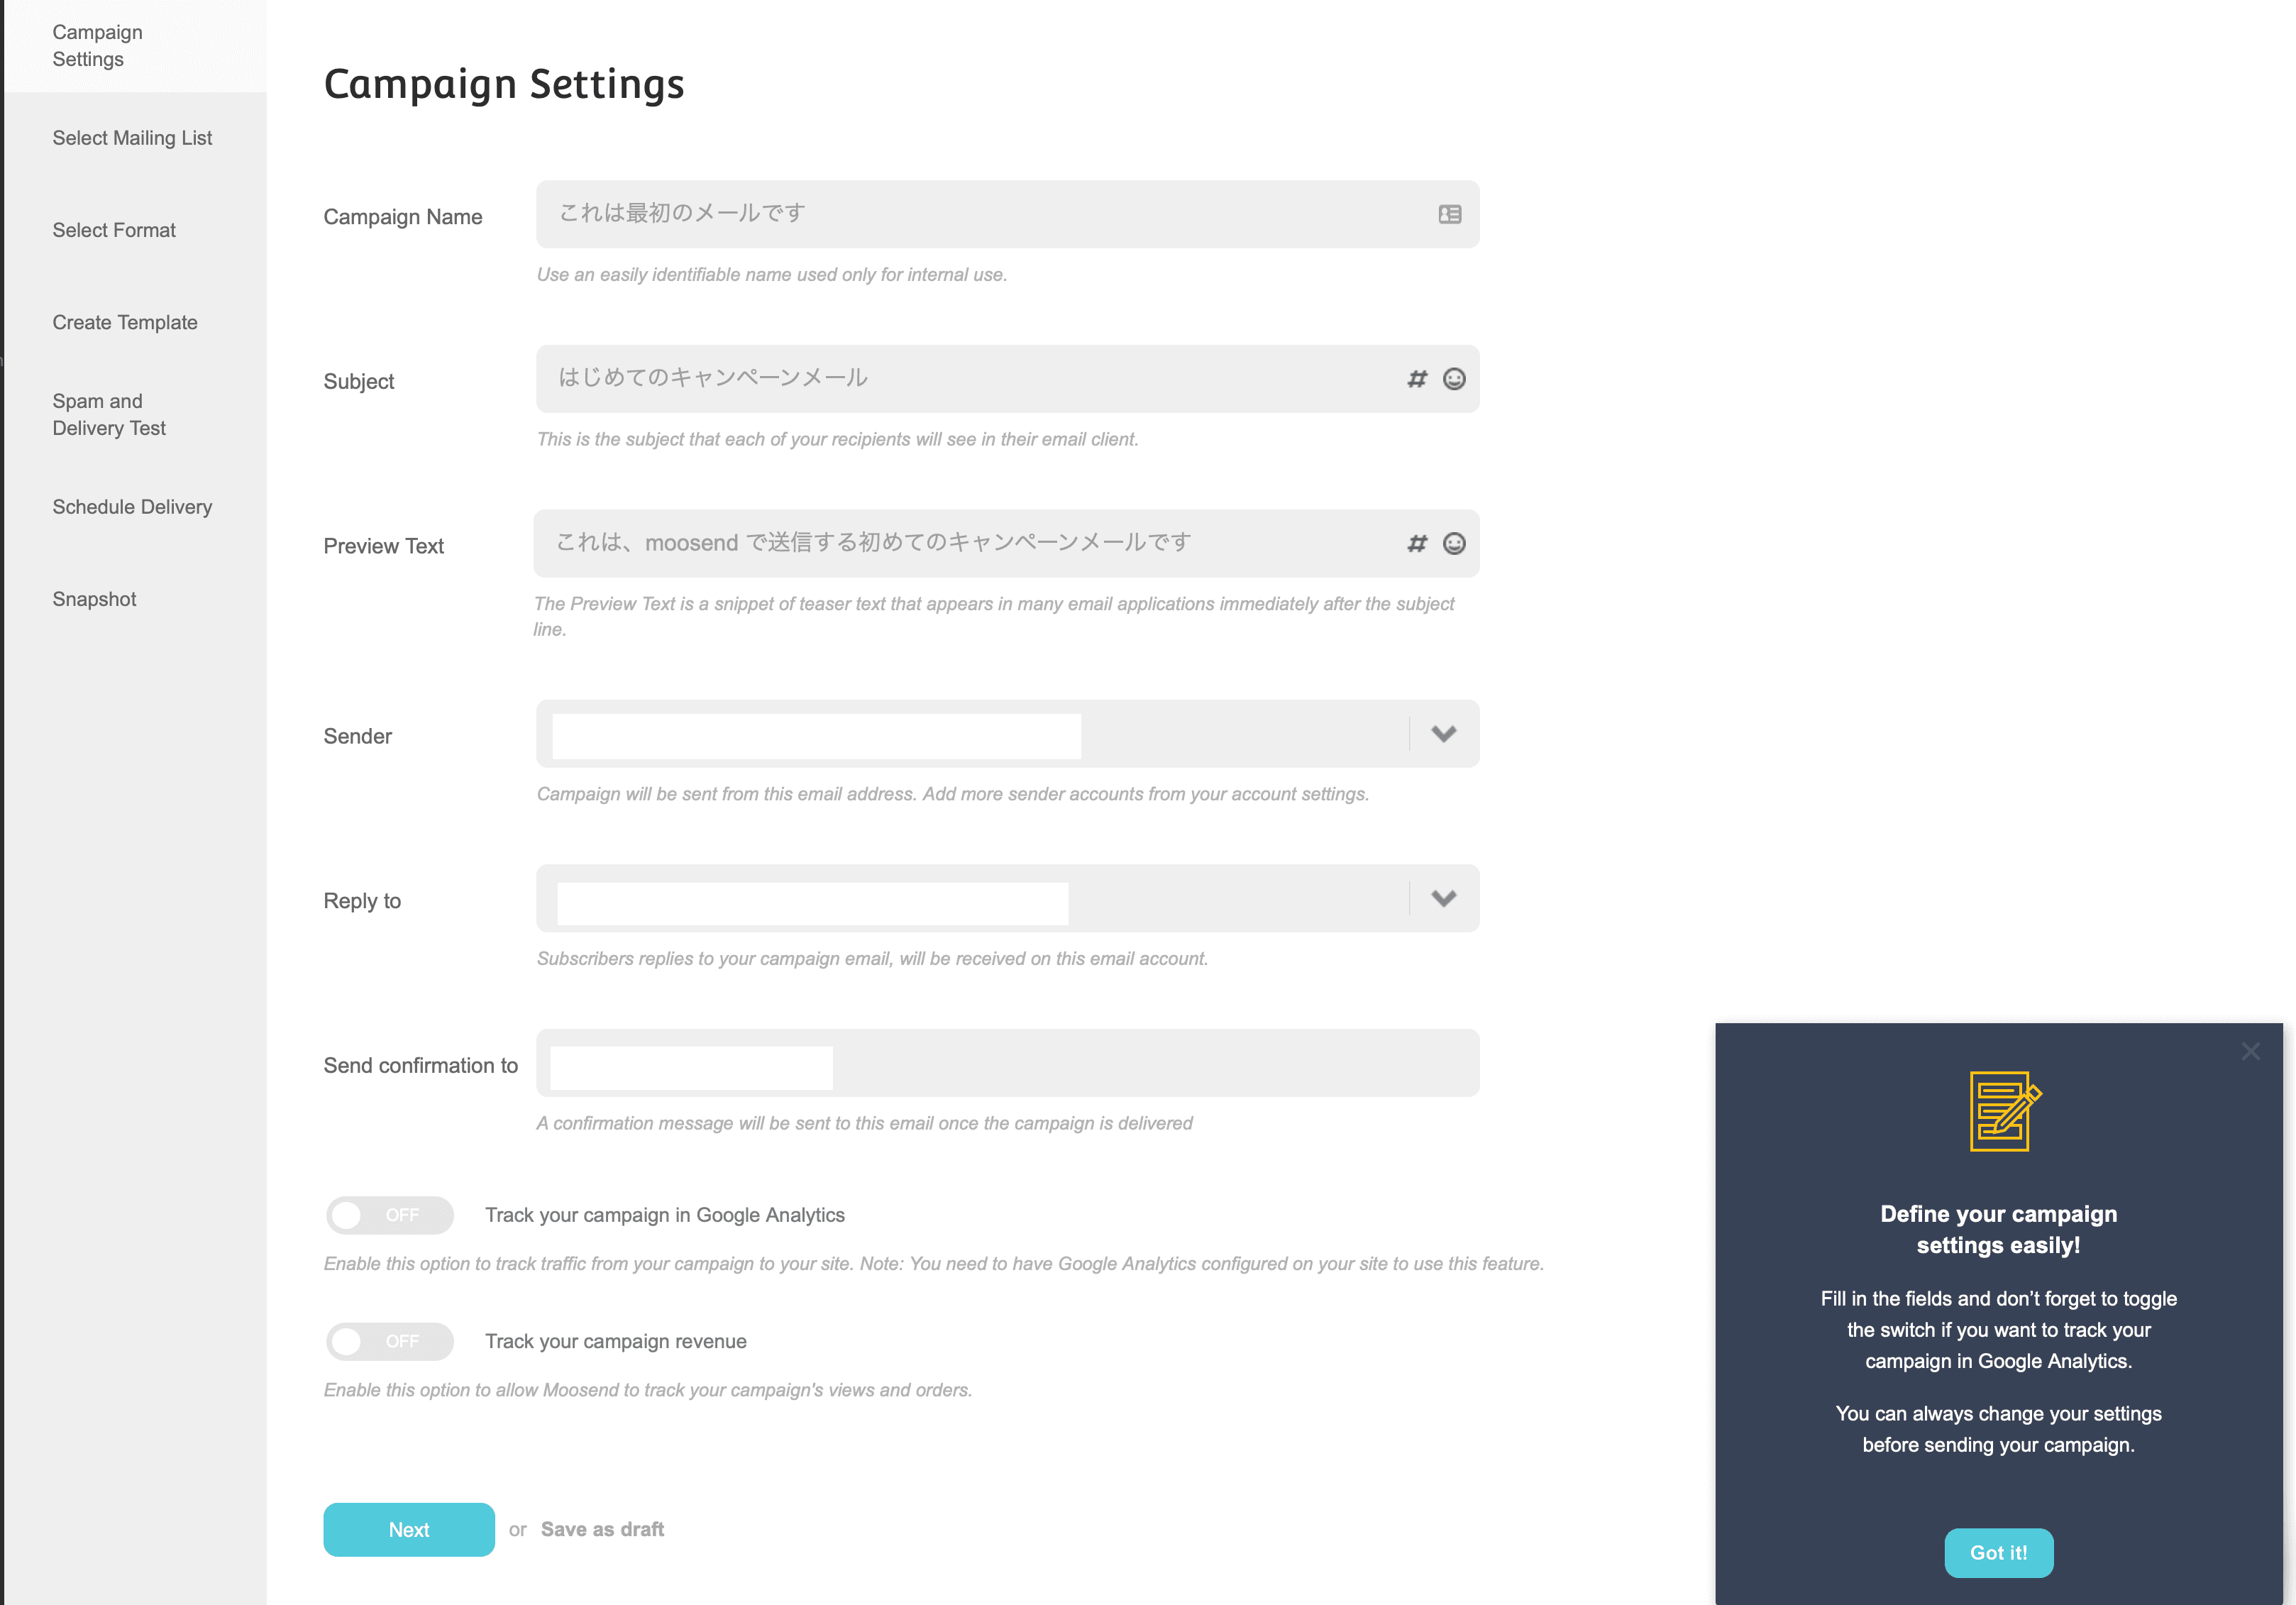
In this case, we will create a regular campaign. Click Create on the button that pops up. The necessary items for creating a campaign will be set. The items will be used for the following purposes
Column | Description |
|---|---|
Campaign Name | Name of the campaign, for management within the tool |
Subject | Subject of the email |
Preview Text | Teaser text portion used in many email applications |
Sender | Specify From when sending mail |
Reply to | Reply-to field to be used as the reply-to address of the e-mail. |
Send confirmation to | Select a plan name |
For starters, we set up the following
List Selection
Click the Next button to display the list of mailing lists.

Select the list you have previously created and click Next.
Select the type of mail
The next type of mail displayed is the type of mail: you can choose between HTML and plain mail, or text only.
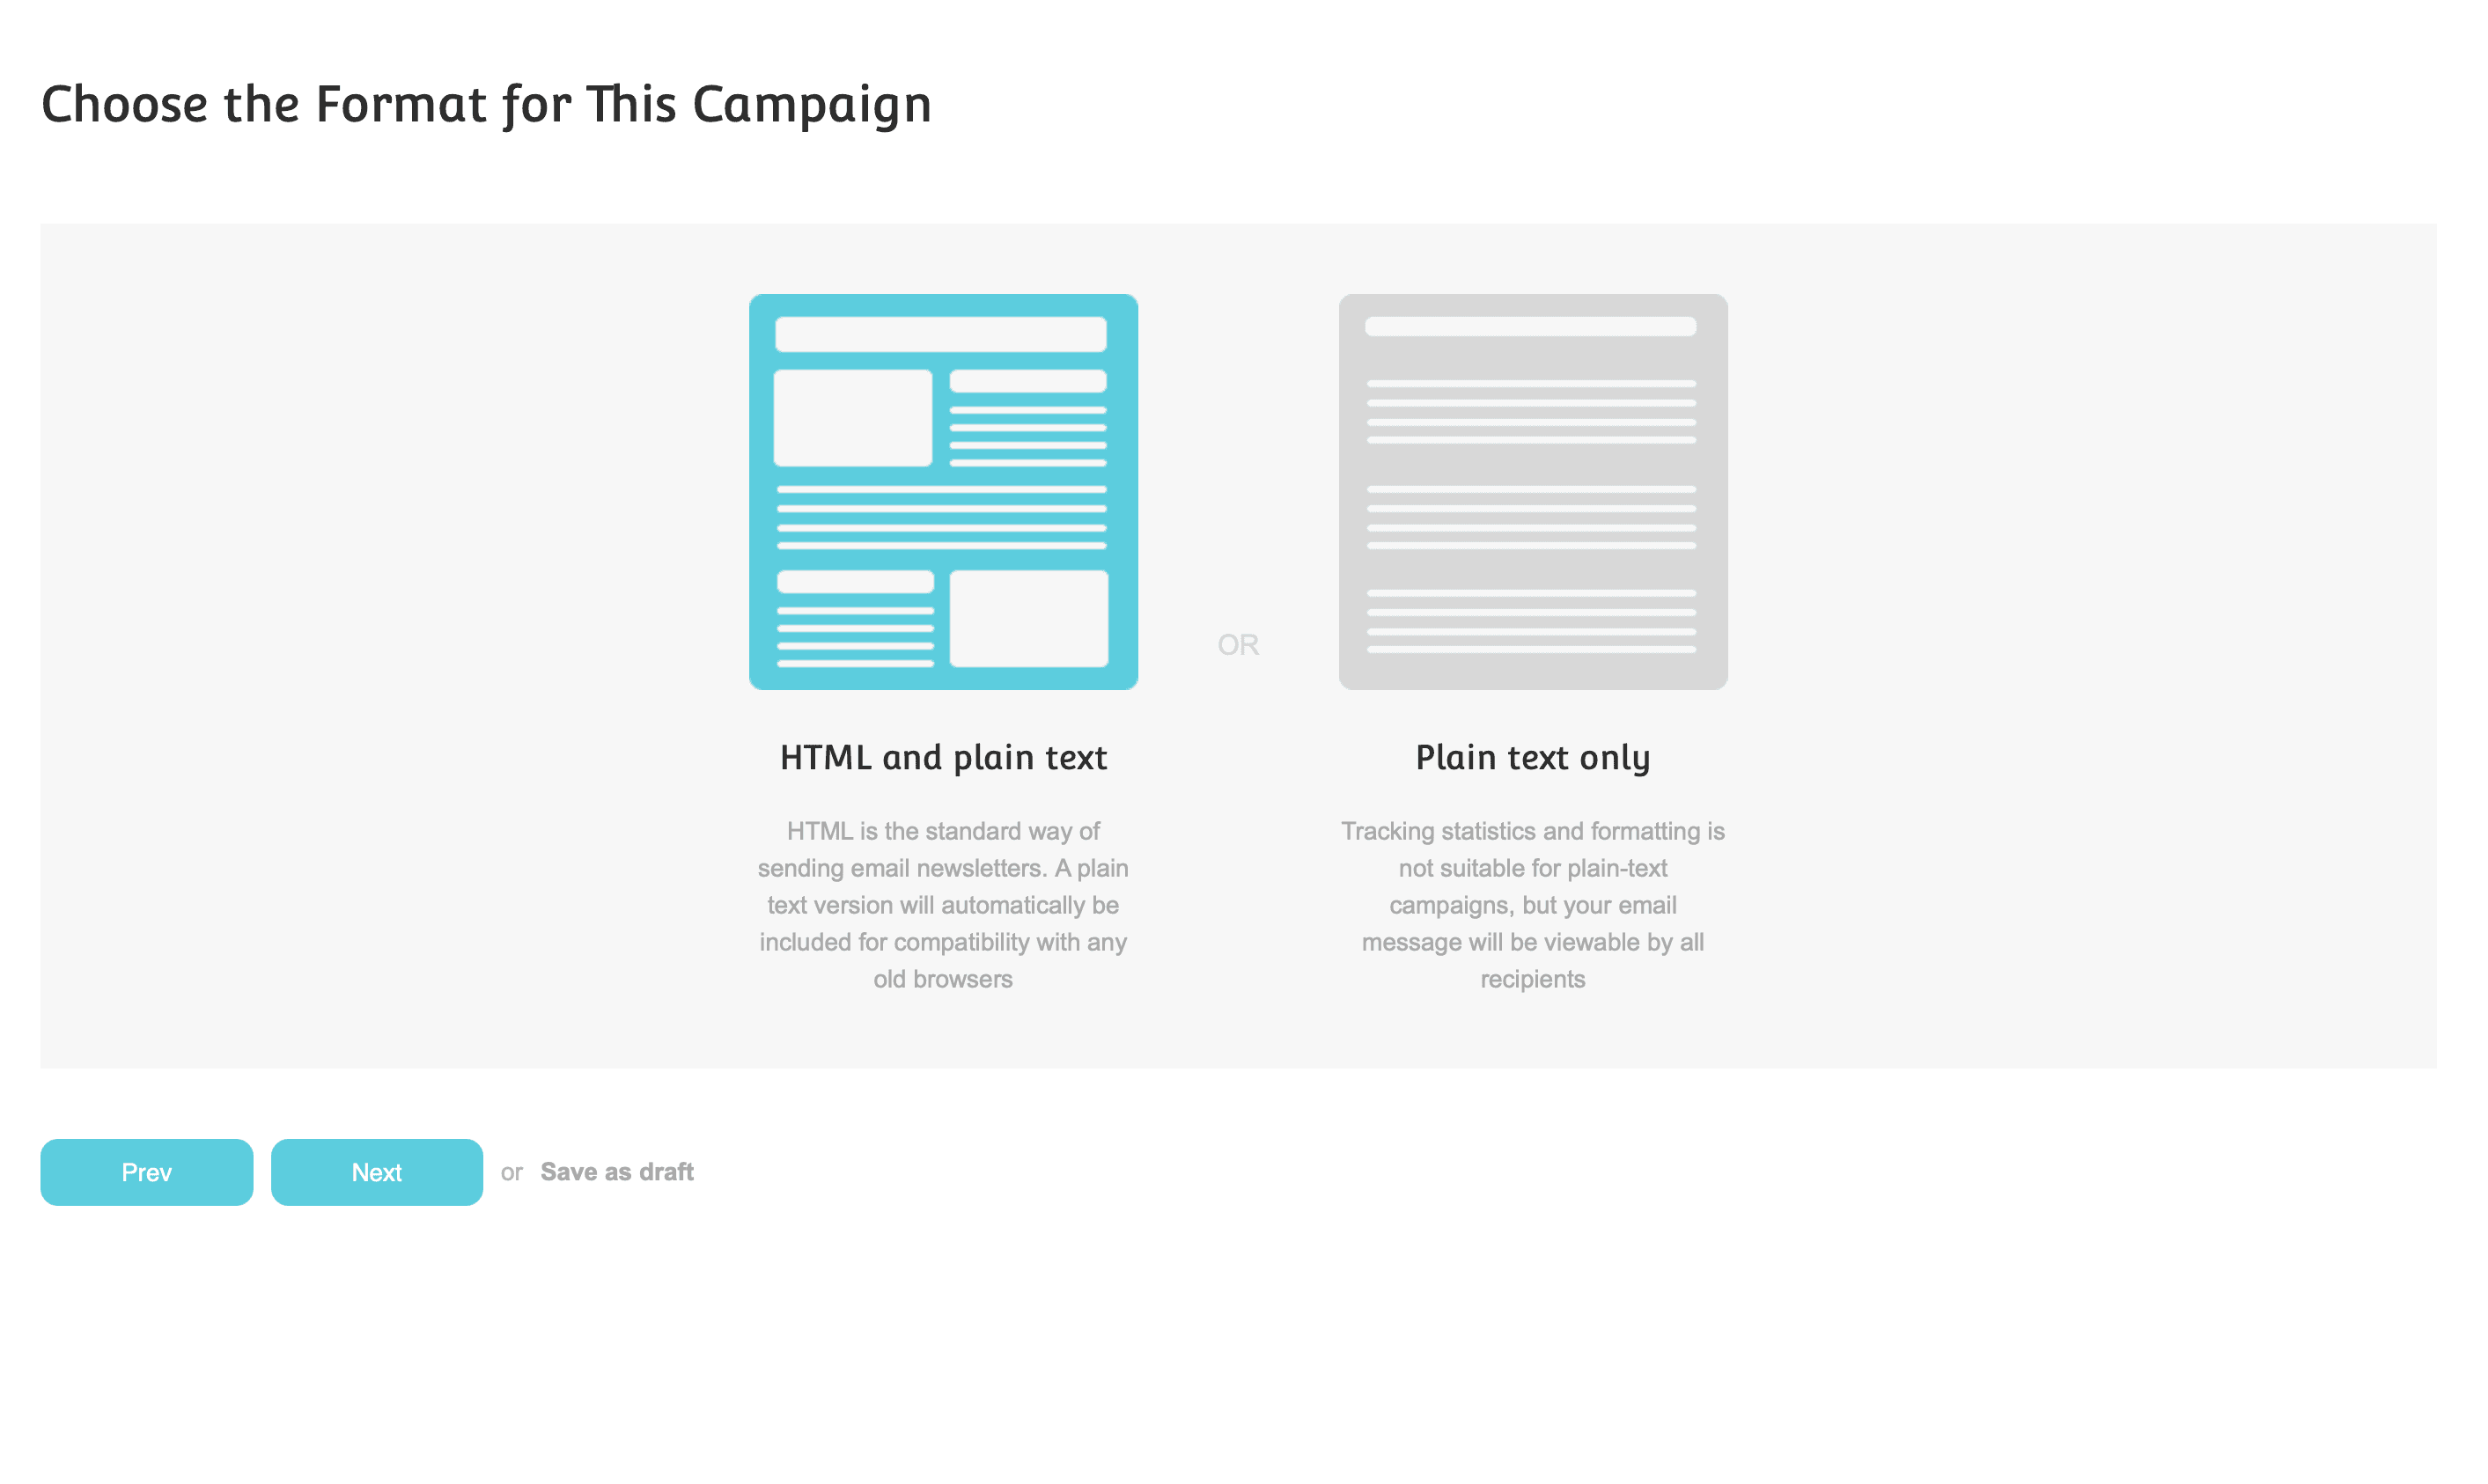
This time, select HTML and plain text.
Campaign template creation
The next screen will be the creation of the campaign.
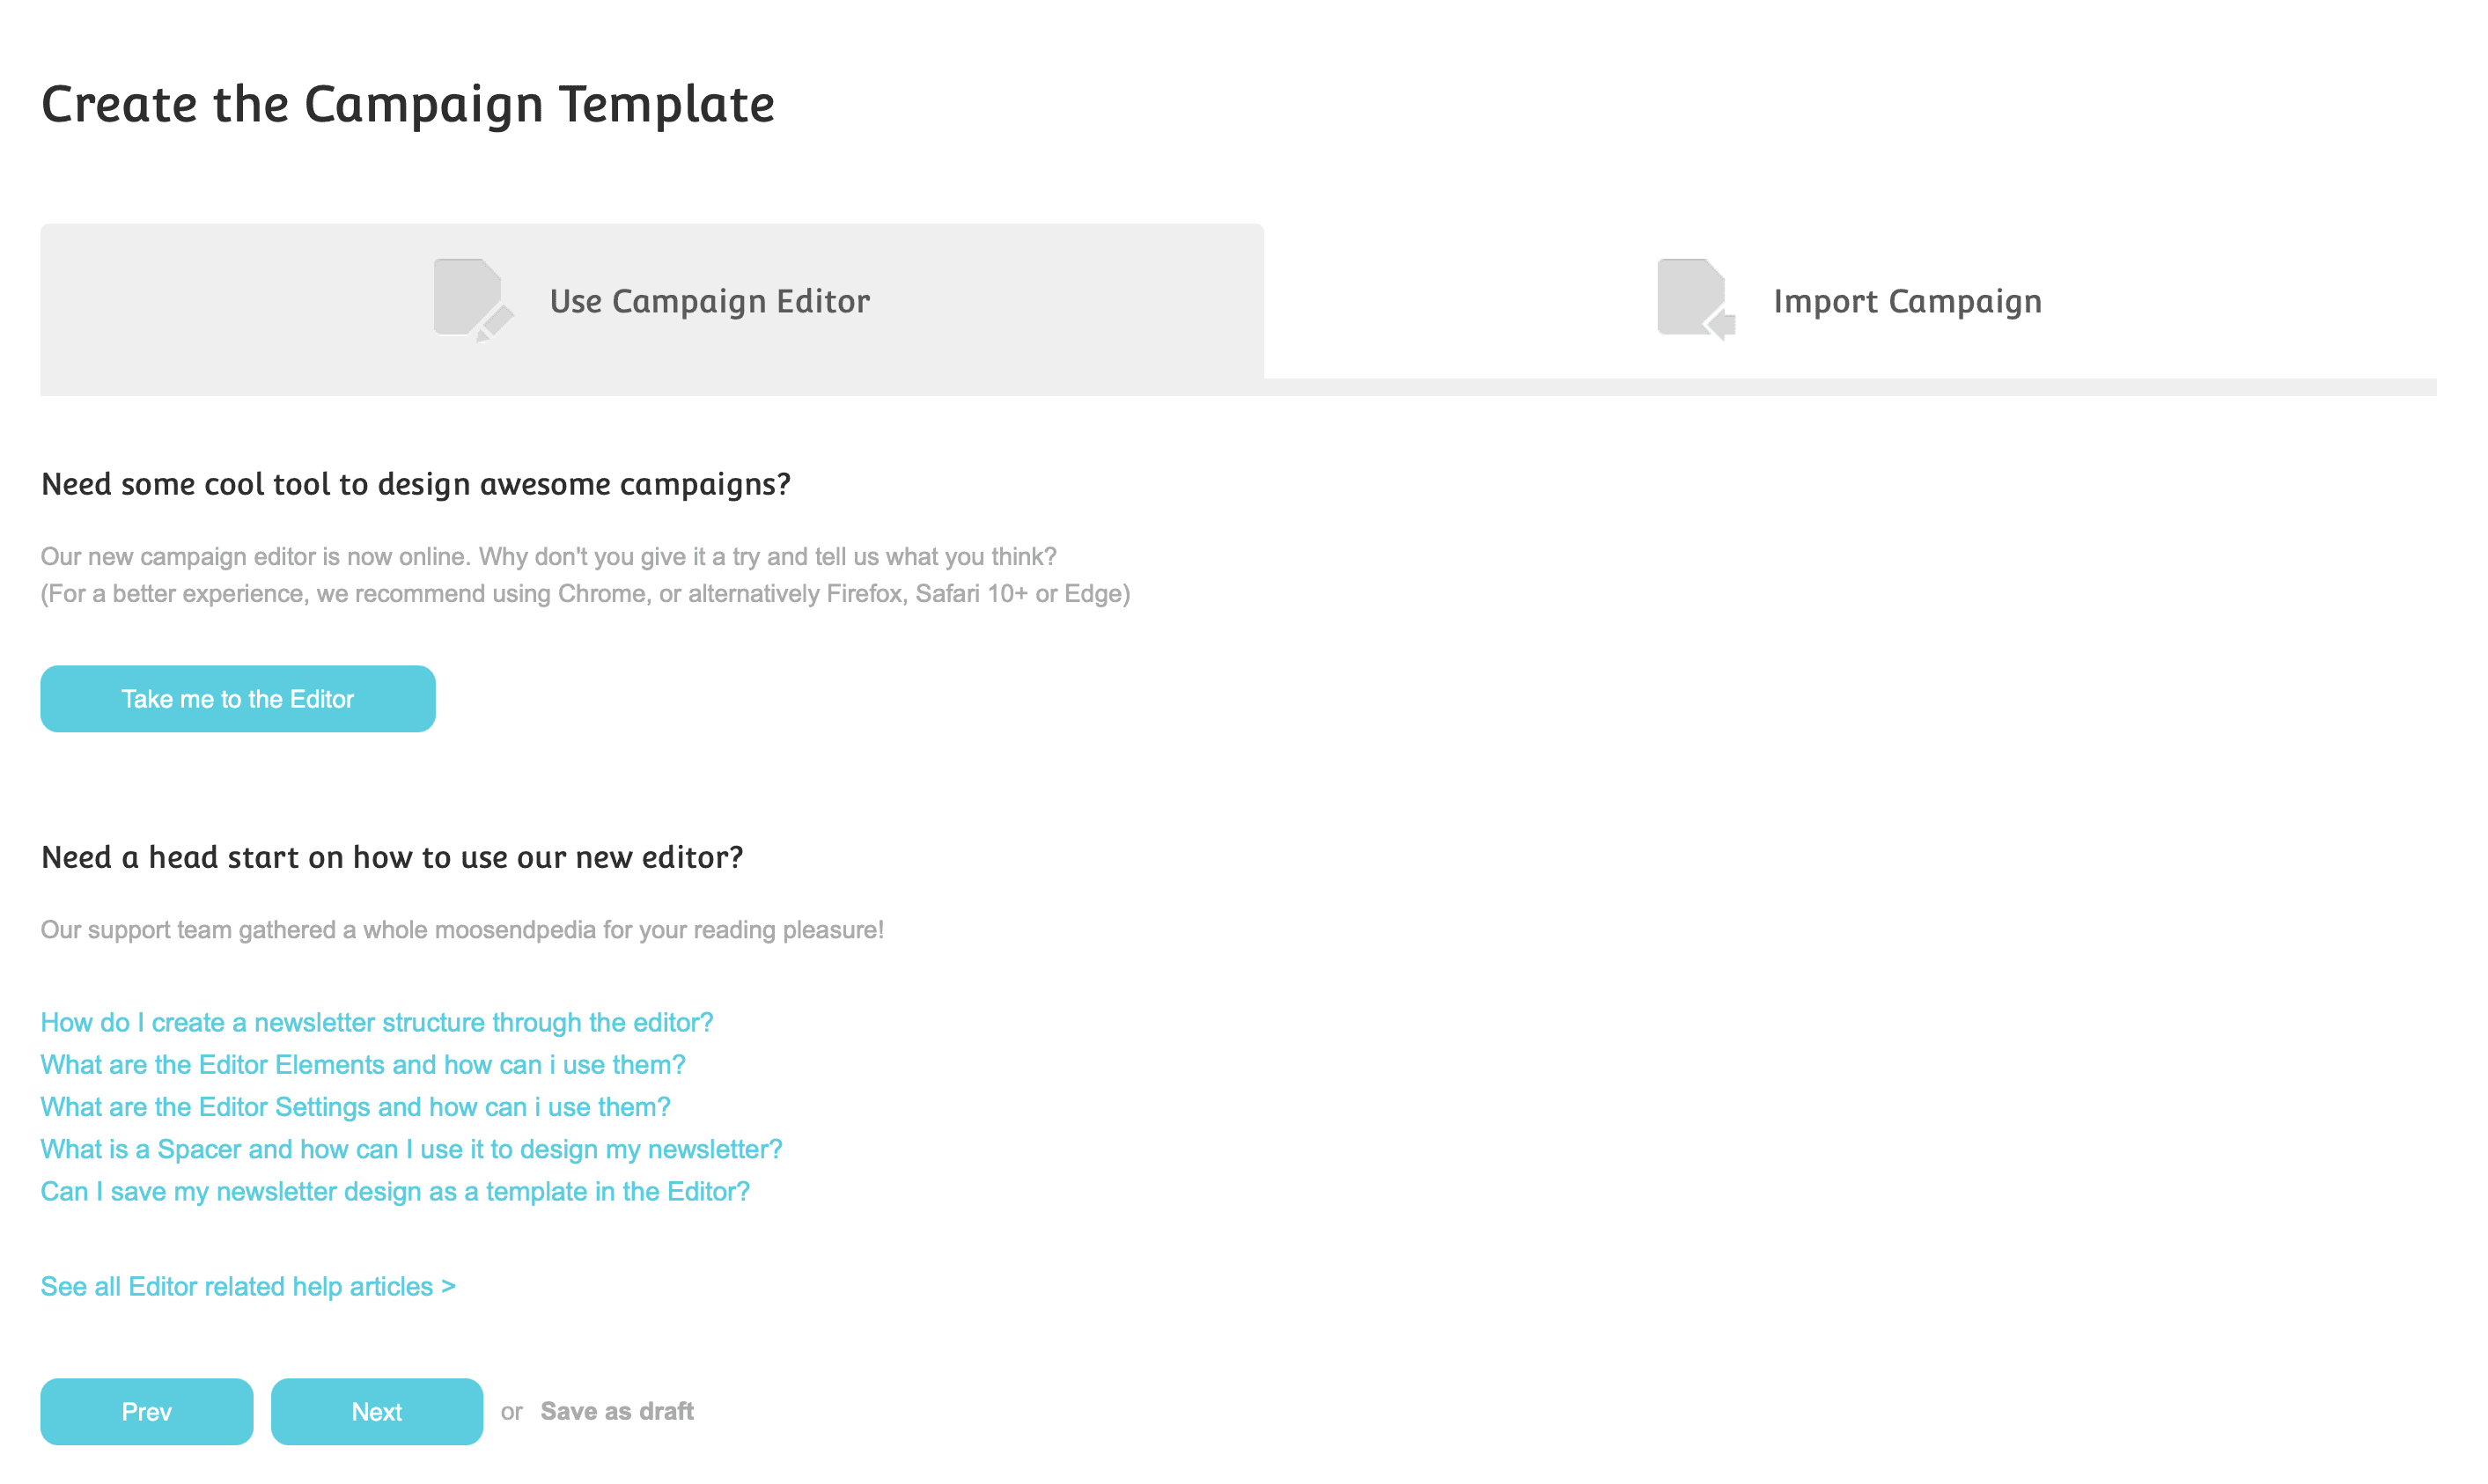
Since there is still nothing in the initial setup, click Take me to the Editor. You will then be taken to the Mail Editor screen.
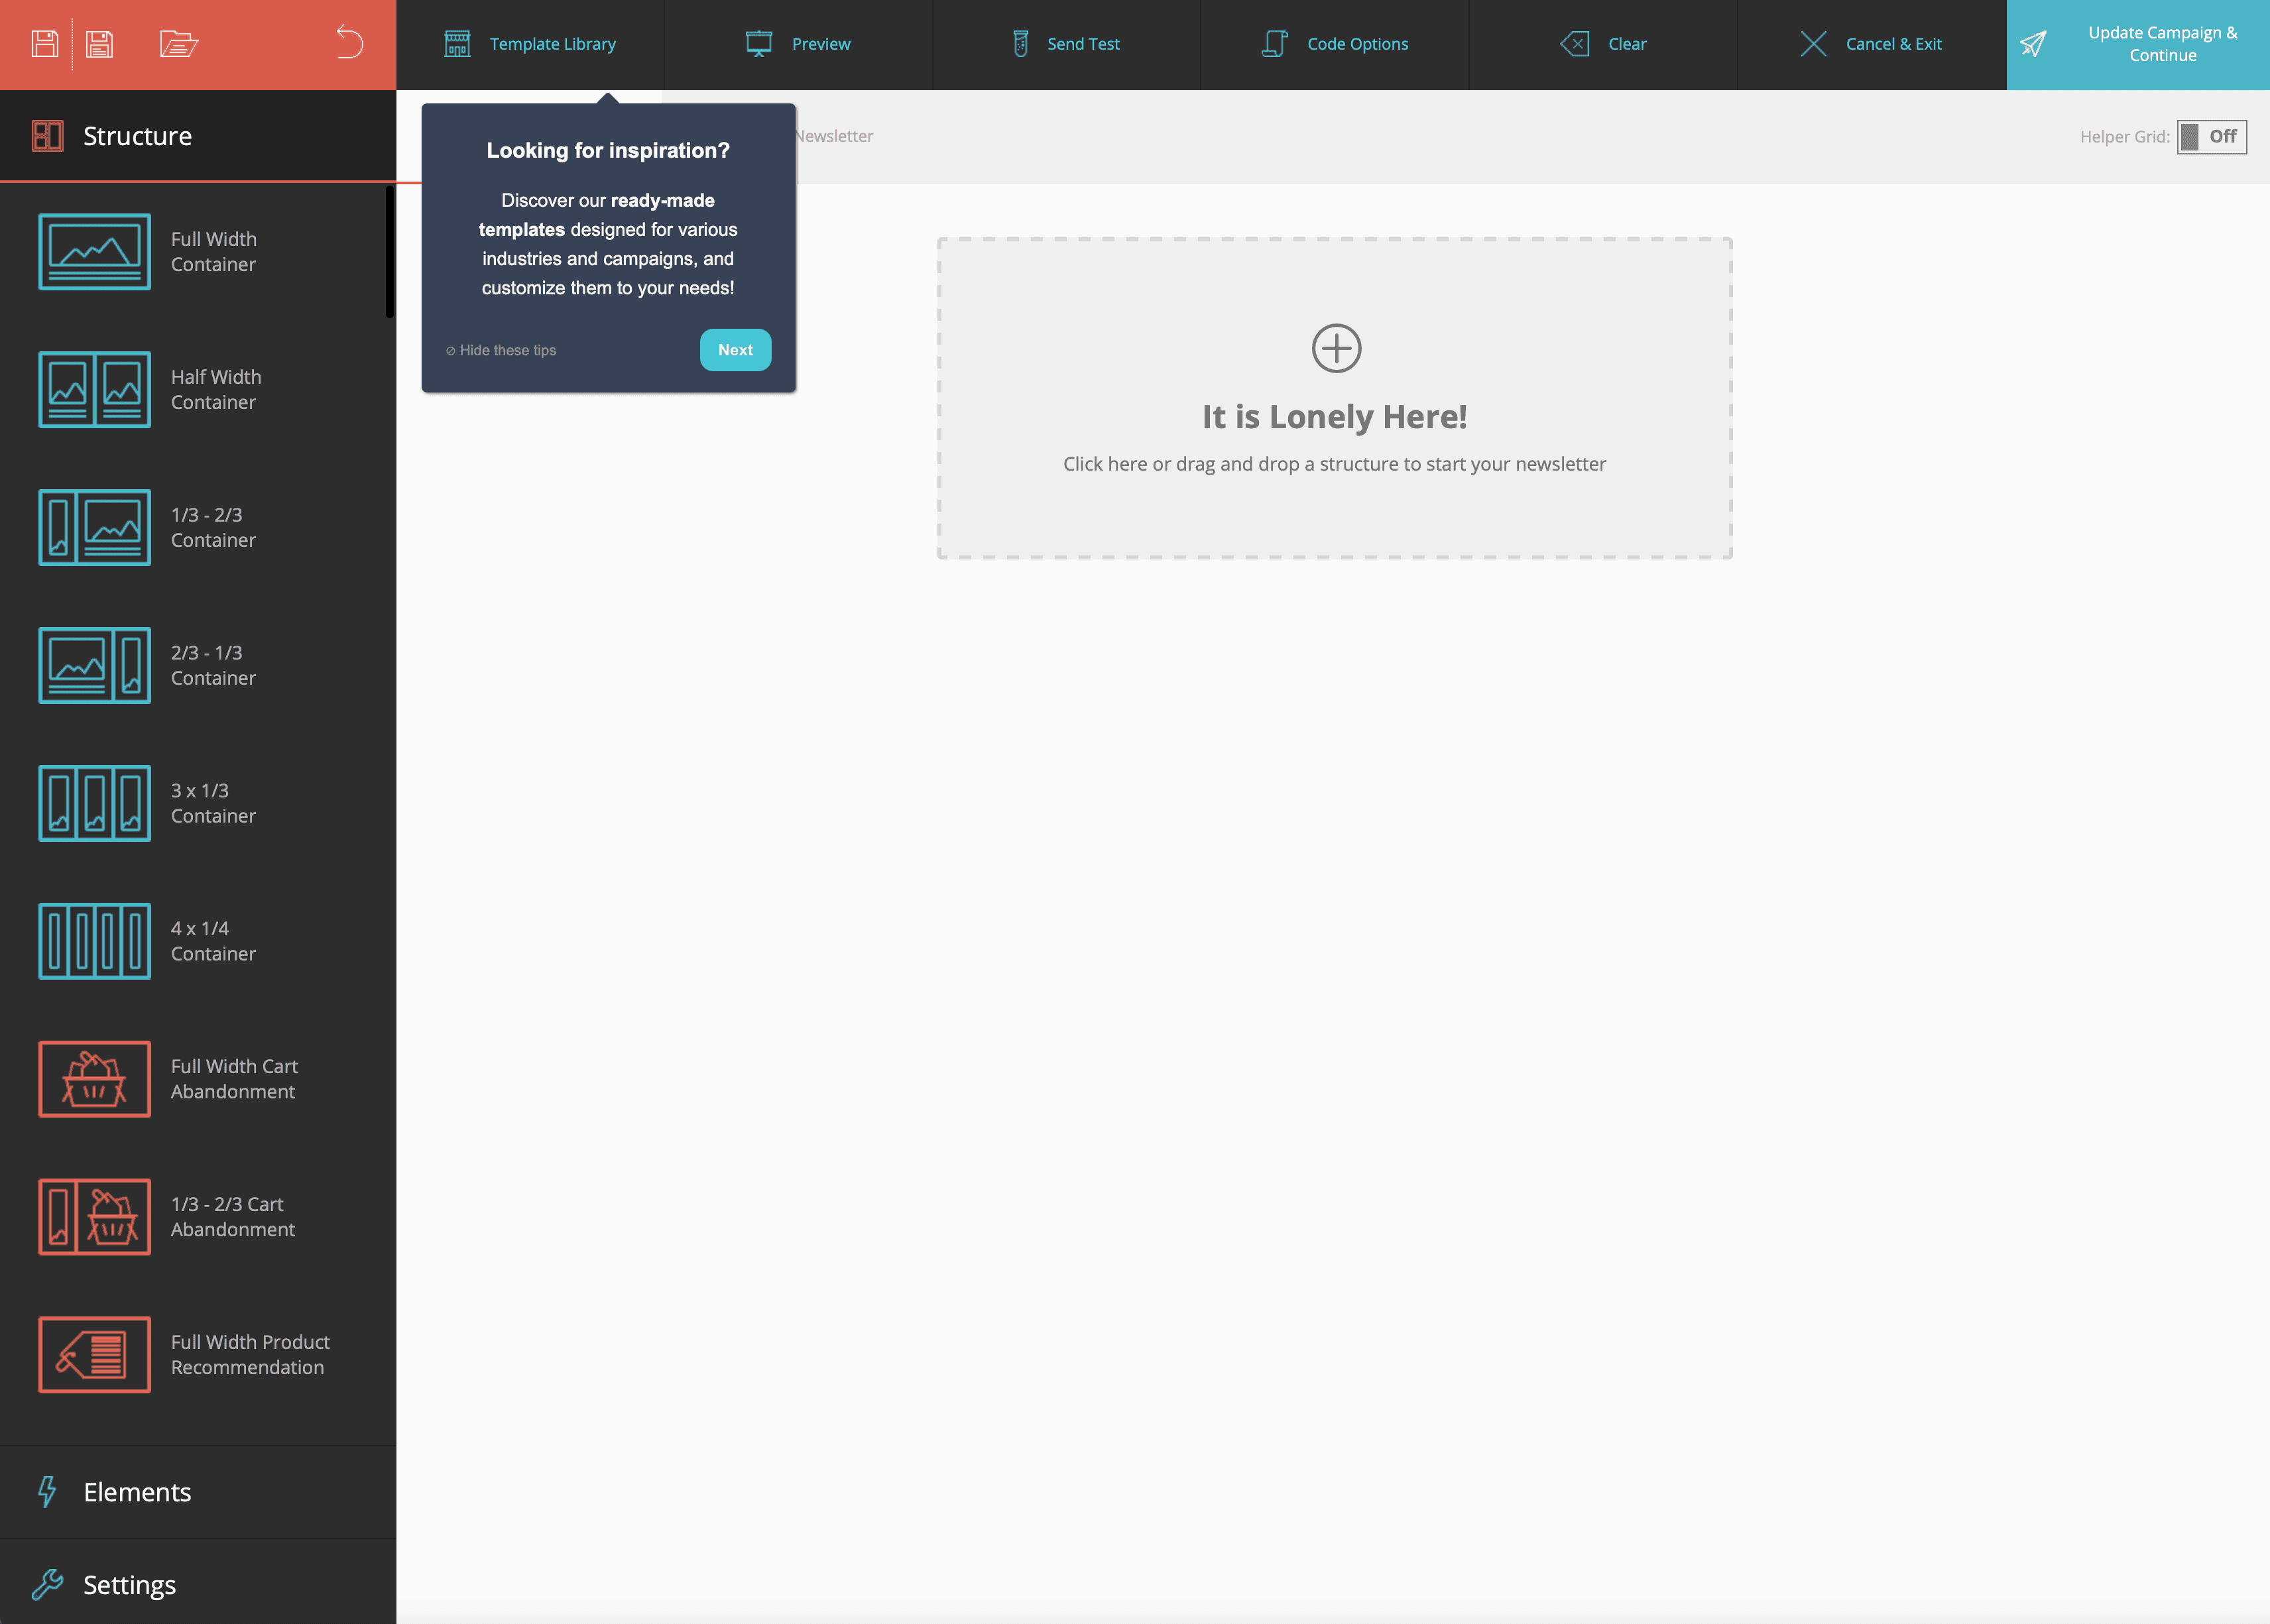
As you can see in the pop-up in the upper left corner, there is a Template Library.
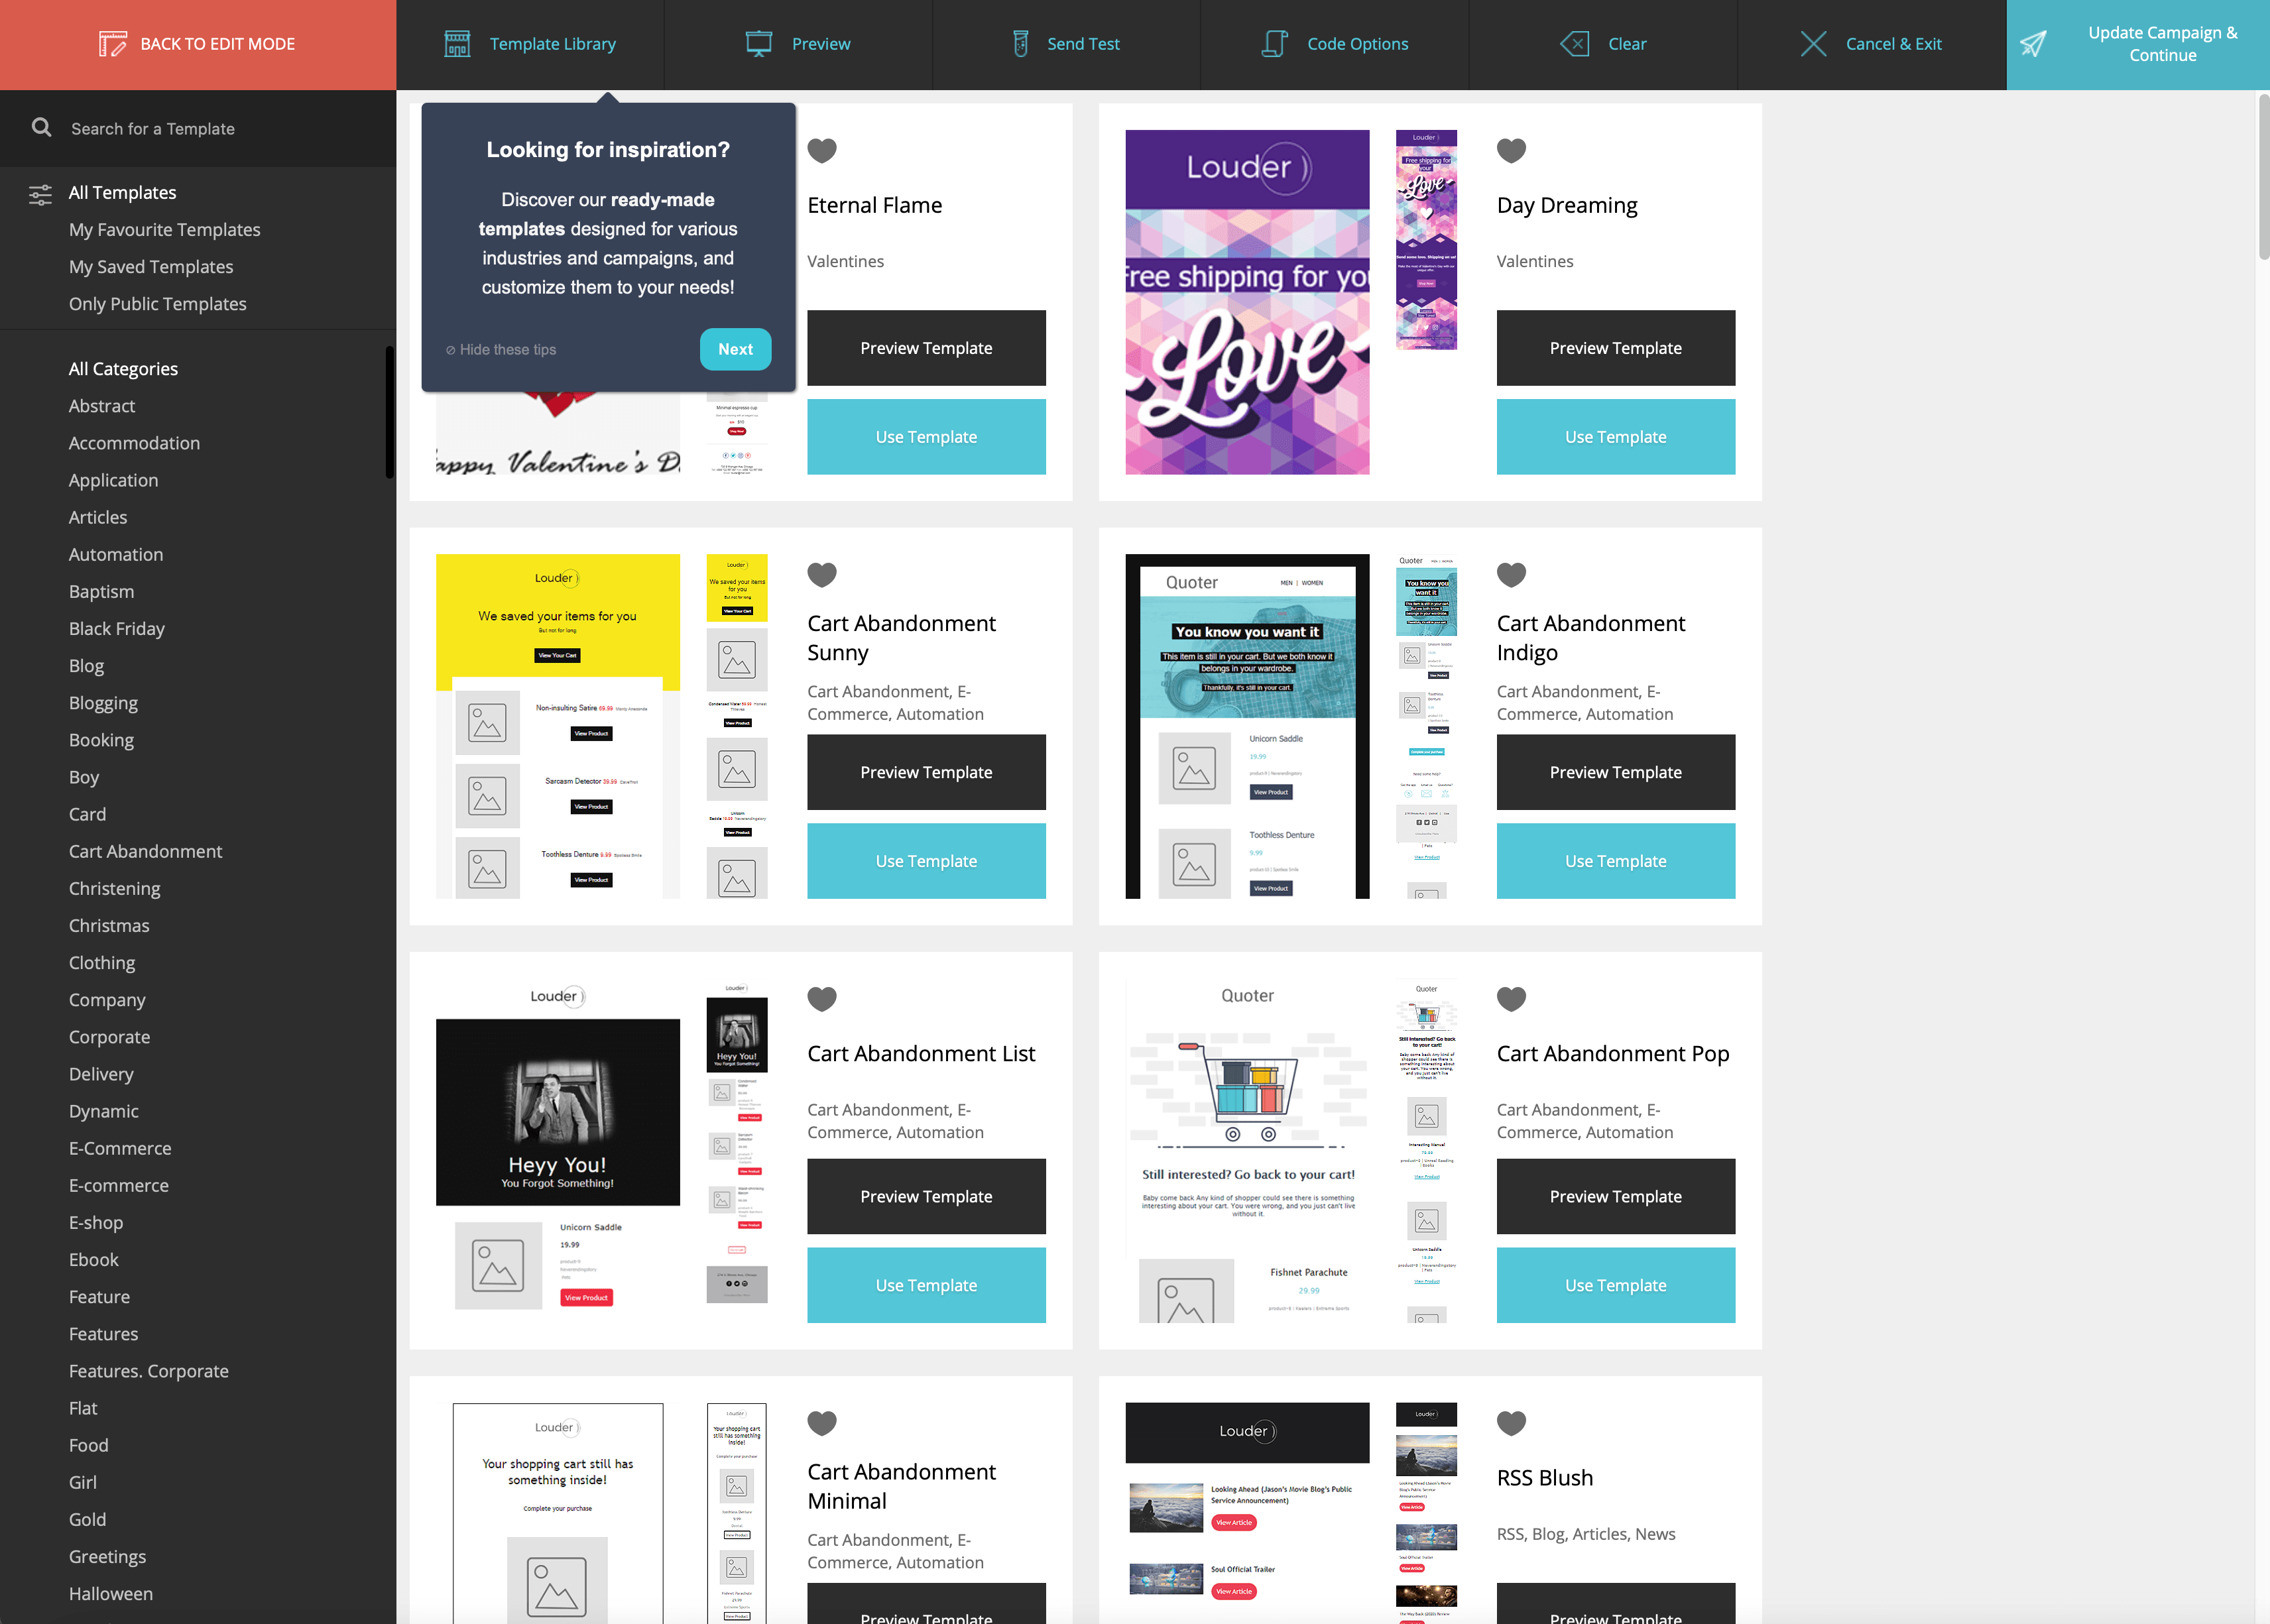
A number of templates are now displayed; click on Preview Template to see a preview with sample data on the screen.
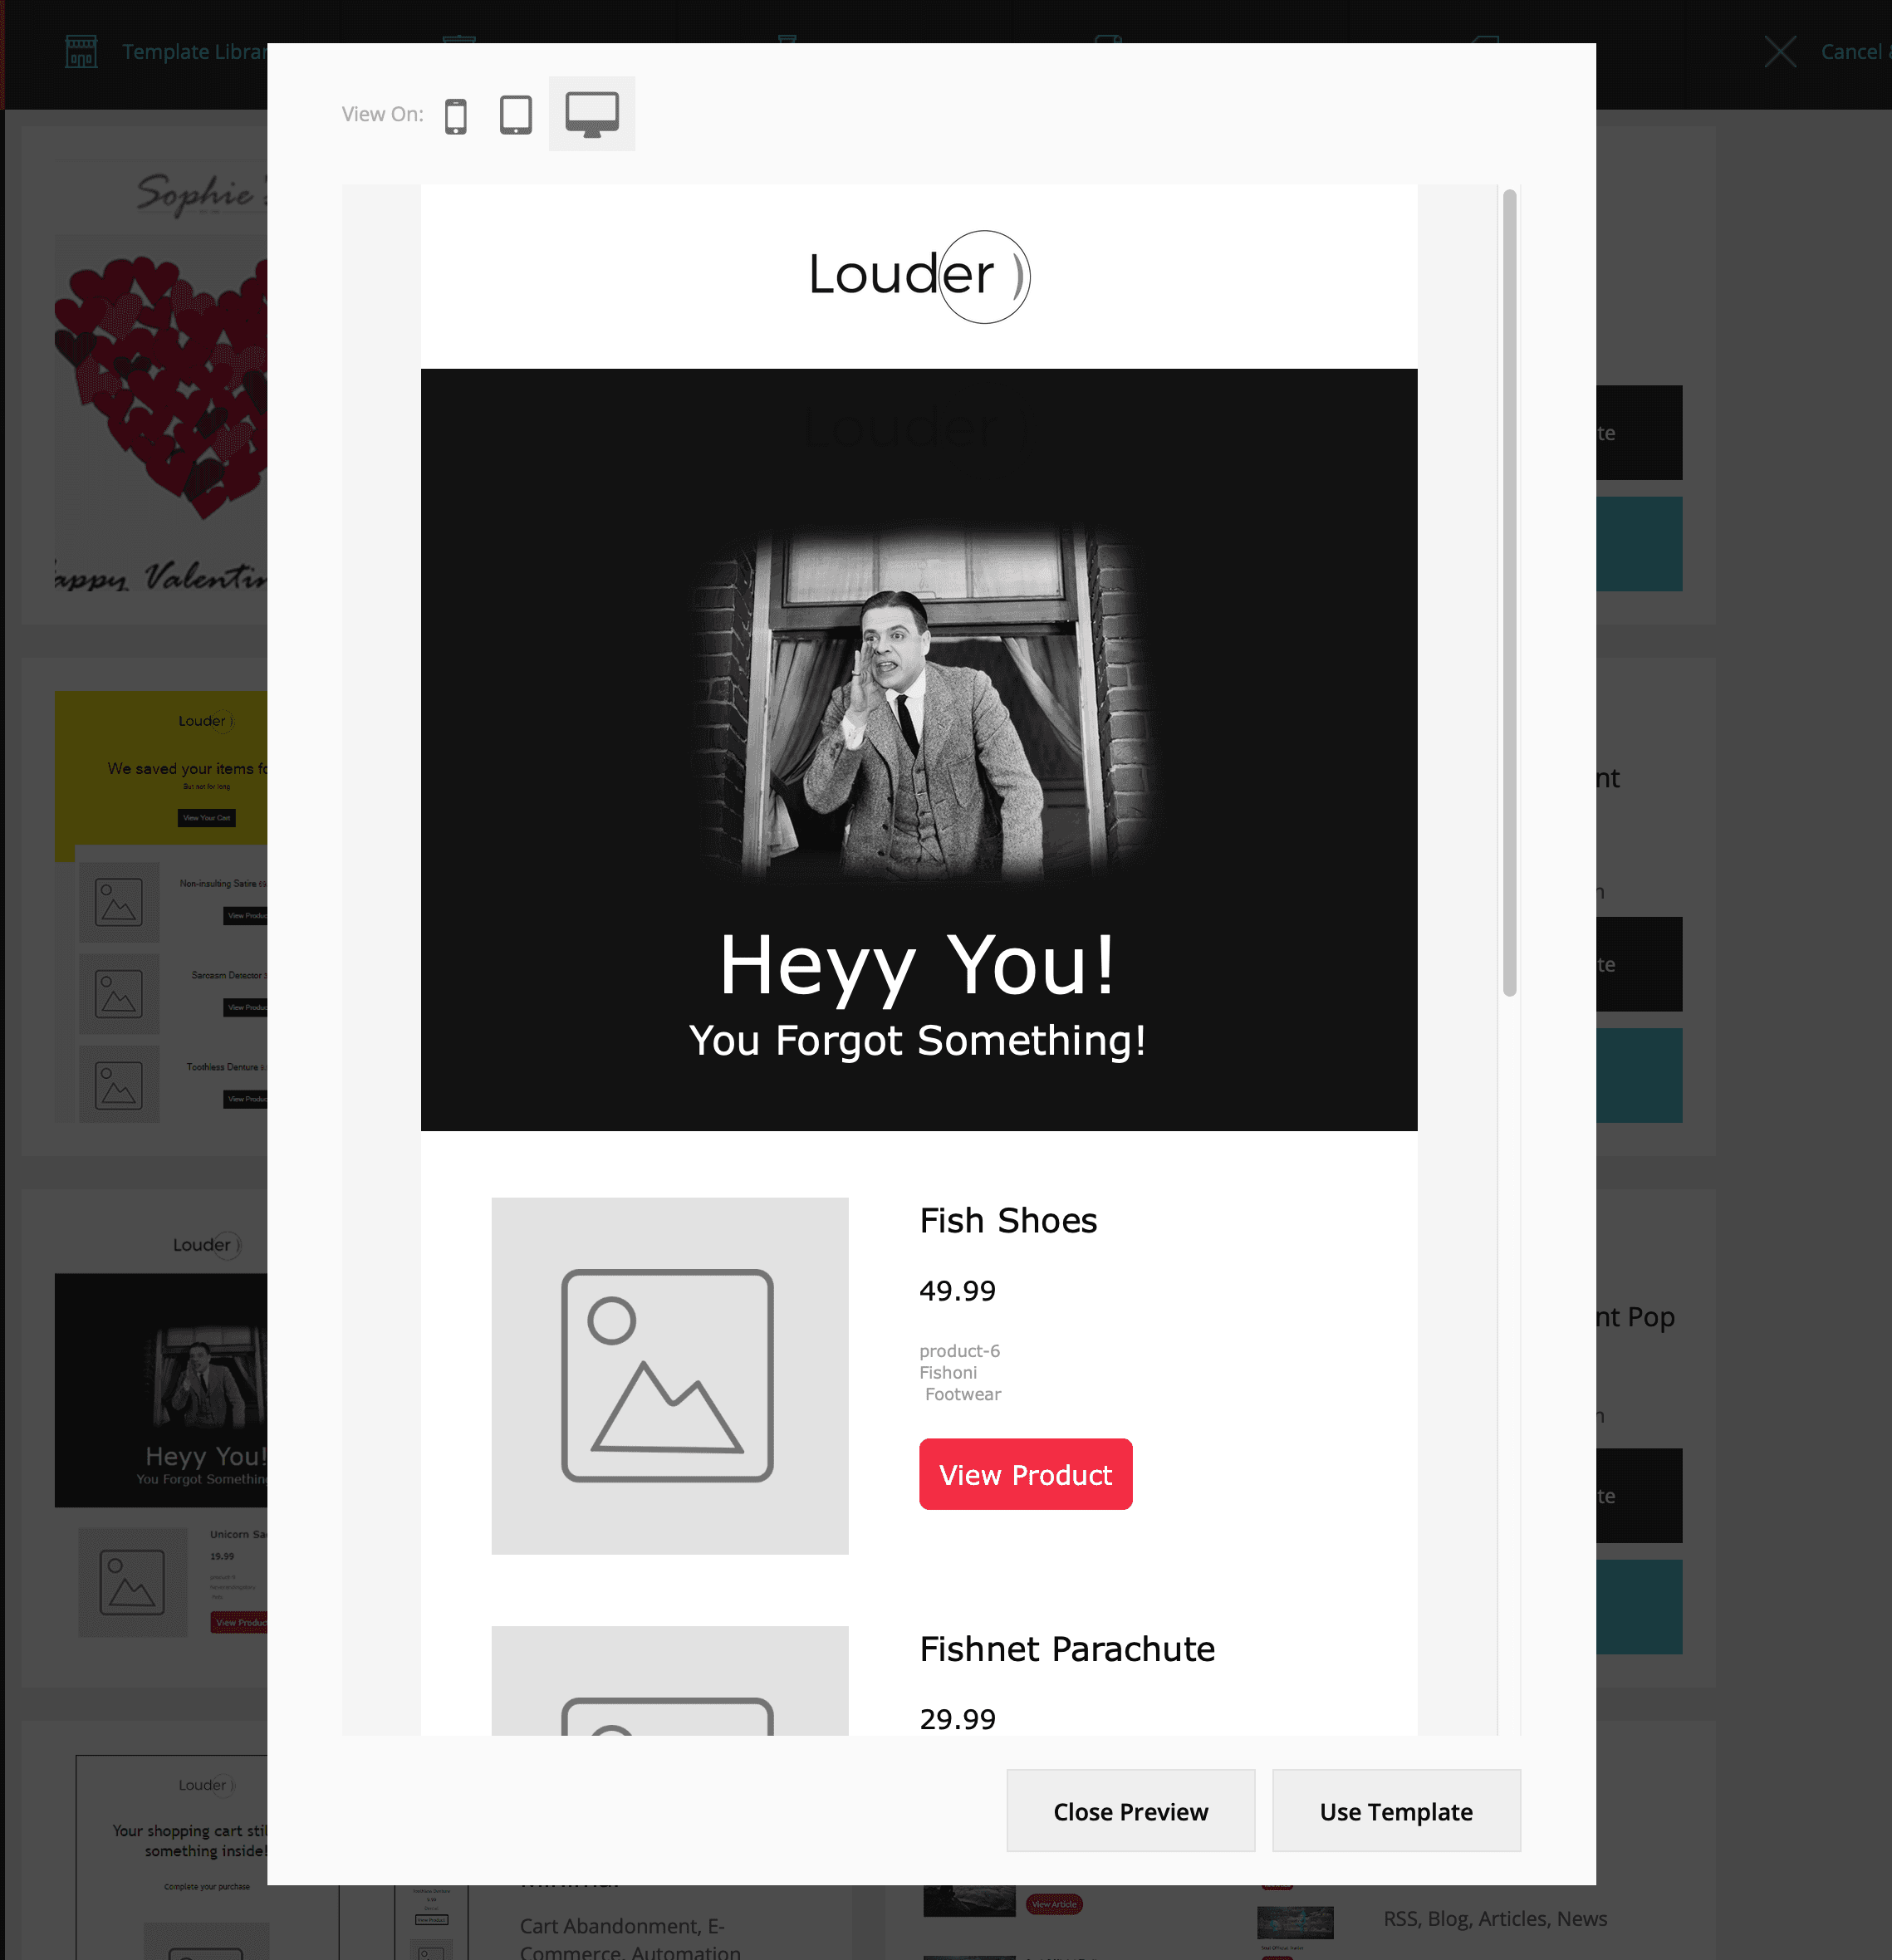
On the left side, categories are displayed. In this case, we have switched to the Blog genre.
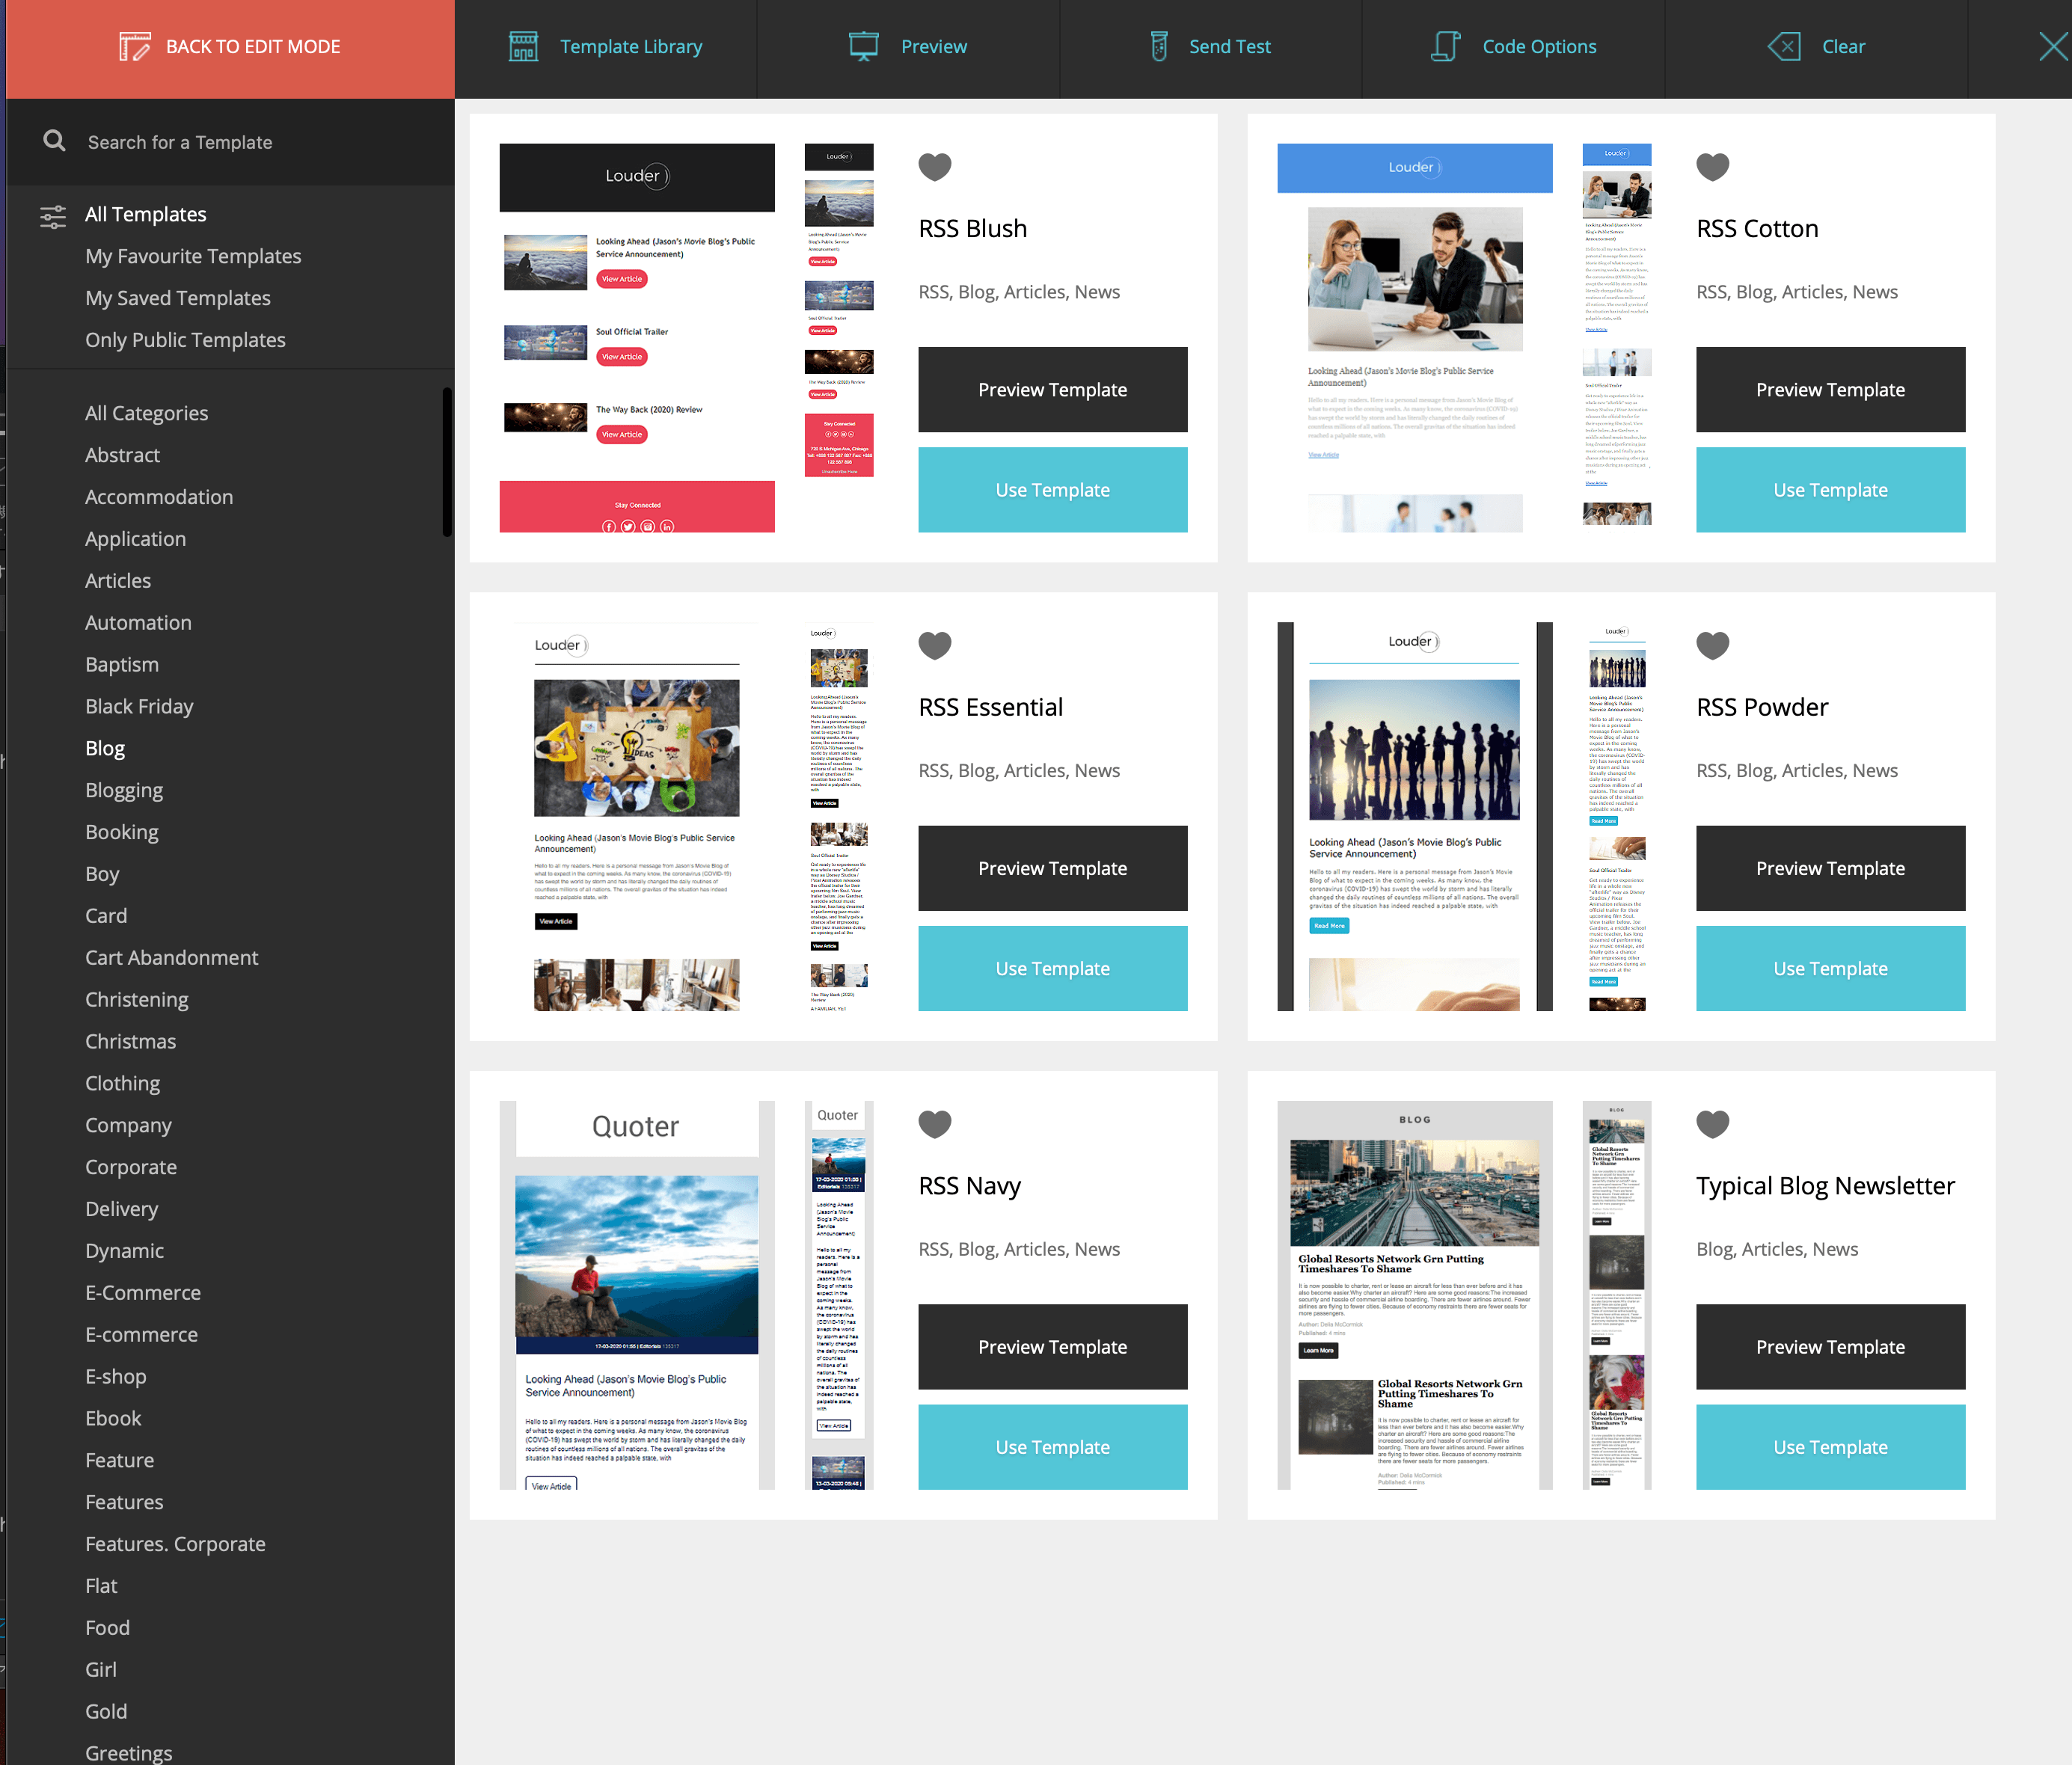
From here, select the Typical Blog Newsletter template.
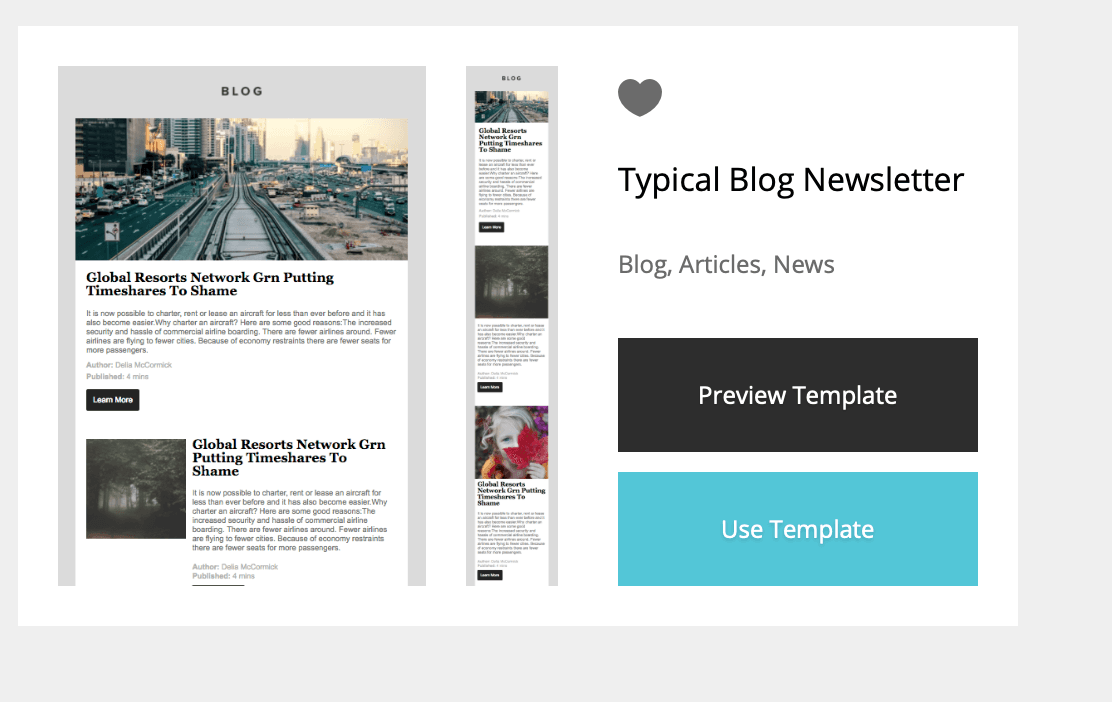
Clicking on User template switches the screen as shown below.
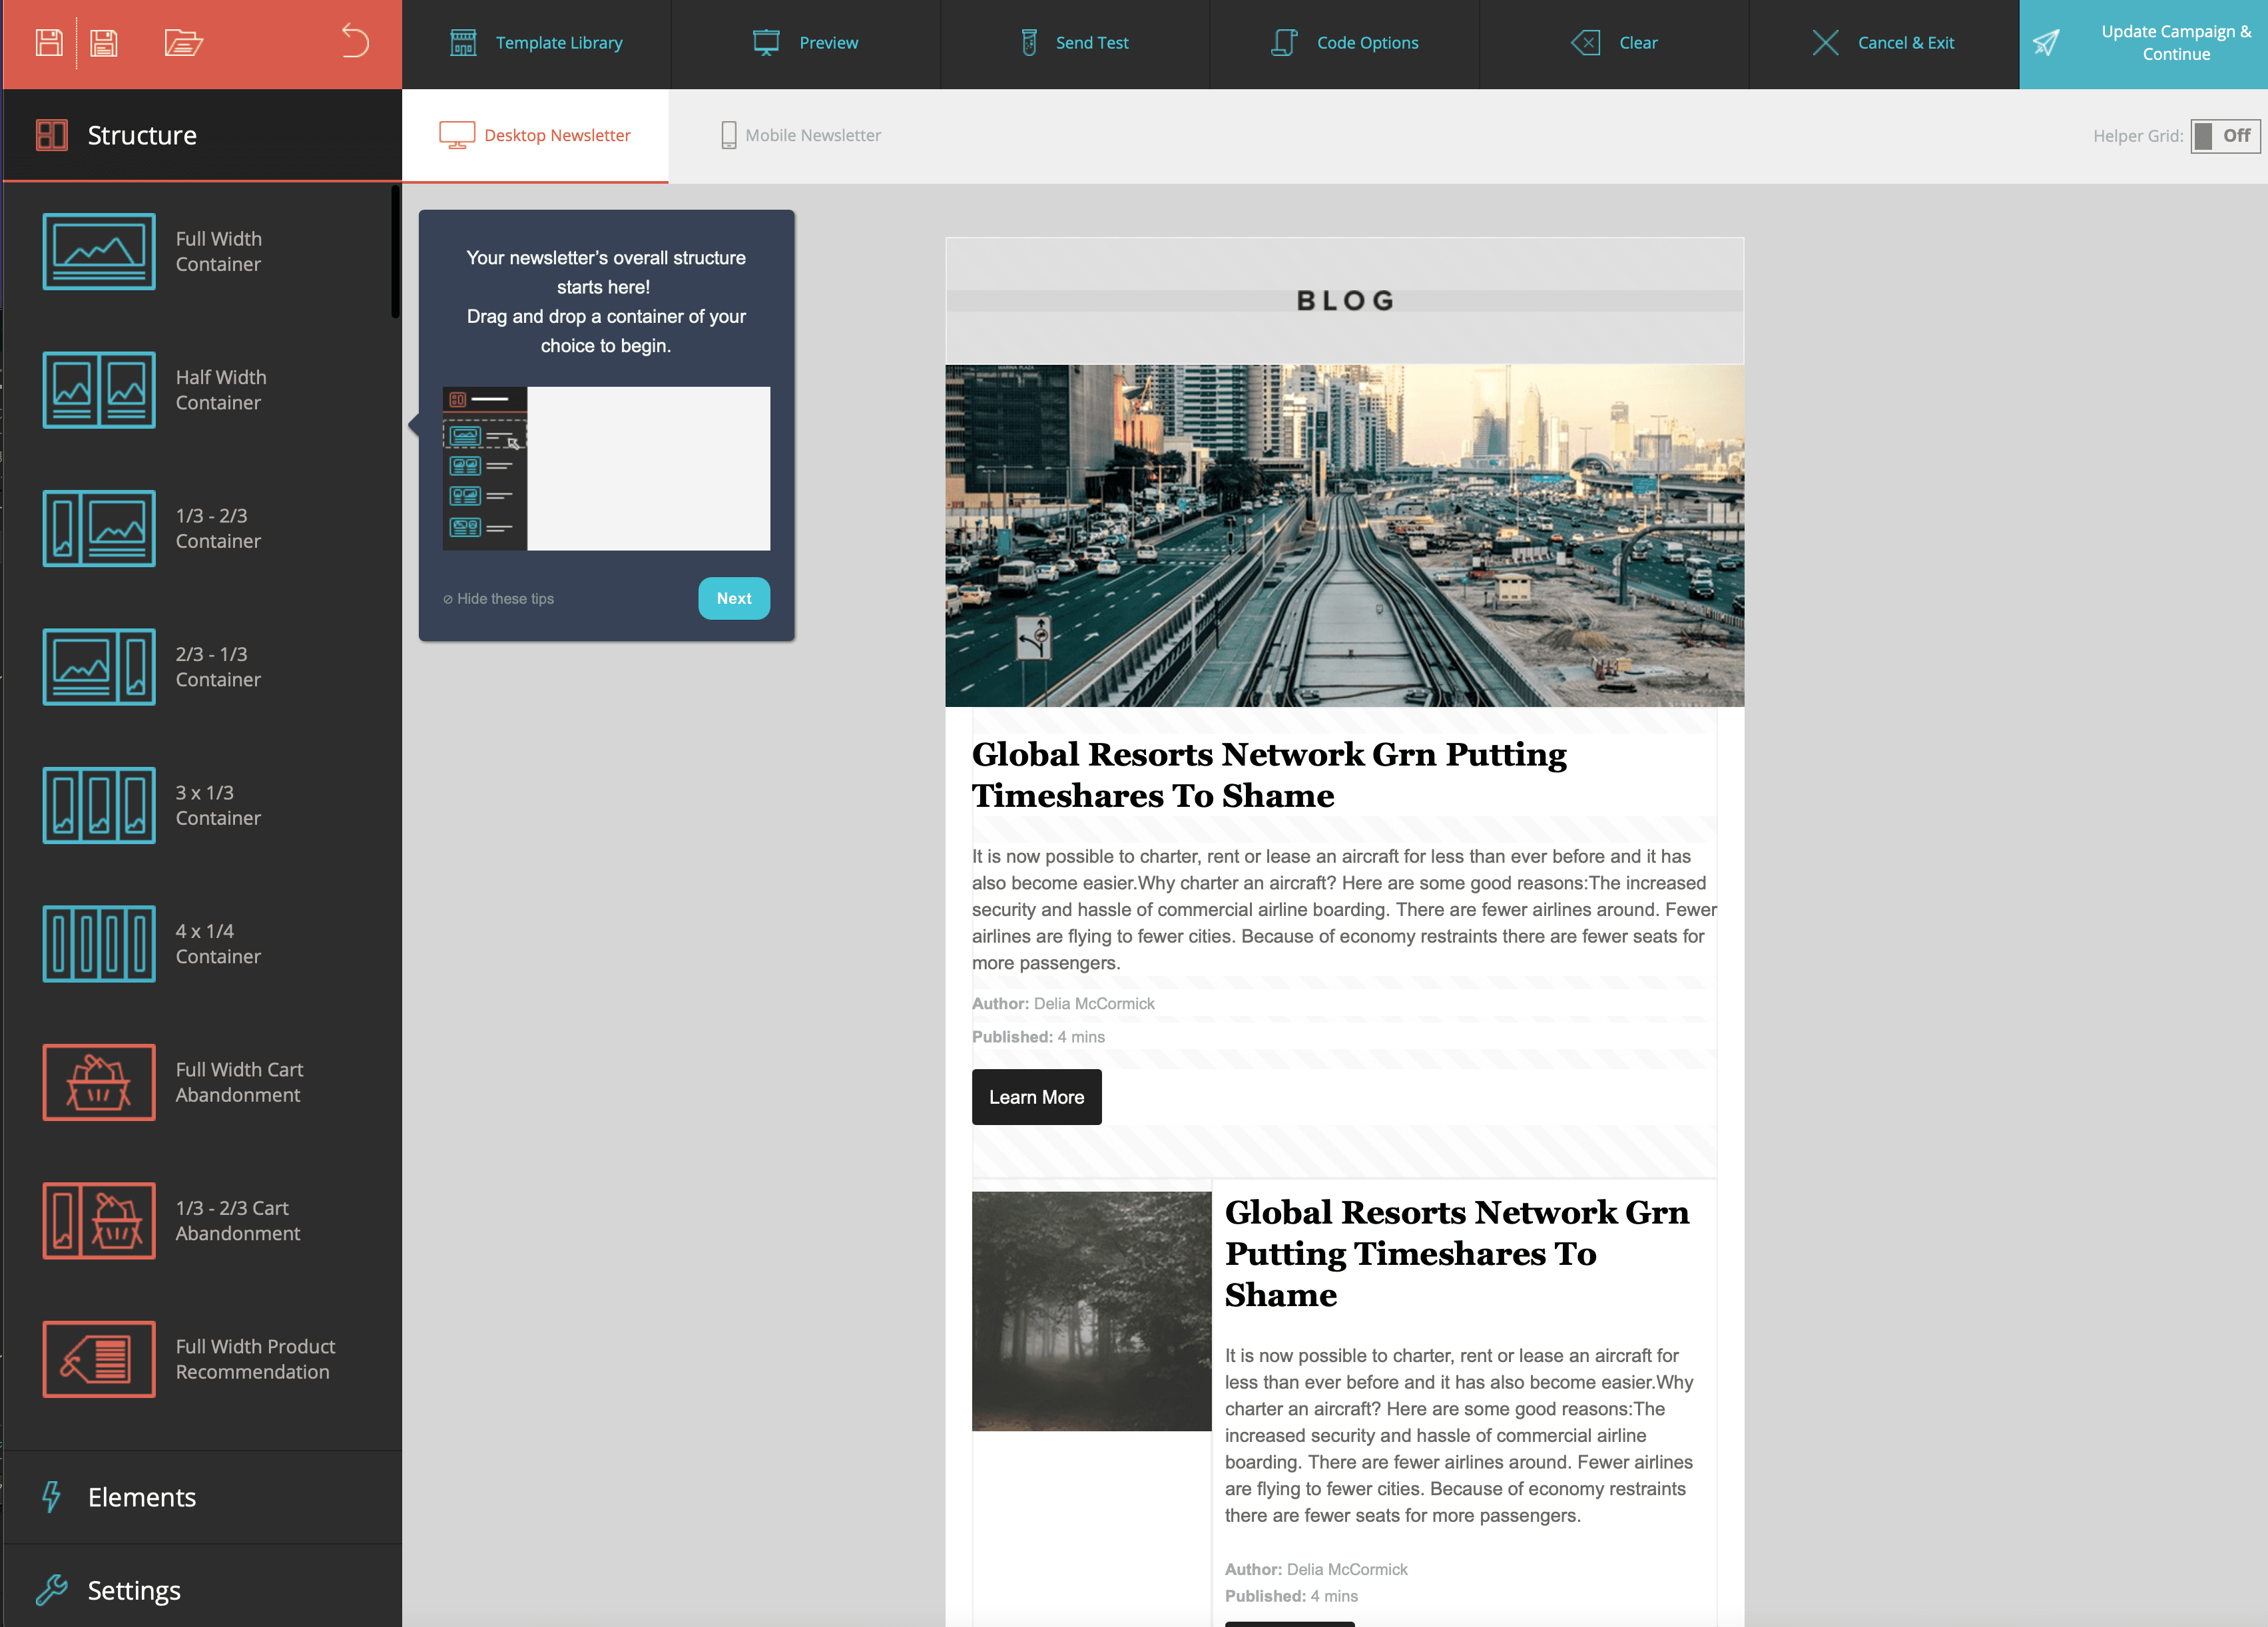
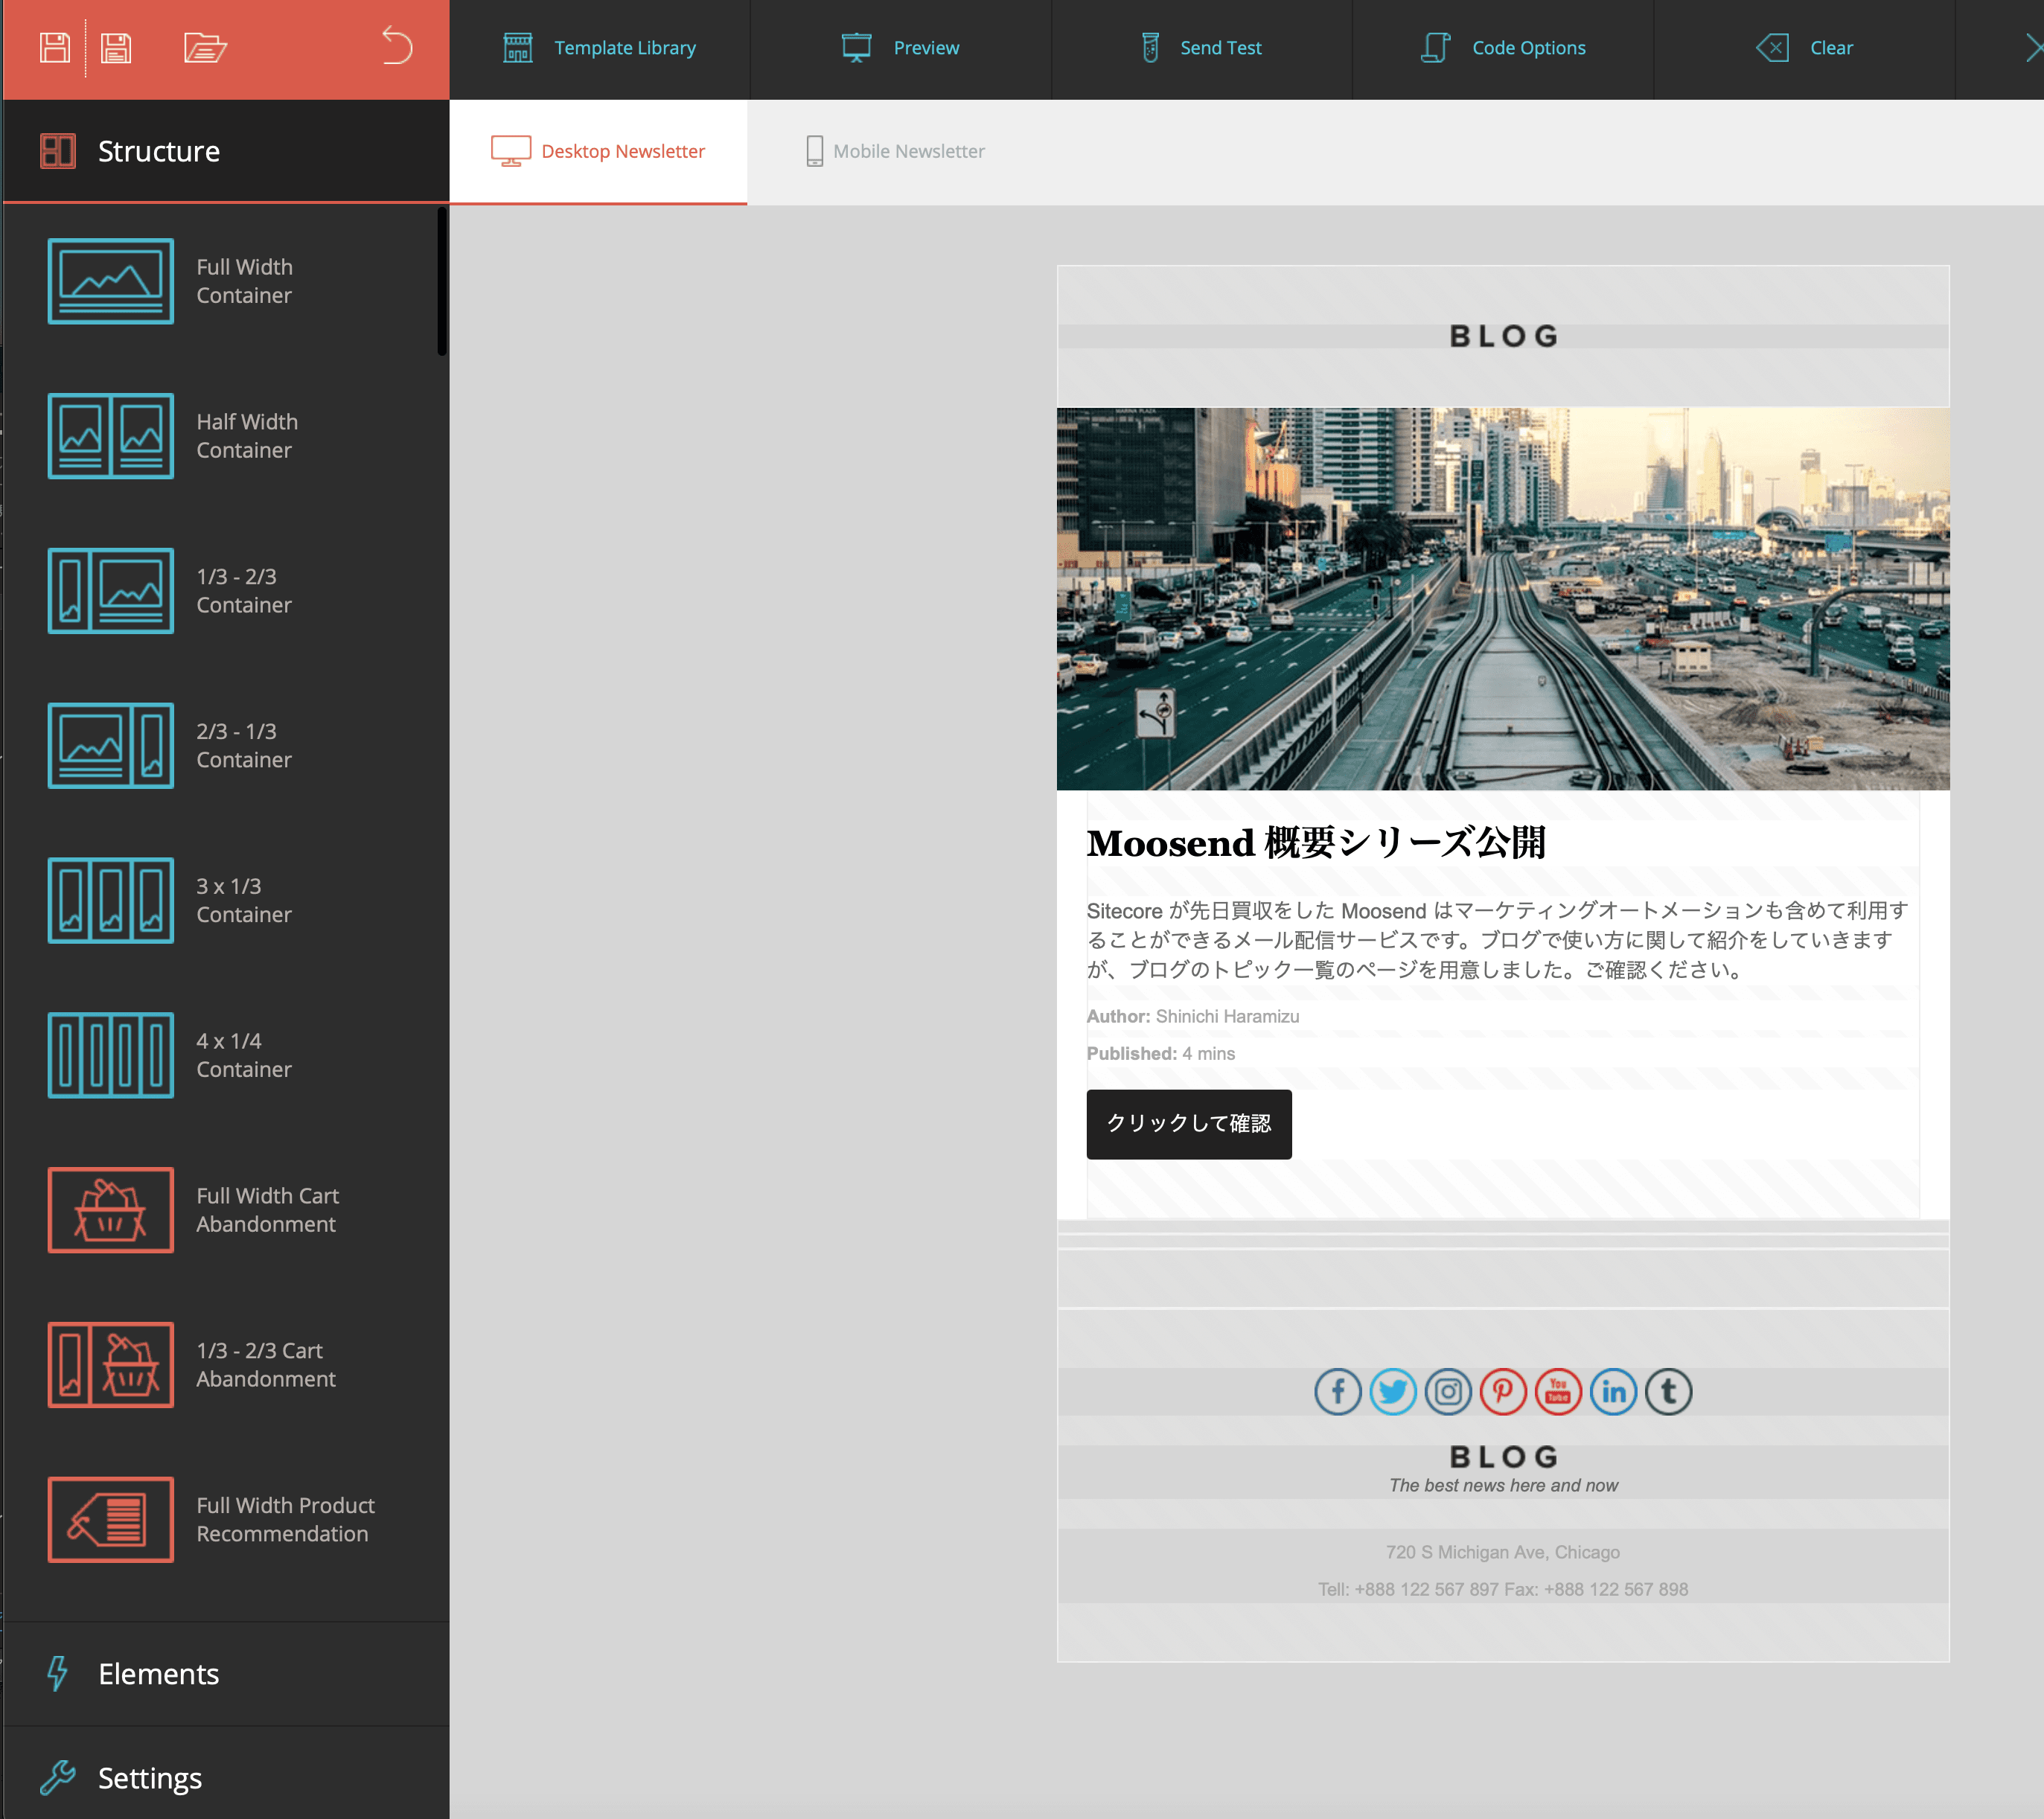
You can drag and drop items on the left side to arrange them as needed. This screen also allows you to edit the email. Click on the text.
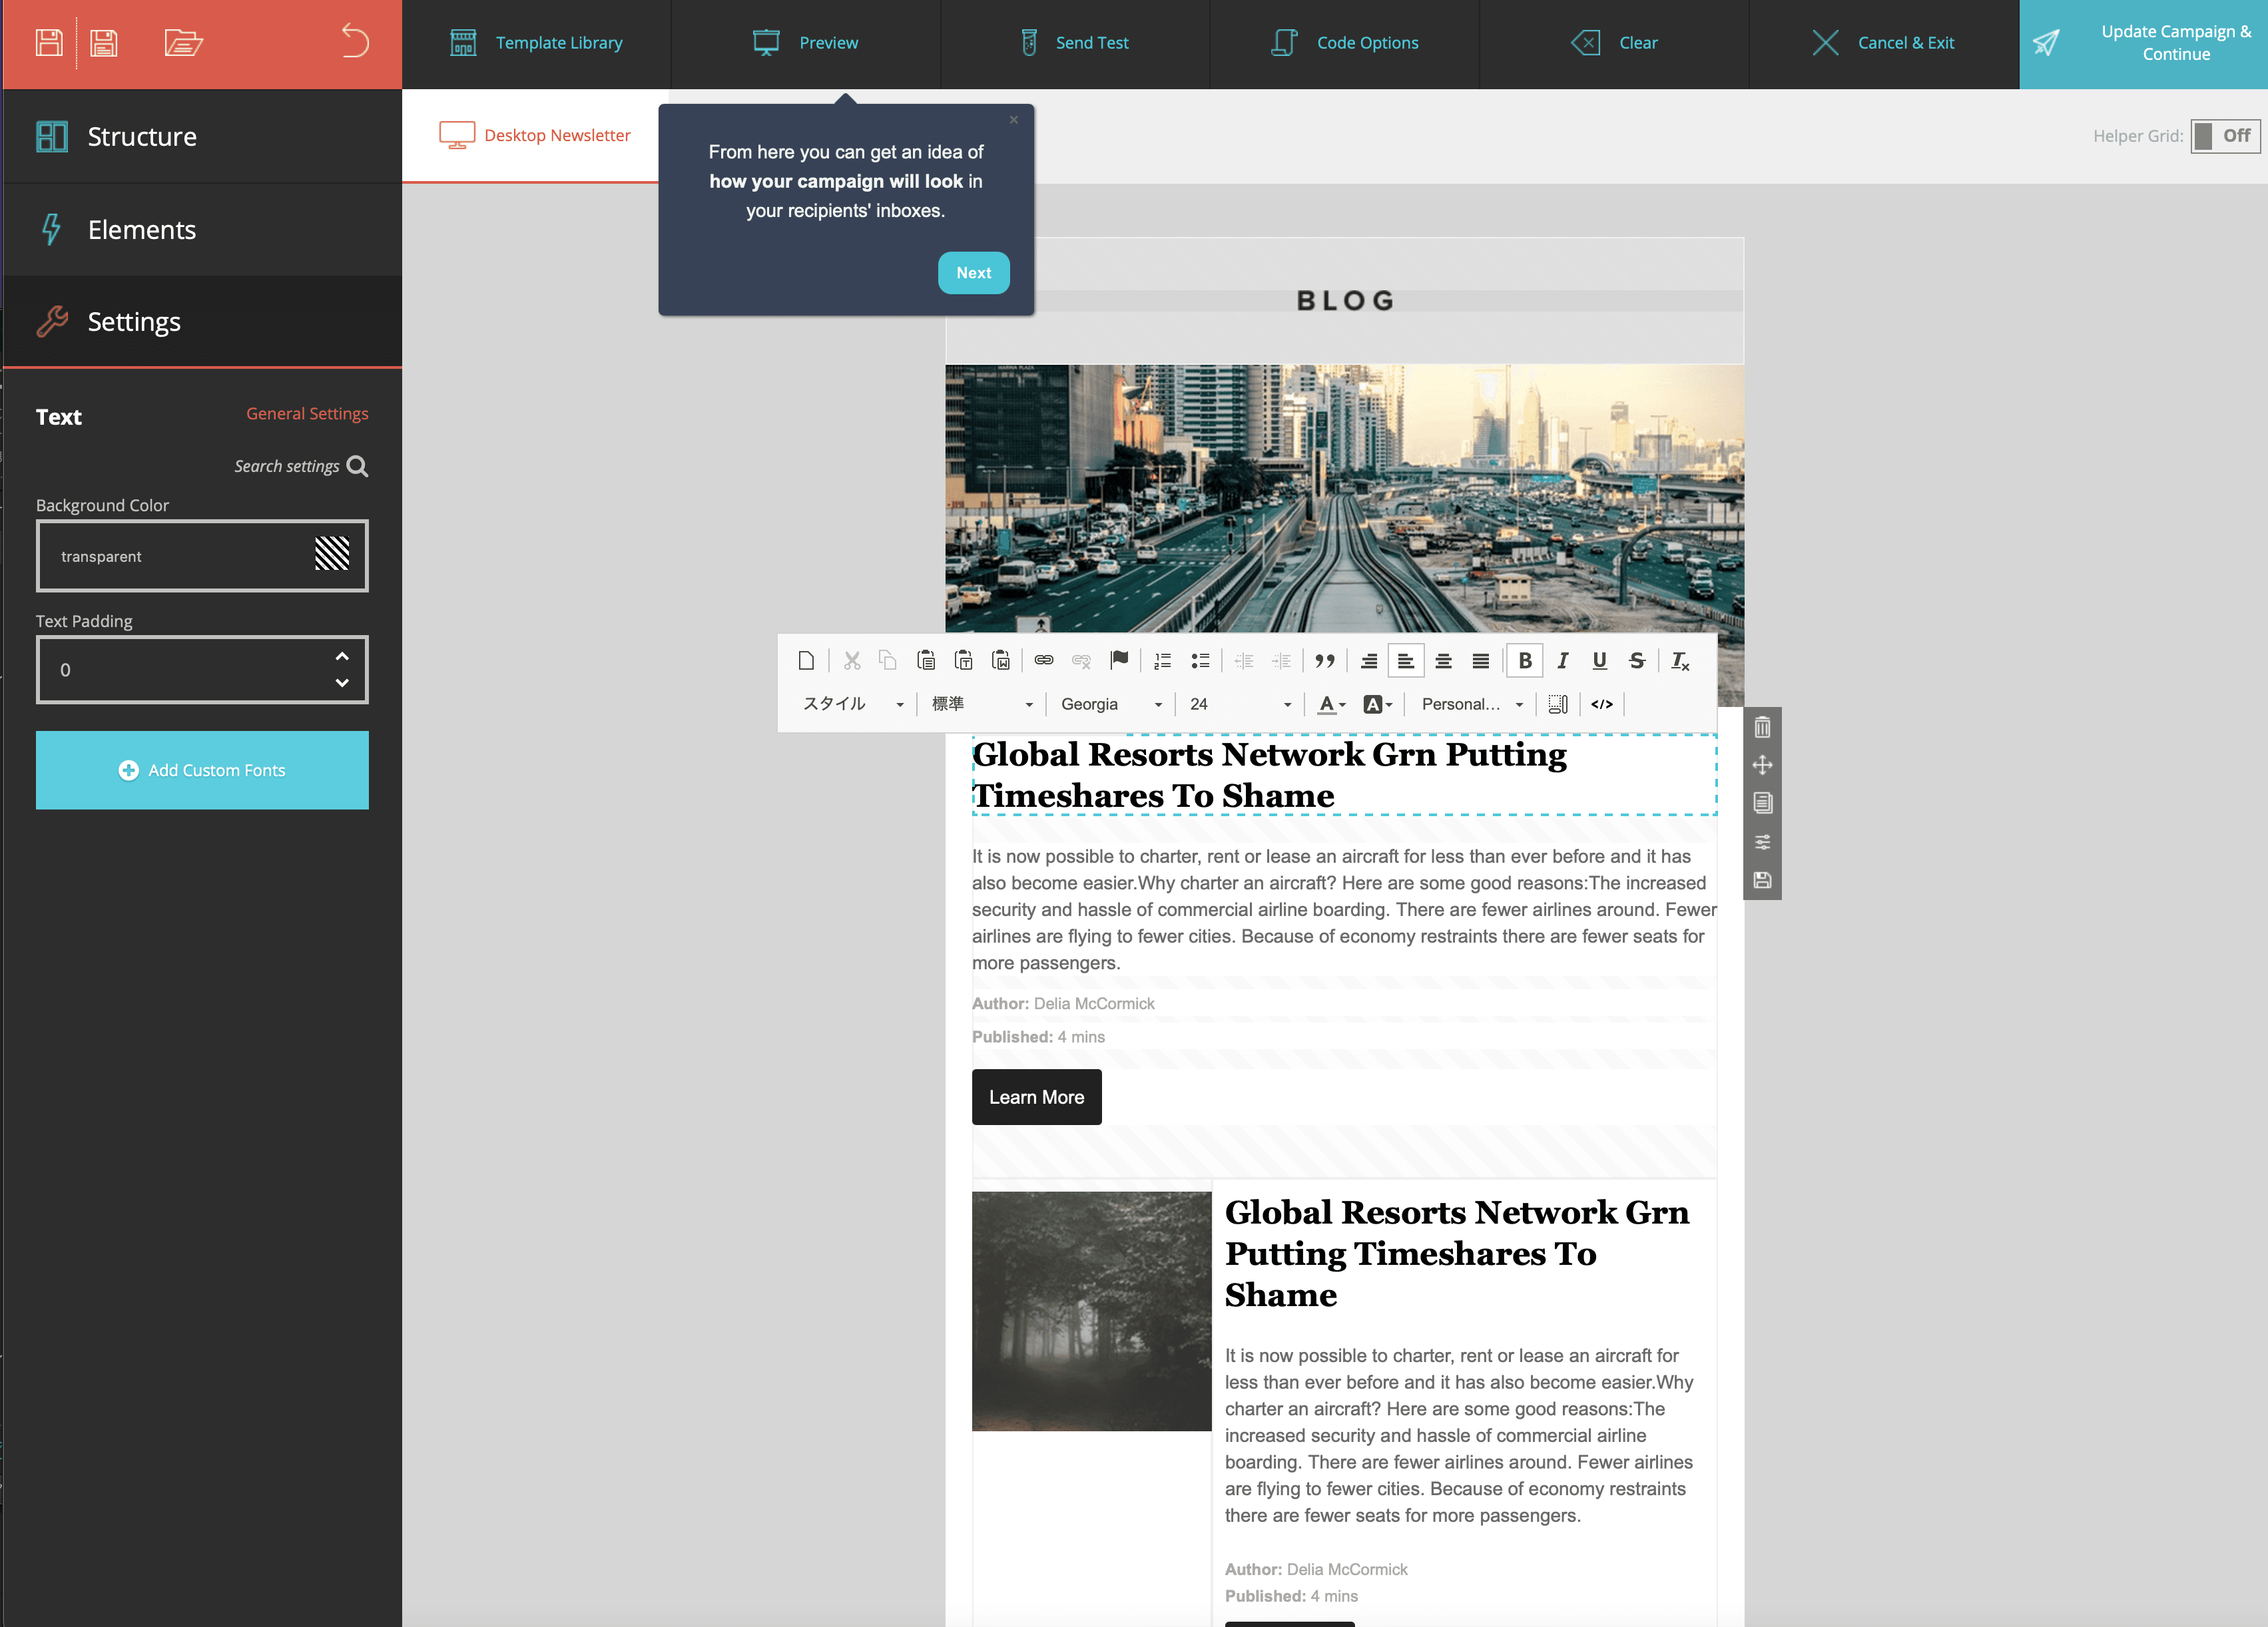
Links and other items in the settings on the left side can be changed and values can be set.
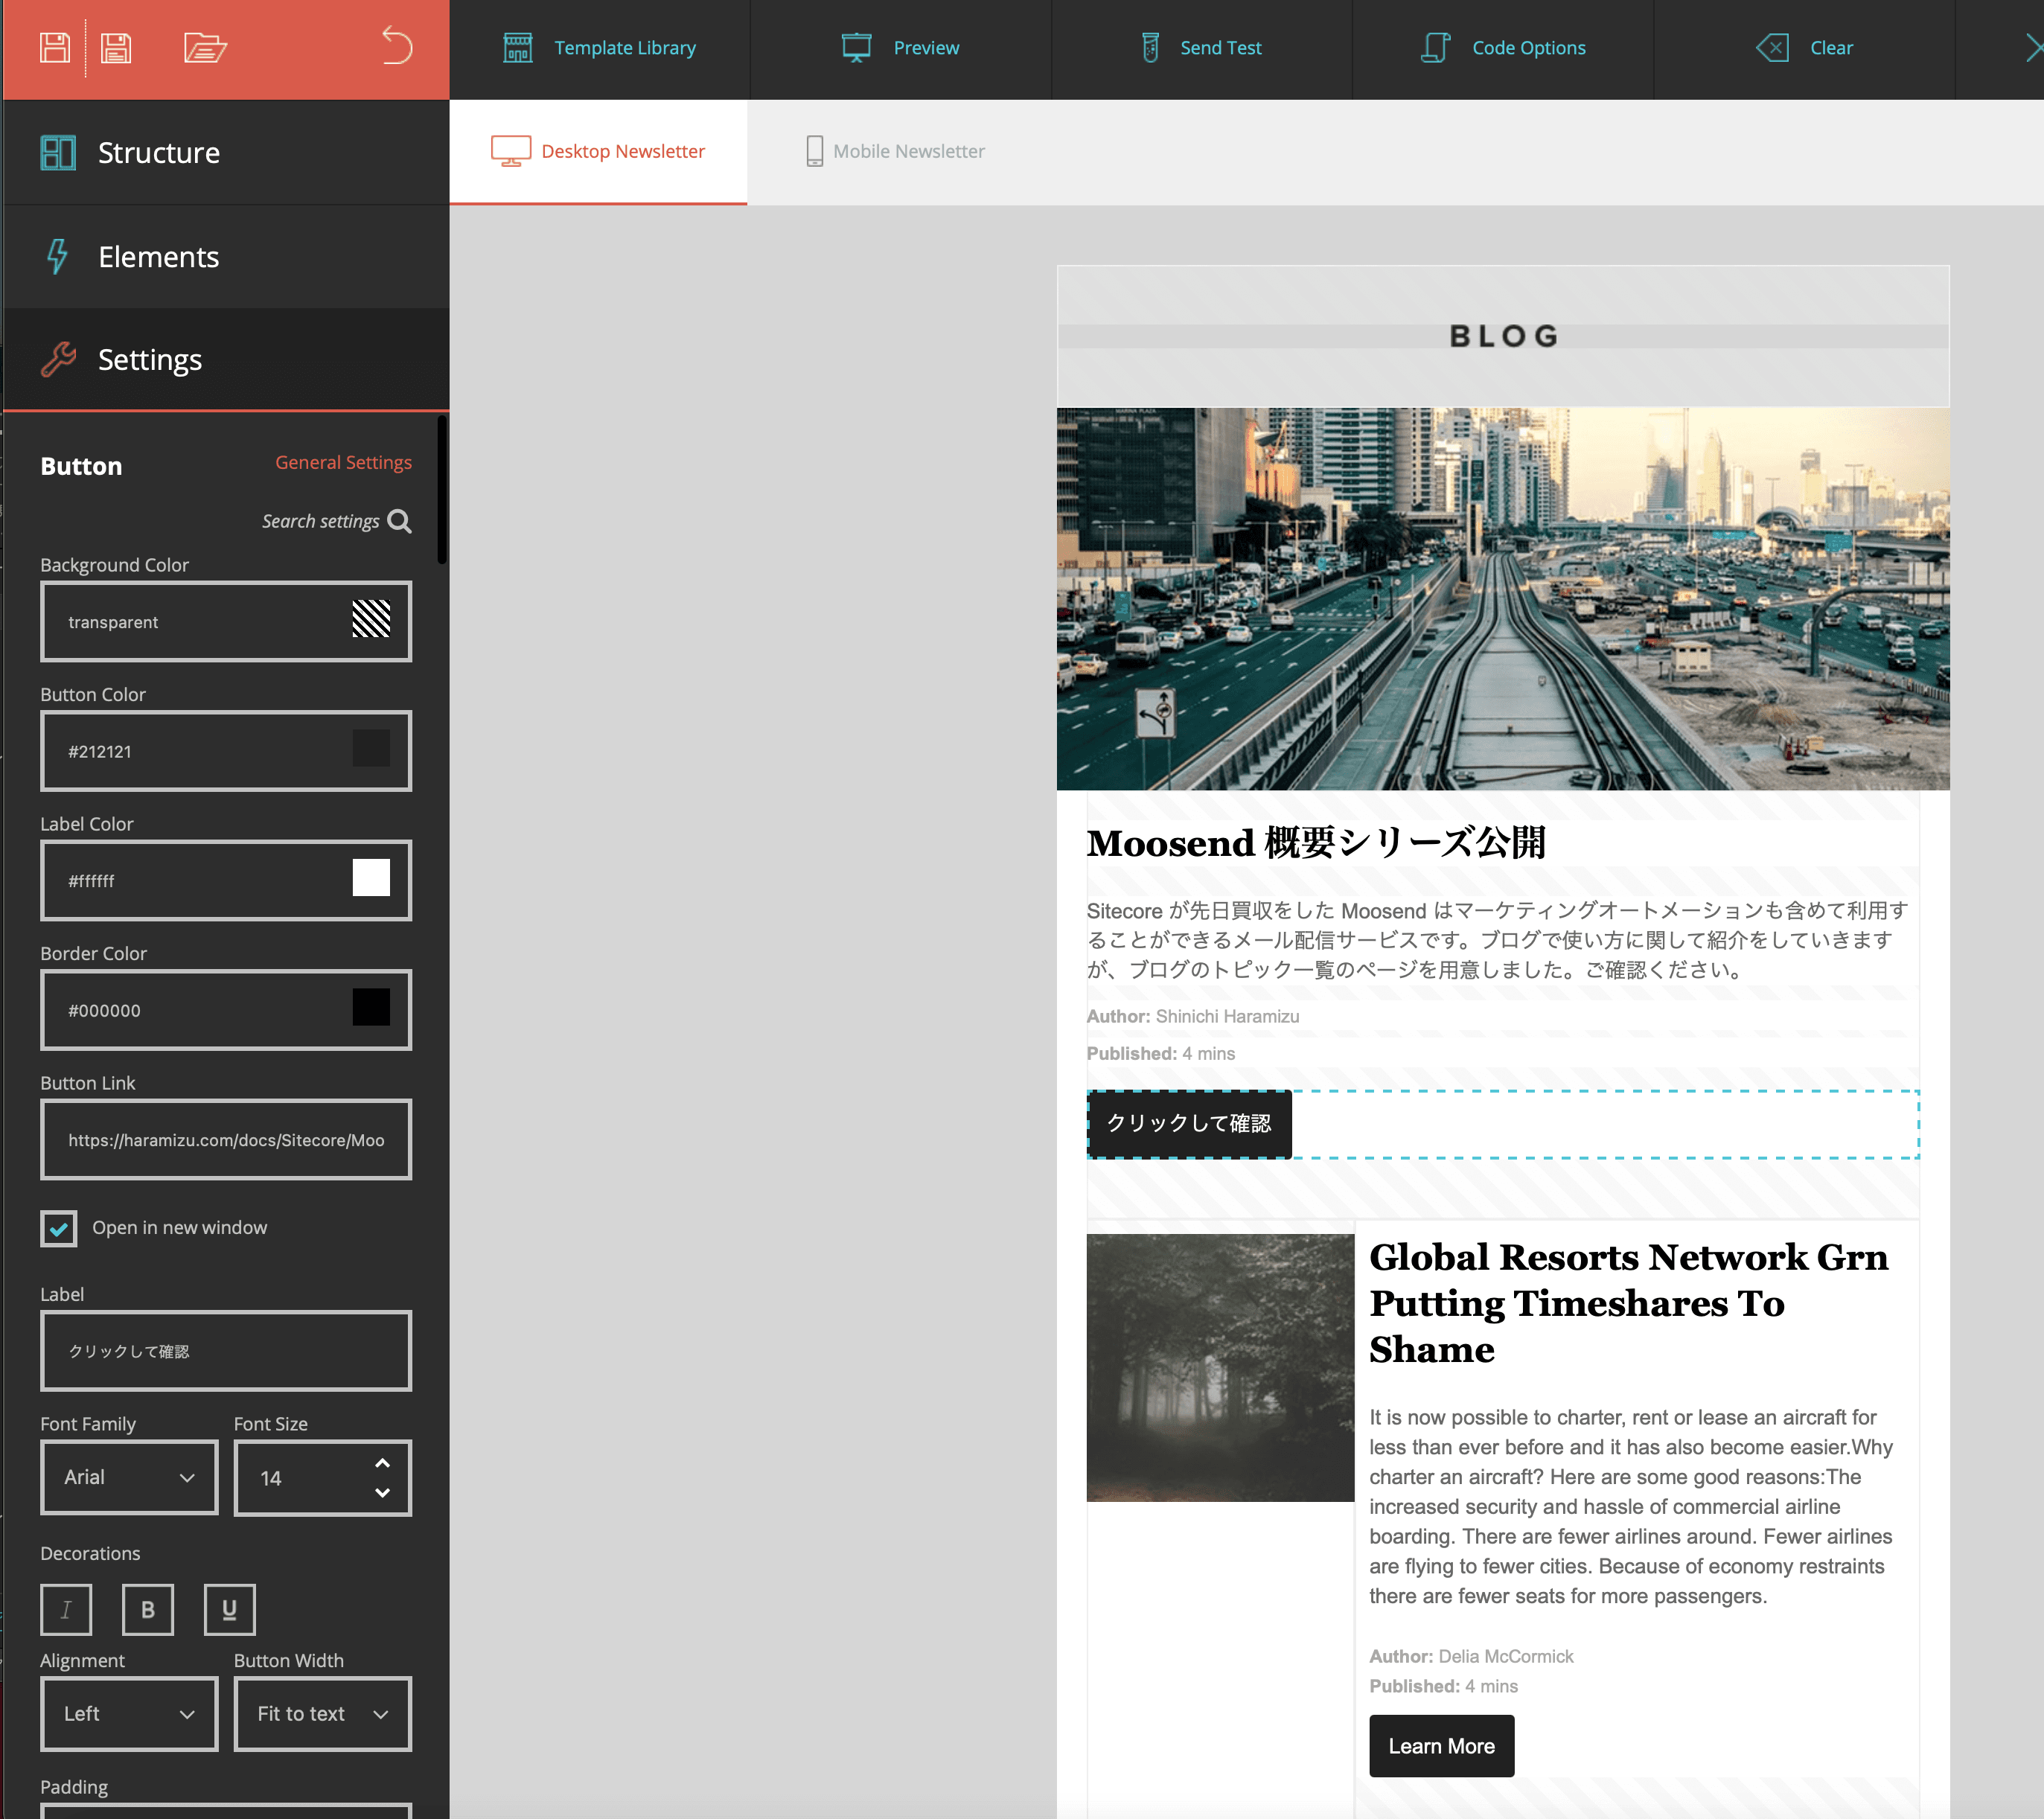
You need to set up the items, but this time I removed the elements because it is a hassle. So, the following screen is shown below, as it is an email for only one article.
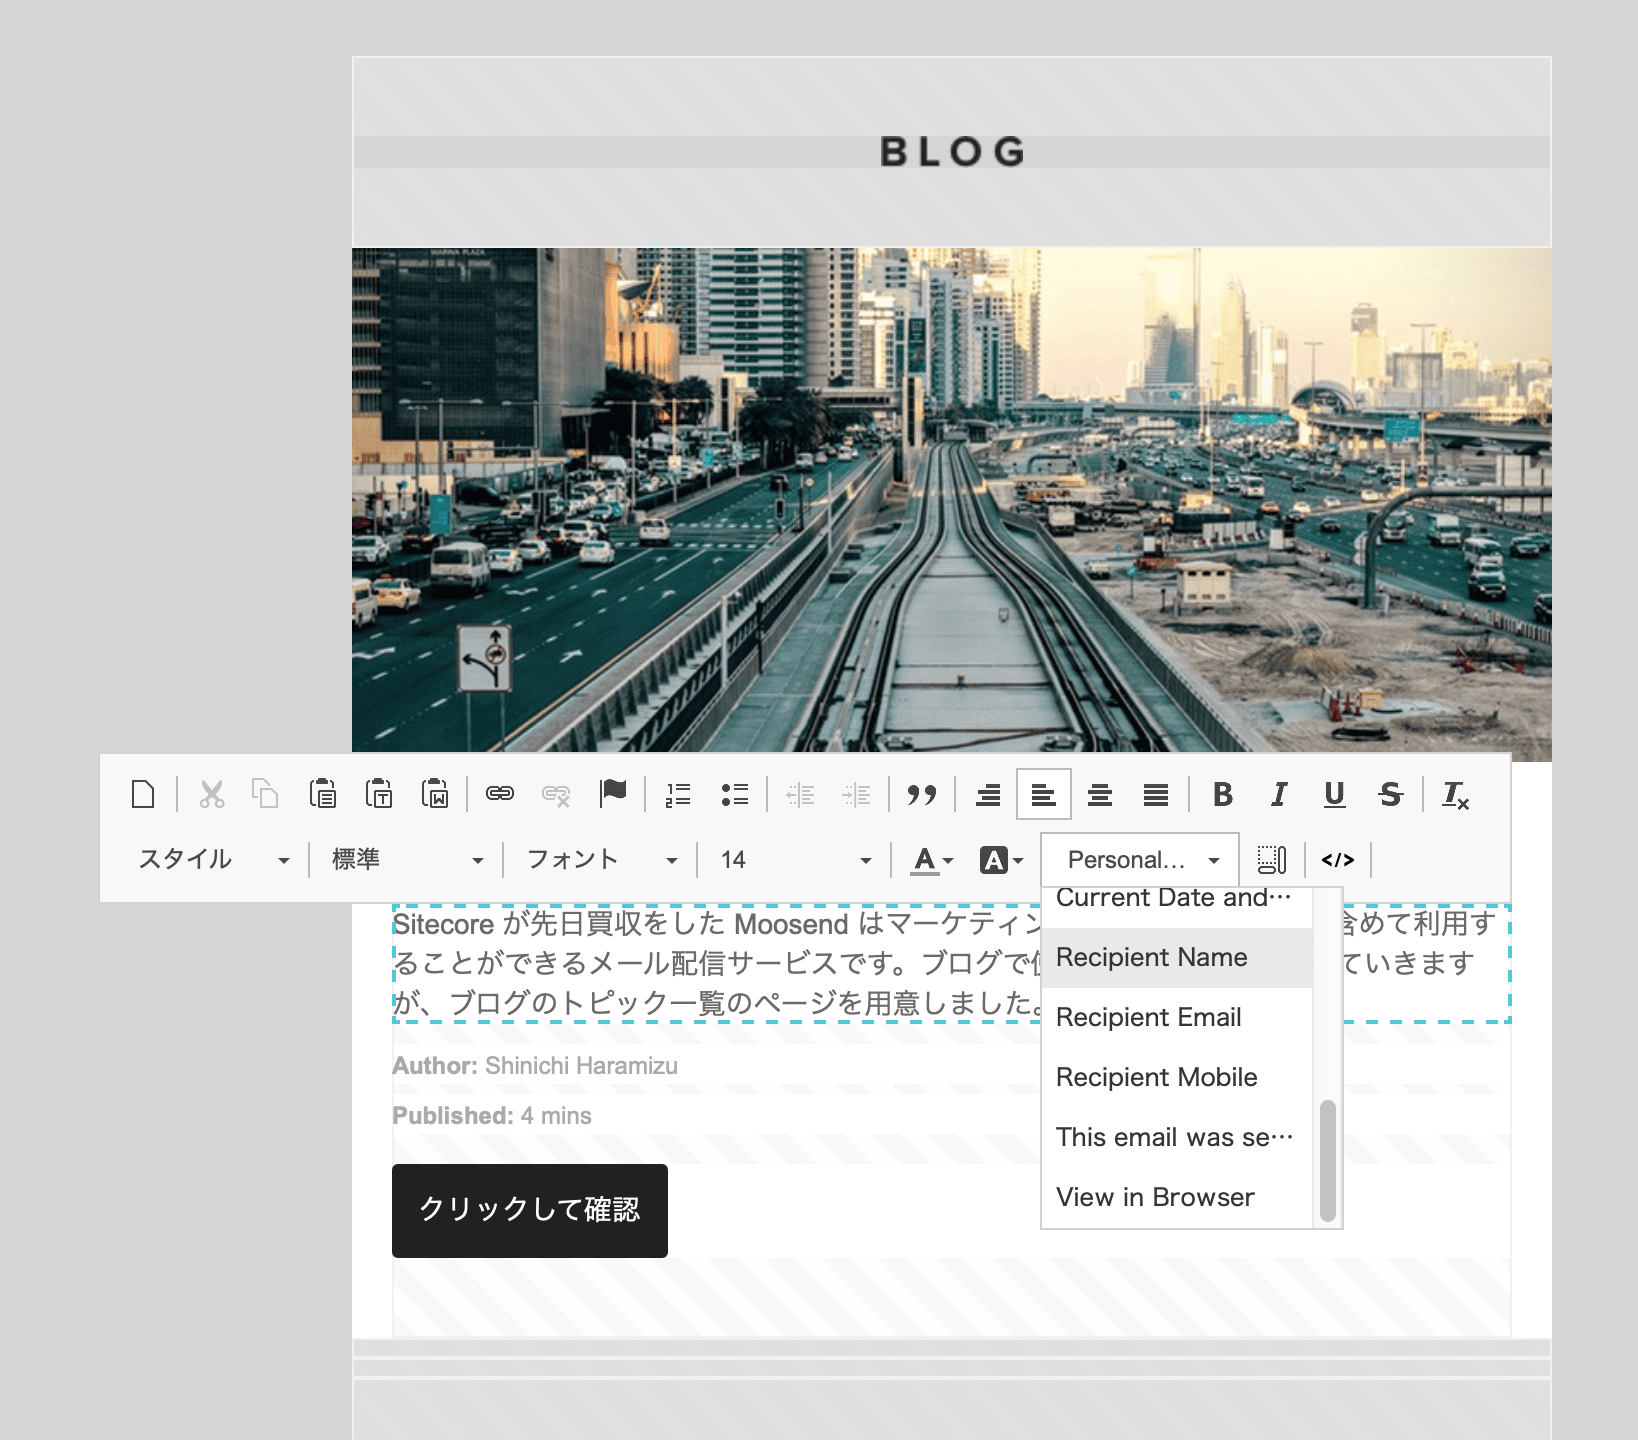
Since we are here, let's set a name for the body text. Select "Recipient Name" in the "Rich Text" field.
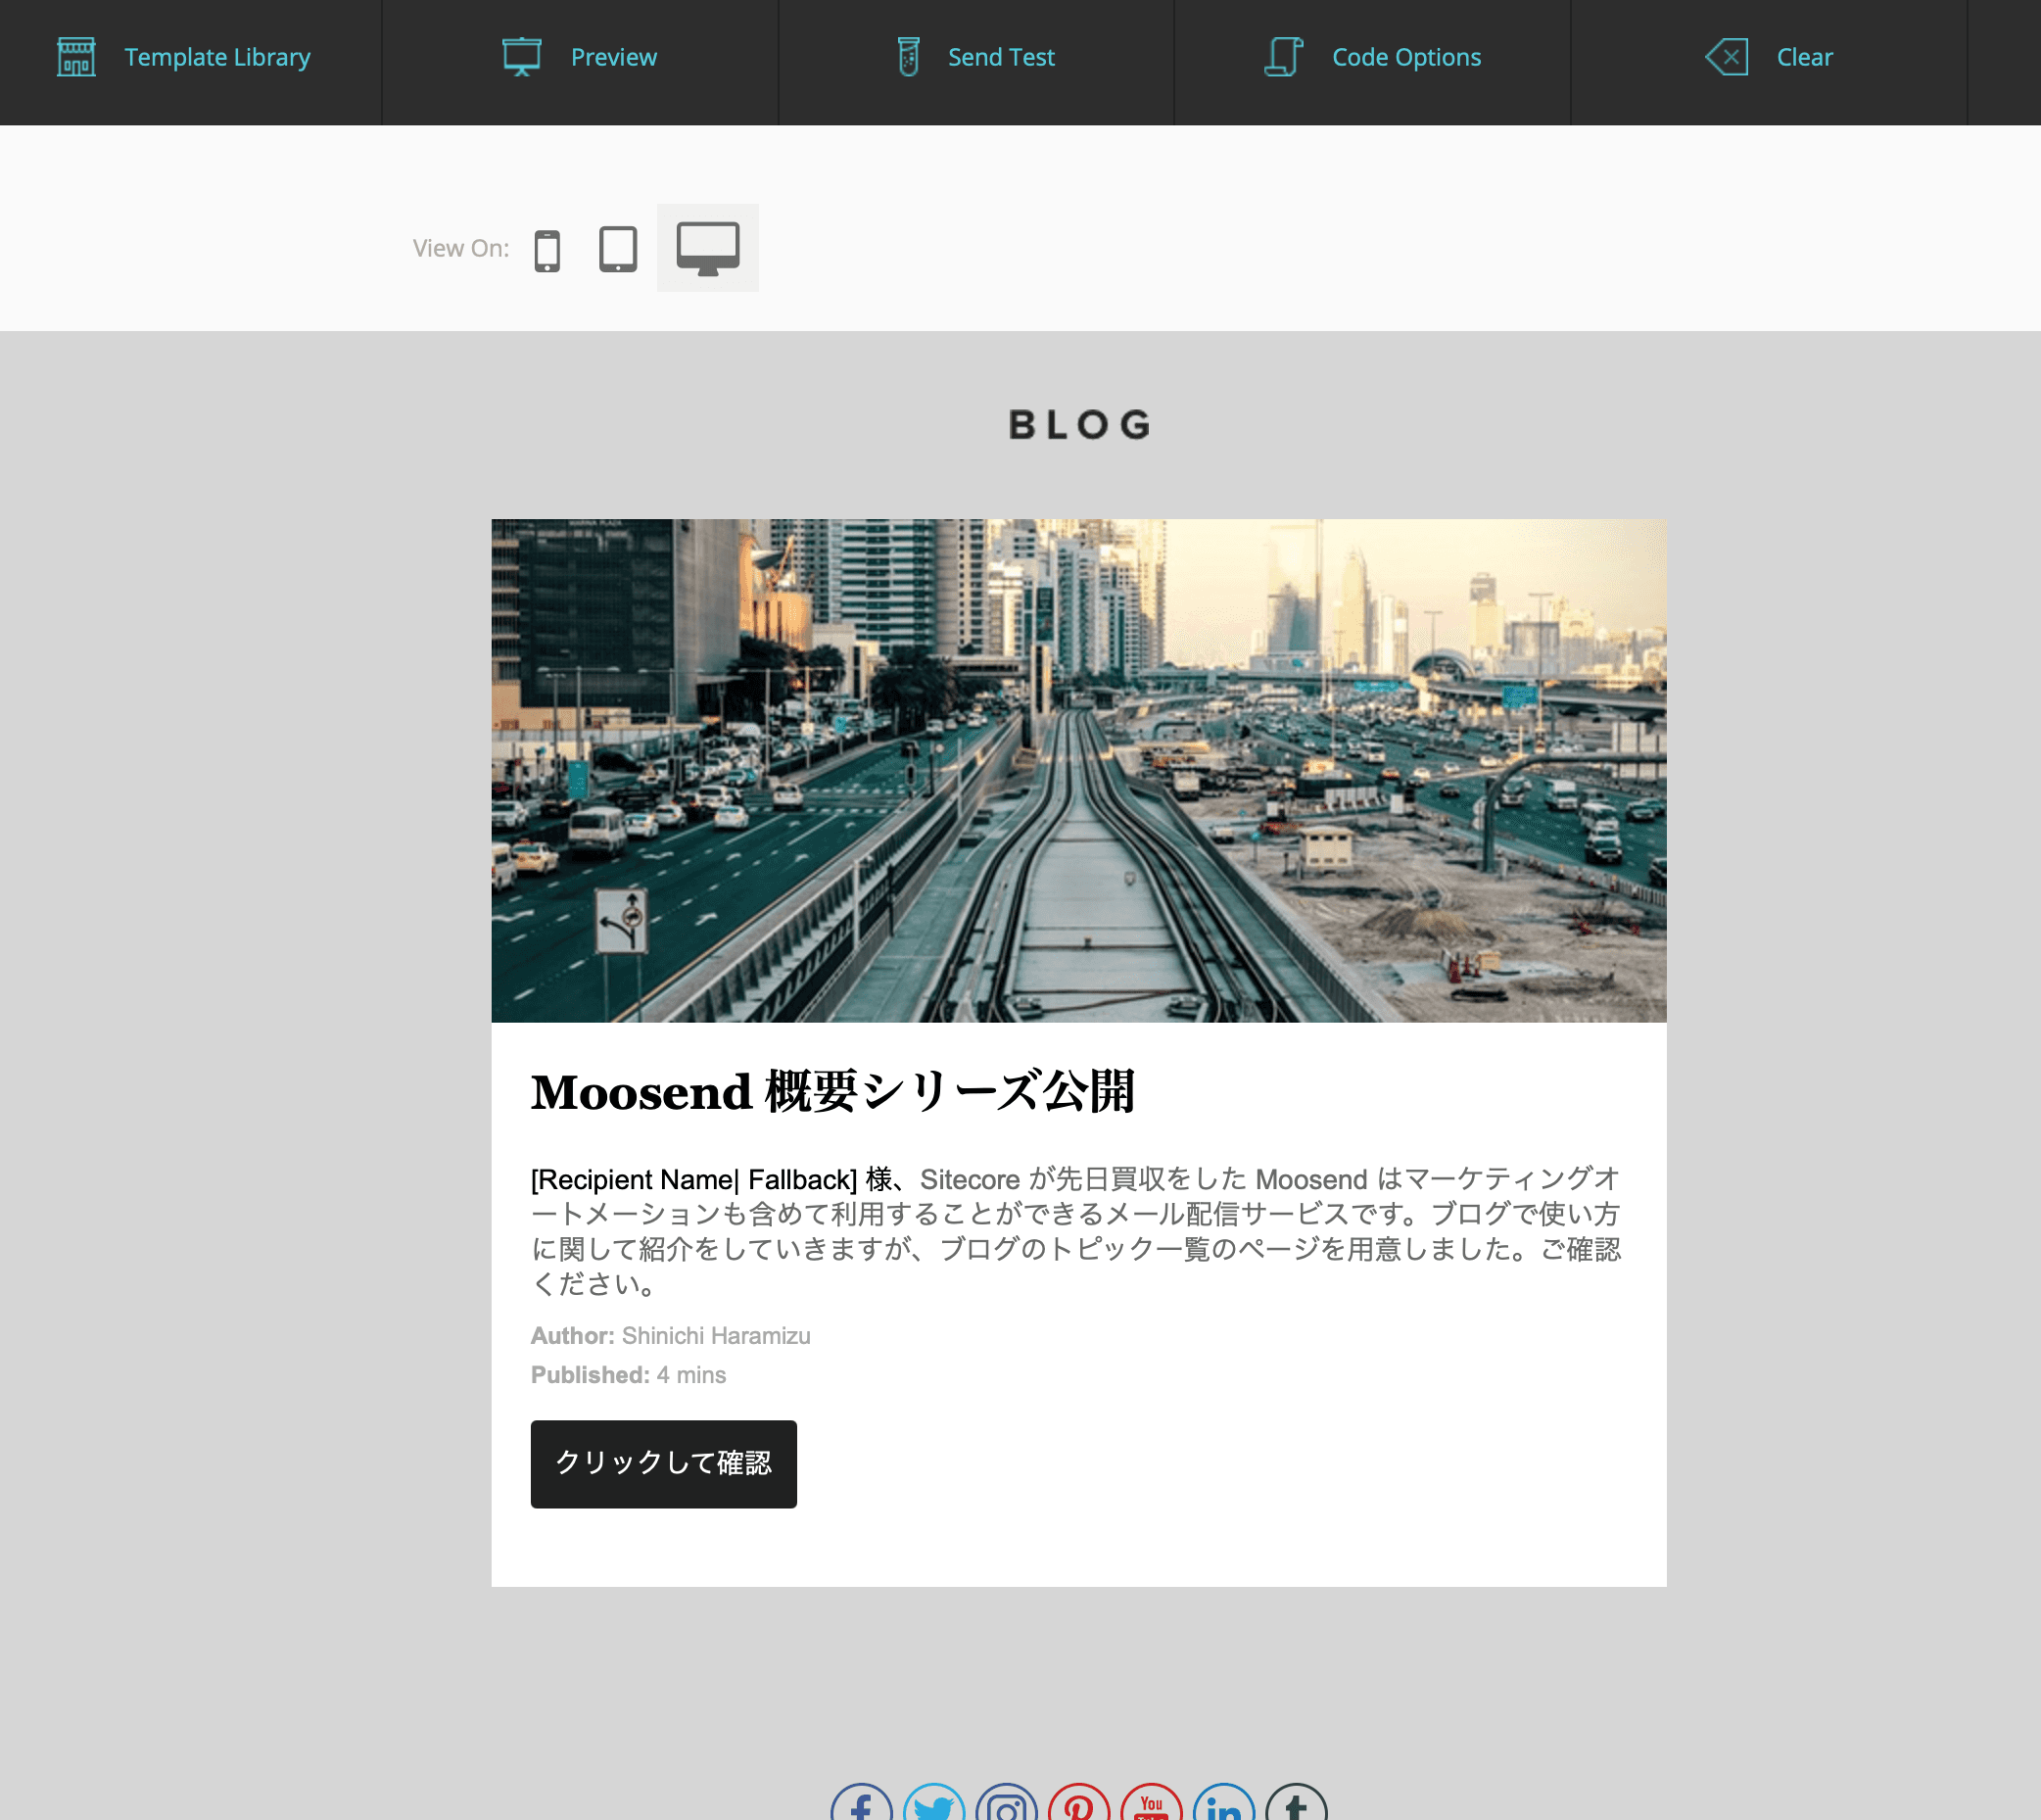
Then finish the footer area. You can see the finished product on the screen by clicking Preview in the menu above. You can also switch between tablet and smartphone previews.
Email Testing
Click on the Send Test item in the menu above. Then a field for entering an e-mail address will appear on the left side of the screen. Enter your email address and click the + button, and you will see a screen like the one below (the email address is removed from the screen).
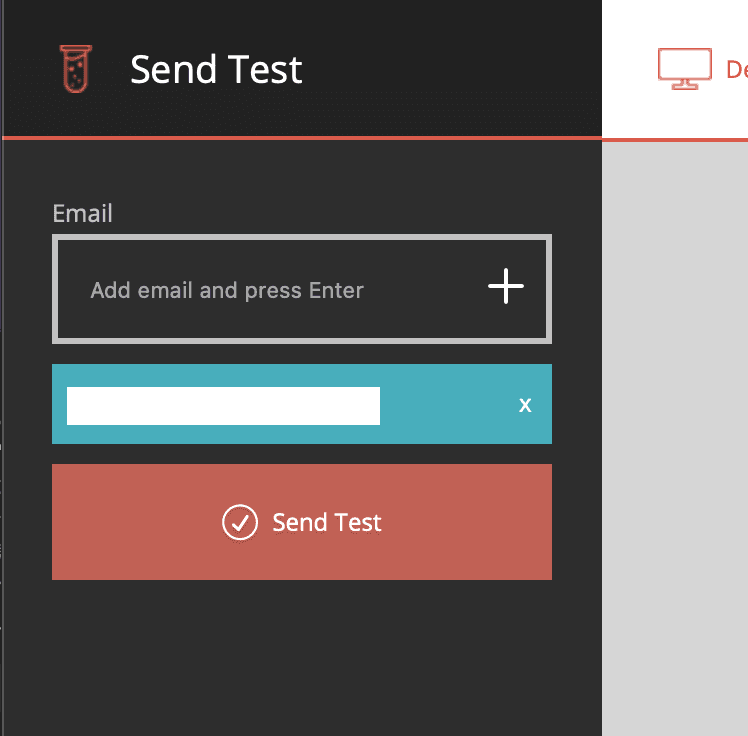
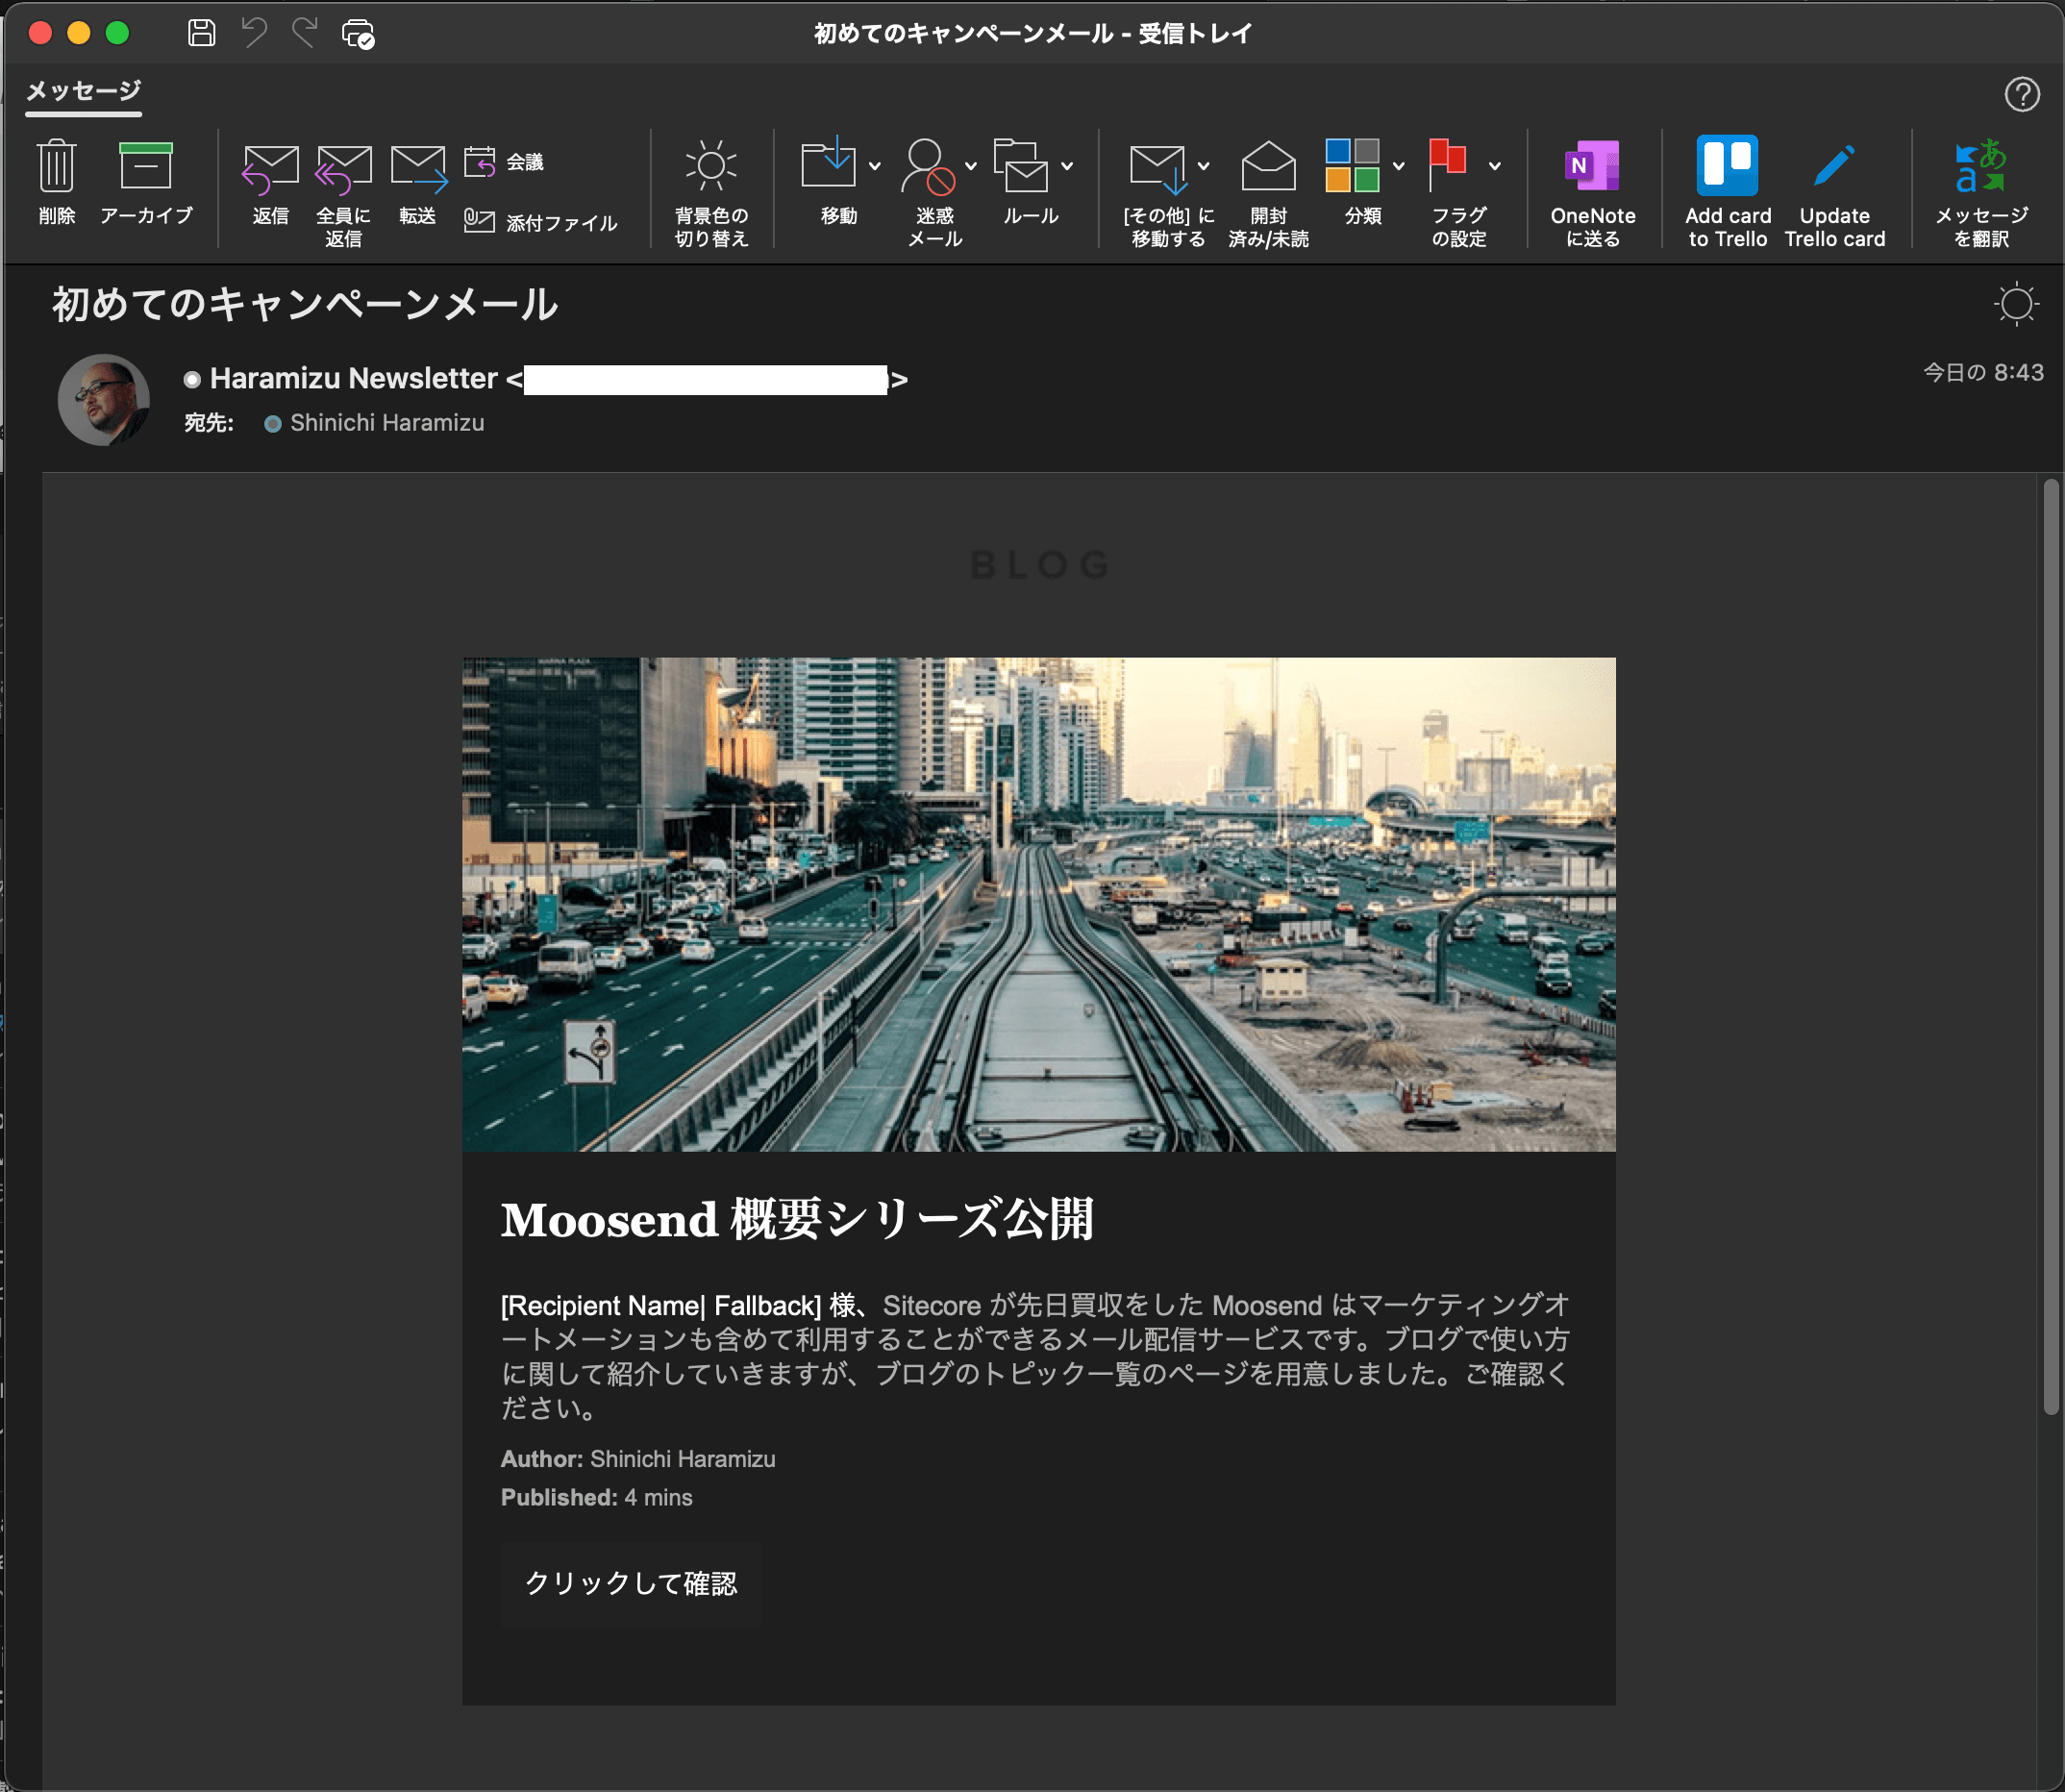
Clicking the Send Text button will send a test email to the email address specified in the template you created.
Click Update Campaign & Continue in the upper right corner of the window to say that your work is complete.
Span and Delivery Test
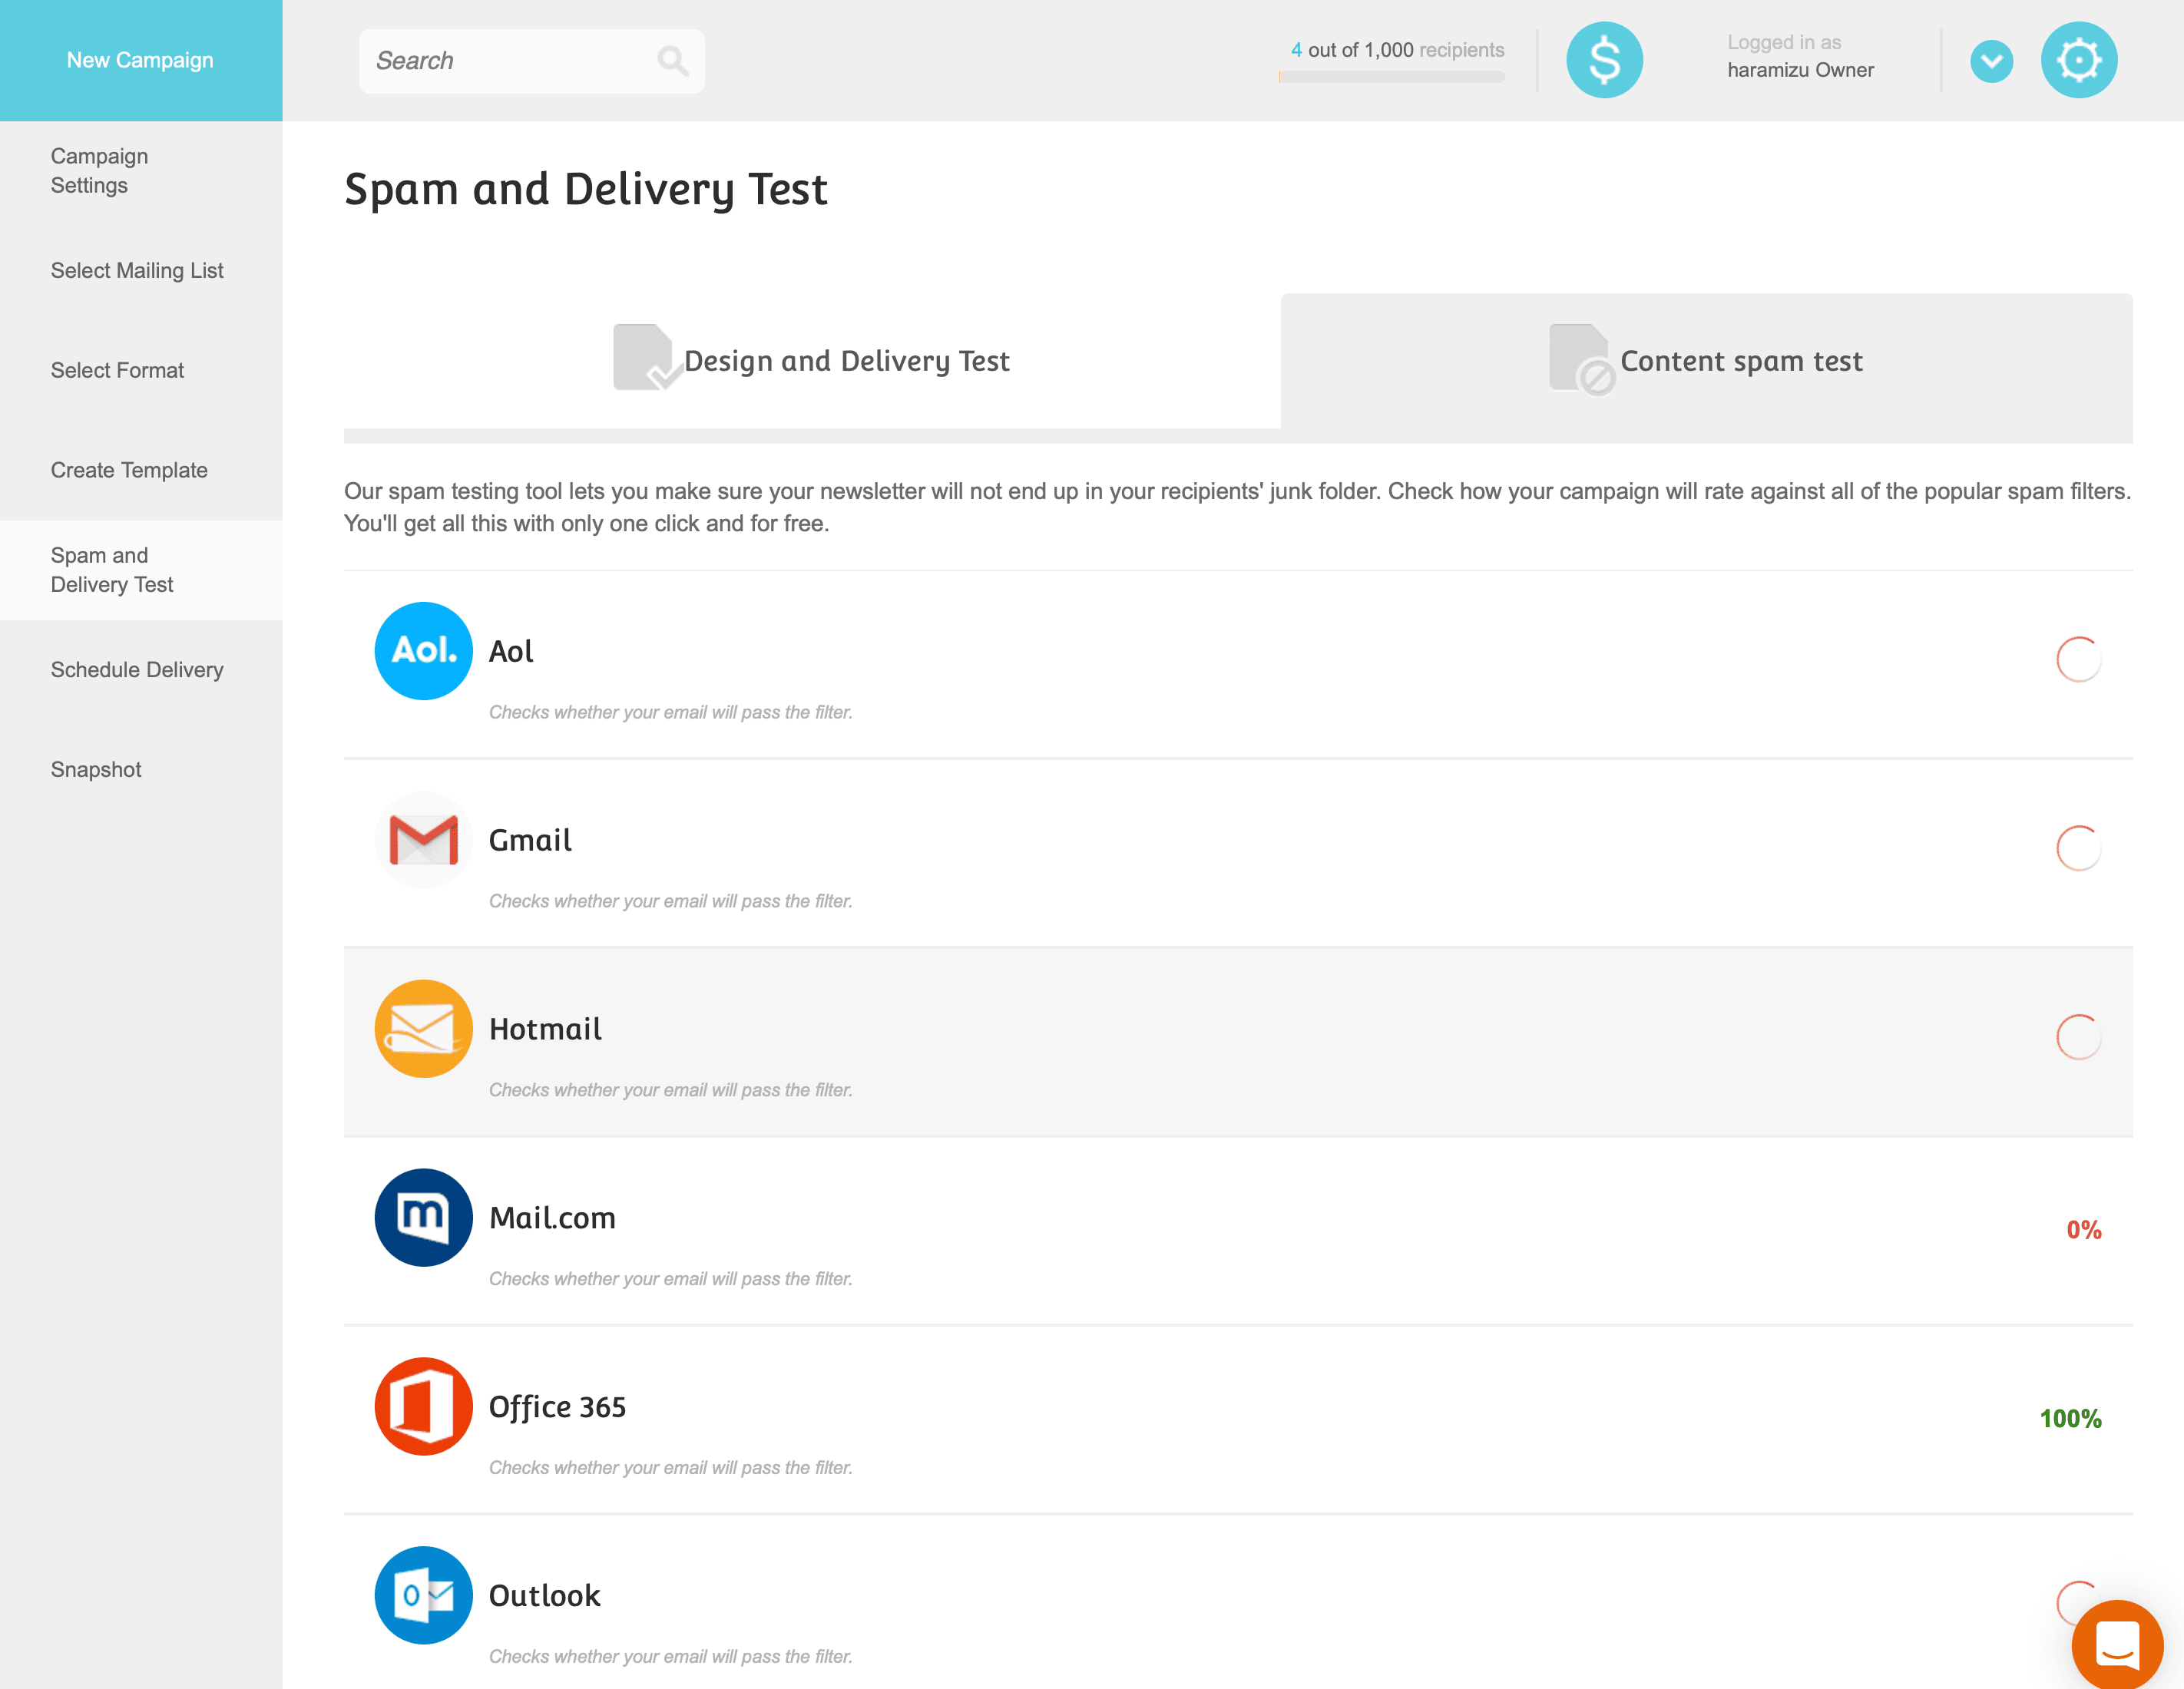
When the editing screen is switched, the screen changes as shown below.
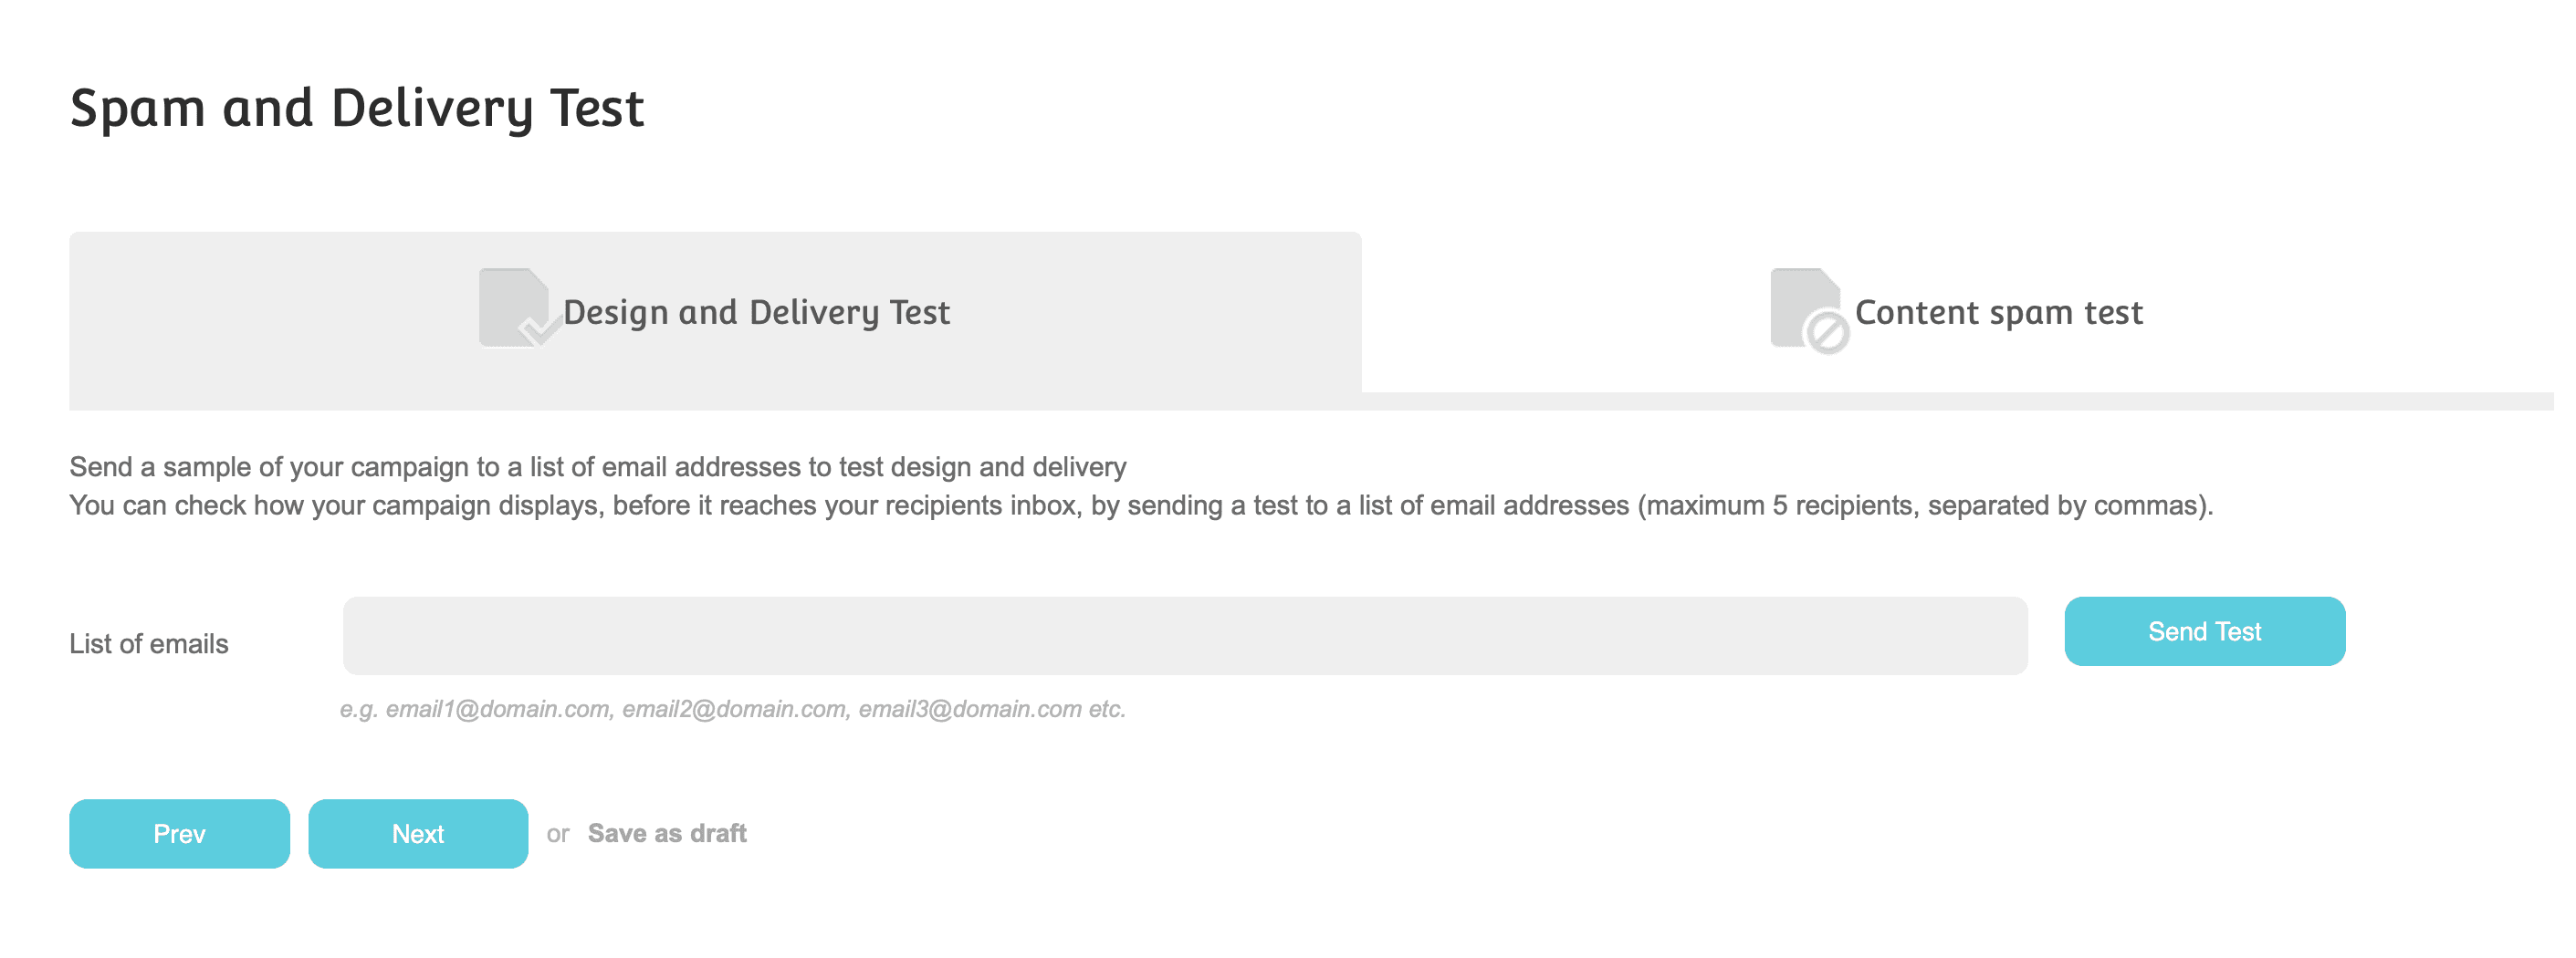
This time we will run a content spam test; switch to the Content spam test tab. Switching to the tab, you can see how spam tests are performed for various mail services.
The following screen shows the error screen that appears when SPF is not configured.
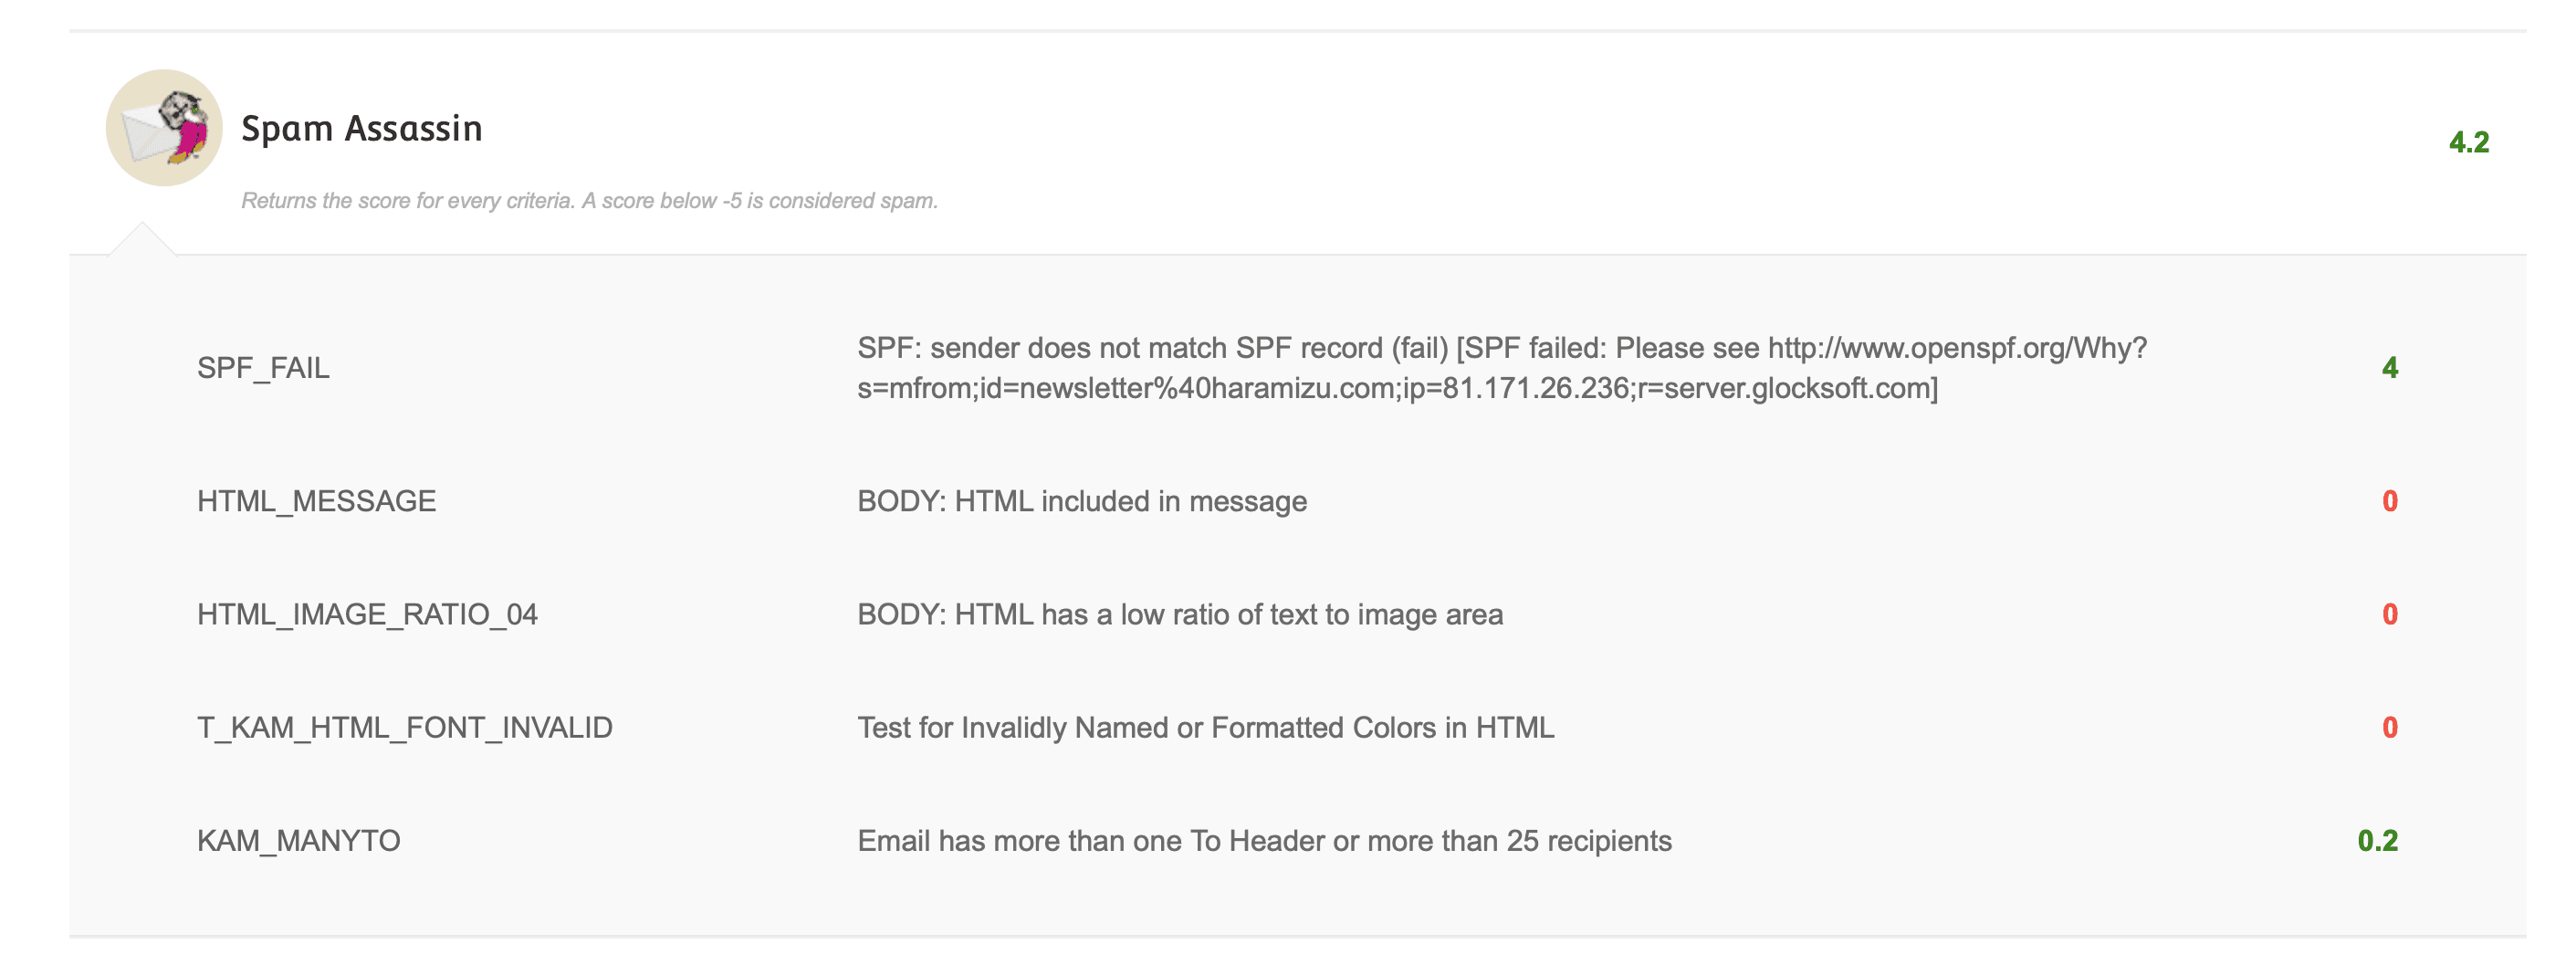
The SPF entry means that the DNS record does not contain what should be added. This setting was introduced in the previous section, so if you get this error, please add the DNS record. If there are other warnings, we will deal with them separately. If you get a test email, we will proceed as is this time.
Set delivery time
The last configuration item is to enter the delivery time settings. The screen is as follows
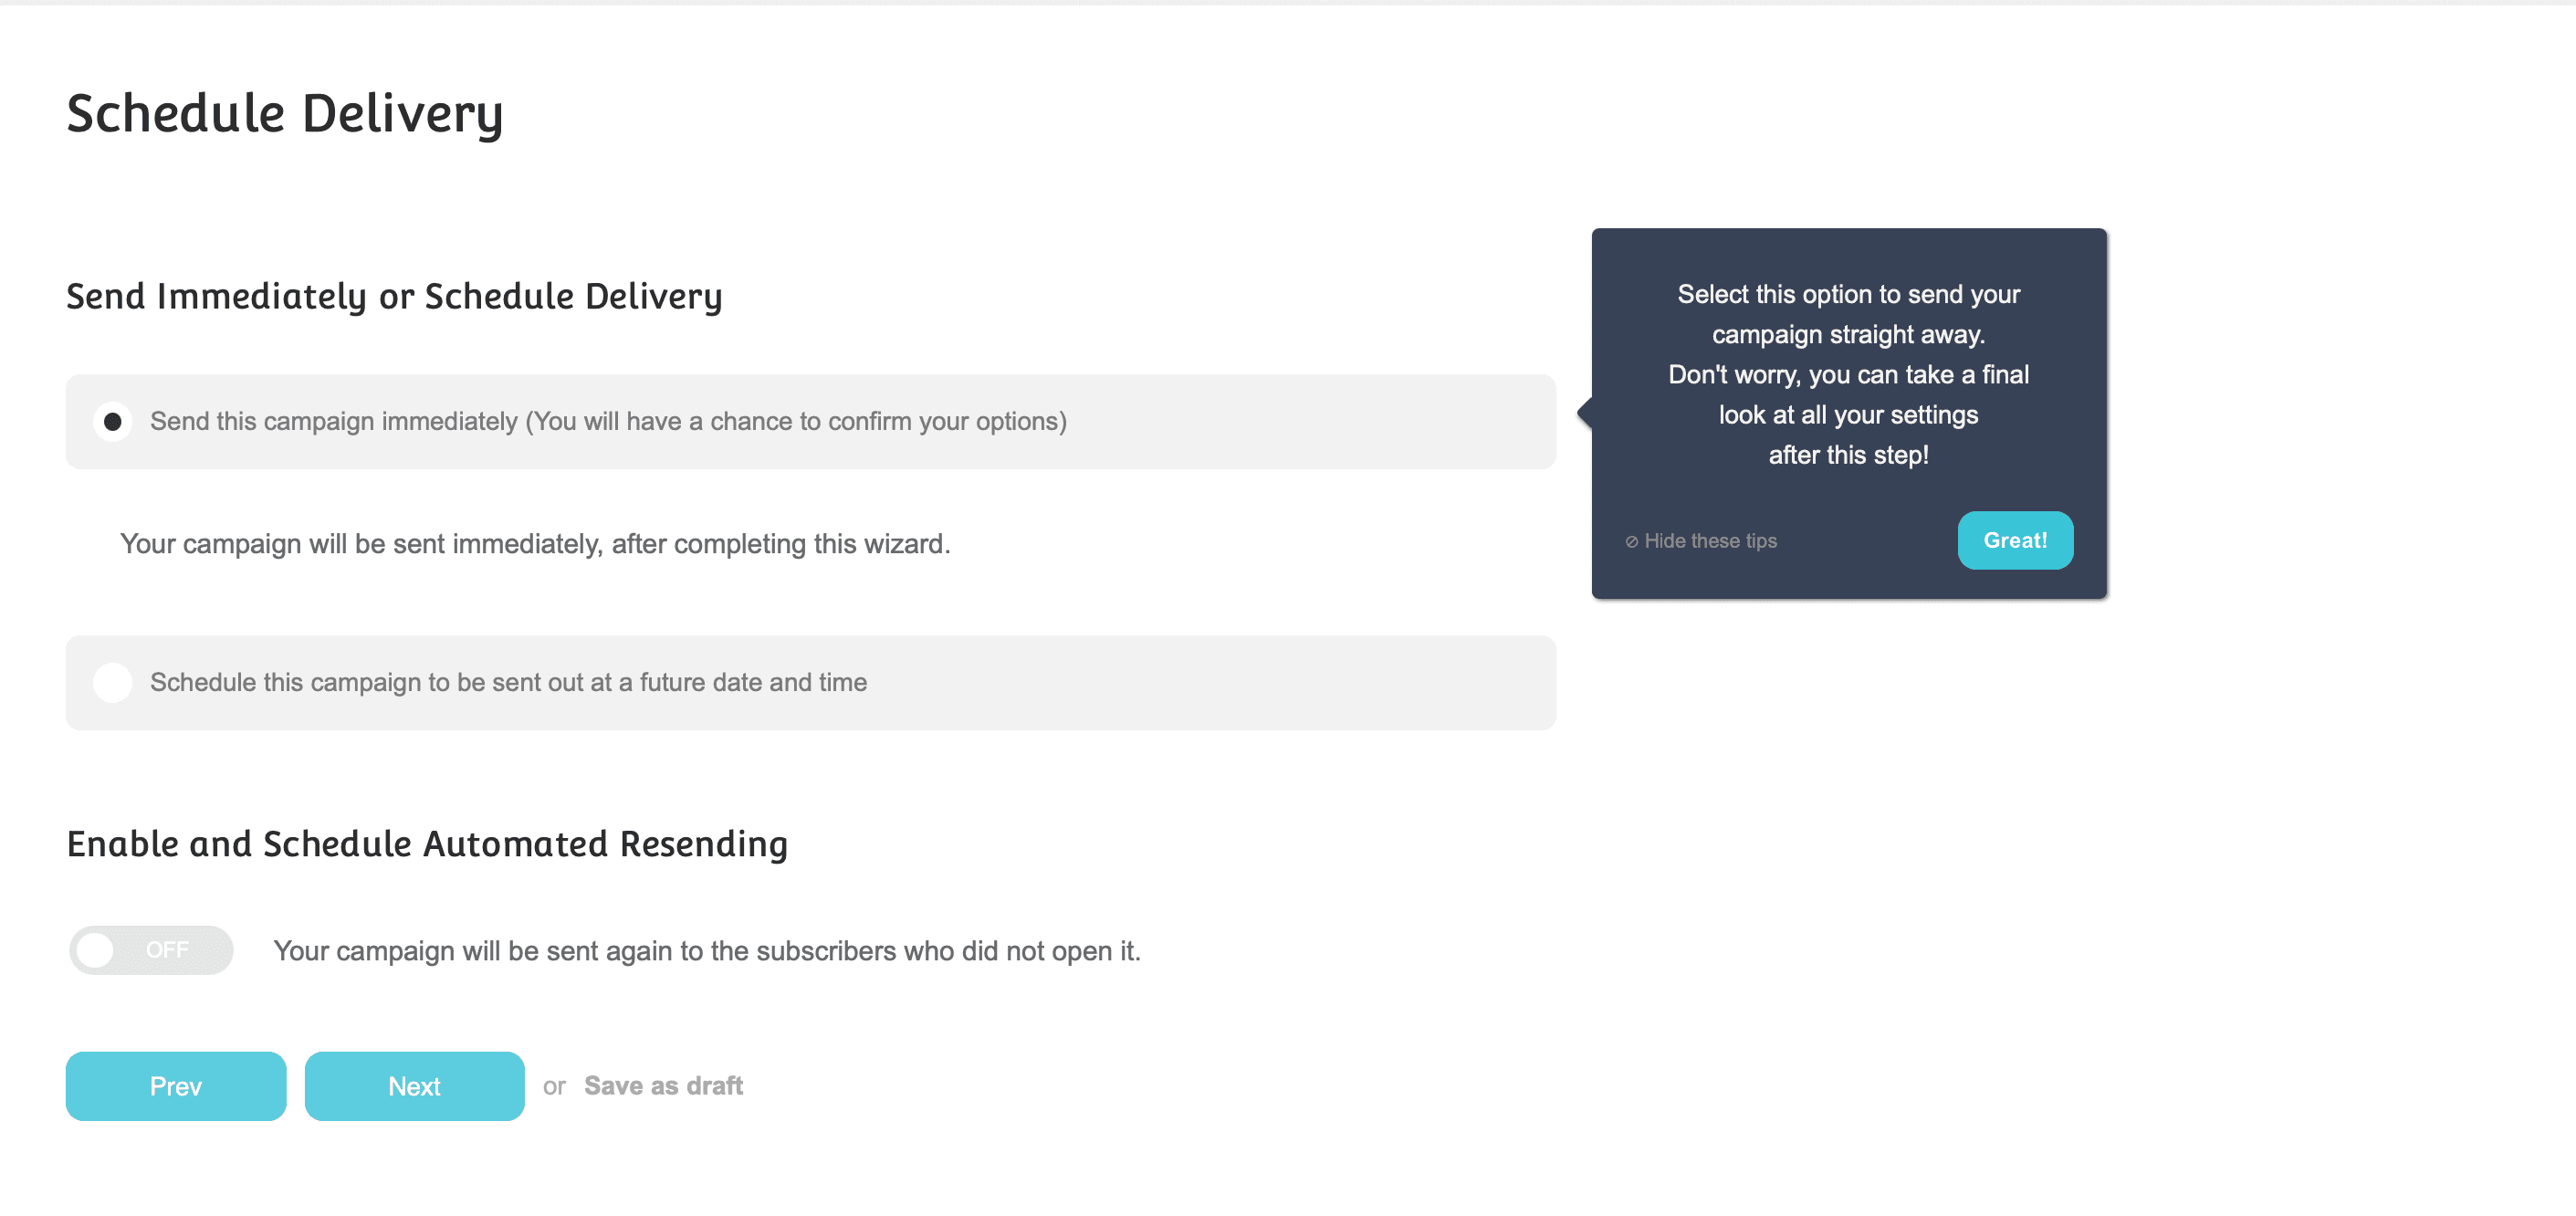
In this case, we want to send the campaign immediately, so we will leave the default settings. If you want to specify a time, select Schedule this campaign to be sent out at a future date and time and specify the time.
Confirmation before delivery
Finally, a pre-delivery confirmation screen will appear. This includes the content of the e-mail, delivery settings, title, and more.
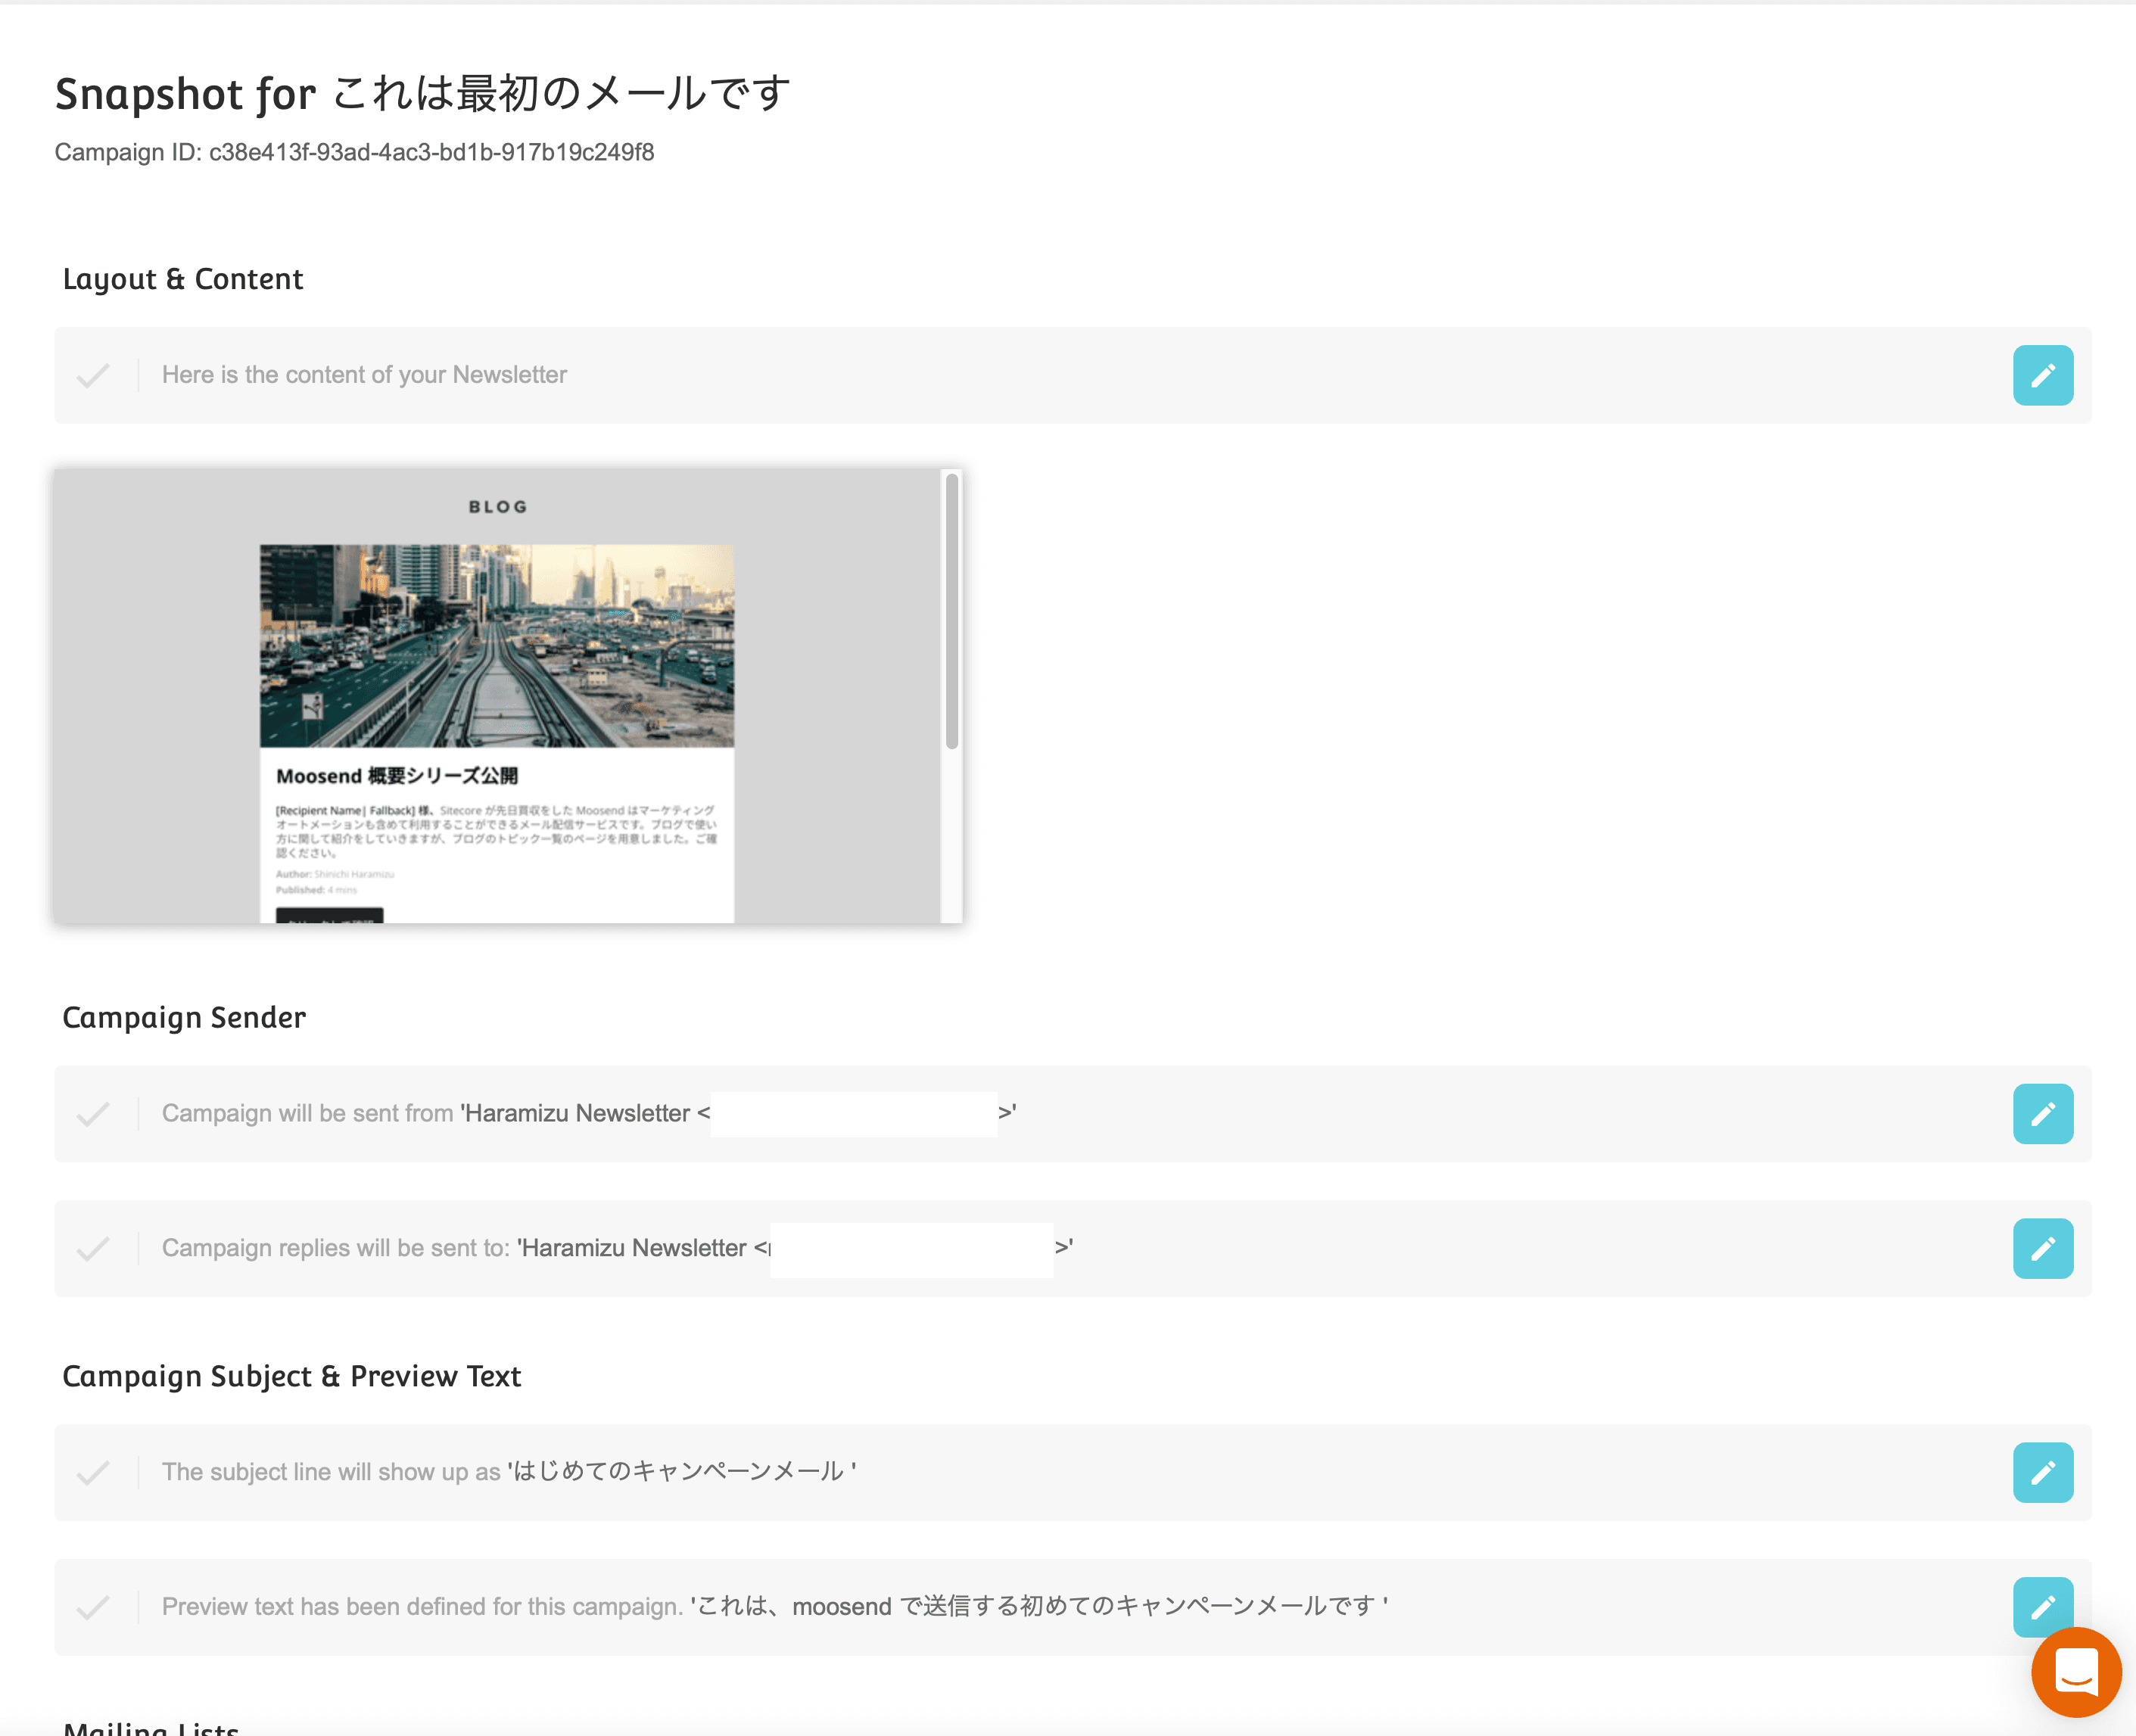
Since there are no changes this time, click the Send button at the bottom of the screen to send the message as it is. The screen will switch to the status screen.

Confirmation after delivery
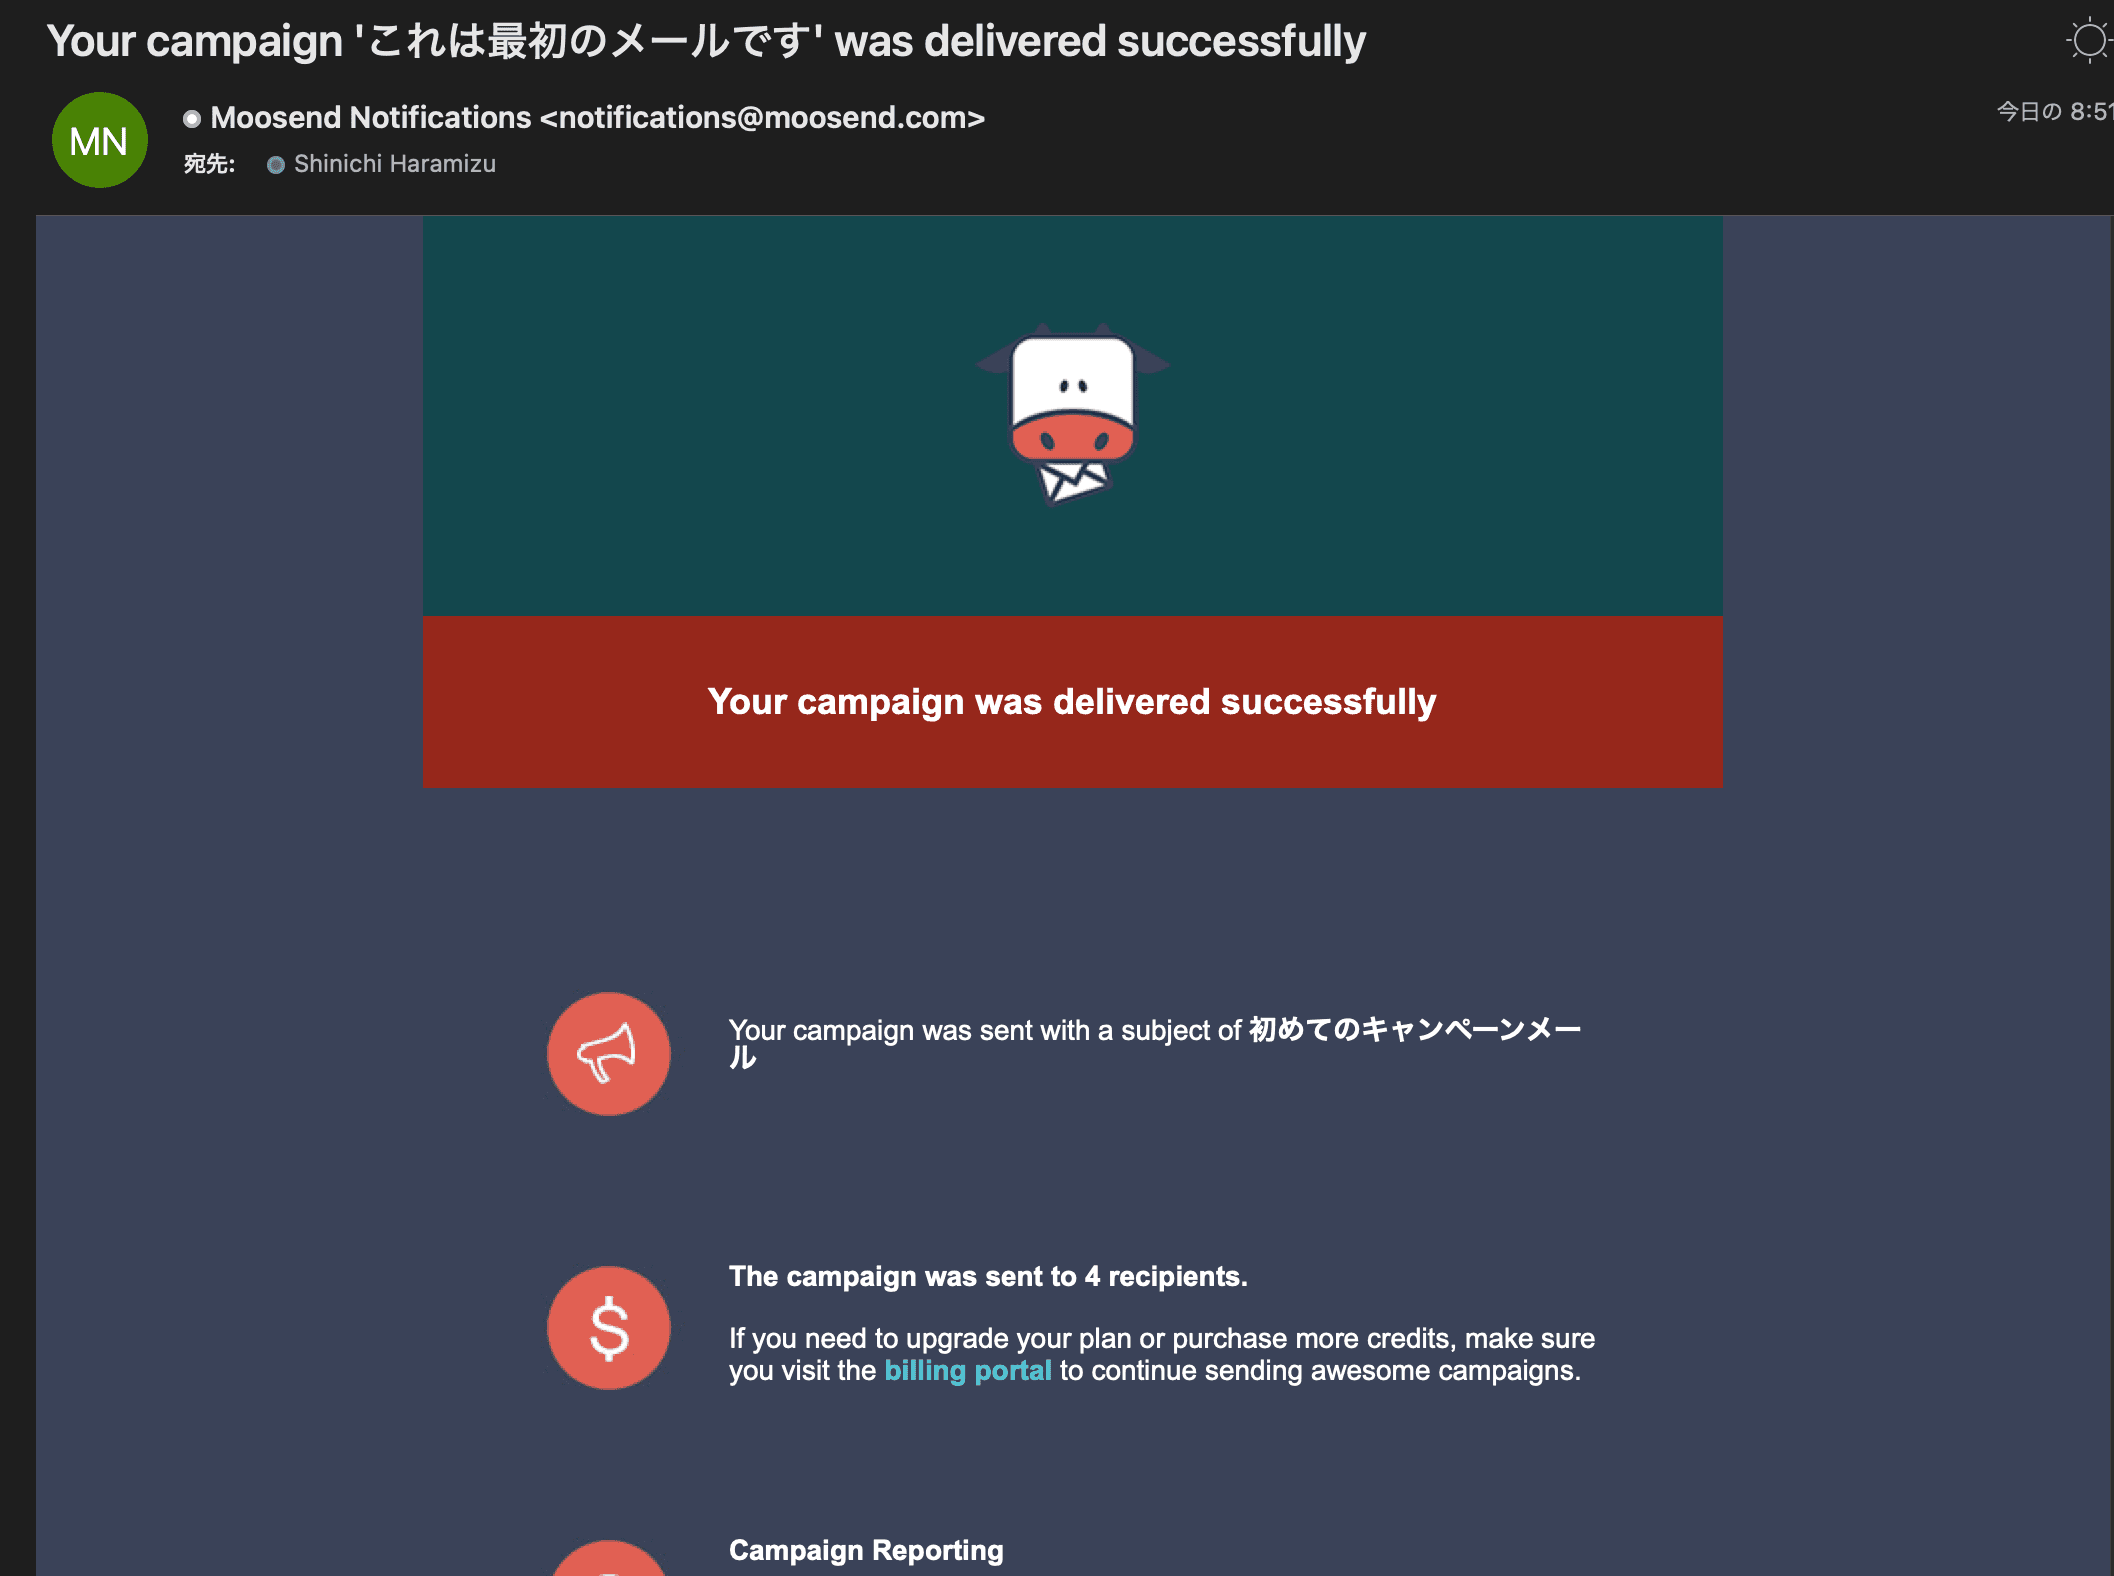
When the delivery is completed, it will be sent to the email address you have set for the completion email address.
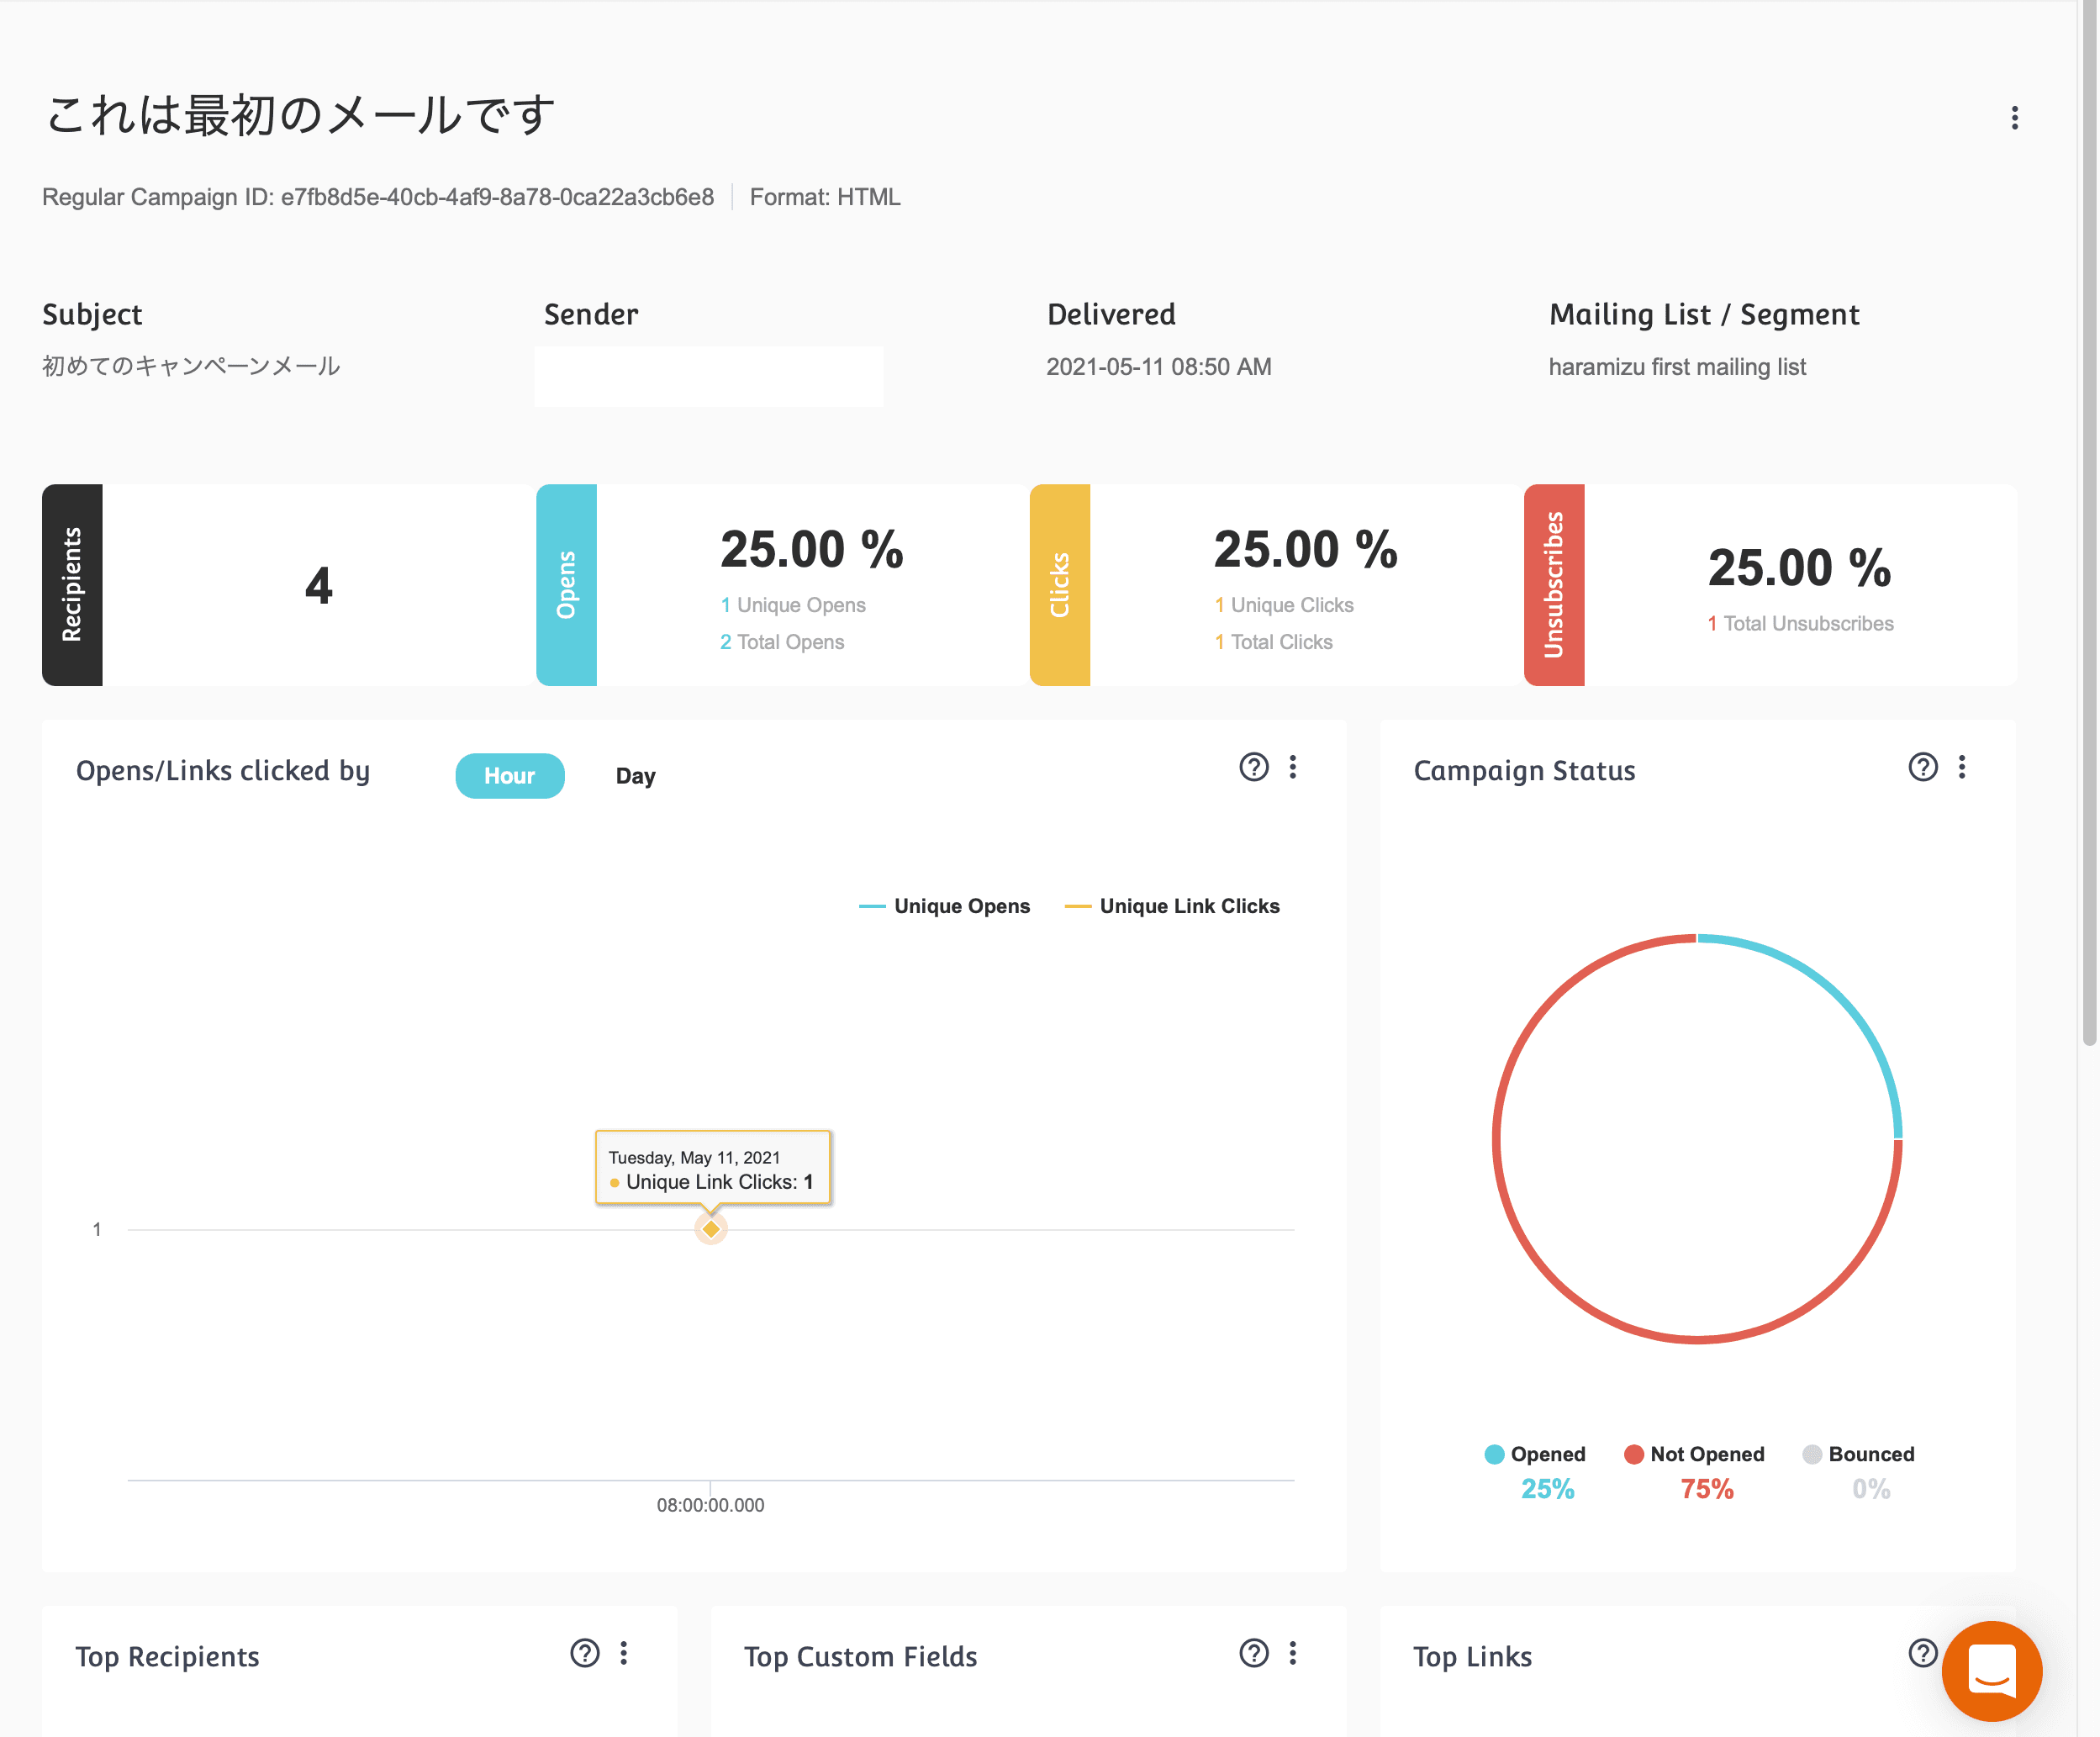
When you go to browse the dashboard, it switches from the checklist to the report screen.
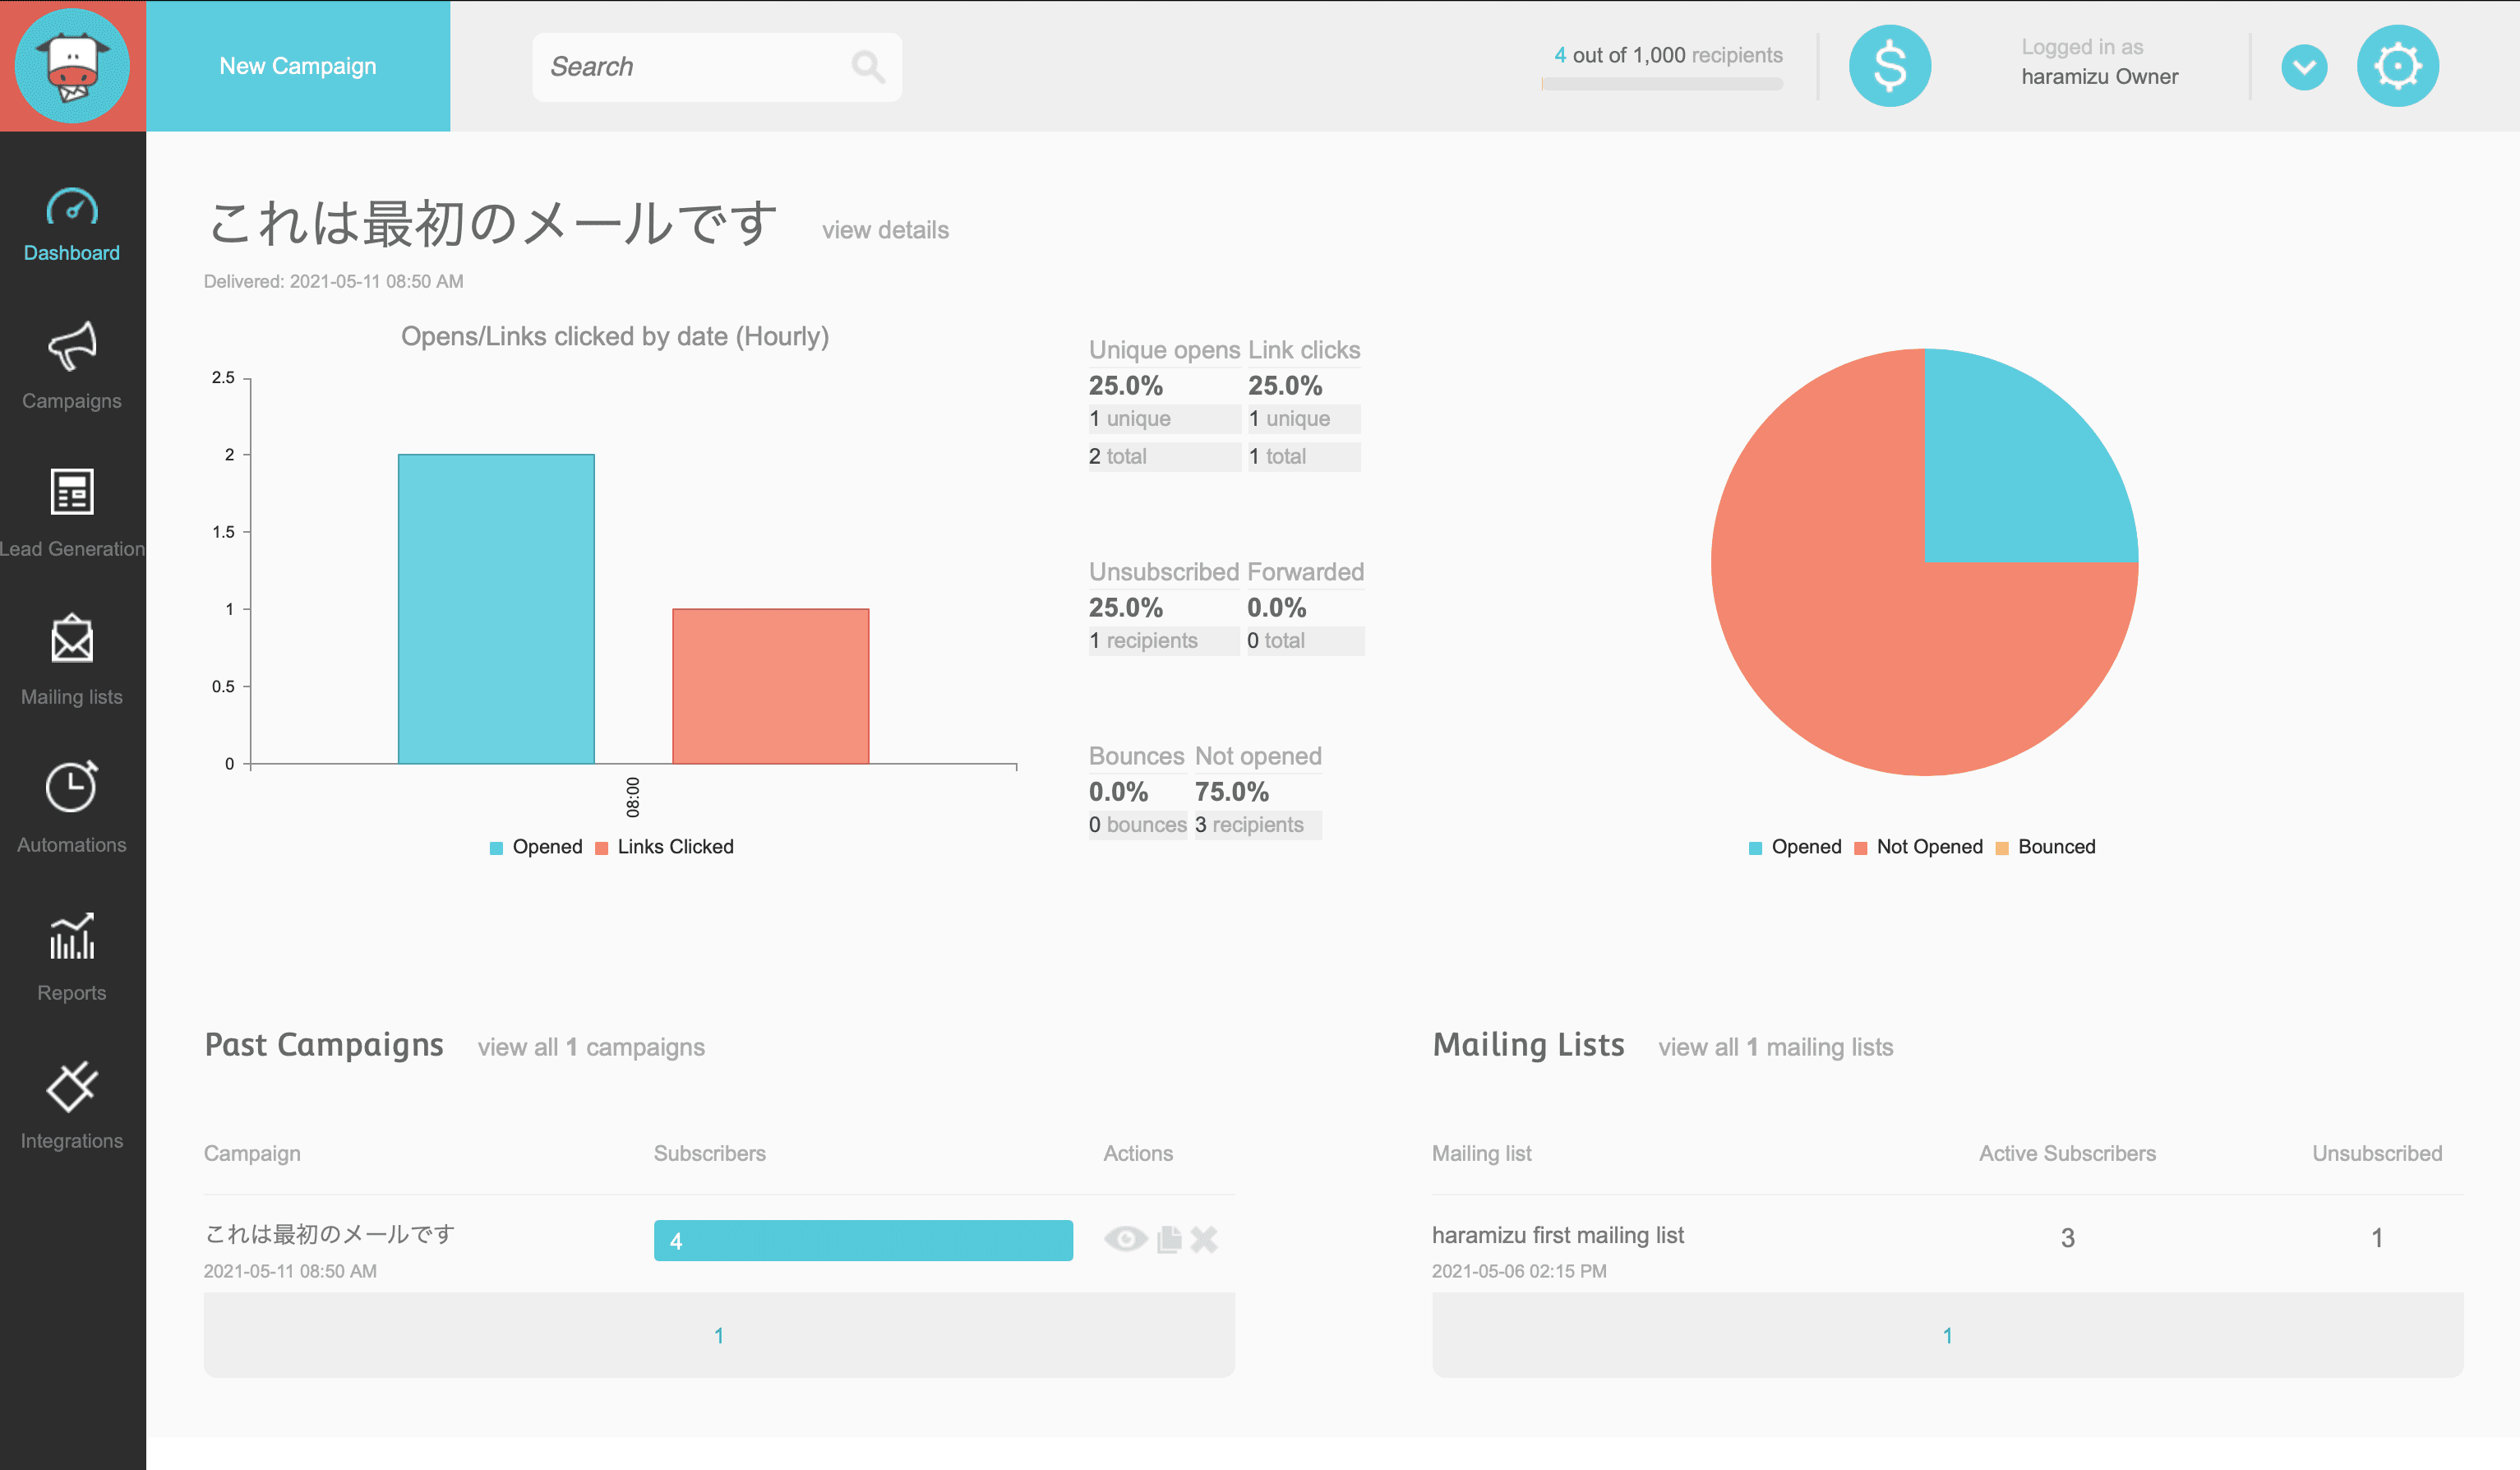
Open rates are obtained by downloading the image in the HTML email; Link Clicks are counted by clicking on the URL of the article set in the email. Also, if you choose not to subscribe, you will be added to Unsubscribed. In this way, the report will show you what kind of results you get when you send the email.

If you look at the "This is the first email" section in the lower left hand corner, you will see that 4 people have already received the newsletter. If you click on the eye icon in the Actions section of this report, you will see the newsletter report. The following is the screen

Another report is called Link Performance. This report shows what kind of links were clicked.
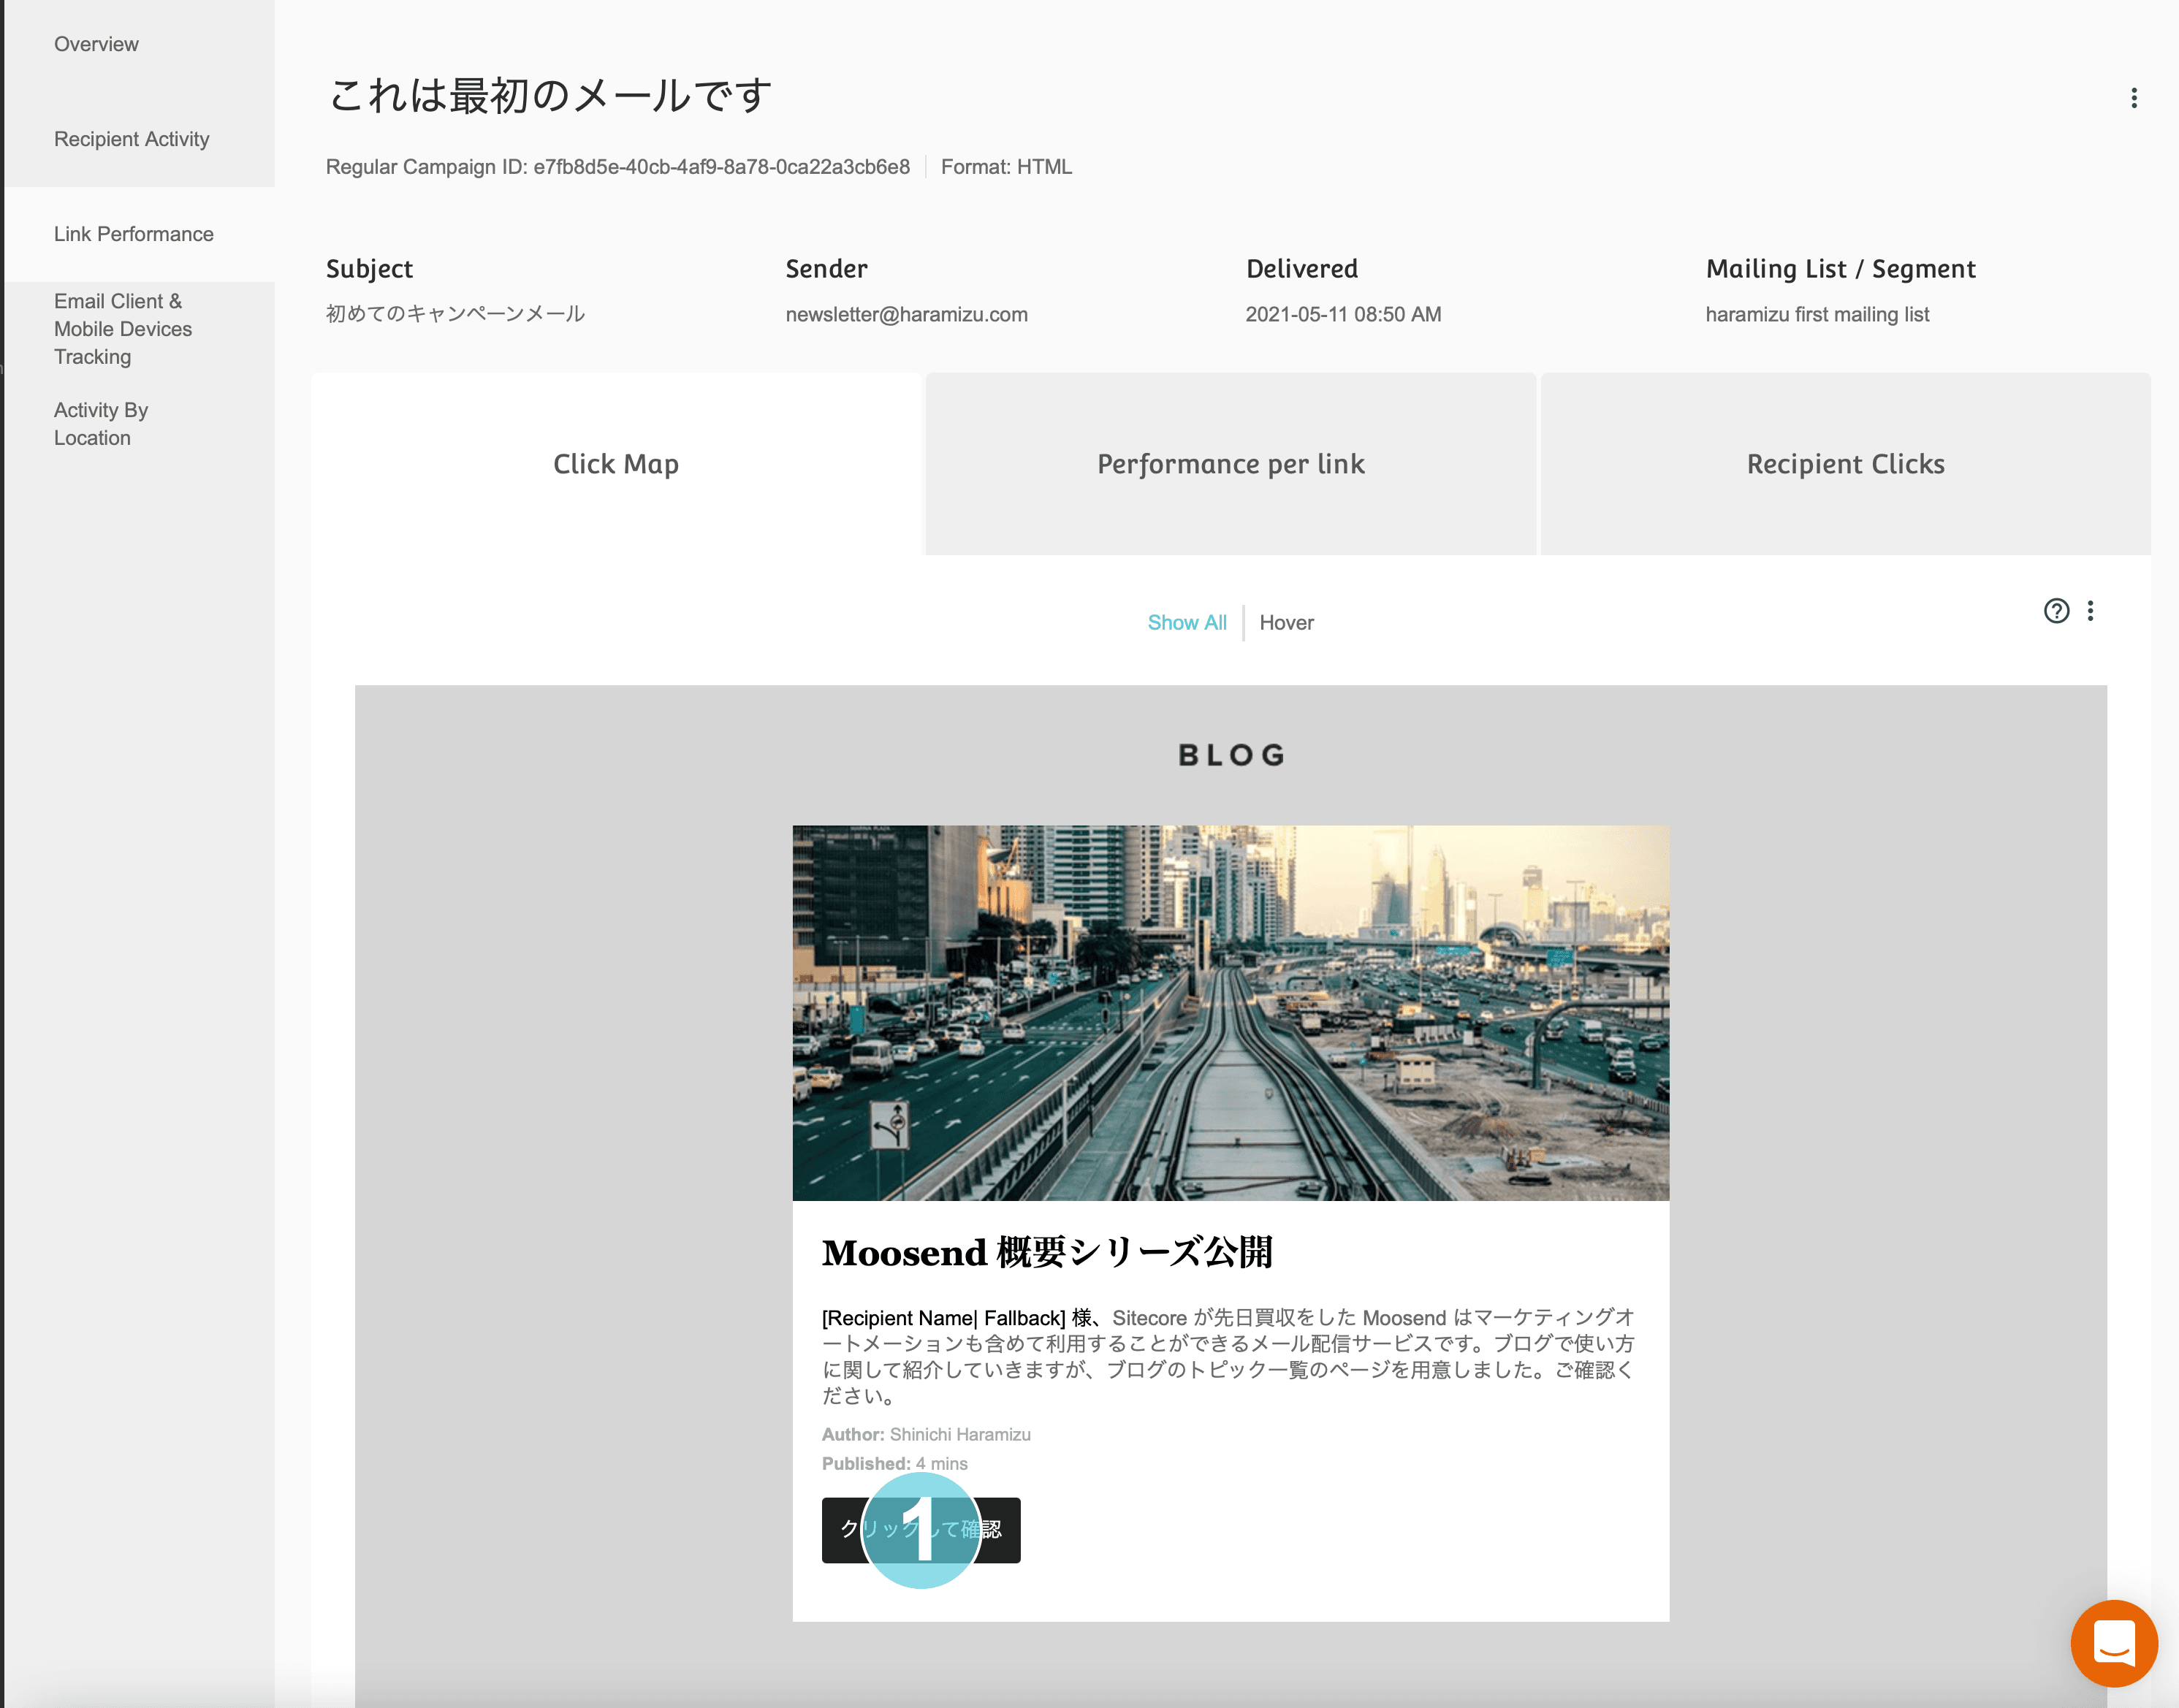
You can also refer to the location of the person clicking.
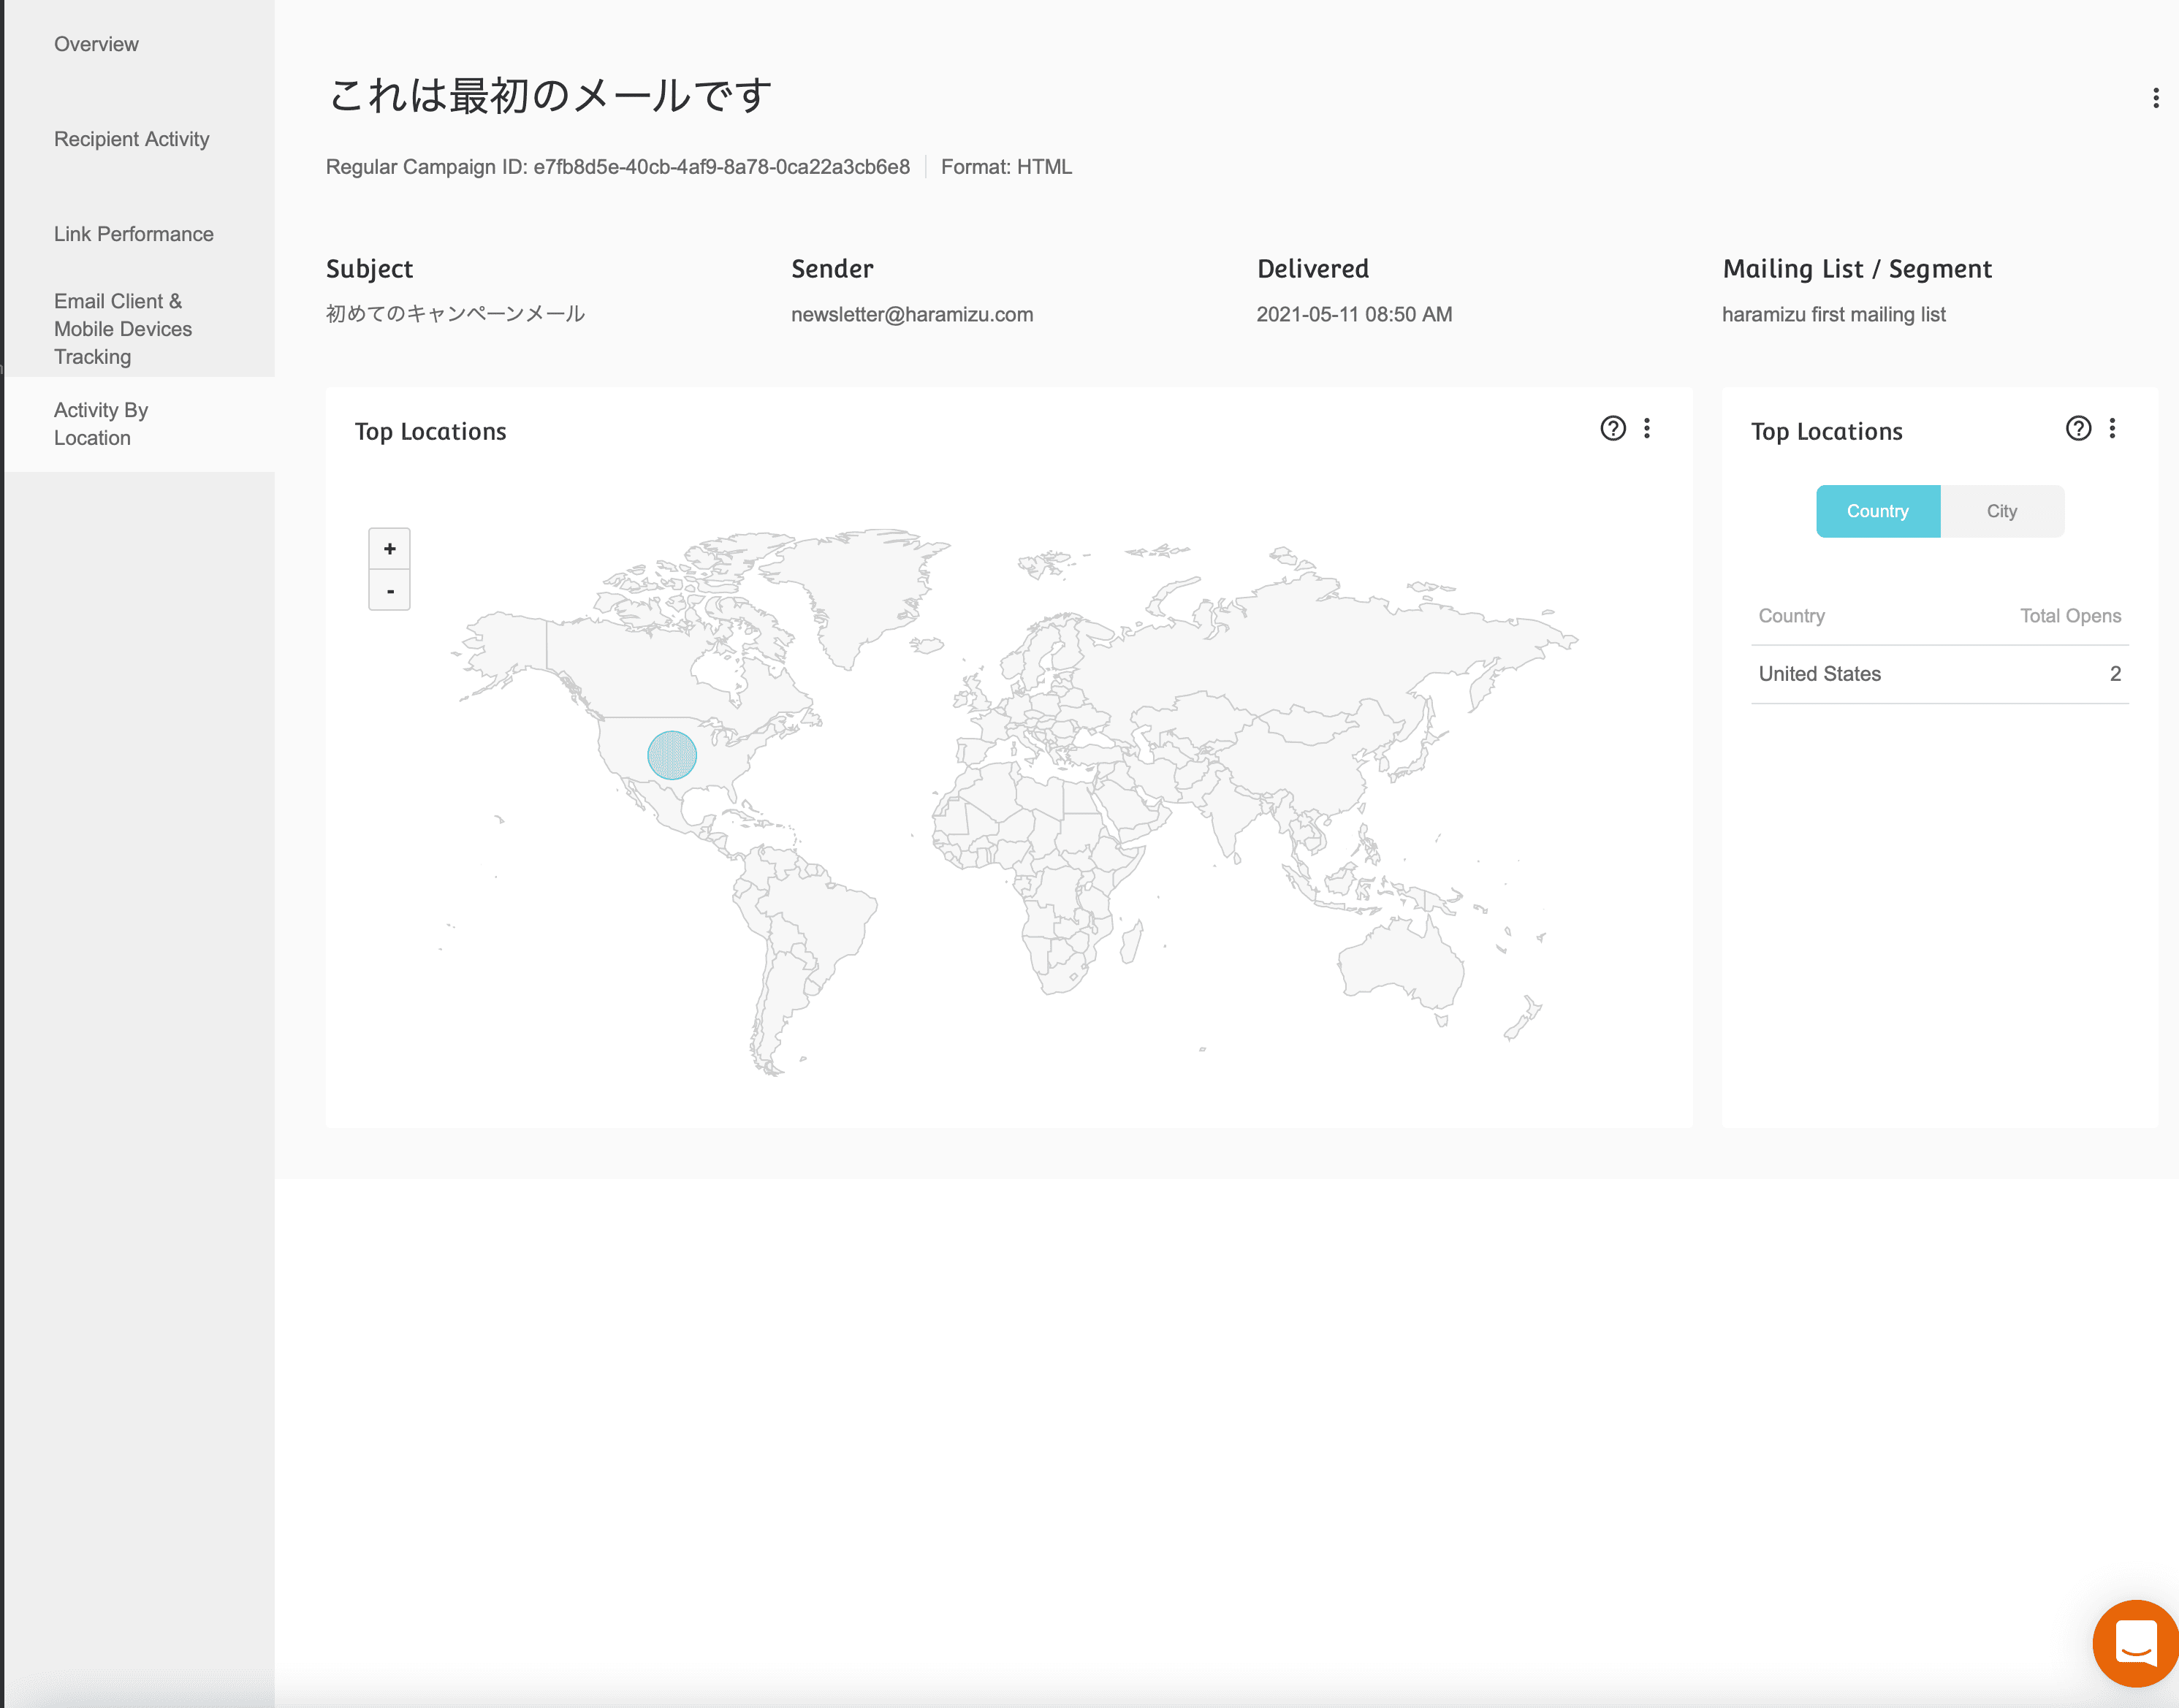
Thus, it is very convenient to be able to refer to the report immediately after sending the e-mail.
Summary
As part of the overview series, we have introduced the first newsletter up to the point of distribution. We would like to collect more material and add a separate series on its use. However, as we have introduced in four parts, it is a very easy newsletter tool to get started with. If you want to start small, you can use it for free for up to 1,000 subscribers, so we highly recommend that you evaluate the free version based on the settings and operational checks.