In this article, we will introduce the Sitecore JavaScript Services operating modes. The sample is based on the empty template created in Part 2, and explains the connection mode.
Sitecore JSS - Building a Sample Site with React SDK - Part.3
Related TechnologyPublished: 2021-04-23
About connection mode
Four modes are available for development in JSS. This time, we will explain these modes. For details, please refer to the following page.
As for the connection modes, there are four, each of which requires the following environment
Connection mode | Description | Local | Sitecore |
|---|---|---|---|
Disconnected dev mode | Works only in the local environment | Need | No |
Connected dev mode | Access Sitecore content from your local environment | Need | Need |
Integrated mode | Works in Sitecore environment | No | Need |
API-only mode | Sitecore works with Headless, JSON knowledge required. | No | Need |
Now let's look at each operation one by one.
Disconnected dev mode
On several occasions, we have run the following commands when launching sample applications.
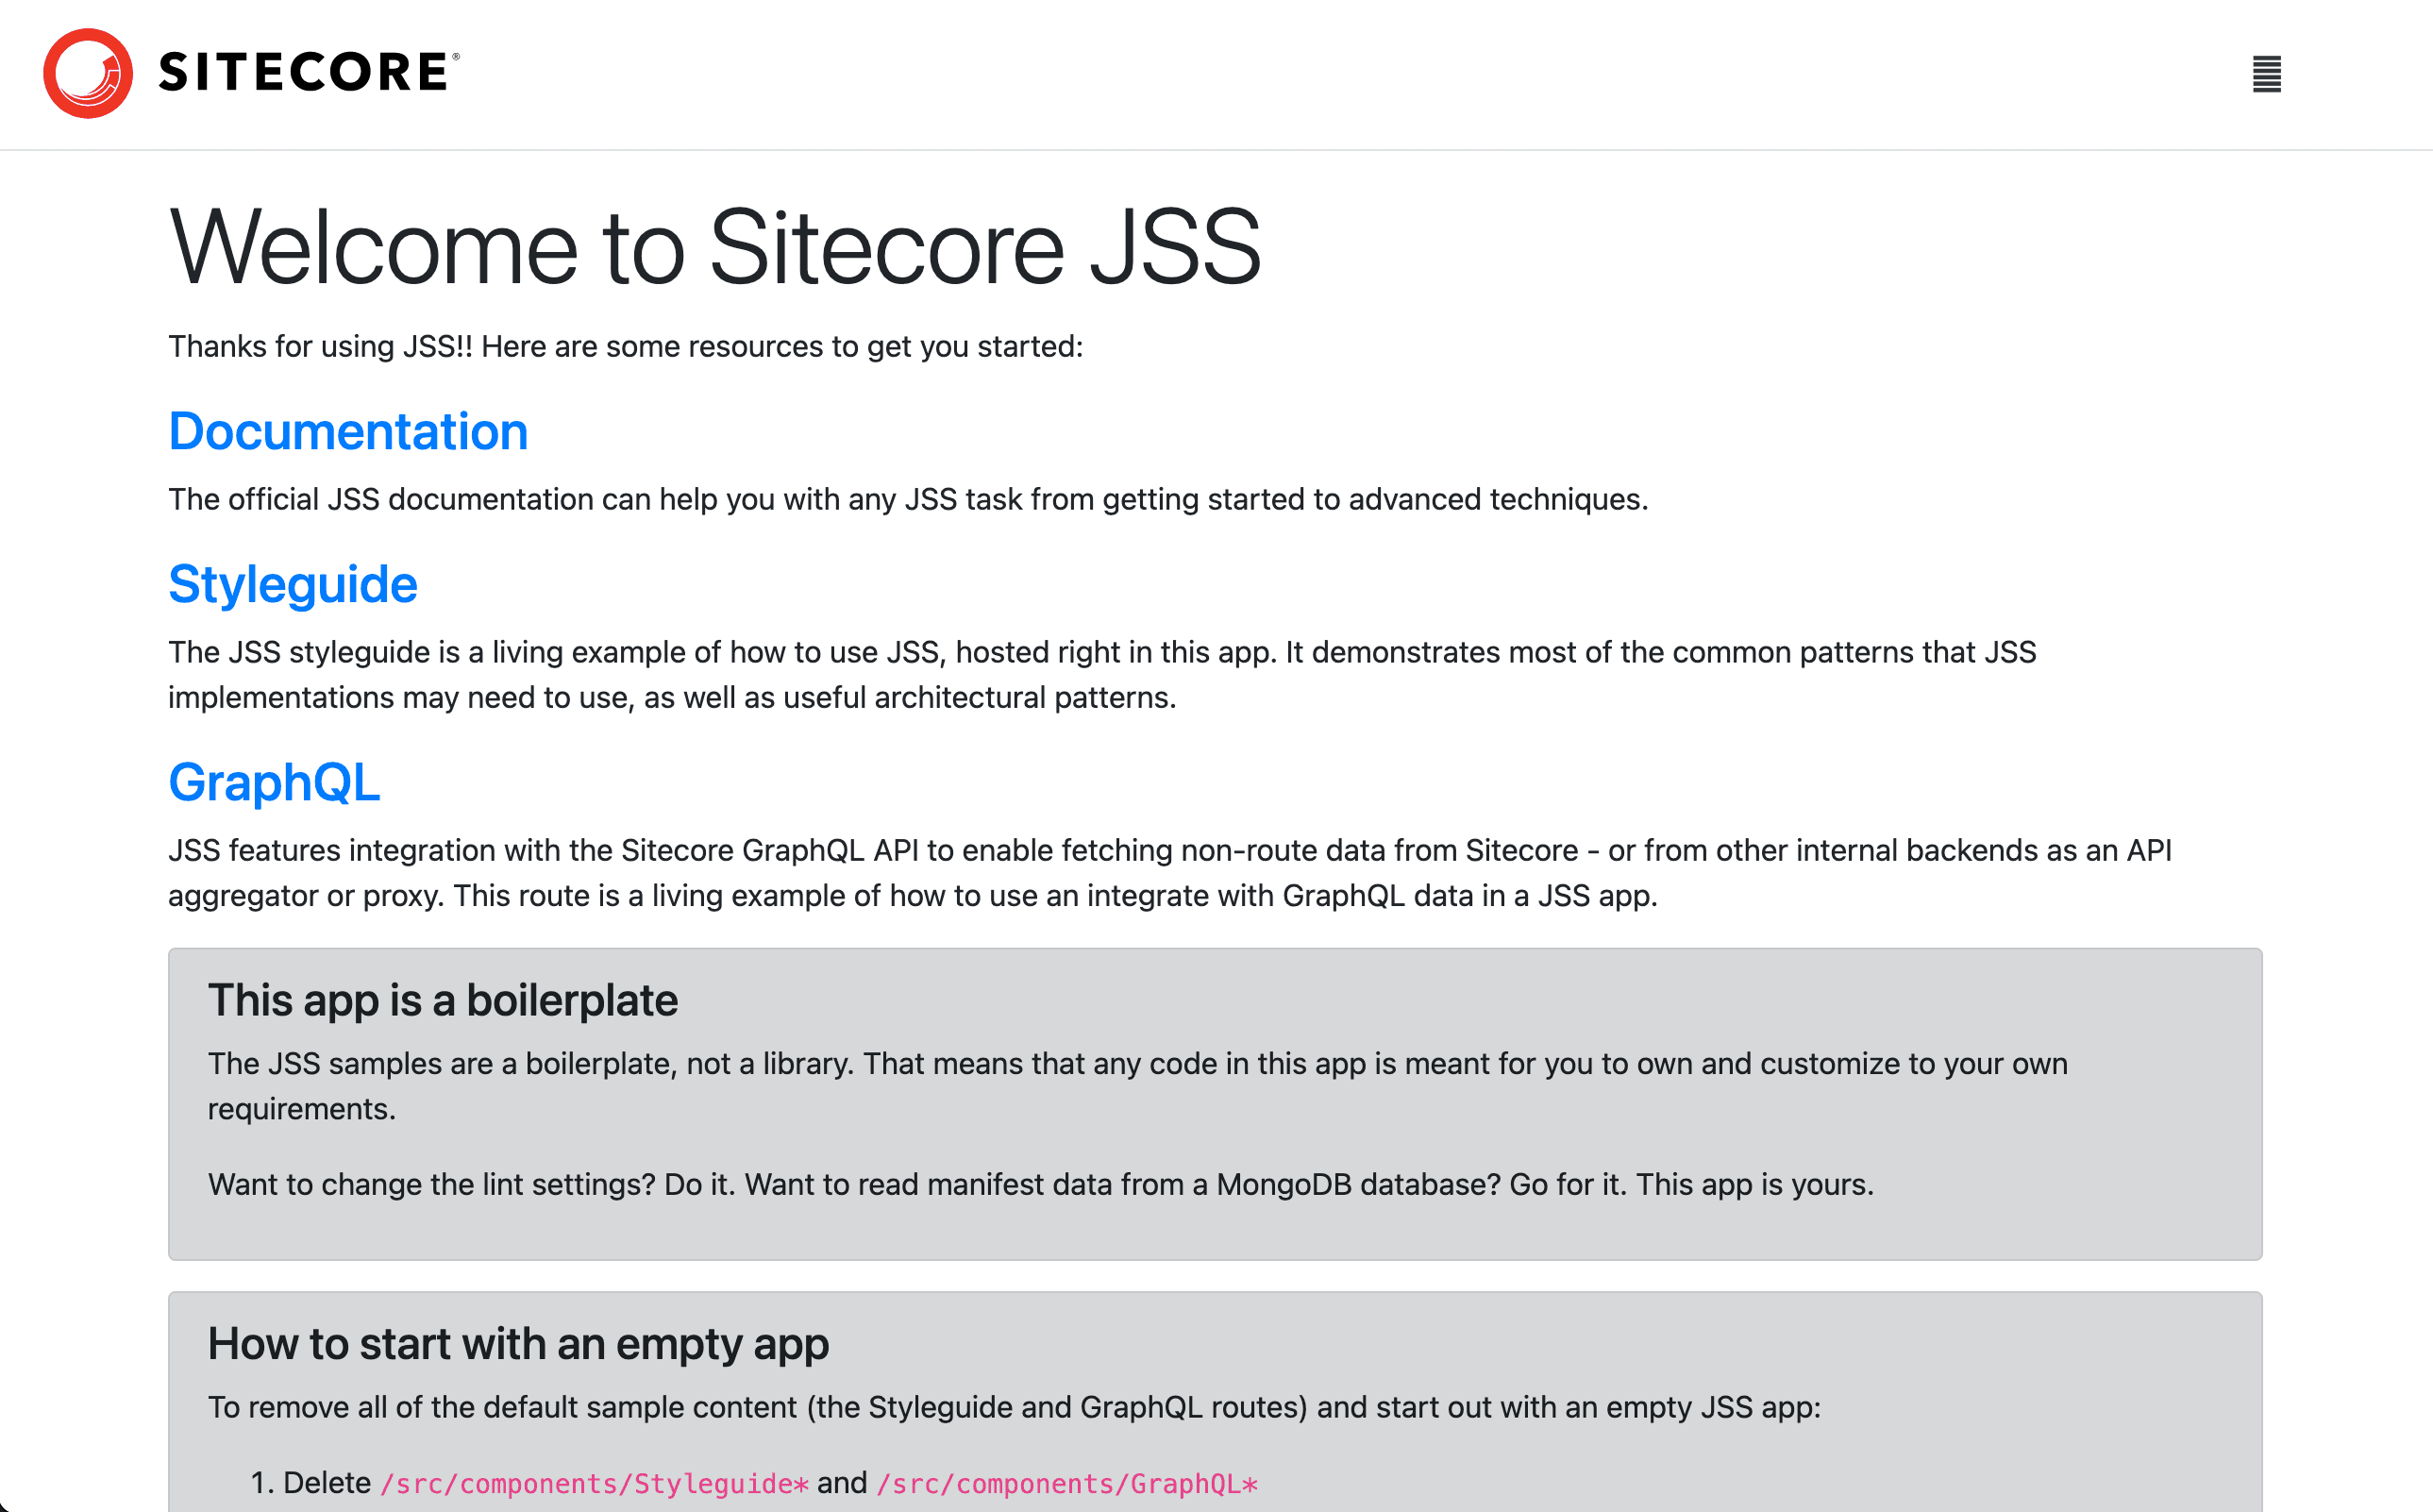
jss startAfter a while, the application will start in the local host. Of course, in this mode, the application will operate as a local development environment, reloading when content is edited and saved.
Connected dev mode
In this mode, the synchronization of JSS app items and layouts has been completed. The JSS app is being deployed to Sitecore. The commands are,
jss deploy app -c -d Or, if you synchronize using the following procedure (this is what we've consistently done in this series)
jss deply items -c -d
jss build
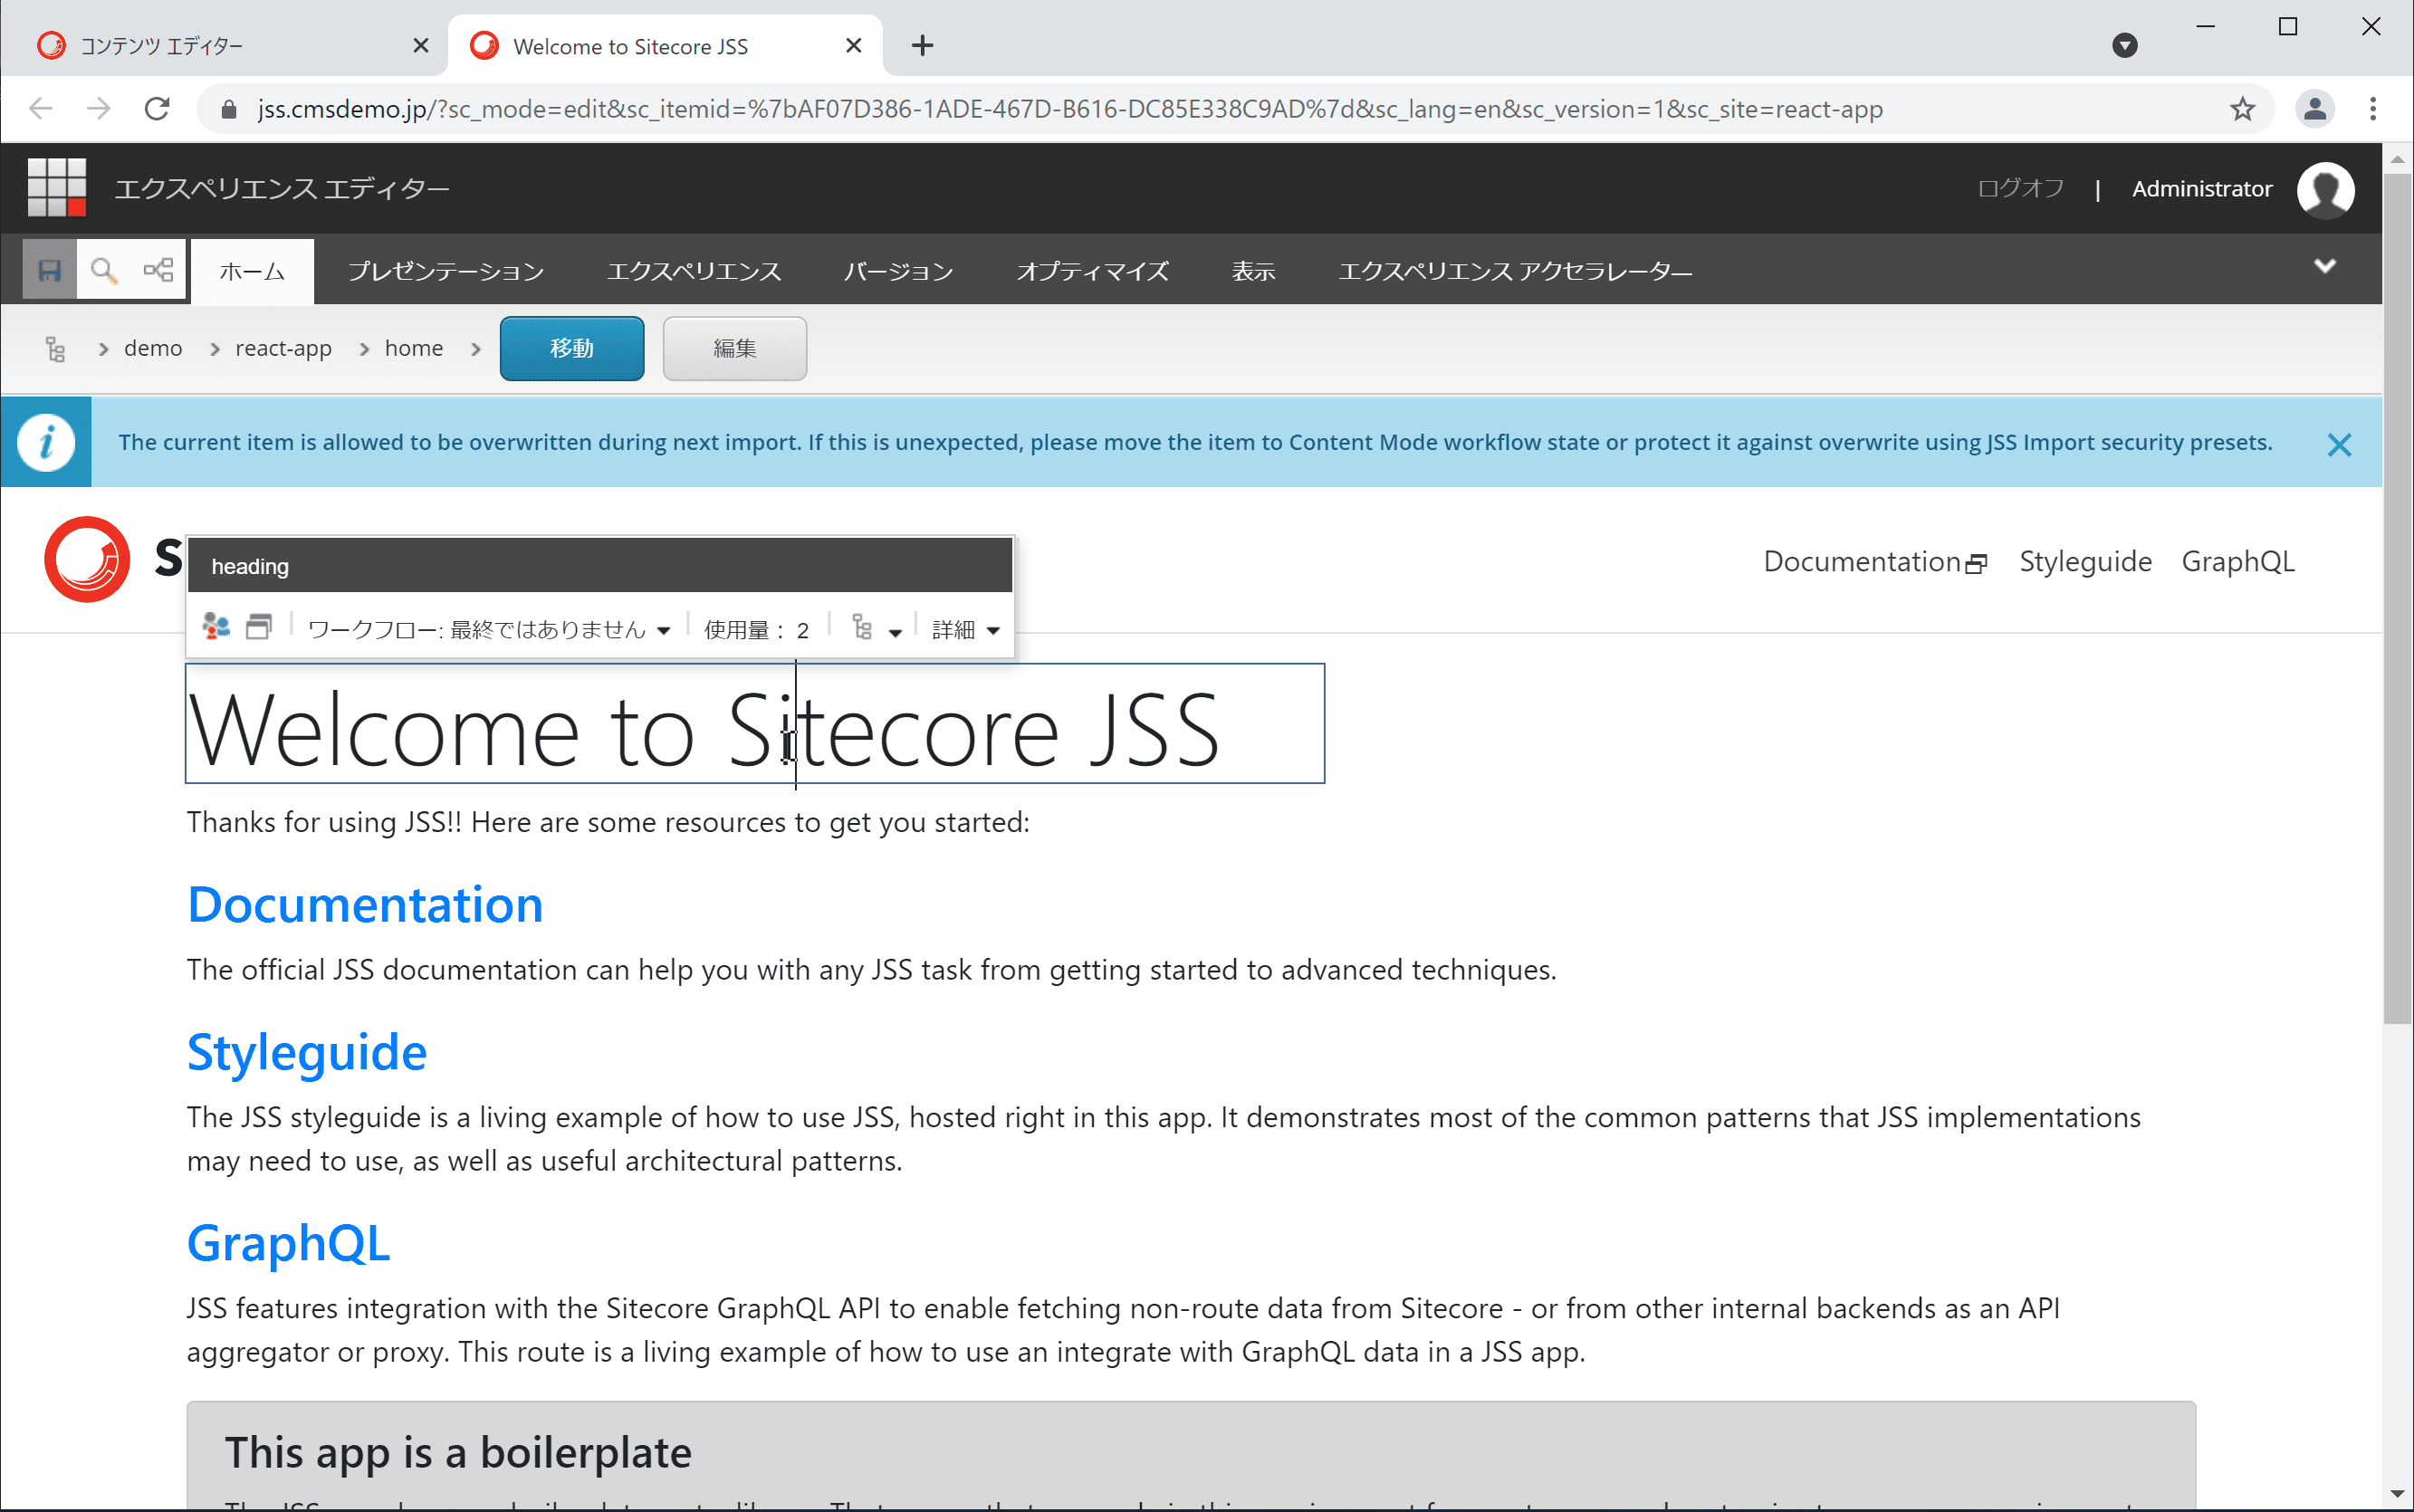
If you copy the files included in the build to the /dist/appname folder of the Sitecore instance, the experience editor will also work, and Sitecore alone will work.
Integrated mode
In this mode, the JSS app at hand can refer to Sitecore content to display pages.
First, make sure that the correct API key is set in scjssconfig.json. If this is set, proceed with the following steps.
Edit react-app.config
The file /sitecore/config/react-app.config is the configuration file. The changes to be made are the hostName (which the React app can access) and the rootPath of the site (if you are not using a JSS site, the path may be fine as is).
<site patch:before="site[@name='website']"
    inherits="website"
    name="react-app"
    hostName="Sitecore ホスト名"
    rootPath="/sitecore/content/demo/react-app"
    startItem="/home"
    language="ja-JP"
    database="master" />
Similarly, change the app settings in the JavaScriptServices section. if you are not using the JSS site, you can leave it as it is, but make sure the sitecorePath is correct.
<app name="react-app"
        sitecorePath="/sitecore/content/demo/react-app"
        useLanguageSpecificLayout="true"
        graphQLEndpoint="/api/react-app"
        inherits="defaults"
/>
jss start:connected
In order to start up in a way that connects to Sitecore, the following commands are executed in a slightly different manner than usual.
jss start:connected In the previous sample, the following screen will appear.
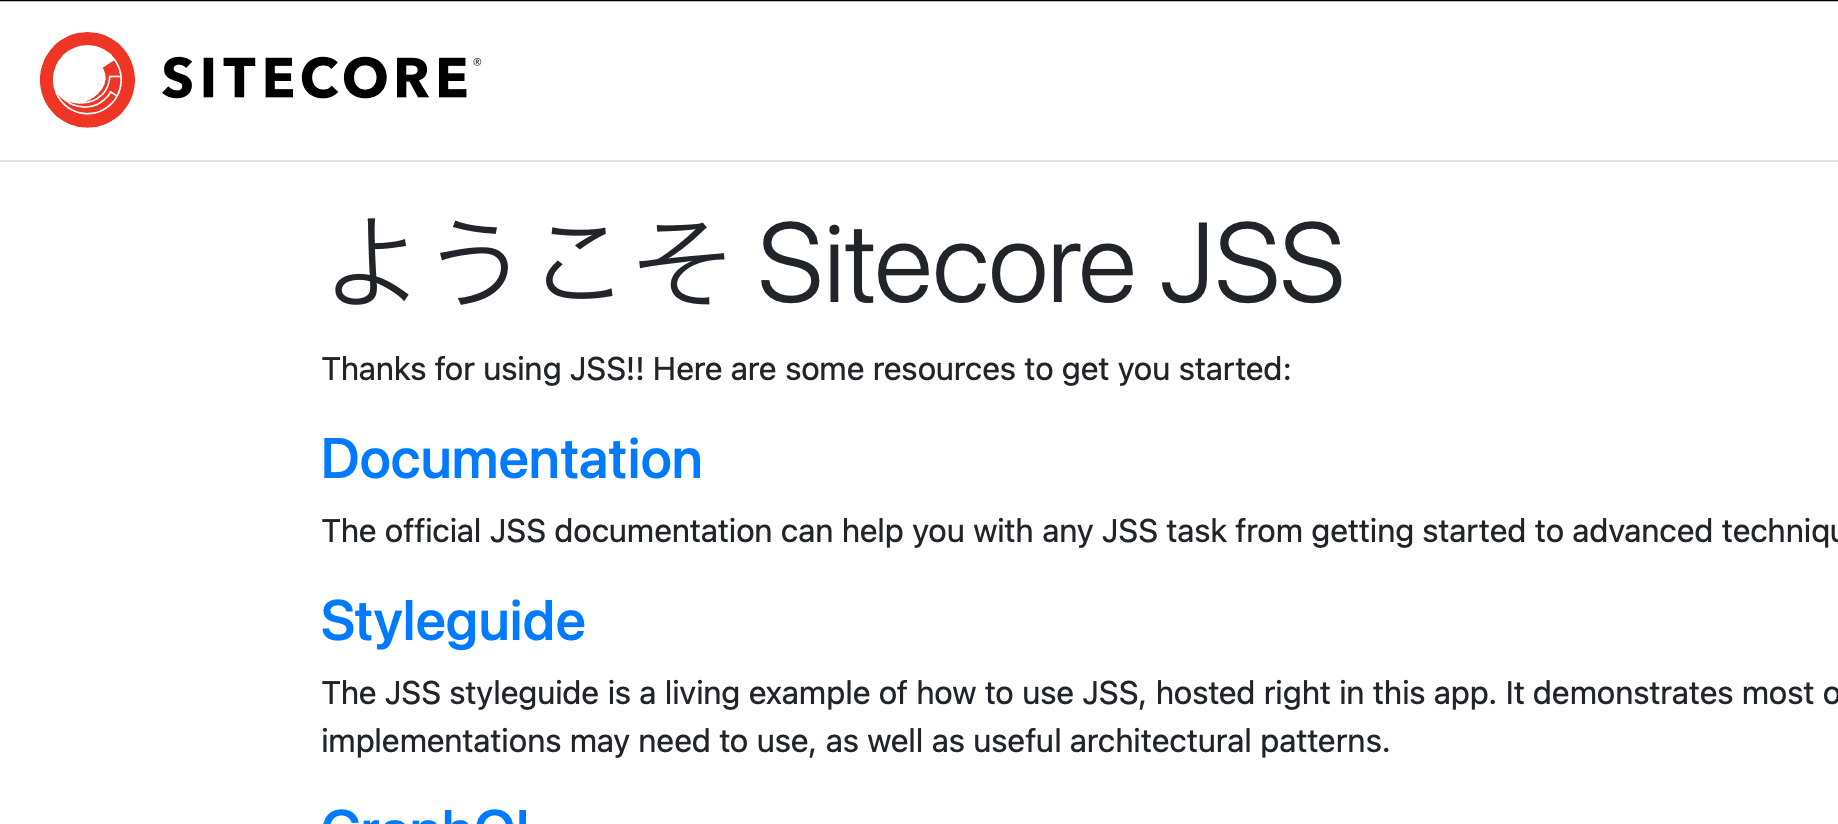
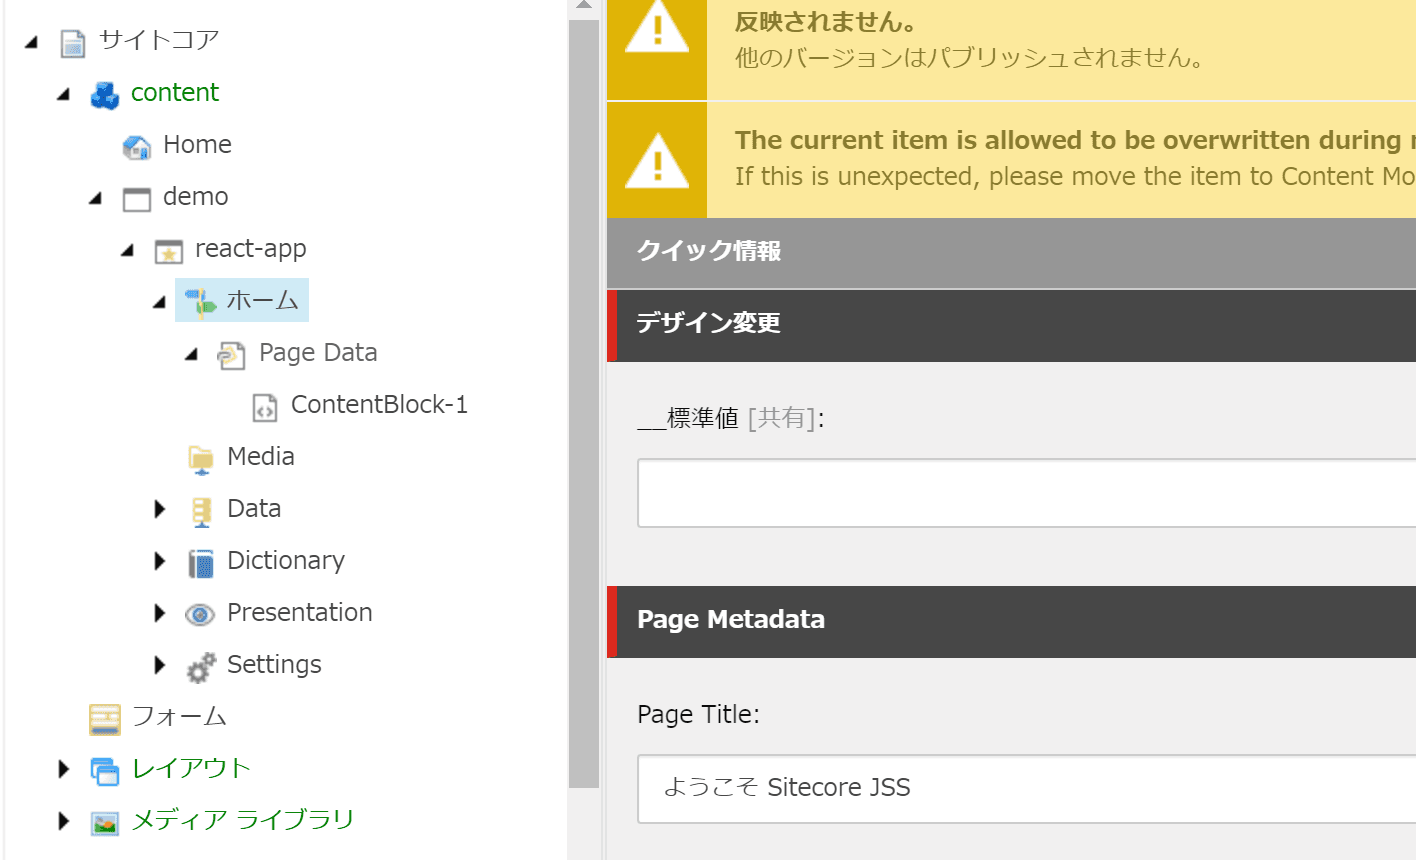
Log in to the Sitecore you are working with, specify the item under Home, change the title, and save.
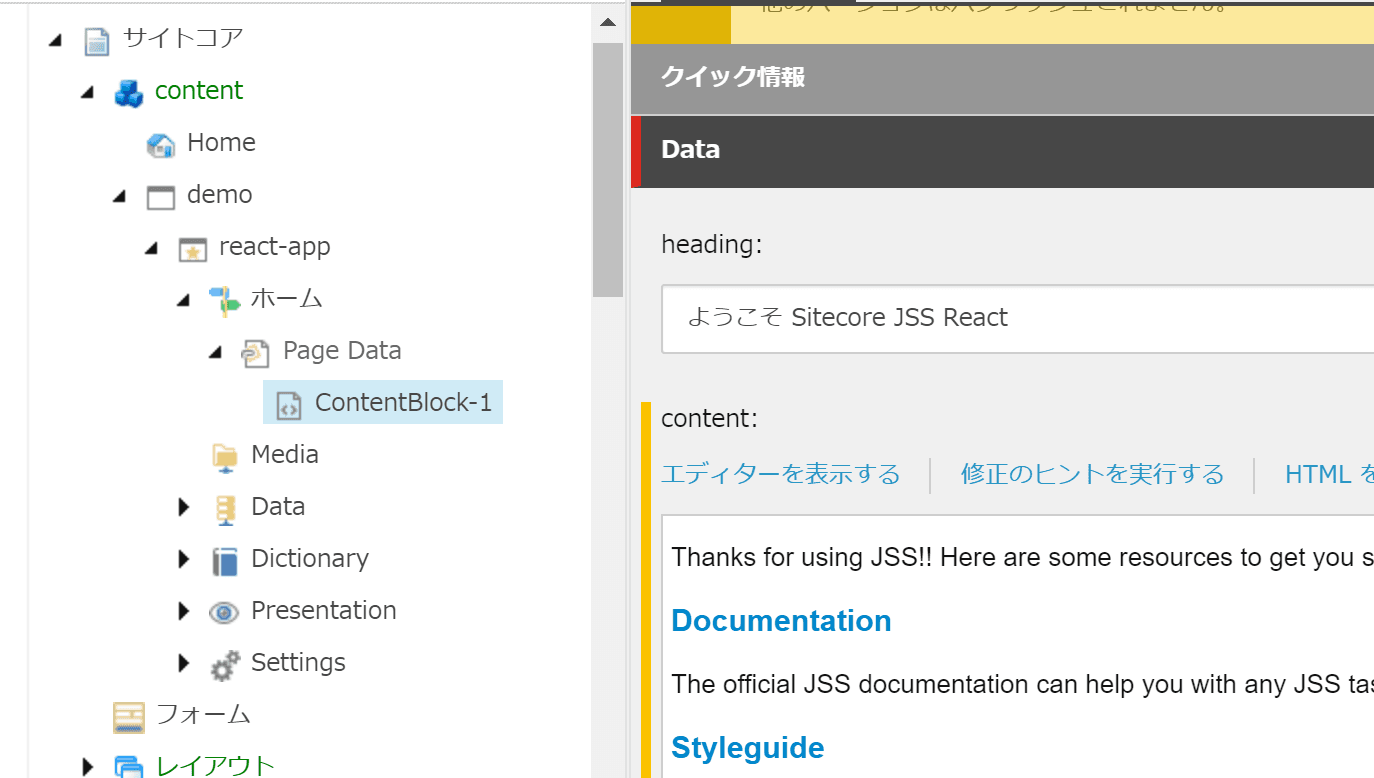
After saving, reload the application page that was just launched.
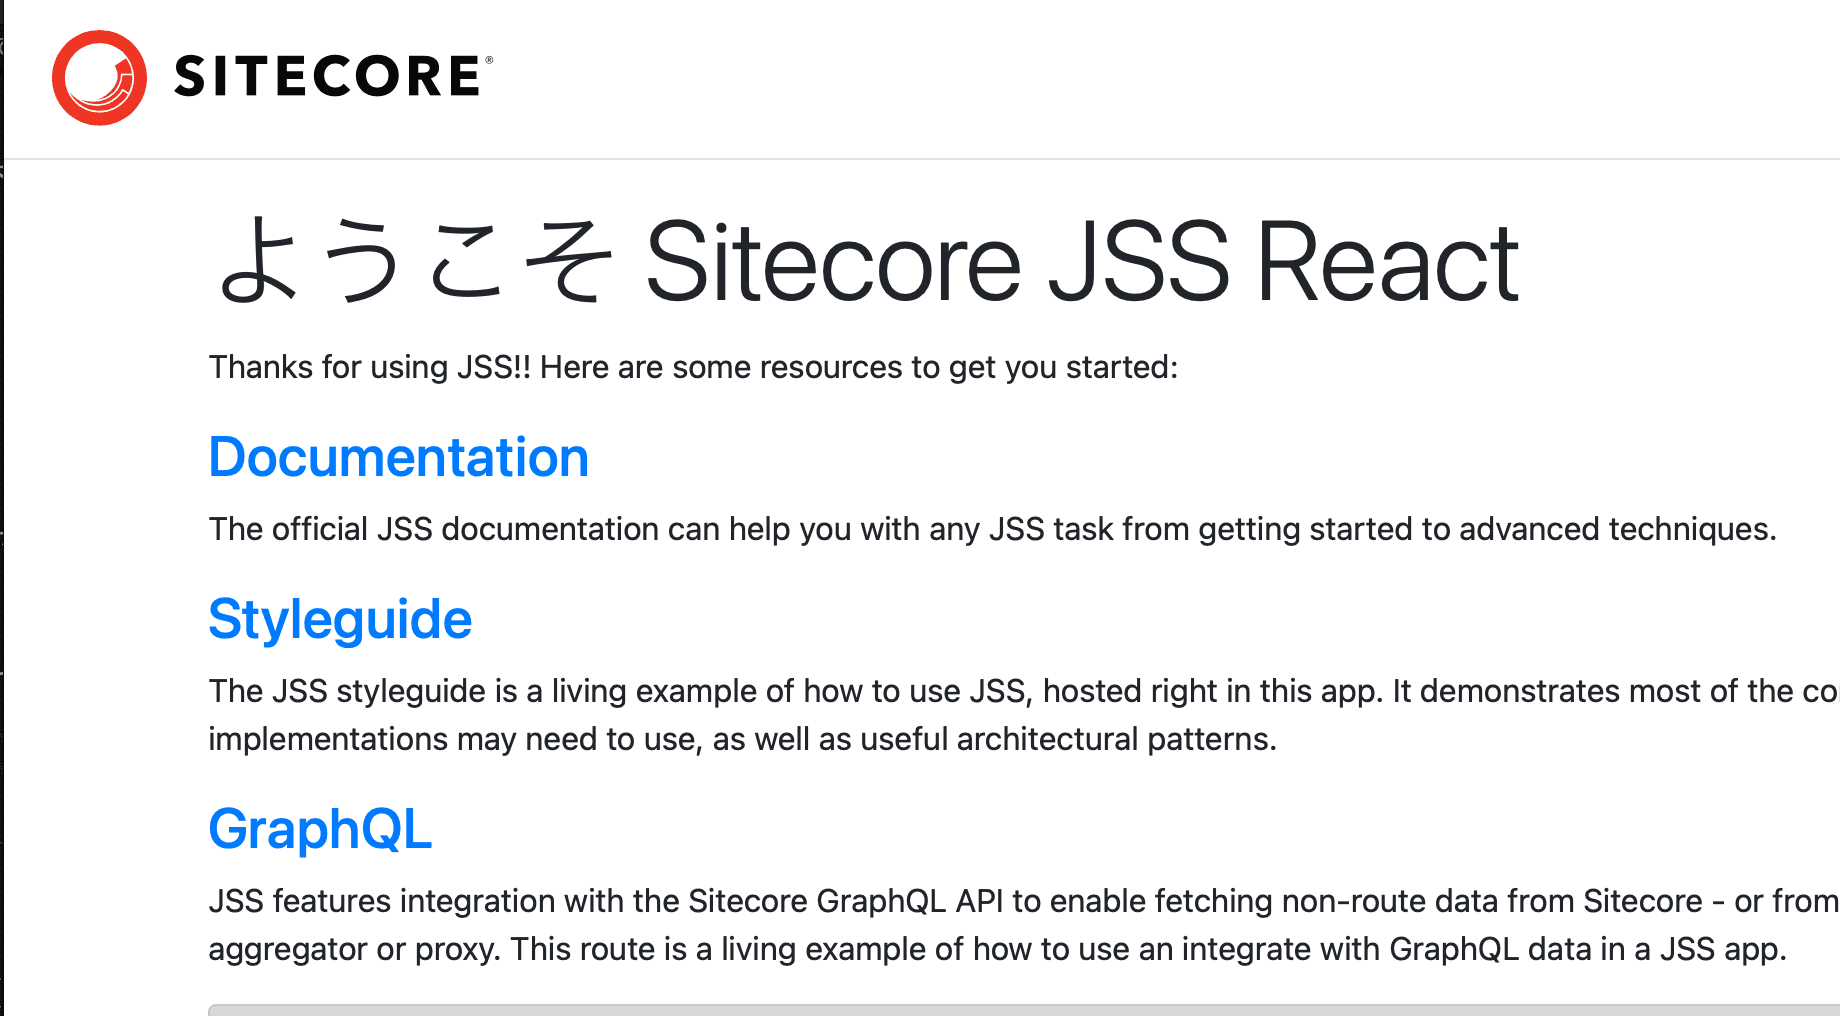
The page has been updated. In this way, it is possible to create a movement that references Sitecore content while launching the JSS application. This is Integrated mode.
Summary
By making good use of the modes introduced in this article, you can switch between them according to the mode you are developing in, such as using Visual Studio Code + Node.js for offline development and Integrated Mode for testing the finished components.
The operation check in connected dev mode will also serve as a test for the part related to editing without changing the operation.
Once all testing has been completed, the code can be integrated and deployed to Github, and development can proceed.
- Building a sample site using React SDK - Part.1
- Building a sample site using React SDK - Part.2
- Building a sample site using React SDK - Part.3
- Building a sample site using React SDK - Part.4