A sample Sitecore Content Hub and Drupal integration is available for testing. In this article, we will introduce how the integration works.
Sitecore Content Hub integration review
For Sitecore Content Hub DAM, integration with the Sitecore Experience Platform (CMS) is provided through a connector. This connector allows users to specify images from the Sitecore CMS administration screen without having to switch tools.
This mechanism is based on a connector provided by Sitecore, but it can be used with other CMSs as well.
Sample integration with Drupal
A connector for integration with Drupal is available for Sitecore Content Hub 3.2.1.
- Drupal Connector (3.2.1) - Japanese page
The prerequisite for using this is Drupal 8.x (a different connector is required for Drupal 9.x). In this article, we will install and run Drupal, install and configure the connector to work with the Sitecore Content Hub.
Preparing for Drupal 8
Installing XAMPP
In order to install Drupal 8 quickly, we will proceed with the setup in an environment where Chocoletey is already installed. First, with PowerShell administrator privileges, execute the following commands.
choco install bitnami-xampp
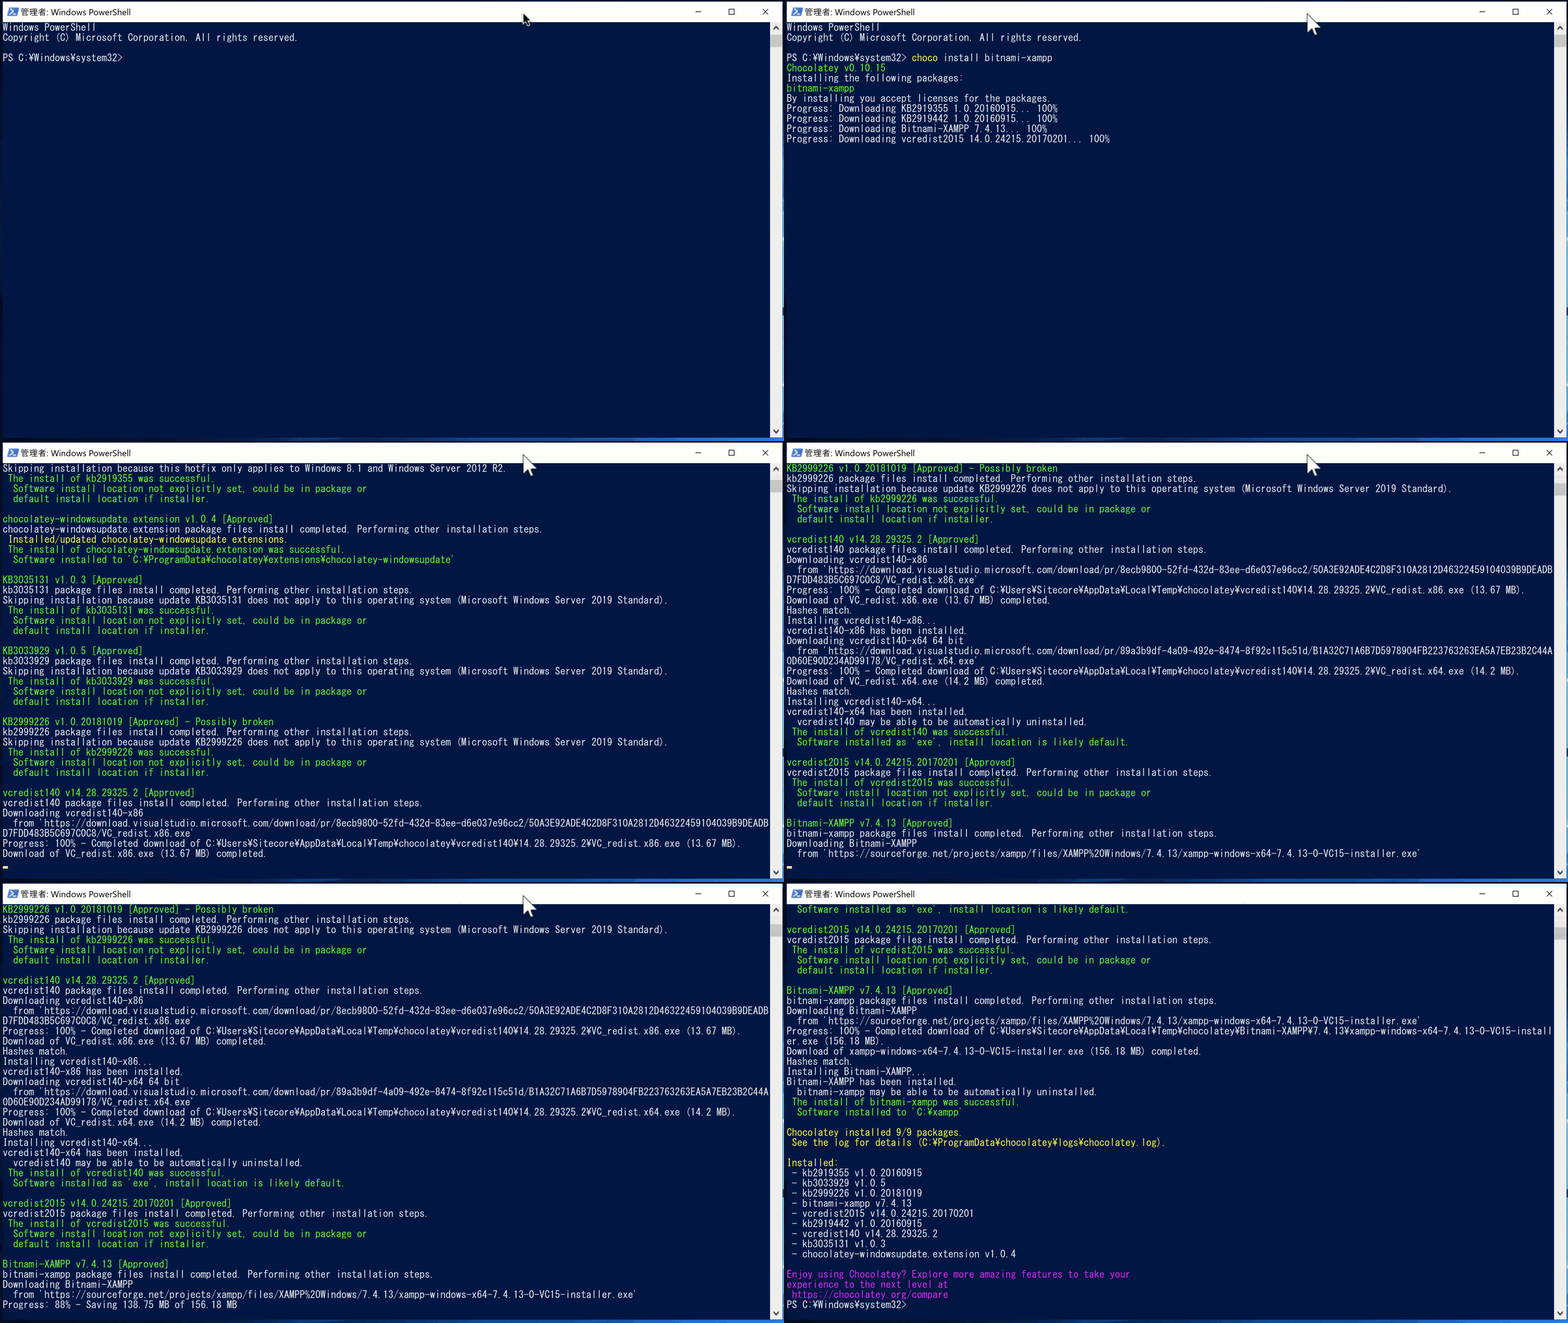
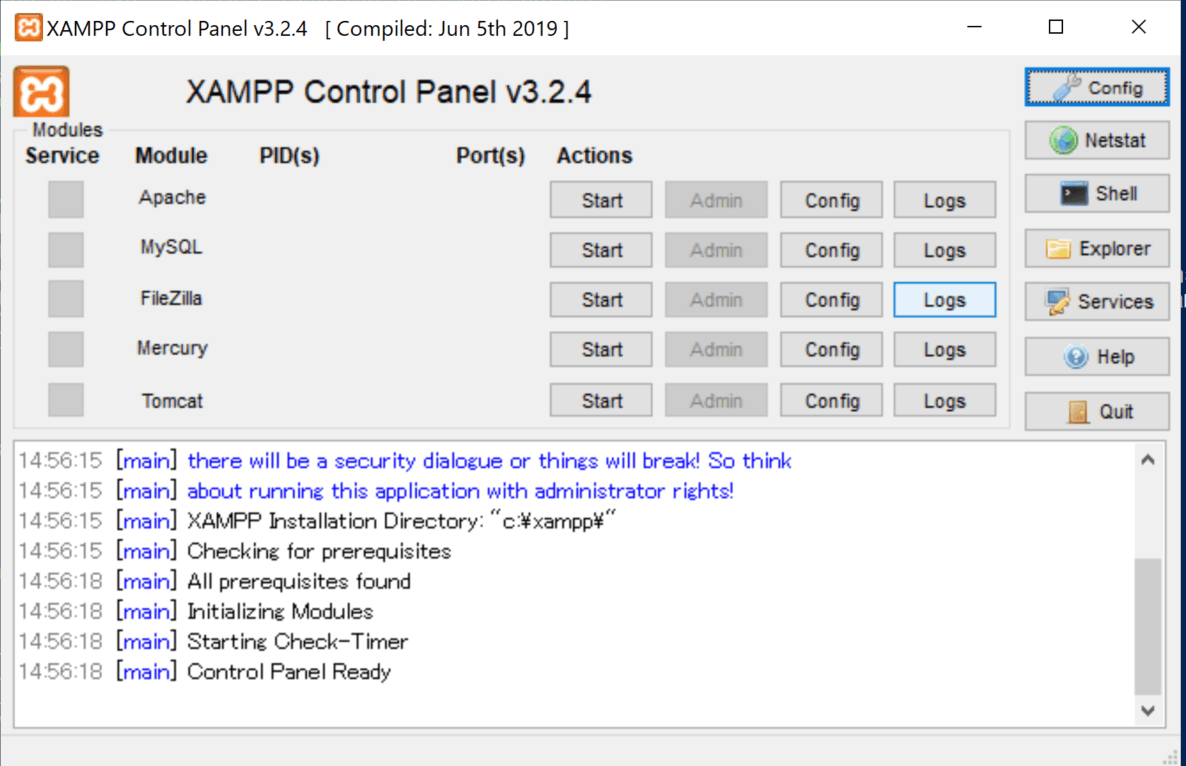
XAMPP is a tool that allows you to easily set up an environment not only for Drupal, but also for Wordpress and other applications. When the installation is complete, a tool called XAMPP Control Panel will be installed. The following is the screen when the tool is started with administrator rights.
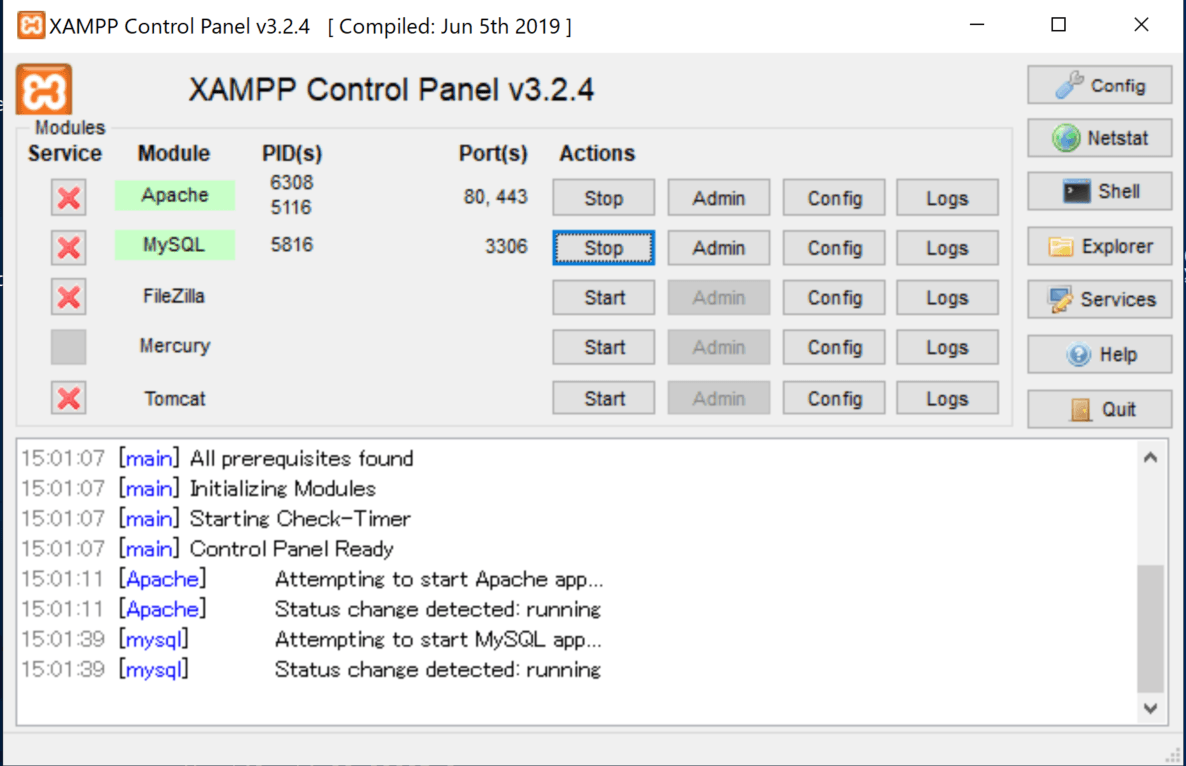
Of the tools listed in the control panel, we will be using Apache and MySQL. Click on the "Start" button to start either of them.
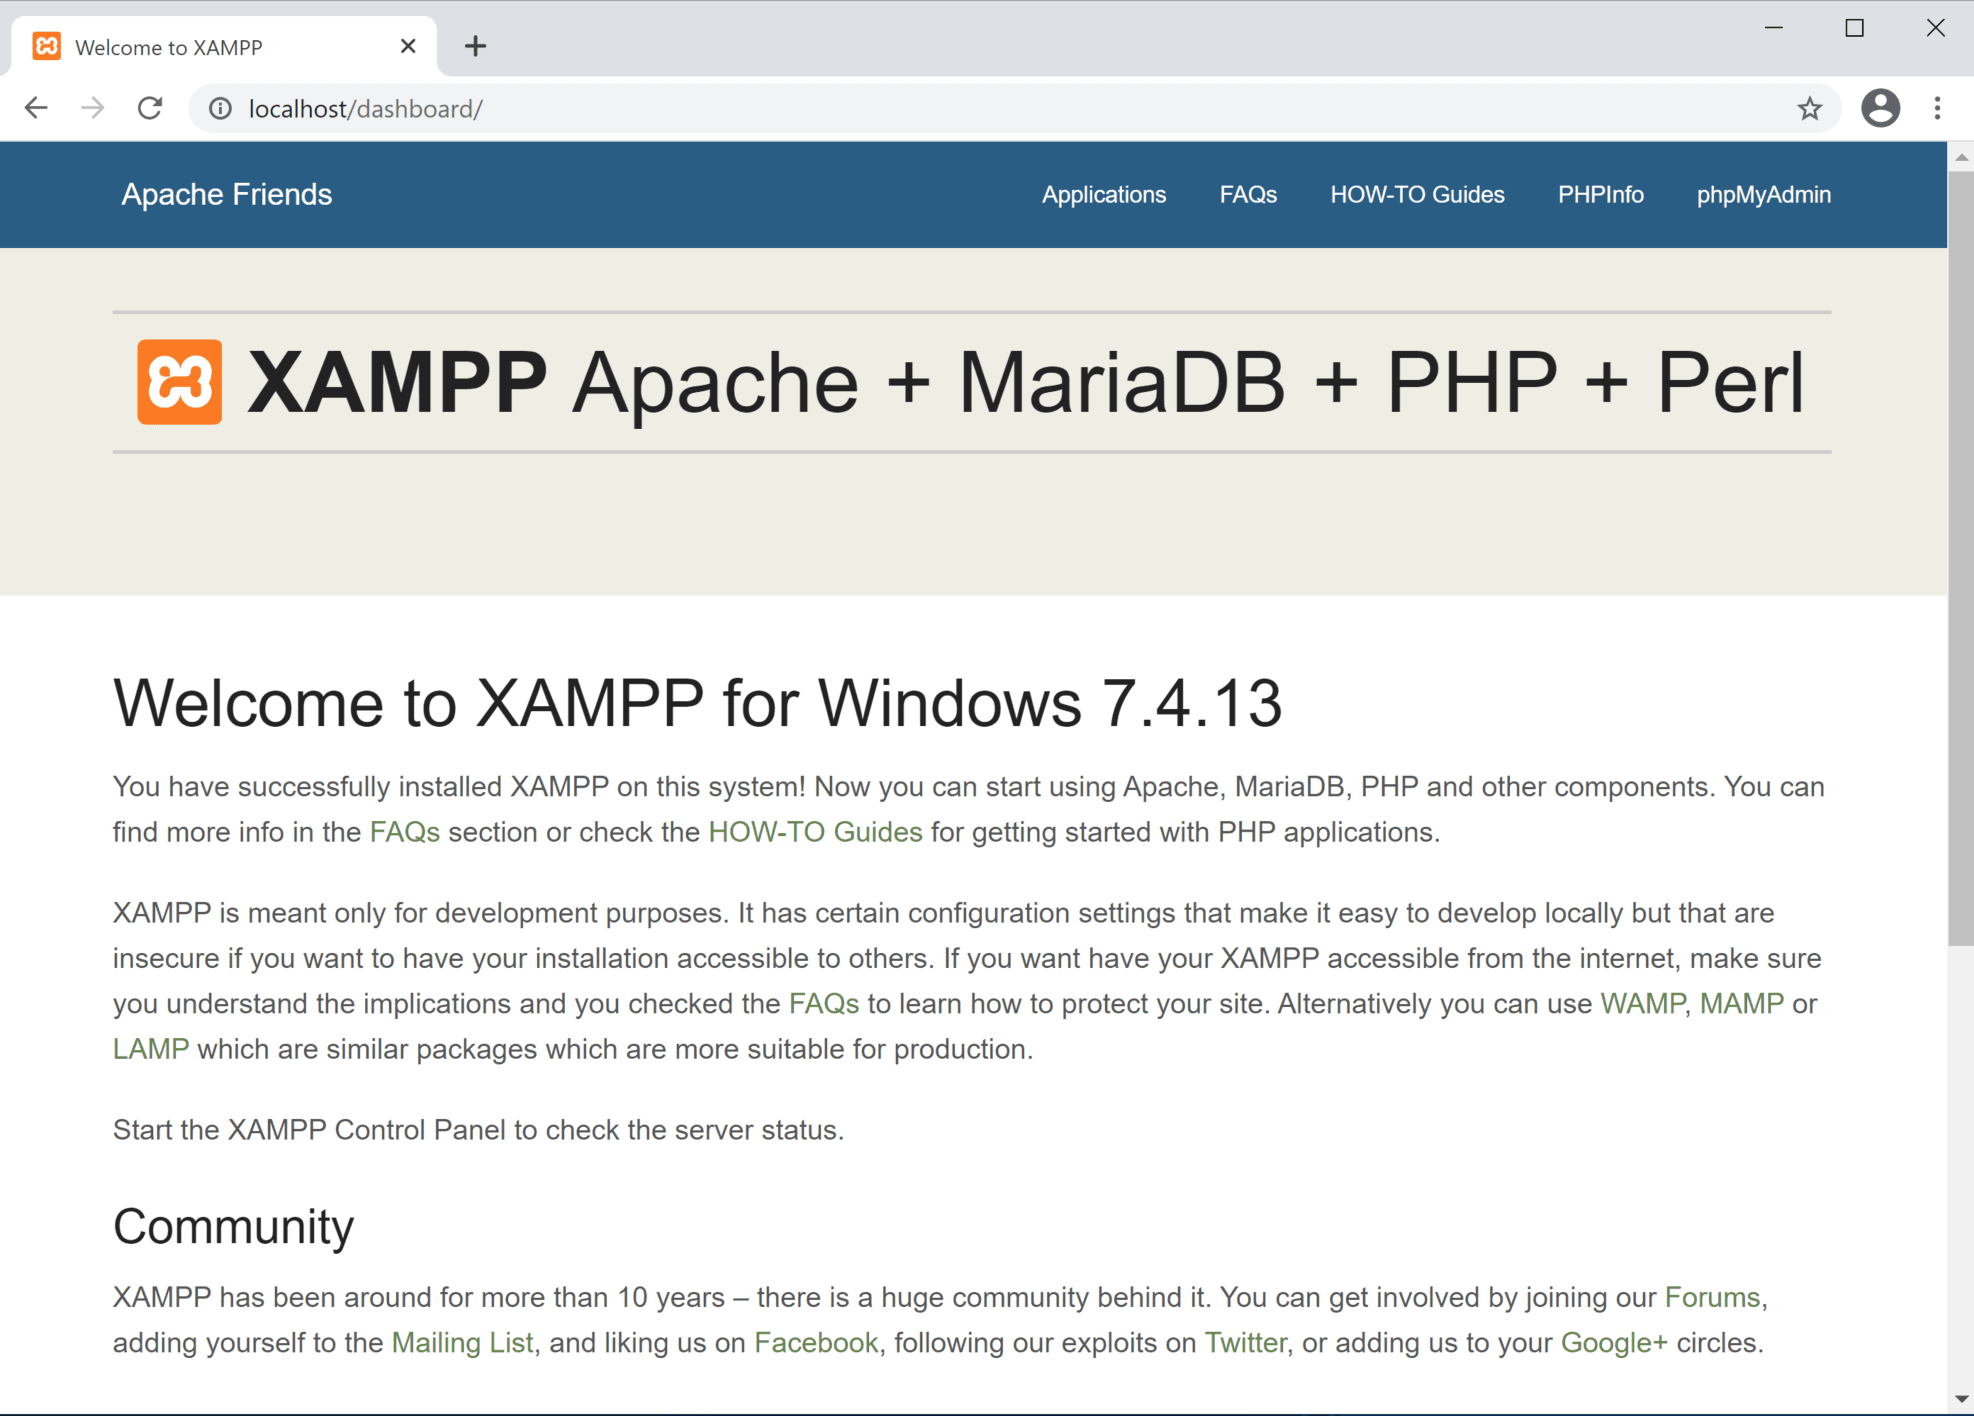
XAMPP is now ready. If you try accessing http://localhost/ you will see the following screen.
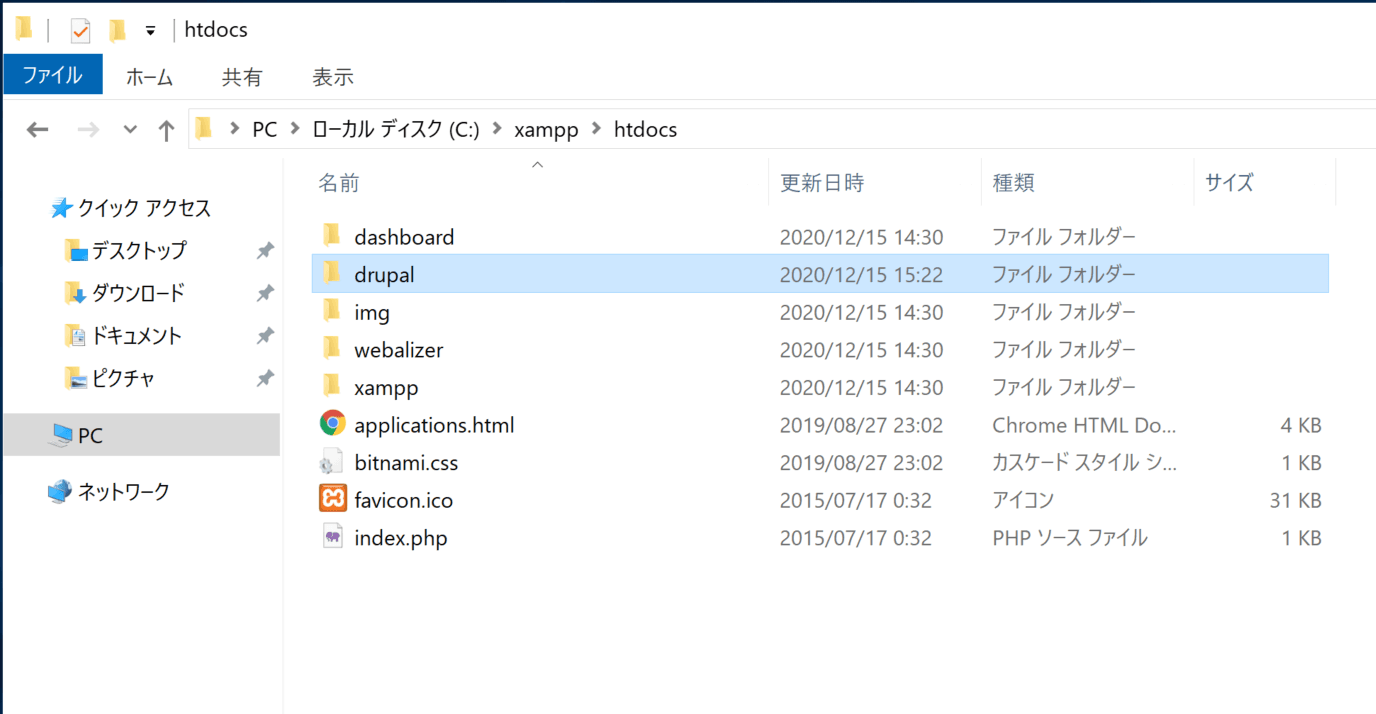
Drupal 8.x file copy
To install Drupal 8.9.11 this time, download the zip file, after extracting it, copy it to c:¥xampp¥htdocs.
MySQL Server Configuration
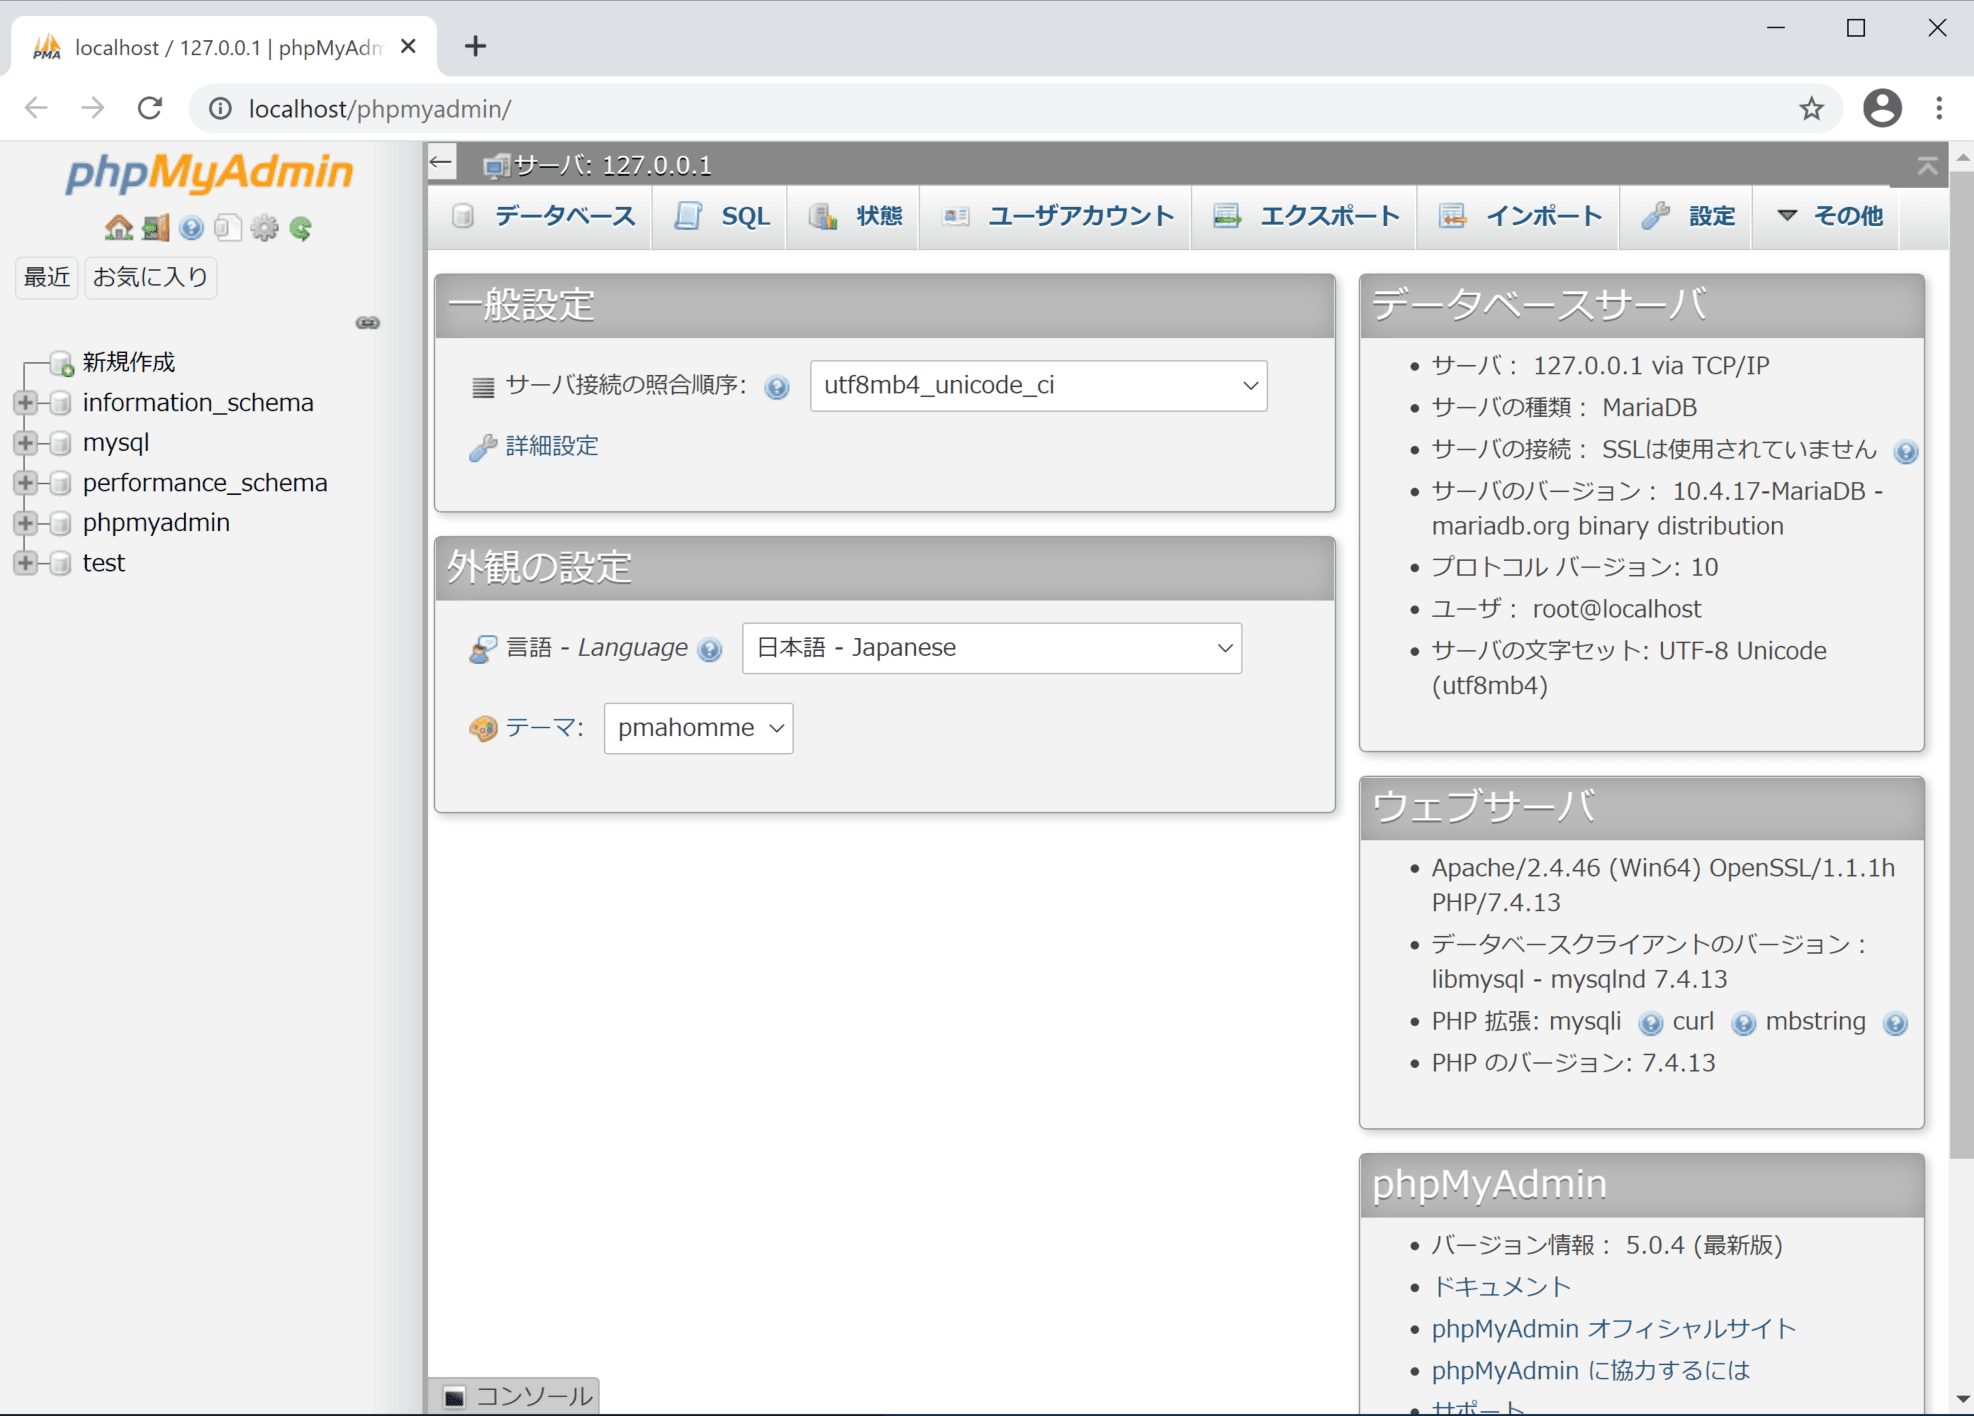
Next we will prepare an empty MySQL database for Drupal to use. Clicking on it will take you to the administration screen.

The management screen that opens is shown below.
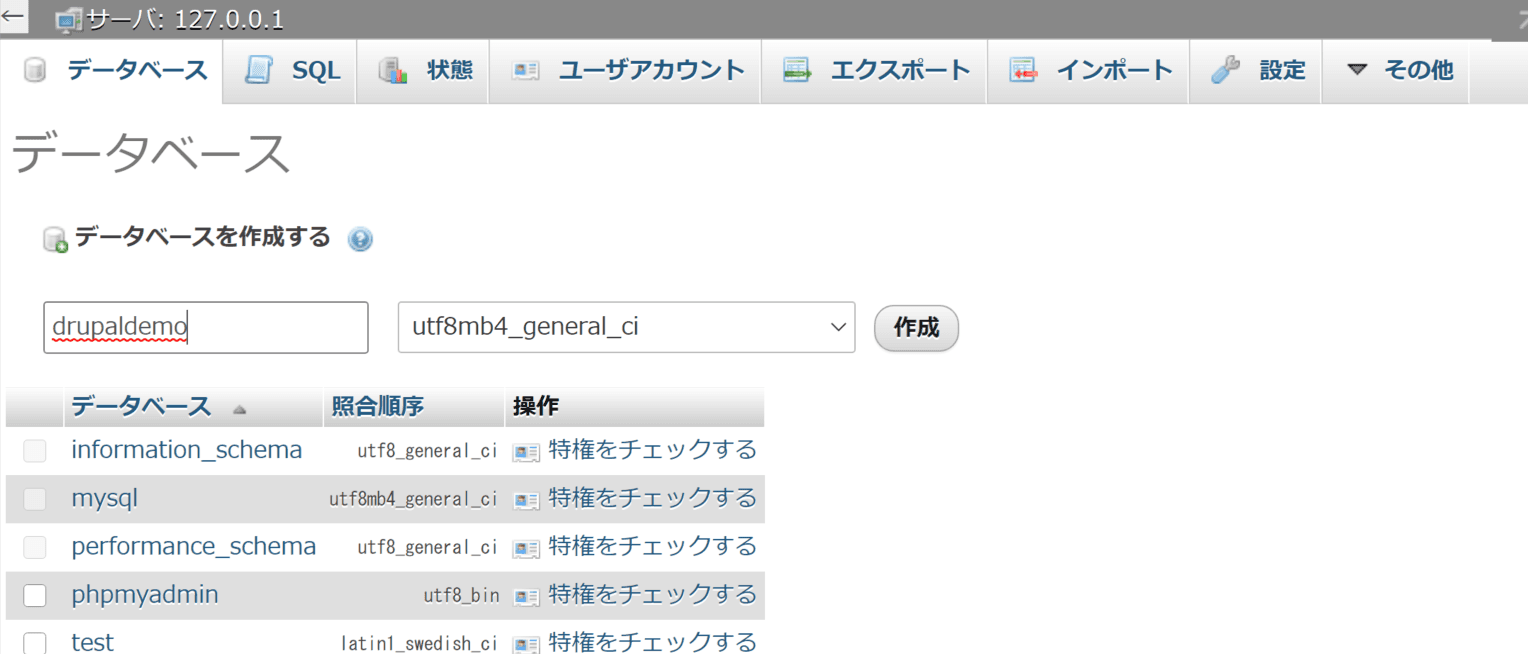
Click on Database in the menu to go to the Create Database screen.
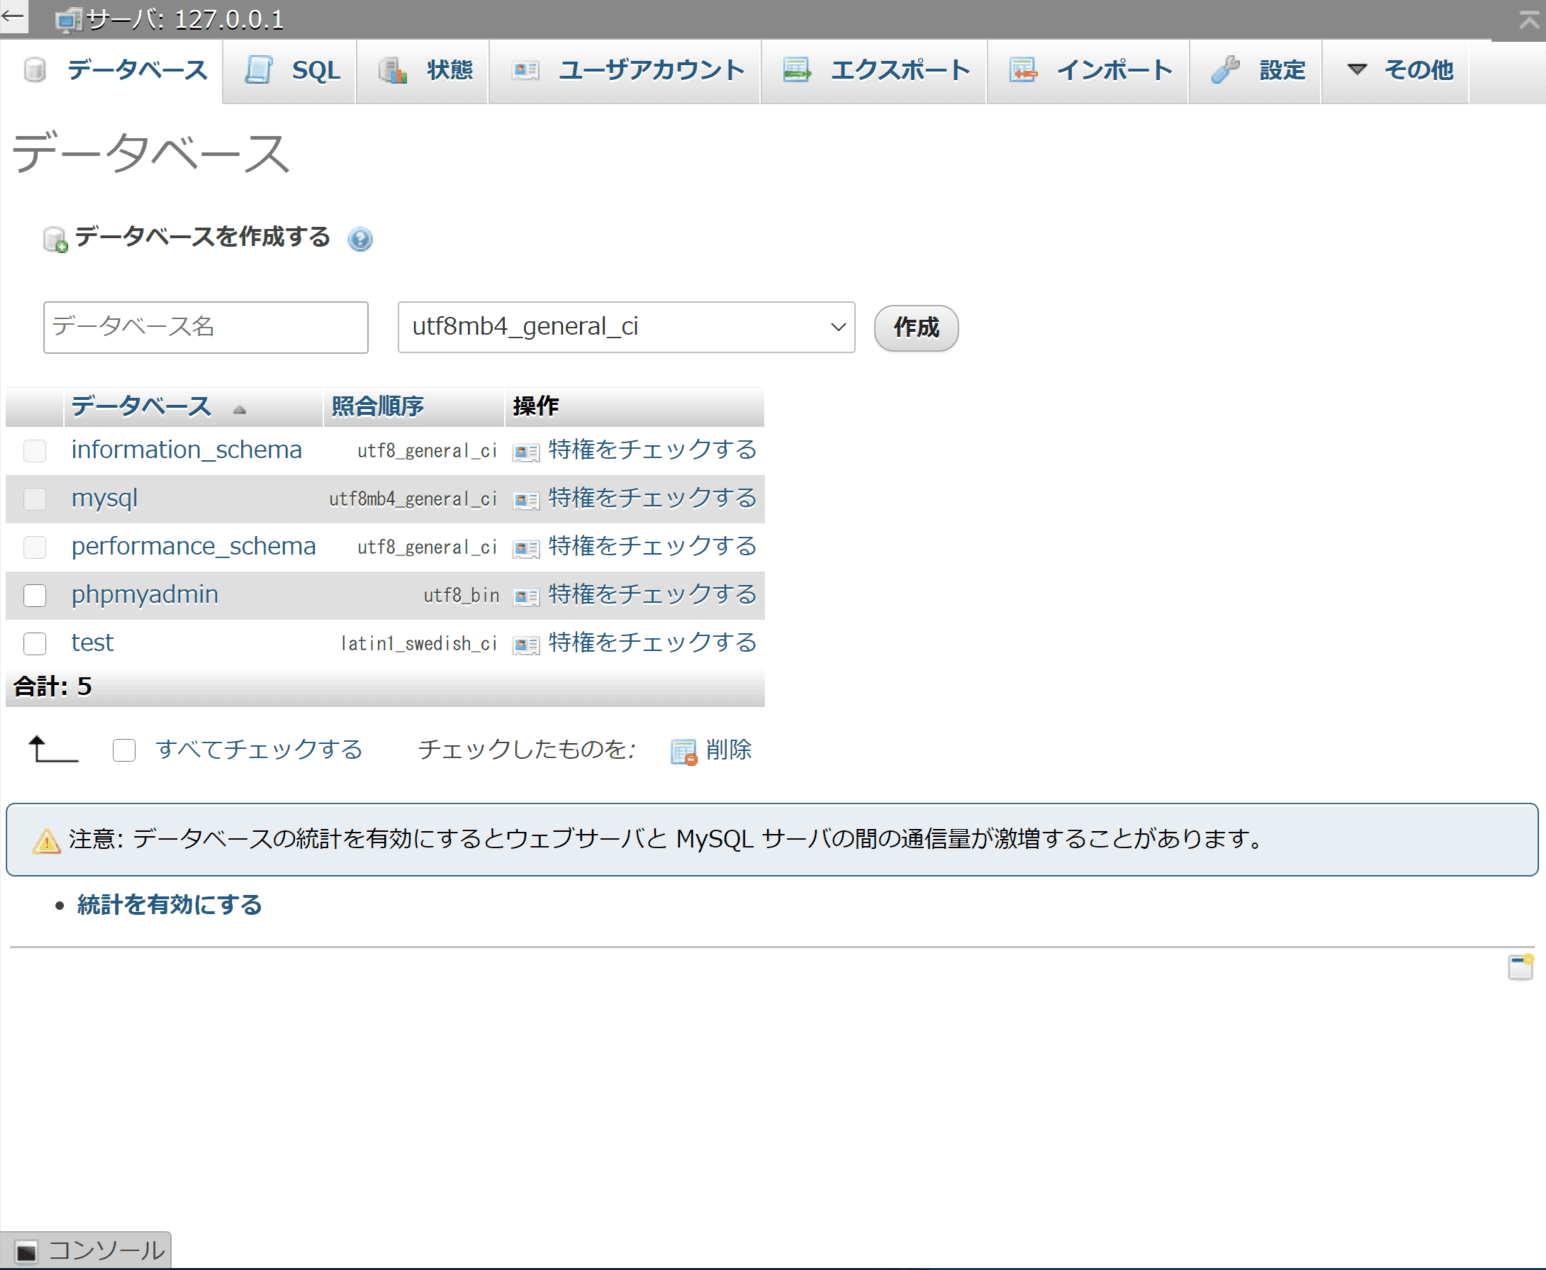
In this case, we have created a database named drupaldemo.
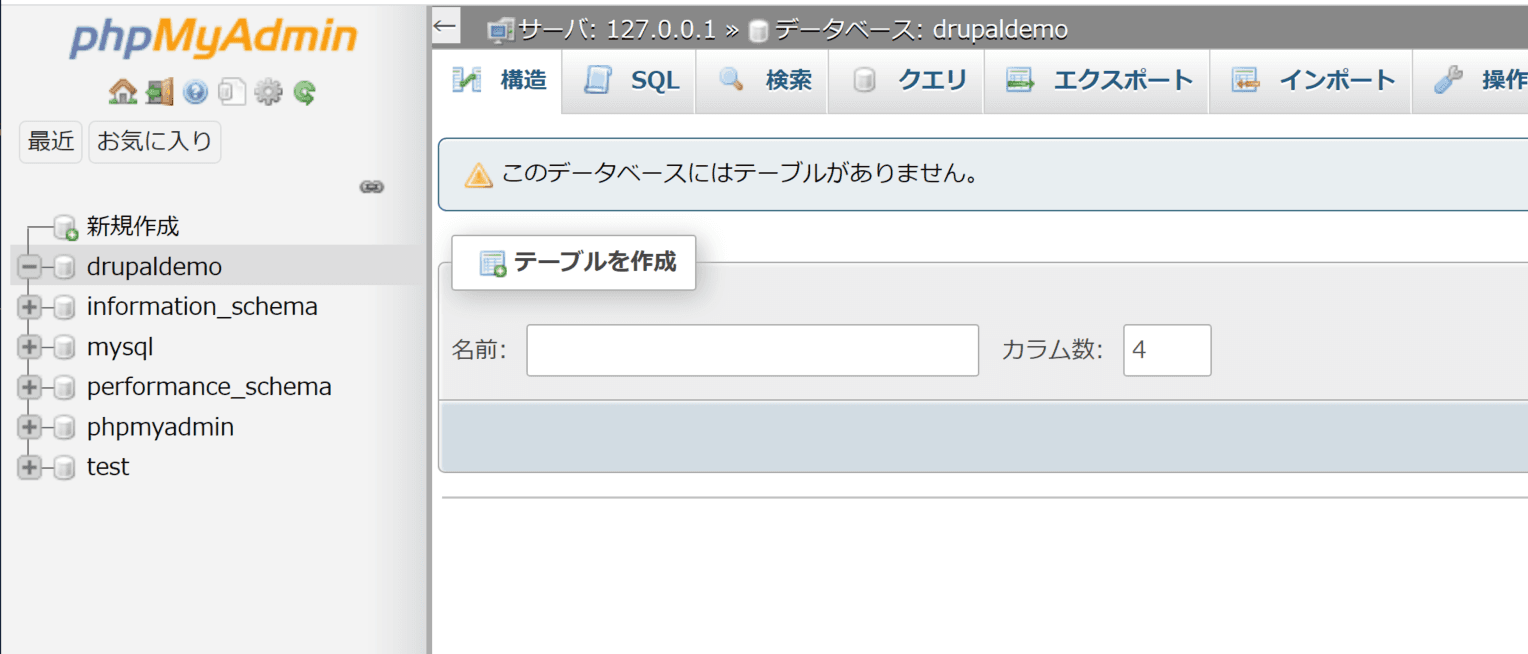
Once created, if the drupaldemo database appears on the left side, the database is ready.
Installing Drupal
After completing the above settings, access http://localhost/drupal/ and you will see the configuration screen, where the URL is the Drupal folder name as it was when you copied it under htdoc (in this case, already created in Drupal). The following screen first displays the language confirmation.
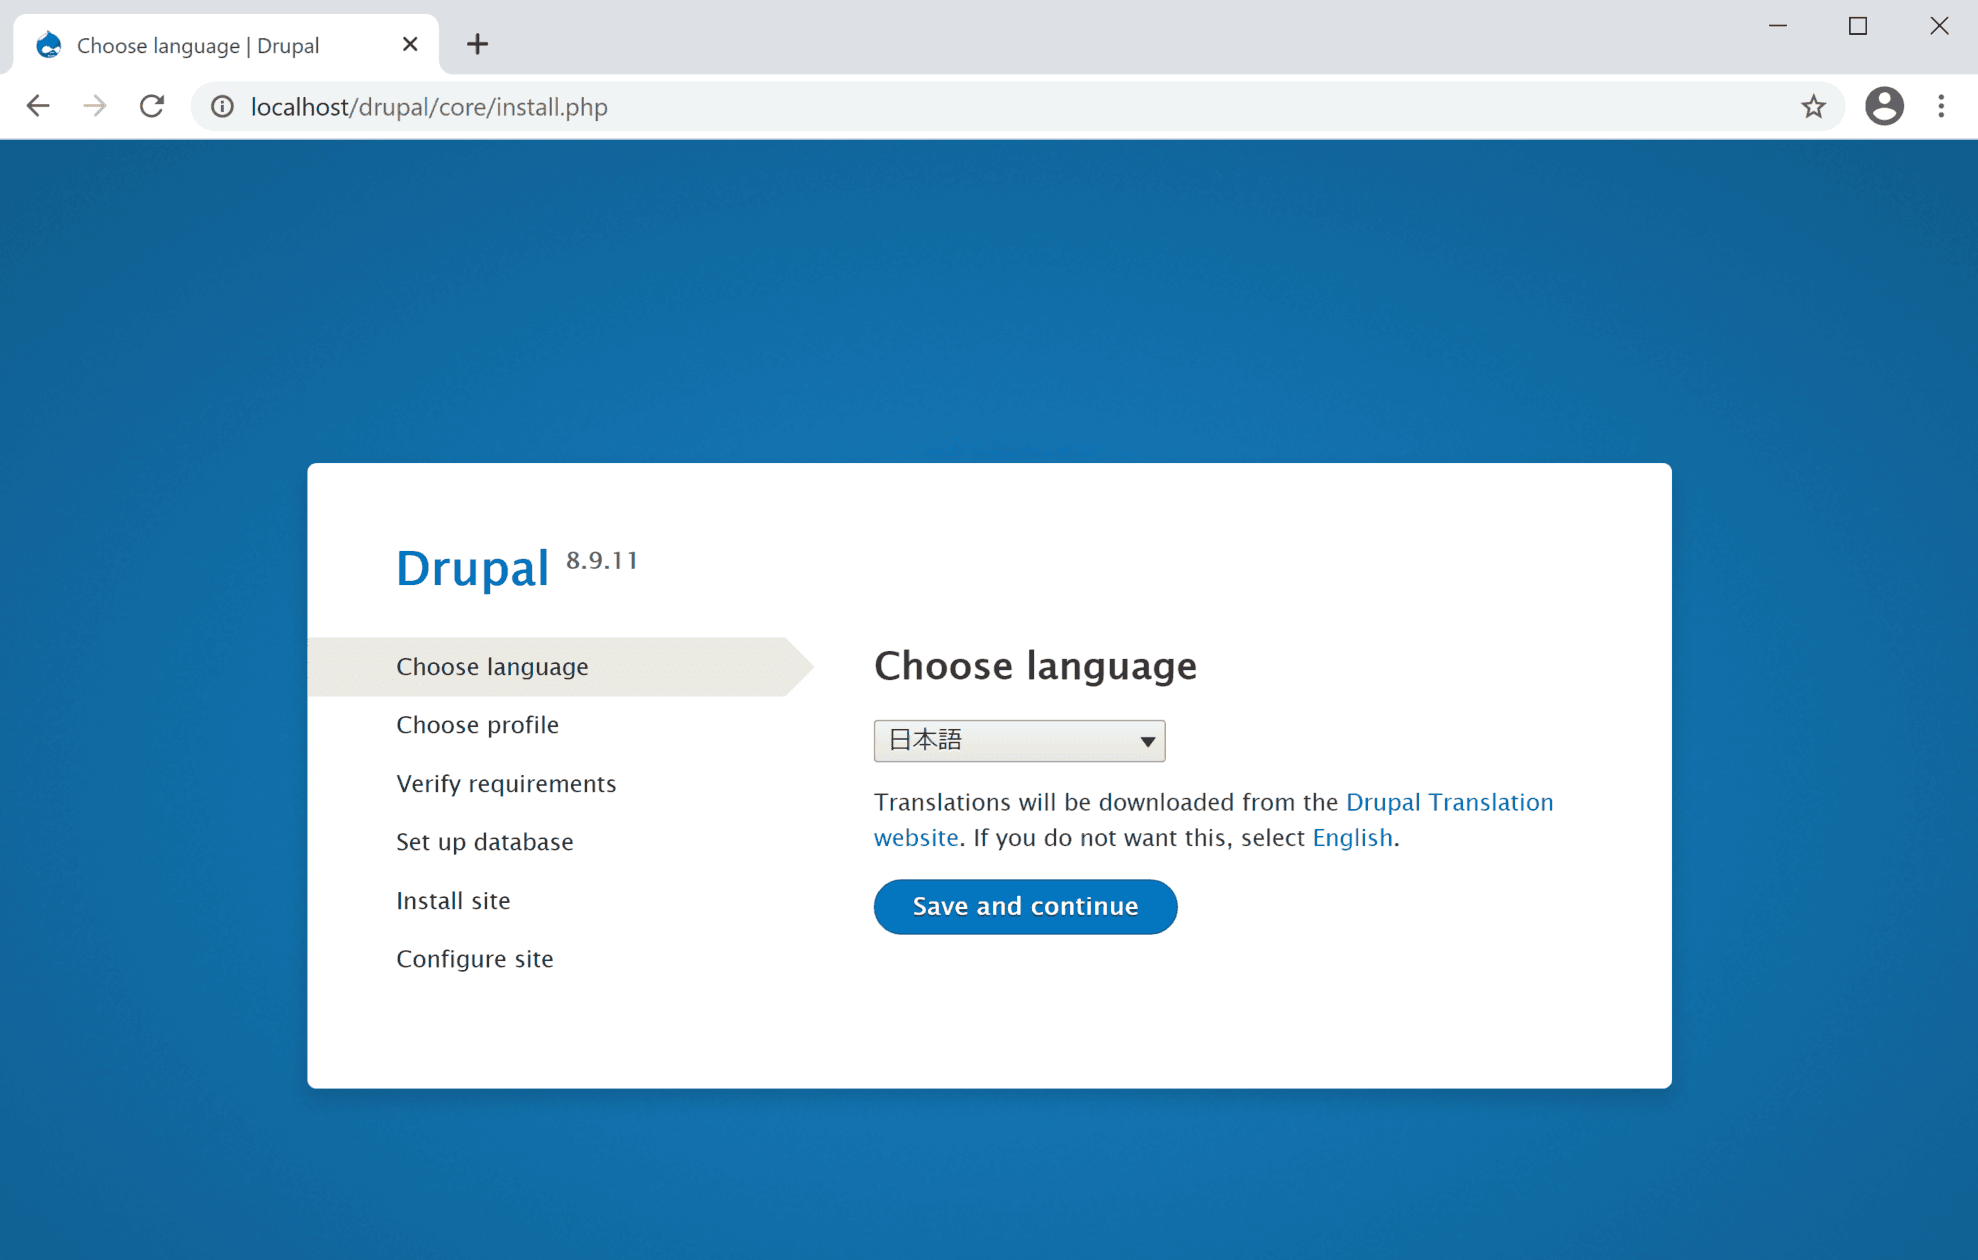
Select Japanese this time and move to the next screen. The next screen will be the installation profile selection. Select Standard.
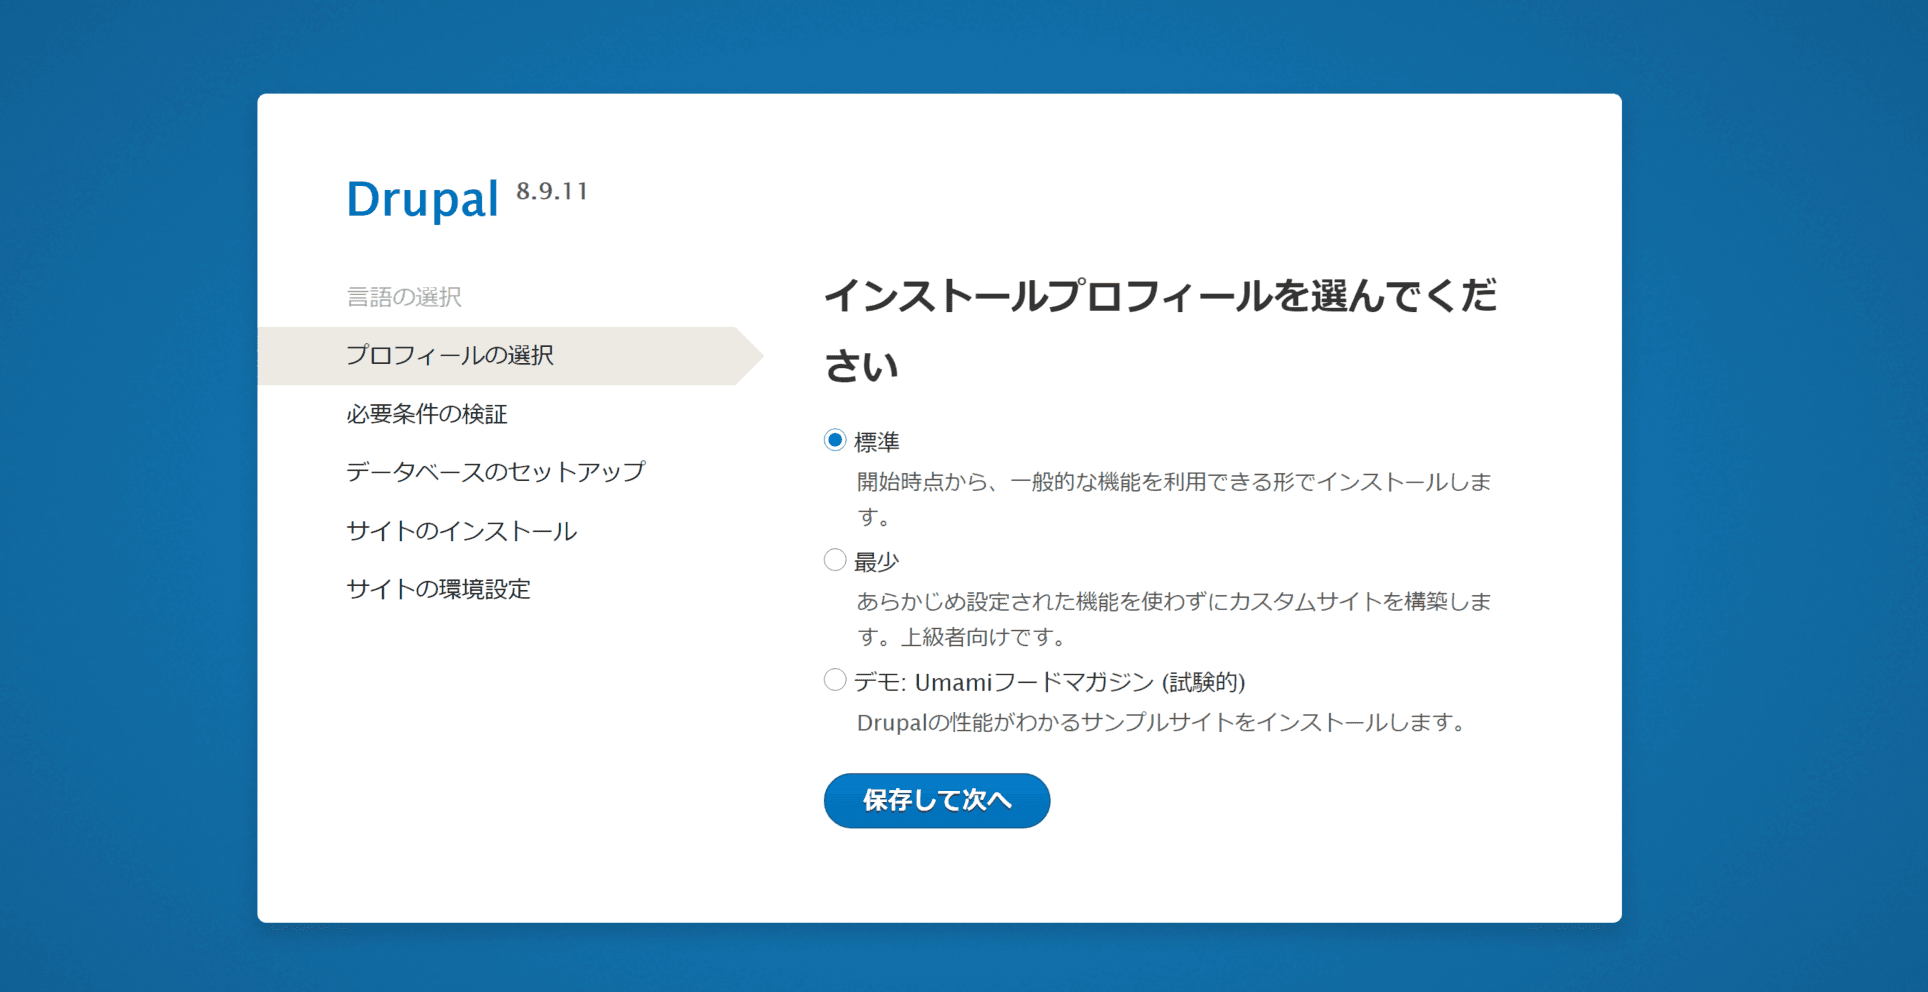
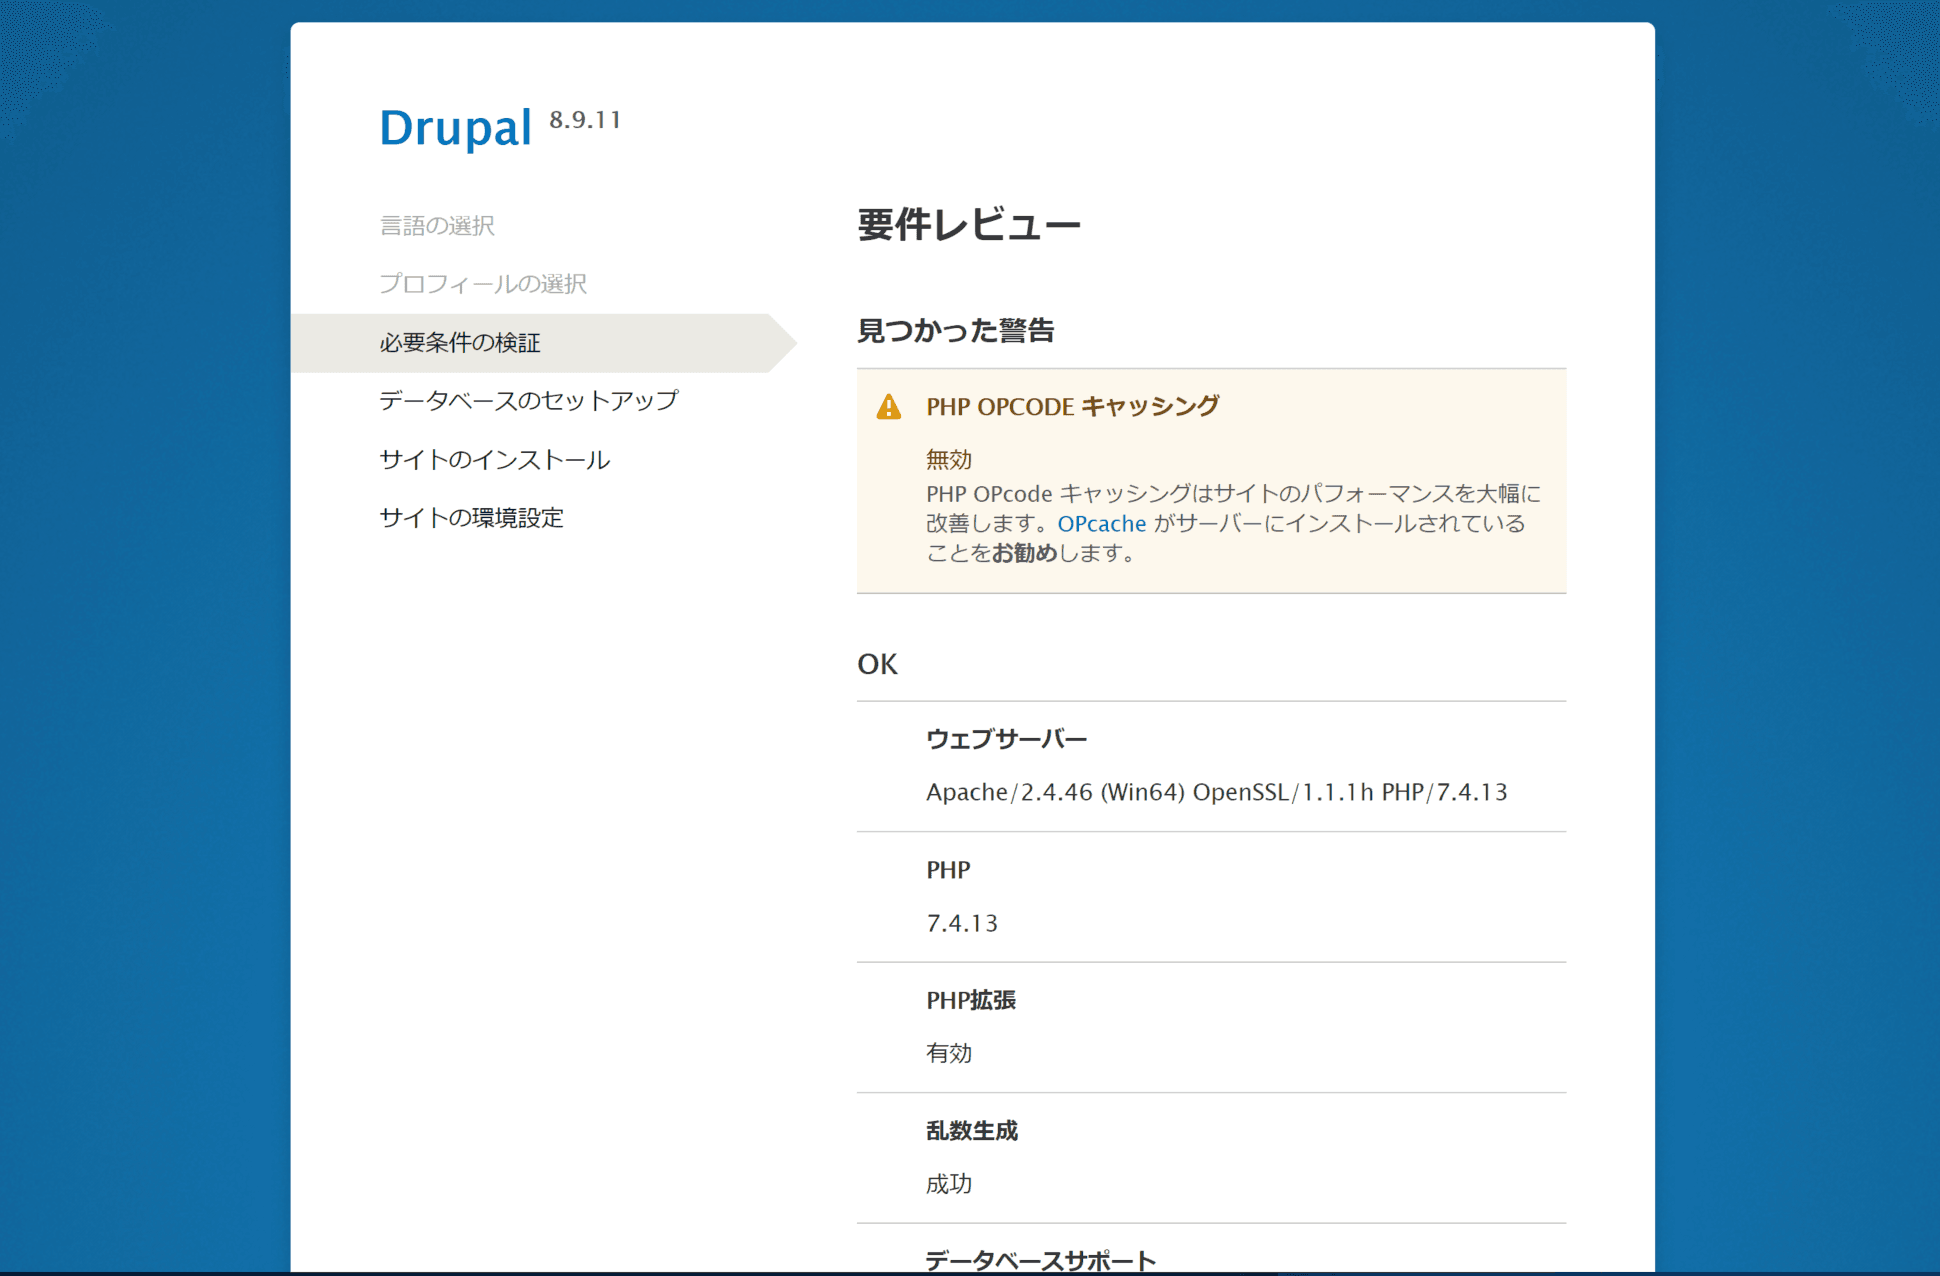
Verification of requirements will be displayed. The following screen recommends PHP OPcode caching, but since this is a verification environment, we will proceed without much concern. Select "Proceed for now" at the bottom of the page.
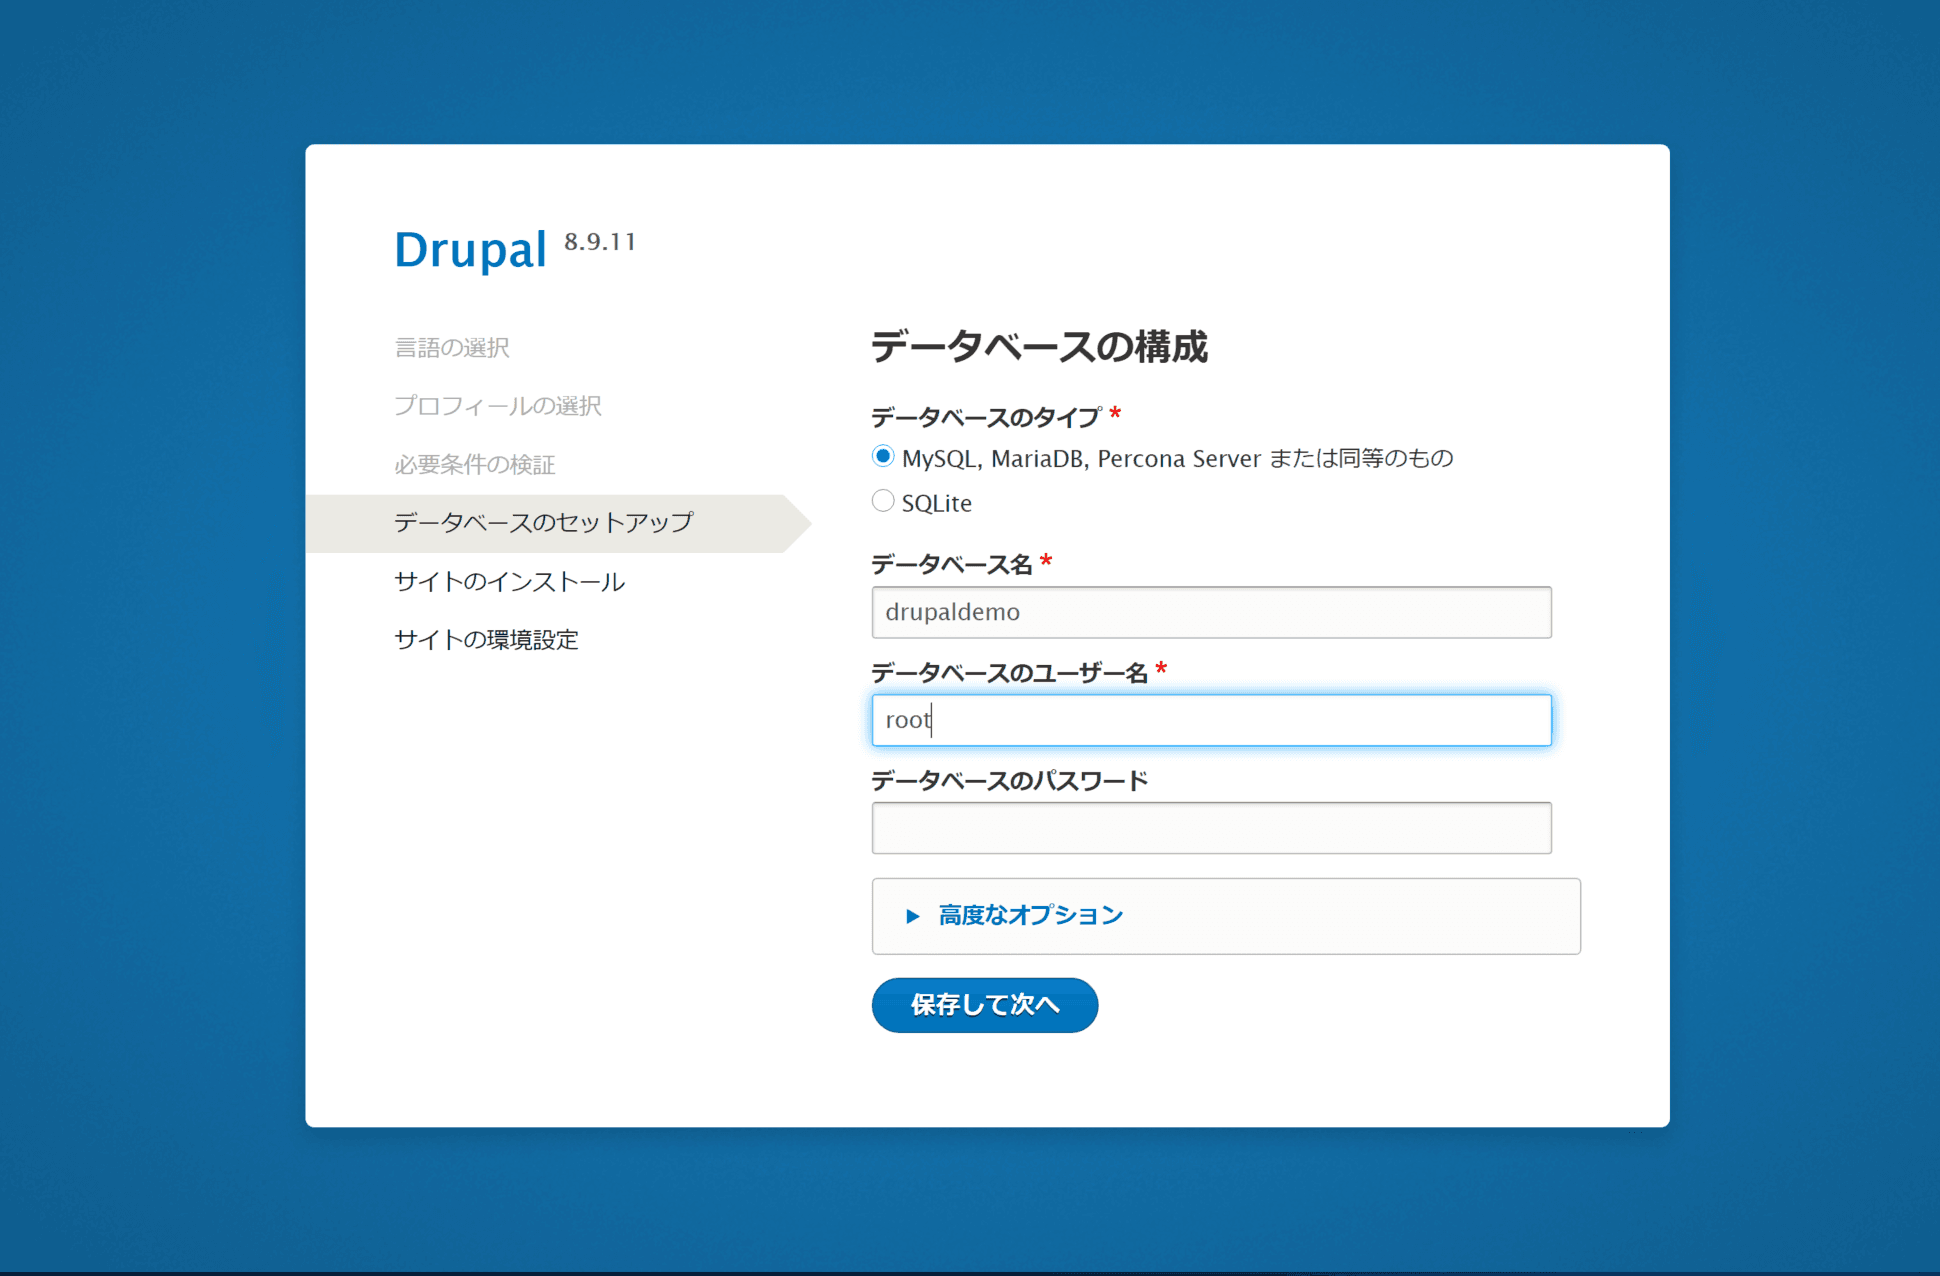
You will then be prompted to configure the database. Specify the database you just created (drupaldemo) and the user name (root). Since this is a verification environment, the database user is root and the password is left blank since it is not set by default.
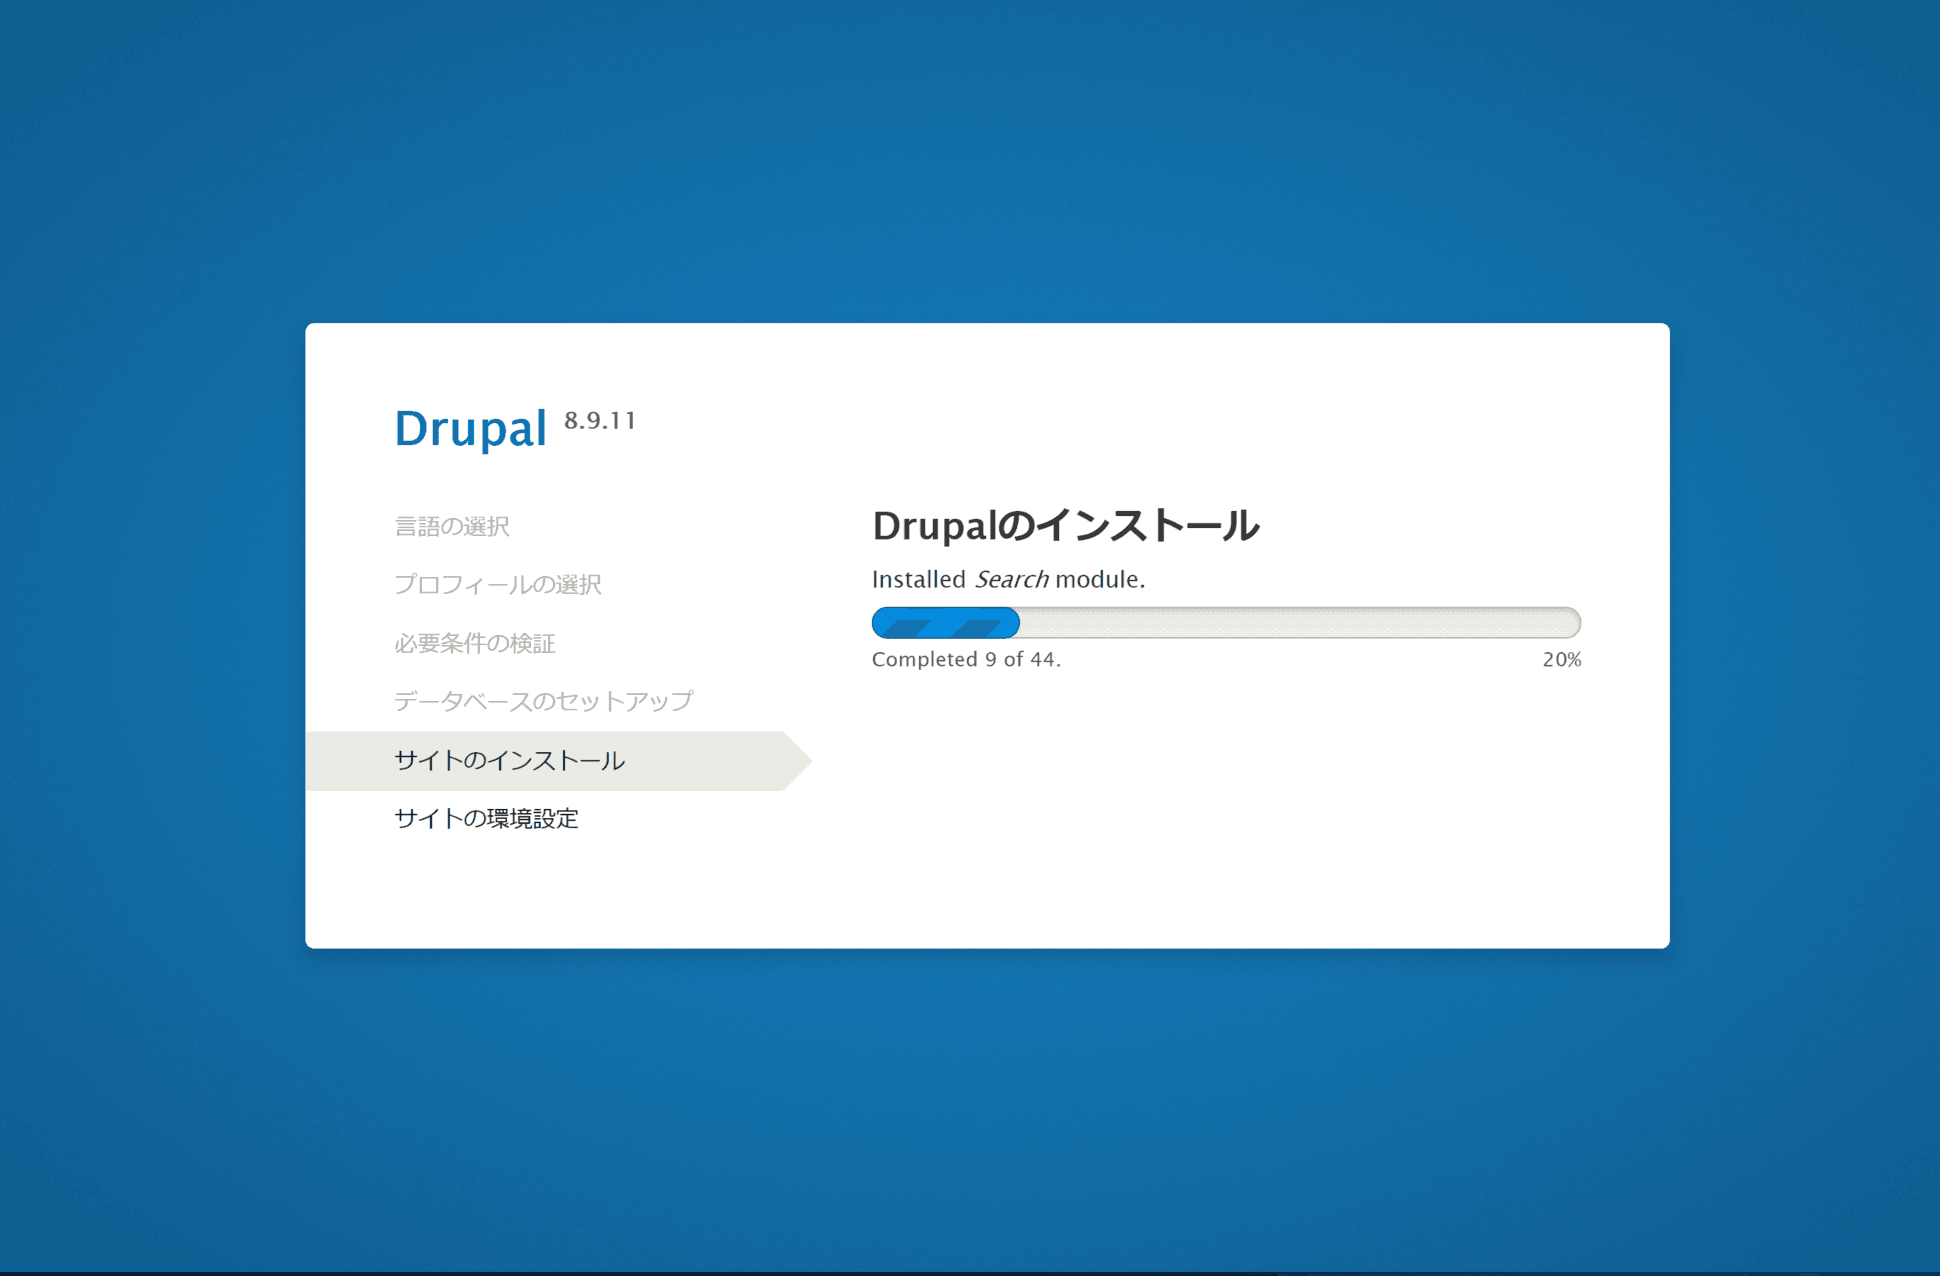
A short time after clicking, installation will begin.
Site environment settings will appear as post-installation settings.
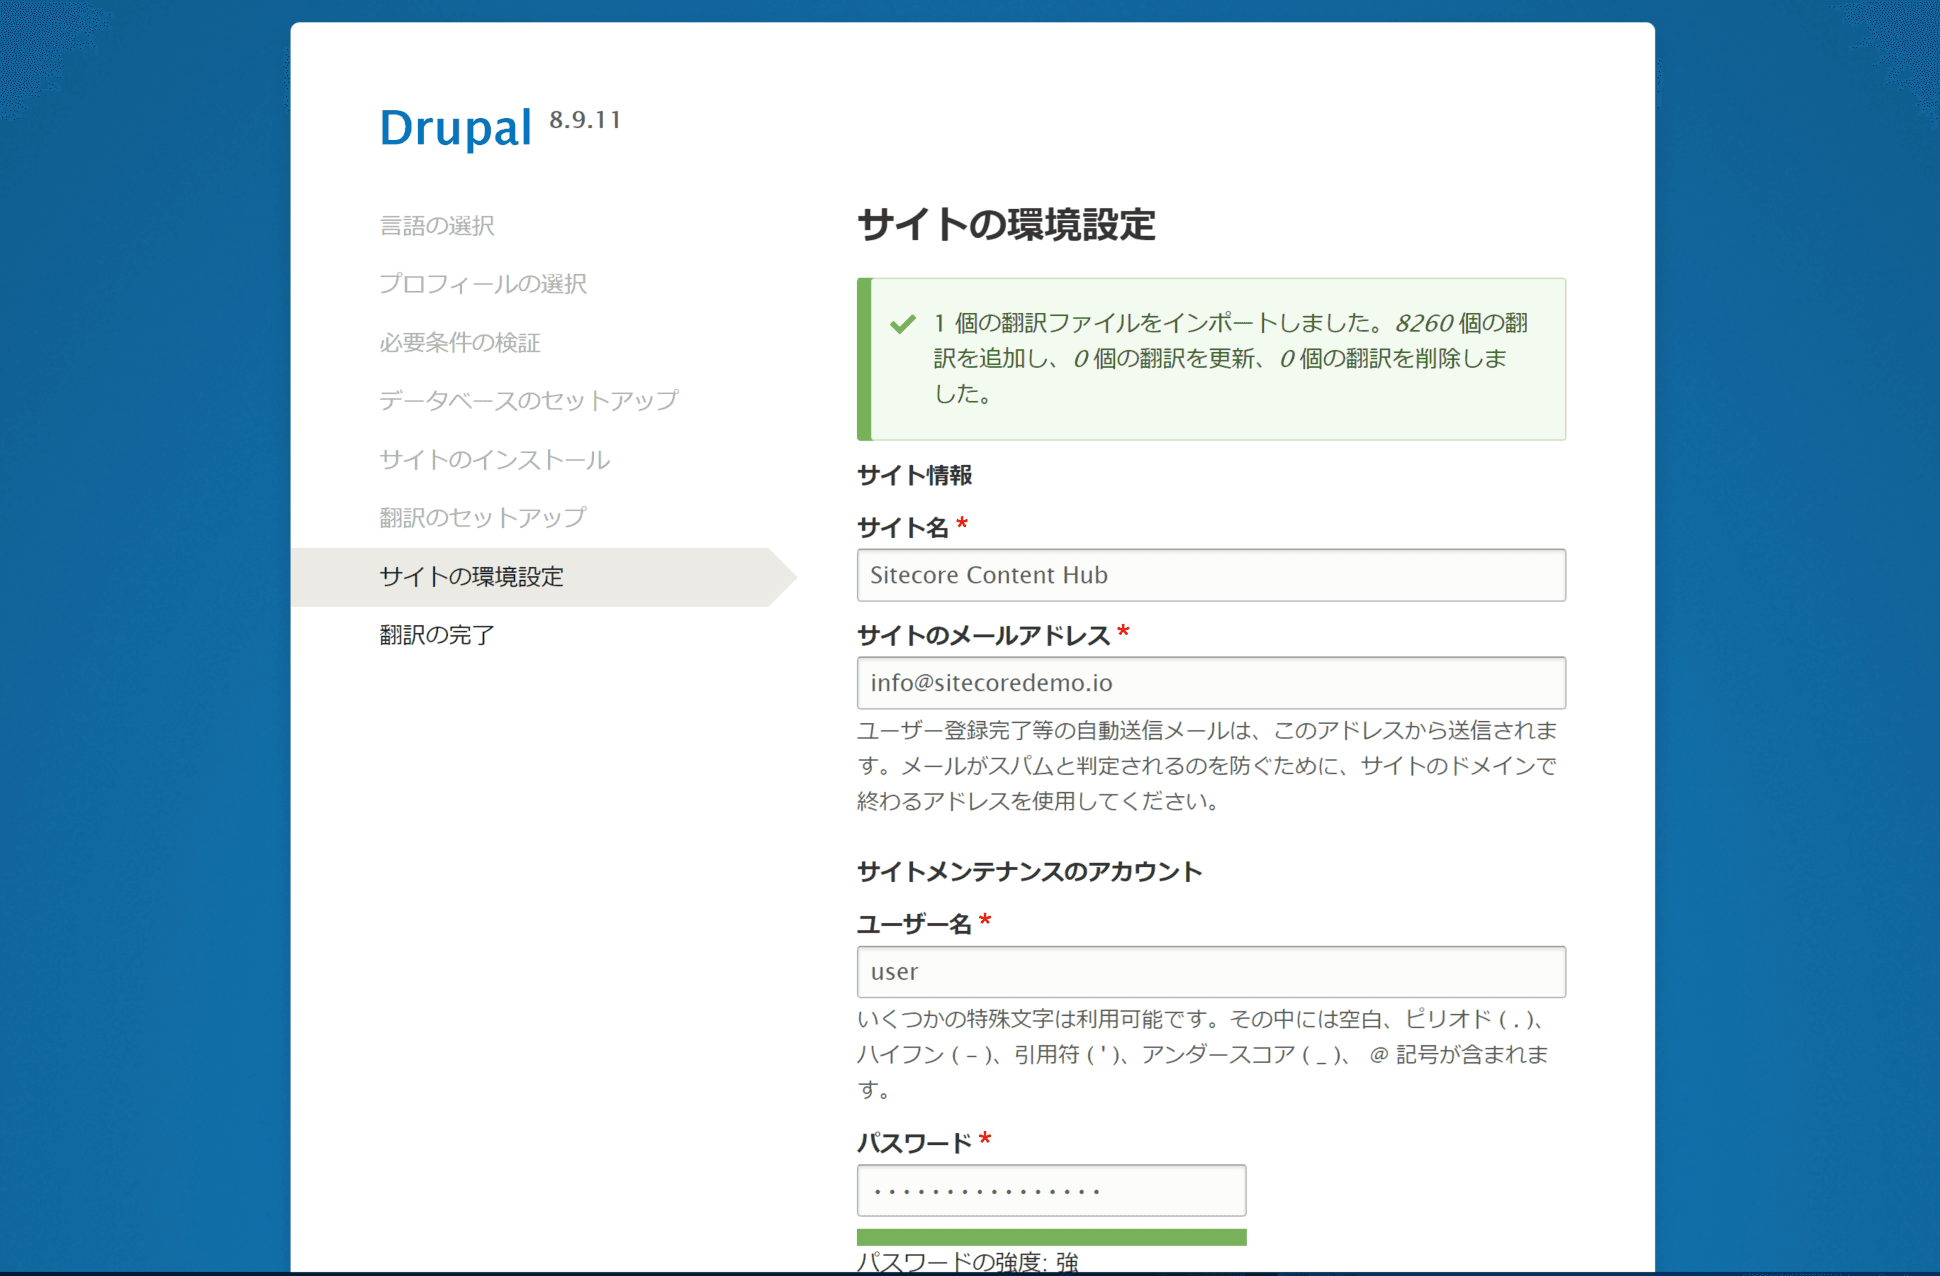
The setup is completed by putting in the necessary items such as user name and password. The environment after installation is as follows
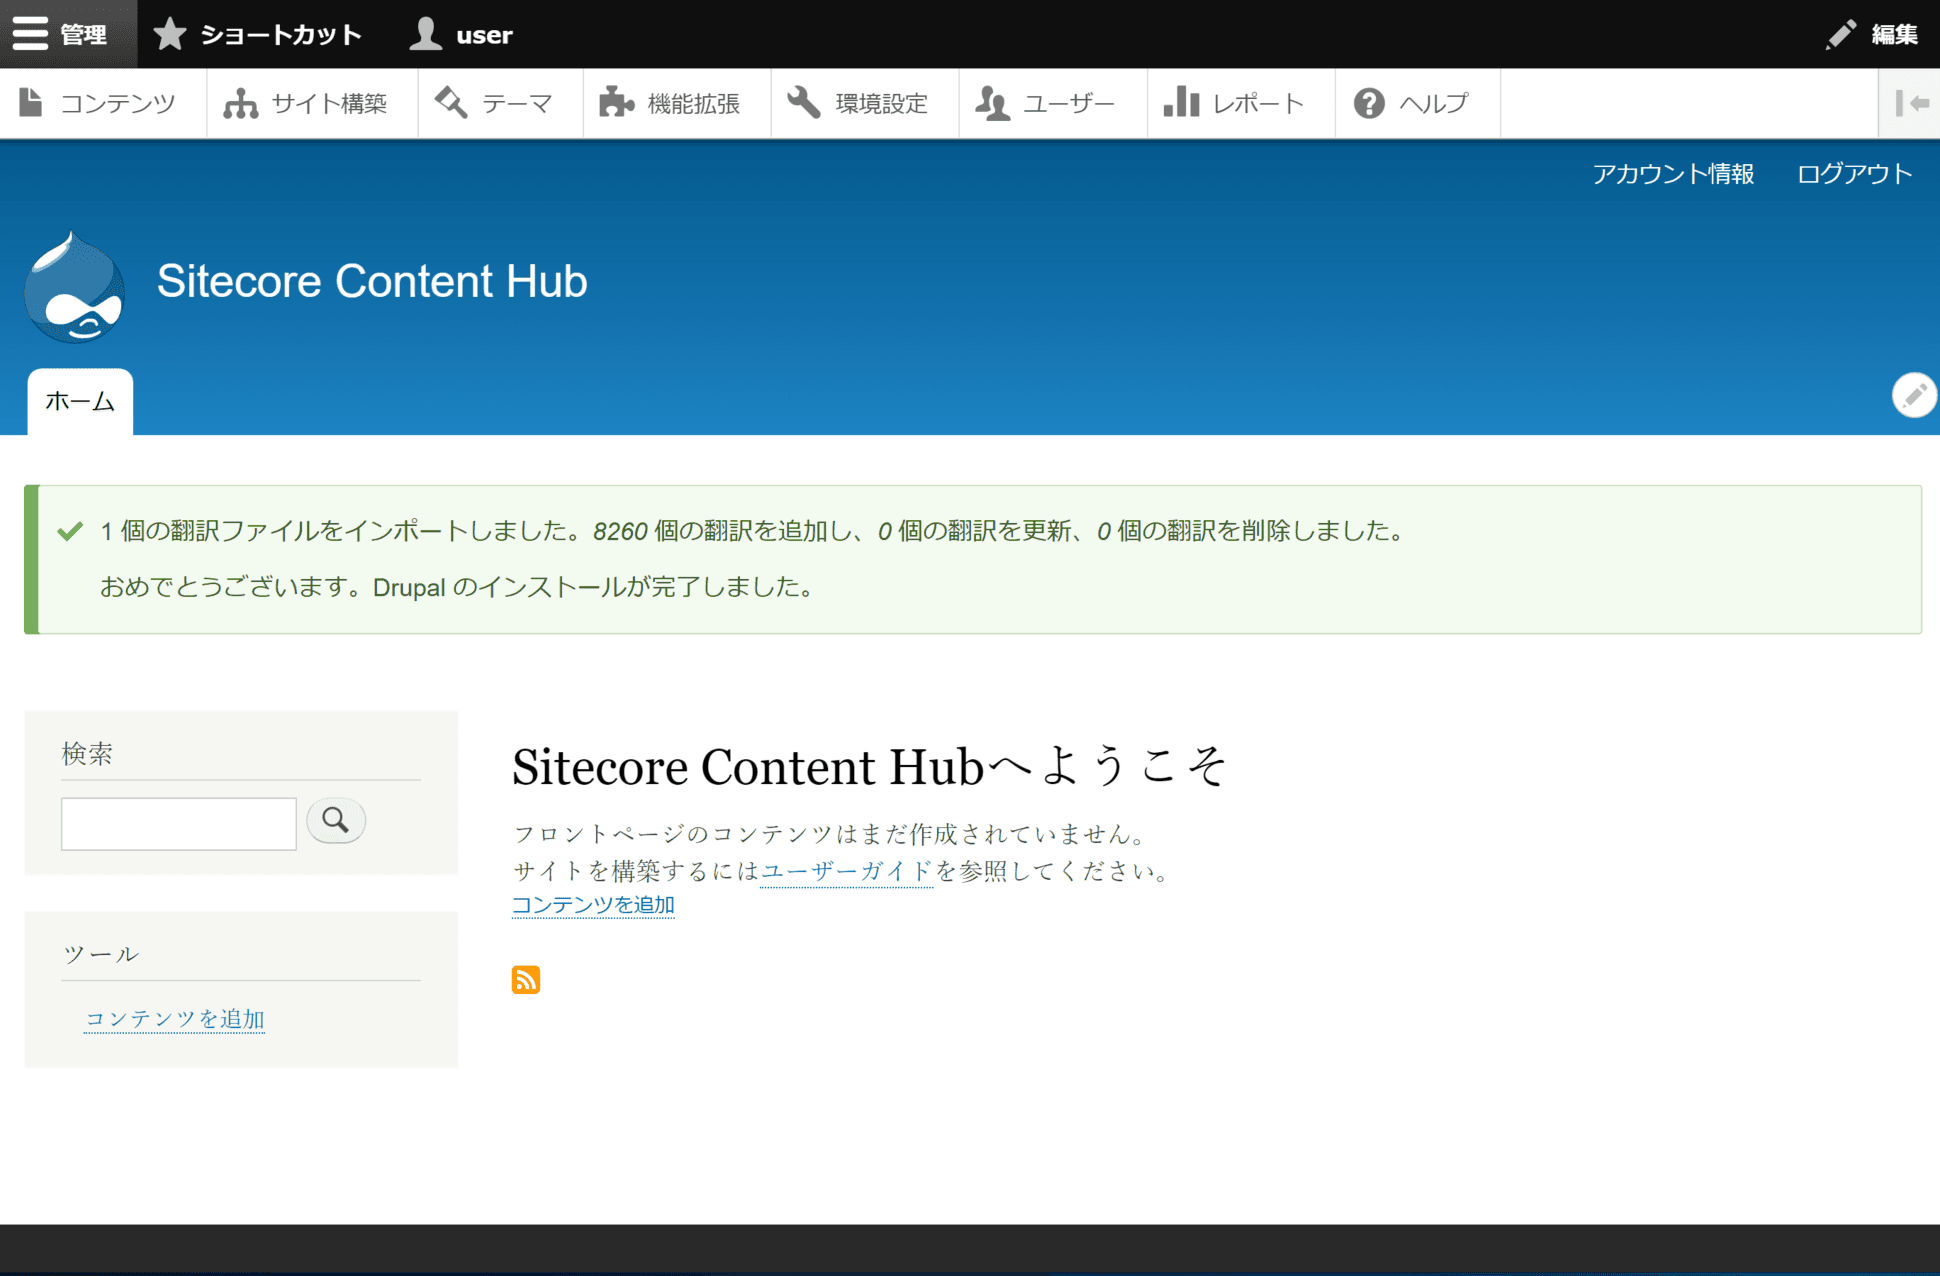
A clean installation of Drupal is ready. Next, we will install the connectors.
Connector installation and configuration
Install
As for connectors, they can be downloaded from the Sitecore Content Hub site.
You can download the zip file by clicking on the Drupal Connector link on the page as shown below.

After unzipping the file, you will find two zip files as follows
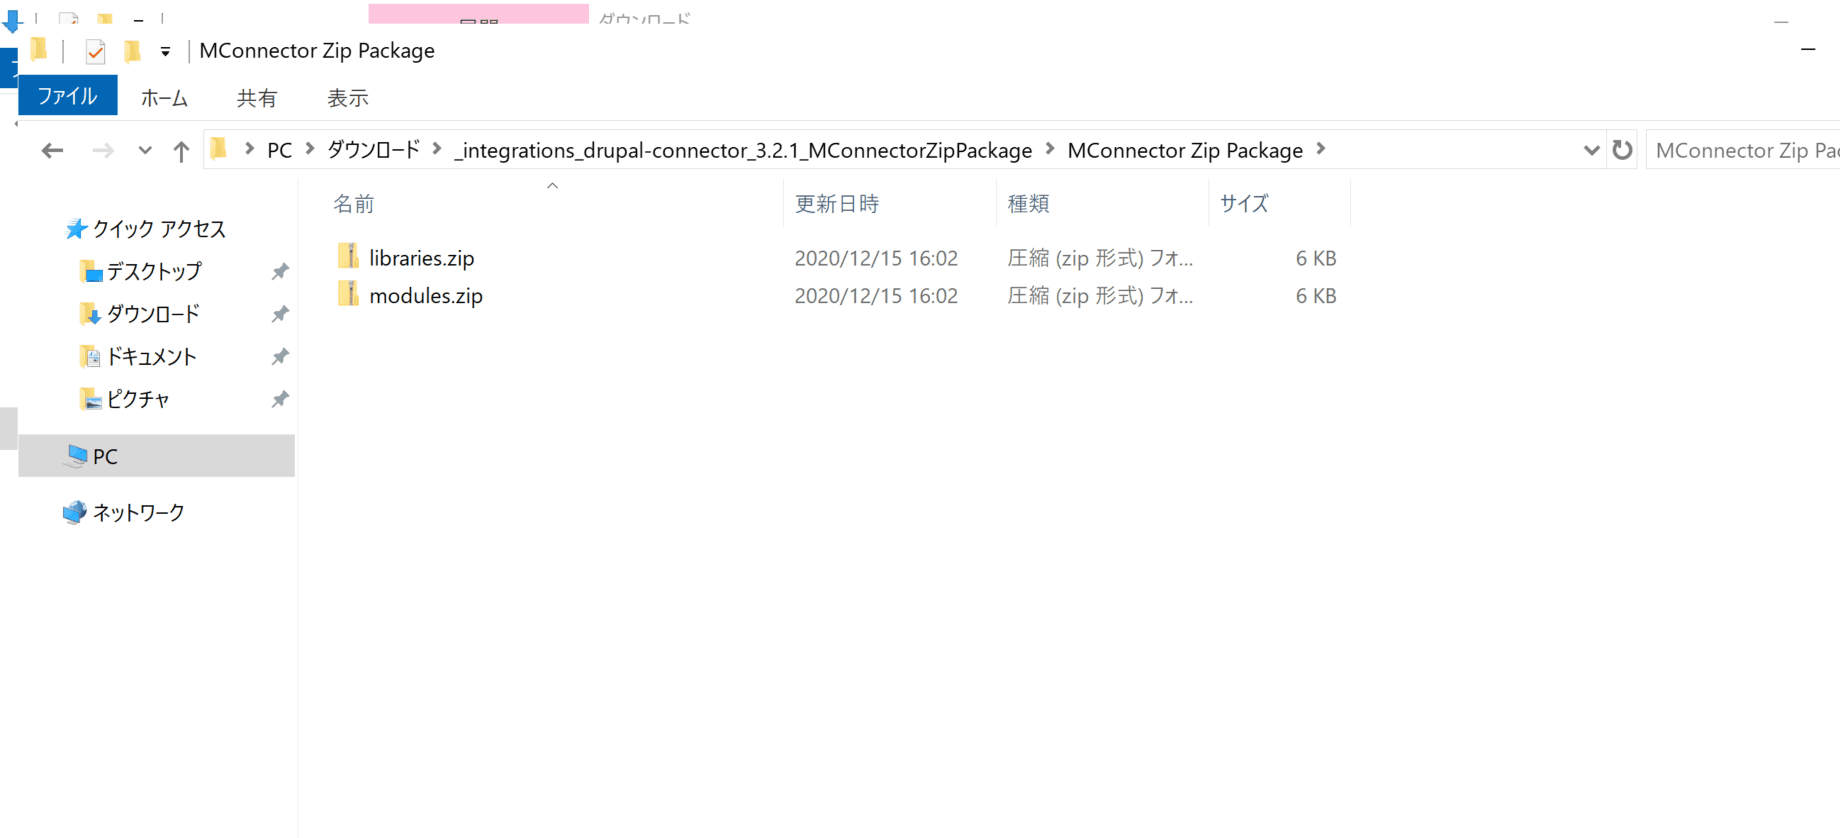
For example, if you expand libraries.zip, you will see that it contains two folders as follows
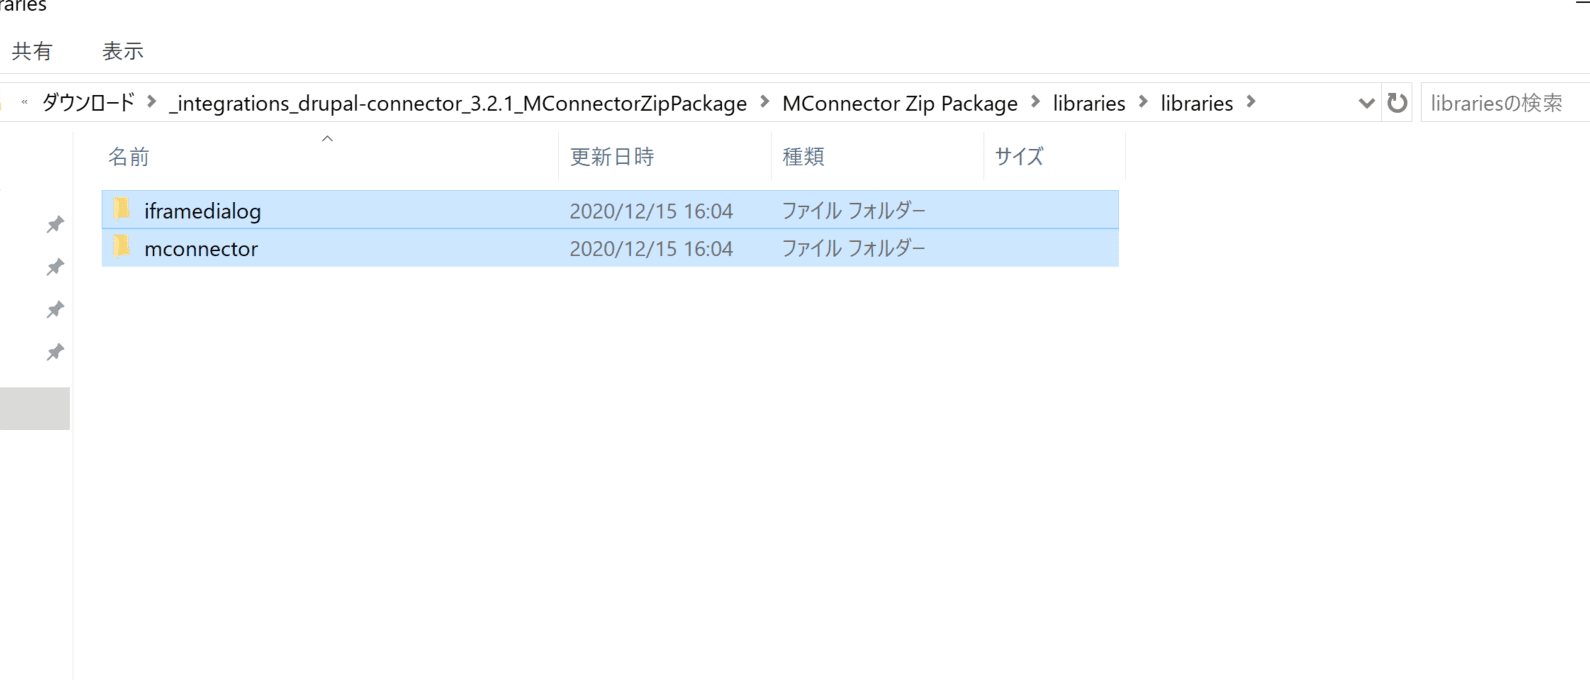
Copy this folder to the folder where Drupal is installed.

Similarly, copy the files in modules.

After copying the modules, activate them in the Drupal environment: log in to Drupal, select Extensions, and make sure that the two modules are ready in the Custom section.
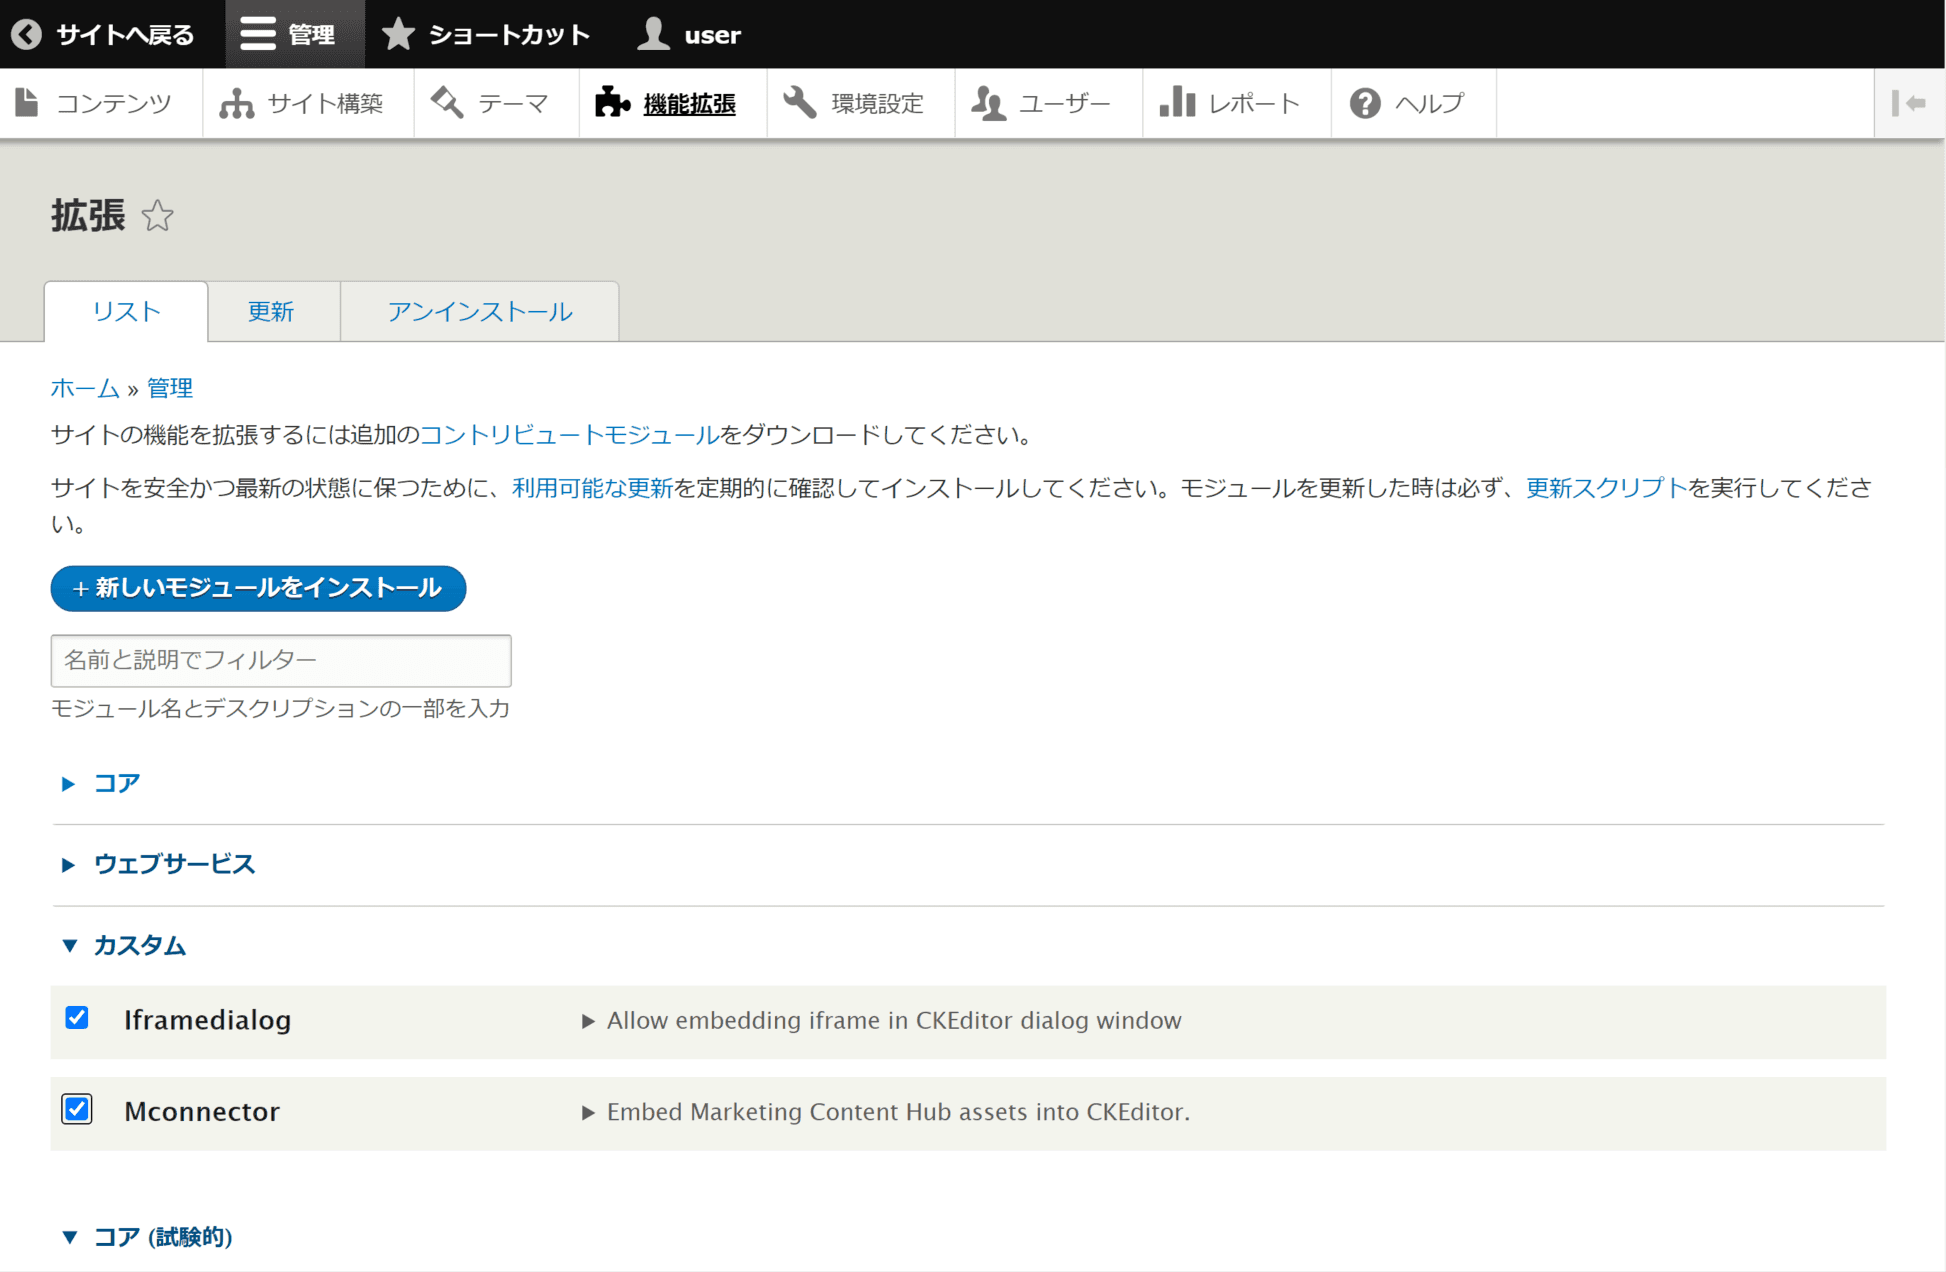
Check the two items and click Install at the bottom of the page to complete installation of the module.

Once the module installation is complete, the rest is additional configuration.
Settings
In the Drupal administration page, click on Preferences and select Text Format and Editor.
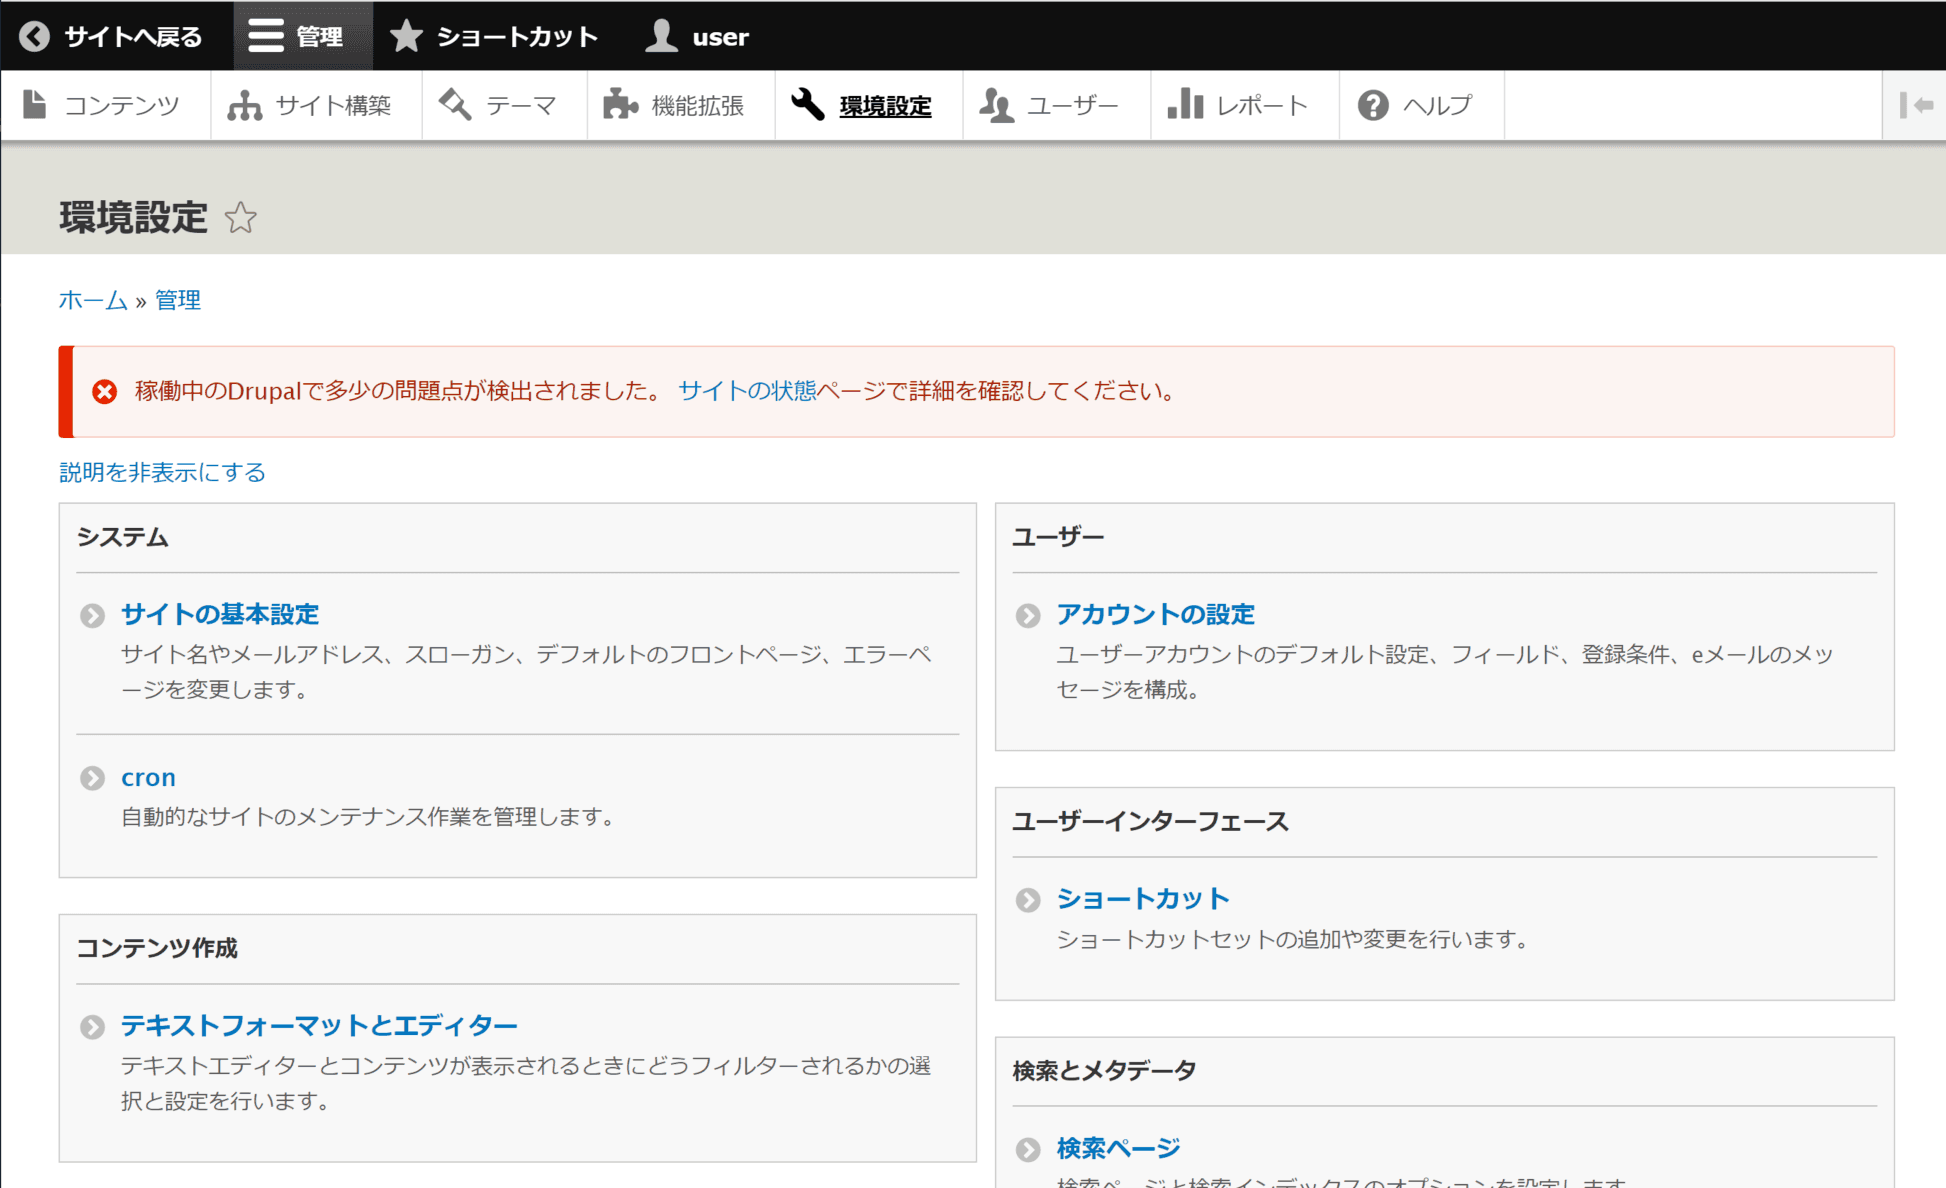
Add any additional Sitecore icons to the Basic HTML and Full HTML. Uncheck the Restrict to images on this site checkbox to enable the display of Sitecore Content Hub images.
Next, open MConnector Settings in Development Settings.
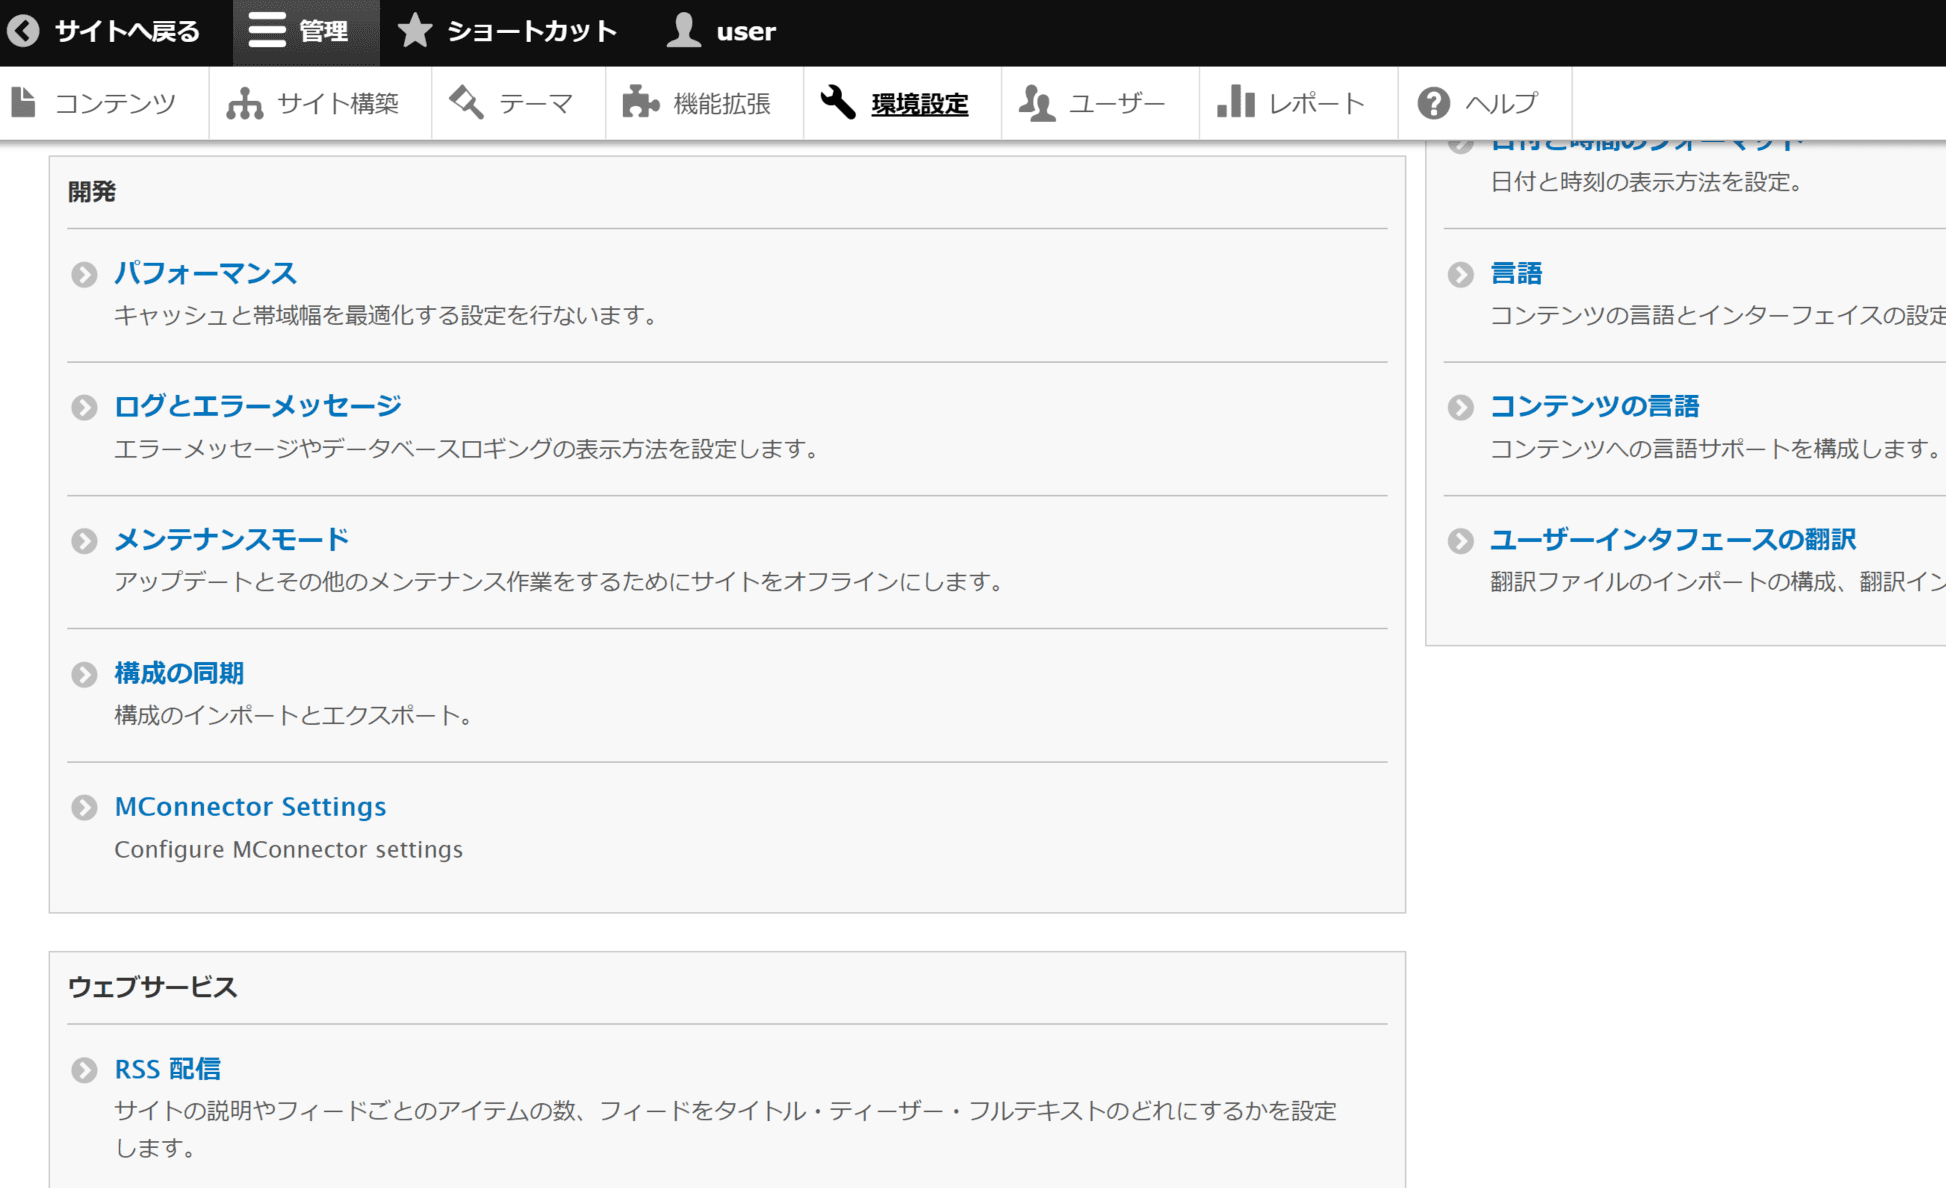
As for the configuration, you will be prompted to set the instance and URL of the Sitecore Content Hub.
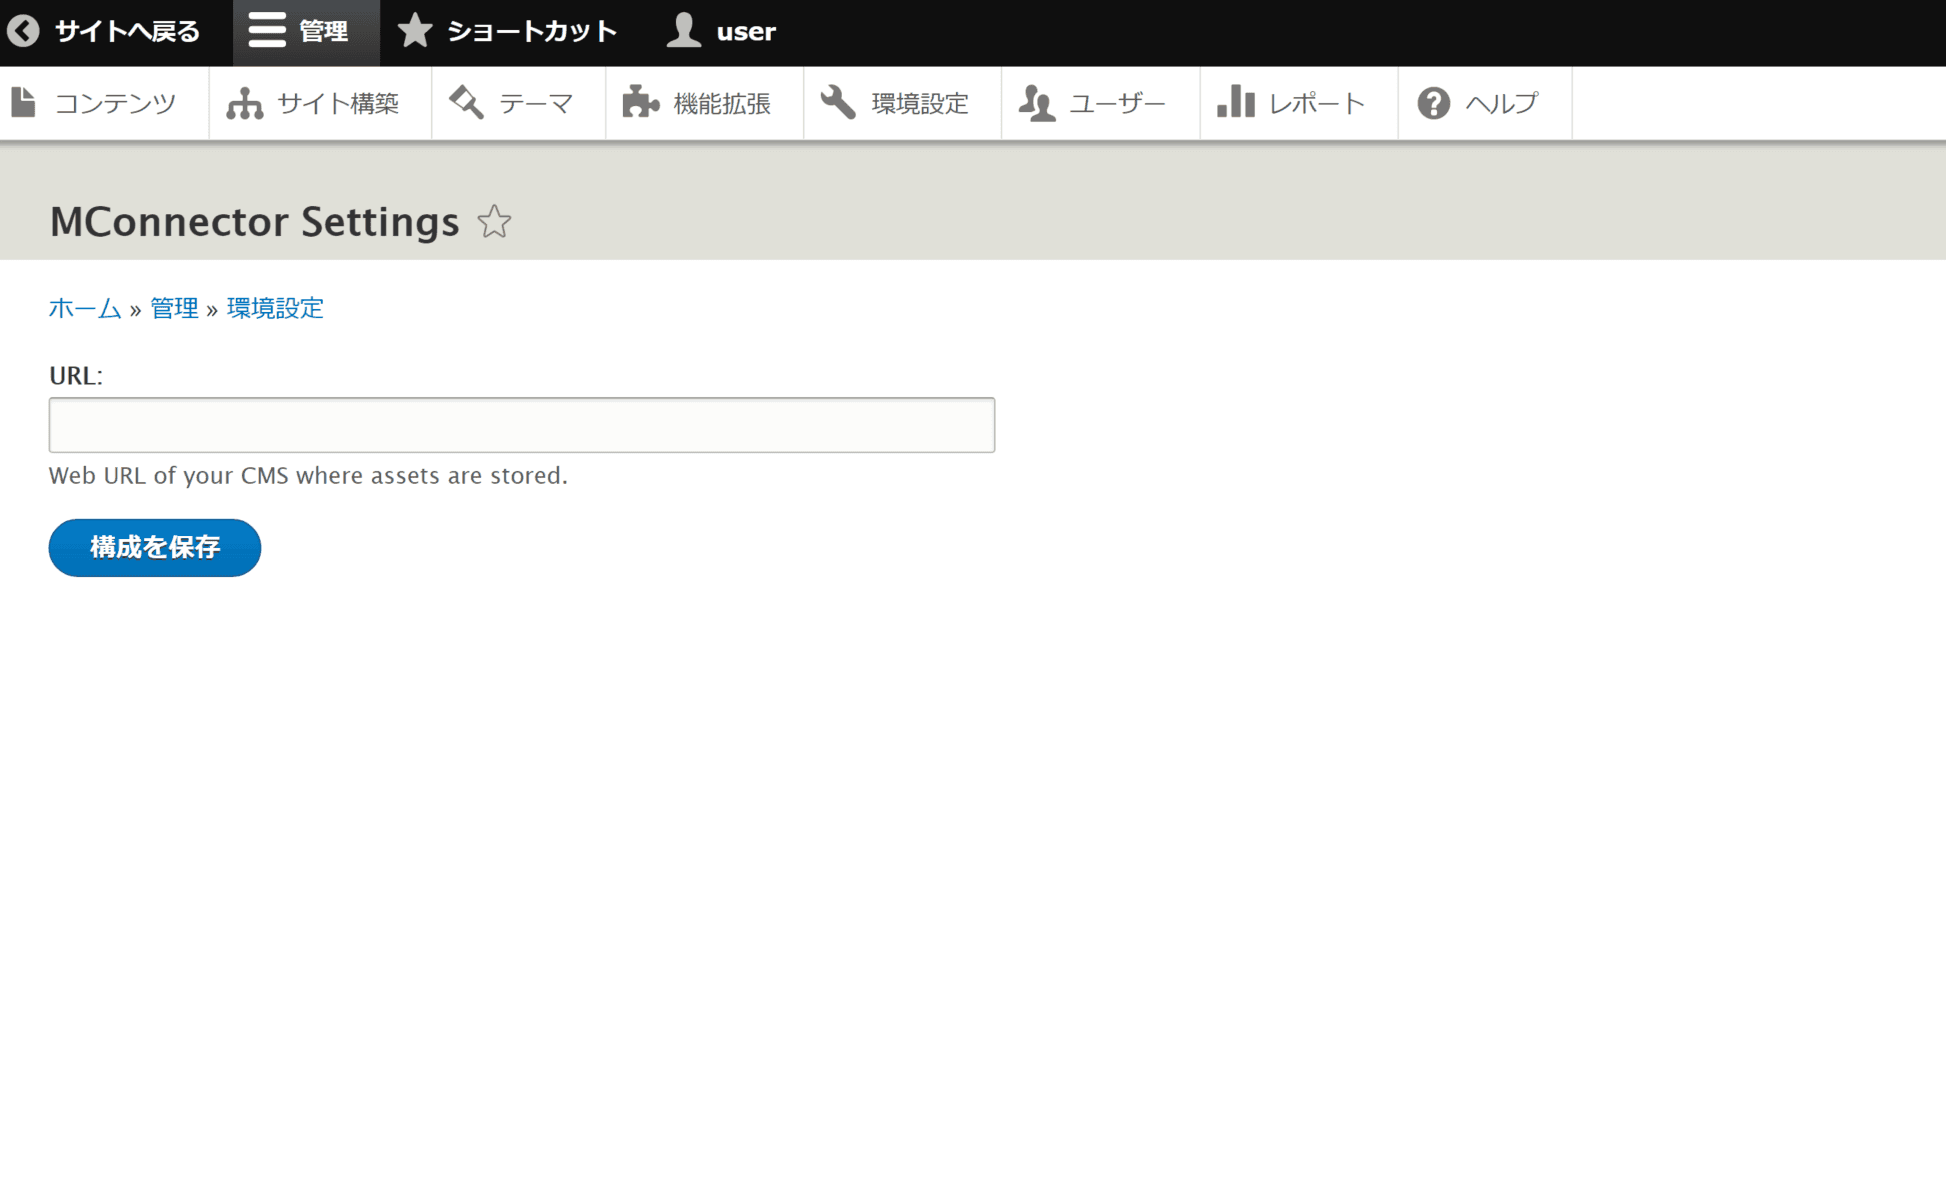
The URL varies depending on the version of Sitecore, but for the Sitecore Content Hub 3.3.4 tested this time, the URL is entered as follows
https://sitecore-content-hub/ja-jp/sitecore-dam-connect/approved-assets
This completes the Drupal configuration.
Configure Sitecore Content Hub
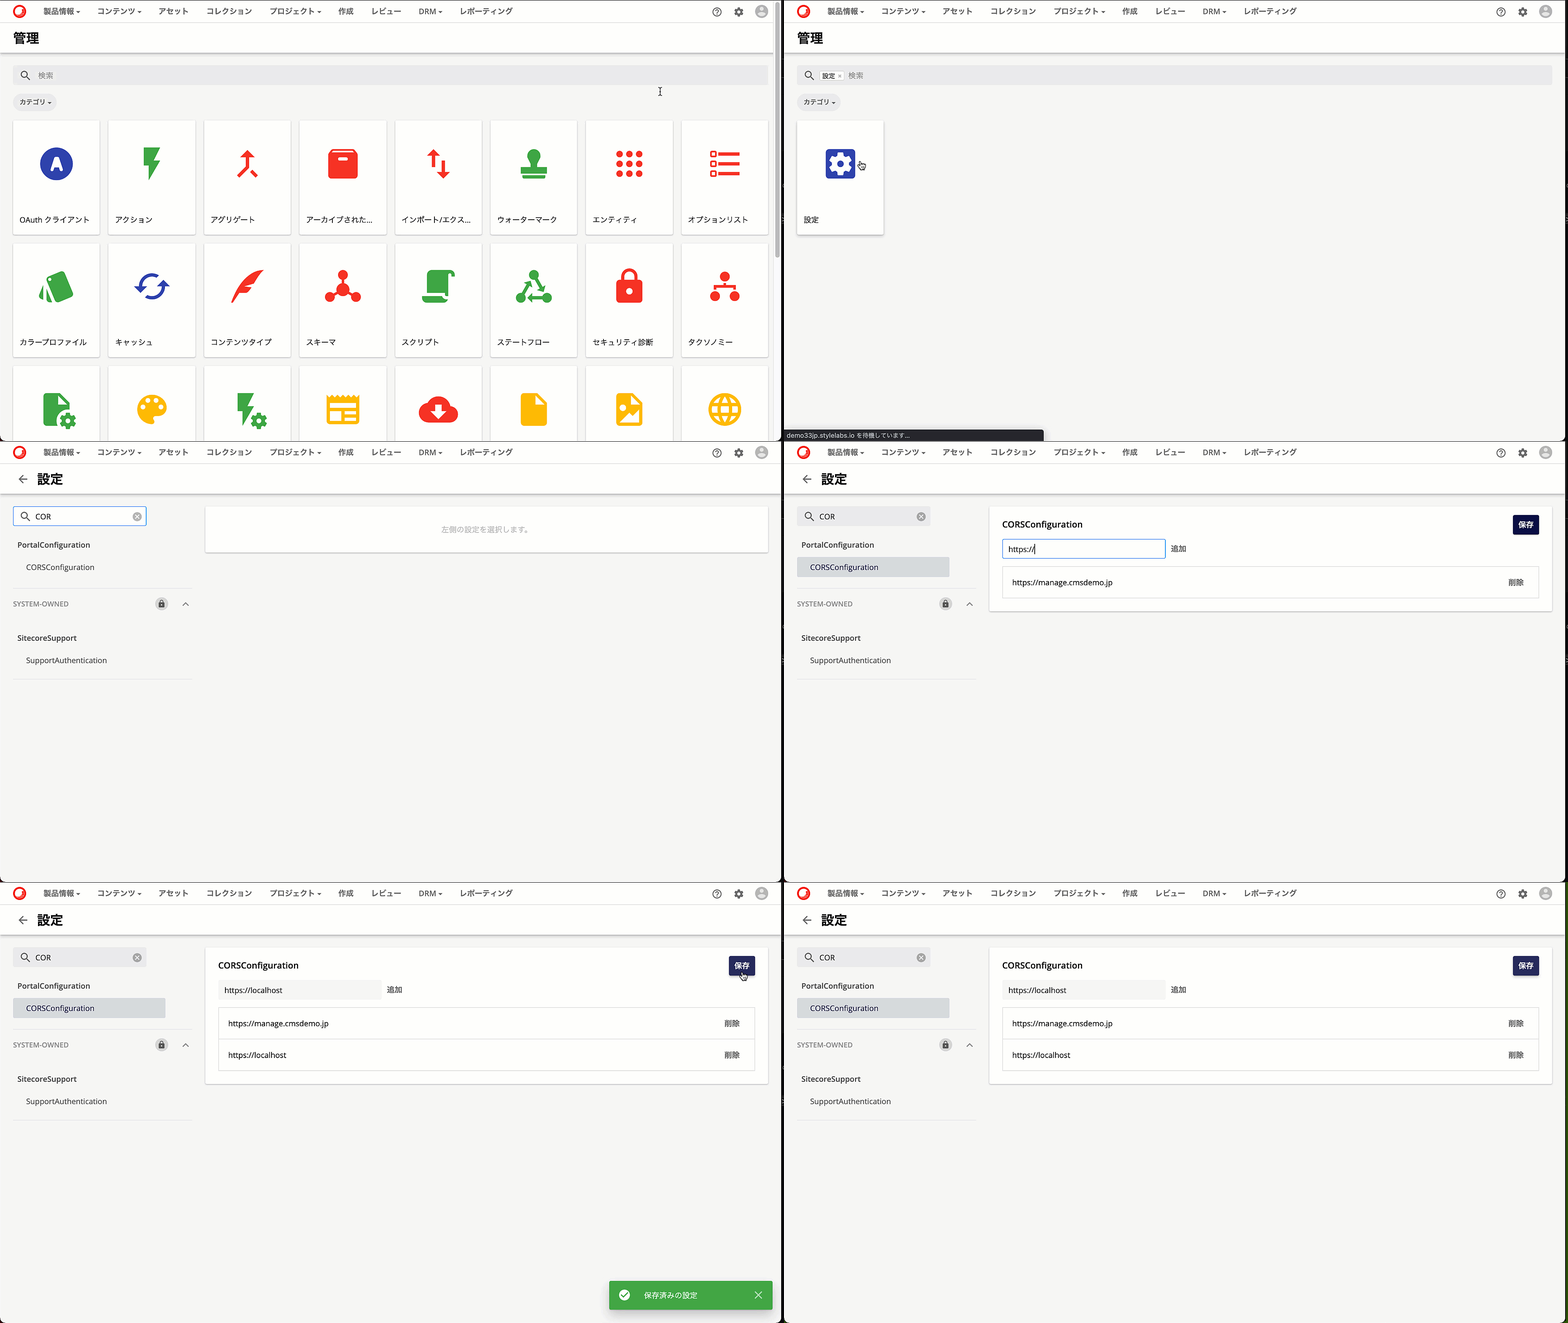
In order for the prepared server to be able to work with the Sitecore Content Hub, a hostname must be added to the CORSConfiguration. In this case, we will add https://localhost.
- From the administration screen, select Settings
- Select CORSConfiguration, which is the advanced setting for PortalConfiguration
- Add https://localhost
- Save.
In this case, we are using localhost because this is a test environment.
Confirmation of operation
To check the operation, proceed as follows
- Log in to Sitecore Content Hub (you can do this after logging in to Drupal)
- Access to https://localhost/drupal/
- Log in to Drupal
- Click Content
- Click Add Content
- Click on an article
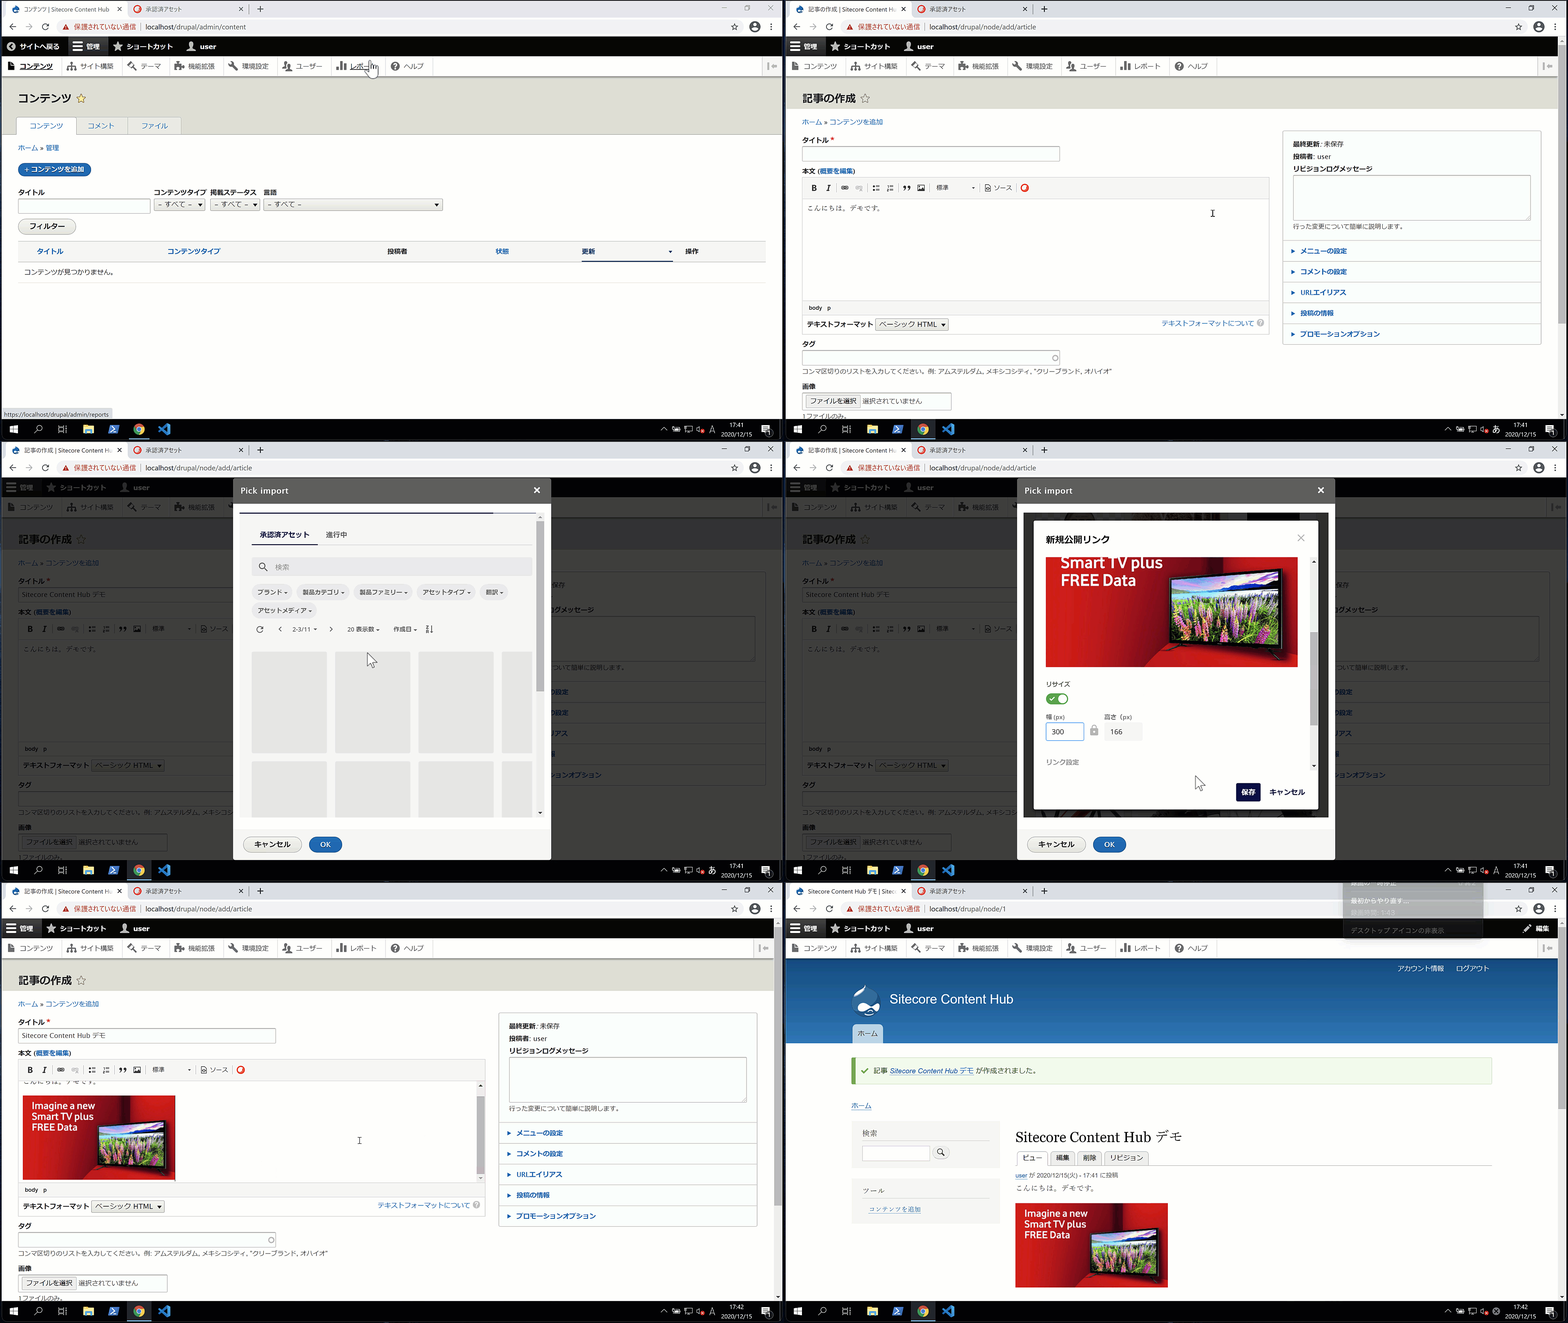
- We will write the article. When selecting images, click on the Sitecore icon and make sure you can specify Content Hub assets
- Save
- You can see the Sitecore Content Hub assets configured in the article

Summary
Sitecore Content Hub - This allows users to select assets provided by DAM directly from the CMS and use them as images on their websites. This allows you to use images and other assets on your website without the need to copy DAM data into the CMS. In fact, we provide integration with the Salesforce Marketing Cloud in the same way.